I’ve Made A Start On The Upper Hull:
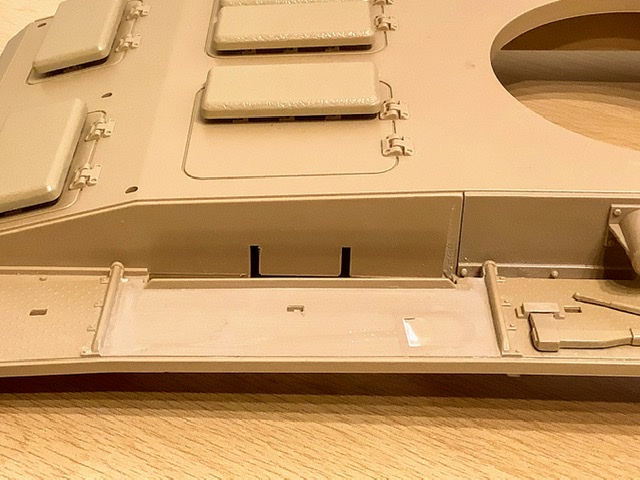
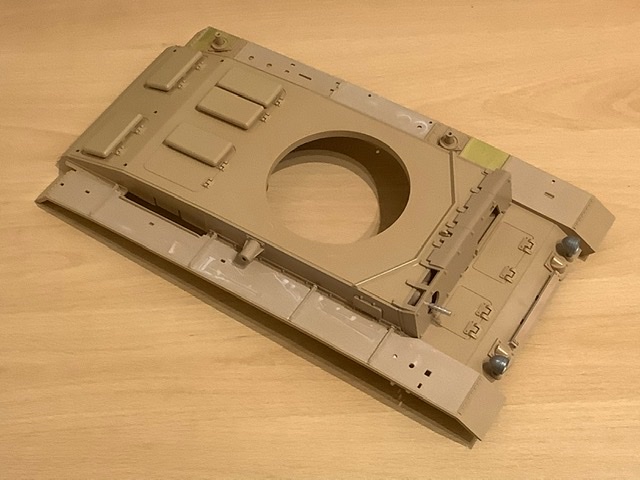
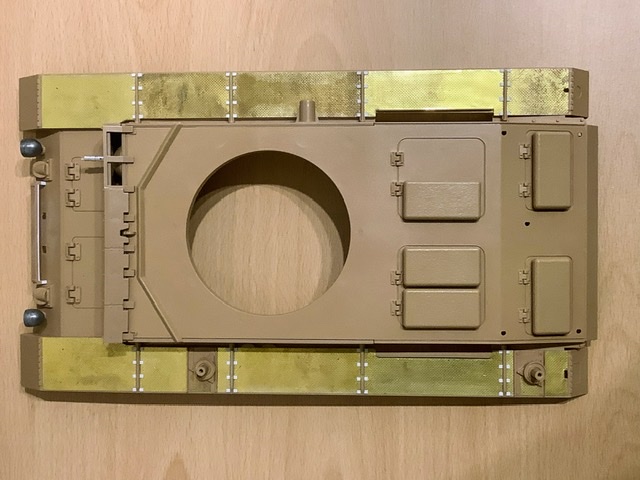
The tread plate on the upper hull track guards/fenders is incorrect, it’s not the correct scale or pattern & the orientation is wrong, the pattern should line up with the edge of the track guards/fenders, so I decided to remove it all & replace it with the Aber PP03 1/16 brass tread plates.

- Incorrect Tread Plate Pattern & Orientation
- 066EFADB-0C84-4263-AA6D-F6F7C0641293.jpeg (152.12 KiB) Viewed 289 times
Turned out to be quite a big job, I had to remove all the existing tread plate pattern, the support brackets, the moulded on tools & other details etc.
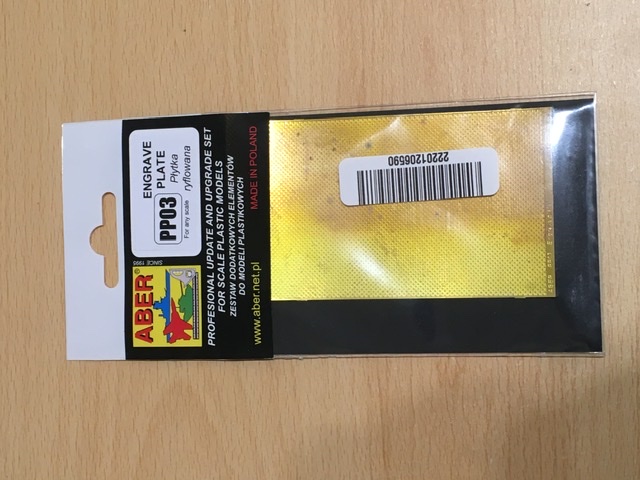
- Aber PP03 Tread Plate 1/16 Scale
- F1C95AB7-8F53-48B1-B18A-C5A1F9BDC8EA.jpeg (98.95 KiB) Viewed 1391 times
The moulded on tools had to go anyway as they never look as good as separate tools, so before removing them I thought I’d experiment & have a go at improving the look by under cutting them, the results are in photos below, an improvement I think & worth considering if you don’t want to go to the trouble of replacing the tread plates.

- Experimenting-Undercutting Tools
- 180D45CA-B4BF-4E73-A119-2ADC811C7677.jpeg (89.08 KiB) Viewed 1391 times
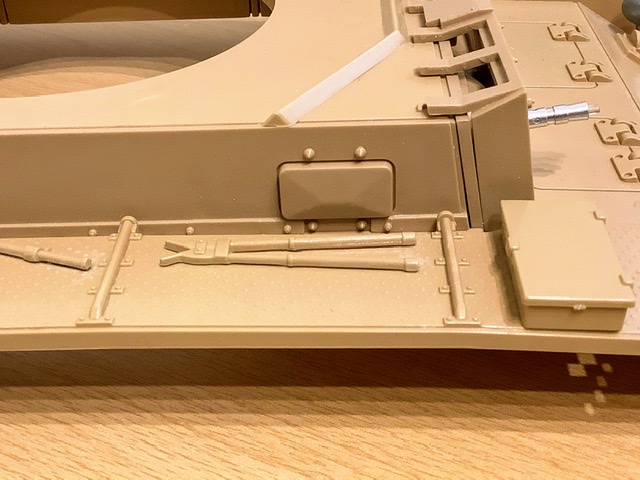
- Experimenting-Undercutting Tools
- 06DADD15-4427-4367-BDE6-E47C1A4BF0B1.jpeg (93.51 KiB) Viewed 1391 times
Removing the moulded on tools & track guard tread plates Etc.

- Removing The Moulded On Tools Etc
- B54A4FCF-1C59-45DF-A9A5-F411B27DF6E2.jpeg (1.02 MiB) Viewed 356 times
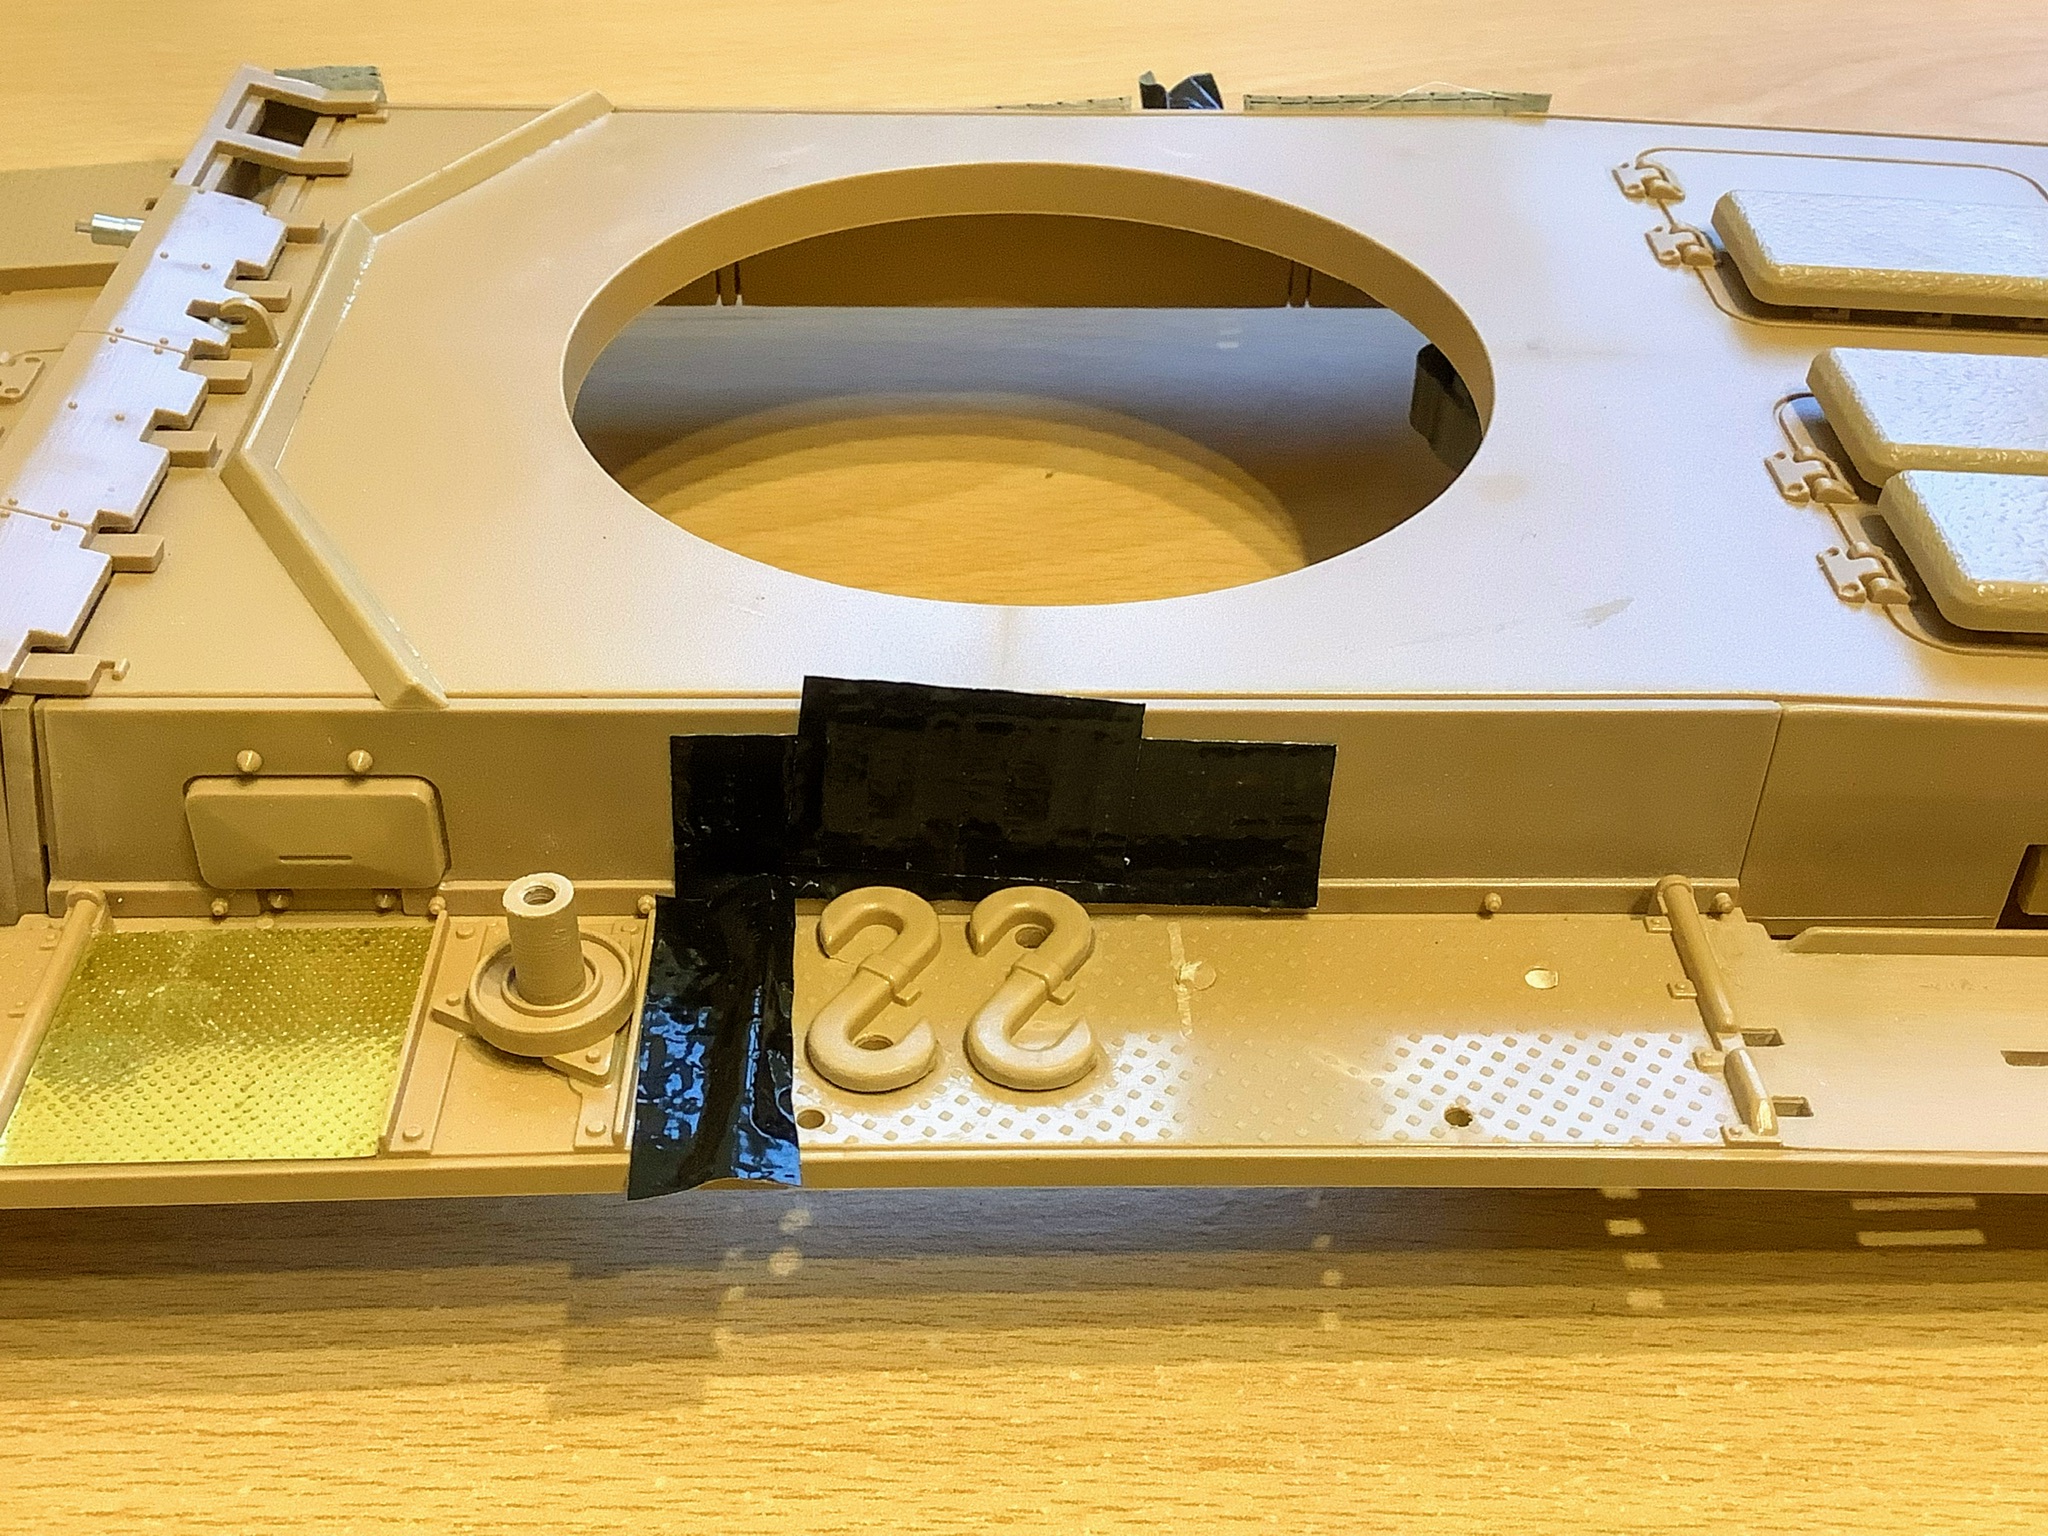
- Removing The Moulded On Tools Etc
- 30CEE346-E523-4BA6-877A-75EB73AA4C30.jpeg (983.8 KiB) Viewed 356 times
The moulded on spade has now been removed.
- Moulded On Spade Removed
- A2B7E330-DF64-4C0A-A122-810F9C183ED3.jpeg (98.57 KiB) Viewed 1391 times
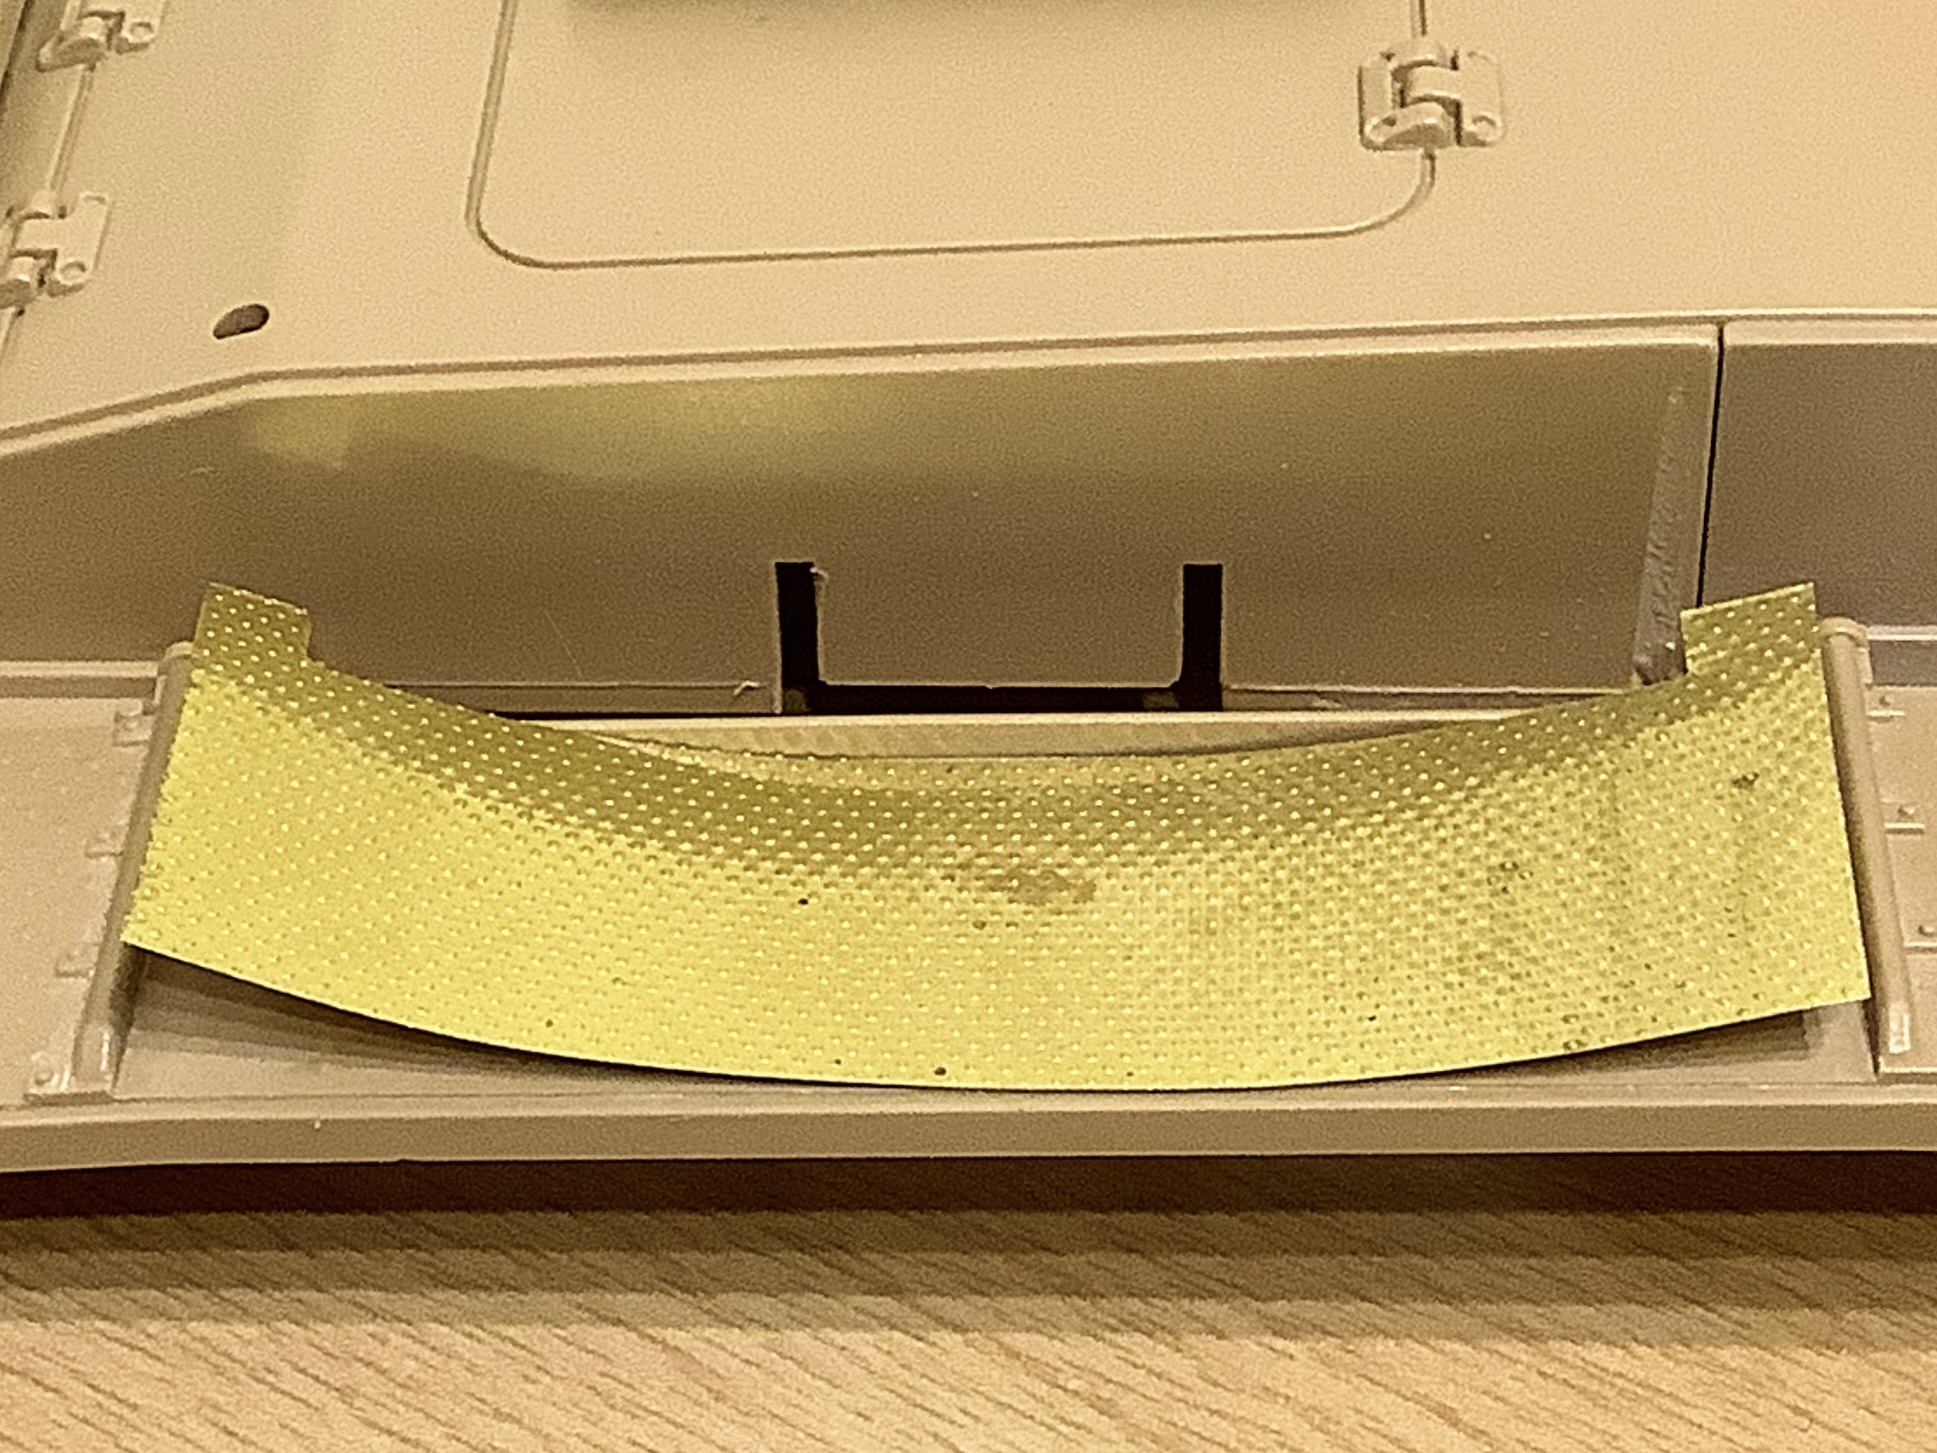
All moulded track guard tread plates & tools Etc removed & the first small section of Aber tread plate fitted.
- All Moulded On Tools & Tread Plate Etc Removed
- 1E9E96F4-4A82-41D8-B393-A658C9E7AED1.jpeg (85.72 KiB) Viewed 1391 times
Once I’d removed all the tools & other details I then used some filler & sanded down to a flat smooth surface. The surface needs to be good otherwise any imperfections will show through the tread plate (its very thin).
With the surface prepared I was now ready to start cutting & fitting the Aber tread plate.
I found the tread plate was quite easy to cut using a pair of small sharp scissors. I used Zap CA+ medium glue to fix down the new Aber tread plates, I found it gives adequate time to position the plates correctly.
Spreading the glue thinly & evenly & being carful not to get it too close to the edges helps prevent excess glue oozing out & making a mess.
The plate tends to curl up a little after cutting, I found that laying it on a flat surface & rolling it on the opposite side with the handle of a modelling knife helps to flatten it (like using a rolling pin). I made up some thick stiff plastic plates to help clamp it down untill the glue sets.
I was carful not to get any glue between the new Aber tread plates & the temporary thick plastic pressure plates & clamps.
I also degreased & roughed up the back of the tread plate with 240 grit sand paper to help make a stronger glue joint.
- Aber Tread Plate Needs To Be Flattened Before Glueing
- 3D5AE00C-AC03-448E-B50A-78BB3AEE2206.jpeg (890.97 KiB) Viewed 341 times
- Glueing & Clamping Tread Plate
- 631101F9-B0F2-491D-B7B5-1582FACADF00.jpeg (1.17 MiB) Viewed 288 times
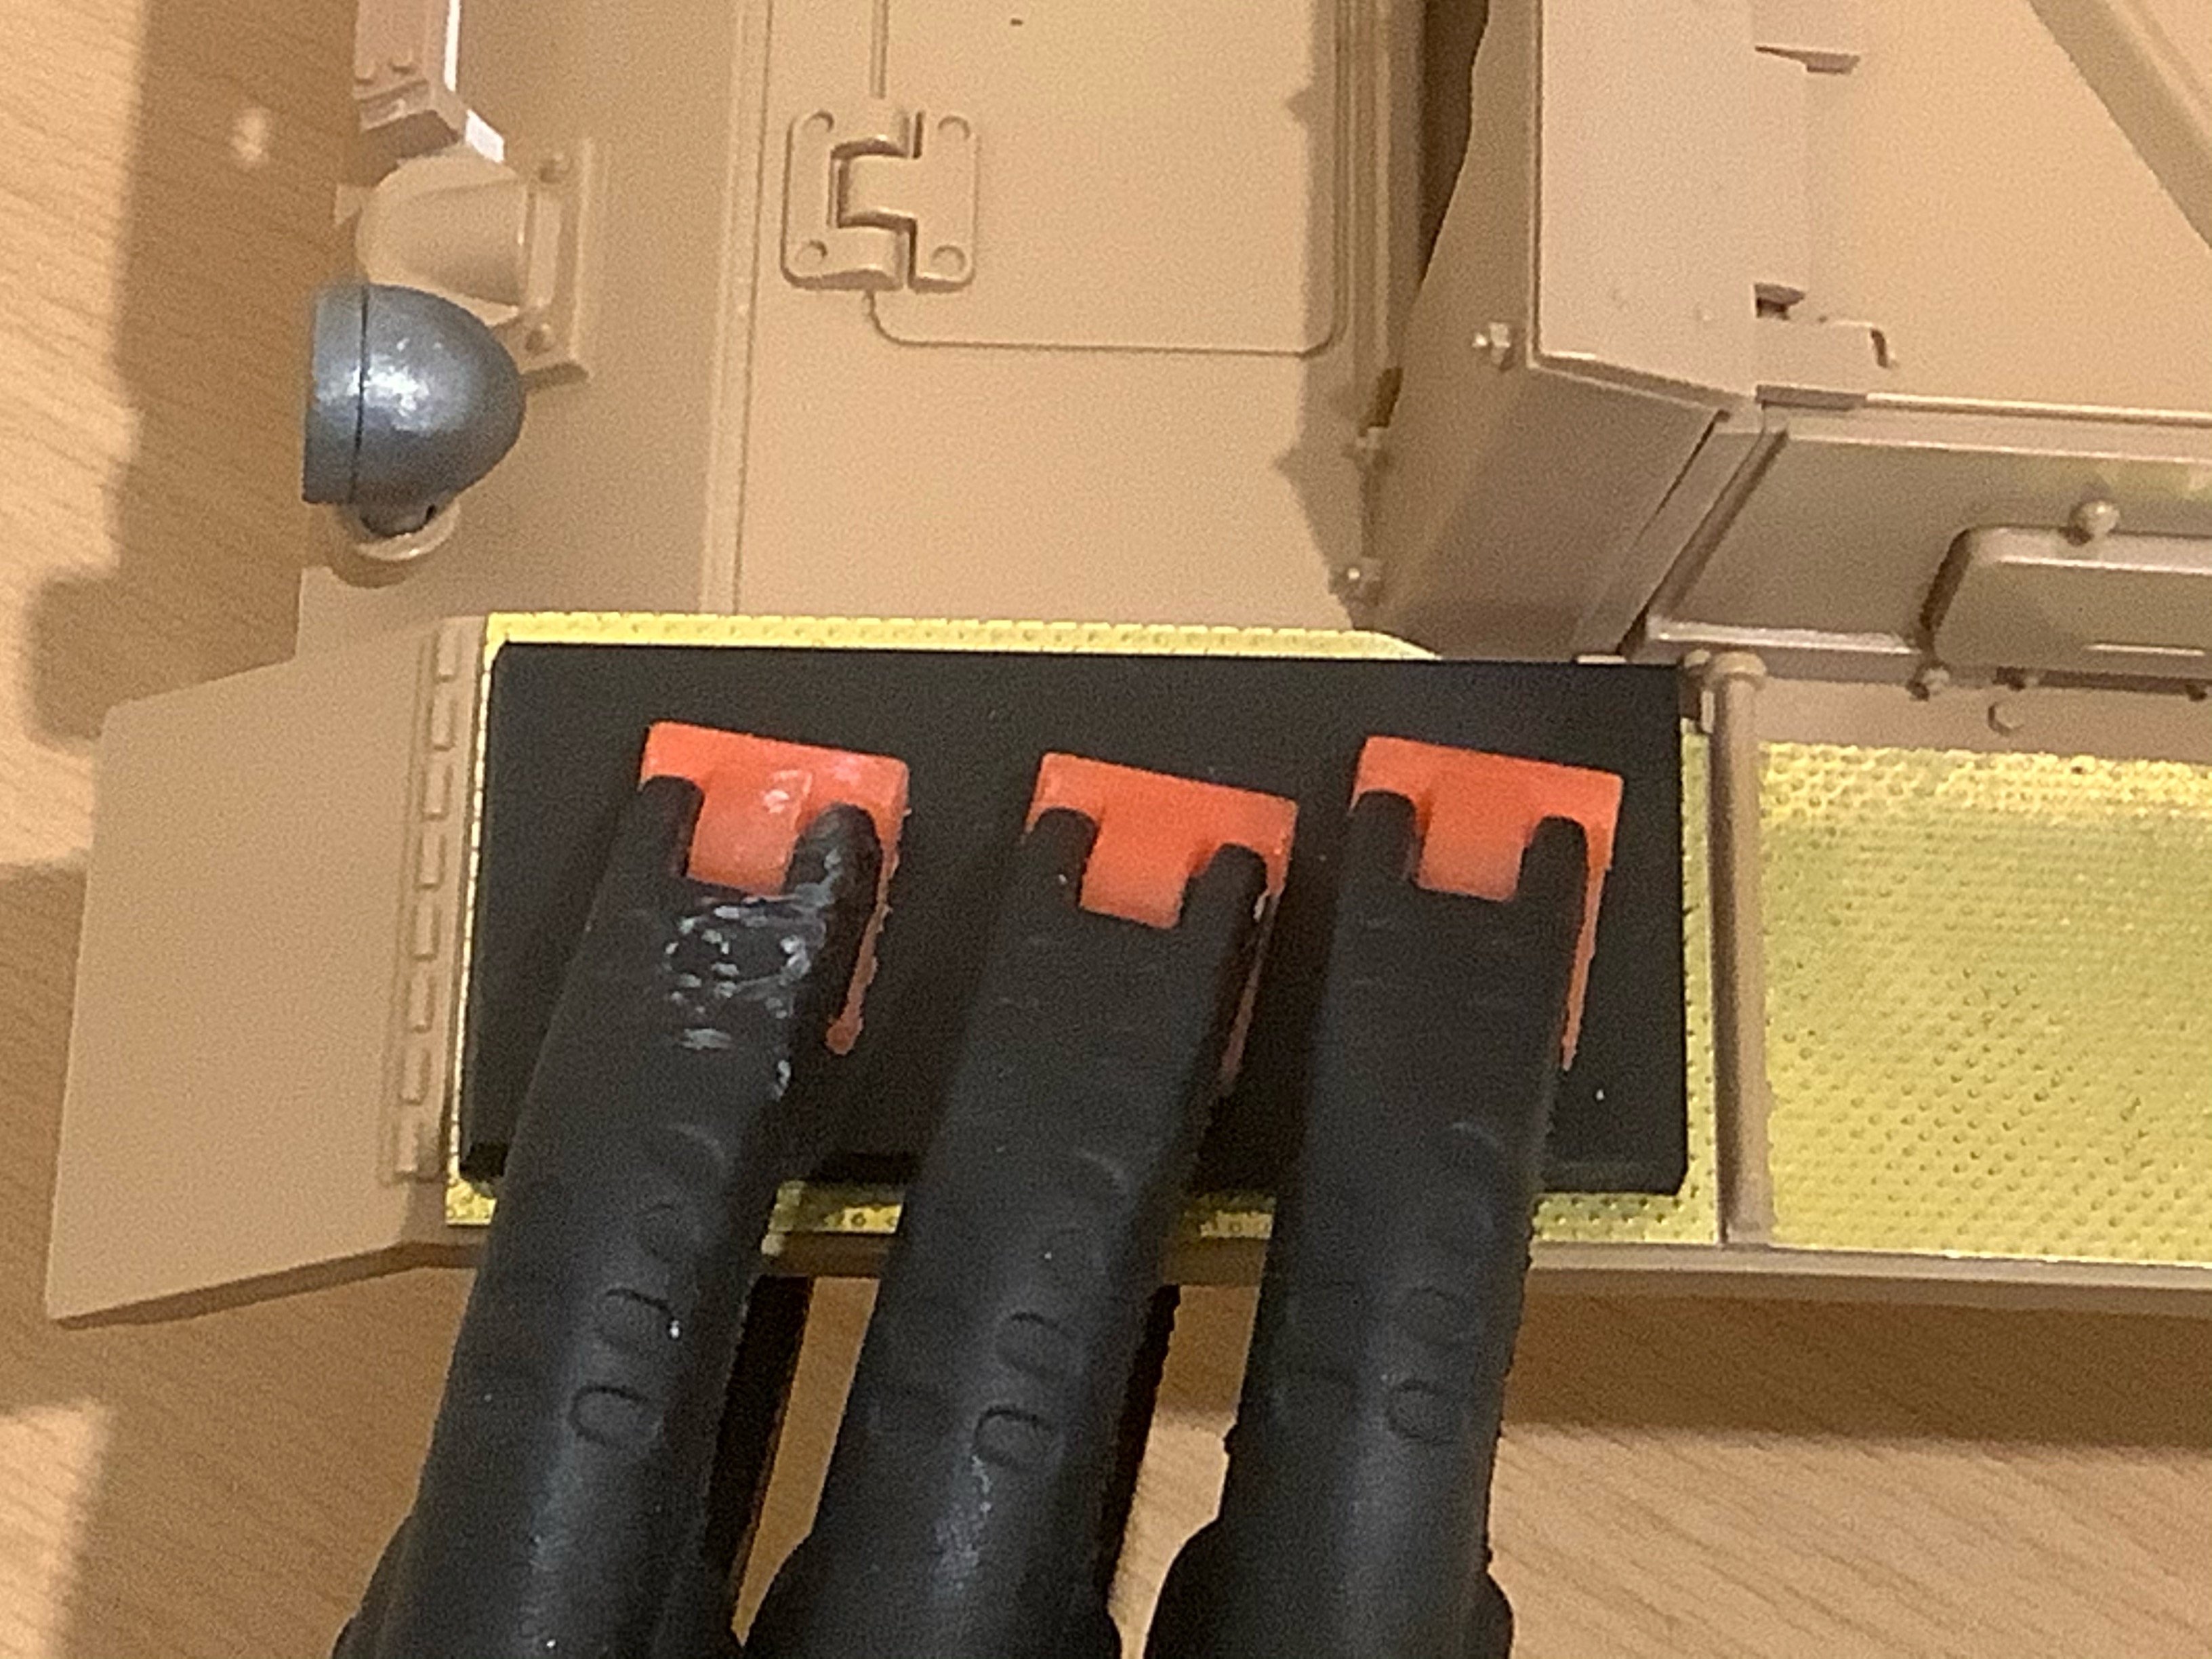
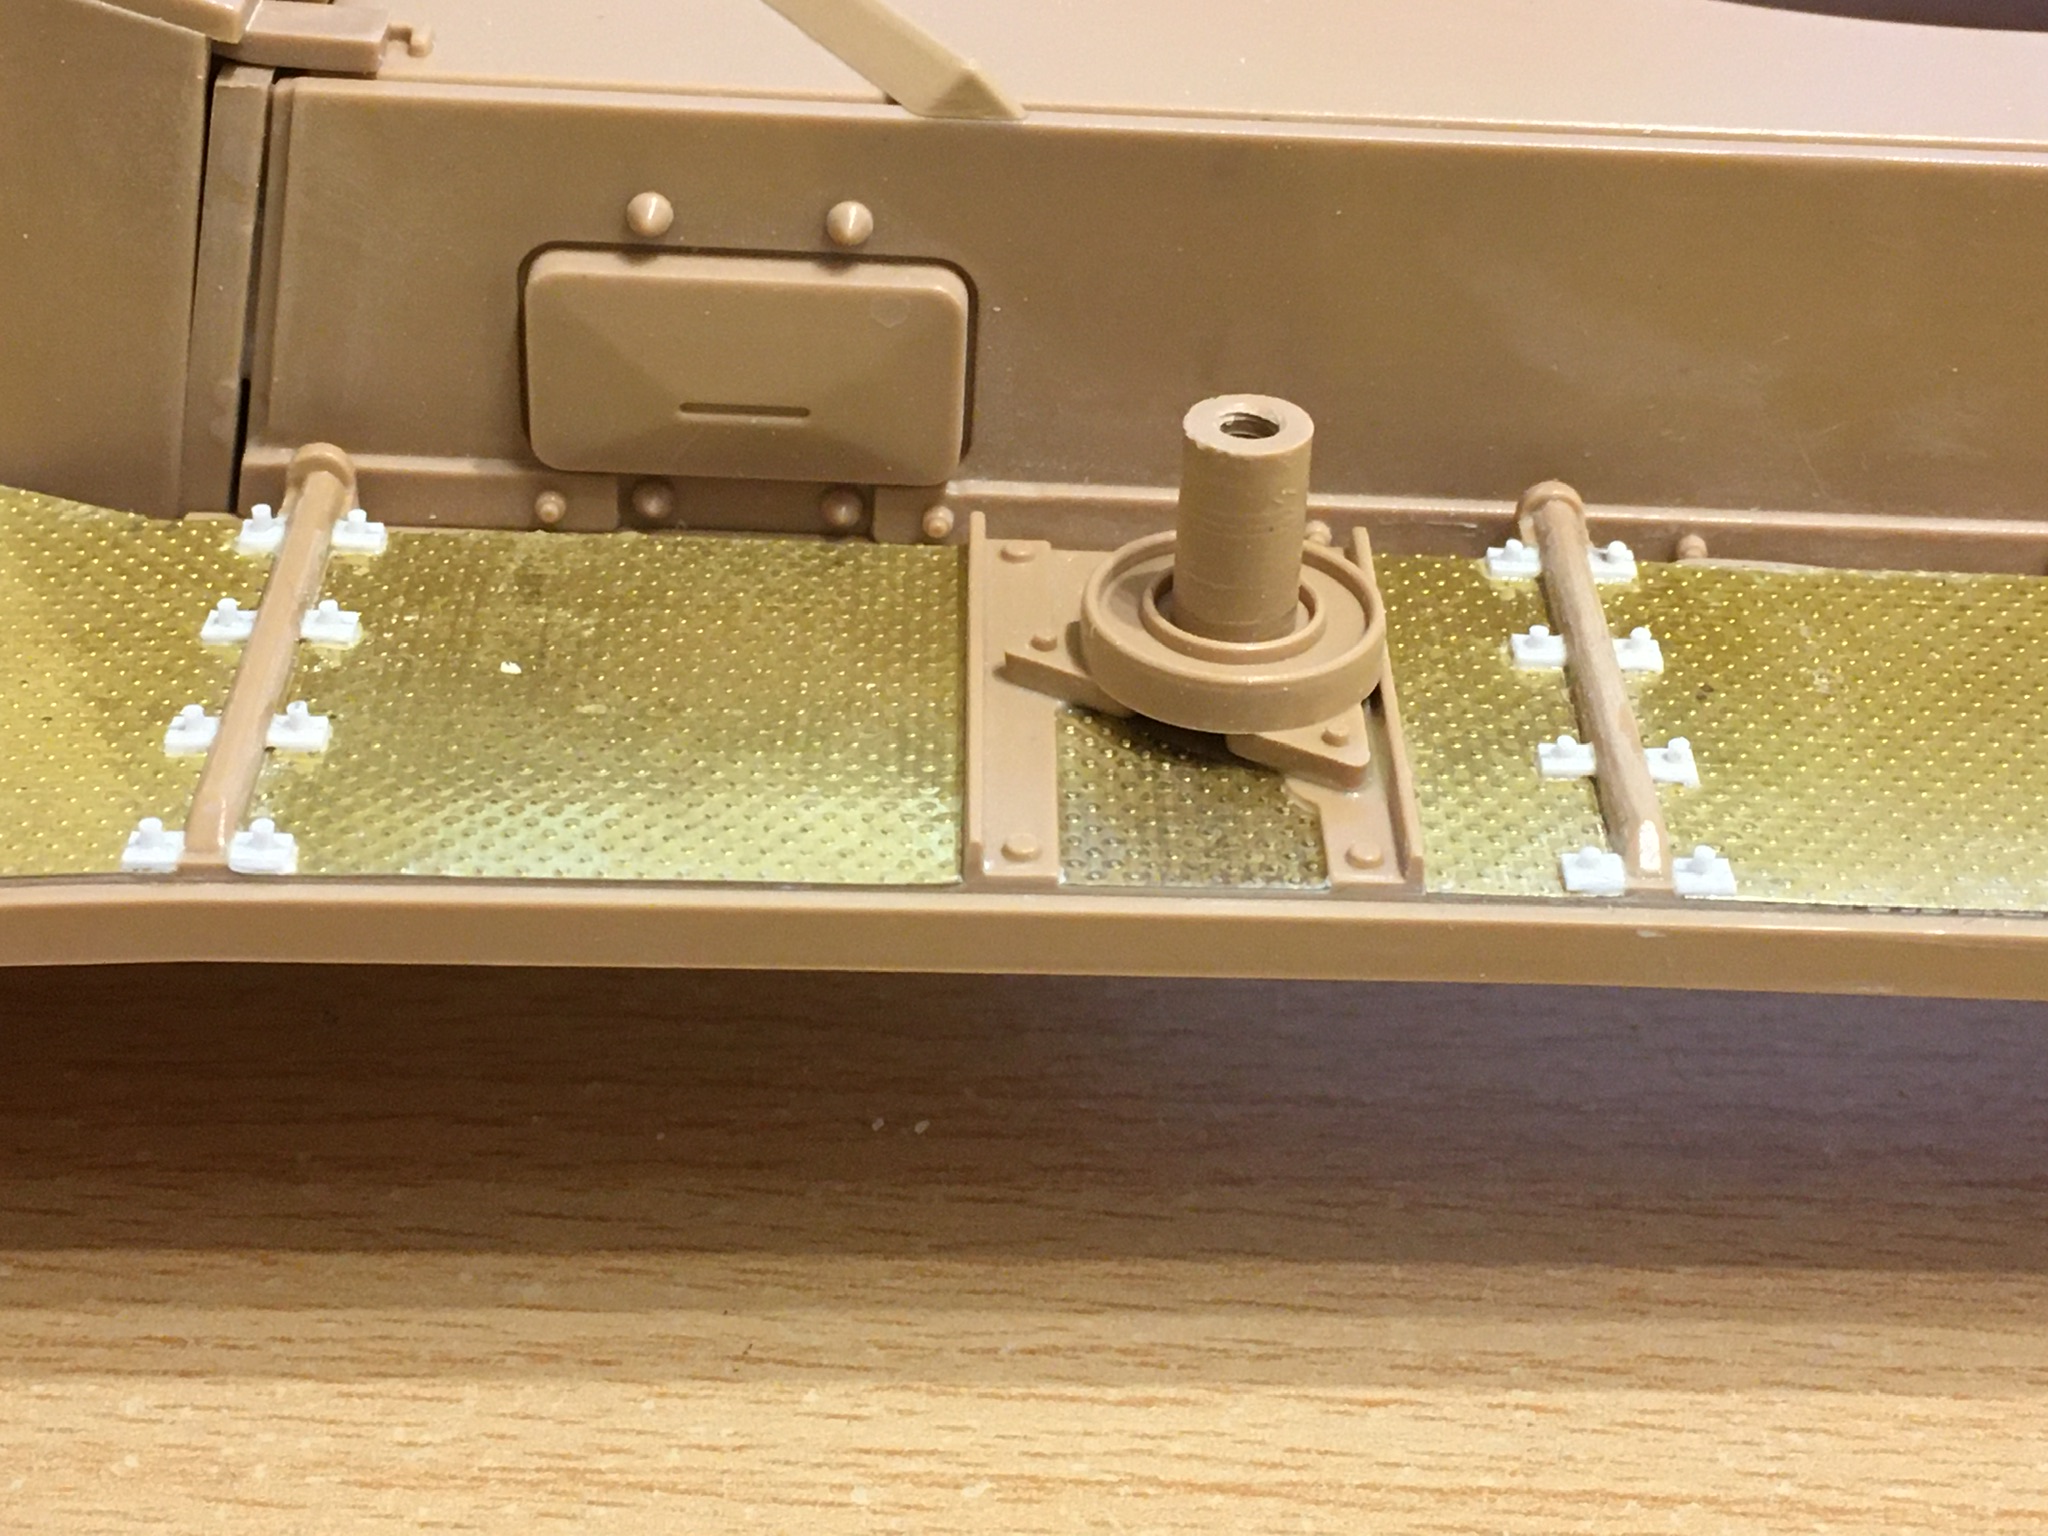
I then had to make & fit all the brackets I’d removed, including the bolt heads that fix & hold down the tread plates, quite a slow process, but I made steady progress & eventually got it all finished.
- Aber Tread Plate & New Bracket’s Fitted
- 8E7FE152-D9F8-4041-8D0A-34C9FB06CE94.jpeg (90.85 KiB) Viewed 1391 times

- Aber Tread Plate & New Bracket’s Fitted
- A35D4953-954A-450F-8A0A-AA94FA66D234.jpeg (77.62 KiB) Viewed 1391 times
The bolt heads & brackets still need to be trimmed down & shaped but only after the glue had fully cured.

- Bolt Heads & Brackets Before Trimming & Shaping
- 8C004F4A-0E53-43AF-8D1A-8B5BCE285DBD.jpeg (885.53 KiB) Viewed 356 times
The bolt heads & brackets before trimming & shaping.
- Bolt Heads & Brackets Before Trimming & Shaping
- C7FBFCBB-A6BC-43C6-9A42-BCFFD2357930.jpeg (586.6 KiB) Viewed 356 times
The bolt heads & brackets after trimming & shaping.
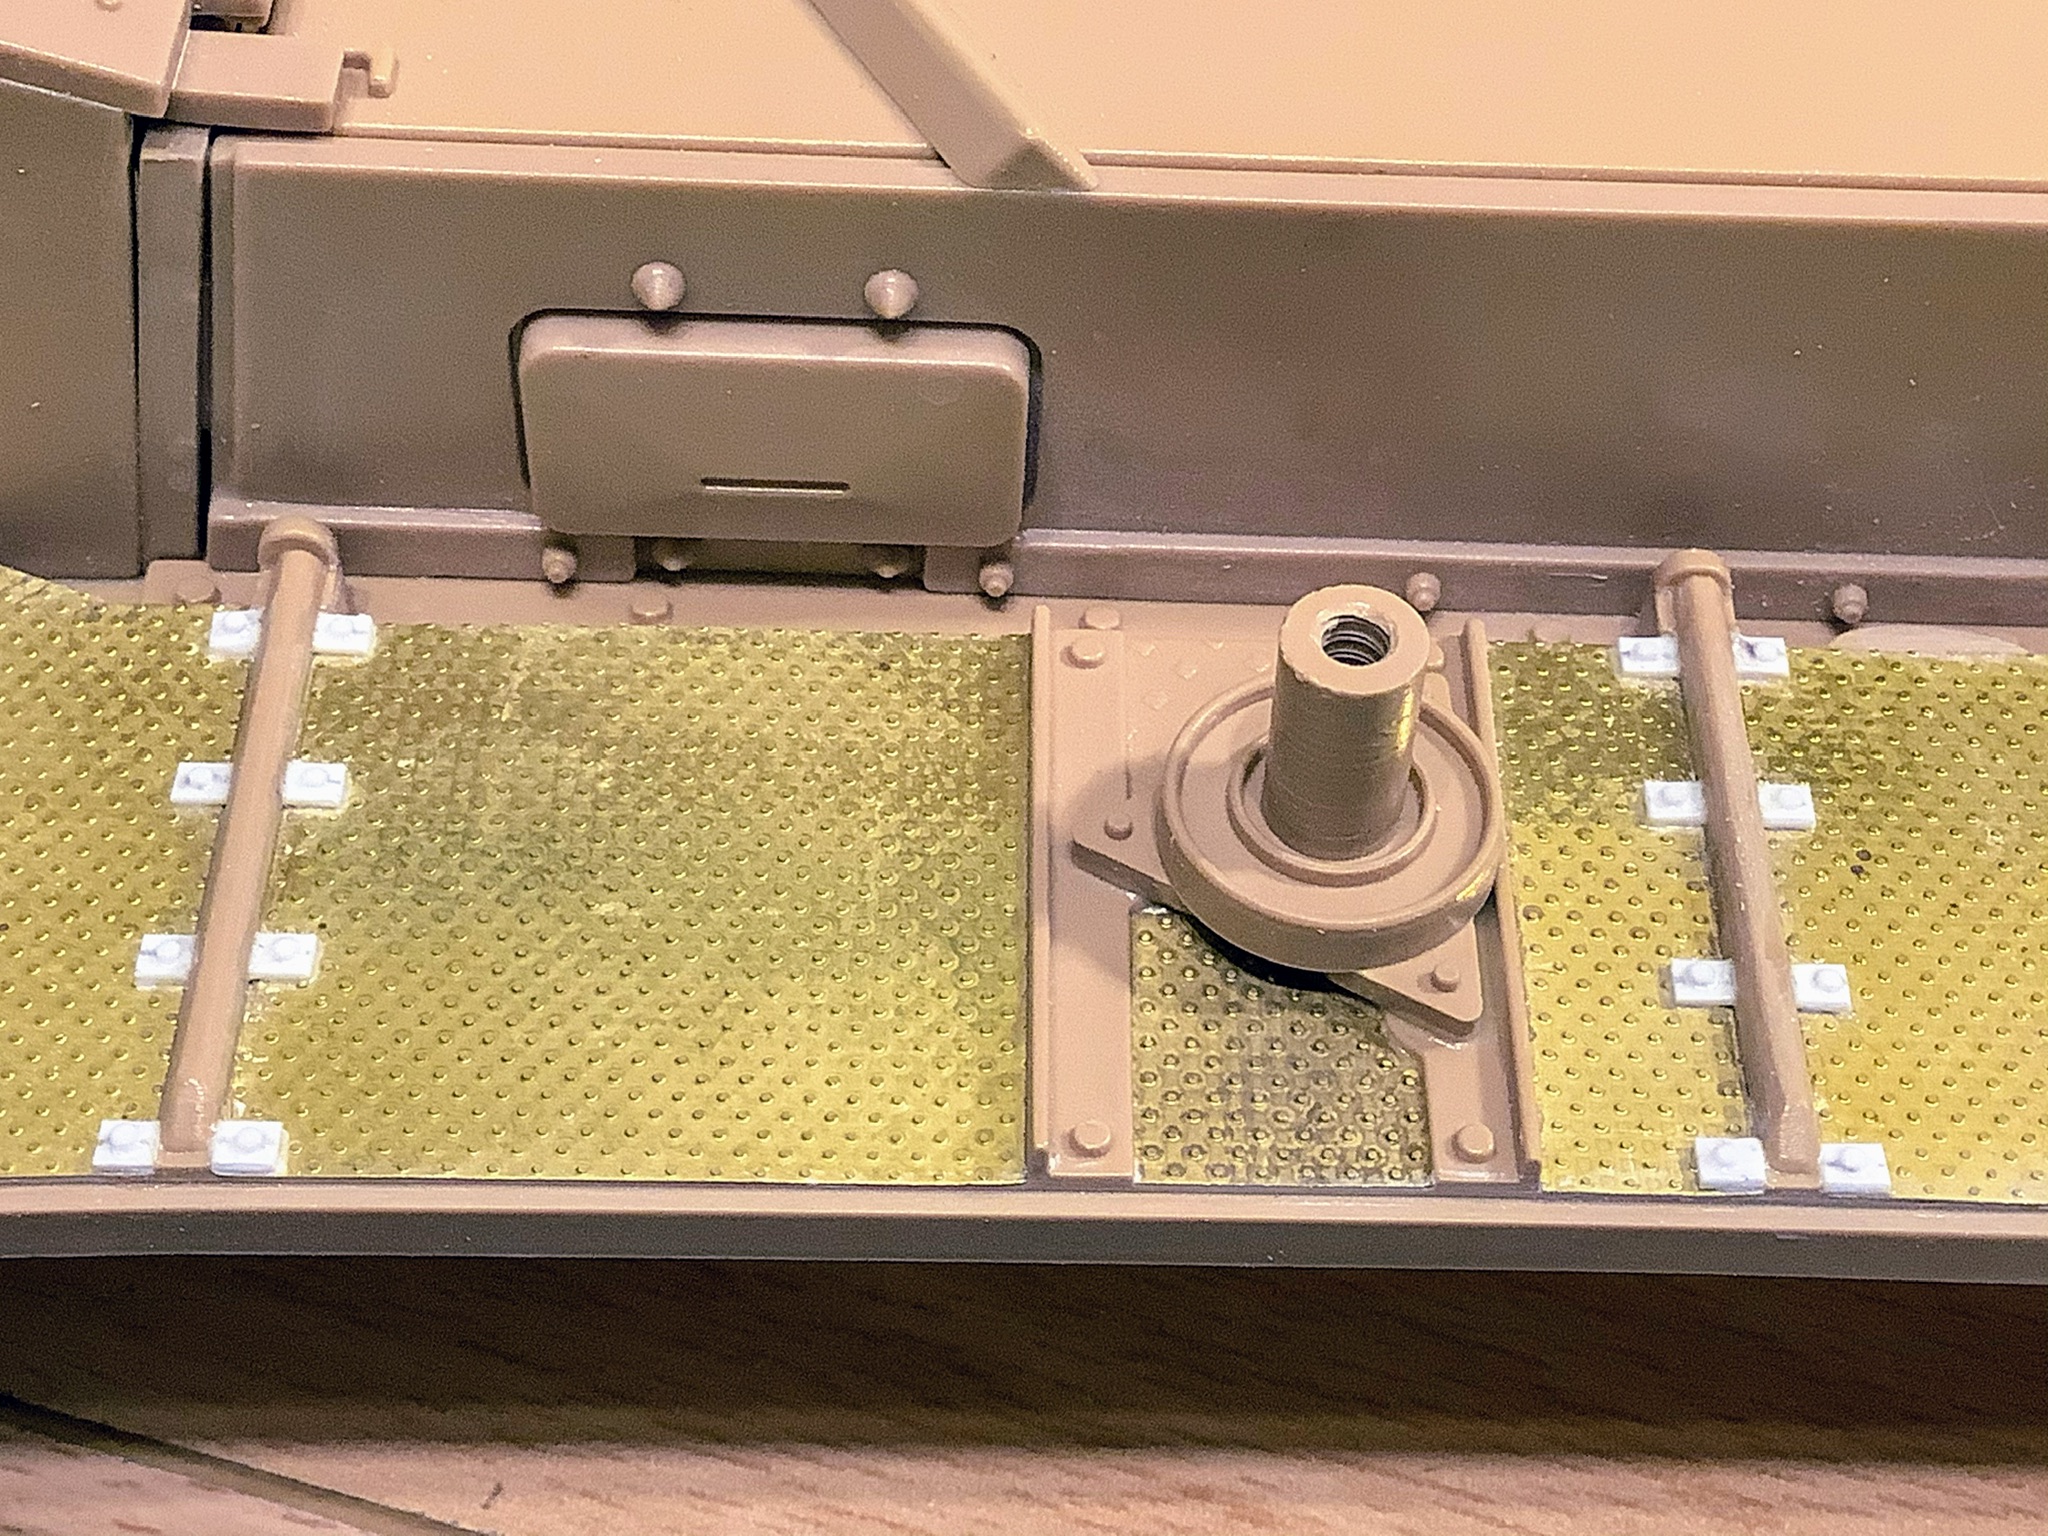
- Bolt Heads & Brackets After Trimming & Shaping
- FCB05207-867A-4B2B-834C-6F33304D1F70.jpeg (1.01 MiB) Viewed 287 times
Next Up - Upper Hull Weld Seams & Adding Some Extra Hull Detailing
That’s all for now…………………….
Cheers Martin