Sherman upgrading...
Posted: Sun May 31, 2020 10:19 pm
I for some reason love the technical upgrading of my used RC Tanks.
My KV-1 and many other projects are awaiting some soft silicone 18ga wire for making flexible battery connections. So I decided why wait and jumped into this one.
So I decided to rebuild the Sherman! (My only Sherman, once belonging to a CanAm RC Tank Club member, Kyle).
The magnetic mounts and basic gutting was already in place.
But I removed the plexiglass plate installed as well as the copious amounts of silicone sealant holding the plate in.
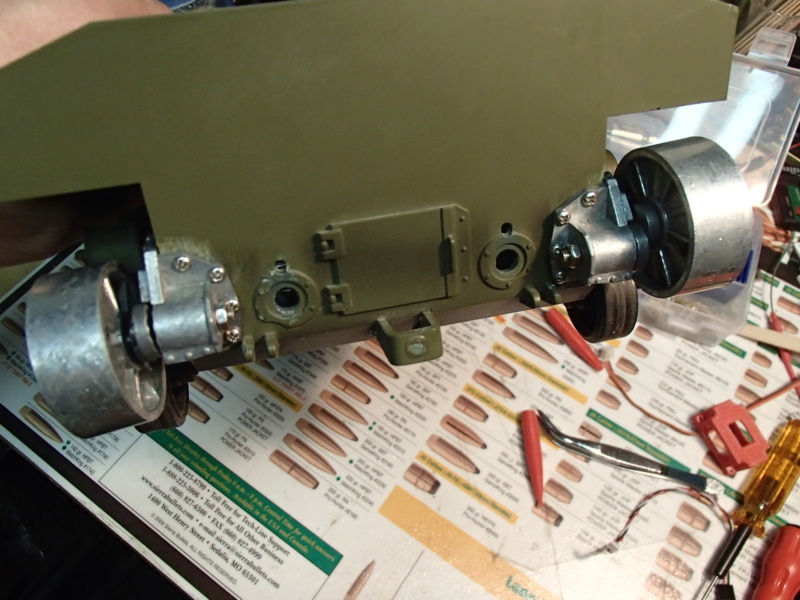
First thing, my good buddy DGSSelkirk installed a set of Mato adjustable idlers onto the hull. Thanks Dean.
Next Sherman, I'll do it myself. (Cause If this works as nice as I hope, I'll likely end up with 3 of them...)
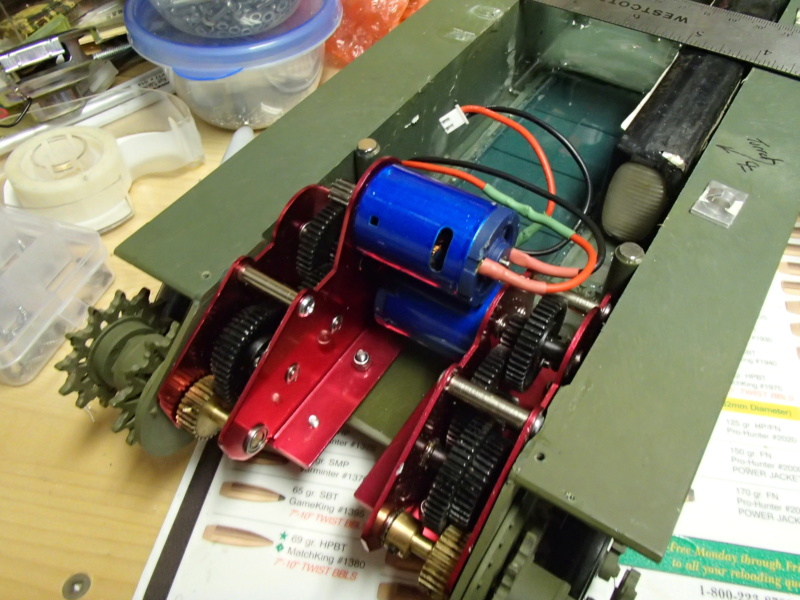
Keeping the HL Blue's in the tank. Being mainly a plastic tank means it will be light and I want to see this thing run
The cleaned up and epoxied chassis hull. Took 4oz of mixed epoxy to fill the entire lower hull. (Under the motors as well.)
N.B.: Make sure to plug all the small holes or use thick epoxy mixture. I had about 1/2 oz leak out through the front holes by the bogeys. What a PITA to clean.
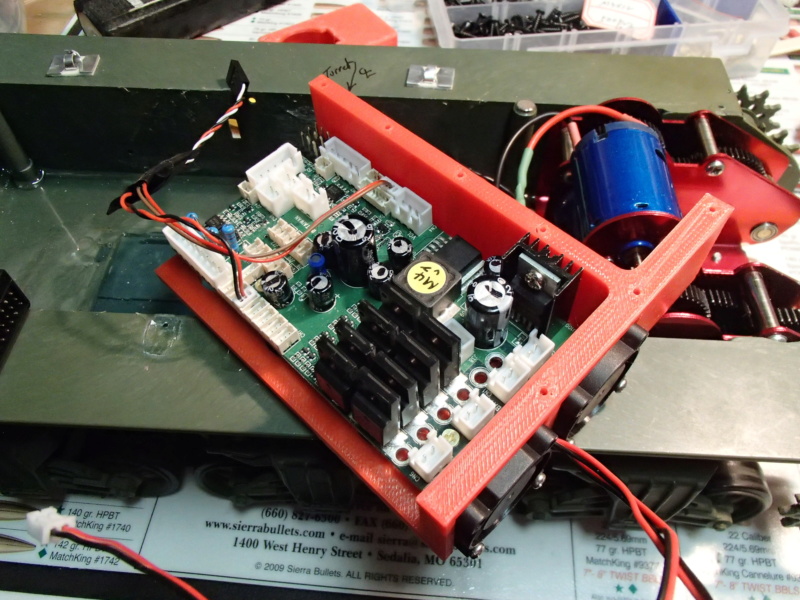
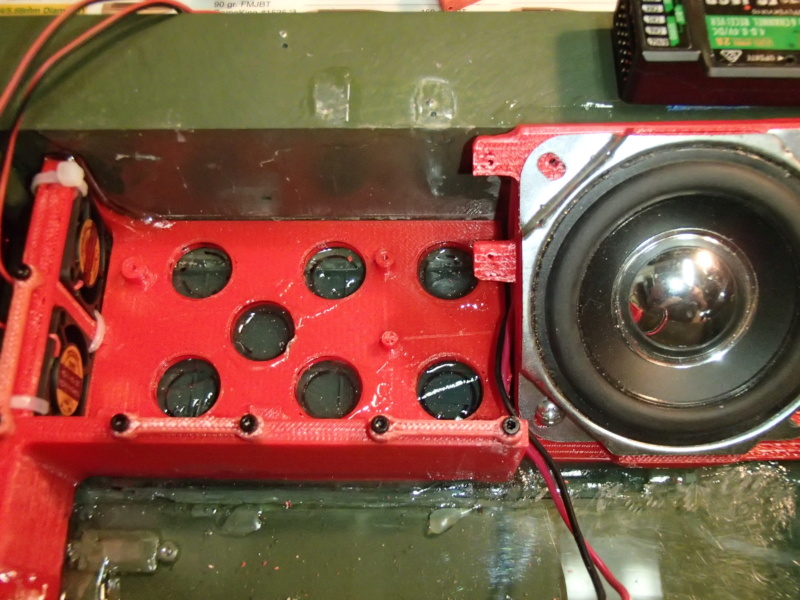
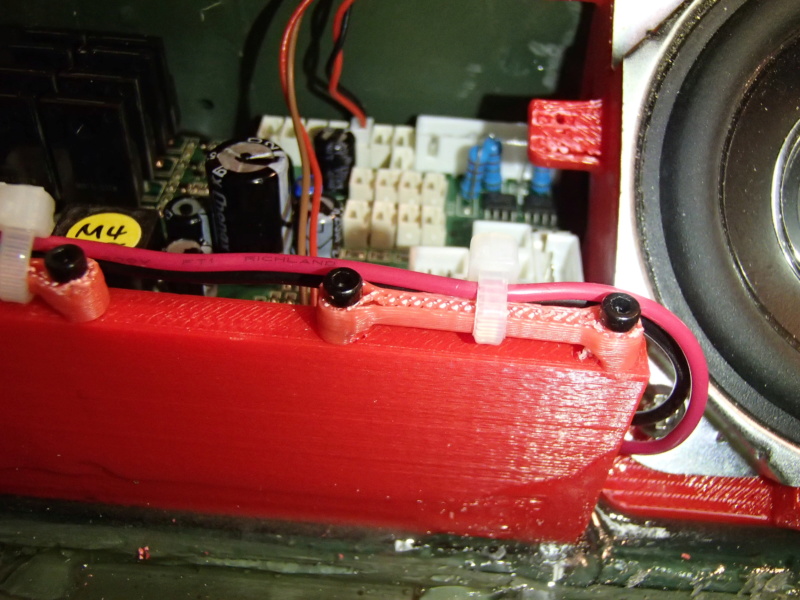
3D printed Clark TK-60S tray with risers and fan cut outs (Offset space for battery.)
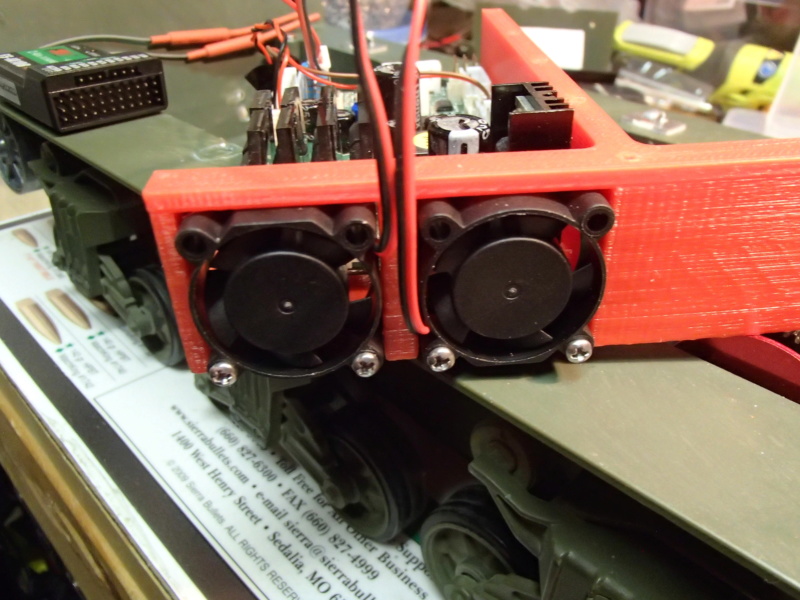
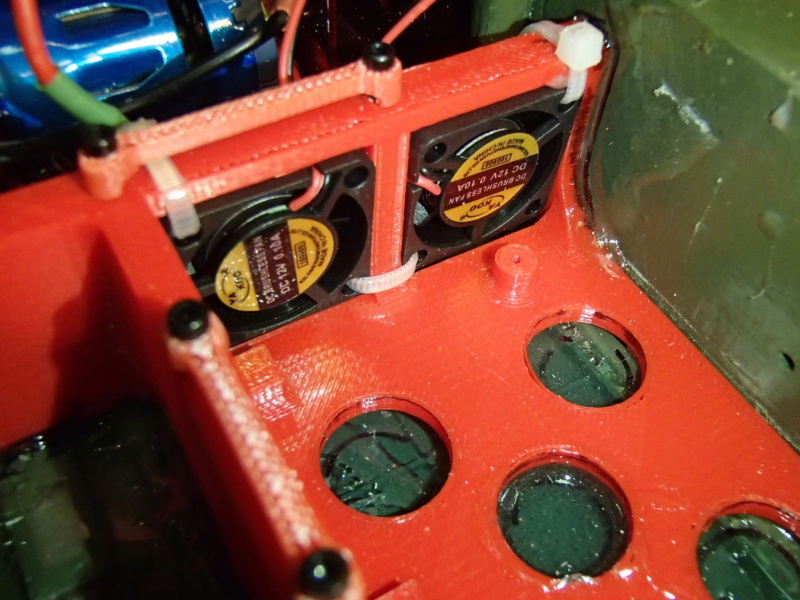
Twin cooling fans (will be replaced with 6V versions for higher air flow). One for the FETs, the other for the audio amplifier heat sink.
To be powered when the entire vehicle is powered up.
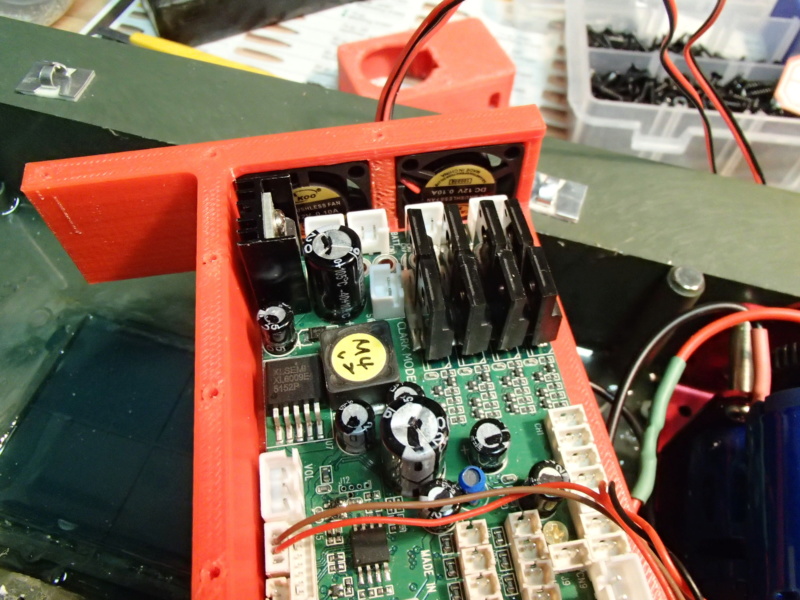
Showing the position of the fans related to the TK-60 board.
First Print is a Perfect fit... Debating if I want to make the tray into a removable piece (Velcro base/screw down, or permanently mounted...
If permanent, I'll need to find a different fan mount system for replacements.
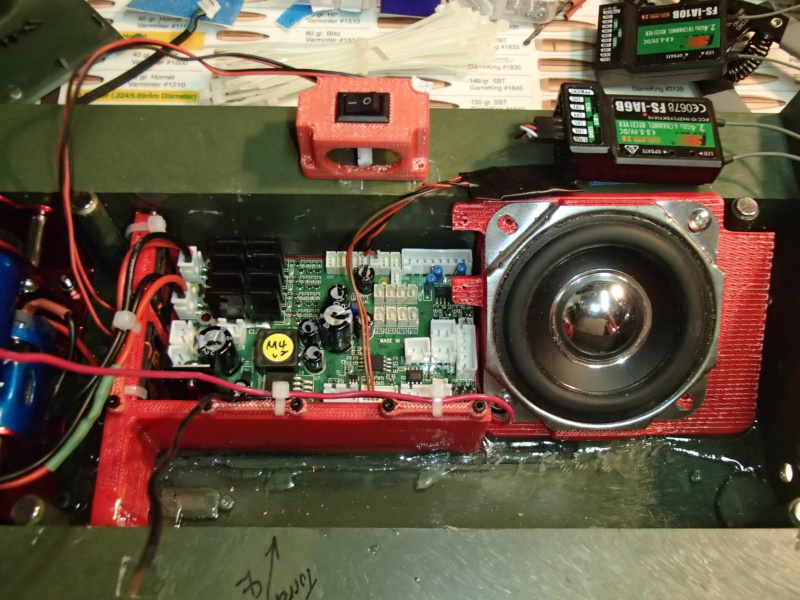
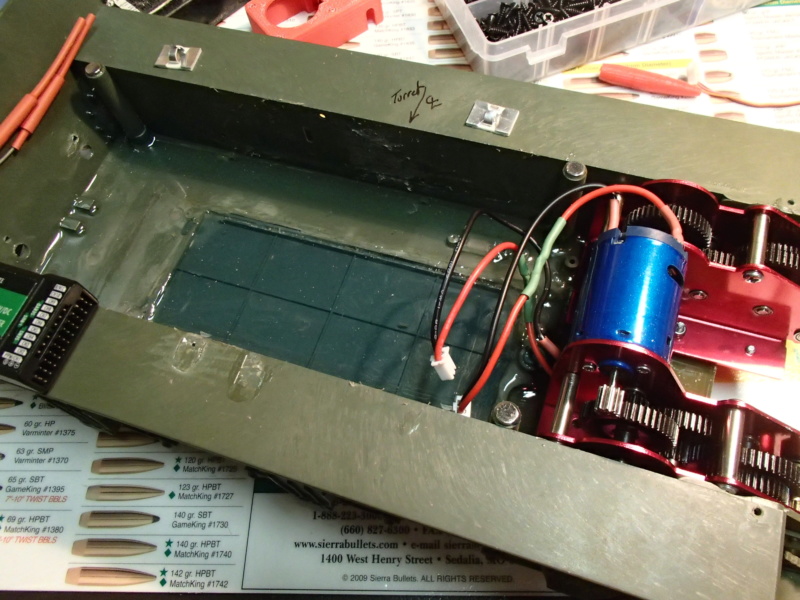
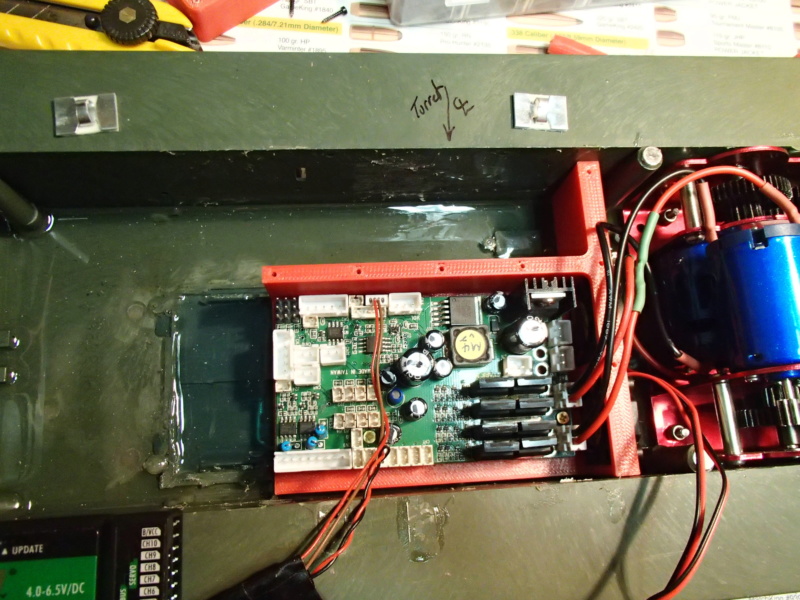
Showing the proposed location of the main power switch and the receiver (right side sponson).
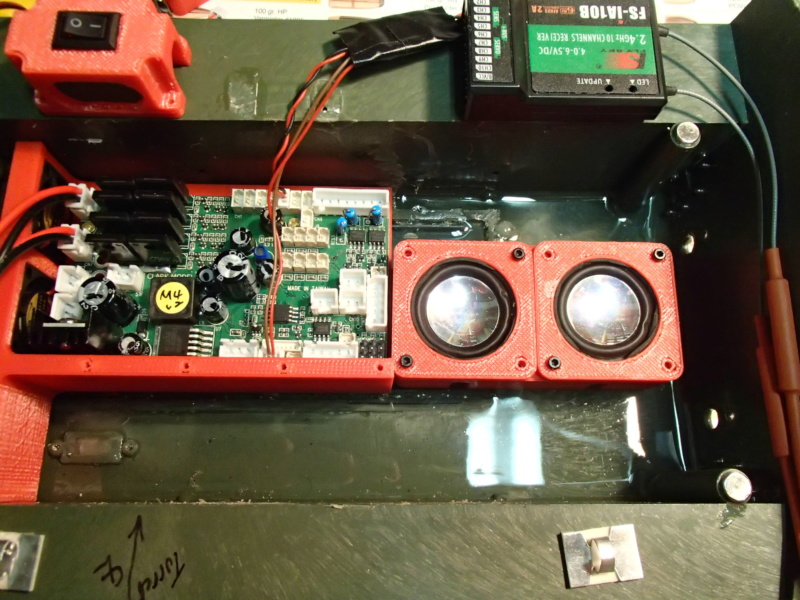
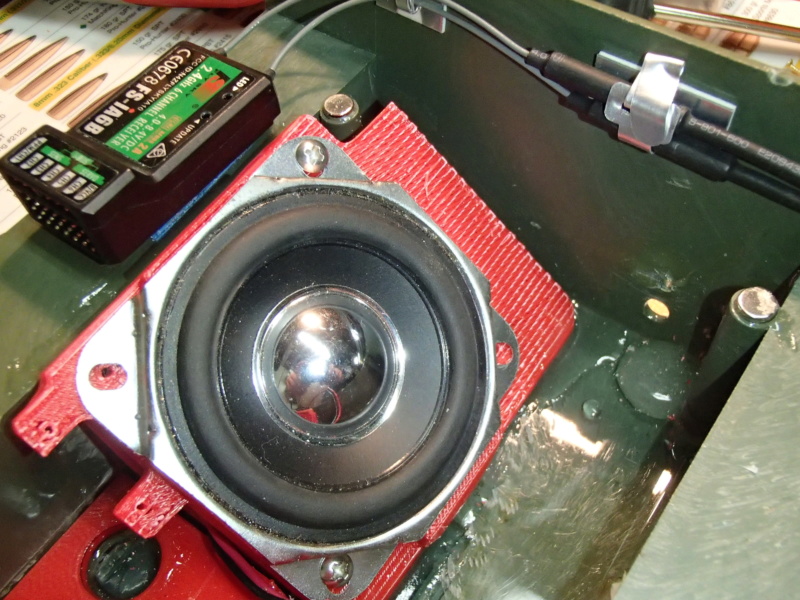
The dilemma... Try out the Twin 5W speakers and add in a volume control potentiometer
OR
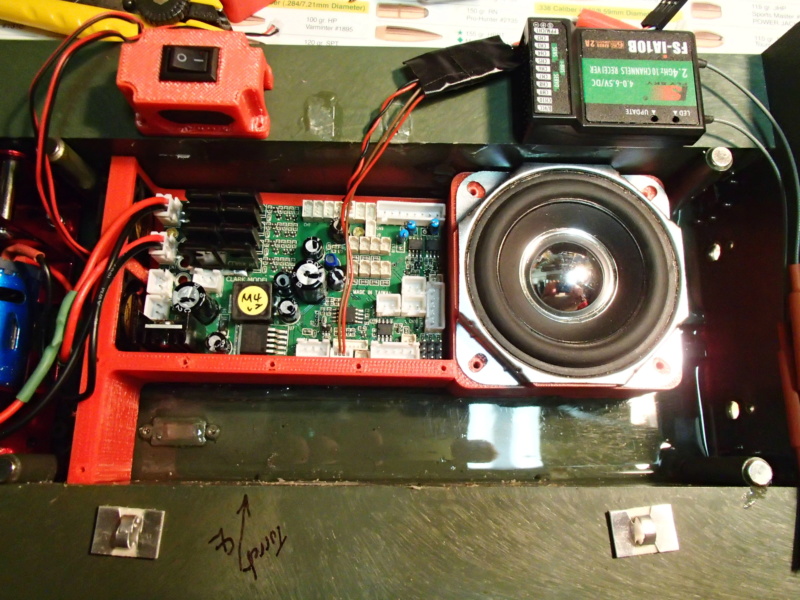
Squeeze in the 15W Speaker and run it at 10 all the time! Volume control is for sissies!
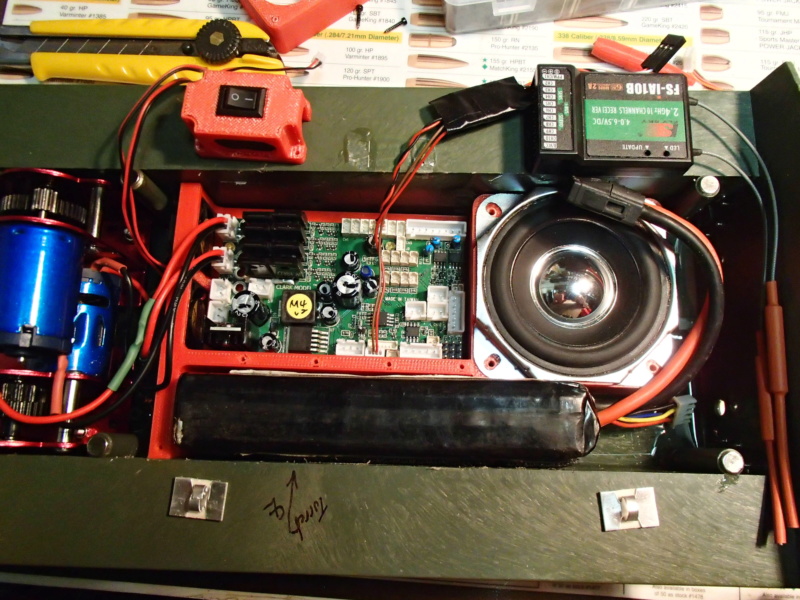
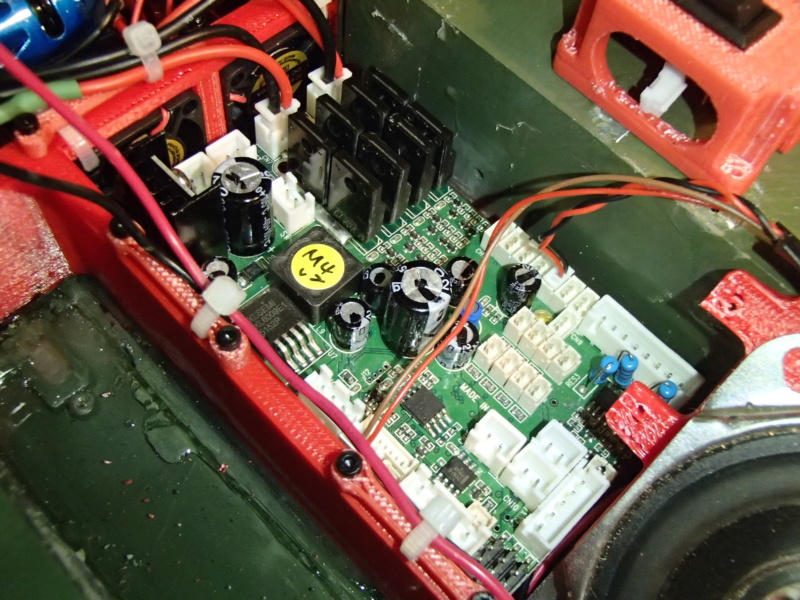
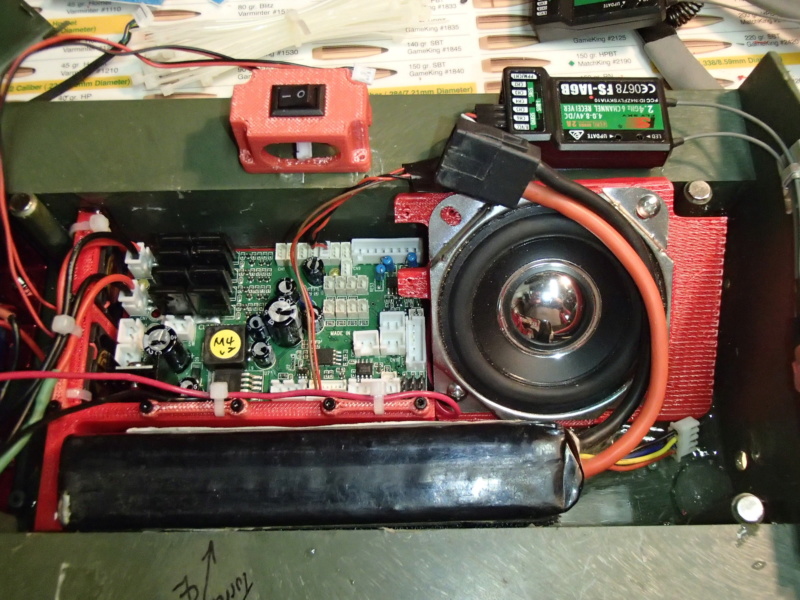
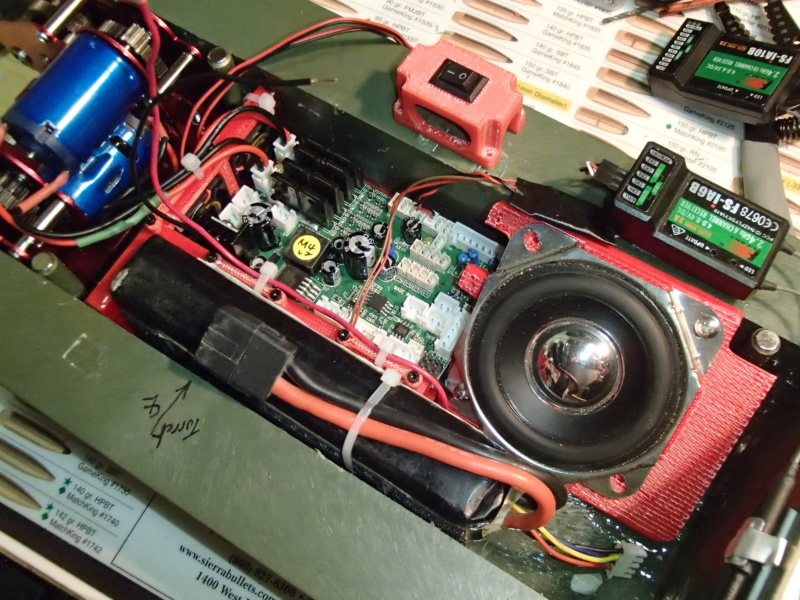
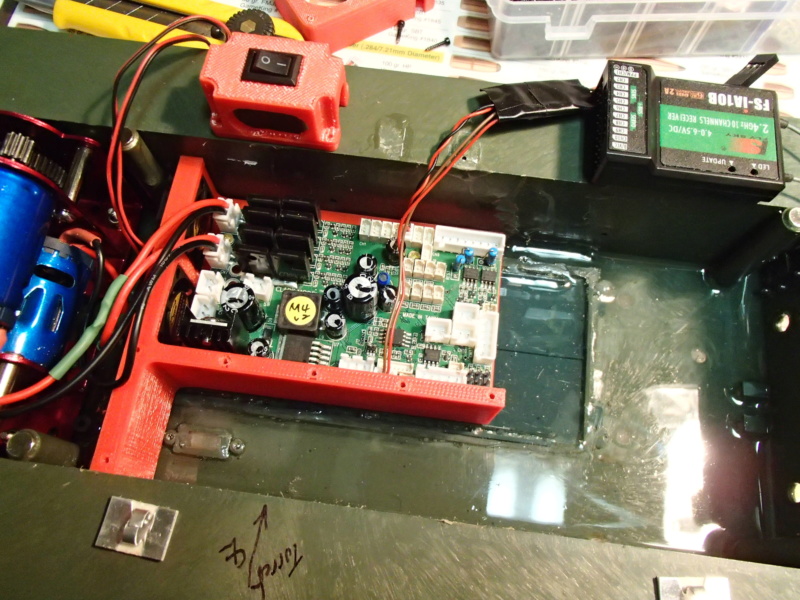
Showing Battery placement when final assembly will be finished.
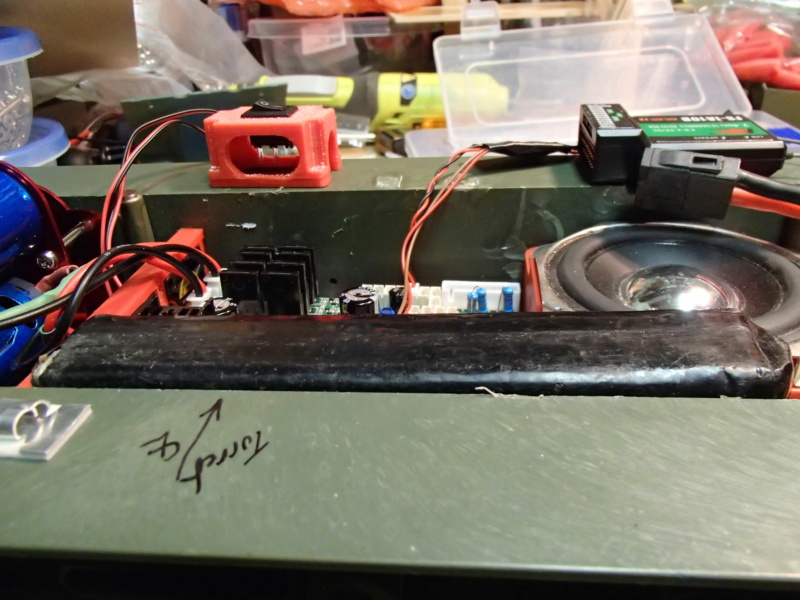
Battery and all lower hull wiring will be for the most part even with the base of the hull sponsons.
My KV-1 and many other projects are awaiting some soft silicone 18ga wire for making flexible battery connections. So I decided why wait and jumped into this one.
So I decided to rebuild the Sherman! (My only Sherman, once belonging to a CanAm RC Tank Club member, Kyle).
The magnetic mounts and basic gutting was already in place.
But I removed the plexiglass plate installed as well as the copious amounts of silicone sealant holding the plate in.
First thing, my good buddy DGSSelkirk installed a set of Mato adjustable idlers onto the hull. Thanks Dean.
Next Sherman, I'll do it myself. (Cause If this works as nice as I hope, I'll likely end up with 3 of them...)
Keeping the HL Blue's in the tank. Being mainly a plastic tank means it will be light and I want to see this thing run
The cleaned up and epoxied chassis hull. Took 4oz of mixed epoxy to fill the entire lower hull. (Under the motors as well.)
N.B.: Make sure to plug all the small holes or use thick epoxy mixture. I had about 1/2 oz leak out through the front holes by the bogeys. What a PITA to clean.
3D printed Clark TK-60S tray with risers and fan cut outs (Offset space for battery.)
Twin cooling fans (will be replaced with 6V versions for higher air flow). One for the FETs, the other for the audio amplifier heat sink.
To be powered when the entire vehicle is powered up.
Showing the position of the fans related to the TK-60 board.
First Print is a Perfect fit... Debating if I want to make the tray into a removable piece (Velcro base/screw down, or permanently mounted...
If permanent, I'll need to find a different fan mount system for replacements.
Showing the proposed location of the main power switch and the receiver (right side sponson).
The dilemma... Try out the Twin 5W speakers and add in a volume control potentiometer
OR
Squeeze in the 15W Speaker and run it at 10 all the time! Volume control is for sissies!
Showing Battery placement when final assembly will be finished.
Battery and all lower hull wiring will be for the most part even with the base of the hull sponsons.