Starting the M41 Bulldog...
Posted: Fri Apr 03, 2020 2:46 pm
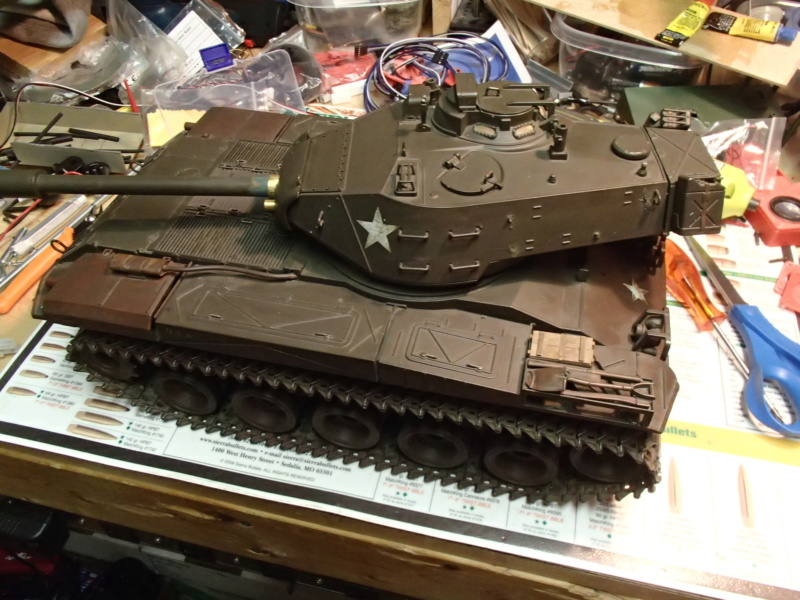
So as part of my "quarantine"; I'm rebuilding a Bulldog for use on the field... This was one of my used tank acquisitions.
This is not my first build (rebuild) of a tank, but it is one of the first that I am actually updating with some images as I go.
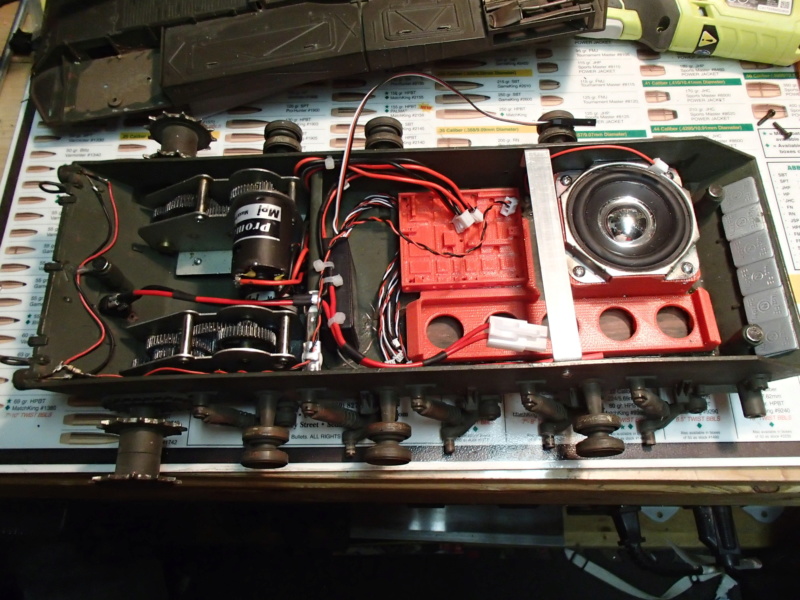
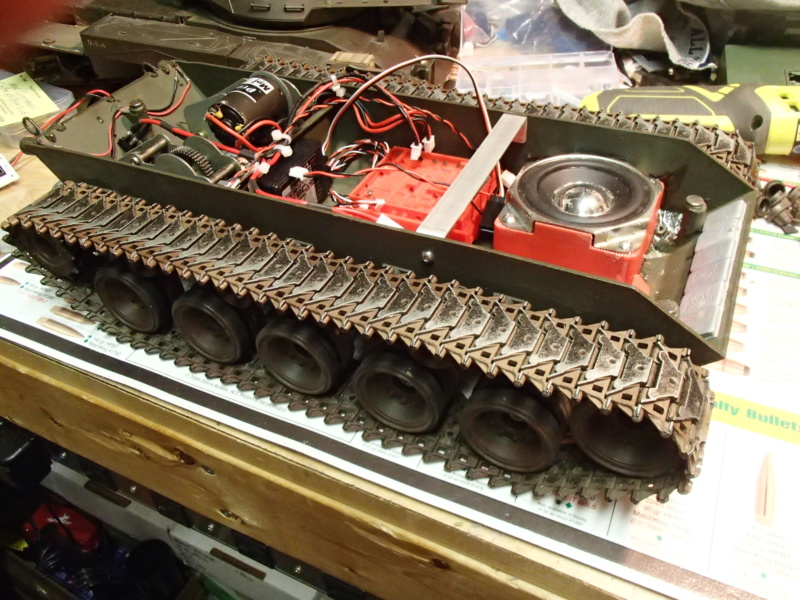
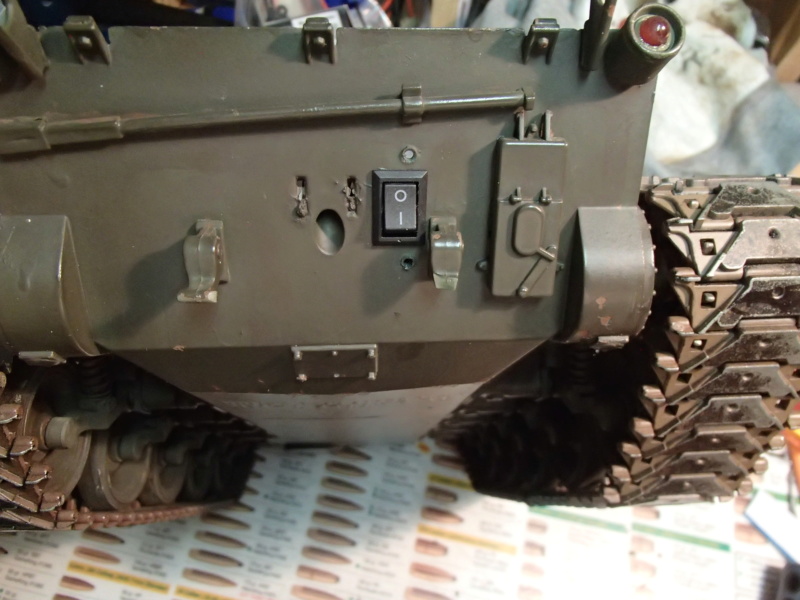
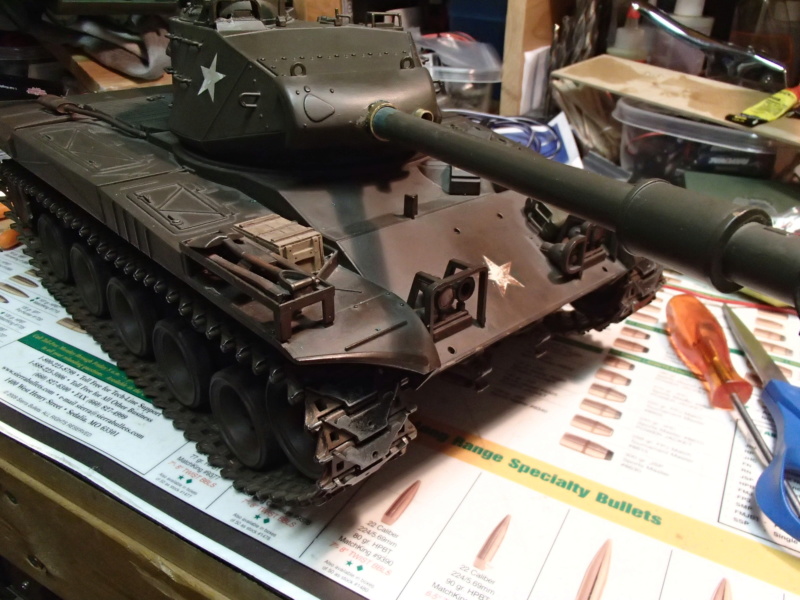
Start, a used M41 HL Bulldog. Metal tracks, drive sprocket, upgraded with steel gears/motors, magnetic hull, sealed battery compartment and a bulkhead brace.
Was still a BB unit that had been converted for easy internal hull access.
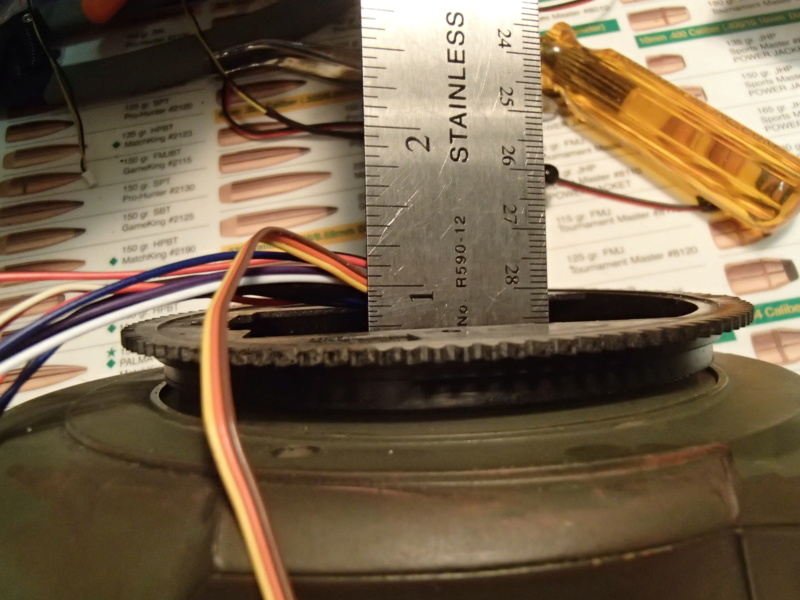
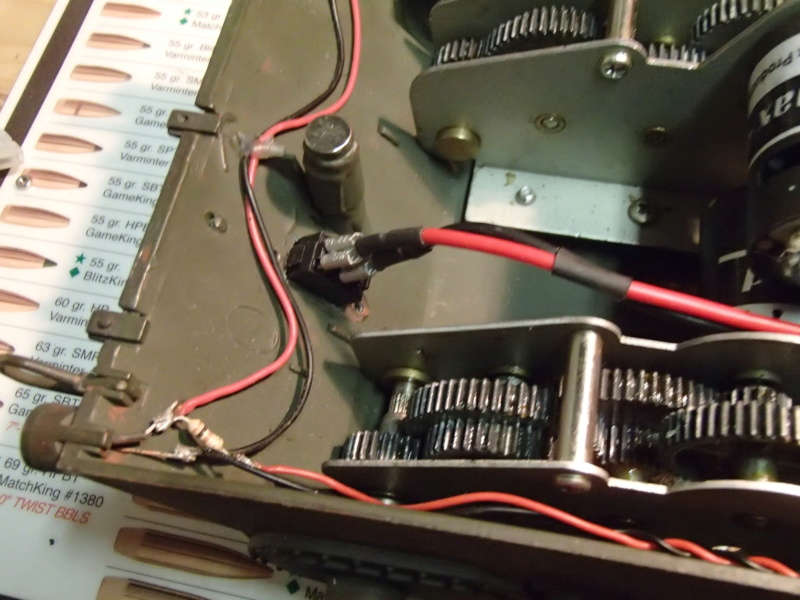
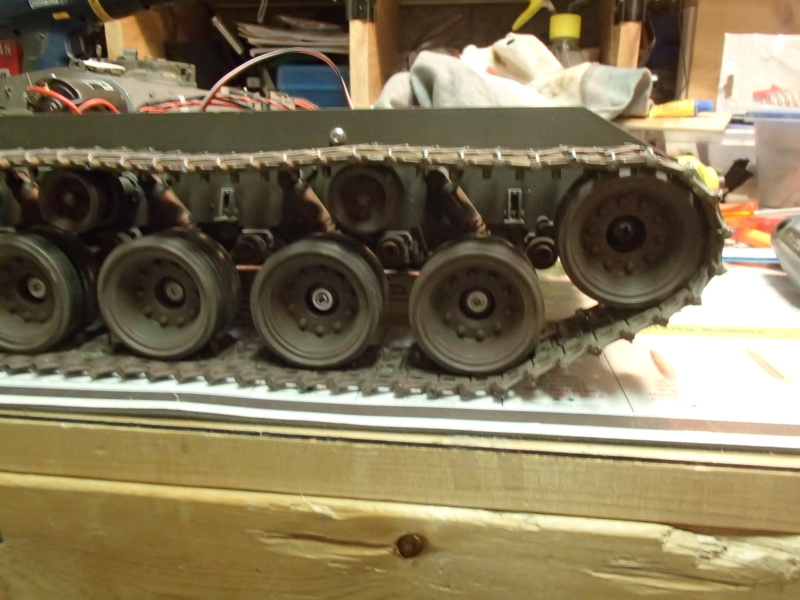
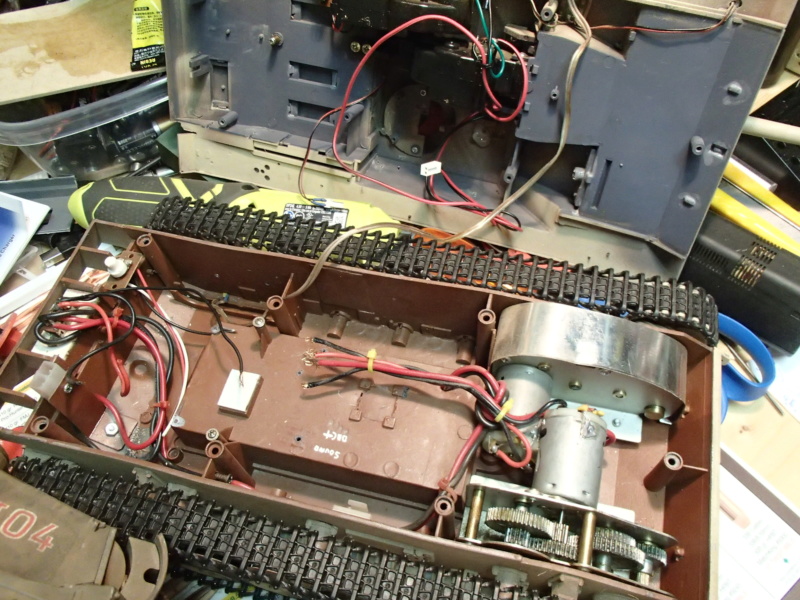
Started by removing tracks and road wheels.
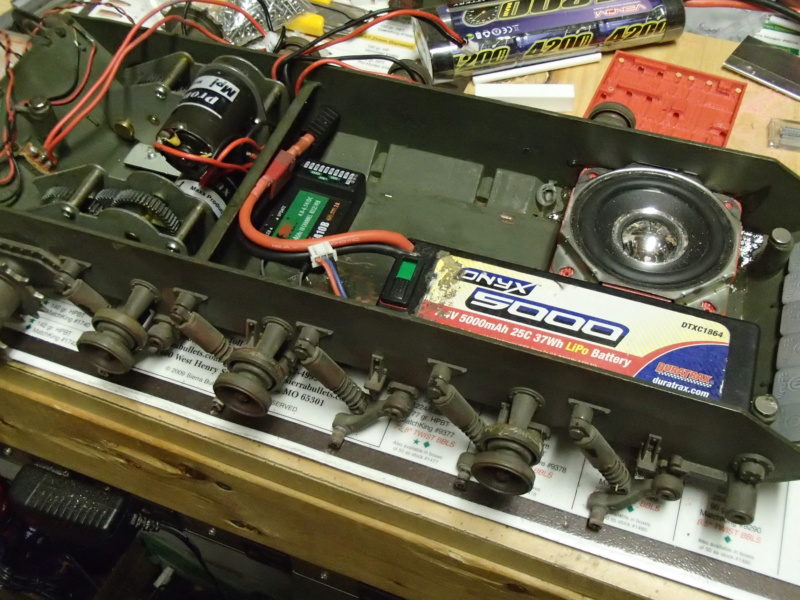
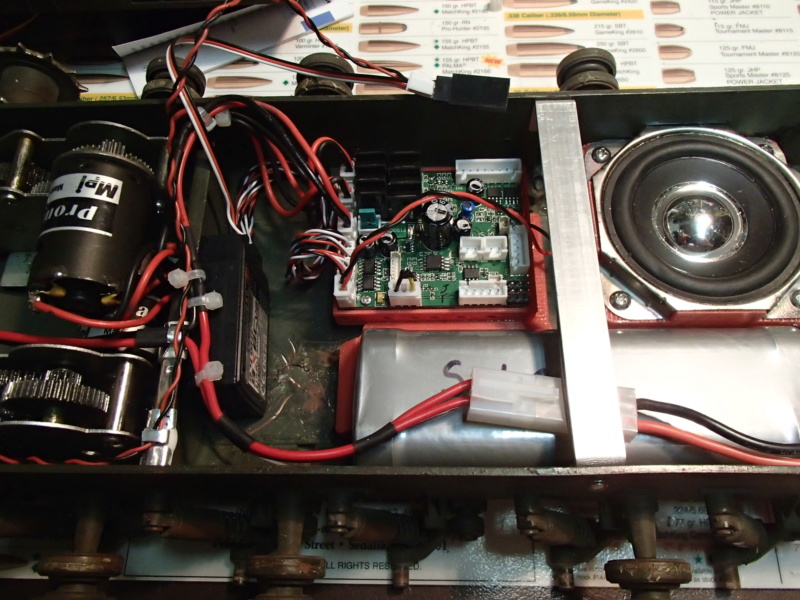
Motors, magnets & bulkhead were existing.... (as were the weights on the front hull lip...)
Look at the plastic HL swing arms... (I may have to change those at a later date...)
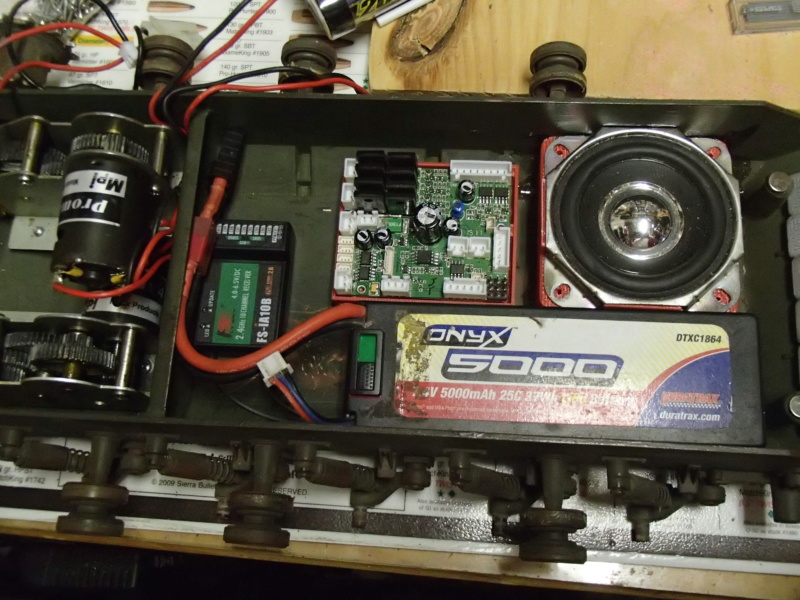
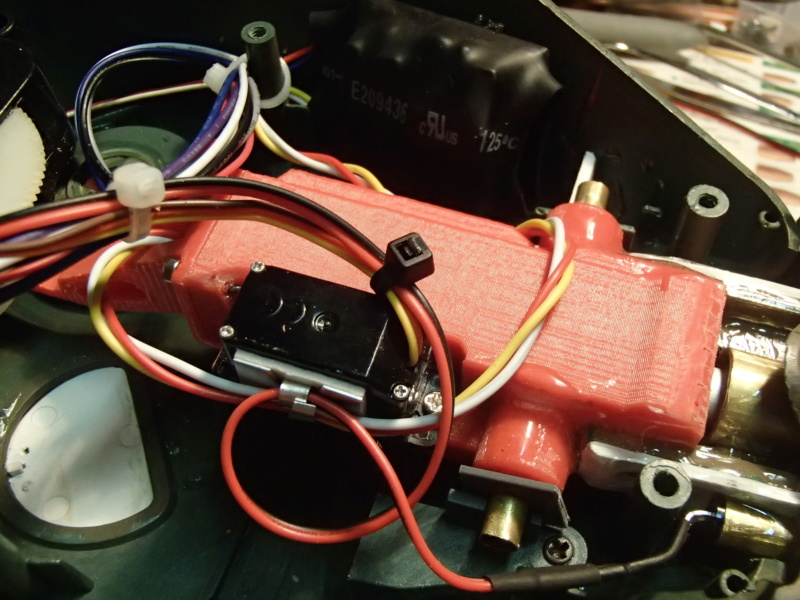
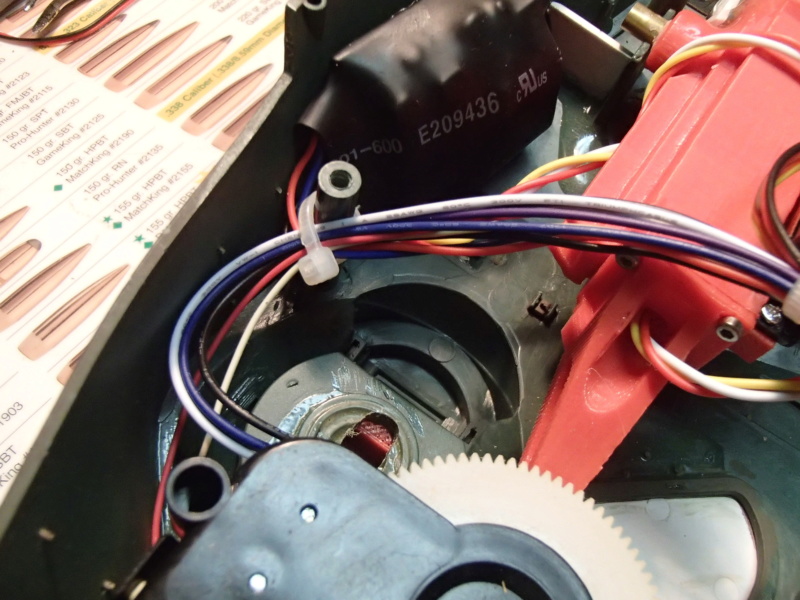
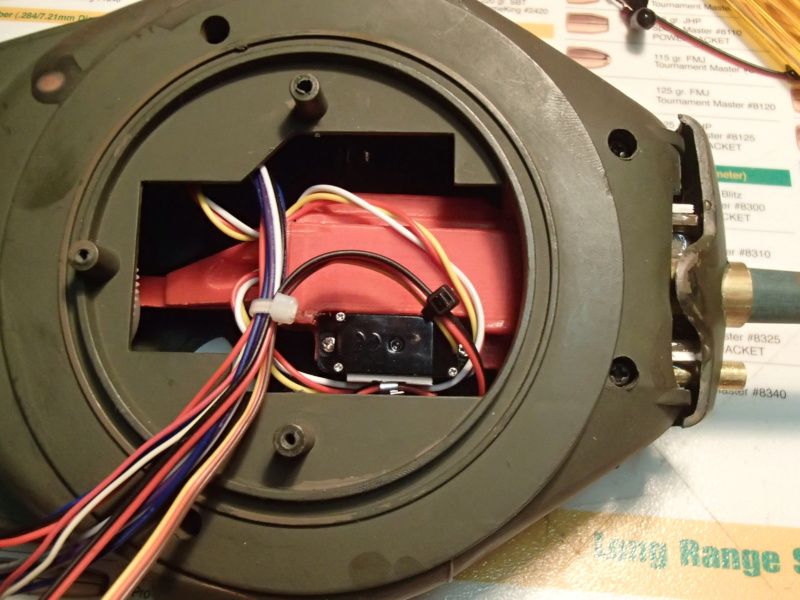
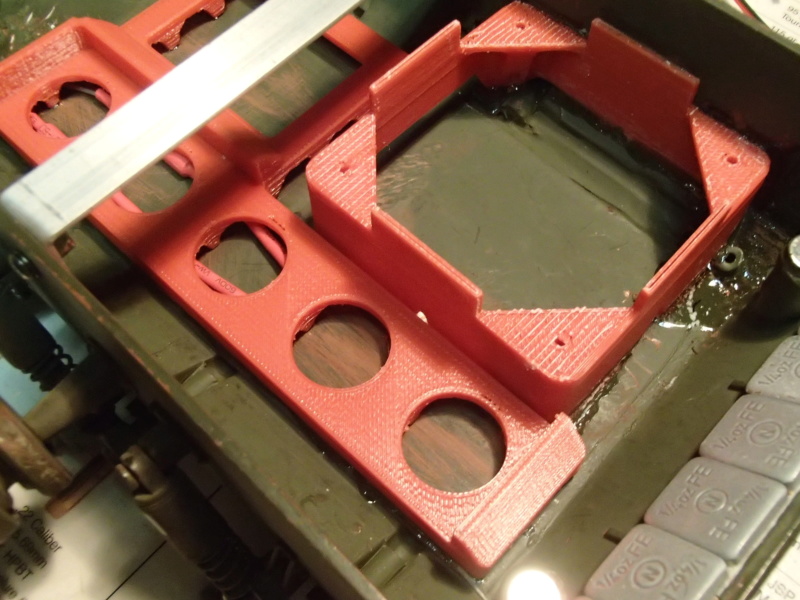
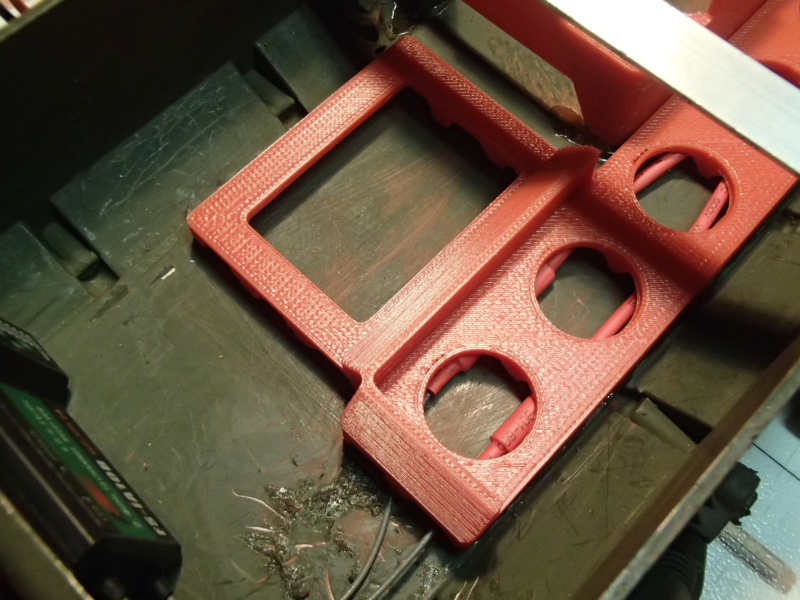
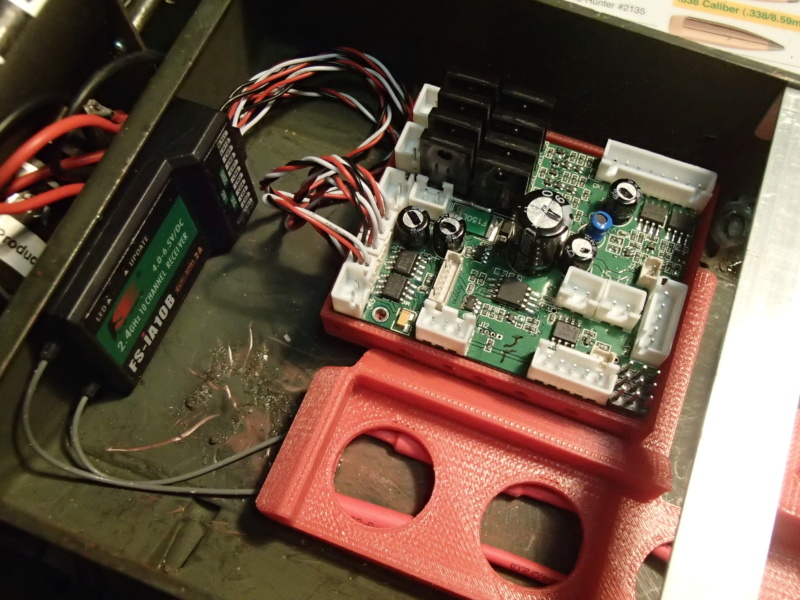
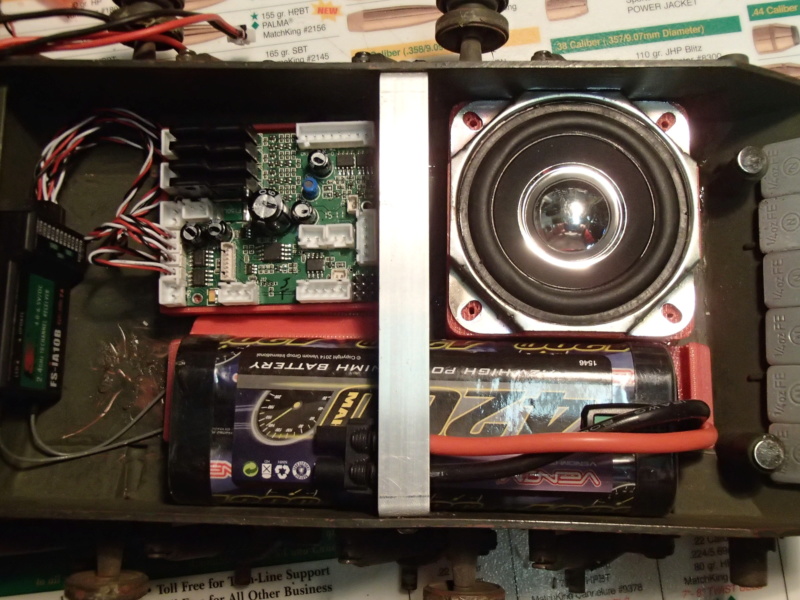
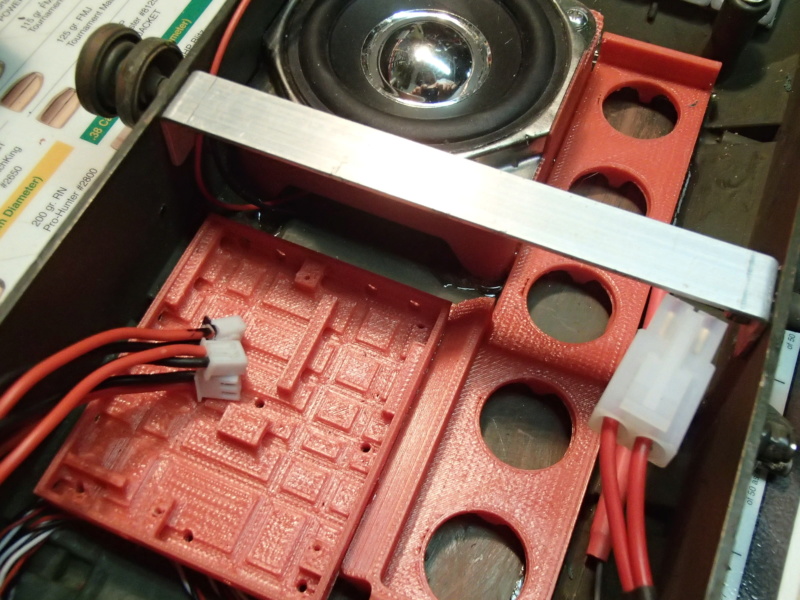
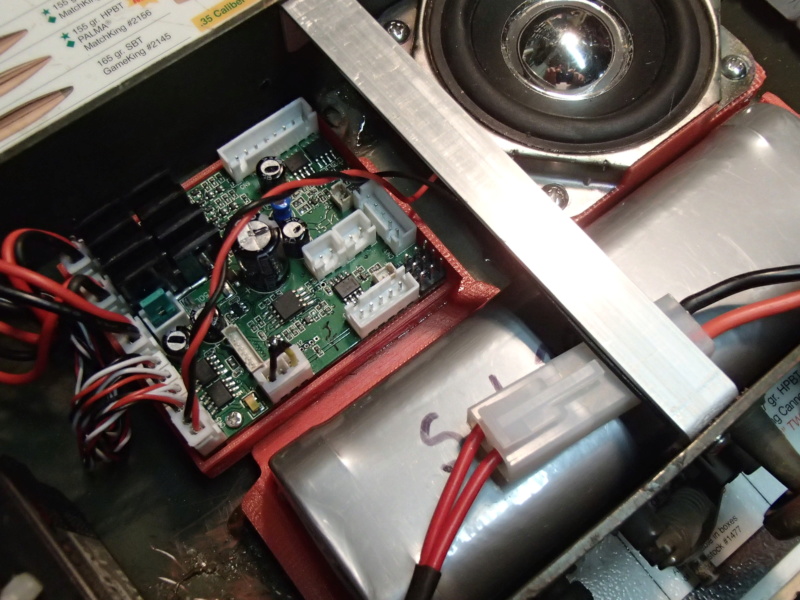
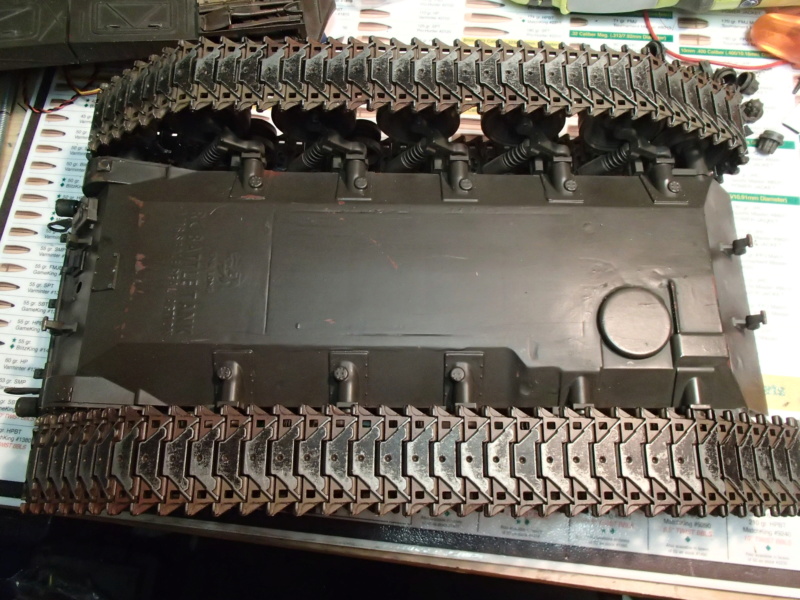
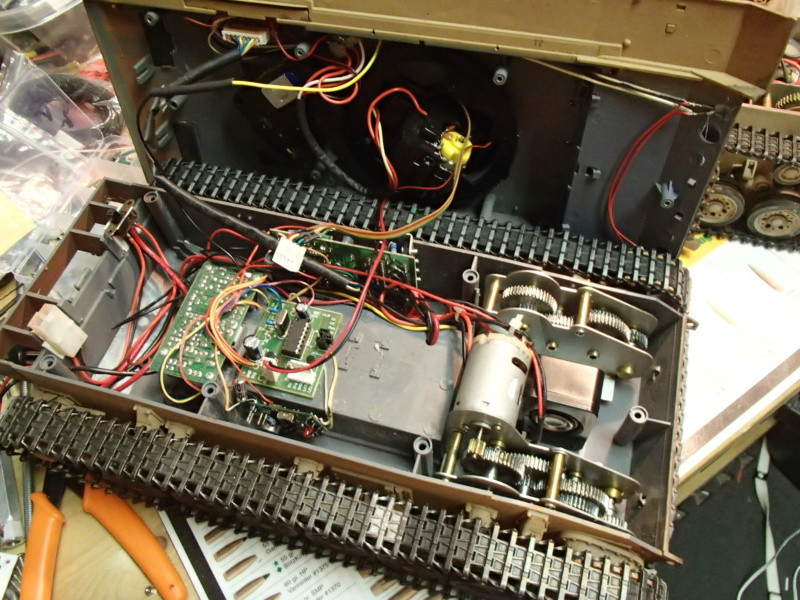
3D printed Speaker mount installed and TK-40 mounting board mocked up.
The speaker box was purposely placed there to give a side for a battery to lean against.
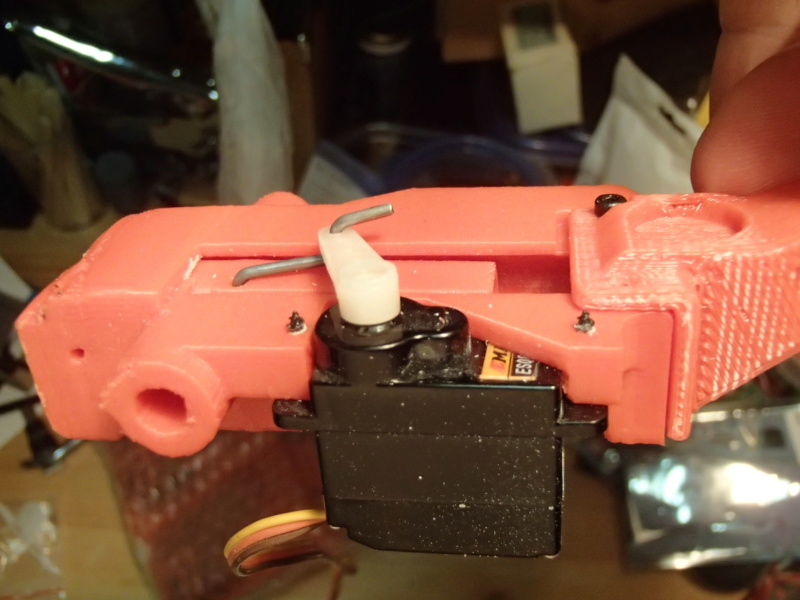
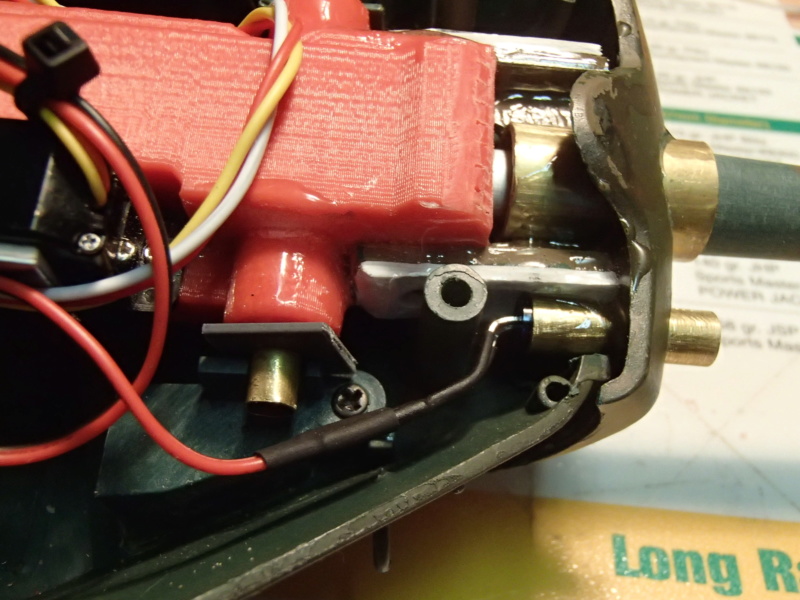
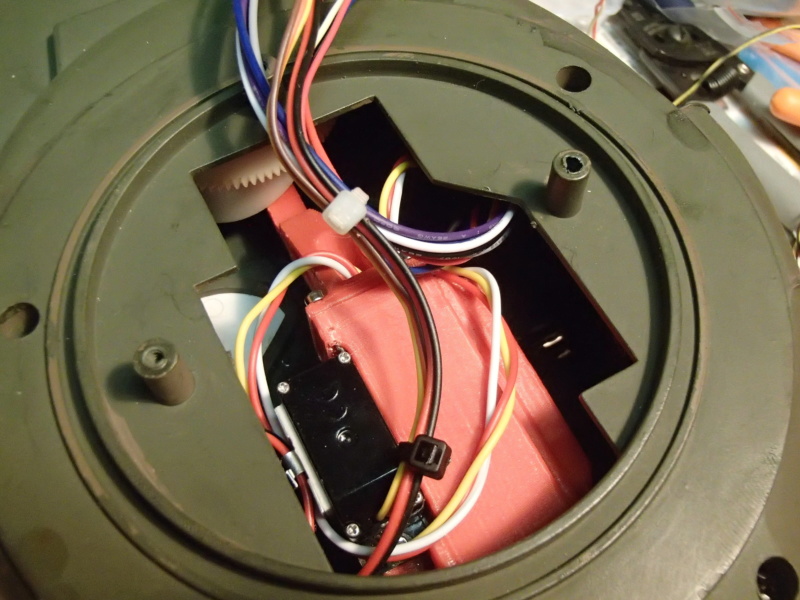
A prototype next gen JCC recoil unit being installed.
(This one will use the direct recoil linkage. Optional spring/impact linkage will still be included in kits)
Since I am replacing the airsoft guts, I need to hog out some turret internals. In the upper half, I increase the opening for the mantlet as well.
Added in a stiffener to accommodate the torque generated by the HL elevation mechanism.
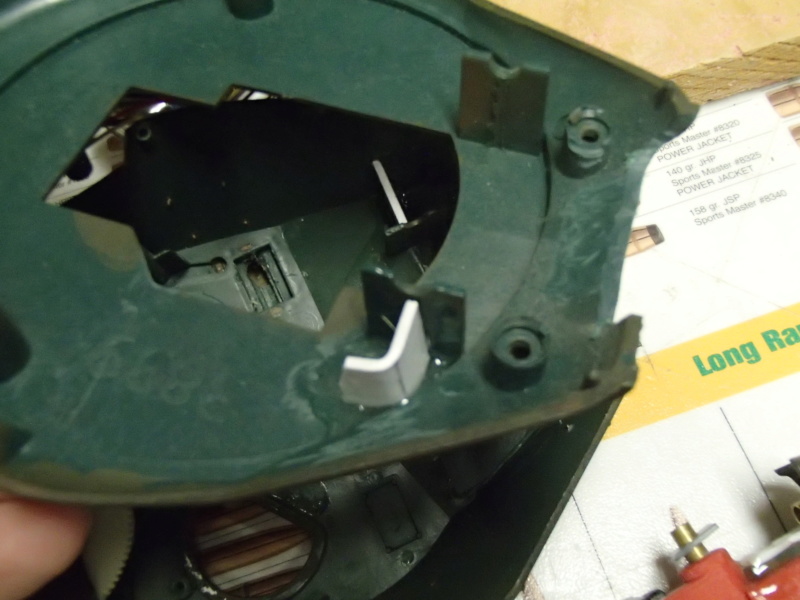
Lower turret half gets the mantlet and stiffener treatments as well.
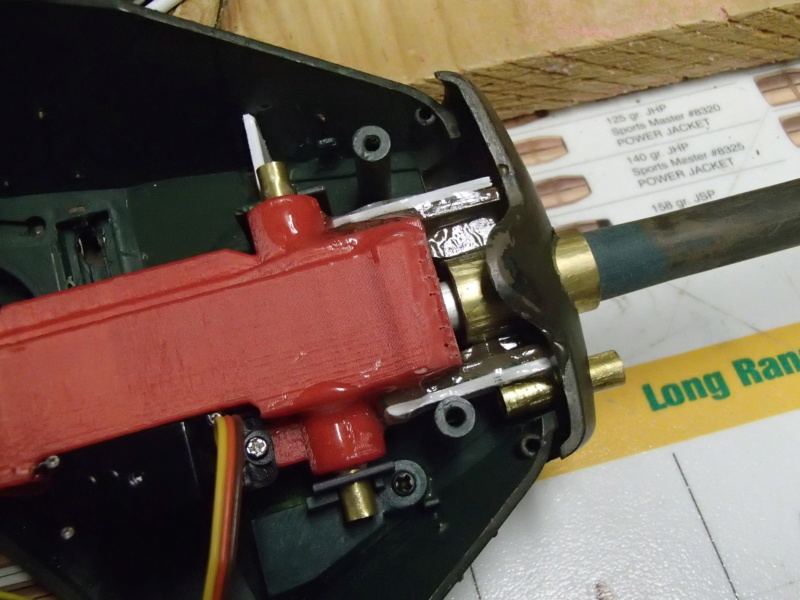
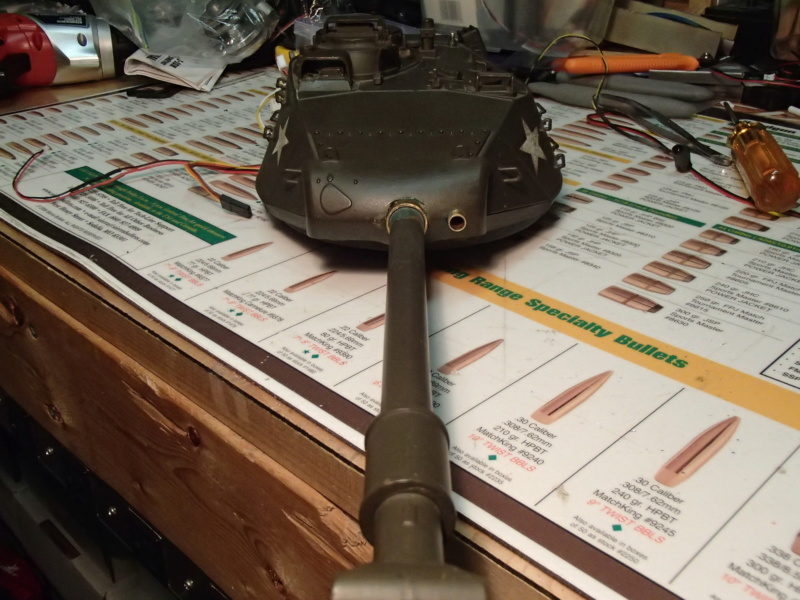
Chopped the barrel off. Installed a brass recoil sleeve in the mantlet, decided to make it permanently attached to the recoil unit.
Actual plastic barrel is effectively a sleeve held on my a small M2 screw just on the underside of the barrel behind the fume extractor.
Also added the IR port tube in the mantlet.
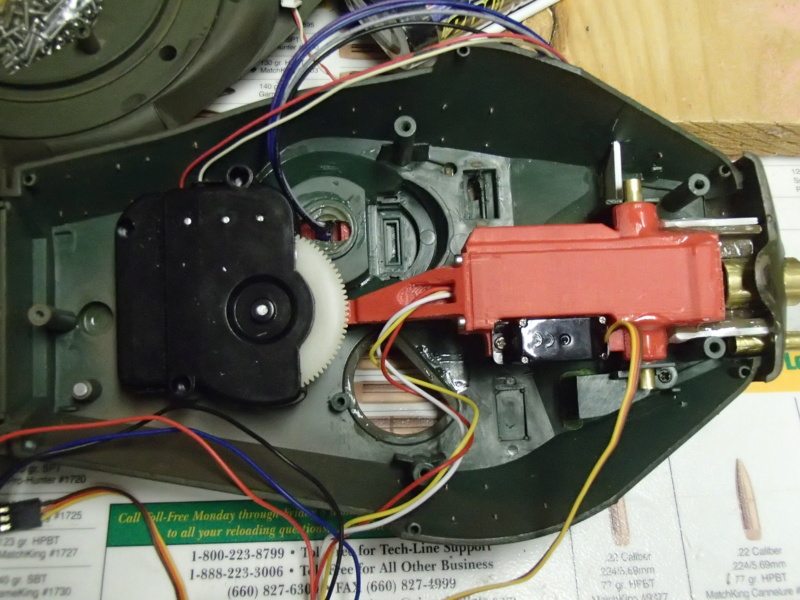
Layout inside the turret. HID Flash wiring routed through the recoil unit and to the muzzle brake.
It is to be installed on a side wall of the turret. IR wiring not yet installed.
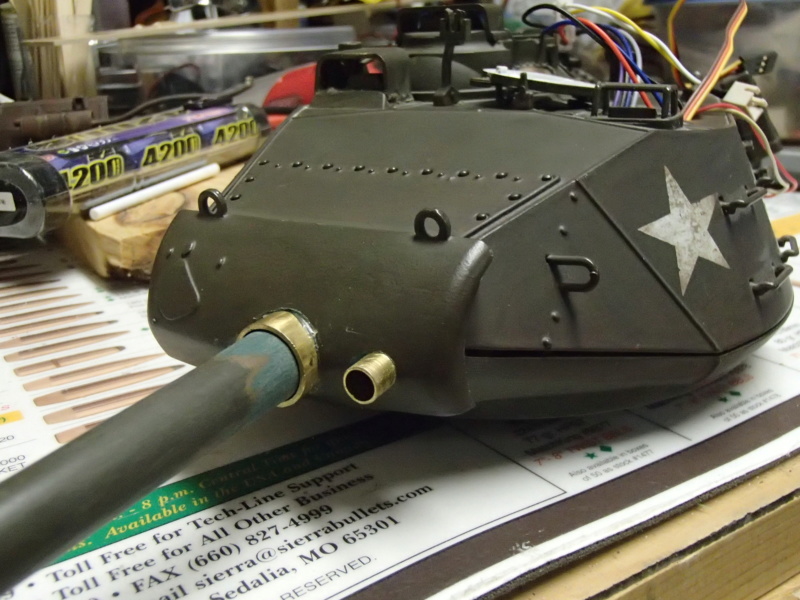
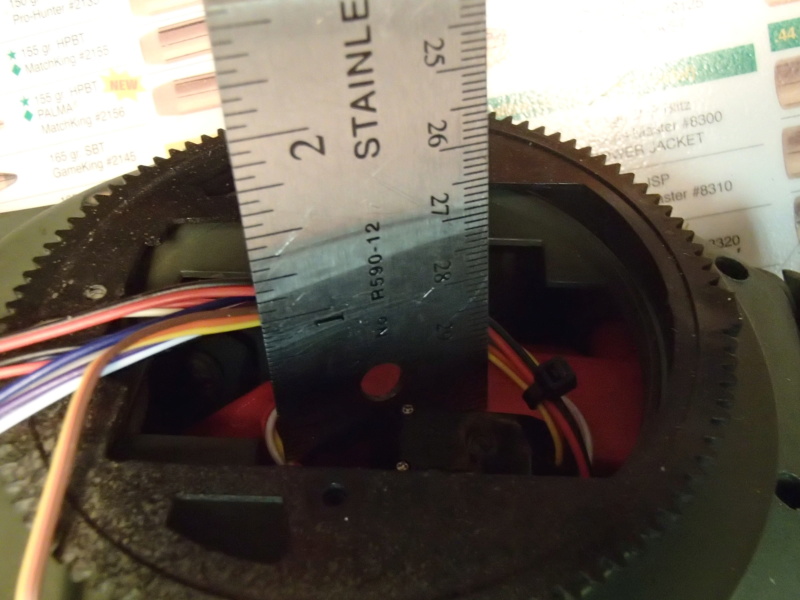
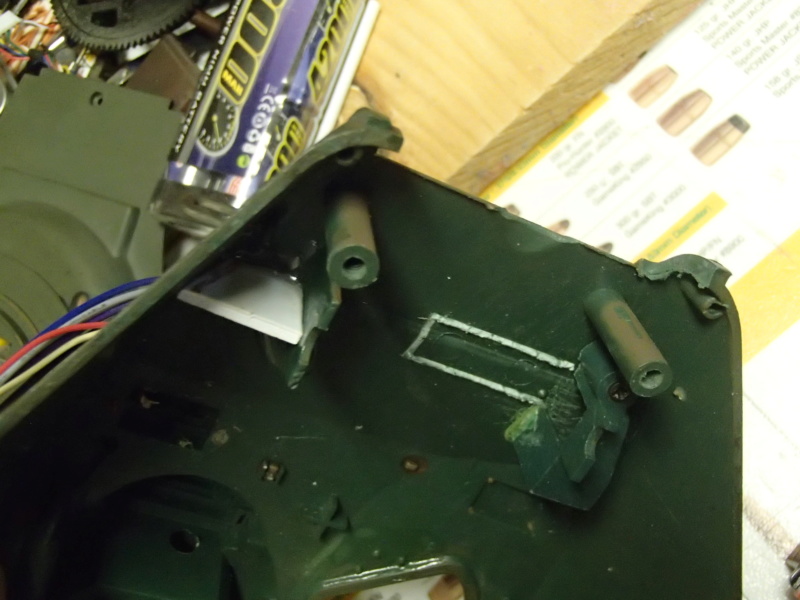
Showing off the tubing through the mantlet from the outside.
16mm OD tube w/ 1mm wall for the recoiling barrel. 7mm OD tube w/ 1mm wall for the IR emitter
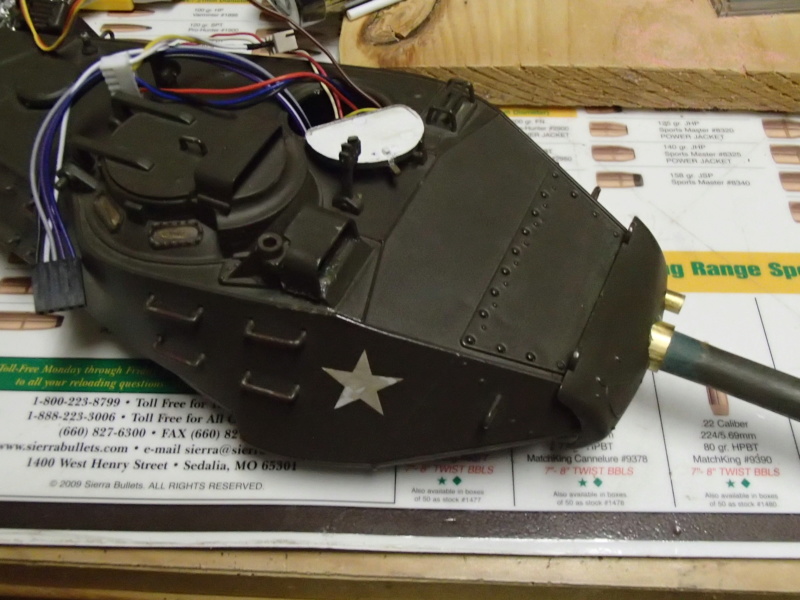
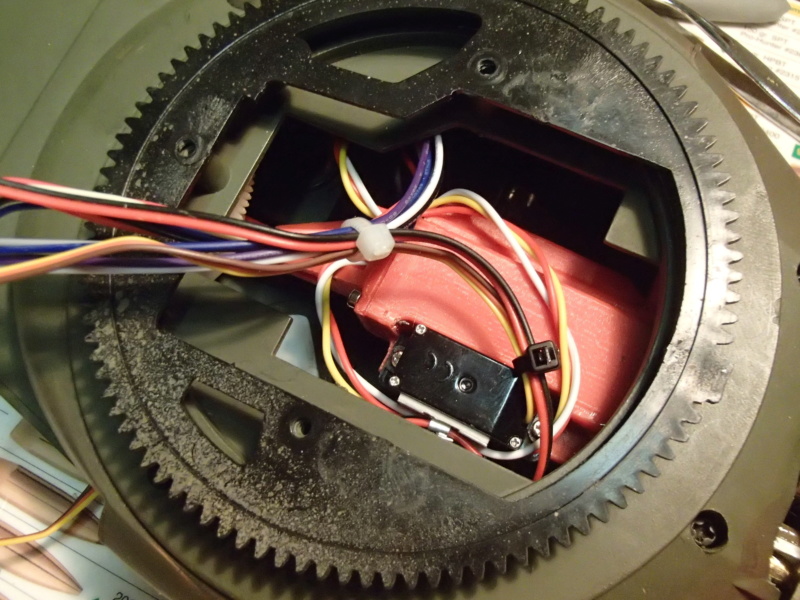
Other angle for the turret (wires through the upper hatch to keep them out of the way...)
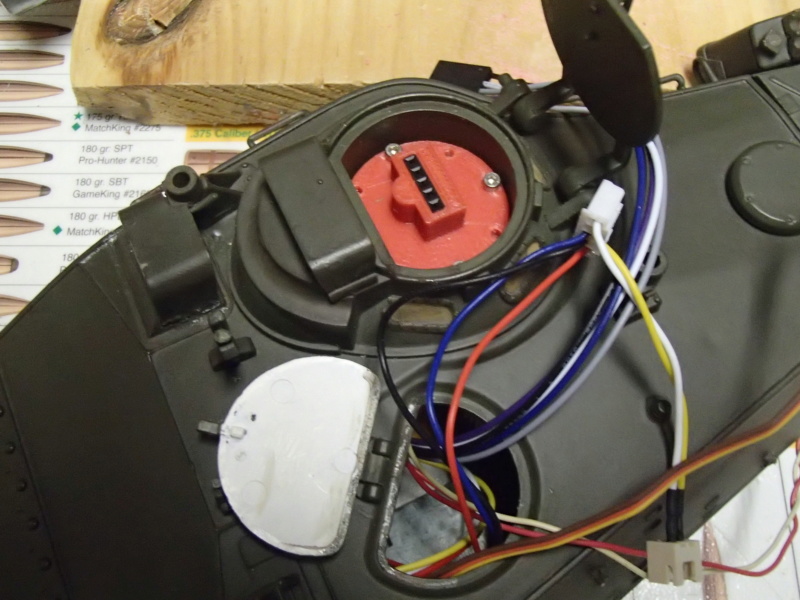
Added in a JCC Tamiya TBU base (trimmed to fit) and a 3D printed spacer in the cupola pocket.
That gives a correct height to have the hatch closed and not interfere with the TBU socket.
That's it for now... Next: to finish off the turret wiring
This is not my first build (rebuild) of a tank, but it is one of the first that I am actually updating with some images as I go.
Start, a used M41 HL Bulldog. Metal tracks, drive sprocket, upgraded with steel gears/motors, magnetic hull, sealed battery compartment and a bulkhead brace.
Was still a BB unit that had been converted for easy internal hull access.
Started by removing tracks and road wheels.
Motors, magnets & bulkhead were existing.... (as were the weights on the front hull lip...)
Look at the plastic HL swing arms... (I may have to change those at a later date...)
3D printed Speaker mount installed and TK-40 mounting board mocked up.
The speaker box was purposely placed there to give a side for a battery to lean against.
A prototype next gen JCC recoil unit being installed.
(This one will use the direct recoil linkage. Optional spring/impact linkage will still be included in kits)
Since I am replacing the airsoft guts, I need to hog out some turret internals. In the upper half, I increase the opening for the mantlet as well.
Added in a stiffener to accommodate the torque generated by the HL elevation mechanism.
Lower turret half gets the mantlet and stiffener treatments as well.
Chopped the barrel off. Installed a brass recoil sleeve in the mantlet, decided to make it permanently attached to the recoil unit.
Actual plastic barrel is effectively a sleeve held on my a small M2 screw just on the underside of the barrel behind the fume extractor.
Also added the IR port tube in the mantlet.
Layout inside the turret. HID Flash wiring routed through the recoil unit and to the muzzle brake.
It is to be installed on a side wall of the turret. IR wiring not yet installed.
Showing off the tubing through the mantlet from the outside.
16mm OD tube w/ 1mm wall for the recoiling barrel. 7mm OD tube w/ 1mm wall for the IR emitter
Other angle for the turret (wires through the upper hatch to keep them out of the way...)
Added in a JCC Tamiya TBU base (trimmed to fit) and a 3D printed spacer in the cupola pocket.
That gives a correct height to have the hatch closed and not interfere with the TBU socket.
That's it for now... Next: to finish off the turret wiring