Fitting the hull metal reinforcing plate
Posted: Wed Oct 16, 2019 8:56 pm
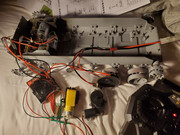
I'm waiting for several battery electrical adapters now. The tank wiring only comes with a Dean's adapter and all my batteries are Tamiya connectors. All I have left to do before a test run of the transmitter and motors is to connect the battery, which I don't want to do until I have the proper battery adapter first.
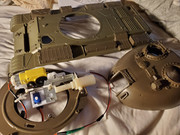
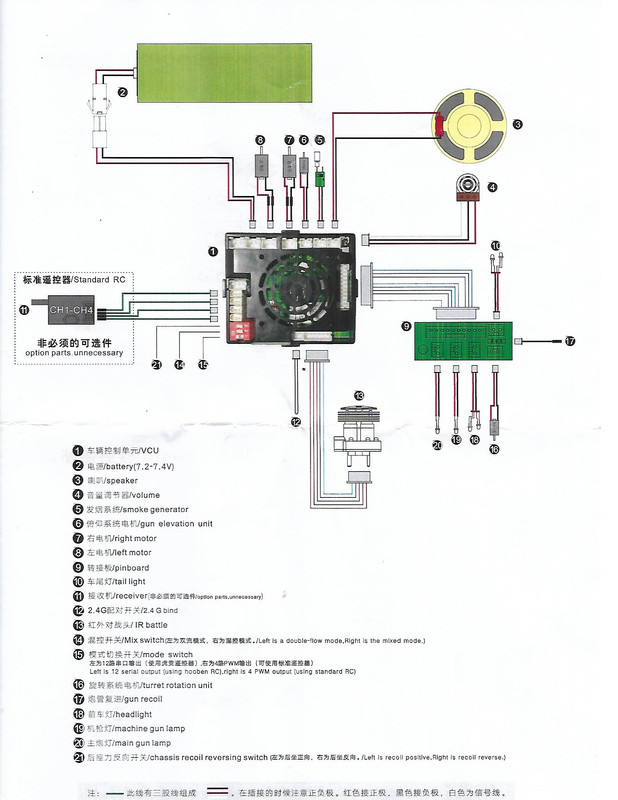
The schematic is fairly straightforward and seems very similar to the Heng Long 2.4 Ghz systems. If it works with the same reliability as theirs that'll be great, even so I'm wondering what I will do if after all this the Hooben R/C gear I paid extra for does not work!?
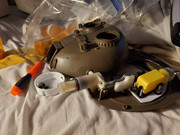
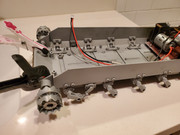
I got the "Hull reinforcement plate" for DKLM for $45 and thought I'd fit that in the hull now. There are some plastic moldings in the bottom of the hull, that serve no purpose except stick up and have to be ground away before the plate will fit inside. I couldn't use the screws that came with it, sometimes I wonder if these designers ever even examined the parts before they design them how they do. I replaced the screws that hold in the suspension blocks with longer ones. With the longer screws, the plate is a few mm off the bottom of the hull and not fitting flat, which is not possible anyway, due to the concave shape of the hull. I thought I'd paint the plate before it was installed too, couldn't decide between gray, black, or tamiya white primer and finally decided this dark green would hide fingerprints best.

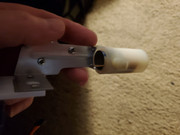
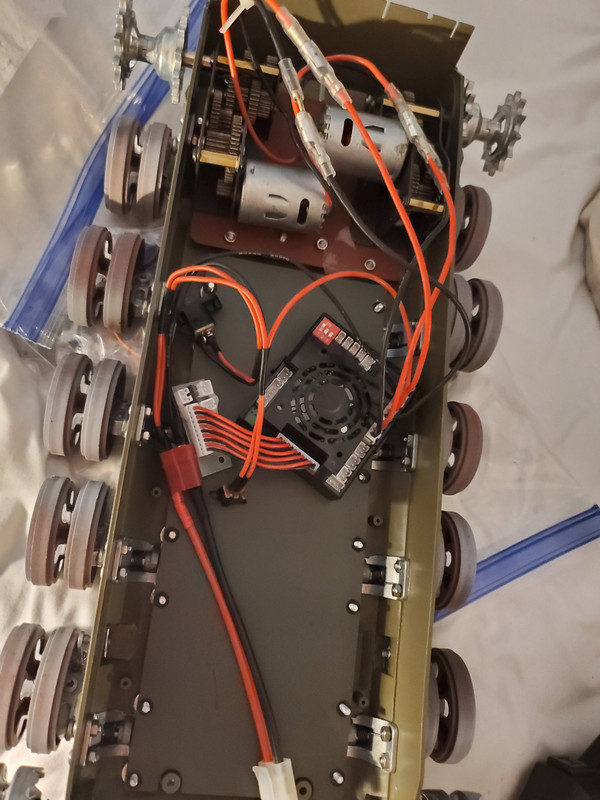
You can see the motor mounting plate in the image above and it is different from any other motor mounting system I have seen before. The plate mounts over stand-offs, just like the kind of stand-offs in our computers to hold the mobo away from the metal case. There are 6 stand-offs that mount in the floor of the hull, over which you place the plate and secure it with nuts. It works pretty well, especially since you can pre-mount one of the motors before installing the plate in the hull... but the second motor you have to mount the hard way i.e. ship-in-a-bottle type assembling. As luck and Asian engineering would have it one motor mounts roughly like it is supposed to using 3 screws. The second motor was a tougher proposition and only ONE of the mount screws lined up. So at least one more will need to be drilled, with their corresponding nuts getting glued in on the bottom of the plate.
One thing I learned pretty quickly, while assembling this tank is not quite as bad as I initially thought it would be, it will still require plenty of fitting and refitting. So now I never bother installing anything "permanently" as whatever it is, the part will be coming out again for more work at least one more time!
The schematic is fairly straightforward and seems very similar to the Heng Long 2.4 Ghz systems. If it works with the same reliability as theirs that'll be great, even so I'm wondering what I will do if after all this the Hooben R/C gear I paid extra for does not work!?
I got the "Hull reinforcement plate" for DKLM for $45 and thought I'd fit that in the hull now. There are some plastic moldings in the bottom of the hull, that serve no purpose except stick up and have to be ground away before the plate will fit inside. I couldn't use the screws that came with it, sometimes I wonder if these designers ever even examined the parts before they design them how they do. I replaced the screws that hold in the suspension blocks with longer ones. With the longer screws, the plate is a few mm off the bottom of the hull and not fitting flat, which is not possible anyway, due to the concave shape of the hull. I thought I'd paint the plate before it was installed too, couldn't decide between gray, black, or tamiya white primer and finally decided this dark green would hide fingerprints best.
You can see the motor mounting plate in the image above and it is different from any other motor mounting system I have seen before. The plate mounts over stand-offs, just like the kind of stand-offs in our computers to hold the mobo away from the metal case. There are 6 stand-offs that mount in the floor of the hull, over which you place the plate and secure it with nuts. It works pretty well, especially since you can pre-mount one of the motors before installing the plate in the hull... but the second motor you have to mount the hard way i.e. ship-in-a-bottle type assembling. As luck and Asian engineering would have it one motor mounts roughly like it is supposed to using 3 screws. The second motor was a tougher proposition and only ONE of the mount screws lined up. So at least one more will need to be drilled, with their corresponding nuts getting glued in on the bottom of the plate.
One thing I learned pretty quickly, while assembling this tank is not quite as bad as I initially thought it would be, it will still require plenty of fitting and refitting. So now I never bother installing anything "permanently" as whatever it is, the part will be coming out again for more work at least one more time!
 The educational value of seeing someone confronted with problems, and finding workable solutions to them, is great indeed.