Page 2 of 3
Re: Hoof and carriage blacksmiths
Posted: Sun Sep 08, 2019 7:41 am
by hotte8487
Re: Hoof and carriage blacksmiths
Posted: Mon Sep 09, 2019 7:26 am
by hotte8487
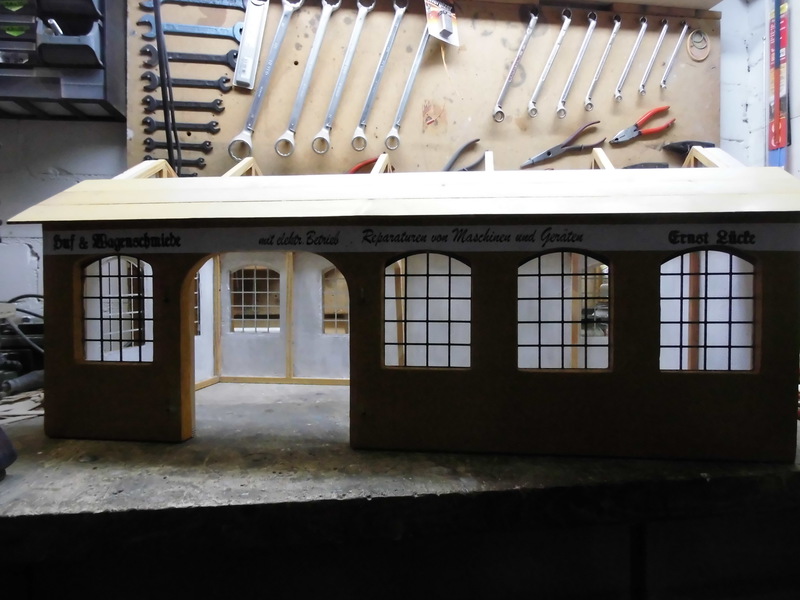
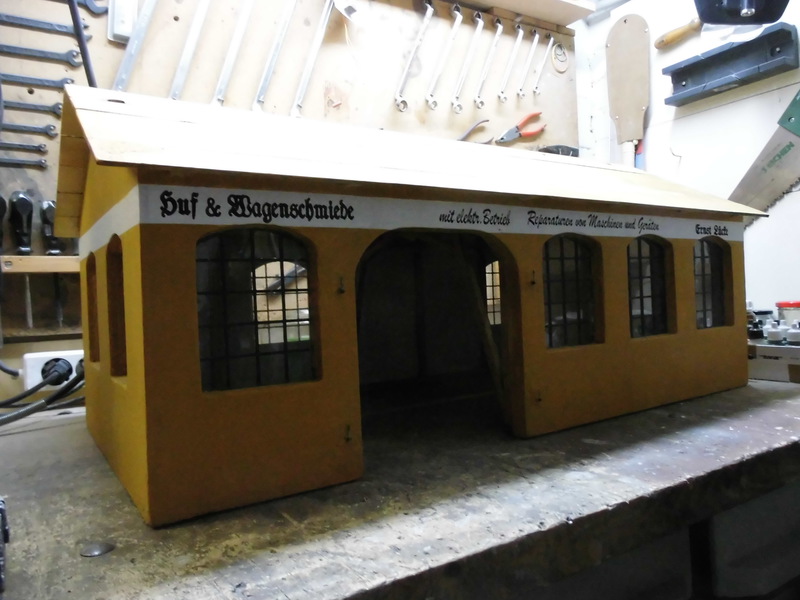
I continued with details on the facade; in preparation for the lettering, I applied a surrounding white stripe to the facade.
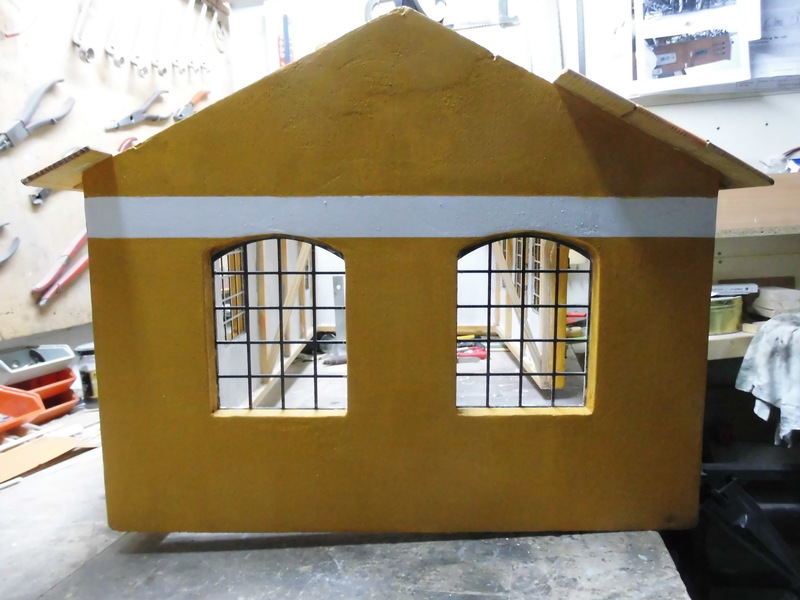
The lettering of “Ernst Lückes Huf & Wagenschmiede” was then brushed with homemade stencils. The light conditions in the cellar are not so great for photos; here in the view...
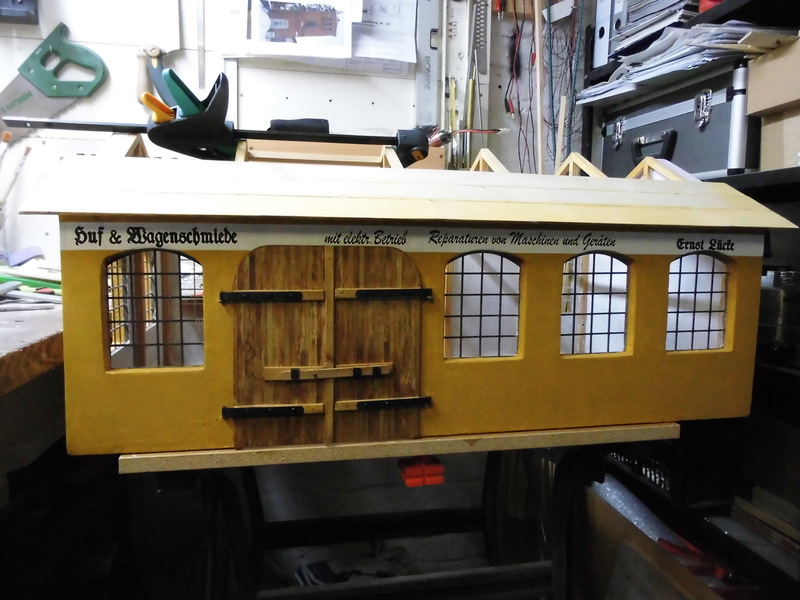
…and here a few details.


Then I changed again the house position and took a photo of the view with better light conditions.
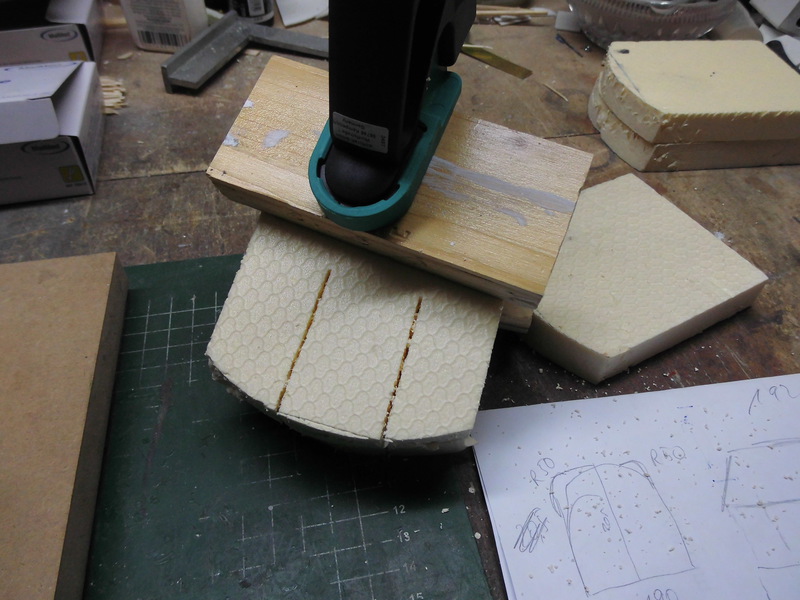
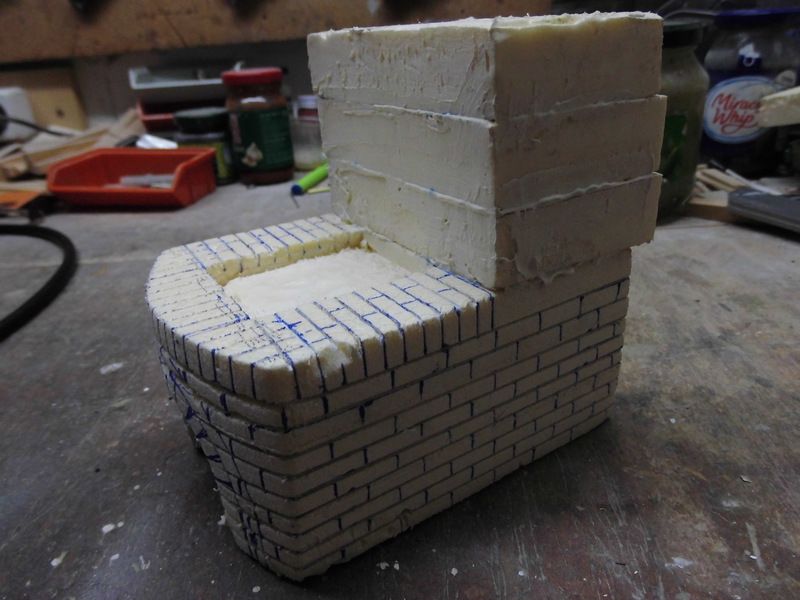
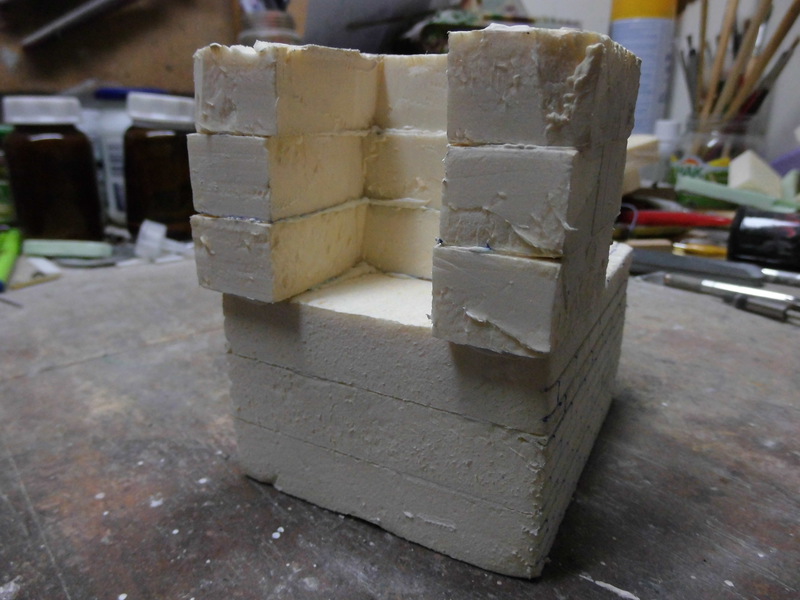
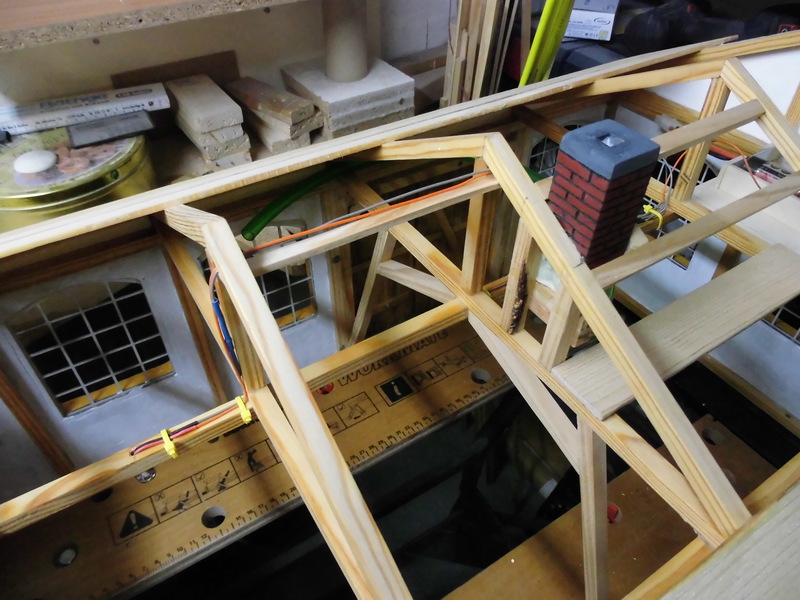
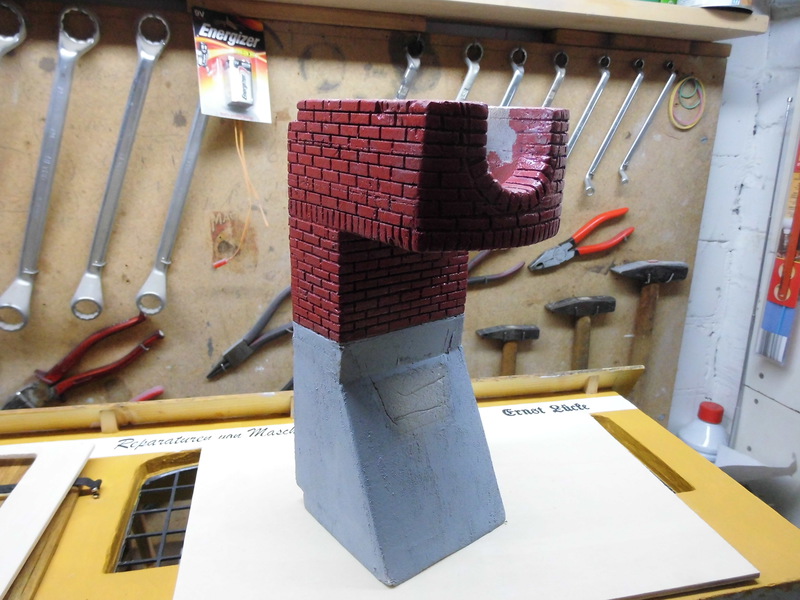
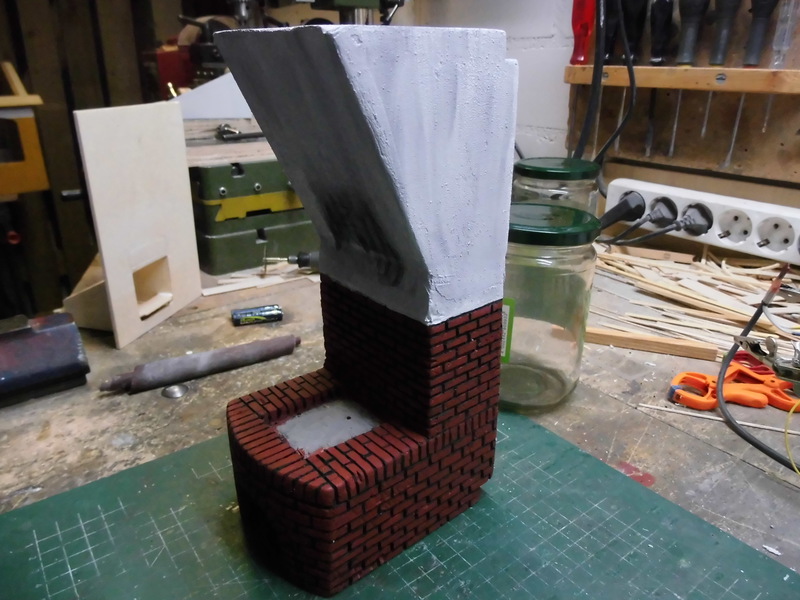
So much for the shell construction; now work has continued on the light and smoke functions. The smoke needs a chimney, which was prepared next. The construction as usual, outside Styrofoam, inside with aluminum square tube.

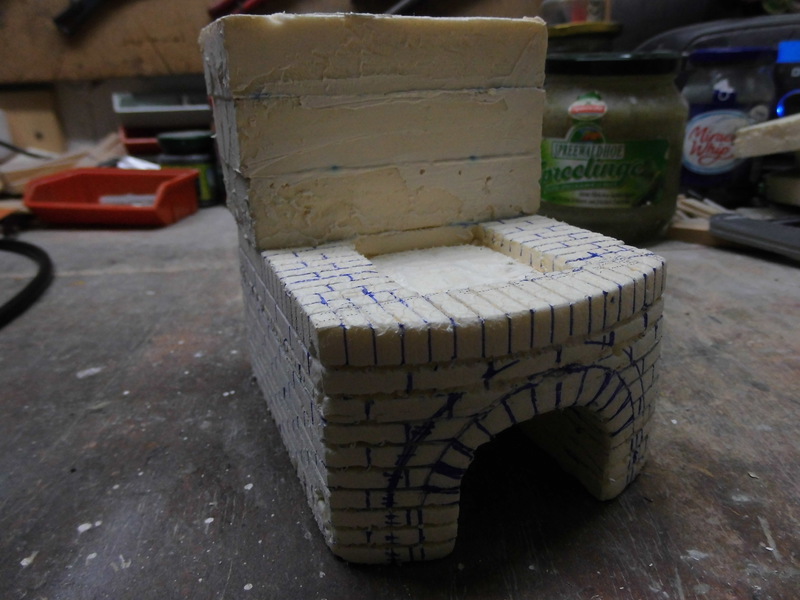
Then was the brickwork hinted at and the concrete head was applied.

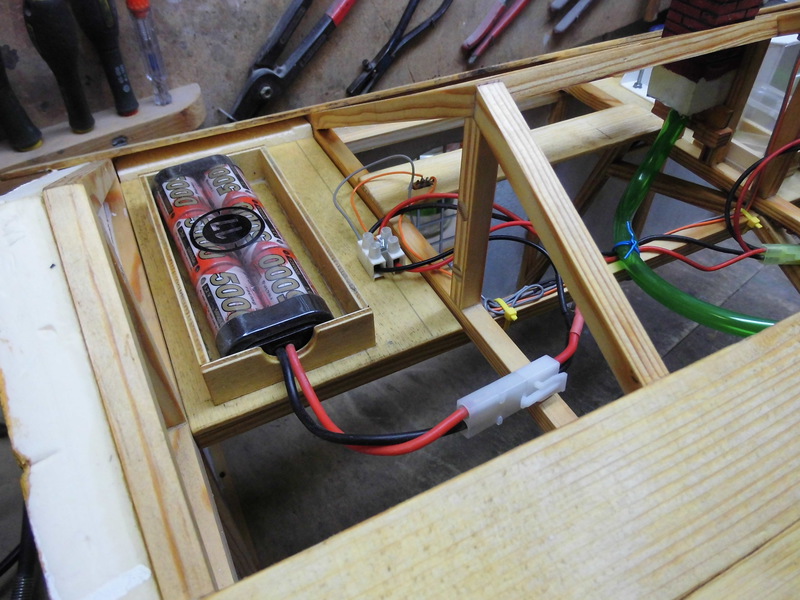
At the same time, the smoke module was being worked on; it is placed in the attic and sits on a plywood base plate. The entire unit can be removed later for convenient refueling and repairs.

As material I have used existing 4 mm thick plywood, in the shaft pointing downwards the Seuthe smoker will be later installed.
It continues in the following part.
Re: Hoof and carriage blacksmiths
Posted: Tue Sep 10, 2019 7:15 am
by hotte8487
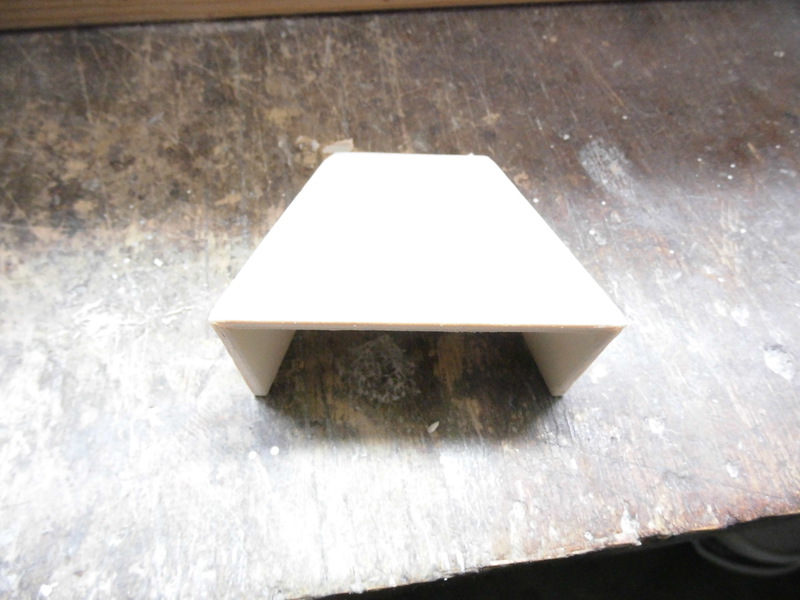
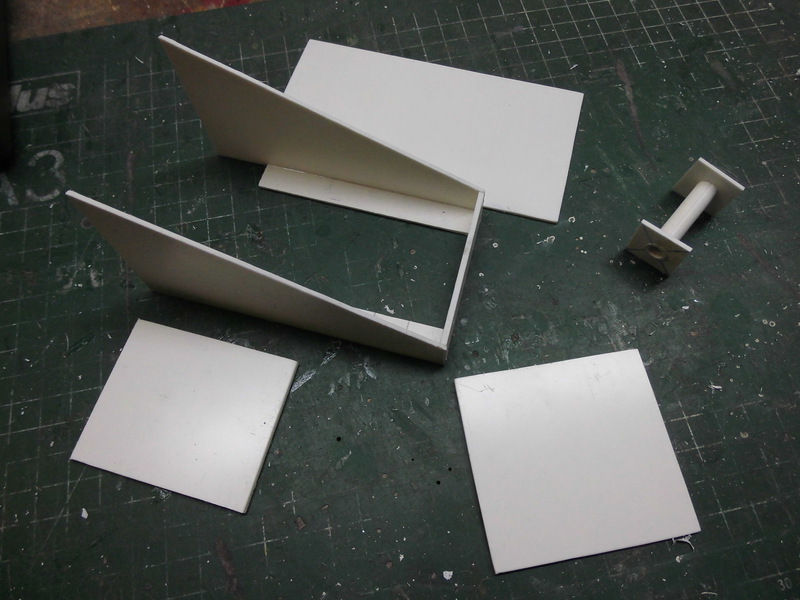
I had described the smoker's admission in the last part, here was continued with the blower unit. They have been made of polystyrene plates; here all single parts, partly already glued.
The next step was to glue the connection piece for the PVC hose to the chimney.

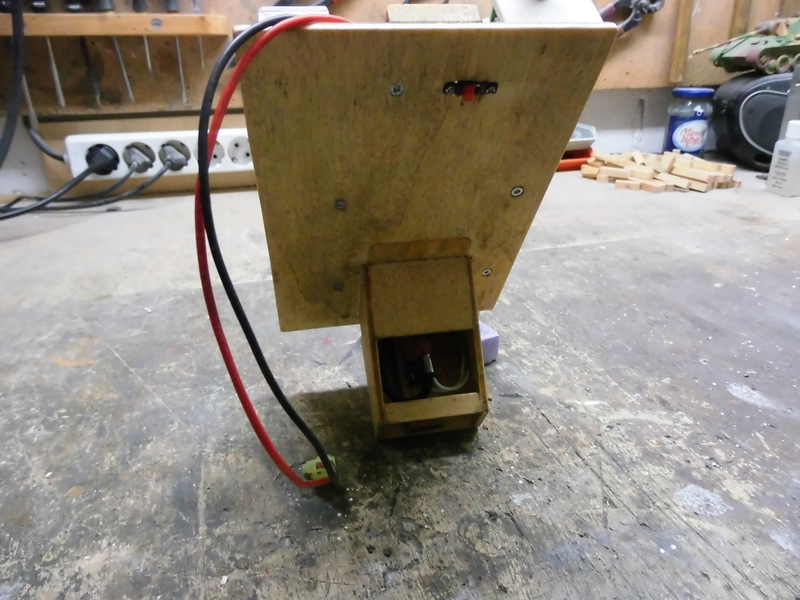
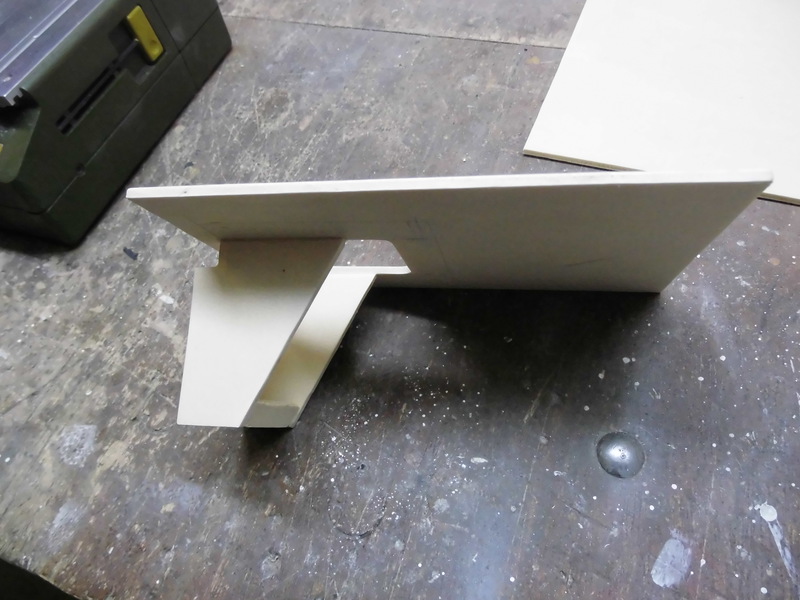
A look inside the fan unit; the fan sucks on the smoker's side and pushes the smoke into the PVC hose. The whole unit is screwed directly from above onto the plywood panel under which my smoker works.

Front view of the blower unit.

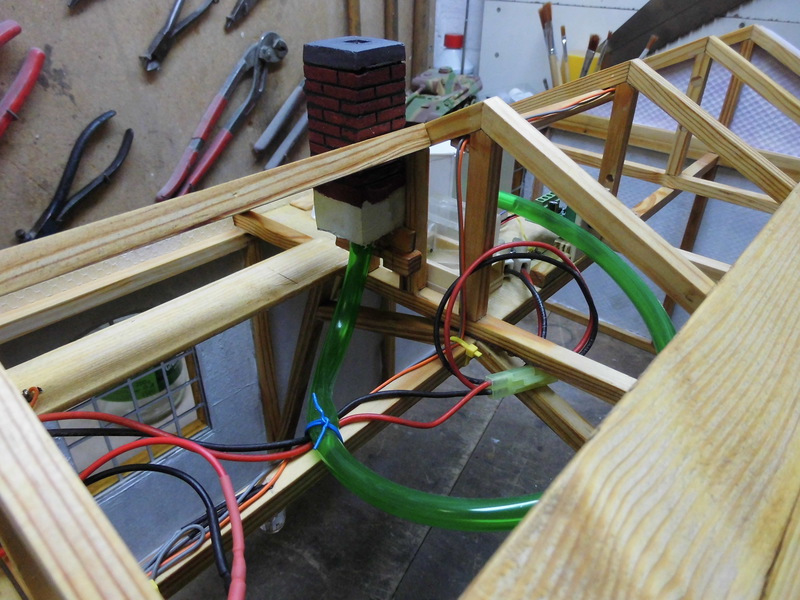
The chimney is glued in place...

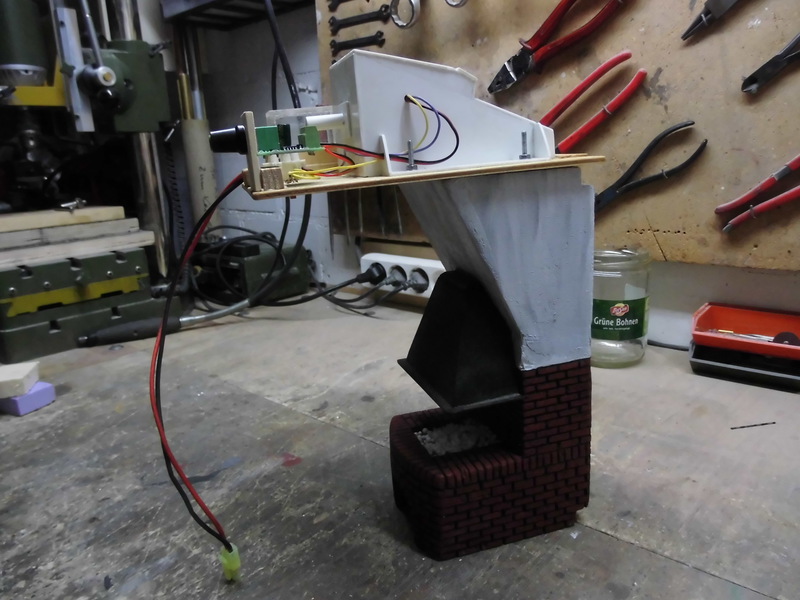
Here is the blower unit already mounted.

Chimney and hose routing can be seen here once again.

More soon...
Re: Hoof and carriage blacksmiths
Posted: Wed Sep 11, 2019 6:16 am
by hotte8487
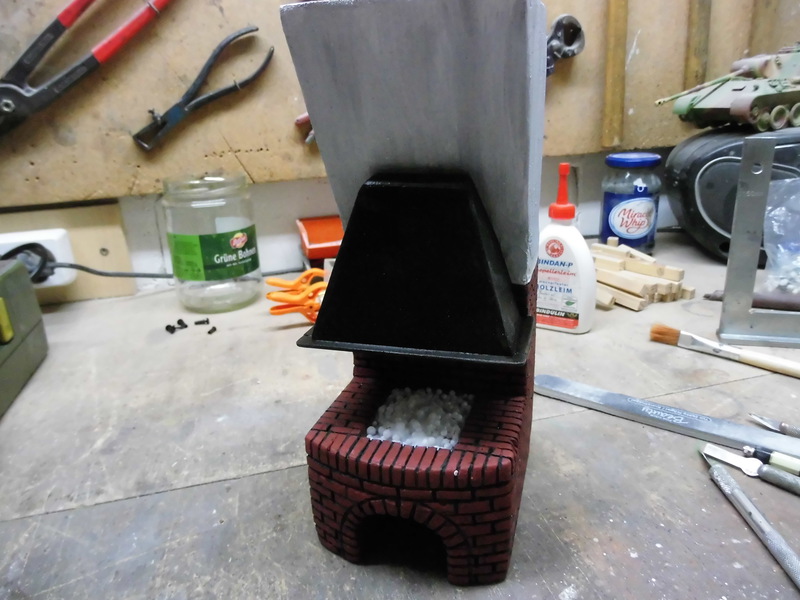
At the already prefabricated smith's fire, it continues. With primer was started.

After drying, the bricks first got their color, then the part had to dry again.
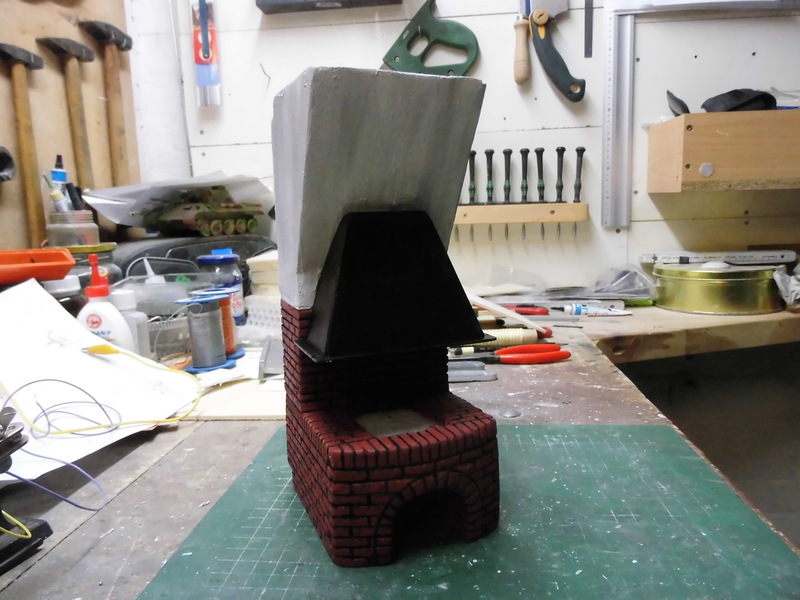
I used this time to complete the exhaust hood.

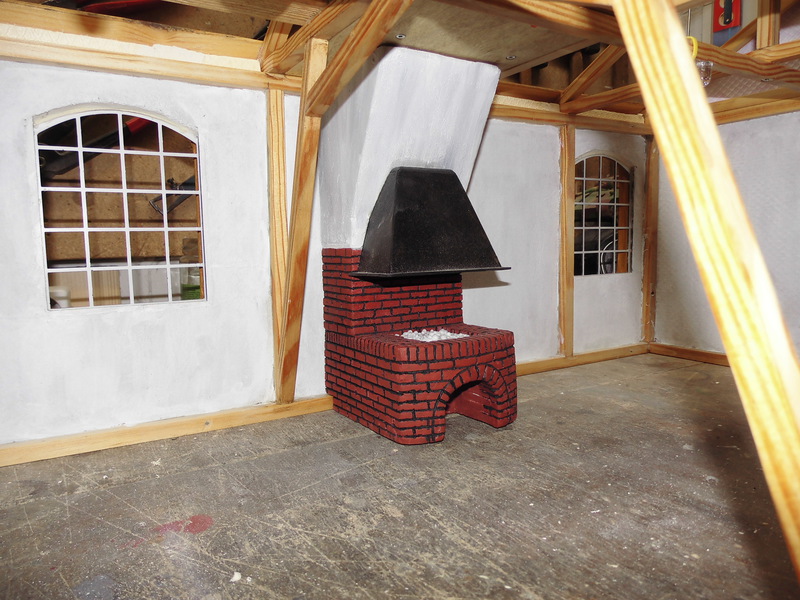
Then it goes on with paint; the masonry received joints and the forge and the smoke outlet paint. Photos...

The chimney was glued on afterward; again photos...

Finally, the actual fire in the oven is still missing and a good coke is part of it - not to be confused with coke.
My coke was made of styropor,...
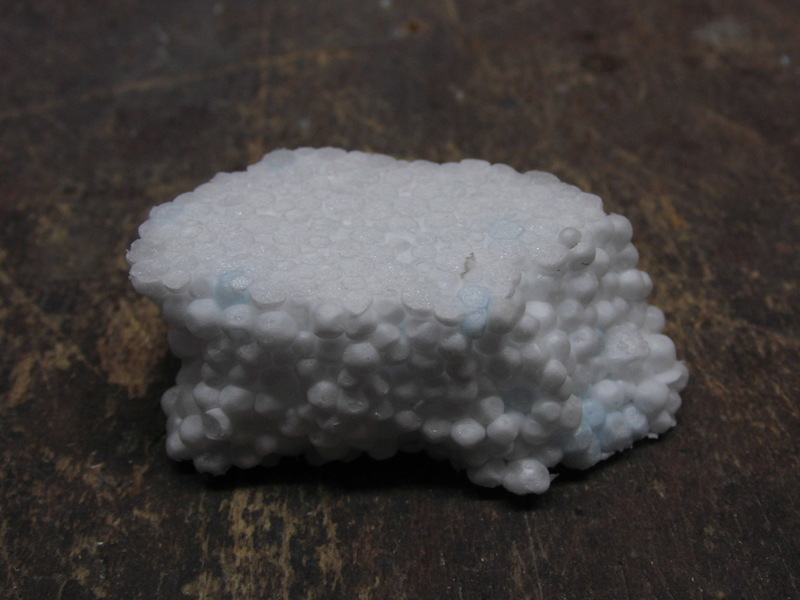
...this was ground to individual bullets...
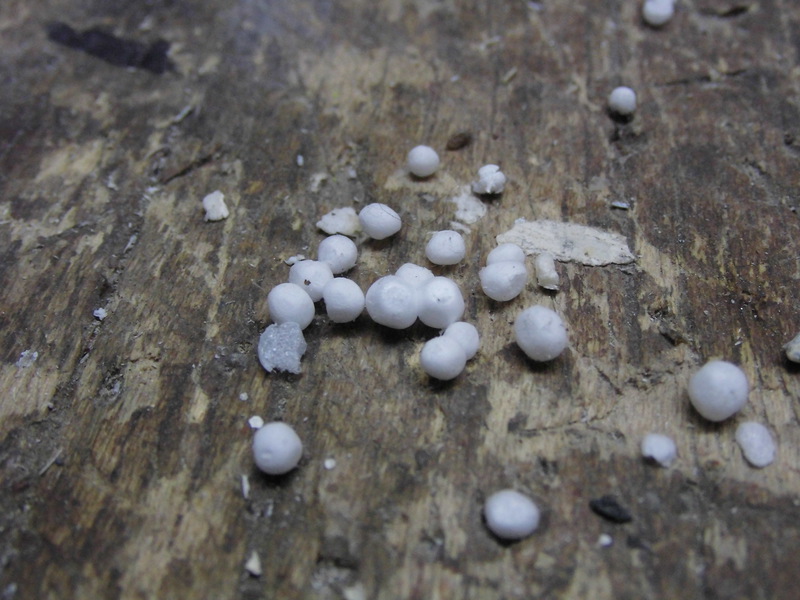
...and then stuck on with plenty of latex glue. So much for today; finally a few photos.


Until soon.
Re: Hoof and carriage blacksmiths
Posted: Thu Sep 12, 2019 7:37 am
by hotte8487
Re: Hoof and carriage blacksmiths
Posted: Thu Sep 12, 2019 8:47 pm
by midlife306
Absolutely spectacular

Sent from my iPhone using Tapatalk
Re: Hoof and carriage blacksmiths
Posted: Fri Sep 13, 2019 8:53 am
by hotte8487
midlife306 wrote:Absolutely spectacular
Sent from my iPhone using Tapatalk
Thank you.
Re: Hoof and carriage blacksmiths
Posted: Fri Sep 13, 2019 9:07 am
by hotte8487
It's coming to an end...
The windows received the windowpanes; the overhead foil enclosed with the window frames was used.
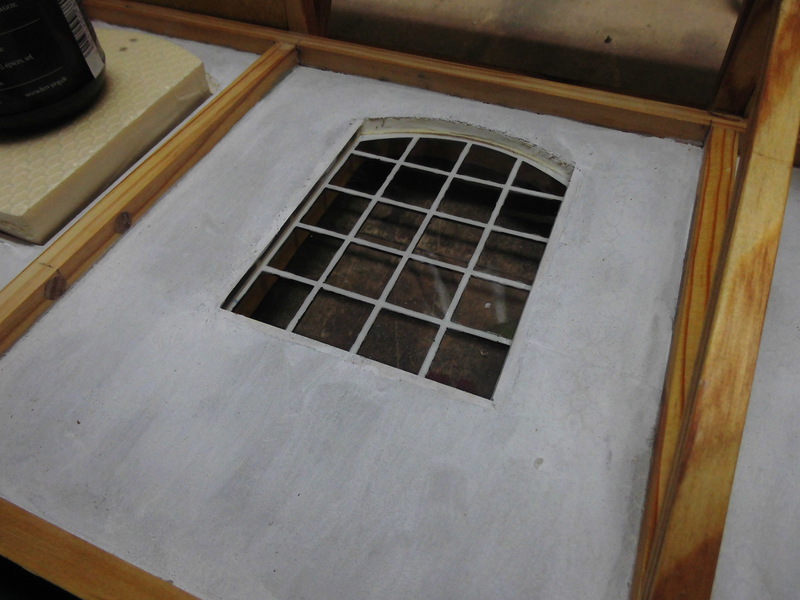
The individual plates were cut to size and glued on with hard plastic glue. During the drying process, the sheets were lightly pressed down.

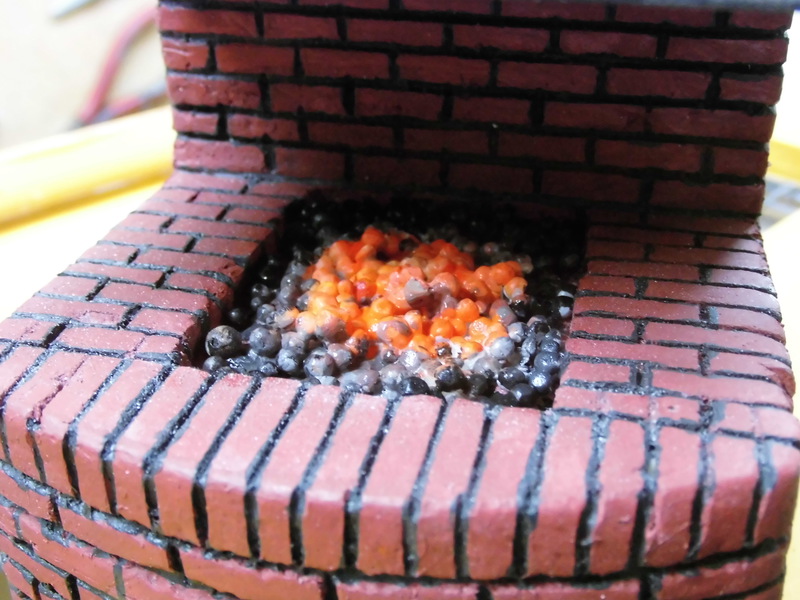
Then the fireplace was finished; the coke was ignited.

With the roof was continued afterward,...

...the roof boards were glued on...

...and the roof ridge was closed.

In the end, a cardboard roof was applied again, as with some predecessor models. The cardboard rolls were hinted at from fleece wiping cloths from the drugstore market.


These were dyed with black acrylic.

Finally, the building received some vegetation...

...and for the first time, I also glued on some leaves.


The hoof & carriage blacksmiths are now finished and can out to our battlefield area; in the last report, there are some photos outdoors.
Re: Hoof and carriage blacksmiths
Posted: Fri Sep 13, 2019 11:37 am
by Rad_Schuhart
Unbelievable educative thread. Thanks for sharing.
Can you please post links to the materials you used for making the walls, and also that adhesive coat?
Re: Hoof and carriage blacksmiths
Posted: Fri Sep 13, 2019 3:59 pm
by hotte8487
Thank you very much, guy. I will be happy to send you the used materials, but I will need some more time. At the moment I am near your homeland on vacation.