Page 1 of 7
Wight's Sherman
Posted: Fri Oct 17, 2008 2:40 pm
by Wight
Hi all.
This is my Tamiya Sherman that I have been attempting to rebuild and add detail to over the last 18 months or so.
This first picture is how I recieved it second hand.In all honesty I don't think it had really been used,but it was hard to tell from the ebay listing pics so was a bit of a gamble.But at £150 buy it now I could not resist.

And the rest is where I've got to so far.


In all honesty,I only took it apart to just paint it better than it was,then one thing lead to another and I've still not painted it.
Still I have enjoyed doing what I have done so far and it's taught me a lot about modelling.
Another side of this I enjoy is the research (I think my wife would call it staring at pictures).
I will post more pics as I progress.
Cheers,Steve.
Re: Wight's Sherman
Posted: Fri Oct 17, 2008 6:58 pm
by BREL
nice work Steve, Keep the pictures comming
Re: Wight's Sherman
Posted: Fri Oct 17, 2008 10:28 pm
by Wight
Ok,here's a few older pictures so you can see some of the things I have done to it in more detail.
I just noticed how dusty it looks in the previous post,just shows how long it's been since I touched it.
Some of you may have seen these already on other forums.
I stripped all the paint off the metal bits to start a fresh.


This was the first detail I attempted to make,so I blame these guards for everything else I have done to it!!

This took a lot of guts for me to do.I was conviced I'd cock it up!


My first attempt at welds.


Cheers all,I'll get some more up later.
Steve.
Re: Wight's Sherman
Posted: Fri Oct 17, 2008 10:41 pm
by adin
Really nice work matey - looks awesome

Re: Wight's Sherman
Posted: Fri Oct 17, 2008 10:54 pm
by fv432
Hi wight welcome aboard mate glad to see your sherman again
hope your going to tease us with more of that gorgeous sherman

might tempt me to get my sherman out of it's box LOL
Kind regards rob
Re: Wight's Sherman
Posted: Mon Oct 20, 2008 10:09 pm
by Wight
Thanks for the kind words guys.
One thing that puzzled me for a while was how to model the towing points on the nose casting without worrying about them breaking off.I decided on brass as I could solder them to a back plate that will hopefully give good surface area for strong adhesion to the inside of the nose.


More welds.

Rear light guards in place.

The front ones took quite a bit of working out.Had to make a jig to bend the metal along it's length without kinking on itself.
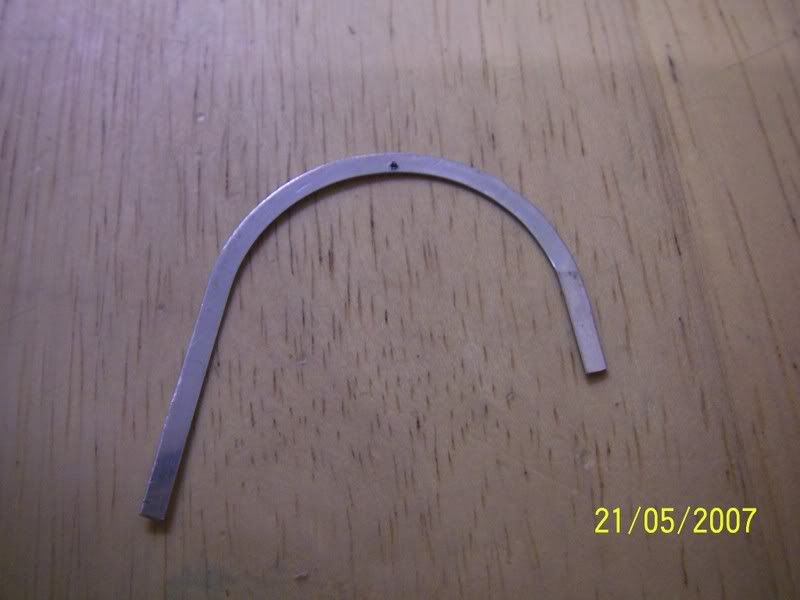
Then bent to shape and arms soldered on.


The horn guard was tricky soldering the parts together without the heat unsoldering the rest of it!Took a few tries.
Cheers.
Re: Wight's Sherman
Posted: Mon Oct 20, 2008 10:27 pm
by adin
Incredible attention to detail matey. It's builds like this that make me green with envy lol.
Thanks for sharing it with us
Re: Wight's Sherman
Posted: Mon Oct 20, 2008 10:46 pm
by [ICE]monkey
very nice ,the detail is spot on
regards ,cliff
Re: Wight's Sherman
Posted: Sat Oct 25, 2008 7:11 pm
by Wight
Thanks again.All feedback appreciated,wether its positive or negative.
Next up I made a switch/charging panel accessable through the front hatches.


Some transmision covers which hide the drive shafts when veiwed from the front and seem to help stop grass wrapping around the shafts.

Tow cable.

I made it so the cable is removeable from the eye to make it easier to take off the top hull.


Cheers all.
Steve.
Re: Wight's Sherman
Posted: Sat Oct 25, 2008 11:55 pm
by fv432