How to build a working IR Artillery Gun
Posted: Fri Apr 21, 2017 5:05 pm
This is a how-to on how to build a stand alone system that function as a gun that will fire an IR beam, take hits, and which has a muzzle flash. It is powered by an Arduino Uno.
Parts required:
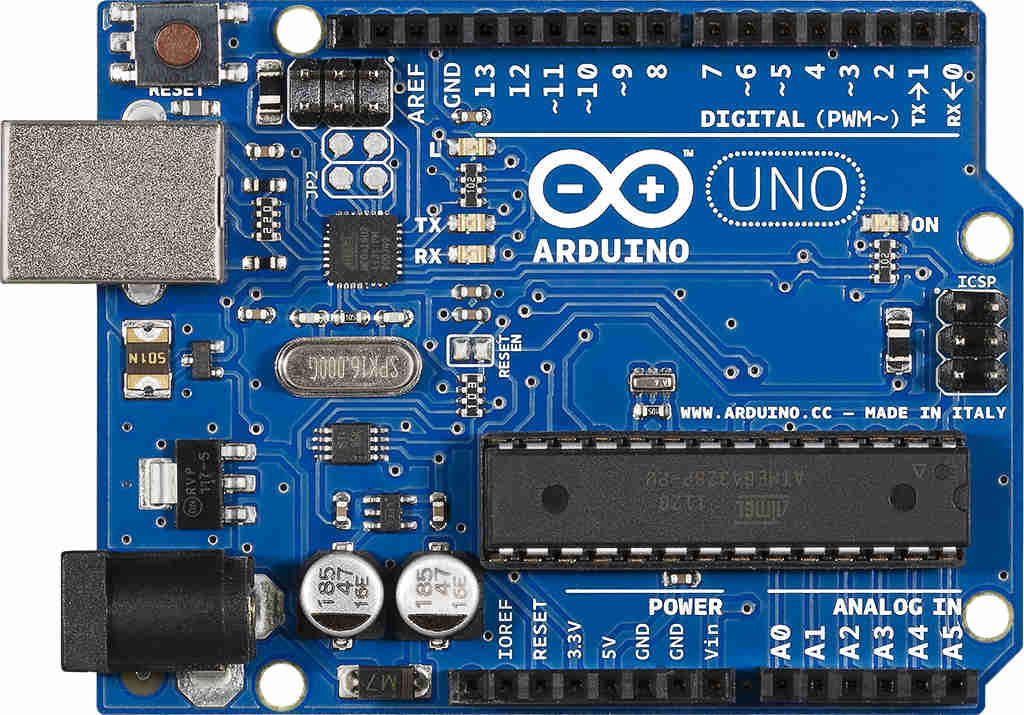
Arduino Uno - Available off Ebay, any Uno will do, they are around £5 in UK money.
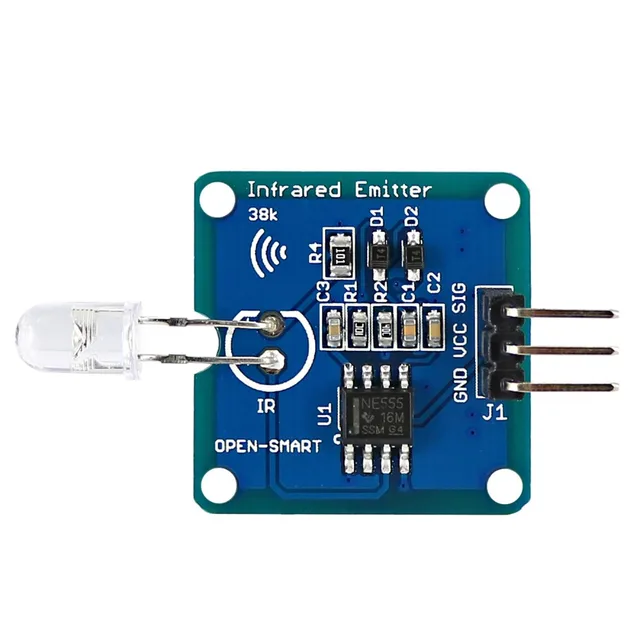
An IR emitter board - Available off Ebay, they are around £3 in UK money.
Anything from China will be ok.
1 x Jack plug.
1 x Battery socket
1 x Battery (I used a cheap old tank battery).
1 x TSOP 4838 IR sensor.
1 x Emitter (optional - one is soldered onto the emitter board).
2.54mm Pin Strips.
Fine gauge wire - A cheap way to get this is to buy a length of multi core cable, it will have around 5 insulated cores inside.
Microswitch - Free if you have a bind button or an old airsoft unit.
So, total cost is less than £10.
Arduino's are complicated aren't they? It's all computer code and stuff.
No need to worry, all of the complicated stuff has been done.
Just follow these instructions.
1. Arduino Board
Buy the board.
It arrives.
Go to this link
https://www.arduino.cc/en/Main/Software
and download what is called the IDE. This is free. It is the operating system for the board. At the time I am typing this the latest version was 1.8.2.
It runs on Windows, Linux or a Mac. Arduino software is cross platform compatible.
Ok, you have downloaded it.
Create a new folder and call it Arduino Uno or something imaginative like that.
Install the IDE into the folder.
There you go, that was easy. You now have an Arduino Board, and a way of talking to it from your PC.
2. The TankIR Software
This is the software that you install on the Arduino board that enables it to operate as a battle system and controls all of the functions.
All that you need to do is download it, and install it on the board.
How is this done?
Easy. Click on this link.
https://github.com/OpenPanzerProject/TankIR
Download the gubbins.
Create a New folder, and unzip the downloaded files into the folder.
Now you have the entire operating system for the Arduino on your PC.
3. How to get the TankIR software onto the Arduino
Just in case you get confused, an Arduino program or app, is called a Sketch, so whenever you see that term, its the code that you are working with. A Sketch can be named in any way, same as any other program. You only install something called the xxxx.ino file, this installs everything that you need.
An Arduino board operates very simply.
It can only hold one Sketch at a time.
It can only run one Sketch at a time.
It runs when power is switched on.
It stops when power is swtched off.
It remembers the Sketch that was last loaded, so it will still be there when you switch it off and back on again.
Ok, do something scary.
Use a usb cable to plug the Arduino into your PC (they usually supply one).
A light will come on, on the Arduino. That's normal.
Run the Arduino IDE that you installed.
At the top click on 'Tools'.
Select 'Board'
Select 'Uno'.
Your PC should auto detect the Port and Baud Rate.
A blank Sketch screen will appear (if you were programming it, this is where you would type the code).
Click on File
Click on Open
Browse to the TankIR folder.
Open it and look for the xxxx.ino file.
Double Click on that.
A new Sketch window will open, containing the Tank IR Sketch.
Click on the -> arrow below the menu. It will say 'Upload' when you hover over it.
Sit on your hands.
The Sketch will upload to the Arduino.
You may see some warnings, just ignore them.
Wait until the message 'Upload Completed' is displayed.
Unplug the usb.
Close the IDE screens.
Job done.
How to wire it all up.
This wiring diagram shows you how to do it. Just do one wire at a time, until you have done all of them.
If you solder the wires from the components to the pin strips, it means that you will be able to unplug the wiring if you ever need to.
I strongly recommend getting some narrow heatshrink to go over each solder joint both on the pin strips, and on the led's and other components.
I will see if the activation switch can be replaced by a random timer that will fire the gun at intervals without a switch when I have the time.
Firing:
Taking Hits:
Parts required:
Arduino Uno - Available off Ebay, any Uno will do, they are around £5 in UK money.
An IR emitter board - Available off Ebay, they are around £3 in UK money.
Anything from China will be ok.
1 x Jack plug.
1 x Battery socket
1 x Battery (I used a cheap old tank battery).
1 x TSOP 4838 IR sensor.
1 x Emitter (optional - one is soldered onto the emitter board).
2.54mm Pin Strips.
Fine gauge wire - A cheap way to get this is to buy a length of multi core cable, it will have around 5 insulated cores inside.
Microswitch - Free if you have a bind button or an old airsoft unit.
So, total cost is less than £10.
Arduino's are complicated aren't they? It's all computer code and stuff.
No need to worry, all of the complicated stuff has been done.
Just follow these instructions.
1. Arduino Board
Buy the board.
It arrives.
Go to this link
https://www.arduino.cc/en/Main/Software
and download what is called the IDE. This is free. It is the operating system for the board. At the time I am typing this the latest version was 1.8.2.
It runs on Windows, Linux or a Mac. Arduino software is cross platform compatible.
Ok, you have downloaded it.
Create a new folder and call it Arduino Uno or something imaginative like that.
Install the IDE into the folder.
There you go, that was easy. You now have an Arduino Board, and a way of talking to it from your PC.
2. The TankIR Software
This is the software that you install on the Arduino board that enables it to operate as a battle system and controls all of the functions.
All that you need to do is download it, and install it on the board.
How is this done?
Easy. Click on this link.
https://github.com/OpenPanzerProject/TankIR
Download the gubbins.
Create a New folder, and unzip the downloaded files into the folder.
Now you have the entire operating system for the Arduino on your PC.
3. How to get the TankIR software onto the Arduino
Just in case you get confused, an Arduino program or app, is called a Sketch, so whenever you see that term, its the code that you are working with. A Sketch can be named in any way, same as any other program. You only install something called the xxxx.ino file, this installs everything that you need.
An Arduino board operates very simply.
It can only hold one Sketch at a time.
It can only run one Sketch at a time.
It runs when power is switched on.
It stops when power is swtched off.
It remembers the Sketch that was last loaded, so it will still be there when you switch it off and back on again.
Ok, do something scary.
Use a usb cable to plug the Arduino into your PC (they usually supply one).
A light will come on, on the Arduino. That's normal.
Run the Arduino IDE that you installed.
At the top click on 'Tools'.
Select 'Board'
Select 'Uno'.
Your PC should auto detect the Port and Baud Rate.
A blank Sketch screen will appear (if you were programming it, this is where you would type the code).
Click on File
Click on Open
Browse to the TankIR folder.
Open it and look for the xxxx.ino file.
Double Click on that.
A new Sketch window will open, containing the Tank IR Sketch.
Click on the -> arrow below the menu. It will say 'Upload' when you hover over it.
Sit on your hands.
The Sketch will upload to the Arduino.
You may see some warnings, just ignore them.
Wait until the message 'Upload Completed' is displayed.
Unplug the usb.
Close the IDE screens.
Job done.
How to wire it all up.
This wiring diagram shows you how to do it. Just do one wire at a time, until you have done all of them.
- tankIRwiring.png (38.31 KiB) Viewed 8785 times
I strongly recommend getting some narrow heatshrink to go over each solder joint both on the pin strips, and on the led's and other components.
I will see if the activation switch can be replaced by a random timer that will fire the gun at intervals without a switch when I have the time.
Firing:
Taking Hits: