Something I've been doing the past days
Posted: Thu Jul 23, 2015 7:40 am
So I got me a 1/16 HL M1A2. I have intended to convert it to SEPv2 with additional belly armor where I plan to put weights inside. Now, please take note that I'm not going to be a rivet counter and aim for perfection. The aim is to make something that looks the part, and I don't really care if it is 100% accurate or 90% accurate. What matters for me is that a cursory look will say "Hey, that's an M1A2SEPv2 with belly armor!" Life is too short to be so exacting when it comes to this hobby - at least my opinion - and as long as the details make me happy, then so it'll be. This isn't really for any competition, just for personal satisfaction.
With that said, so far, this is what I've done:
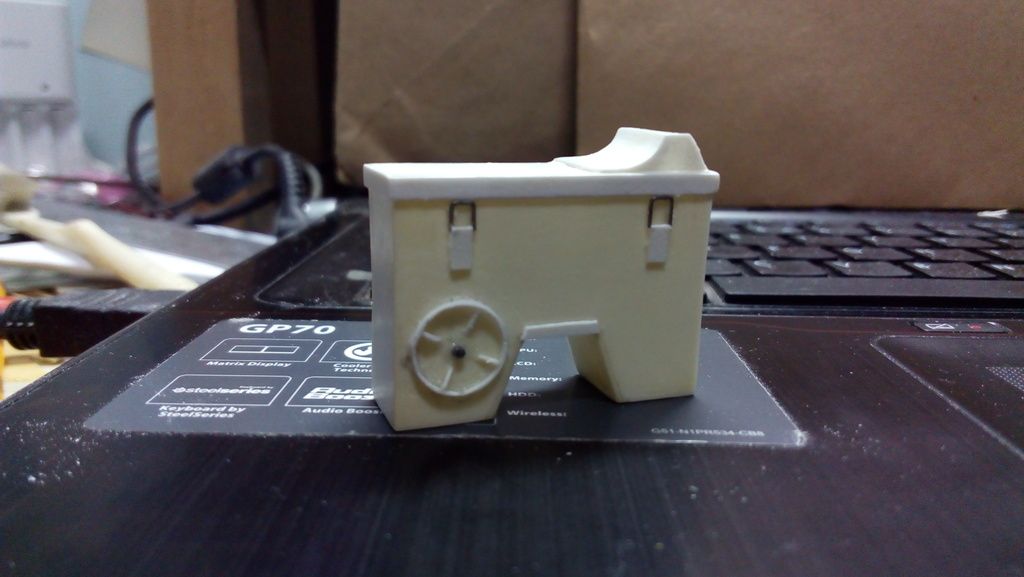
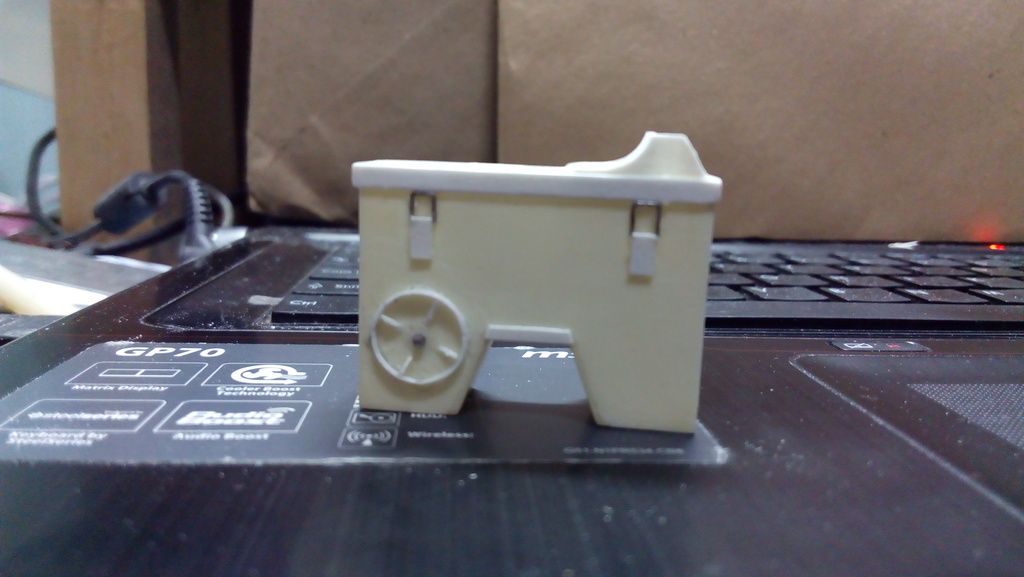
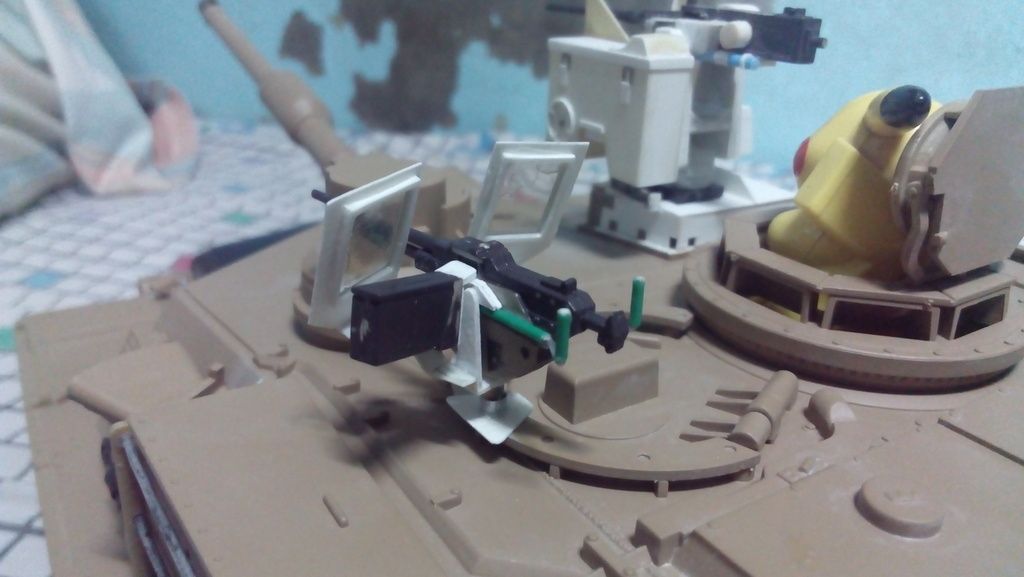
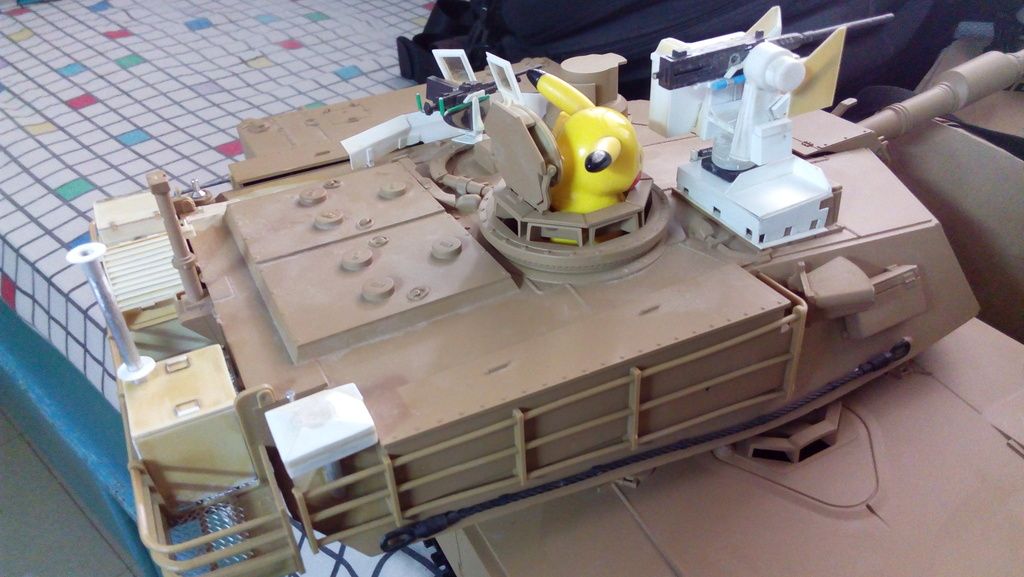
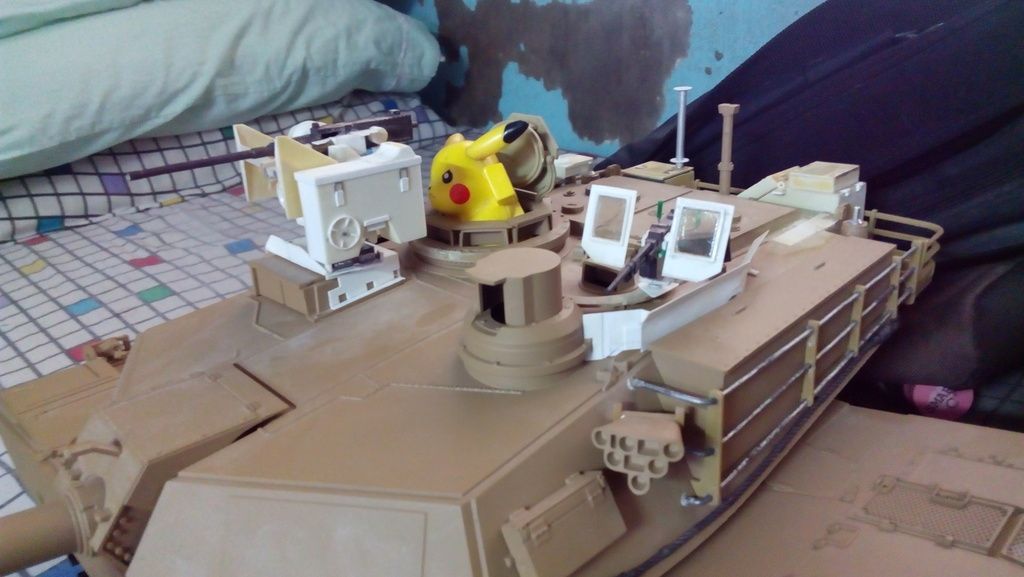
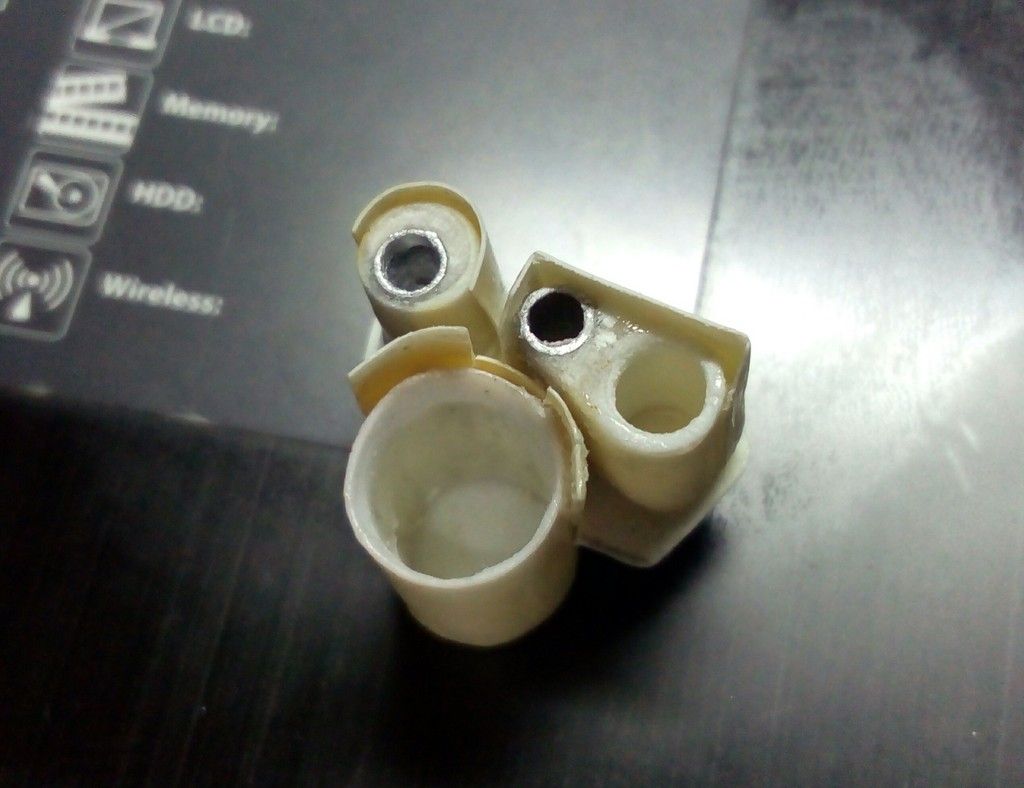
I started the conversion with the most complex part - the CROWS 2. From pix found on the net, I apparently was copying a version of the CROWS 2 not exactly found on the SEPv2 as seen in the sensor complex below. Ah who cares hehehe -
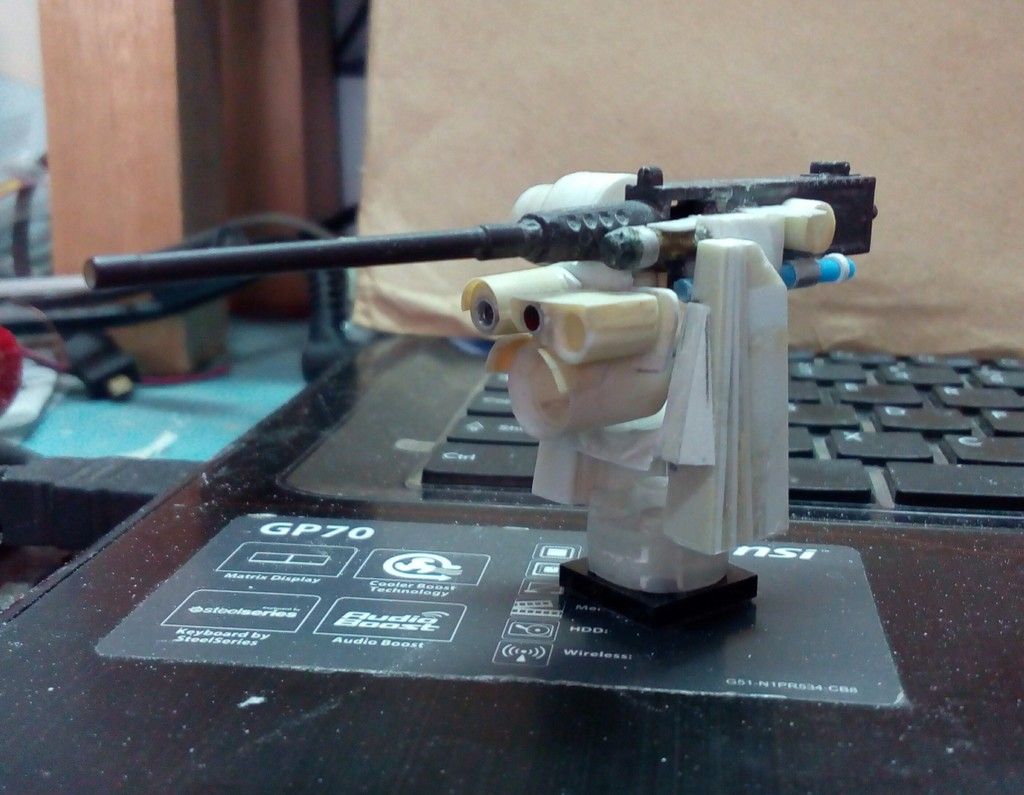
With the sensors more-or-less done, it was time to make the mount. The initial version was too slim which would be rectified as the build went on -
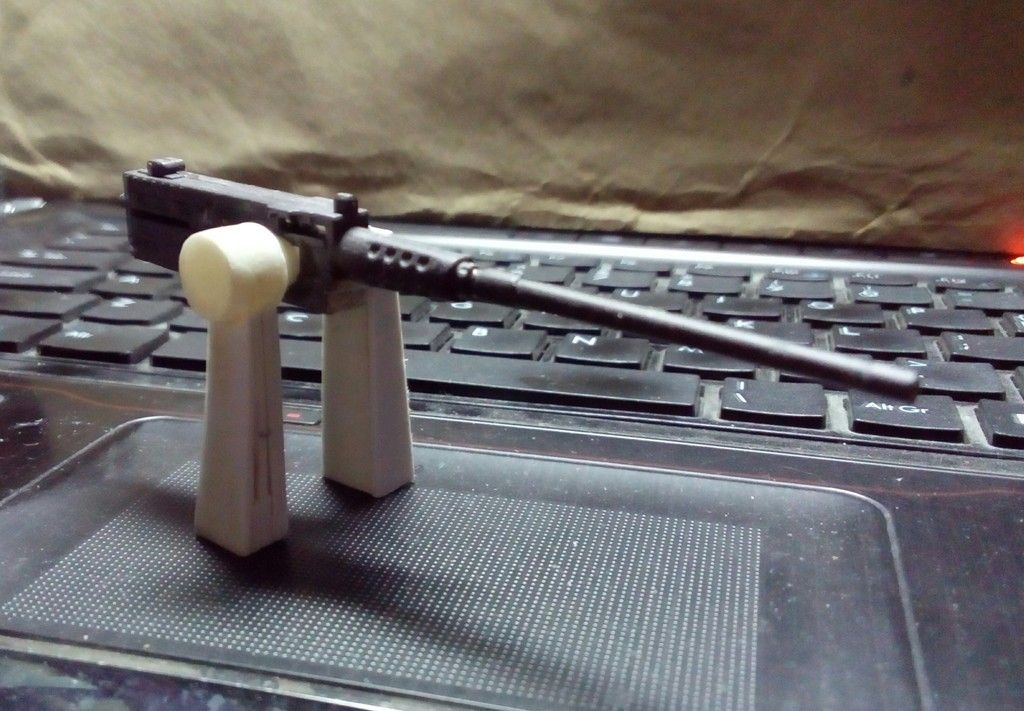

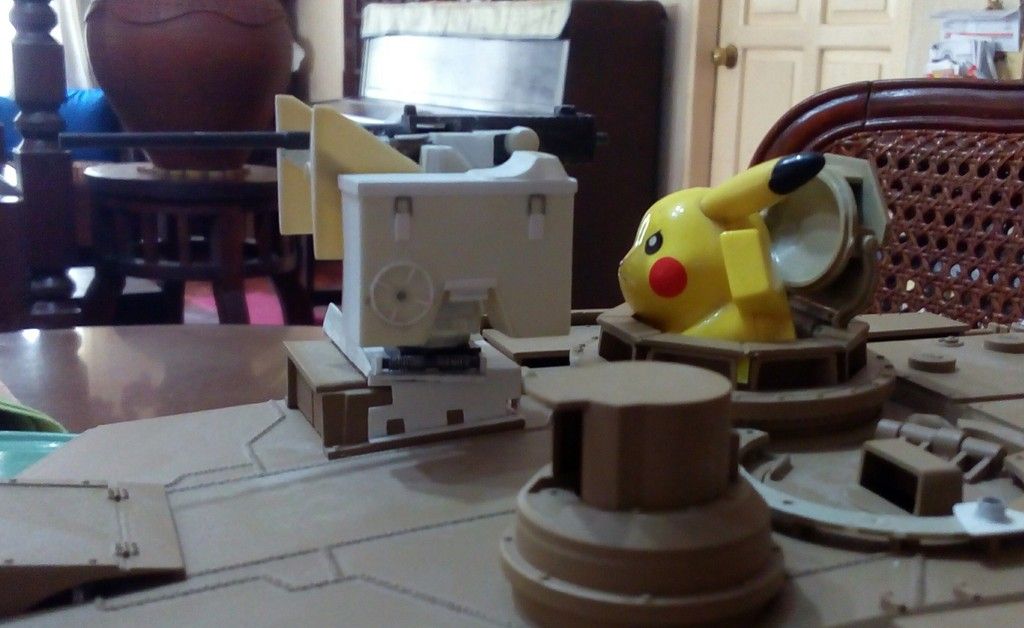
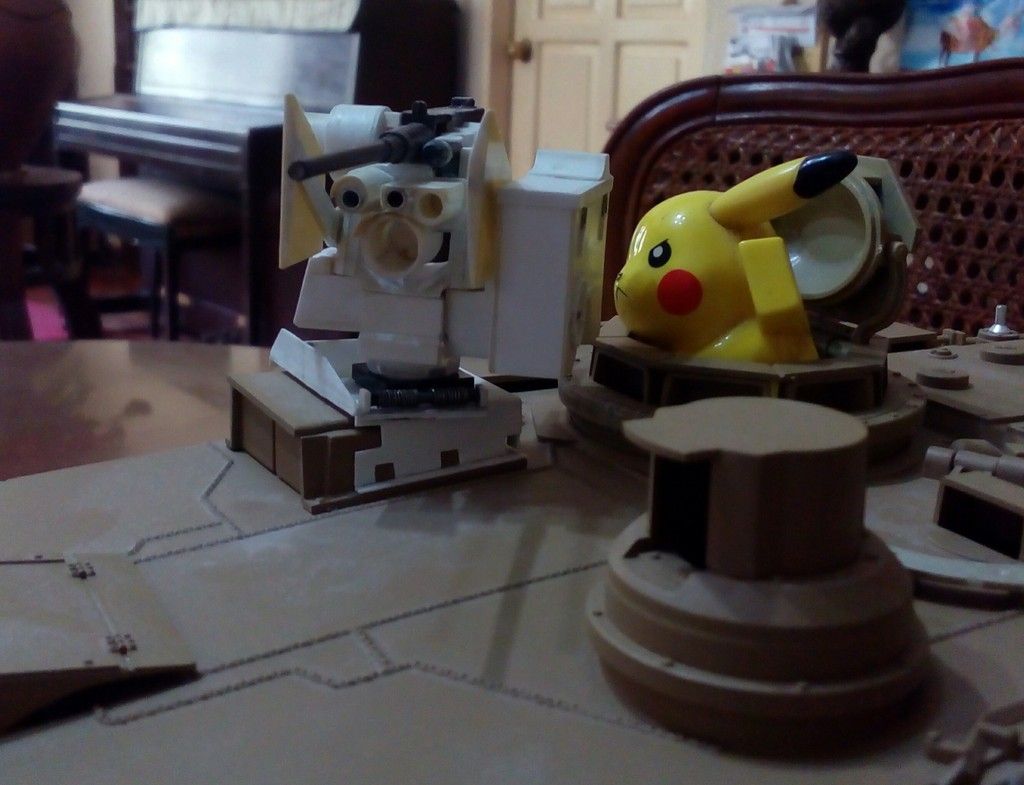
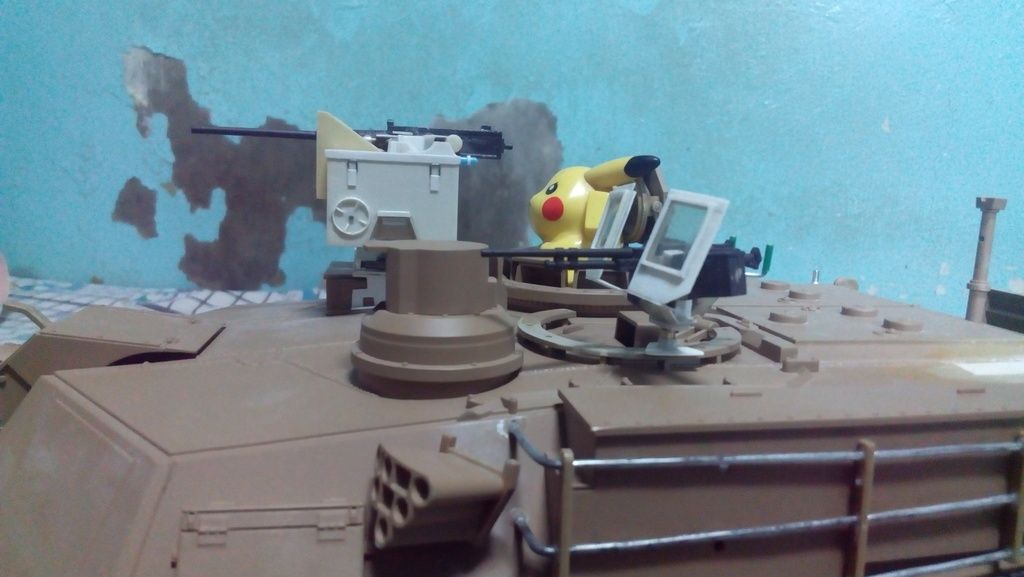
The .50-cal cannot elevate because I want my life to be simple. But at least I wanted it to traverse. Thank goodness I had some LEGO 4x4 turntables in stock, plus a couple of LEGO cylinder bricks -
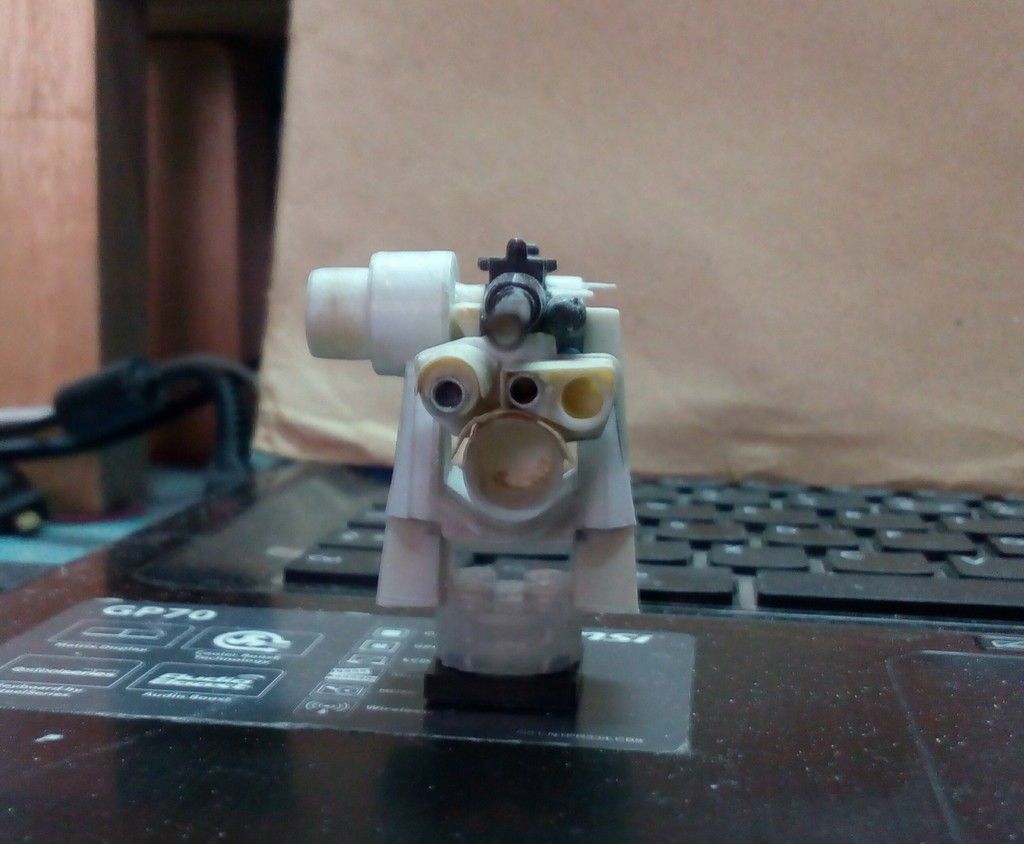
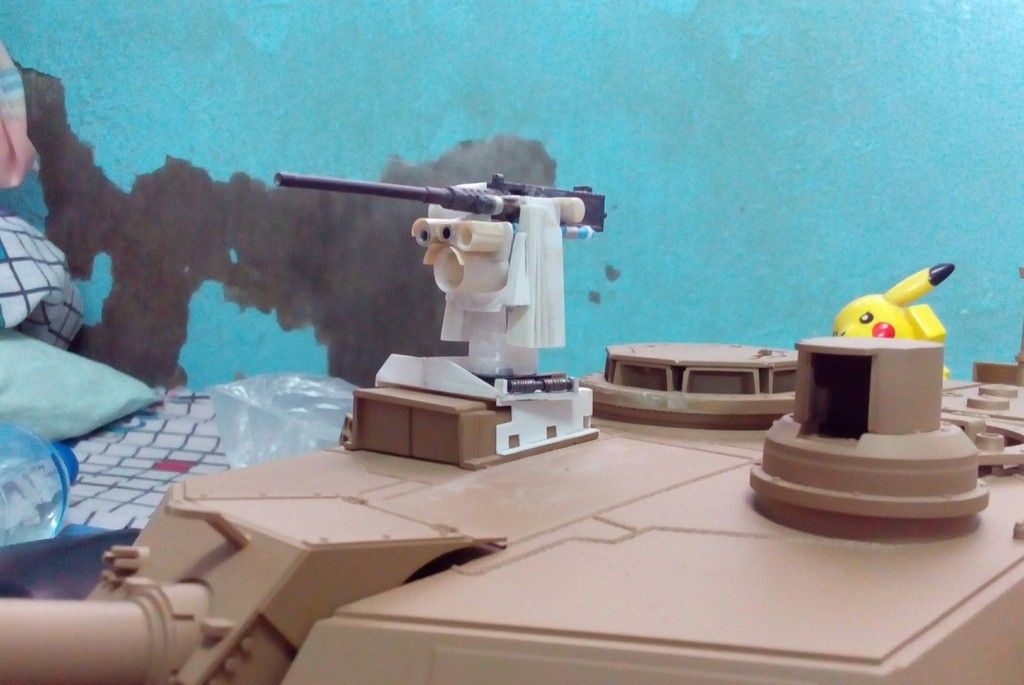

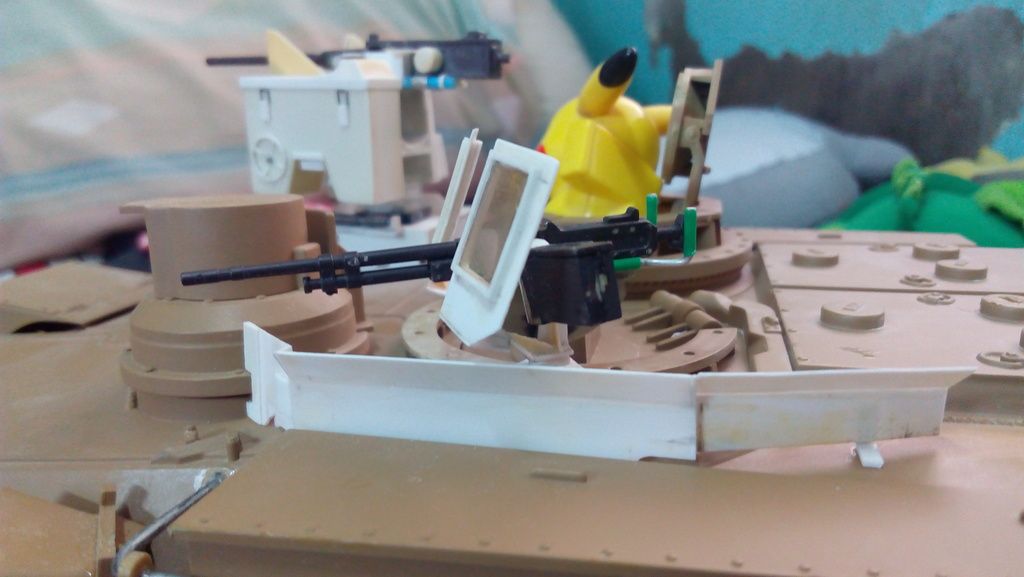
I expect to be done with the CROWS 2 within the week. The materials I used were left over (like, years old) styrene sheets, aluminium and brass tubing, plastic tubing from used Q-tips (my ears are itchy), all glued together using superglue (because I'm cheap and don't want to go to the hobby store for them liquid cement), all seams filled with talcum powder and superglue (apply glue on seam, add powder on glue, tap with finger gently, let cure or, if impatient, spit on it so it cures immediately, then slice and/or sand down). All using a dull No. 11 X-Acto blade because I'm too lazy to open the tool box to get fresh blades. Hey, as long as it can still cut....
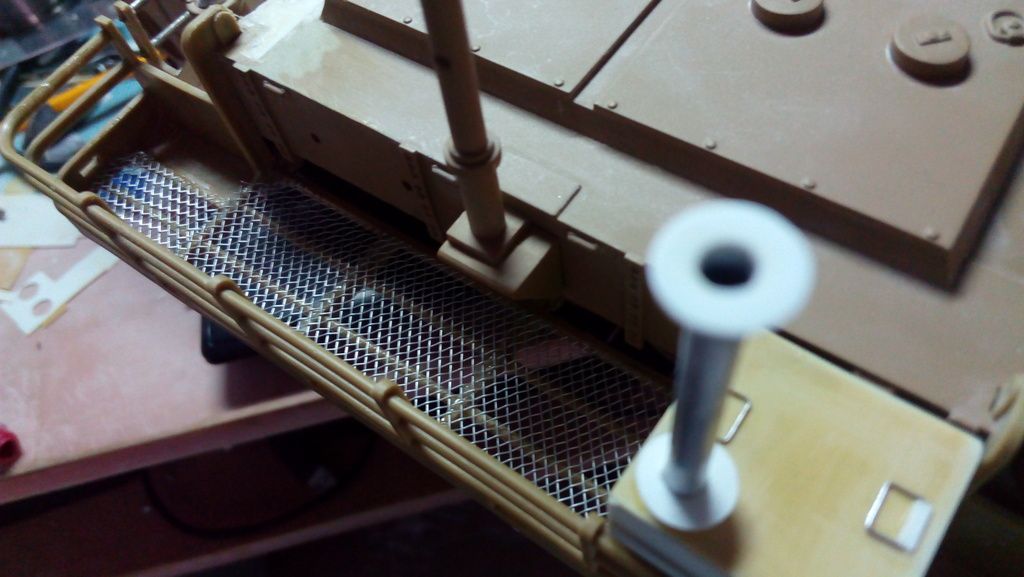
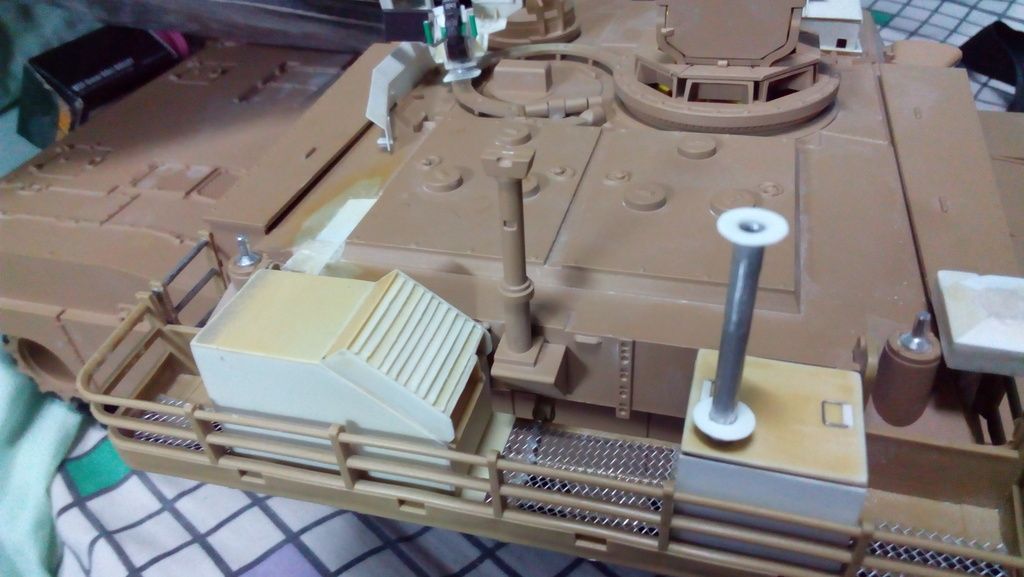
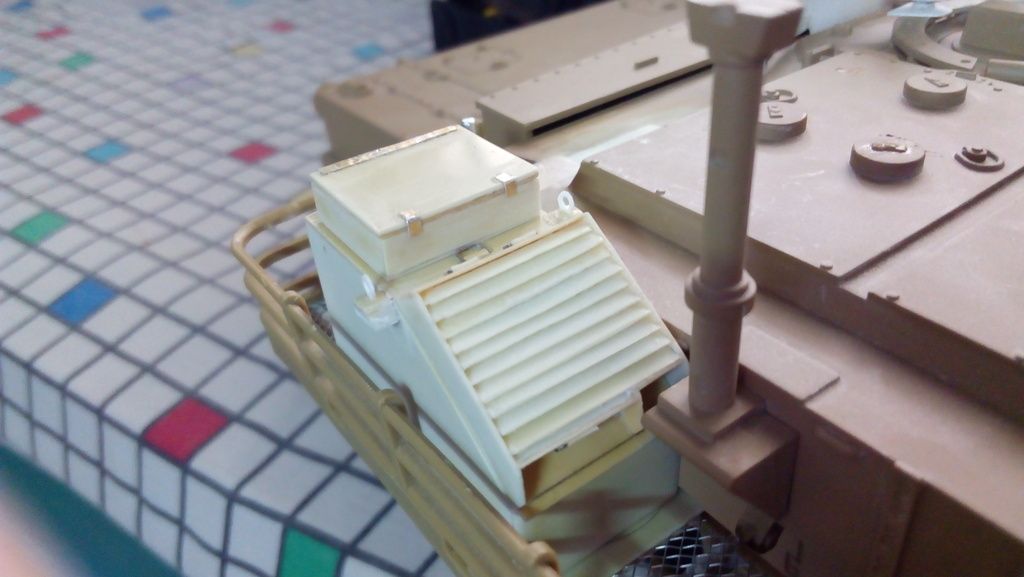
After the CROWS 2, the next will be the TUSK stuff for the loader's position which would be fairly easy compared to the CROWS. The next hardest item I foresee will be the bustle rack extension as I don't have enough styrene rods, but I guess I can make do with aluminium wire of the appropriate gauge (oh yeah, HL gave me 2x racks for the right side sponsons, so I had to modify one with aluminium wire for the left side sponson box).
With that said, so far, this is what I've done:
I started the conversion with the most complex part - the CROWS 2. From pix found on the net, I apparently was copying a version of the CROWS 2 not exactly found on the SEPv2 as seen in the sensor complex below. Ah who cares hehehe -
With the sensors more-or-less done, it was time to make the mount. The initial version was too slim which would be rectified as the build went on -
The .50-cal cannot elevate because I want my life to be simple. But at least I wanted it to traverse. Thank goodness I had some LEGO 4x4 turntables in stock, plus a couple of LEGO cylinder bricks -
I expect to be done with the CROWS 2 within the week. The materials I used were left over (like, years old) styrene sheets, aluminium and brass tubing, plastic tubing from used Q-tips (my ears are itchy), all glued together using superglue (because I'm cheap and don't want to go to the hobby store for them liquid cement), all seams filled with talcum powder and superglue (apply glue on seam, add powder on glue, tap with finger gently, let cure or, if impatient, spit on it so it cures immediately, then slice and/or sand down). All using a dull No. 11 X-Acto blade because I'm too lazy to open the tool box to get fresh blades. Hey, as long as it can still cut....
After the CROWS 2, the next will be the TUSK stuff for the loader's position which would be fairly easy compared to the CROWS. The next hardest item I foresee will be the bustle rack extension as I don't have enough styrene rods, but I guess I can make do with aluminium wire of the appropriate gauge (oh yeah, HL gave me 2x racks for the right side sponsons, so I had to modify one with aluminium wire for the left side sponson box).