Old Tamiya King Tiger Re-build

This section is for you to give a commentary / build log of your Tamiya tank. Remember - lots of pictures please!
Forum rules
This section is for posting a build log of your Tamiya tank.
Questions relating to issues you are having with your tank(s) should be posted in the General Questions forum here: viewforum.php?f=14
riggy15
Private
Posts: 68
Joined: Fri Feb 22, 2013 9:04 pm
Location: Near Scunthorpe

Re: Old Tamiya King Tiger Re-build

Post by riggy15 »

More with her put together,

Image

Image

Image

Image

Image

Hope to get the base coat on tomorrow and to make a start on the camo.

Cheers
Martyn.
riggy15
Private
Posts: 68
Joined: Fri Feb 22, 2013 9:04 pm
Location: Near Scunthorpe

Re: Old Tamiya King Tiger Re-build

Post by riggy15 »

Base camo coat now applied ( warning lots of pics)

Image

Image

Image

Image
riggy15
Private
Posts: 68
Joined: Fri Feb 22, 2013 9:04 pm
Location: Near Scunthorpe

Re: Old Tamiya King Tiger Re-build

Post by riggy15 »

Next colour

Image

Image

Image
riggy15
Private
Posts: 68
Joined: Fri Feb 22, 2013 9:04 pm
Location: Near Scunthorpe

Re: Old Tamiya King Tiger Re-build

Post by riggy15 »

Final colour and exhausts fitted

Image

Exhausts shields.

Image

Image

Image

Image

Finish stills looks very "streaky" , but now I have the basic shapes filled in I plan to spray lightened and darkened colours into these areas to fill them out.

More soon
Cheers
Martyn.
riggy15
Private
Posts: 68
Joined: Fri Feb 22, 2013 9:04 pm
Location: Near Scunthorpe

Re: Old Tamiya King Tiger Re-build

Post by riggy15 »

Morning,
A few more bits and pieces done, the camo has being touched up to fill in the streaks (still requires some weathering yet), and the tow cable and the other cable (what was that used for ?) have being fitted.
I, like lots of other peaple on this forum, did not like the kit supplied items, so I made up my own by using two different gauges of copper strands from old electric cabling, and by also using the two original 'eyes' from the large tow cables. I am only fitting these cables on the right hand side fender, other plans in mind for the left hand side.

Pics

Image

Image

Gun cleaning rods have yet to be made.

Image

Image
riggy15
Private
Posts: 68
Joined: Fri Feb 22, 2013 9:04 pm
Location: Near Scunthorpe

Re: Old Tamiya King Tiger Re-build

Post by riggy15 »

I have also got the rear end finished except for the rear convoy light, which I hope to get finished this weekend.

Image

Image

More later,
Cheers
Martyn.
User avatar
PainlessWolf
Lieutenant-Colonel
Posts: 7407
Joined: Sun Feb 26, 2012 9:09 pm
Location: Southern Colorado Rocky Mountains

Re: Old Tamiya King Tiger Re-build

Post by PainlessWolf »

Riggy,
Seeing work like this is an inspiration. Top Drawer stuff, sir. Following along.
regards,
Painless
...Here for the Dawn...
riggy15
Private
Posts: 68
Joined: Fri Feb 22, 2013 9:04 pm
Location: Near Scunthorpe

Re: Old Tamiya King Tiger Re-build

Post by riggy15 »

Thanks for your comments Painless, appreciate it.

Seems like I can see the finish line, when you notice that some things will have to be changed, more of that later. I was wondering what to make the cleaning rods out of, when I came across some old wooden skewer sticks we had at the back of a drawer. Nearly perfect diameter (just a bit of sanding required), ends drilled out and some 2mm threaded rod glued in, some brass strip wrapped and soldered fitted at the other end.

Image

Stained and fitted

Image

Image
riggy15
Private
Posts: 68
Joined: Fri Feb 22, 2013 9:04 pm
Location: Near Scunthorpe

Re: Old Tamiya King Tiger Re-build

Post by riggy15 »

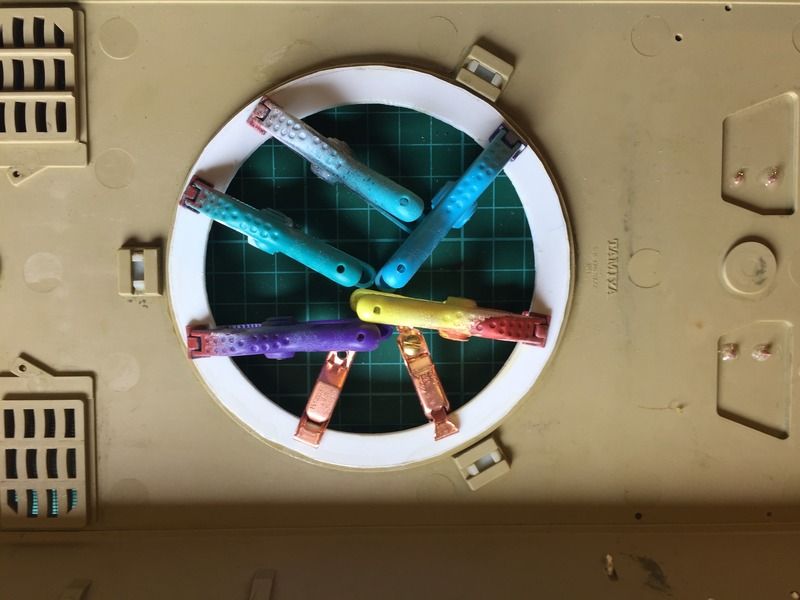
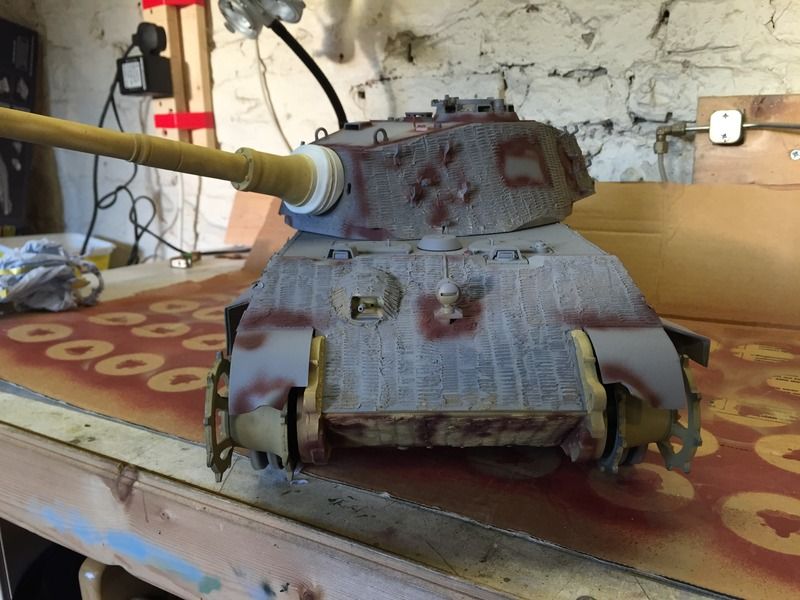
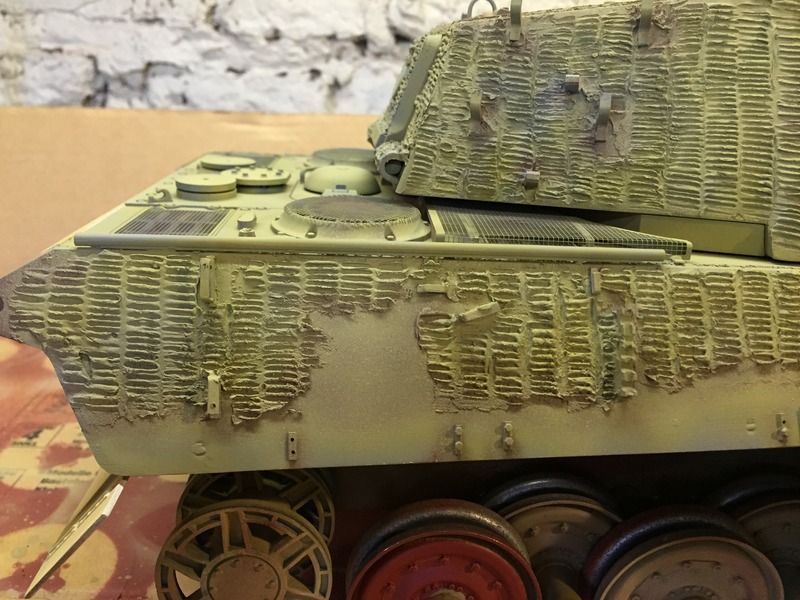
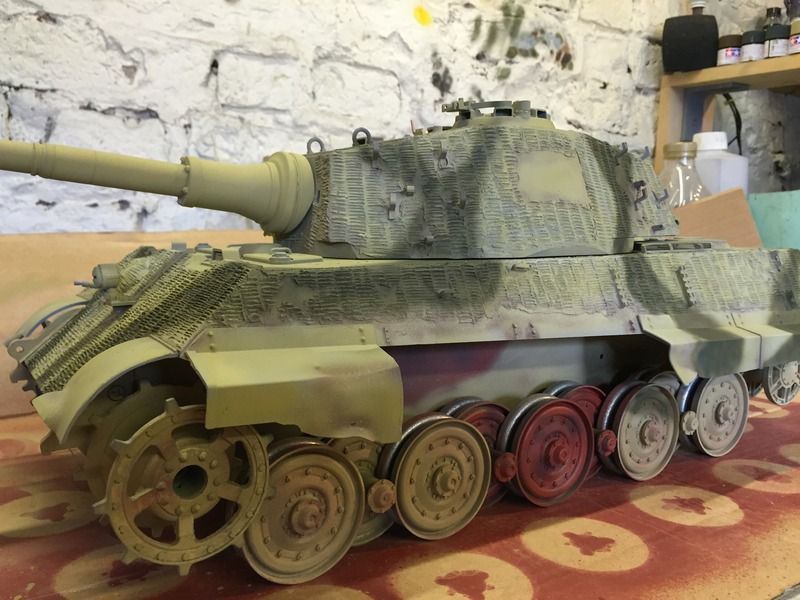
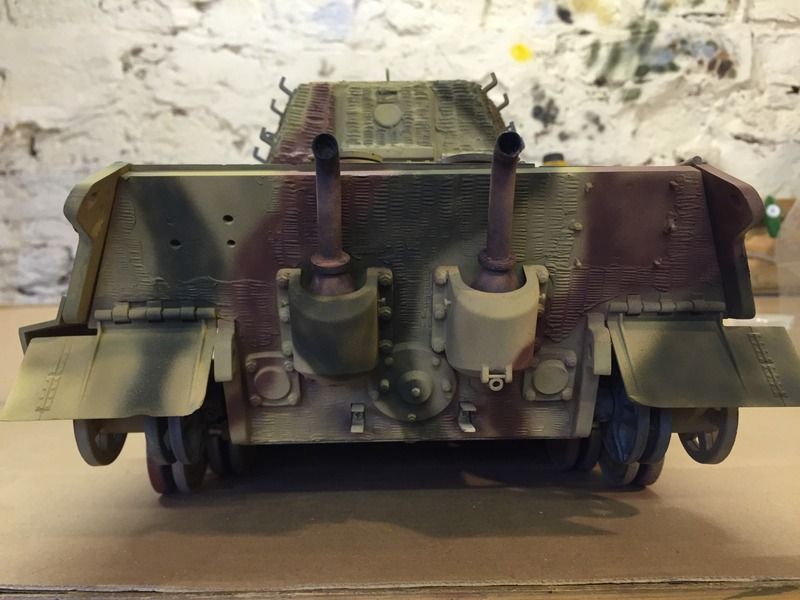
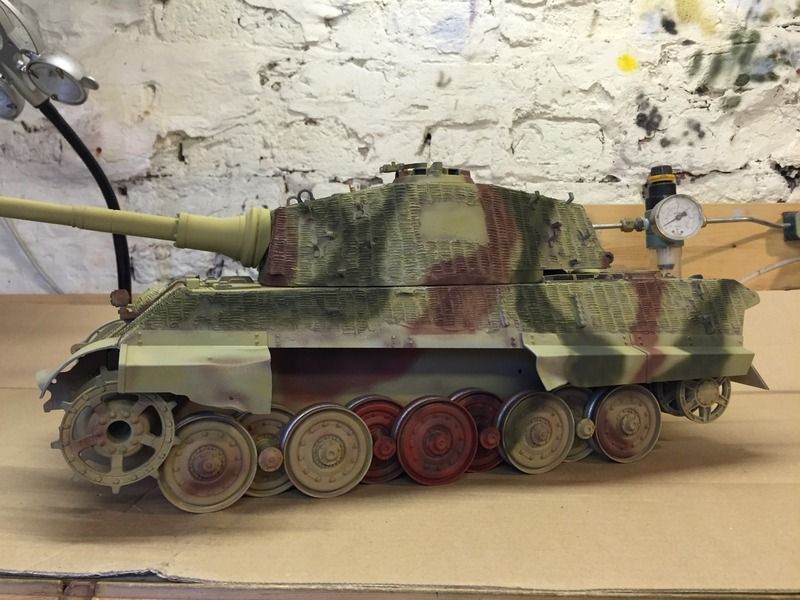
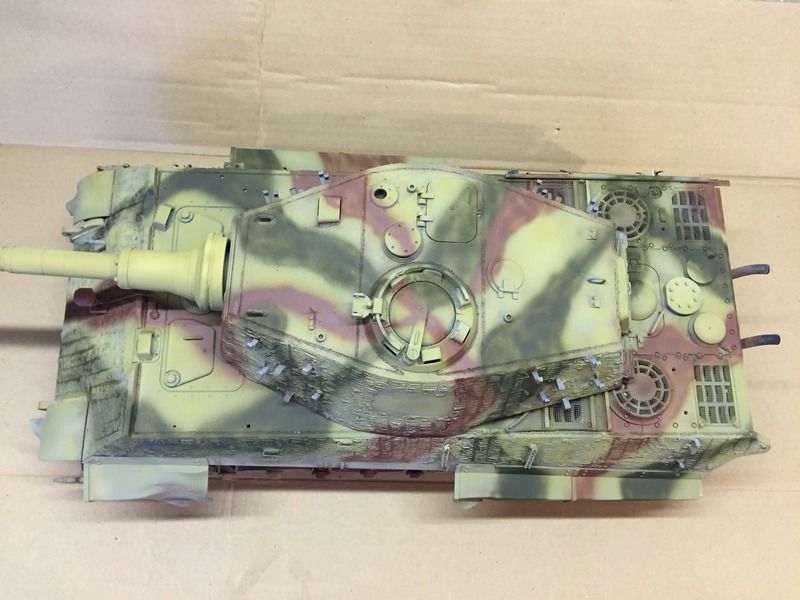
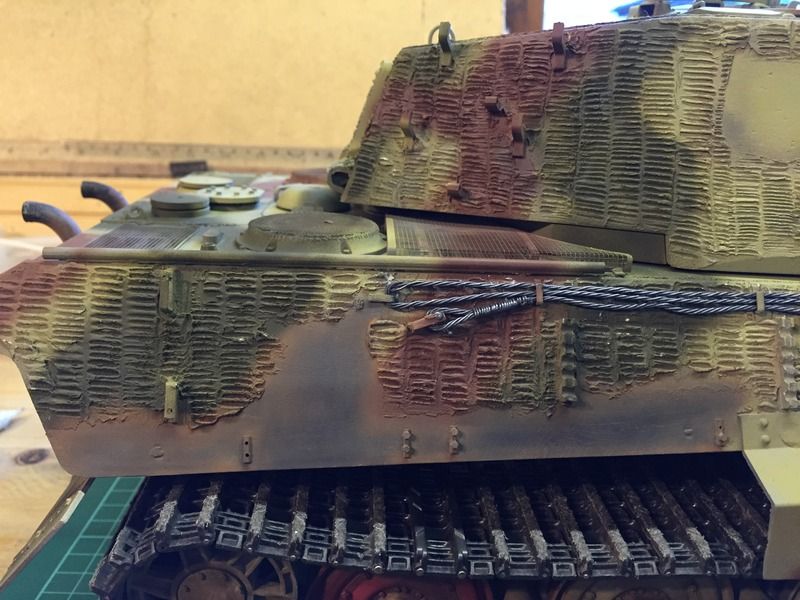
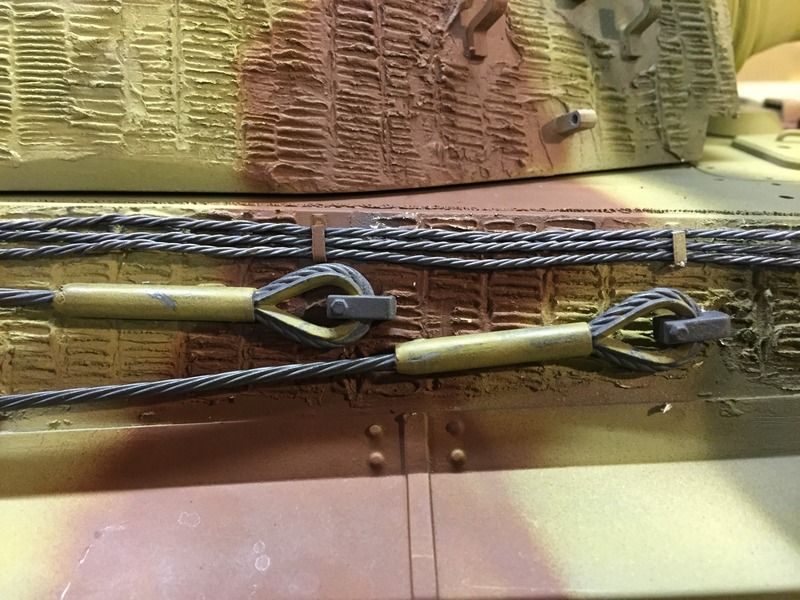
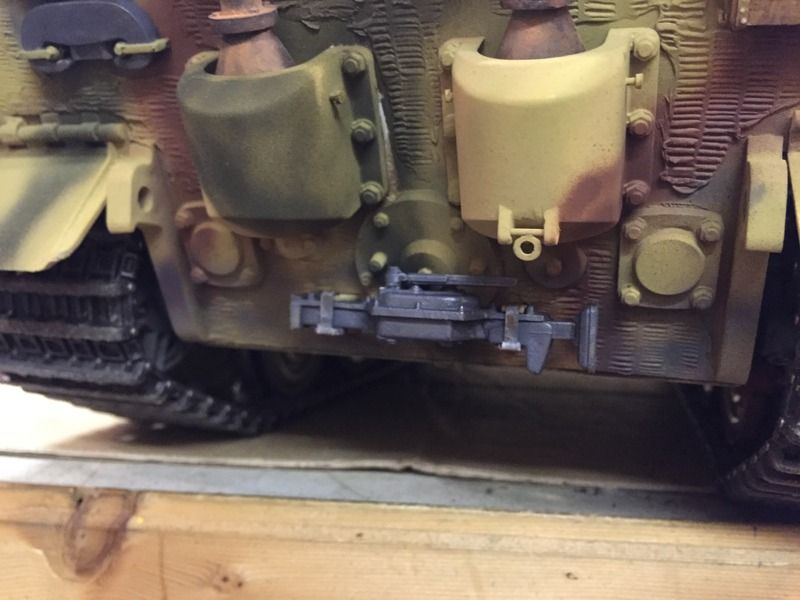
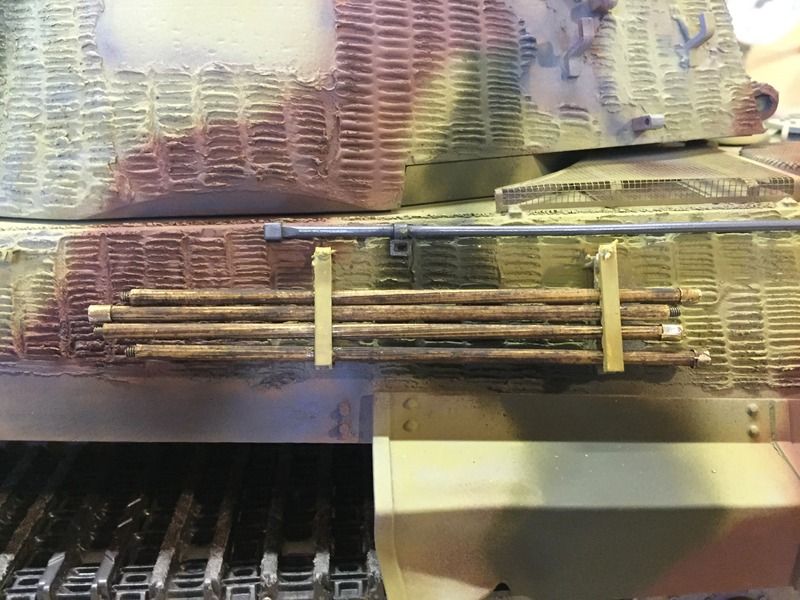
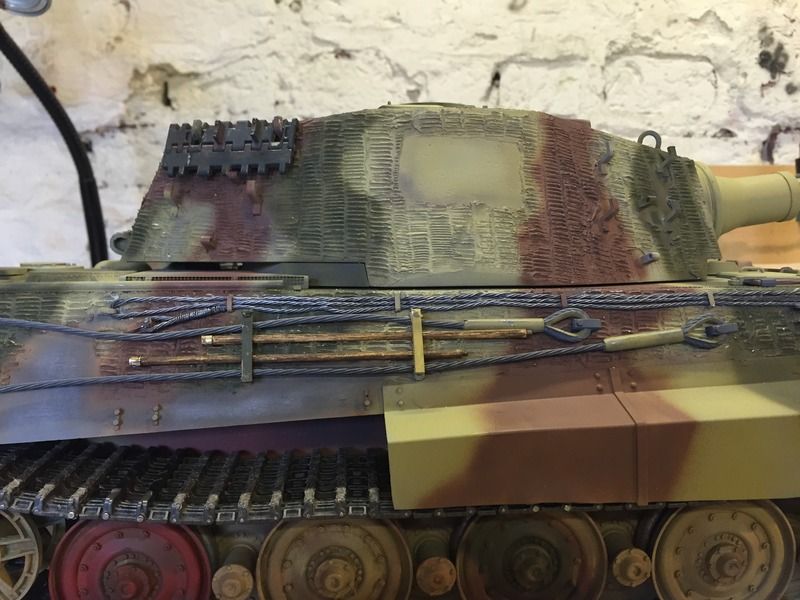
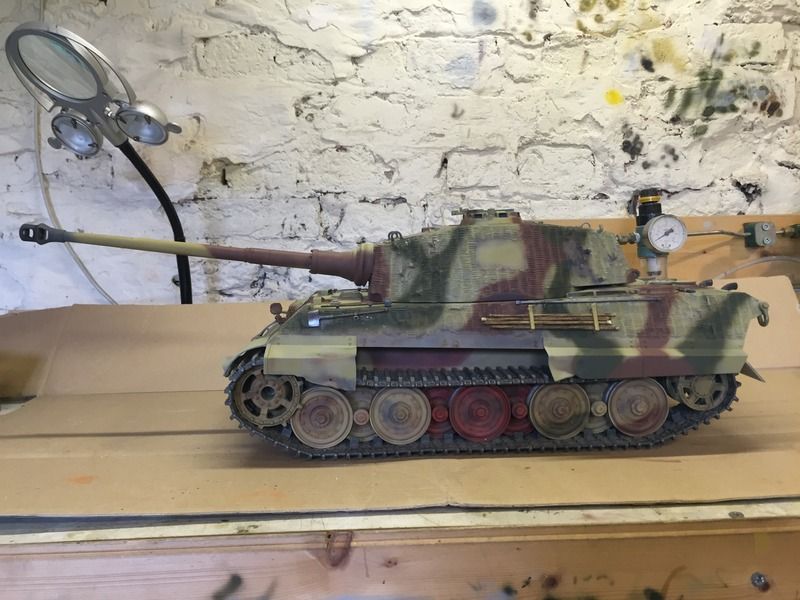
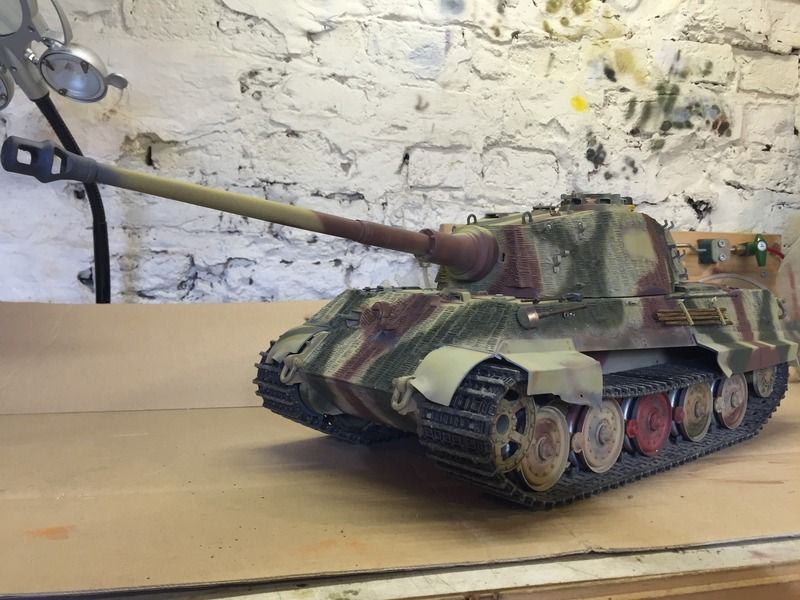
Tools fitted, and here's where it was this morning.

Image

Image

Image

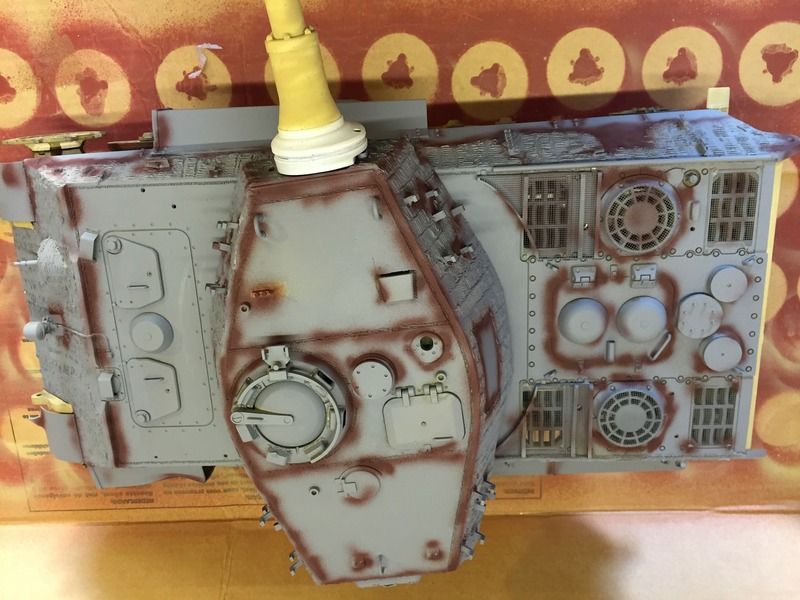
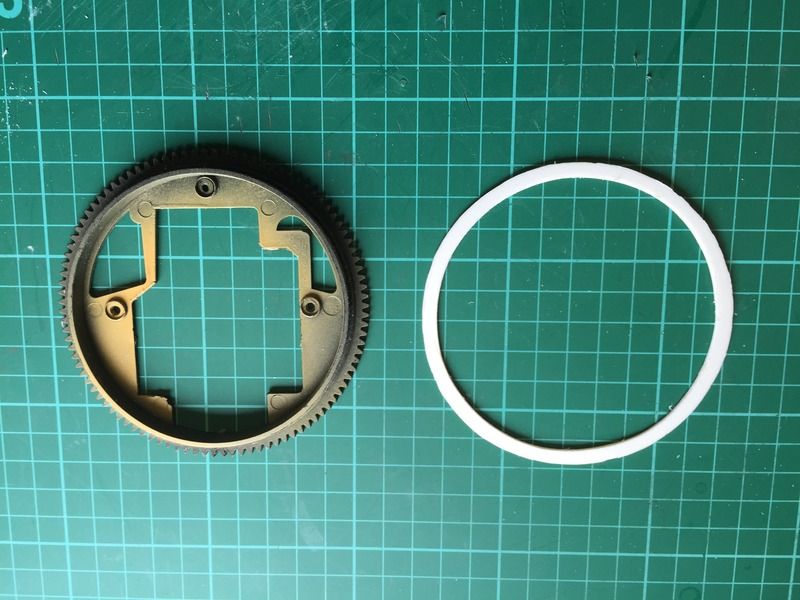
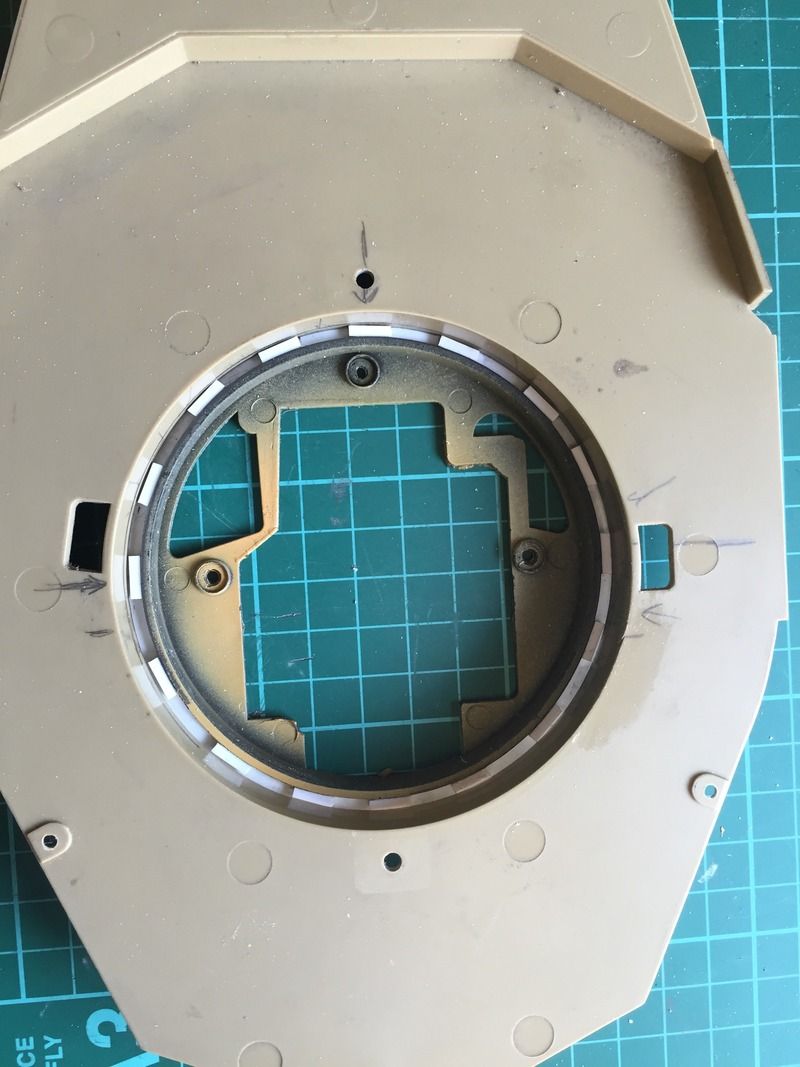
Sooo, I started giving some serious thought of how to run the wiring inside the hull, when I started to think that the original turret turning gear was taking up a awful lot of space. Wouldn't it be nice to fit the Heng Long style system instead, thinks I. Now it just happens that I have a old Heng Long Tiger that I brought of E-Bay that was advertised as a non runner for spares or repair. The turret motor worked ok and the large gear could be made to fit on my turret.

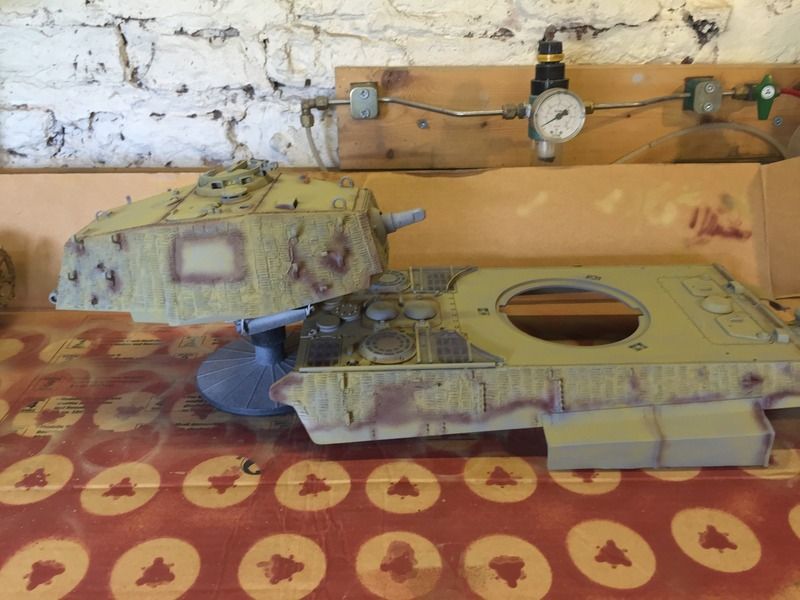
First up, the hole in the hull is bigger that the turret fixing ring, so a reduction spacer was made from 2mm plastic card.

Image

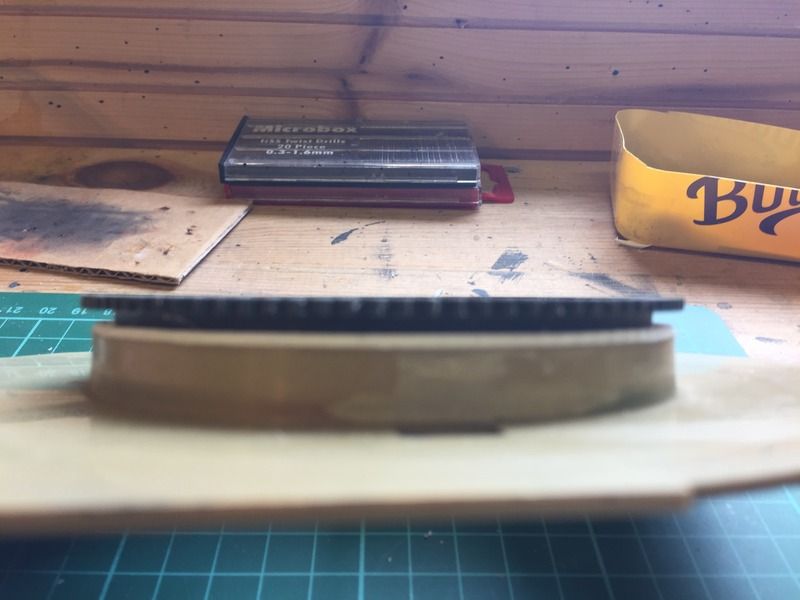
This spacer was then centred by a mark 1 eyeball, and glued into place.

Image

Image
riggy15
Private
Posts: 68
Joined: Fri Feb 22, 2013 9:04 pm
Location: Near Scunthorpe

Re: Old Tamiya King Tiger Re-build

Post by riggy15 »

I now had to fit the turning gear to my turret, first I made another spacer from 2mm card to lower the cogs from the bottom of my turret ring.

Image

Image

To centre this unit, I just glued in some square rod as spacers

Image

Next up, a fixing bracket glued inside the turret ring.
Image

All I have to do now is drill and tap some fixing holes, and fit the motor under the hull, then re-design my control gear location --------- paaaah :crazy:

More later
Martyn
Post Reply

Return to “Tamiya Builds”