Page 1 of 2

Pershing restoration.

Posted: Thu Aug 29, 2013 8:37 pm
by tomhugill
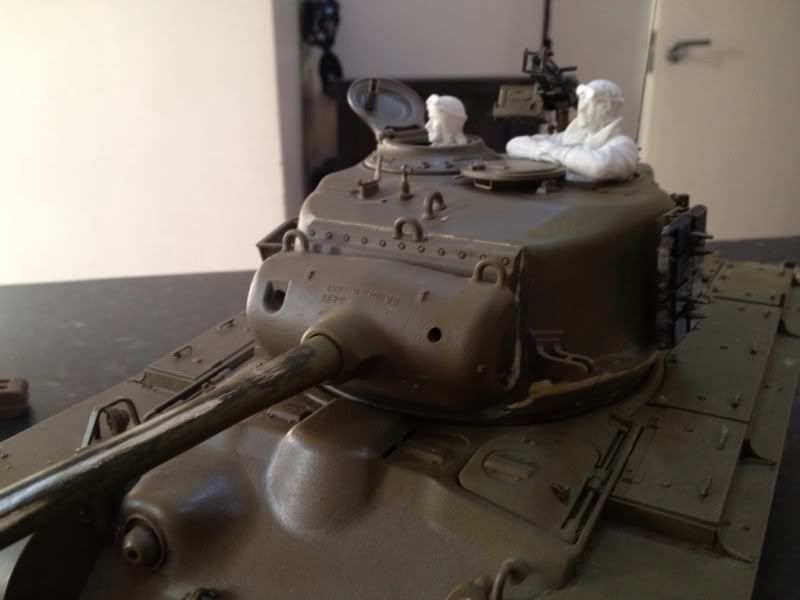
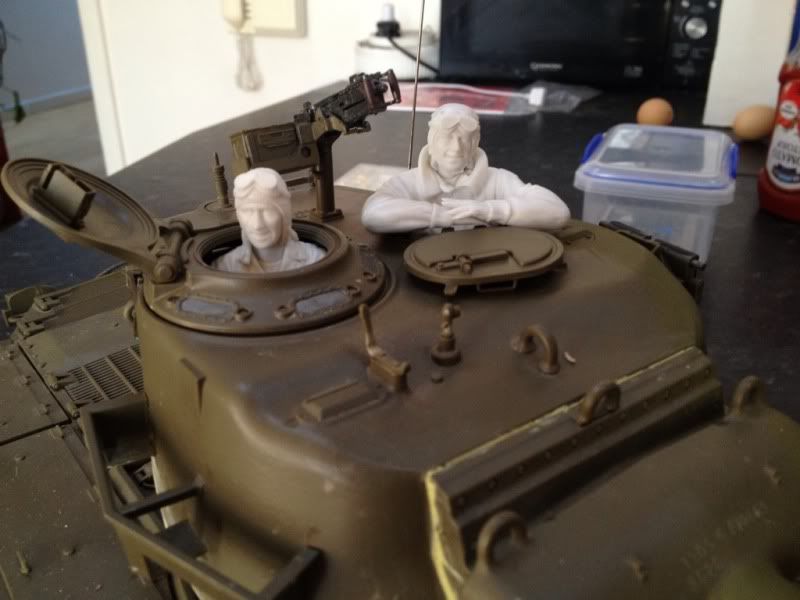
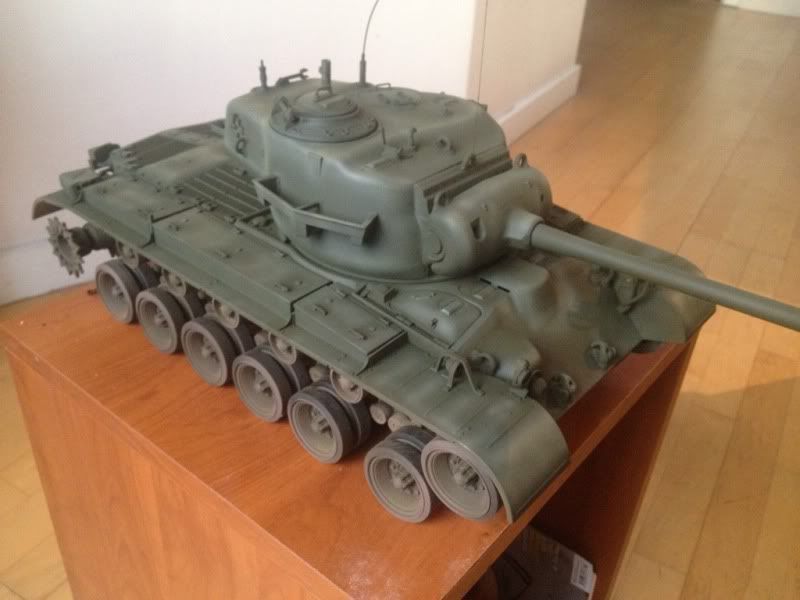
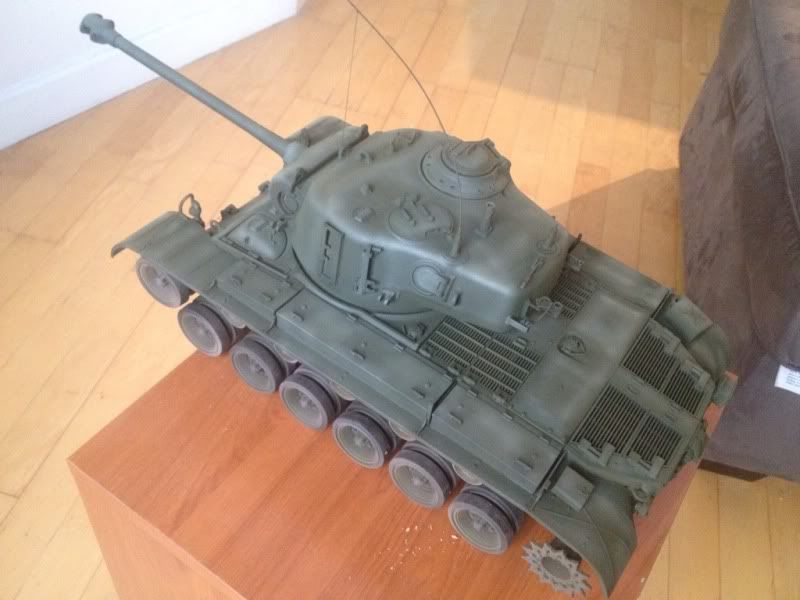
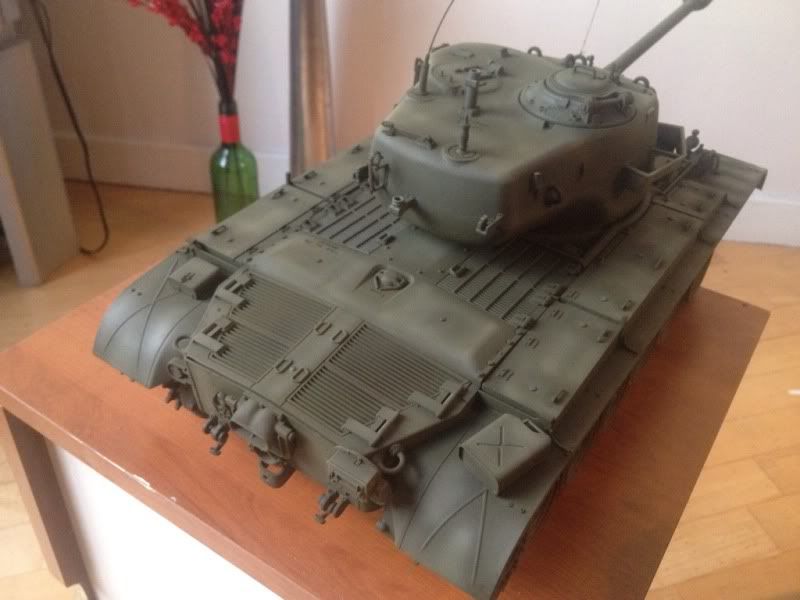
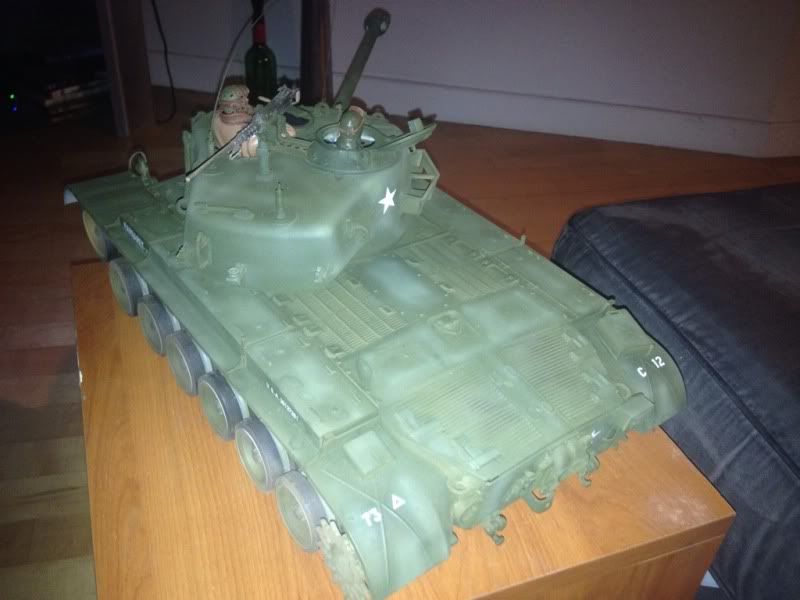
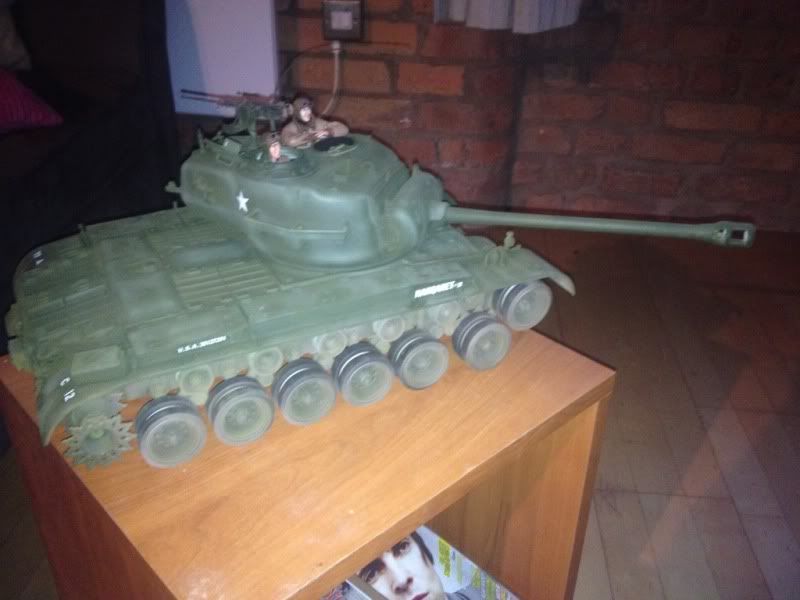
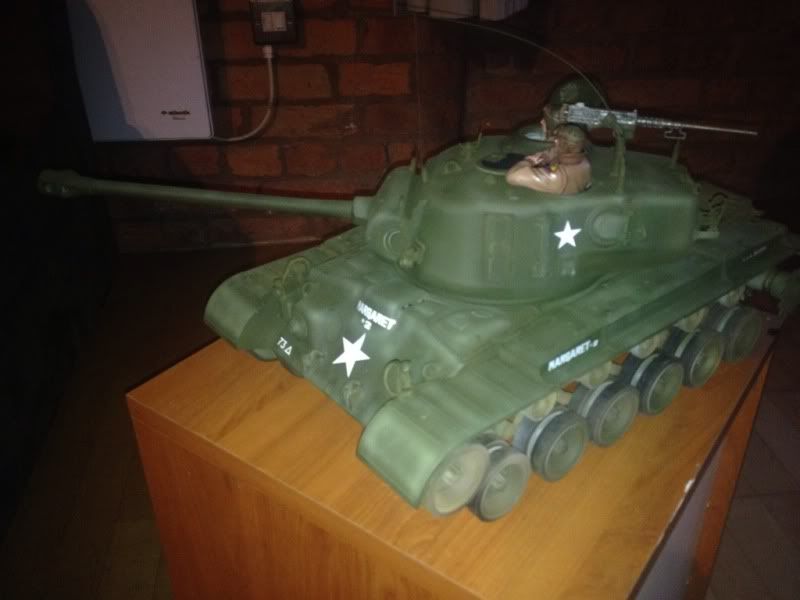
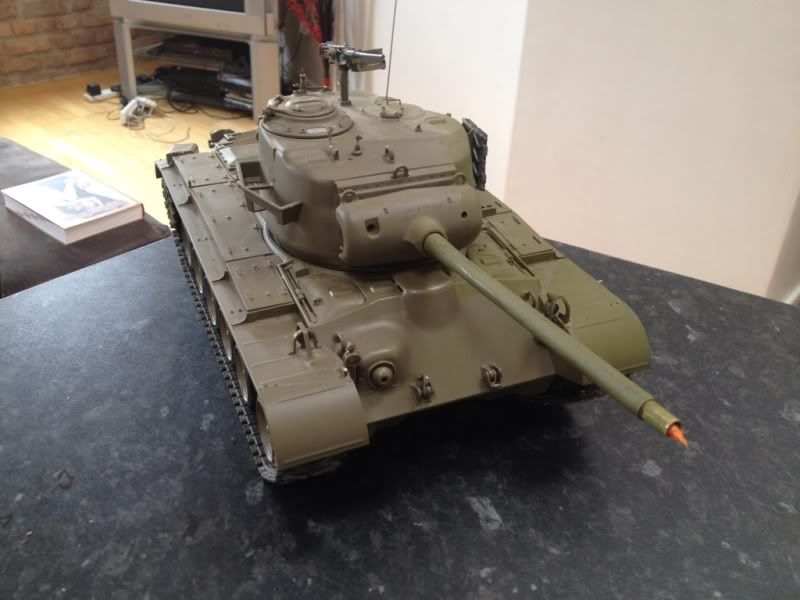
Having taken the opportunity pick up a cheap second hand Pershing I have finally joined the western allies. Now I have virtually no knowledge of the Pershing but I have been looking at some super Pershing builds and this might be an option!

There are a couple of bits missing and the odd broken grab handle but it's in good nick and most importantly drives well. Very impressed with the engineering in this, was sceptical about the plastic lower hull but it's been done very well, arguably better than the Leo!

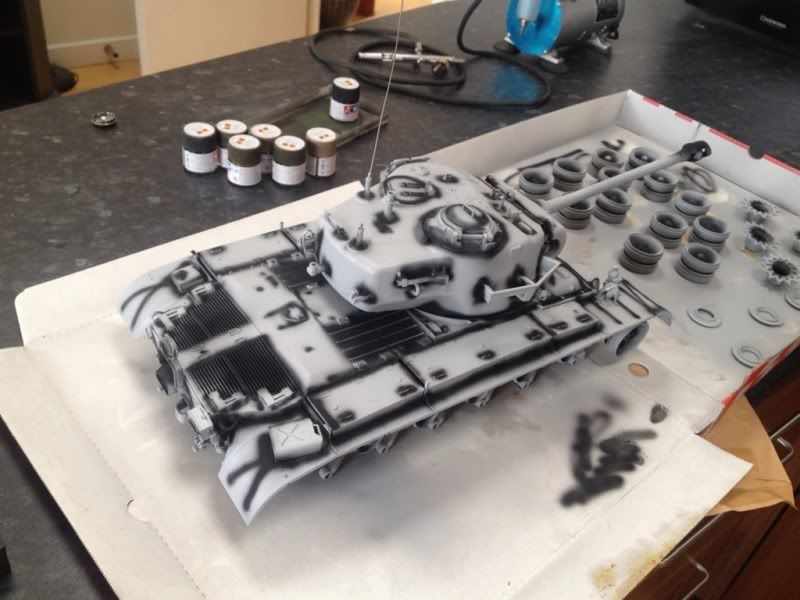
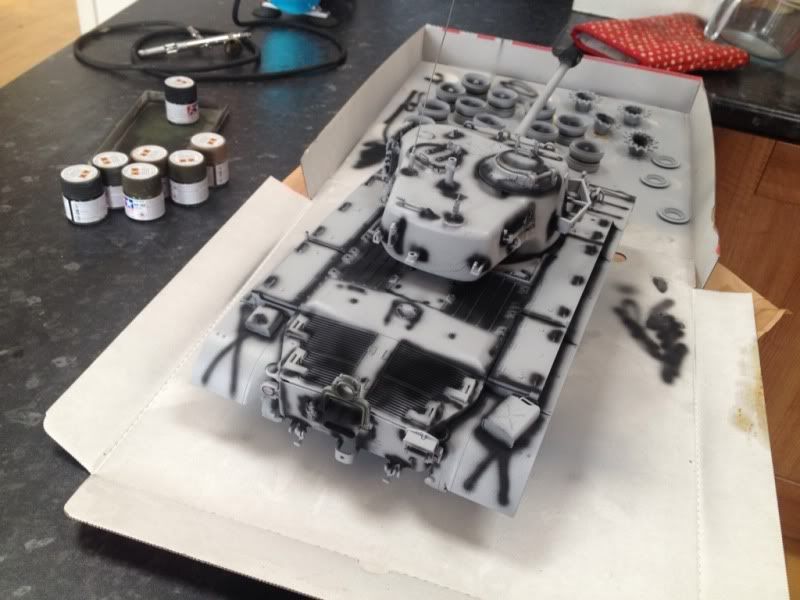
So here's what I've got to work with, the previous owner started to apply a shade of OD but seems to have done about 1/3 before giving up!

Image
Image
Image
Image
Image

Re: Pershing restoration.

Posted: Thu Aug 29, 2013 8:37 pm
by tomhugill
Started to work properly on the pershing, major things to sort out where the muzzle break, all the gaps left from whoever built it and finally adding the detailed grab handles for the stowage boxes.

The muzzle break has been adapted from a king tiger one Ad lav sold me. Its not going to pass the rivet counters but its a fairish representation from a distance! I had to fill the inside of the muzzle break so I could file away what was needed:

Image
Image
Image
Image

Next up came the grab handles
Image
Image

And finally sorting out the join on the turret:
Image#

Re: Pershing restoration.

Posted: Thu Aug 29, 2013 8:37 pm
by tomhugill
Today some new bits arrived, a pair of crew from sol models. I have to say they are spot on. Castings fit perfectly, detail excellent and very lifelike sculpts. They also fit very well on my m-26 turret!

Image
Image
Image

Re: Pershing restoration.

Posted: Thu Aug 29, 2013 8:38 pm
by tomhugill
Well I've finally pulled my finger out and got down to the fine detailing. I never want to see a weld line ever again...somehow this was worse than the hand made zimm on my porsche KT!

In addition to the weld lines I've replaced some missing bits and bobs with stuff from the HL model. I've also tried to remodel the muzzle break for more accuracy

Pics!

Image
Image
Image
Image
Image
Image
Image
Image
Image
Image
Image

Re: Pershing restoration.

Posted: Thu Aug 29, 2013 9:14 pm
by Red Devils
Excellent looking M26 Tom, looking at your tank makes me want one. Well done sir...

Derek

Re: Pershing restoration.

Posted: Thu Aug 29, 2013 9:39 pm
by Wildboar44
Im with you there Derek.... never really seen a Pershing up close , I am truly impressed with the level of detail , casting numbers , latches ect....

Thanks for showing :thumbup:

Re: Pershing restoration.

Posted: Thu Aug 29, 2013 9:59 pm
by PainlessWolf
The Pershing is such a good looking tank. This one is being brought back very nicely! The detailing that you have added is fantastic!
regards,
Painless Wolf

Re: Pershing restoration.

Posted: Wed Sep 04, 2013 9:00 pm
by tomhugill
As requested by Alan paint:

I primed her using tamiya surface primer, good stuff really sticks well! Now I've never painted olive drab, but pre shading worked out ok on my t55 so I gave it another bash here.

Image
Image

At this point thisgs where going well, however disaster struck. The airbrush exploded filter all over it pretty much ruining it. So I took a different approach. Five layer colour modulation (which IMO is nothing more than airbrushed highlights but hey what do I know!).

Image
Image
Image

Next up I applied a filter to dull down the highlights and applied the decals: (sorry for the flash)

Image
Image
Image
Image

Next up comes the weathering!

Re: Pershing restoration.

Posted: Wed Sep 04, 2013 9:34 pm
by PainlessWolf
Good Afternoon,
It is looking better and better with each step of the restoration. *two thumbs up* ;o)
regards,
Painless Wolf

Re: Pershing restoration.

Posted: Sat Sep 07, 2013 6:32 pm
by tomhugill
Some more progress, first job was a pin wash using a mix of ak interactive nato wash and filter for tricolour camo:

Image

Image

Image

Image

Next stage was to added some rain streaking and shading to the rear deck:

Image

Image

Next came the mud and general grime:

Image

Image

Image

Image

Image

Finally painted and weathered the tracks:

Image

Image

Image

Image

Image

Image

Image

Image

Still some little details to add such as ammo belts and some more stowage!