ska2d2's Panzer III Build
Posted: Thu Mar 14, 2013 10:54 pm
Hello! Here as promised are some photos of my progress so far. I hope its of some interest and help! I've started with the Aisatam/Taigen hull. Before working on the hull i spray painted it using an etch primer. This is available from any car spares shop. The paint has a small amount of acid mixed with it so that on a microscopic level it bonds with the surface its being applied to. This is especially good when spraying onto alloys.
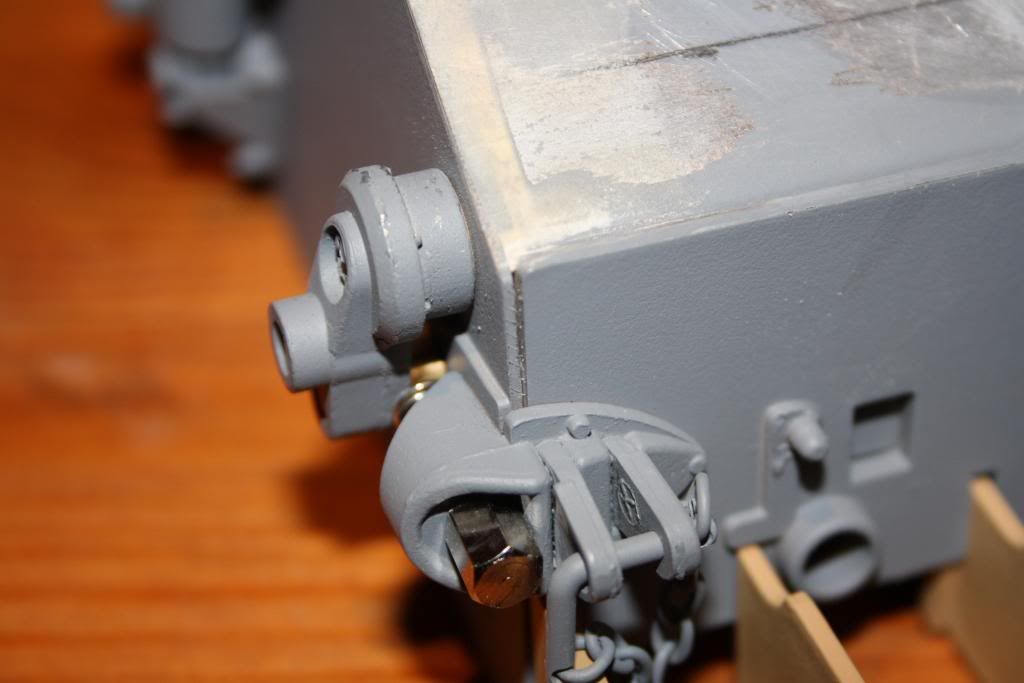
The first thing i noticed on closer inspection of the hull are the slightly unsightly gaps at the front.
I filled and sanded them down with some 'super light filler'. Its the type that you mix in two parts, filler and hardener. The beauty of using this type of filler is that you only have to wait 15 minutes before sanding!

As you can see its already looking better.
The next stage was to add some weld beads. In order to do this i rolled some thin lines of 'Milliput'. About 1mm to 2mm seemed about right. If you roll the 'Milliput' on some cardboard and rub talc onto your finger tips as your doing it, it stops it sticking to them. Once you have the approximate width, wet the area you intend to apply it to for adhesion. Once in position gently tamp it down with a wet paintbrush. Now for the fun bit! I used some 2mm brass tube as a home made tool to get the desired effect. You need to cut the very end of the tube down the middle and remove the top half.(see diagram).

Using this tool work your way along the 'Milliput' in the desired direction. A another application of water afterwards will smooth the finish.

Next the rear quarters.

A little 'milliput' and two part filler once again.

The next thing i tackled was the inspection plates? on the lower hull. On the 'Heng Long' model they are a little on the heavy side and in the wrong position.(see photo).

I remodelled these with some plasticard. The hex bolts were made from shaped styrene rod. For positioning i used the excellent scale drawings in the 'Photosniper-Panzer III AUSF.J/L/M' Reference book.

Last but not least,(for now), i added some exhaust brackets, made from a cat food tin. Washed!

Right! School day tomorrow so thats all for now folks!
The first thing i noticed on closer inspection of the hull are the slightly unsightly gaps at the front.

I filled and sanded them down with some 'super light filler'. Its the type that you mix in two parts, filler and hardener. The beauty of using this type of filler is that you only have to wait 15 minutes before sanding!

As you can see its already looking better.
The next stage was to add some weld beads. In order to do this i rolled some thin lines of 'Milliput'. About 1mm to 2mm seemed about right. If you roll the 'Milliput' on some cardboard and rub talc onto your finger tips as your doing it, it stops it sticking to them. Once you have the approximate width, wet the area you intend to apply it to for adhesion. Once in position gently tamp it down with a wet paintbrush. Now for the fun bit! I used some 2mm brass tube as a home made tool to get the desired effect. You need to cut the very end of the tube down the middle and remove the top half.(see diagram).

Using this tool work your way along the 'Milliput' in the desired direction. A another application of water afterwards will smooth the finish.

Next the rear quarters.

A little 'milliput' and two part filler once again.

The next thing i tackled was the inspection plates? on the lower hull. On the 'Heng Long' model they are a little on the heavy side and in the wrong position.(see photo).

I remodelled these with some plasticard. The hex bolts were made from shaped styrene rod. For positioning i used the excellent scale drawings in the 'Photosniper-Panzer III AUSF.J/L/M' Reference book.

Last but not least,(for now), i added some exhaust brackets, made from a cat food tin. Washed!

Right! School day tomorrow so thats all for now folks!