Page 8 of 10
Re: Sherman M4A1 with cast in appliqué armor using photogrammetry
Posted: Wed Nov 06, 2024 10:08 am
by MonsieurTox
Raminator wrote: ↑Sun Oct 27, 2024 2:50 am
Absolutely stunning work, Mssr. Tox! Some next-level accuracy and authenticity, I love seeing the marriage of classic and modern modelling techniques. Everything's so crisp and well-textured!
Herr Dr. Professor wrote: ↑Sun Oct 27, 2024 5:36 pm
Monsieur Tox: I continue to admire your work and its results in this, my lasting image of the Sherman, an image affixed over a half-century ago in my 13-year-old pea brain. Thank you for the photos. Great cheers to you for your design and building patience, skill, and knowledge,
Thank you both !
The Sherman always has been one of my fav, I've seen so many of them since I'm a kid with all my annual trip to Normandie. And the little Heller kit (with LCM !) I built as a kid, so many memories !
I'm planning to mold and cast the turret so for my next Sherman (M4A4 probably), it won't be as much work. And maybe I'll do another turret with no applique armor to make a North African M4A1 in the future !
Re: Sherman M4A1 with cast in appliqué armor using photogrammetry
Posted: Fri Nov 08, 2024 8:02 am
by MonsieurTox
Re: Sherman M4A1 with cast in appliqué armor using photogrammetry
Posted: Sat Dec 07, 2024 9:59 am
by MonsieurTox
Some updates.
Lots of small jobs done, but that the most time consuming as I'm modelling every parts in 3D even if they're not 3D printed.
This is the ball mount and the shield of the bow gun. It's made like the original and thus can move the same way.

- M4A1_90.jpg (475.79 KiB) Viewed 2135 times
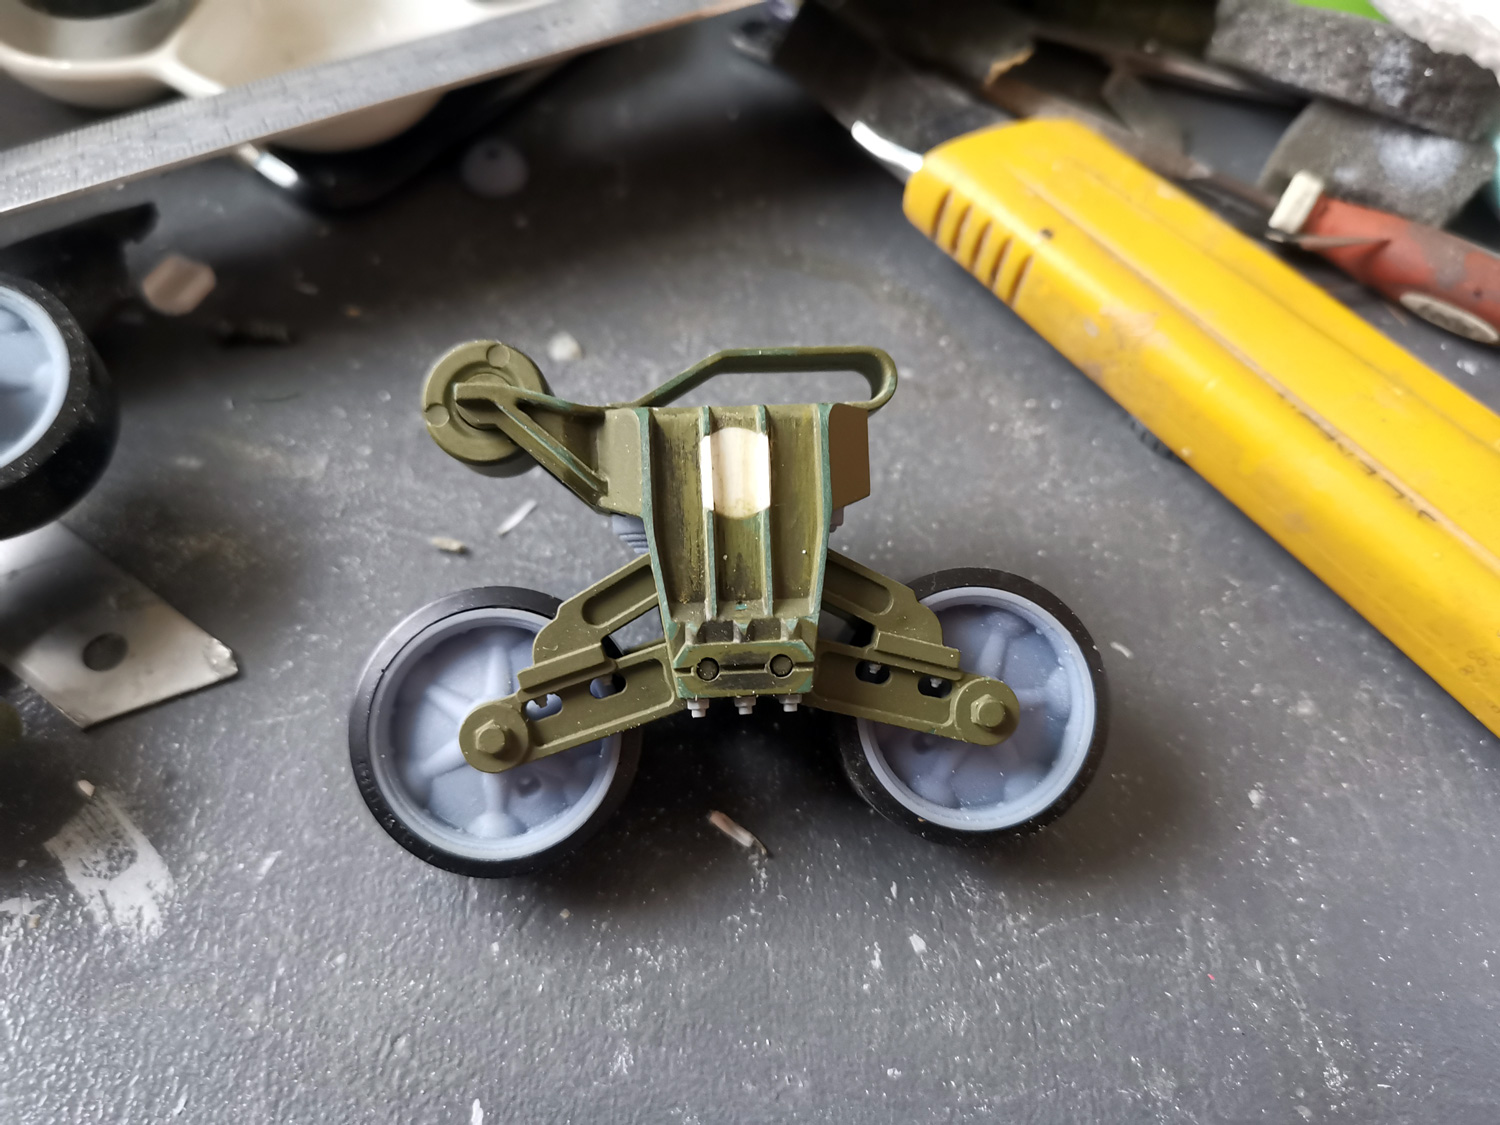
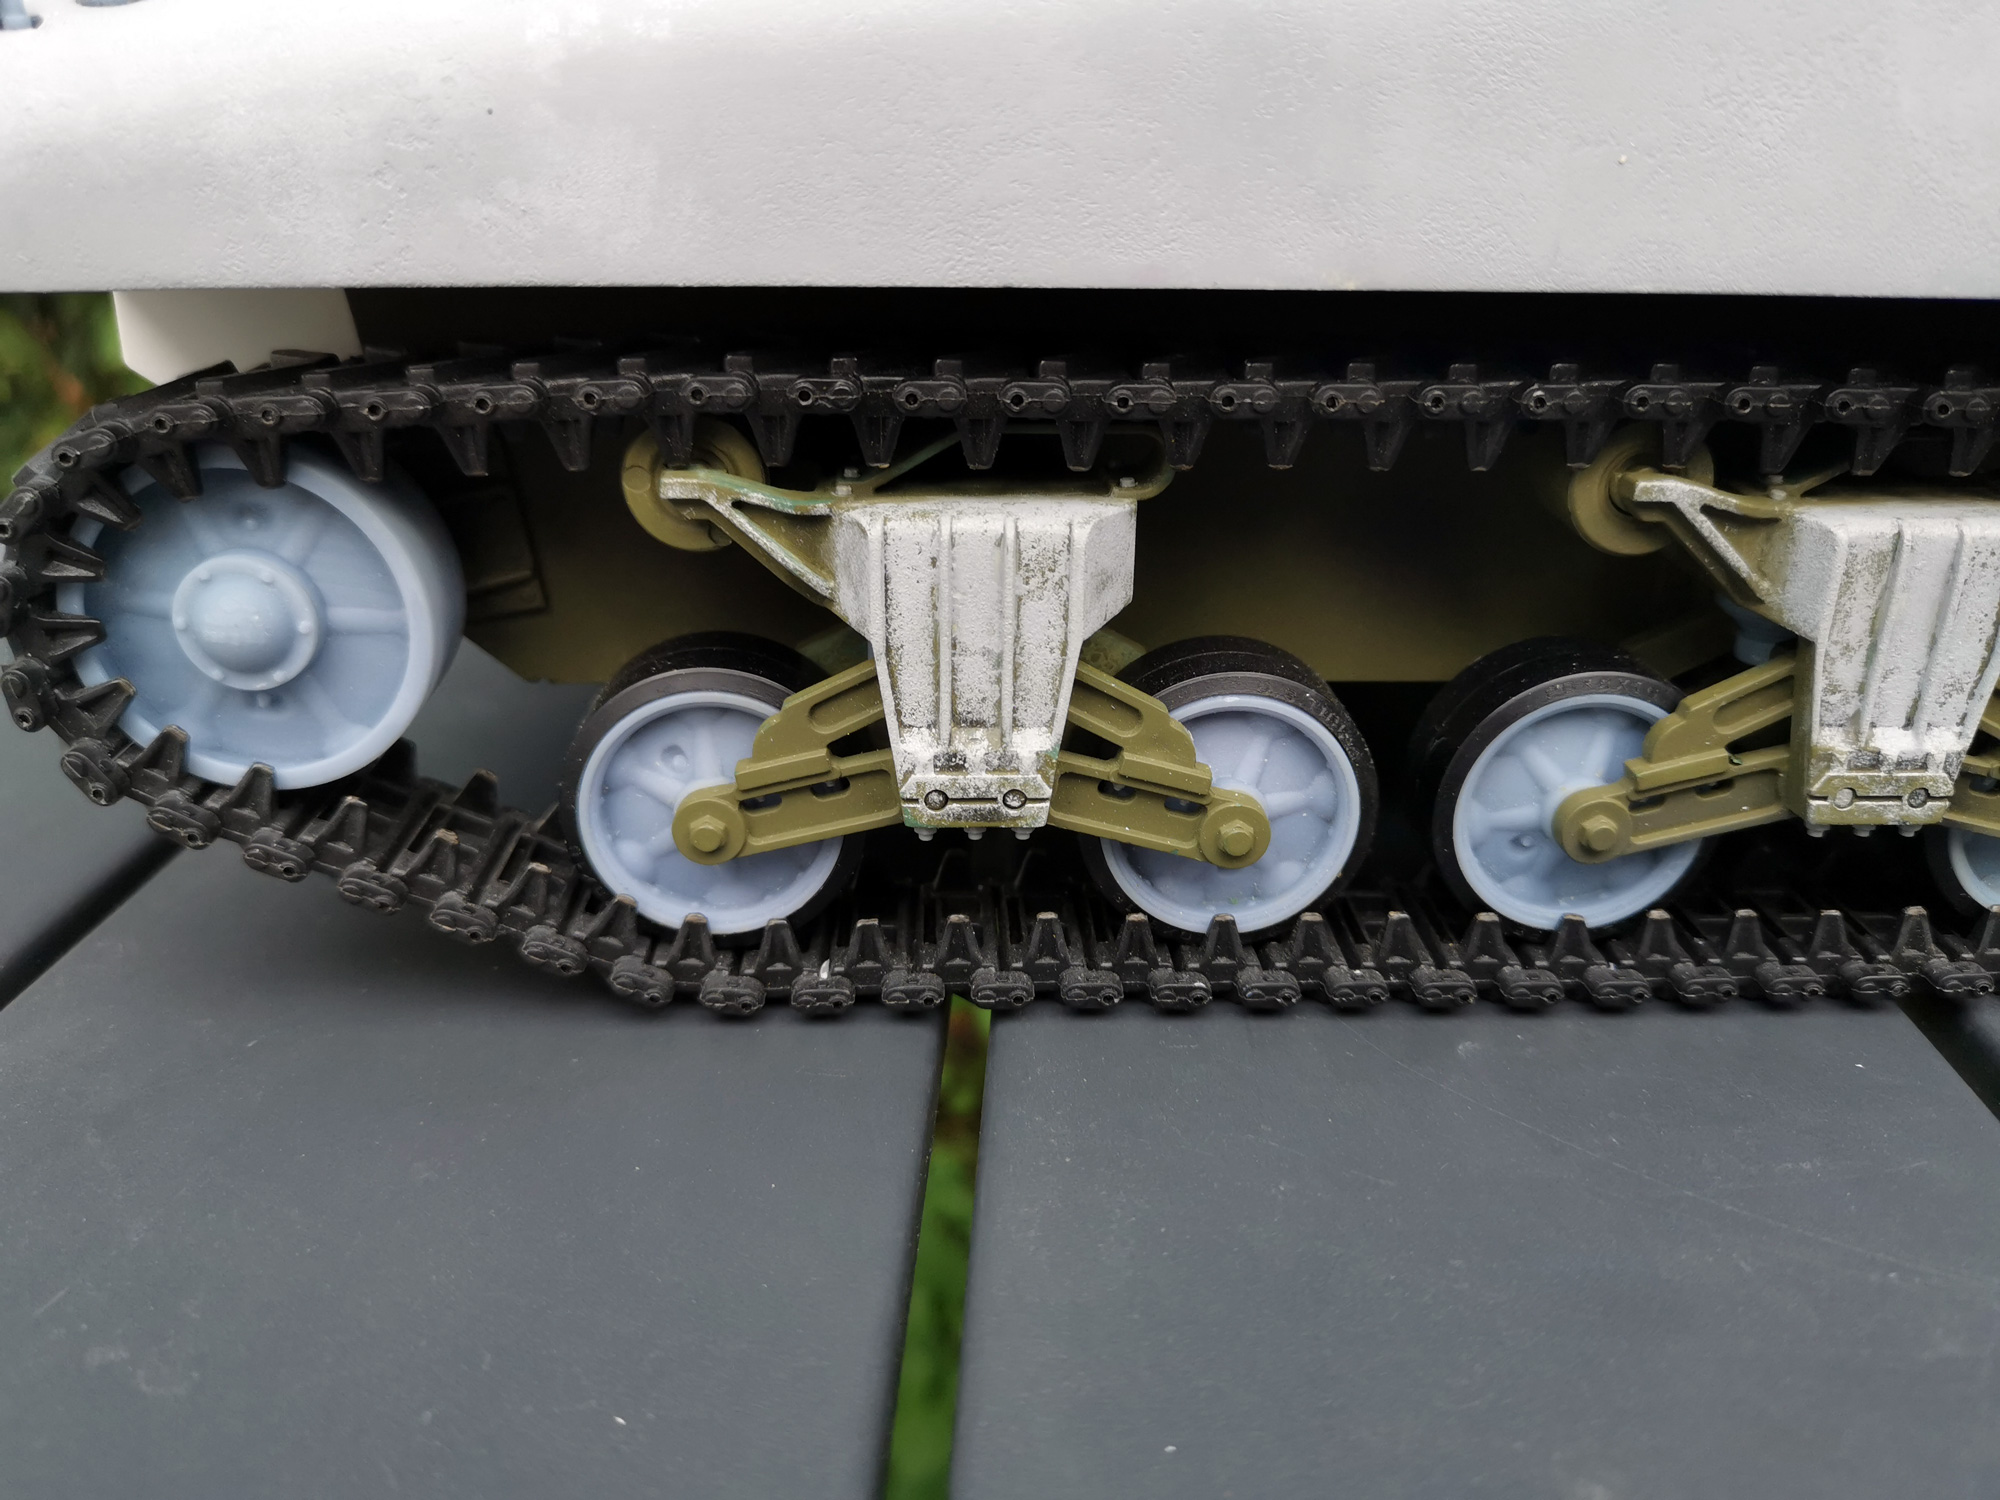
I spent some time on the HL suspension units. They're far from perfect so I thought I could improve them a bit. First step was to fill the screw hole. They will be permanently glued to the chassis. Then I added several bolts and nuts, and easy way to make them look better. I designed some fake volute springs to conceal a bit the crappy spring of the HL suspensions.
- M4A1_91.jpg (395.58 KiB) Viewed 2135 times
- M4A1_96.jpg (614.92 KiB) Viewed 2135 times
They were textured and 4 holes have been drilled to the front (because there was no right or left casting but only one and the return roller brackets could be bolted either way).
The 1/16 Archer resin casting numbers were too big for the foundry casting numbers of the suspension units so I ordered the 1/35 version to see if I can use them. Maybe they'll be too small, I don't know, I haven't received them as of yet.
Re: Sherman M4A1 with cast in appliqué armor using photogrammetry
Posted: Sat Dec 07, 2024 10:04 am
by MonsieurTox
Re: Sherman M4A1 with cast in appliqué armor using photogrammetry
Posted: Sat Dec 07, 2024 10:12 am
by MonsieurTox
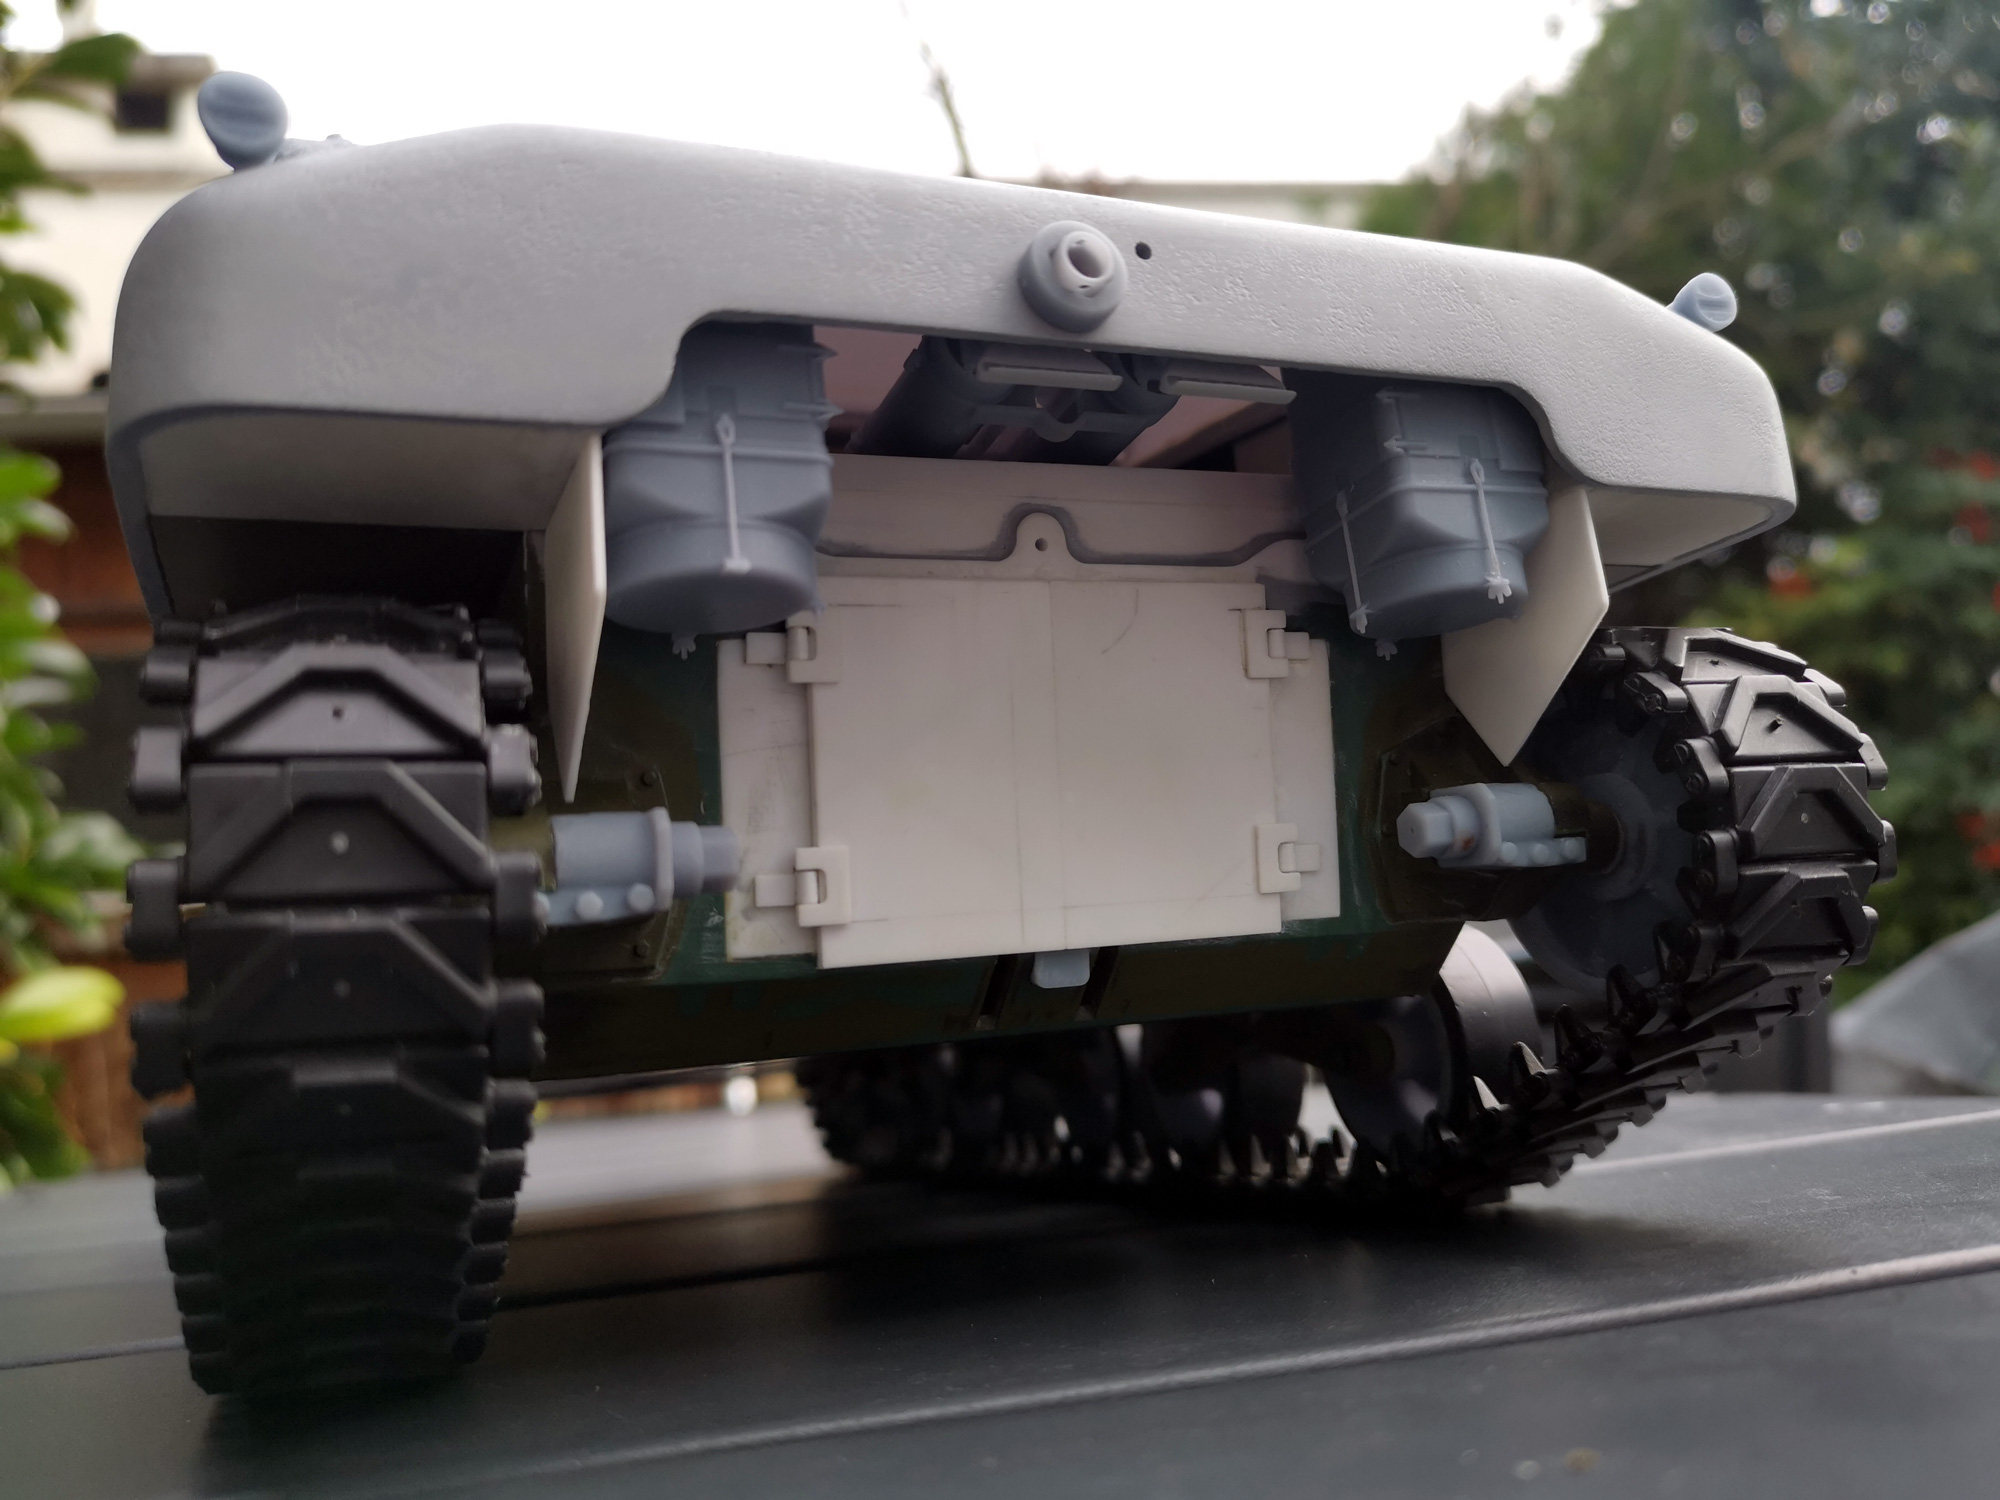
The air cleaners and mufflers in place :

- M4A1_98.jpg (495.84 KiB) Viewed 2134 times
- M4A1_102.jpg (459.67 KiB) Viewed 2134 times
The Muffler turned out pretty well but were tricky to print because of the very small thickness of the walls (0.15mm).
They are hollow and can be plugged to a smoker but to be honest I don't like smokers, it just doesn't like realistic enough to me. But I designed them this way in case I changed my mind and find one that produce realistic smoke.
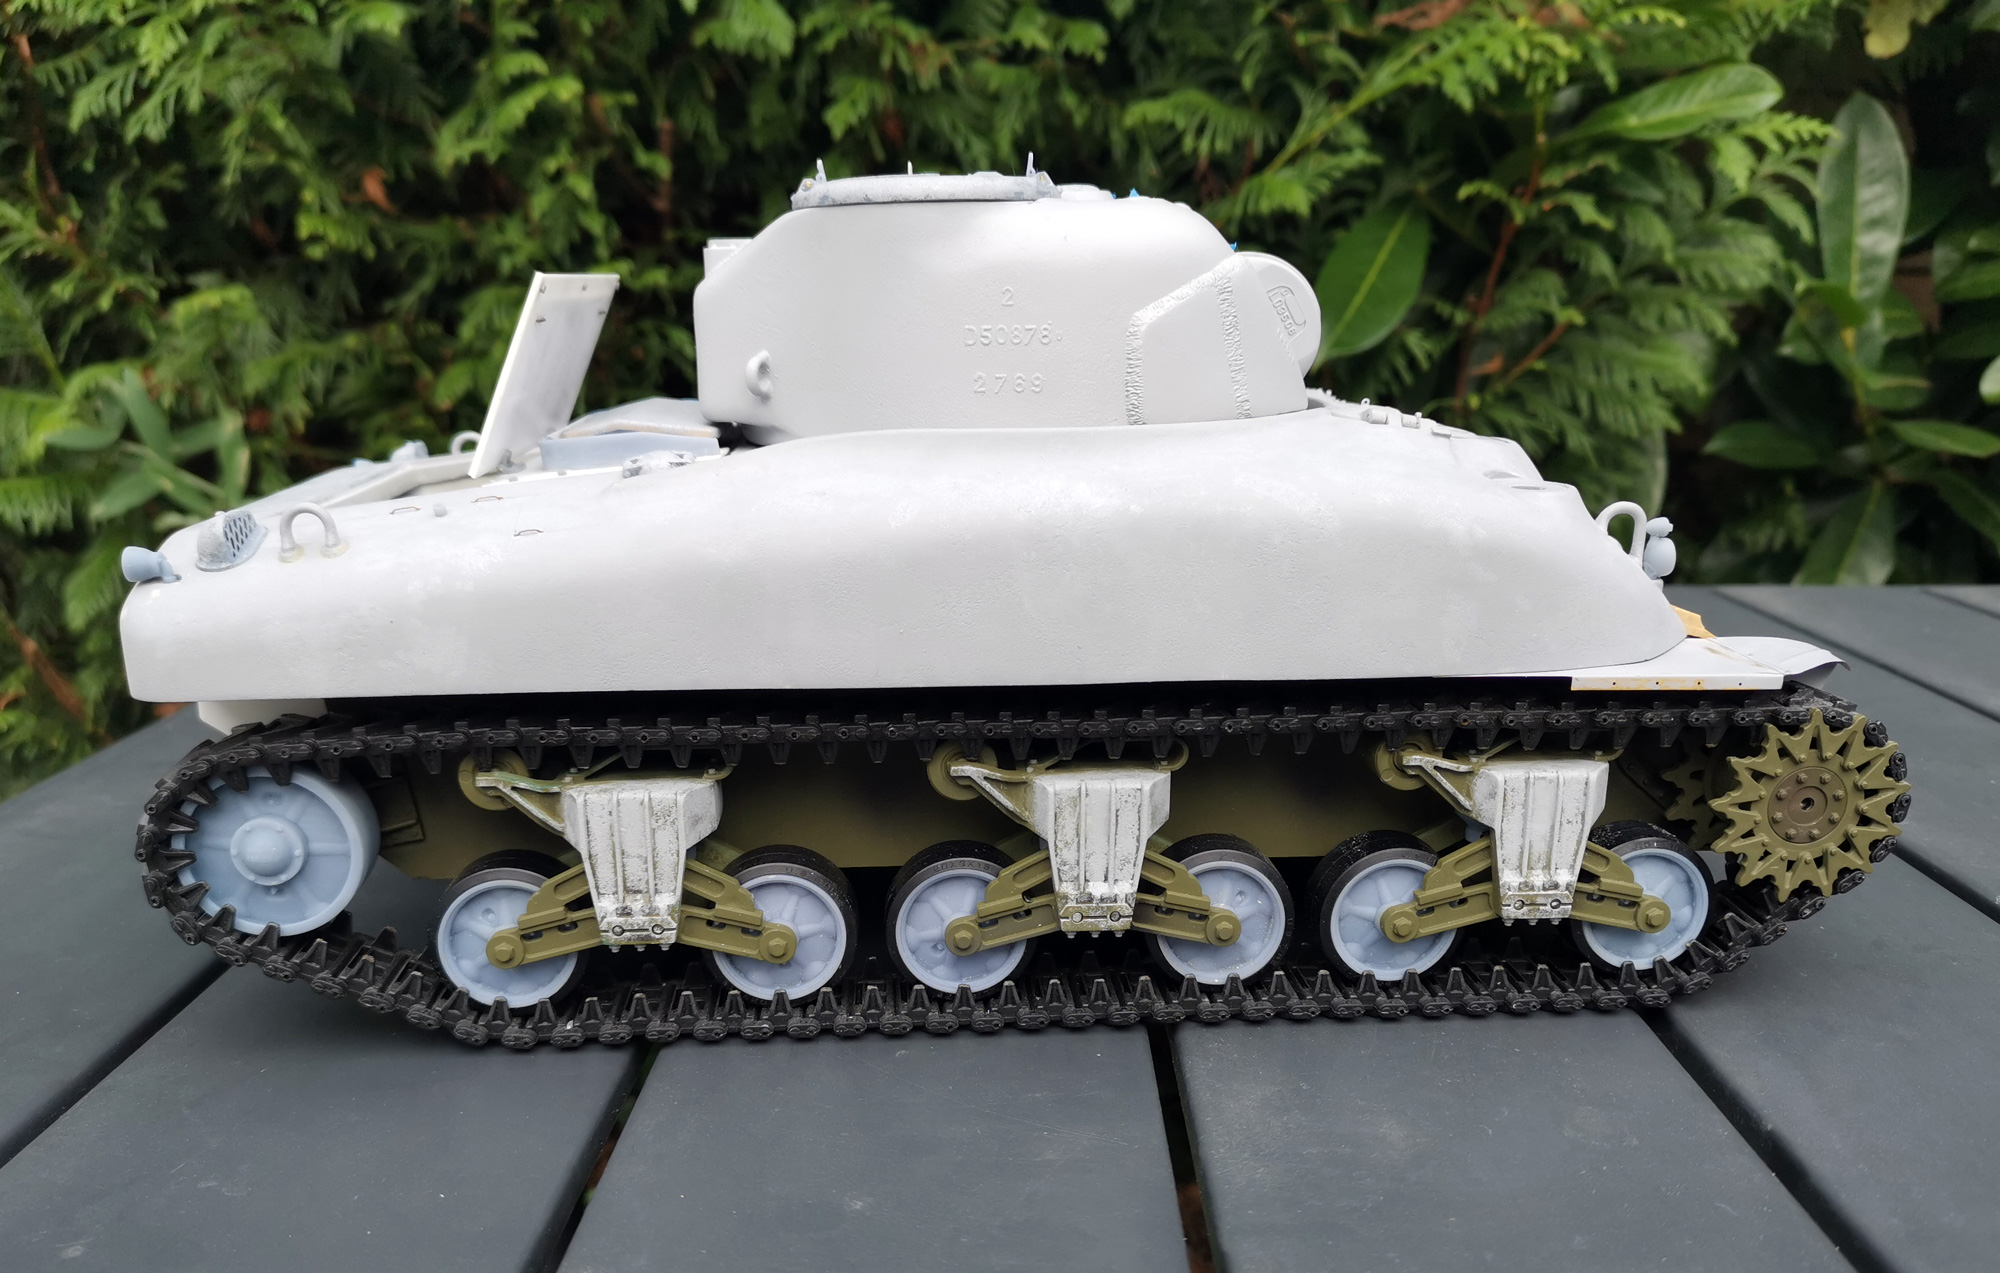
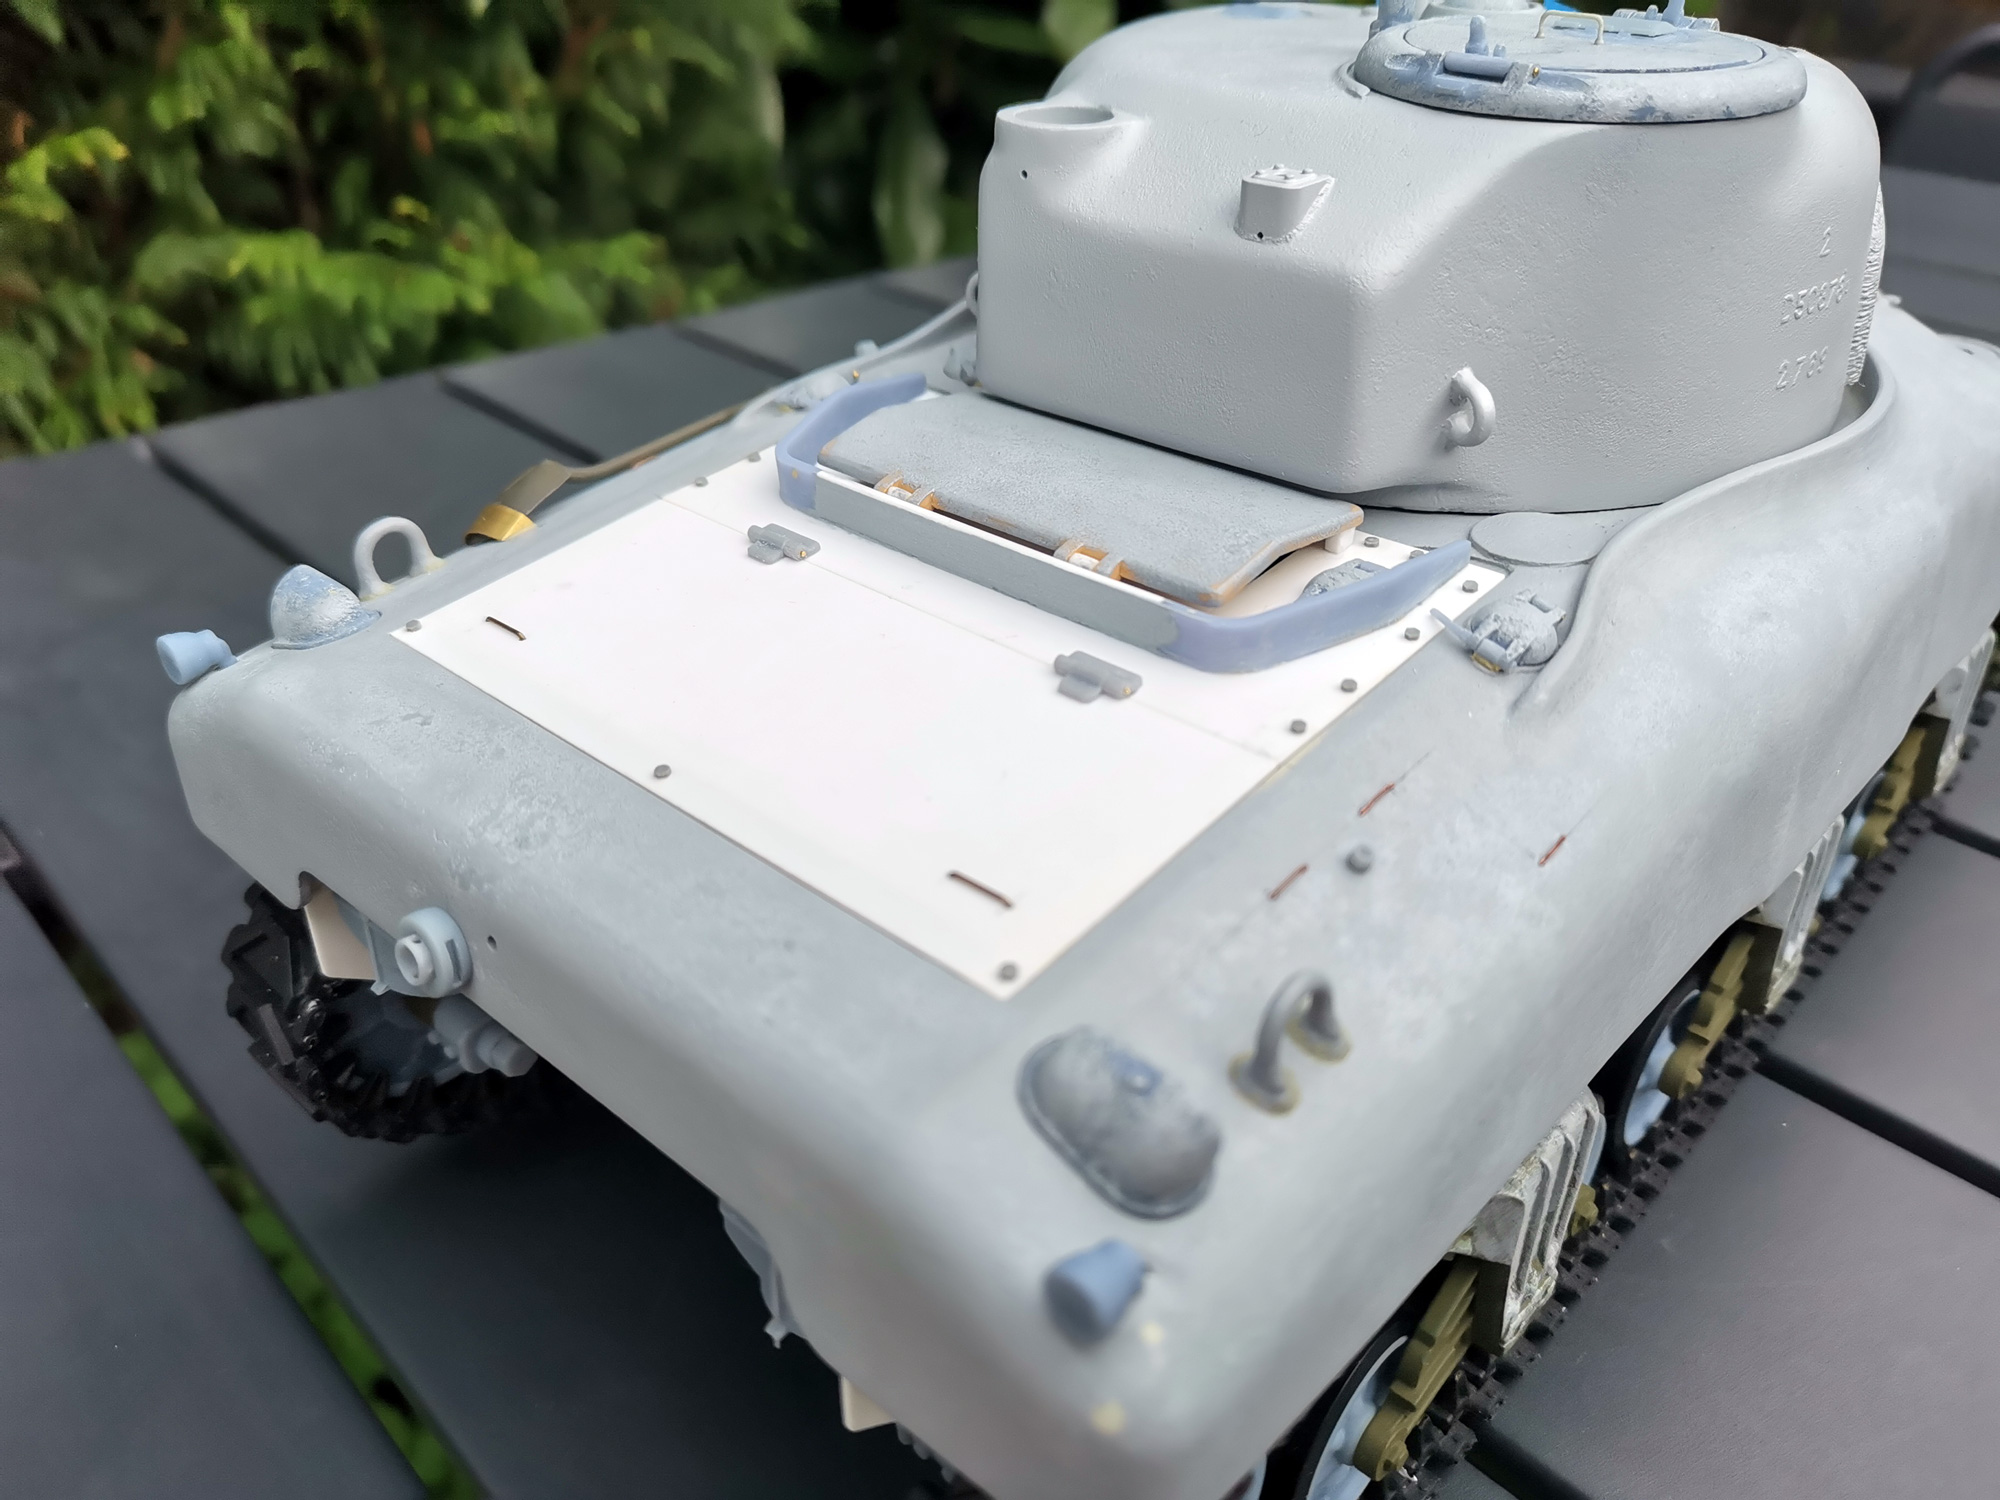
I worked on the engine deck doors. They are now permanently attached to the hull. I designed scale hinged so the rear door can be opened :
- M4A1_95.jpg (632.78 KiB) Viewed 2134 times
- M4A1_97.jpg (576.19 KiB) Viewed 2134 times
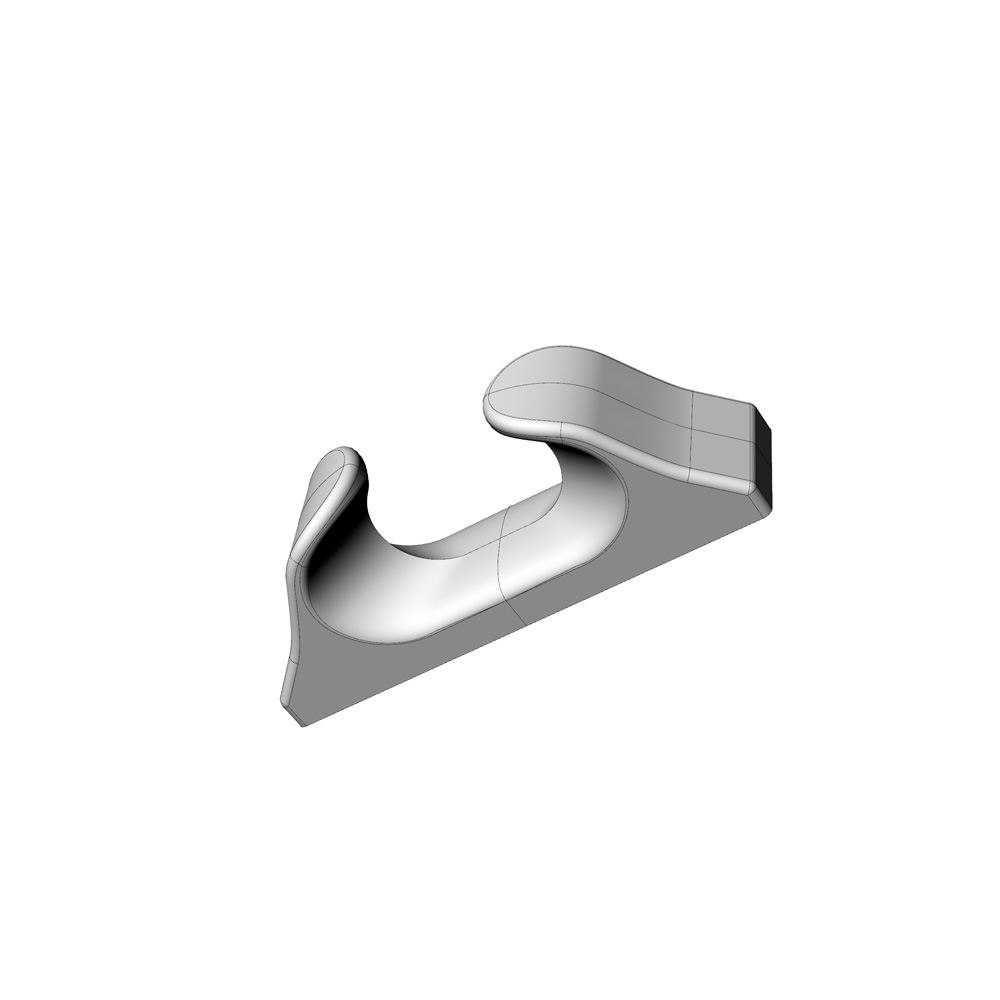
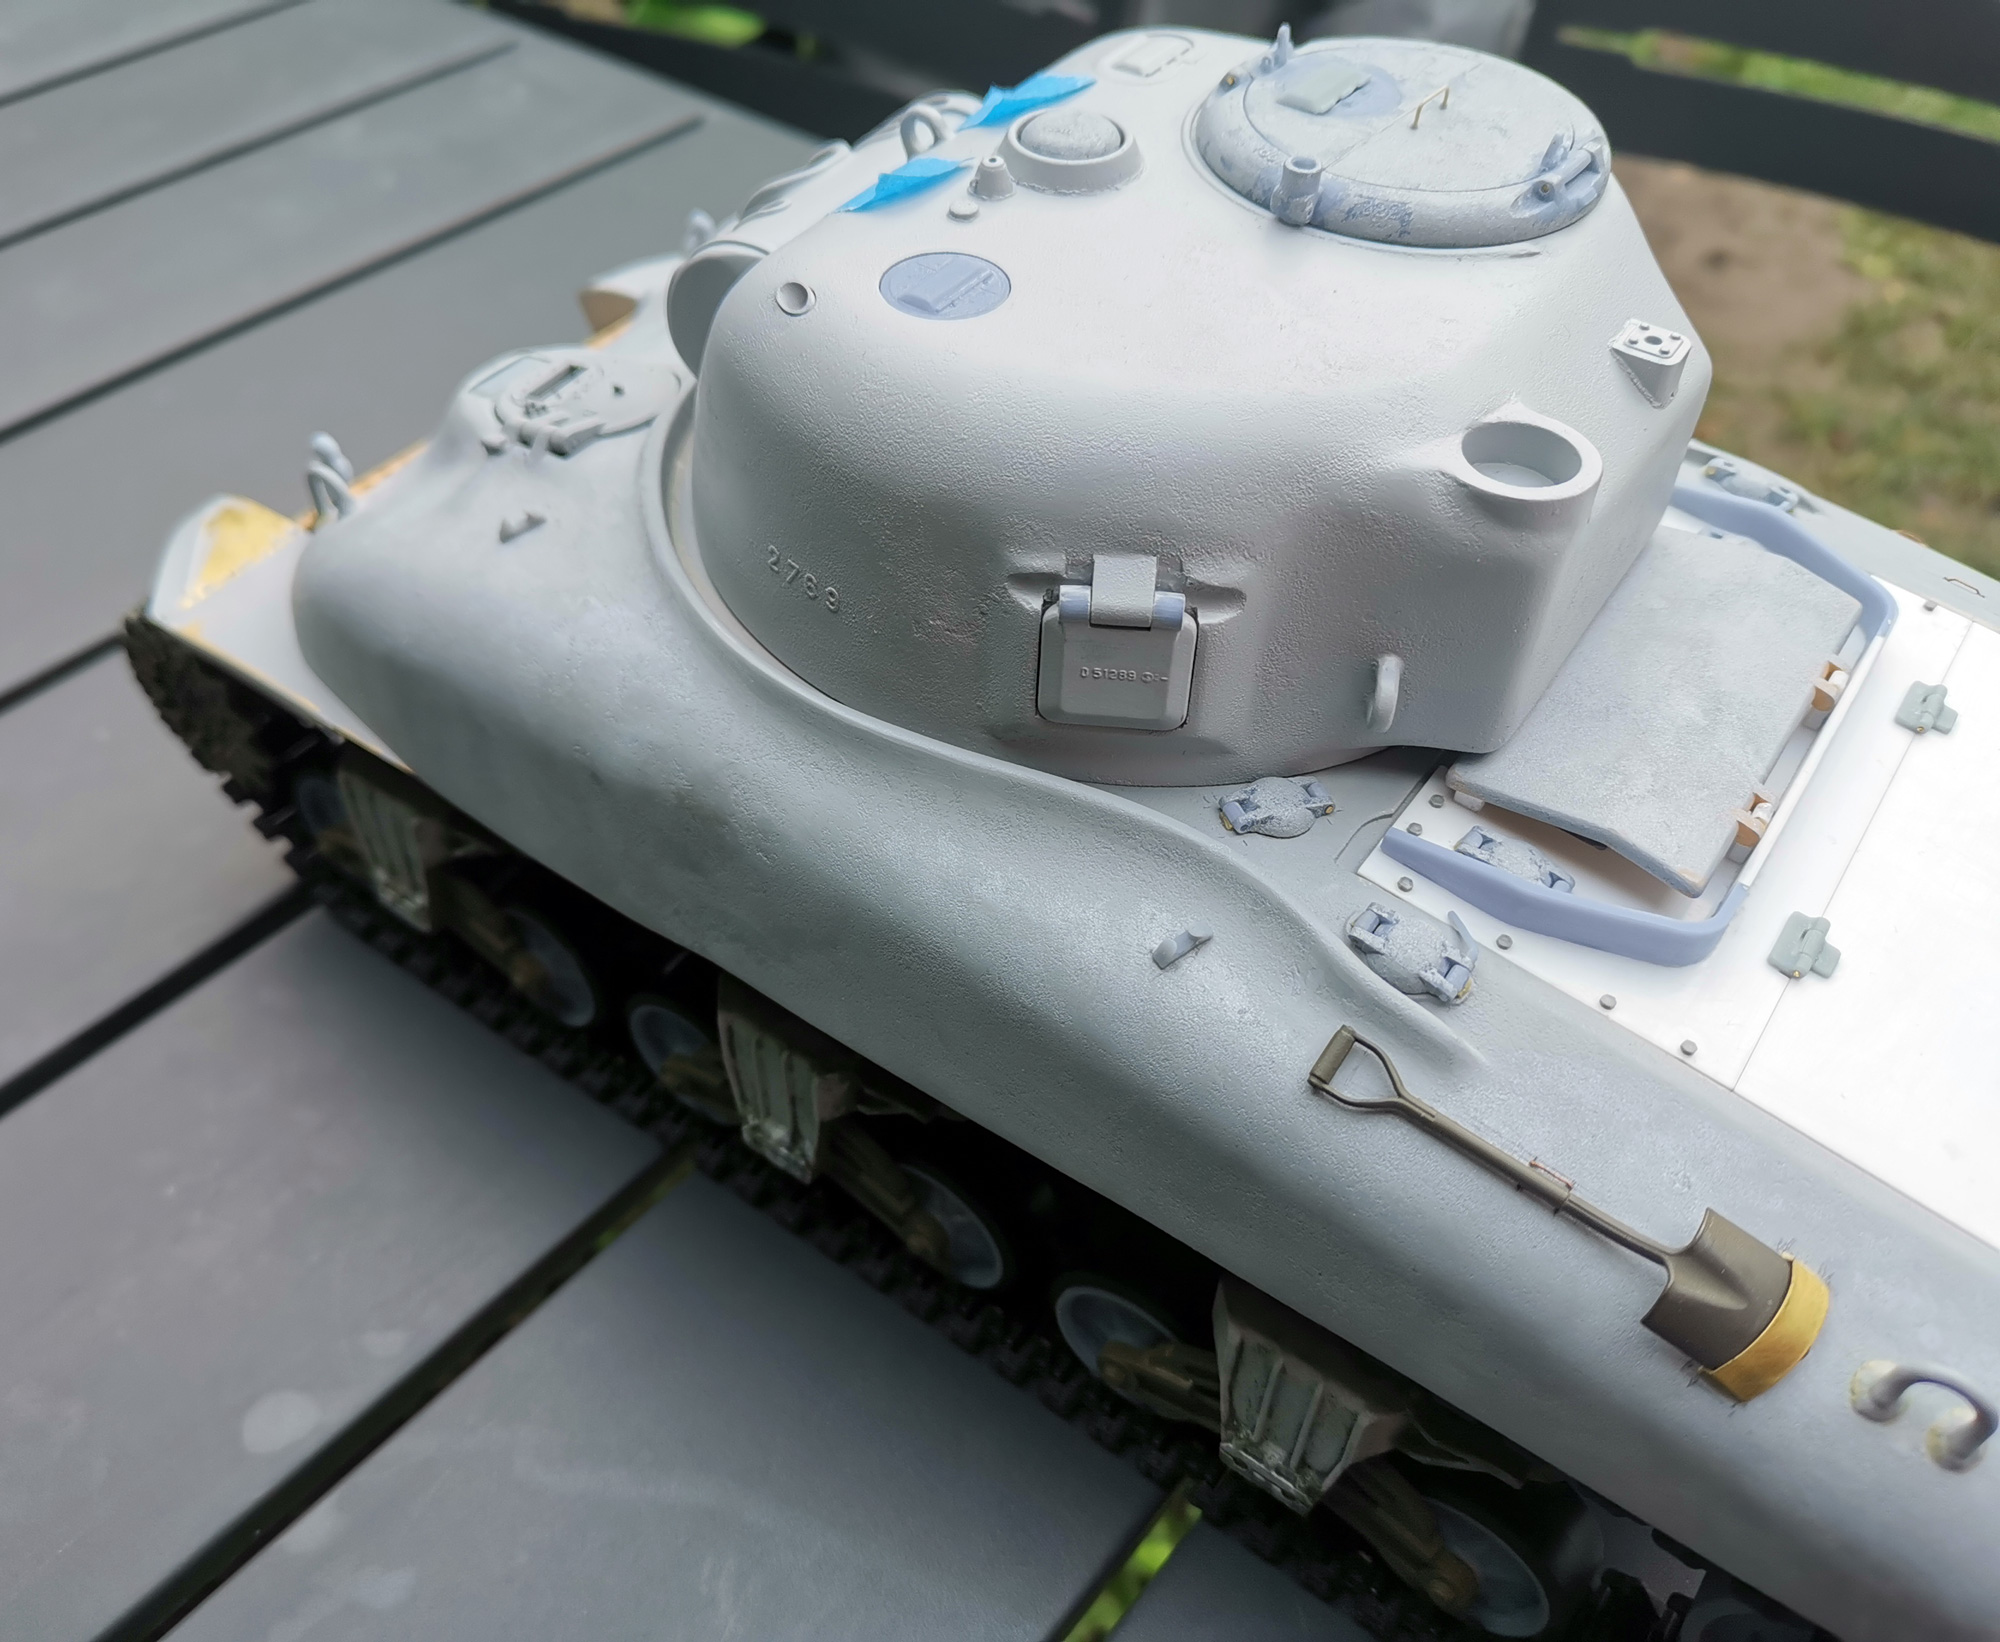
I 3D modeler and 3D printed the "cable hooks", I don't know how it's called, I tried to reproduce it faithfully :
- cable-hook.jpg (36.48 KiB) Viewed 2134 times
- M4A1_99.jpg (648.92 KiB) Viewed 2134 times
Re: Sherman M4A1 with cast in appliqué armor using photogrammetry
Posted: Sat Dec 07, 2024 10:19 am
by MonsieurTox
The American Steel Foundries Granite City Works symbol (the "G" in a octogon) is 3D printed. Maybe it stands out a bit too proudly but I could not do a lot thinner and they are pretty raised on the original.

- M4A1_101.jpg (408.58 KiB) Viewed 2134 times
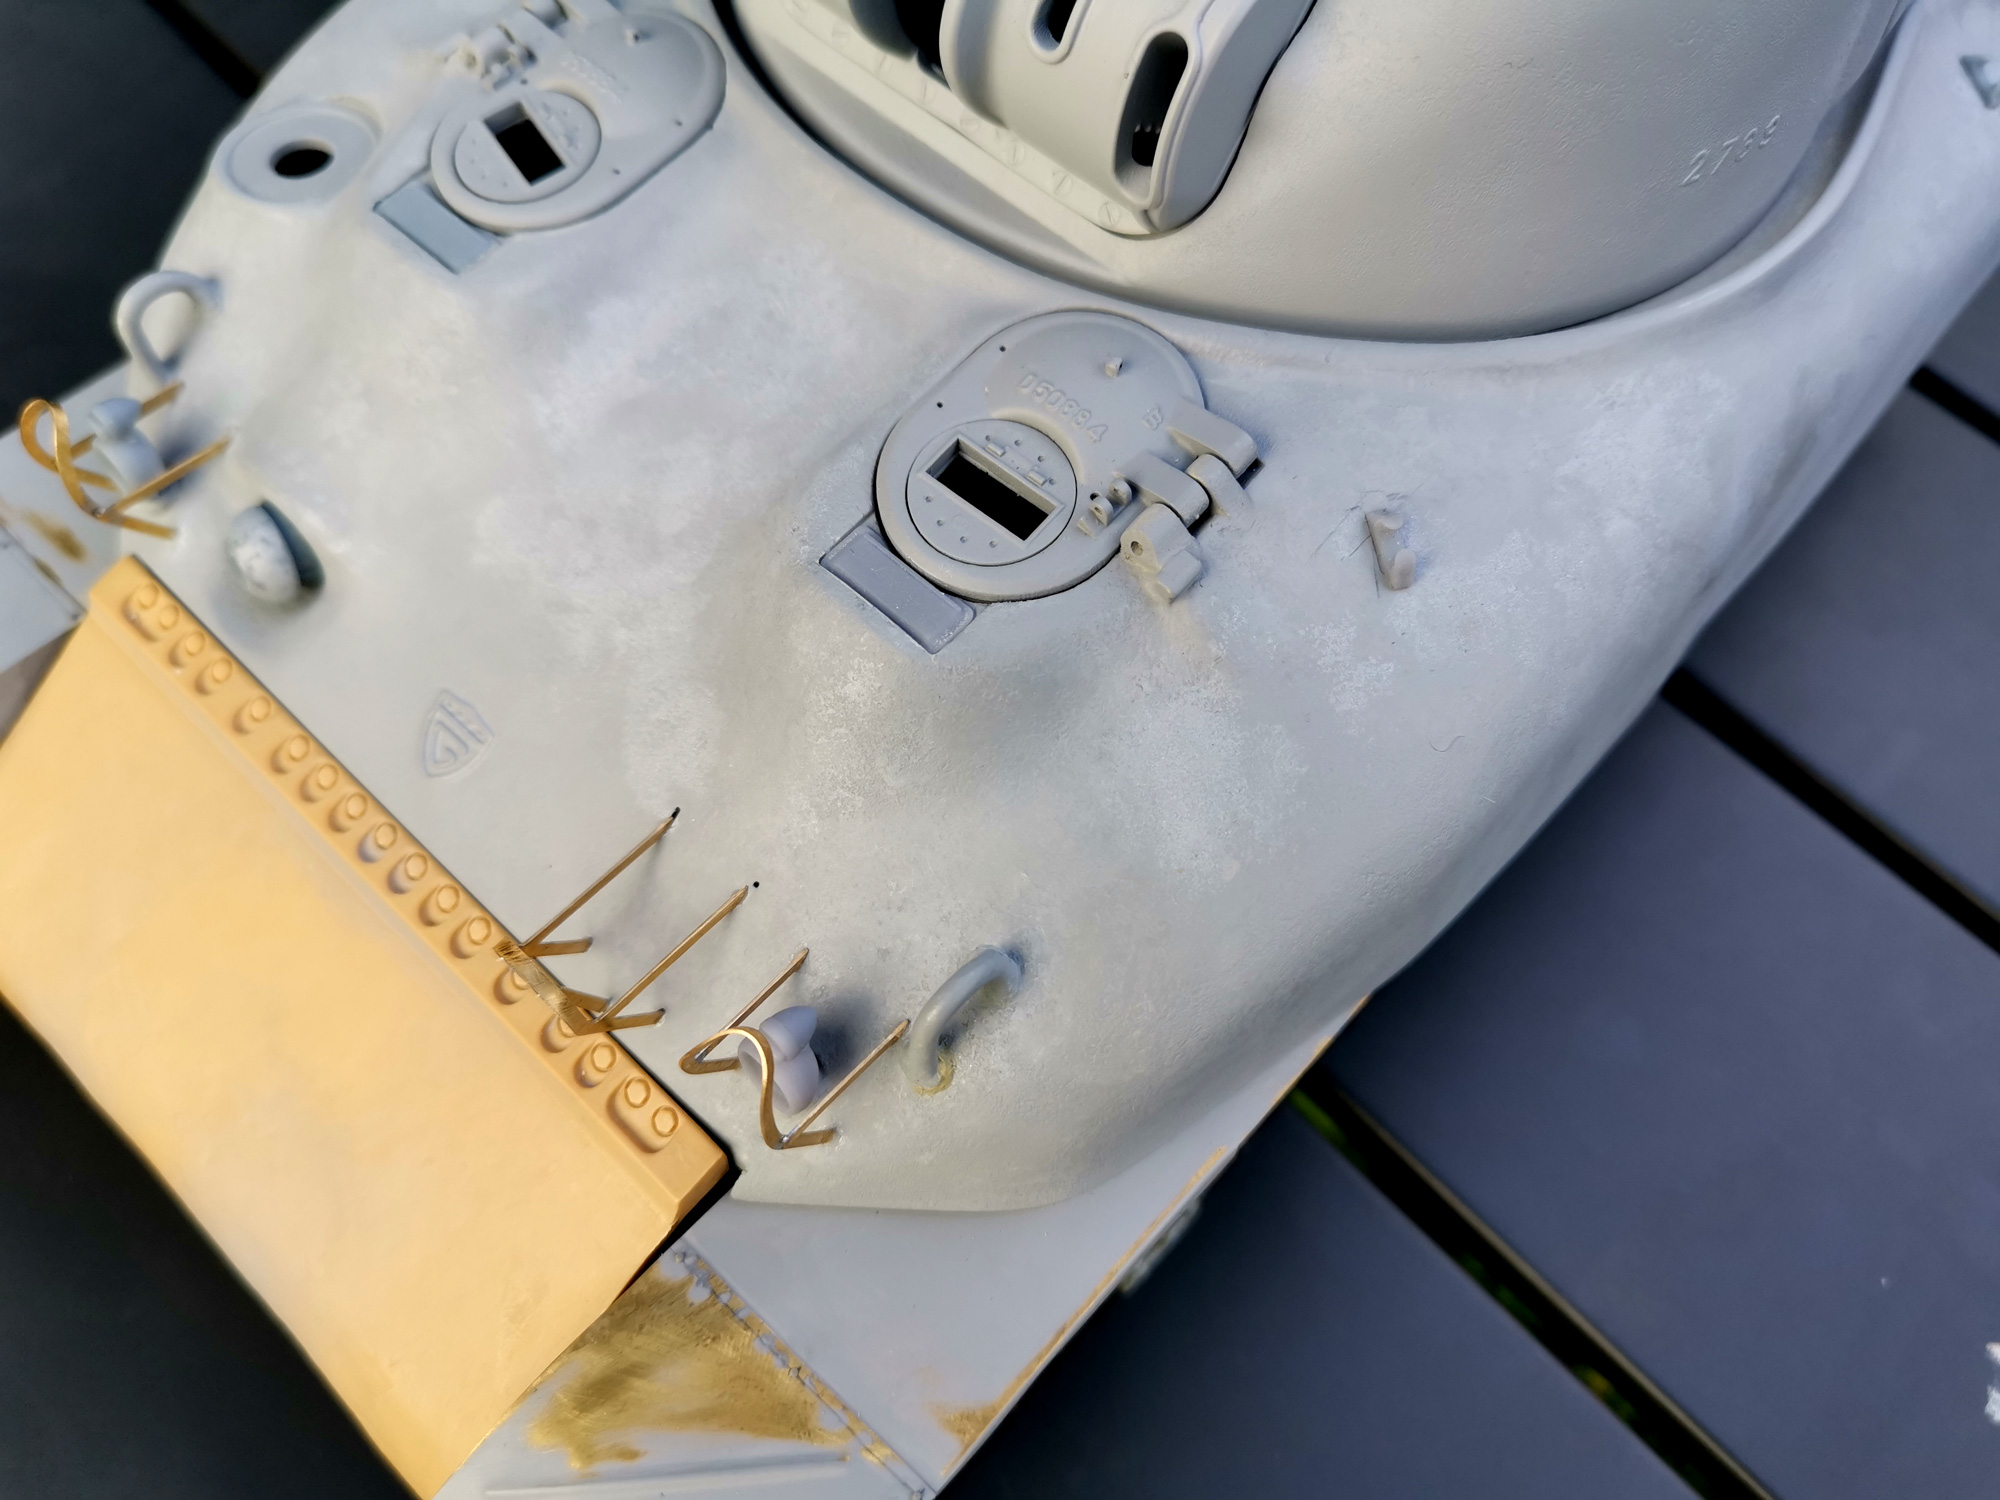
I then milled the recessed area in front of the driver and gunner hatches of the hull. I made them 1 mm shorted and I was not able to fit the episcope covers.
I love to machine hulls or turrets, it feels like what they were doing on the 1:1 castings when they were machining every opening and mating surface. But that's a bit stressful.


- M4A1_94.jpg (371.71 KiB) Viewed 2134 times
Episcope covers in place :
- M4A1_114.jpg (499.46 KiB) Viewed 2134 times
Re: Sherman M4A1 with cast in appliqué armor using photogrammetry
Posted: Sat Dec 07, 2024 10:23 am
by MonsieurTox
Re: Sherman M4A1 with cast in appliqué armor using photogrammetry
Posted: Sat Dec 07, 2024 10:27 am
by MonsieurTox
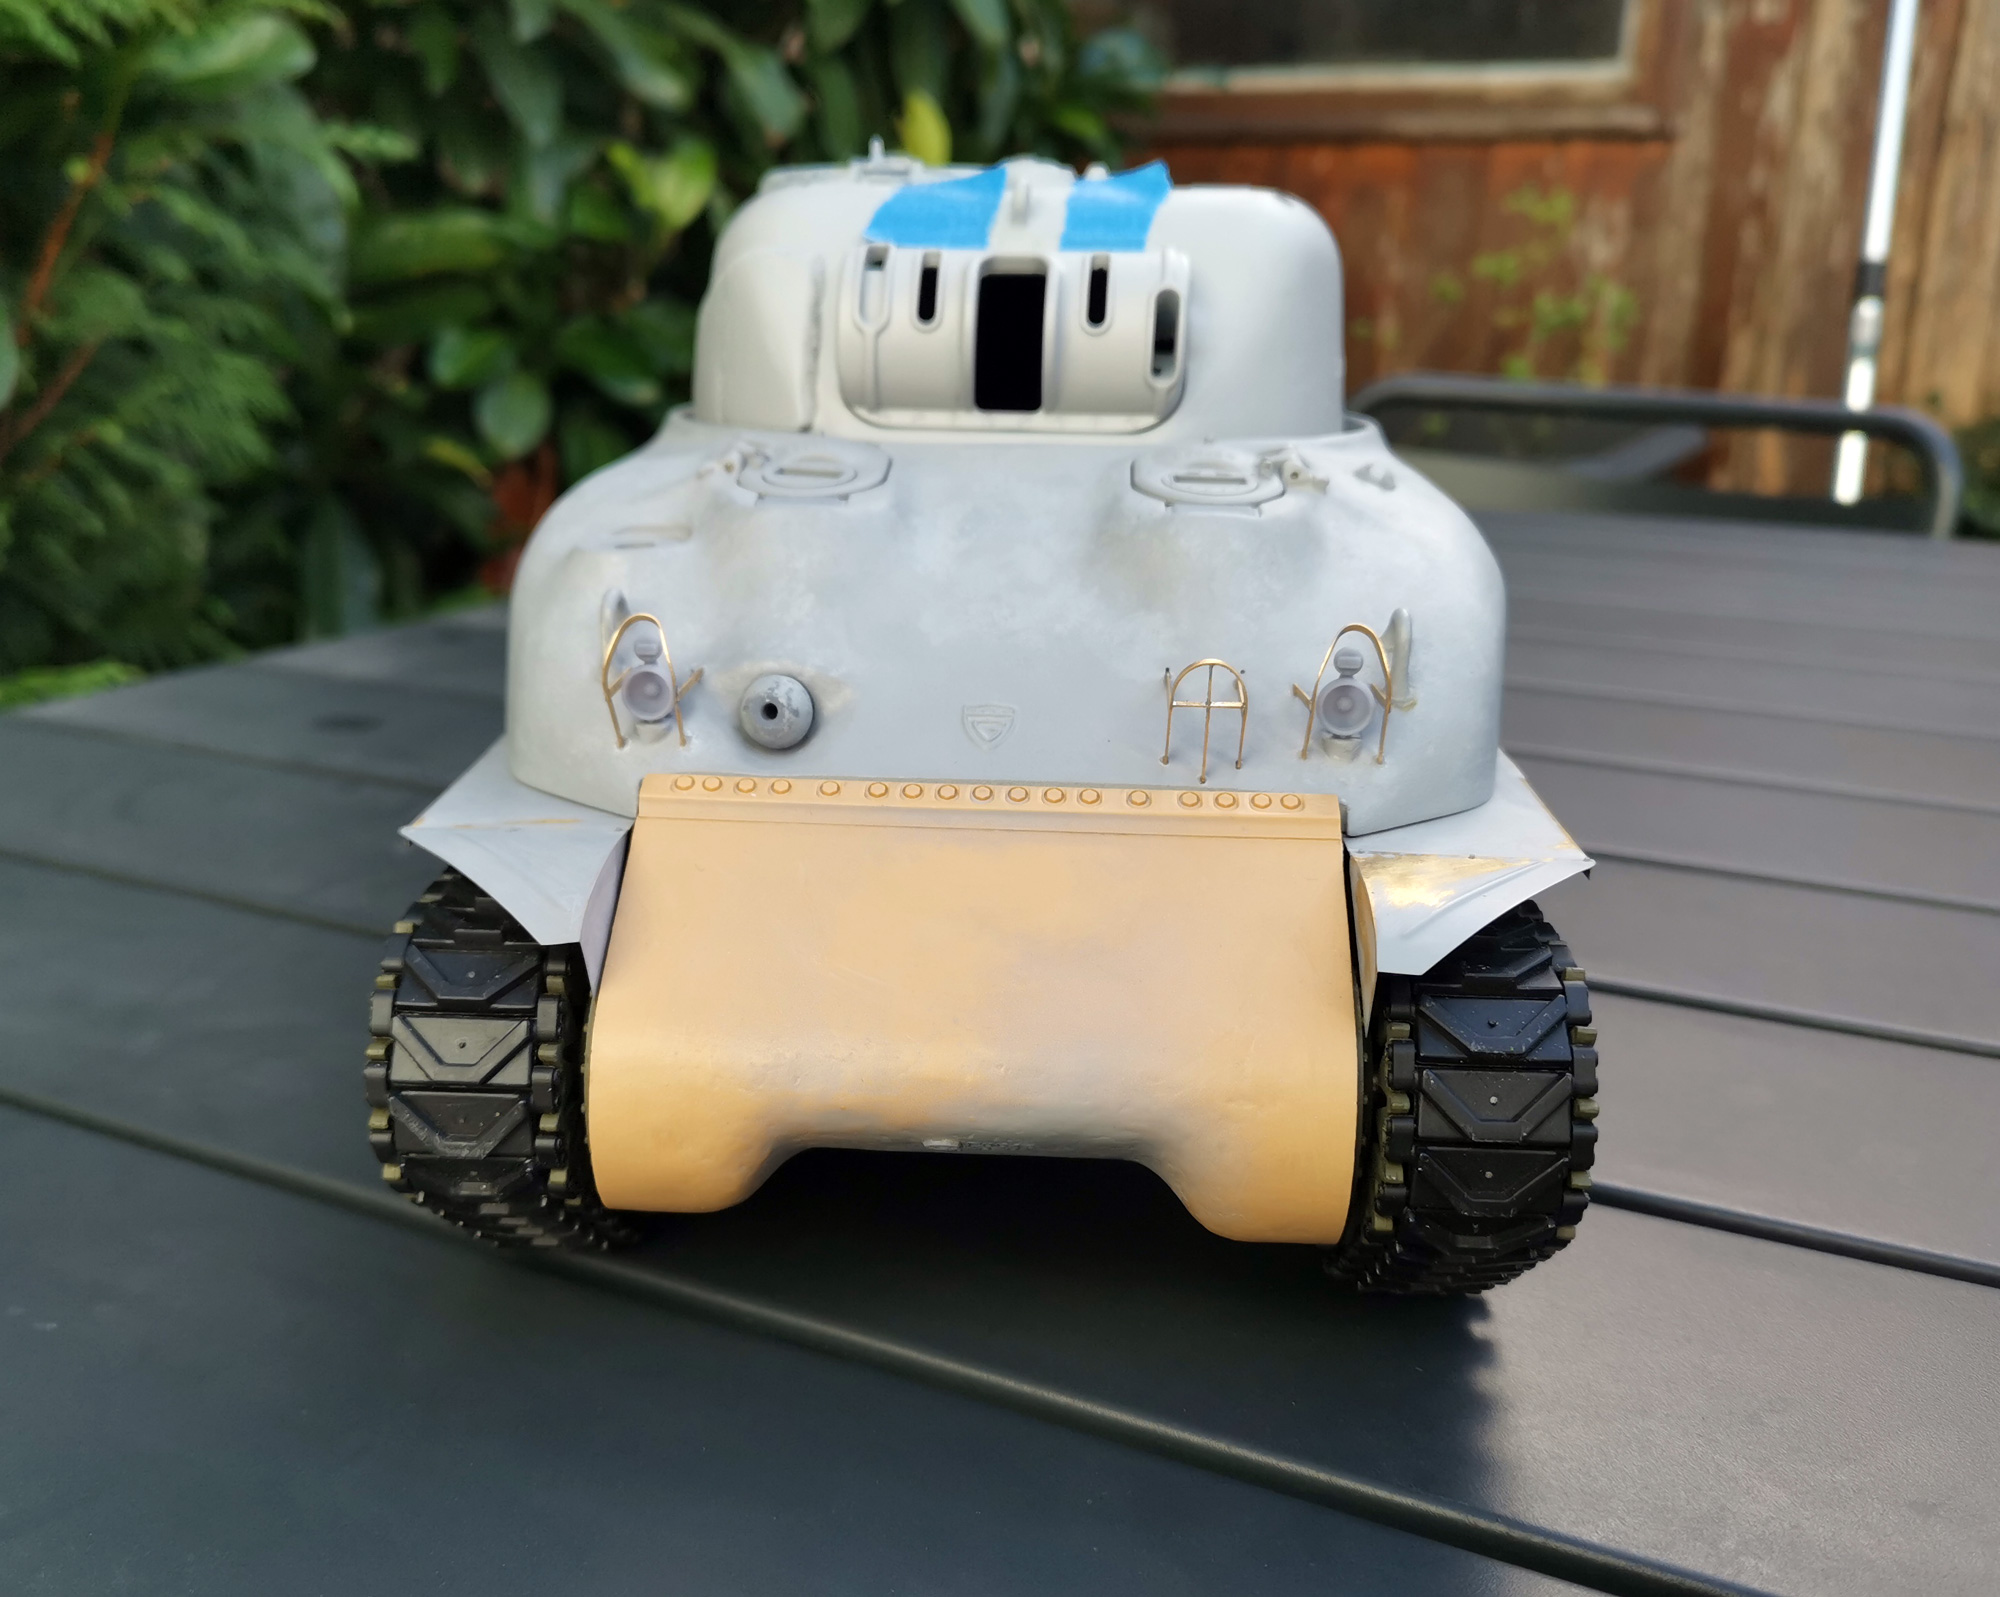
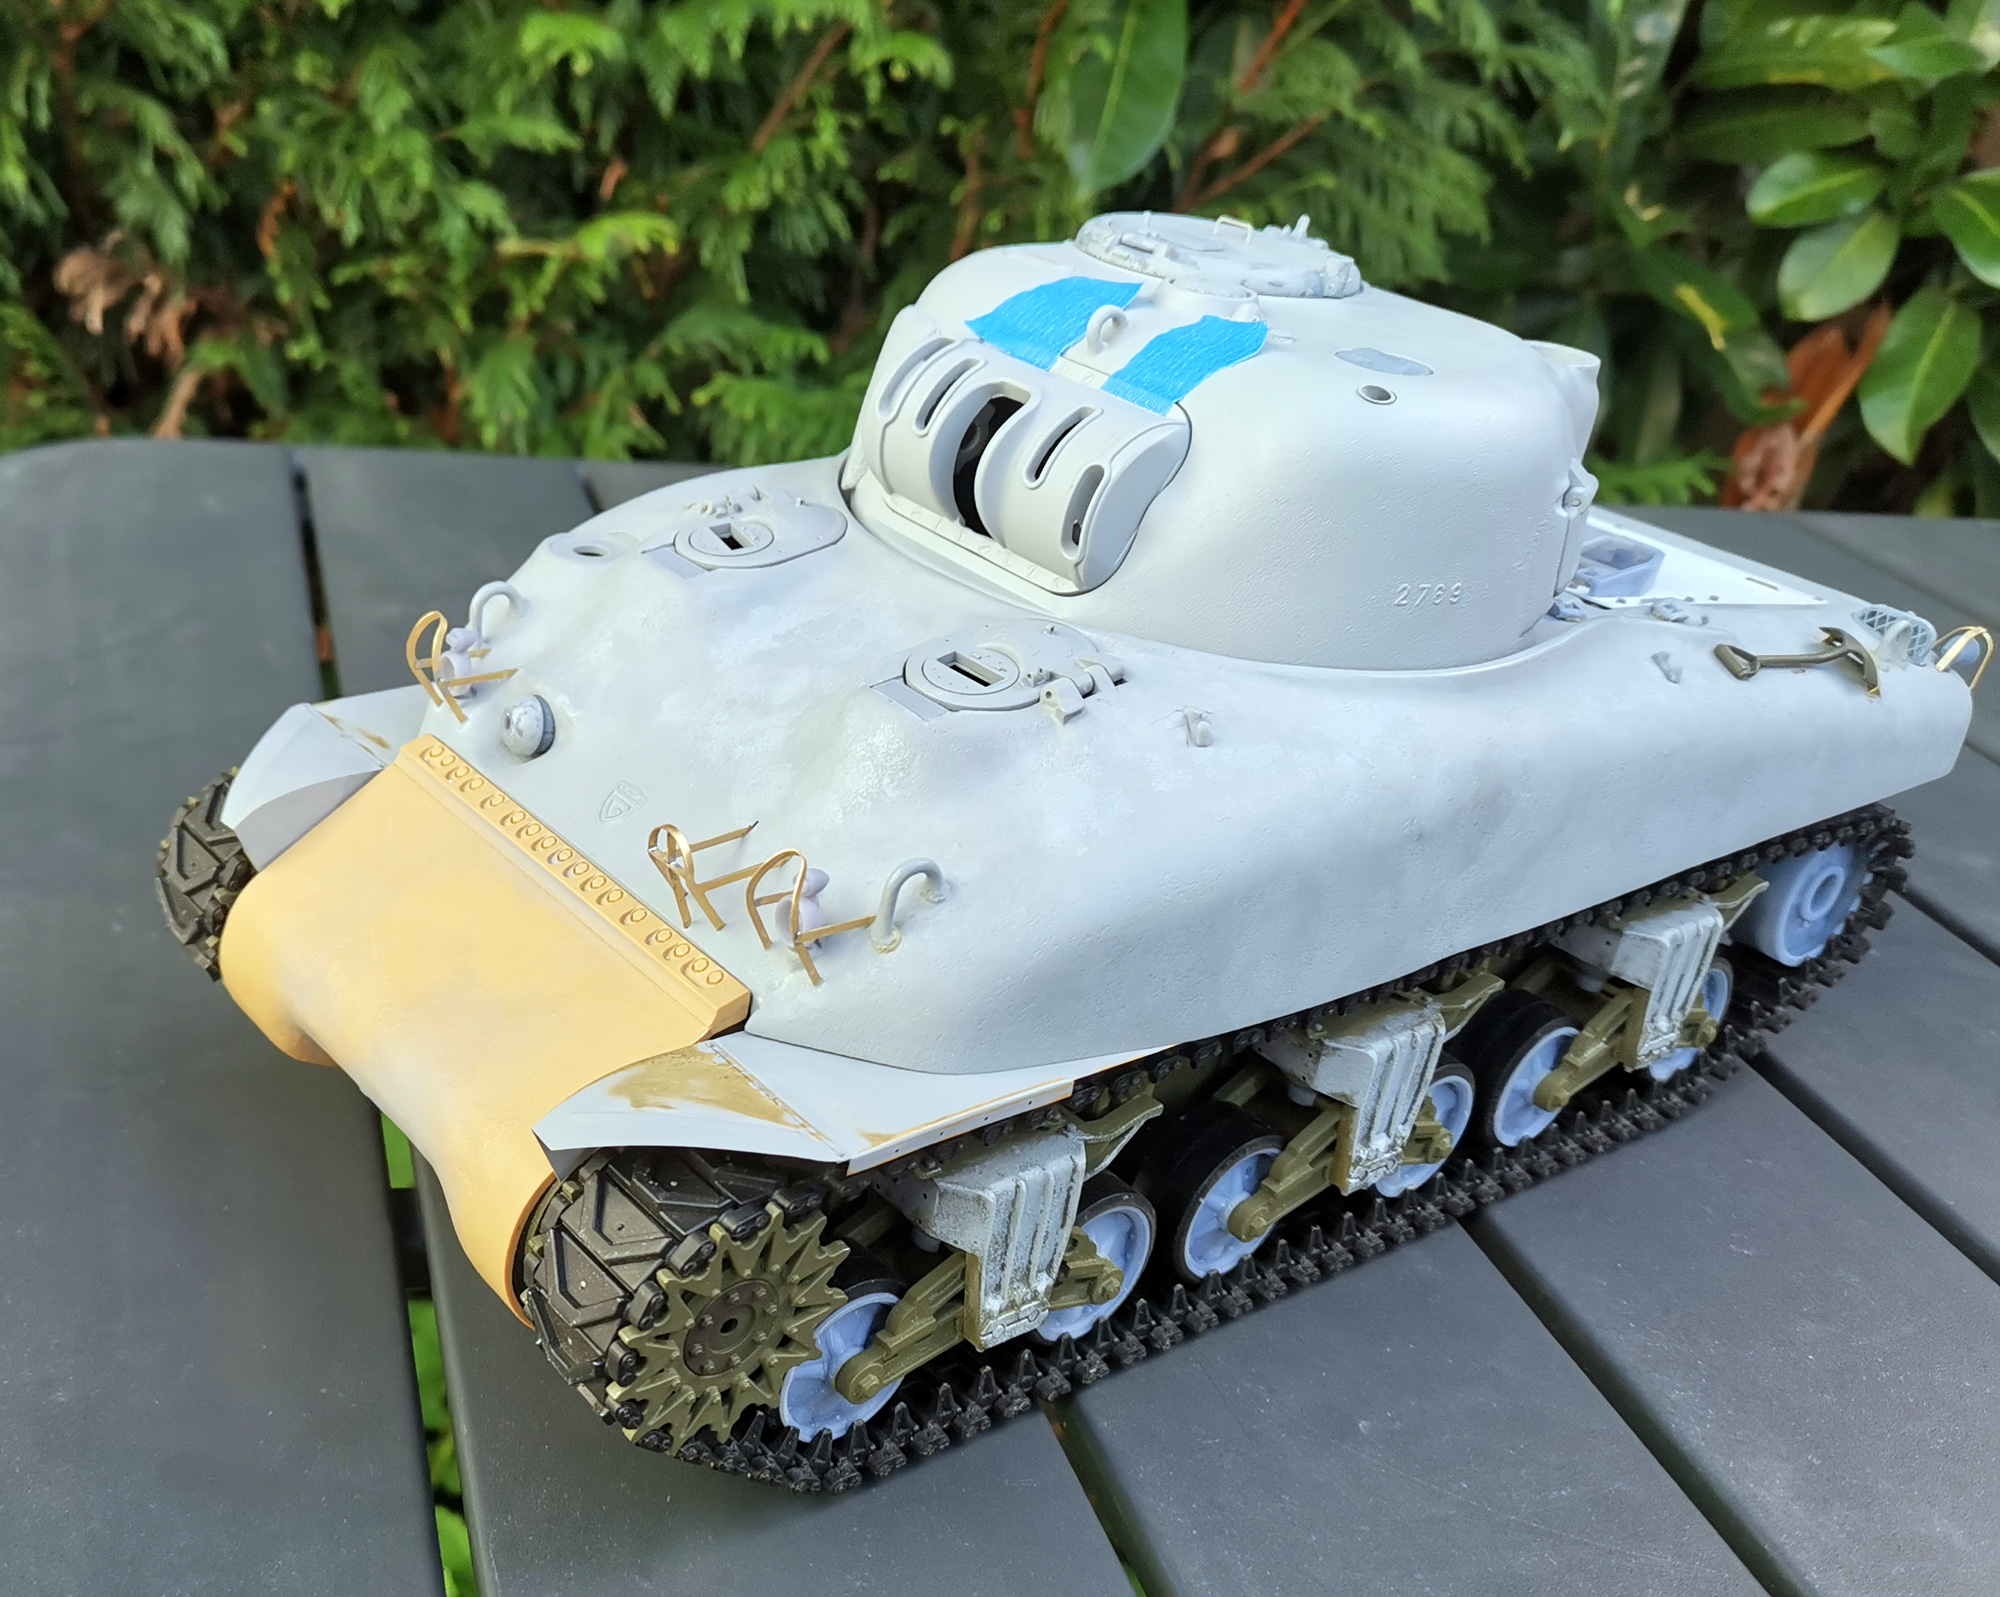
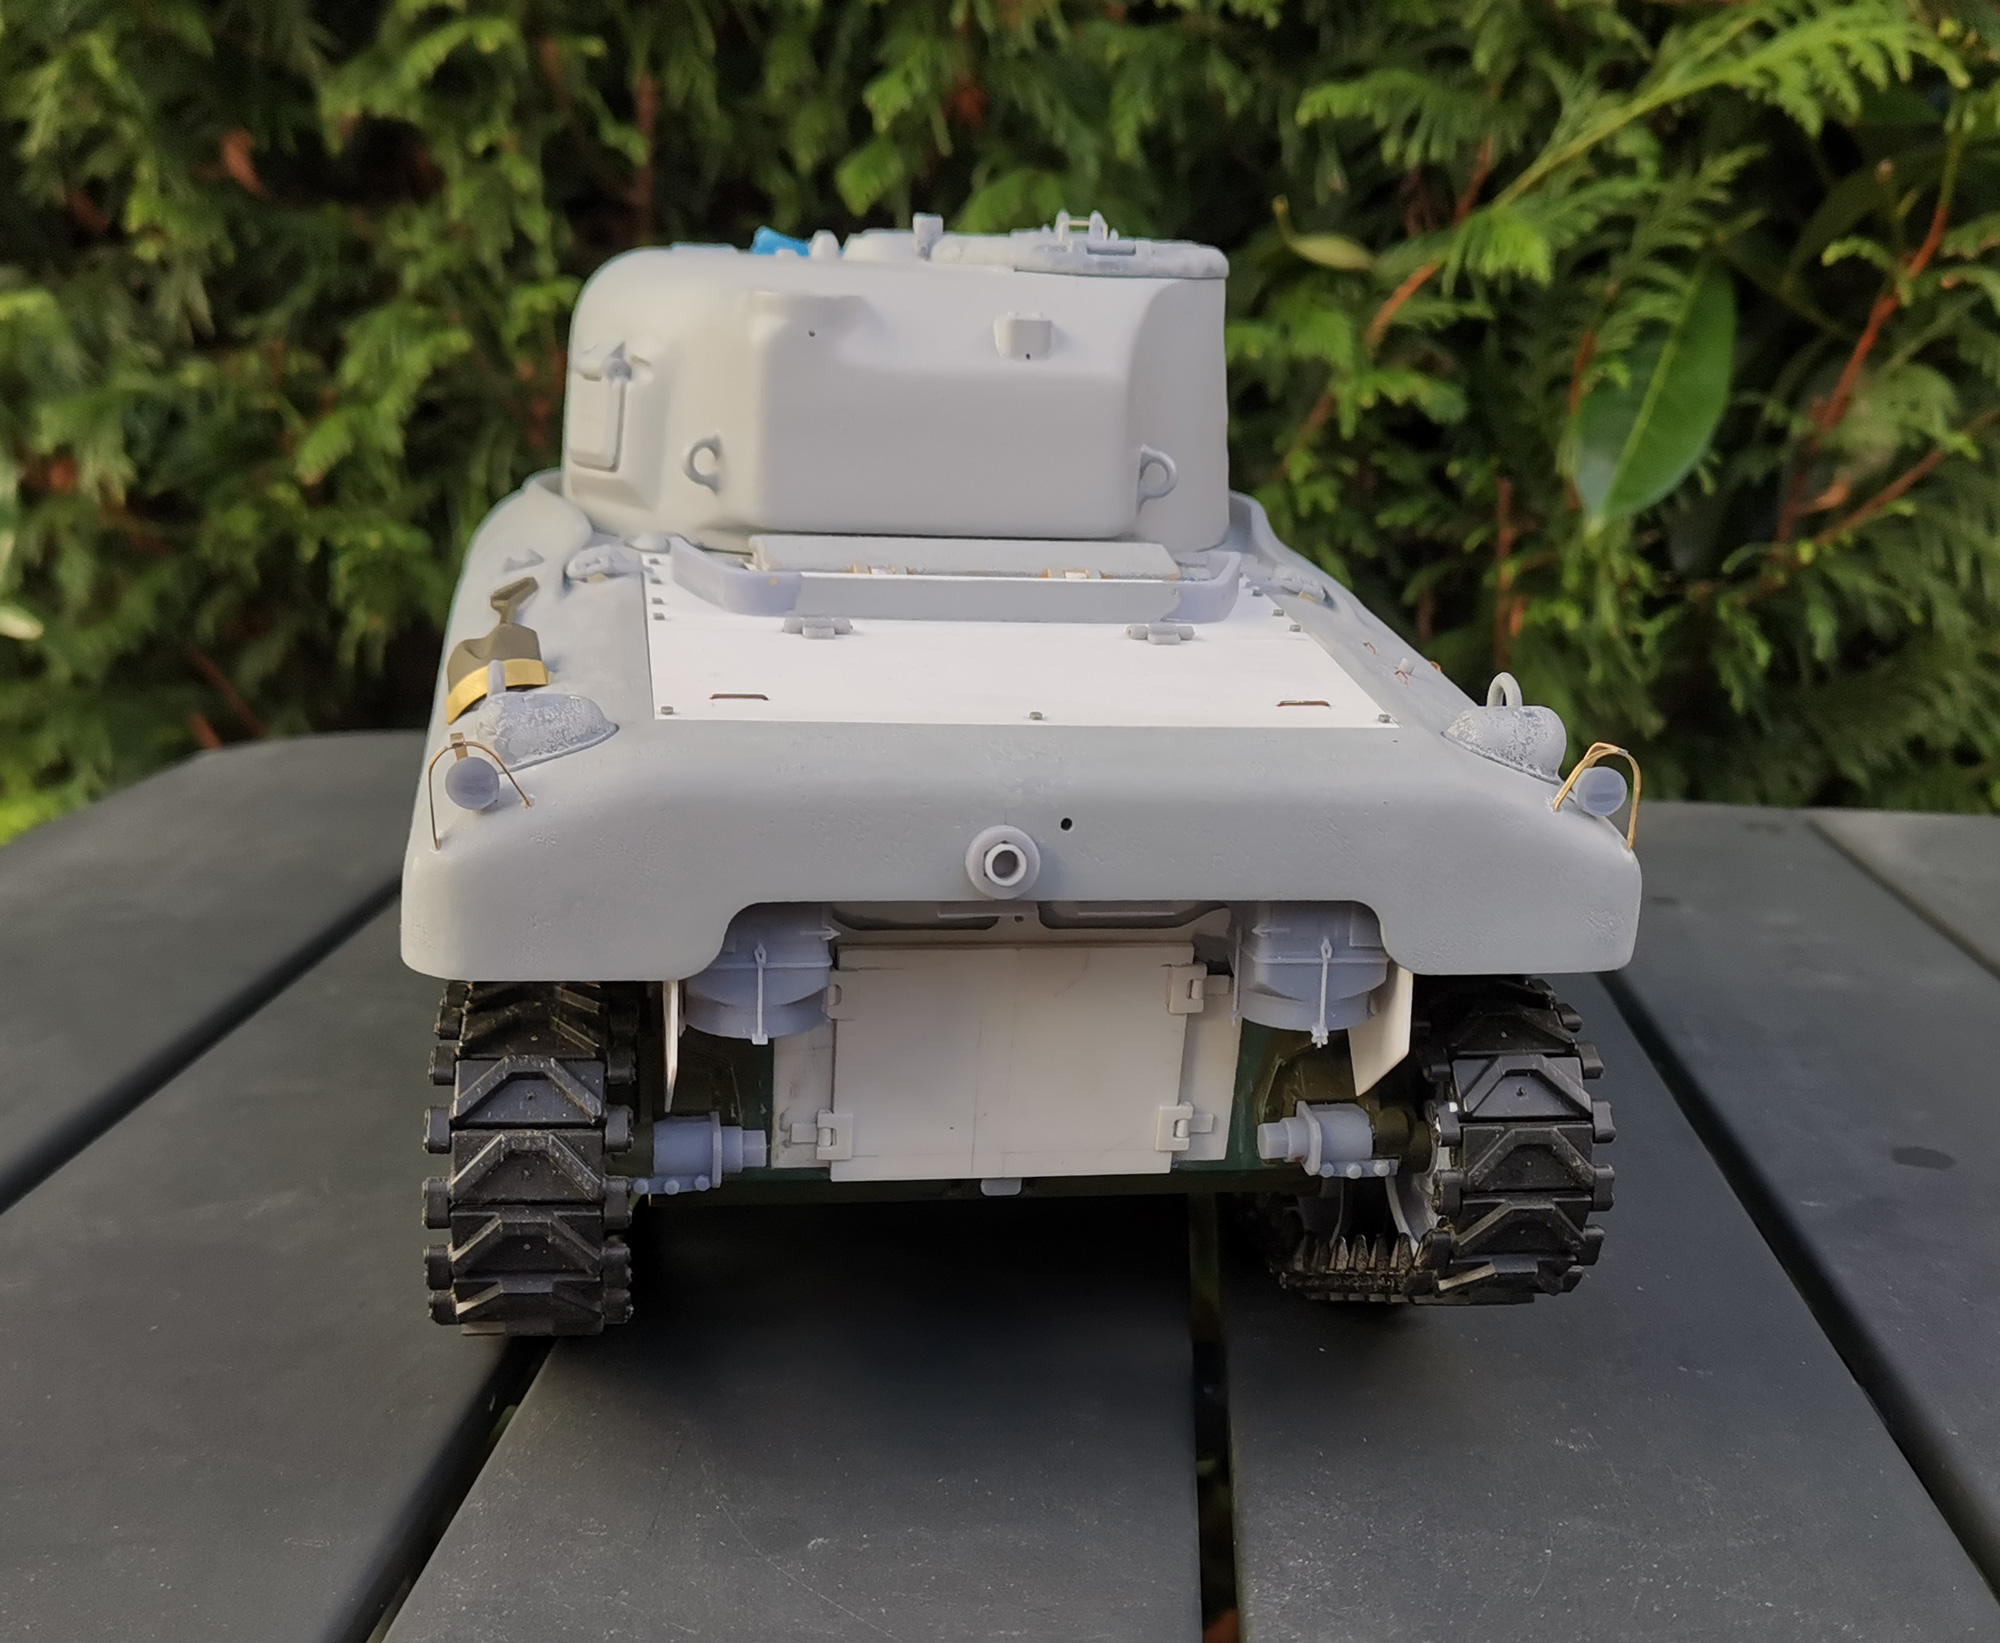
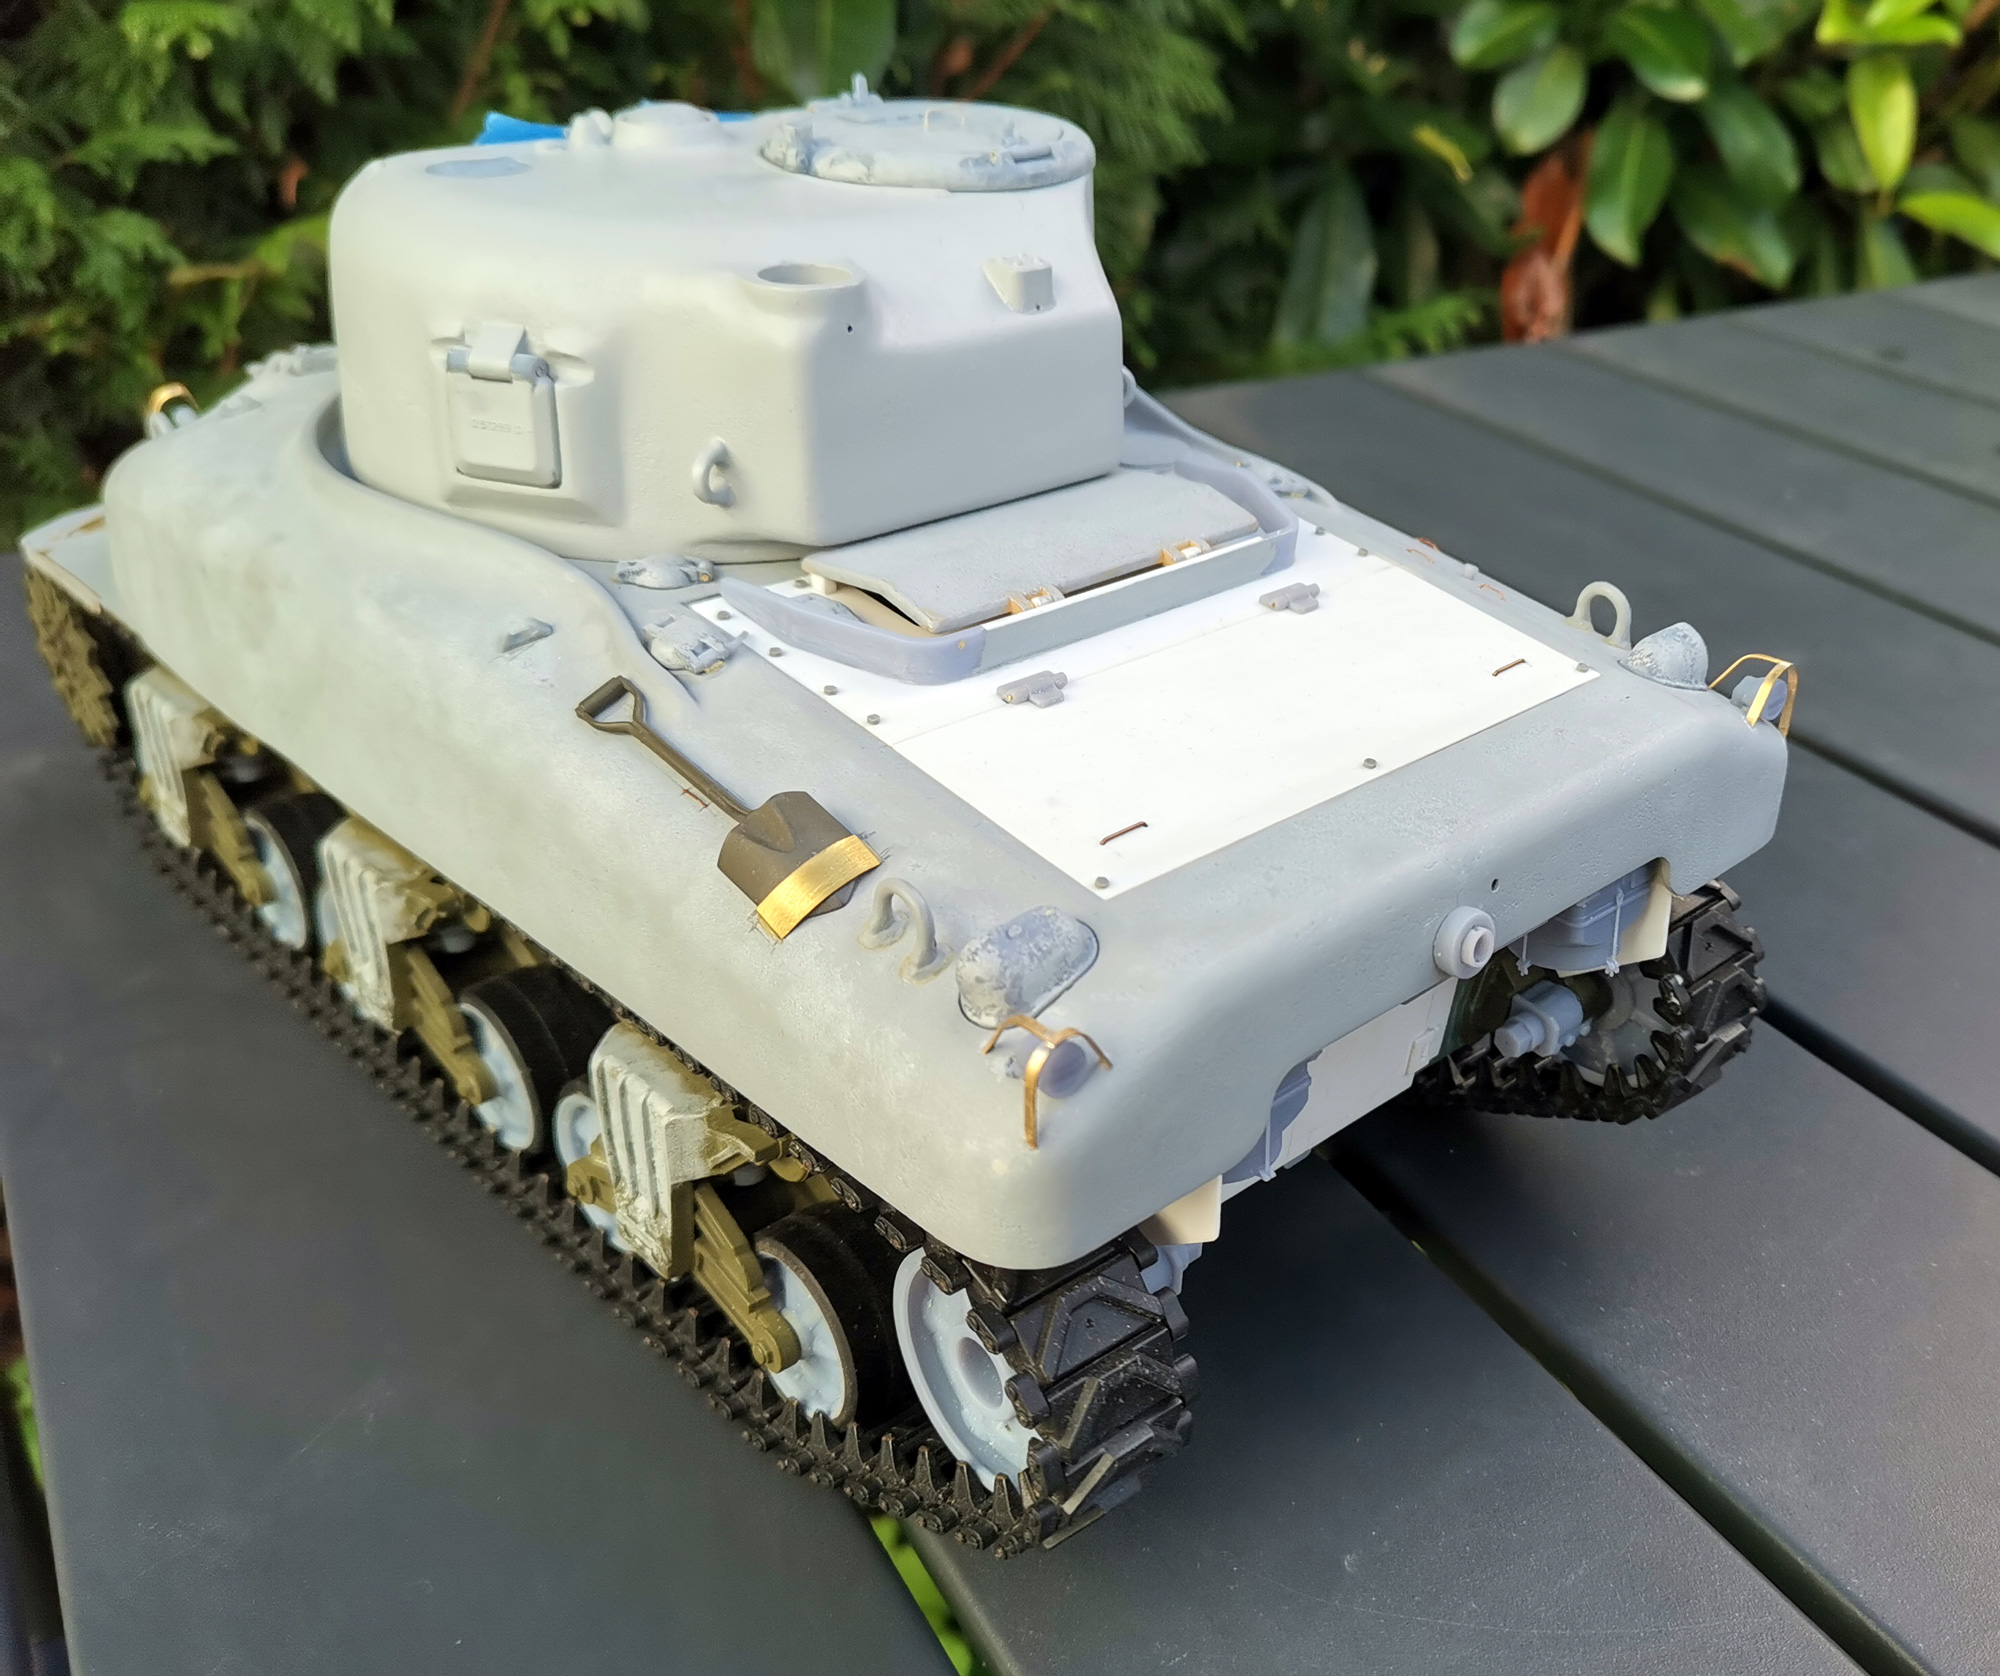
They were glued on the hull.
I did pre holes on the hull excatly where the original where welded, unfortunatly they were crooky welded lol so I straightened them a bit when I glued mine. I now have to fill some unused holes and make the weld beads.
Since this is the late iteration of the early M4A1 hull (does that make sense ?), the siren was not on the left mud guard but mounted on the glacis.
- M4A1_110.jpg (542.17 KiB) Viewed 2134 times
- M4A1_111.jpg (885.25 KiB) Viewed 2134 times
- M4A1_112.jpg (727.53 KiB) Viewed 2134 times
- M4A1_113.jpg (790.81 KiB) Viewed 2134 times
That's all for now ! Thanks for watching.
Re: Sherman M4A1 with cast in appliqué armor using photogrammetry
Posted: Sat Dec 07, 2024 11:51 am
by HERMAN BIX
I'm not a Sherman guy, but I can really appreciate great modeling work whatever the subject.
Hell of an achievement and an amazing path you've shared with us along the way.
Re: Sherman M4A1 with cast in appliqué armor using photogrammetry
Posted: Sat Dec 07, 2024 1:48 pm
by Ecam
Terrific work on so many details, but the one that stands out to me is that siren guard. Even a full size one is tricky to get right. That has always been a a super hard soldering job. Keep up the great work Mr. Tox.