Page 8 of 9
Re: My Tiger Tank 1 (Early model, full option) Build.
Posted: Mon Feb 01, 2016 12:16 pm
by silversurfer1947
The right nad fender, in its red primer coat. Unfortunately, the left hand fender has been sent back to the workbench to rectify a series of mishaps. These mishaps were due to a combination of sub-standard workmanship and sheer stupidity on my part

.
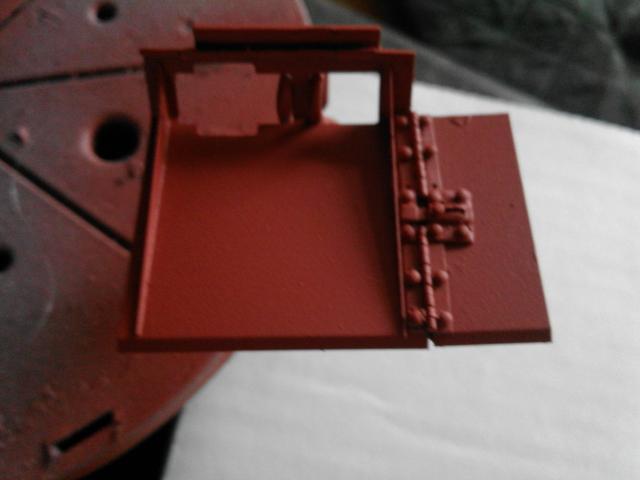
- 20160201_110554.jpg (22.11 KiB) Viewed 5257 times
Re: My Tiger Tank 1 (Early model, full option) Build.
Posted: Tue Feb 02, 2016 4:26 pm
by silversurfer1947
This is a long shot, but does anyone have a good picture of the labels that were on the Tiger's fire extinguisher, please?
Re: My Tiger Tank 1 (Early model, full option) Build.
Posted: Tue Feb 02, 2016 6:02 pm
by Ad Lav
There are decals for them you can buy - peddinghaus do them

Re: My Tiger Tank 1 (Early model, full option) Build.
Posted: Tue Feb 02, 2016 6:03 pm
by PainlessWolf
Silver,
You can get the actual dry slide decals for the fire extinguishers . There is a really good set out from Archer.
http://www.ebay.com/itm/Archer-1-16-Ger ... 1080838318
regards,
Painless
Re: My Tiger Tank 1 (Early model, full option) Build.
Posted: Sat Feb 06, 2016 11:53 am
by silversurfer1947
I'm just working on what will hopefully be the last bits of detailing, including replacing the bits that fell off because they weren't glued properly

. In the meantime, I have what is probably a very basic question that is aimed at owners of a Tamiya Tiger. Is there an easier way to get access to the batteries to charge them? I have probably missed it, but at present, I have to remove the turret and then unscrew and remove the top deck. It seems a real kerfuffle, but I can't see anything in the instructions. Having said that, the instructions say to fix the batteries in place with a thick cable tie (supplied), but then elsewhere, says take the batteries out when the tank is not in use!
Re: My Tiger Tank 1 (Early model, full option) Build.
Posted: Sat Feb 06, 2016 1:11 pm
by Ad Lav
You have to take the turret off to gain access, bit tricky but saves taking off the upper hull each time.
Re: My Tiger Tank 1 (Early model, full option) Build.
Posted: Mon Feb 08, 2016 9:53 am
by silversurfer1947
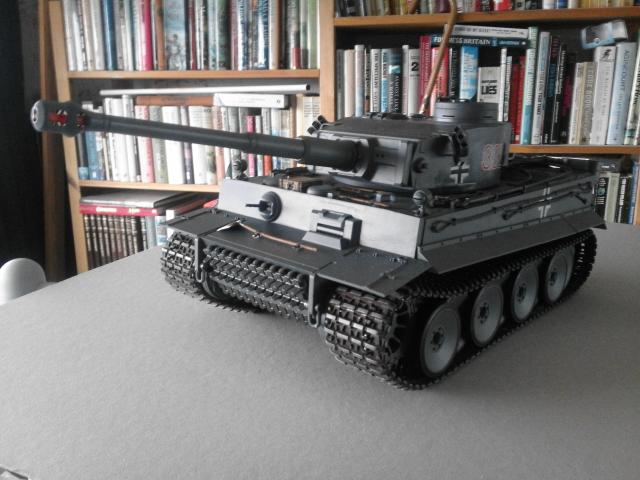
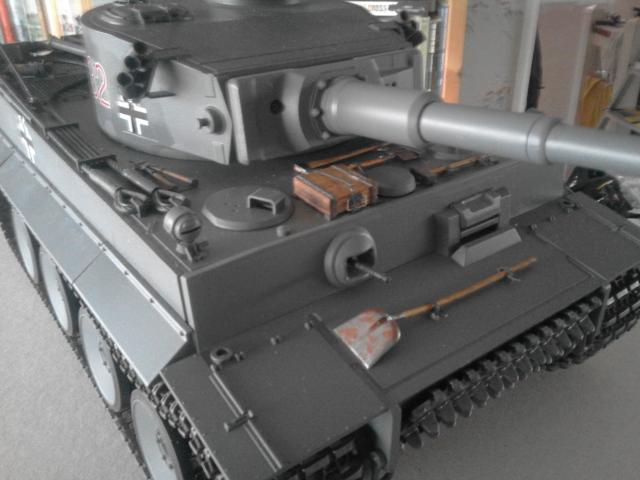
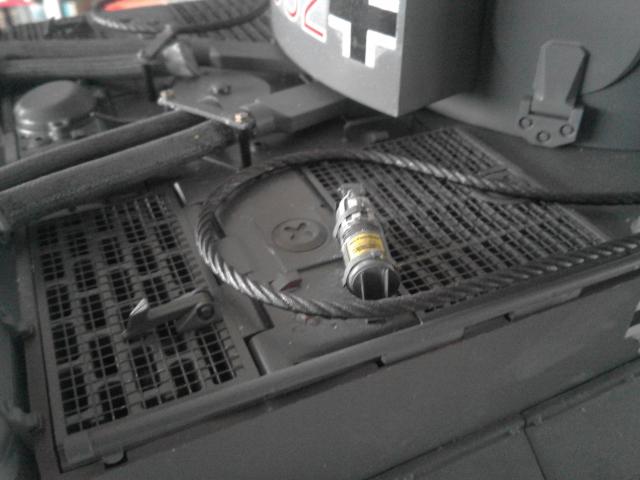
I was intending to start this post by saying "Here it is, finished", but in taking the photos, I have noticed a few things that need attention - so ......Here it is, nearly finished, my first r/c large scale tank. I realise it does not stand comparison with the outstanding models shown on here, but despite the problems, I have enjoyed building it.
- 20160208_085644.jpg (47.88 KiB) Viewed 5301 times
- 20160208_085704.jpg (34.5 KiB) Viewed 5301 times
- 20160208_085724.jpg (36.87 KiB) Viewed 5301 times
- 20160208_085826.jpg (35.8 KiB) Viewed 5301 times

- 20160208_085842.jpg (32.8 KiB) Viewed 5301 times
The paintwork is very simple. I did think about some weathering, so read what I could on here. However, what with pin washes, filters, modulation etc, I finished up thinking it was a foreign language. In addition, having spent a lot of time on it, I am not prepared to mess it up with a botched attempt. I did buy a "dark wash" in my travels. It said it was for grey and dark vehicles, so I painted it along the panel lines etc, to try to bring out some definition, but, to be honest, I can't see any difference. I guess either I did it wrong, or got the wrong stuff. My hat goes off to the artists who create their masterpieces. To quote Dirty Harry - a man should know his limitations.
Re: My Tiger Tank 1 (Early model, full option) Build.
Posted: Mon Feb 08, 2016 10:28 am
by jarndice
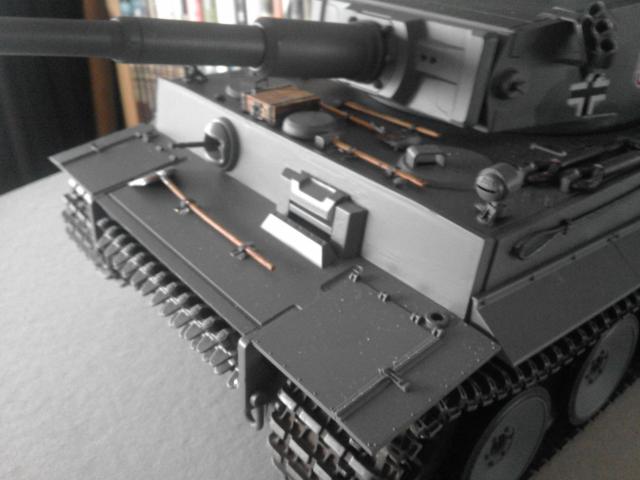
Richard Now that does look very nice, I see you have made provision for the starting handle on the rear panel,
There is a tip I offer freely and it will save you money as well as highlight the side views.
If you have an XACTO Micro-saw,
First duct tape each side of the side fender indents(These simulate the separation of each one of the four fitted each side) to protect the body from a slipped saw blade, ( do not use masking tape it will not protect the body)then carefully saw along the indent so that now you can clearly see the actual separation between the side fenders.
carefully remove the Duct tape and stand back and admire your work.
Shaun.
Re: My Tiger Tank 1 (Early model, full option) Build.
Posted: Mon Feb 08, 2016 1:38 pm
by Ad Lav
Looks great! don't see them that often in grey.
Re: My Tiger Tank 1 (Early model, full option) Build.
Posted: Mon Feb 08, 2016 2:23 pm
by silversurfer1947
The grey was one of 3 suggested options, and struck me as being by far the easiest! I know there is considerable debate as to what colour(s) they should be, but having found supporters for just about every combination, I stuck with. And, as they say, when push comes to shove, it's my tank and I like it like that.