I've only met half of my quota today but I think I'm on track to hit my target by the time it's up. I have one of the 4 track housings completed and 3/7 parts cut out for the second one. The remaining parts are only small so it won't take long to finish up the second one but I'm taking a break right now. It's a very strange trait of mine that I seem to get distracted from projects mostly when things are going very well

Anyway I'm sick of posting all my updates late at night so I thought I'd do it now instead, there won't be much to add this evening anyway so the next update will probably come when all 4 tracks are done!
So when I stopped last time I'd cut the inner sides and tops of both rear tracks but that was it so first job for today was to cut the outer sides. I'm taking increasingly to the scoring and breaking method of removing long pieces from the sheet as it saves a lot of time spent sawing/dremelling/filing/sanding! That's how I got these parts from the sheet and it went by very quickly!
Now there are an awful lot of angles involved here as none of the pieces you'd imagine to be lined up with each other actually are. There is a slight camber on the top of each piece that rolls down towards the ground from being flush with the top of the hull. It's still all straight lines but it made assembly rather difficult and I didn't even know where to start with sanding on the chamfers! In the end I temporarily taped one side together in the form that I'd be building the other. It gave me a visual aid to judge the angles involved and was very helpful!
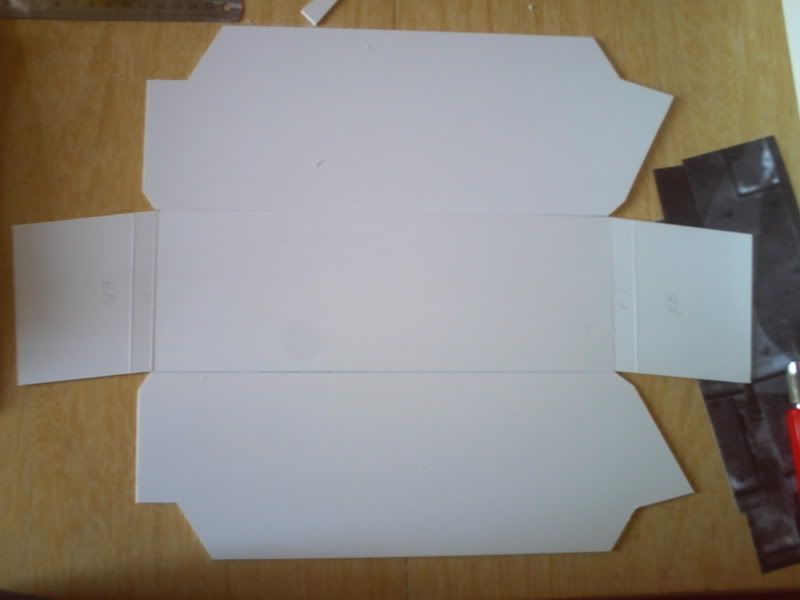
Here are all 7 parts laid out in flatpack, looks simple enough right?
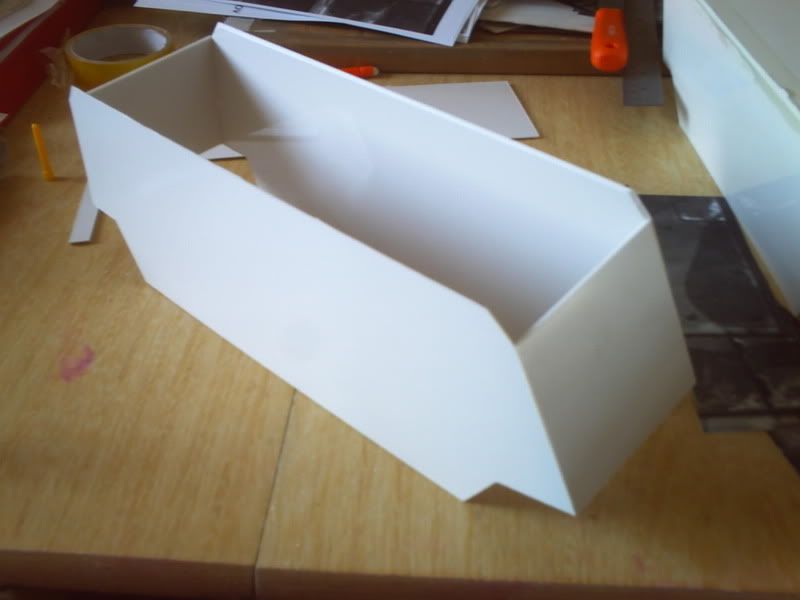
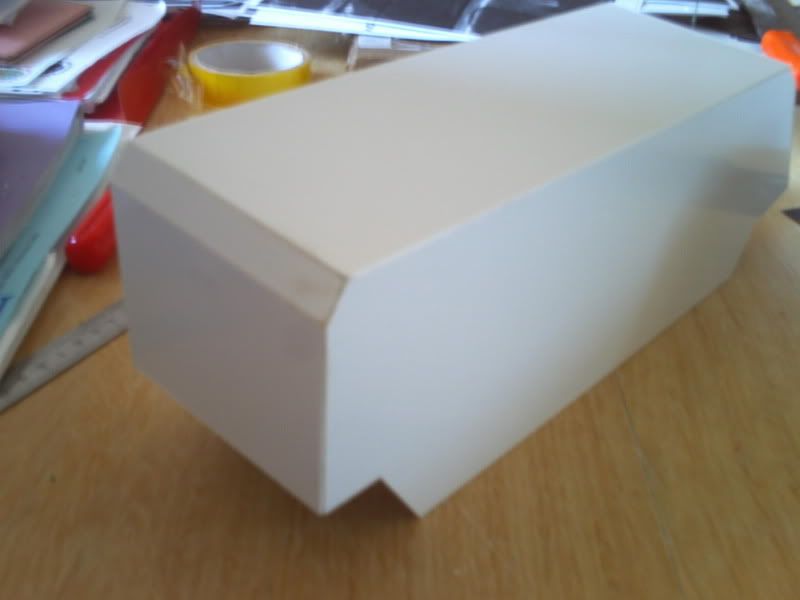
In the end I decided to work from one side rather than the top as this gave me almost perfect 90degree angles to start with. Here are the front and rear pieces in place.

The other side attached,
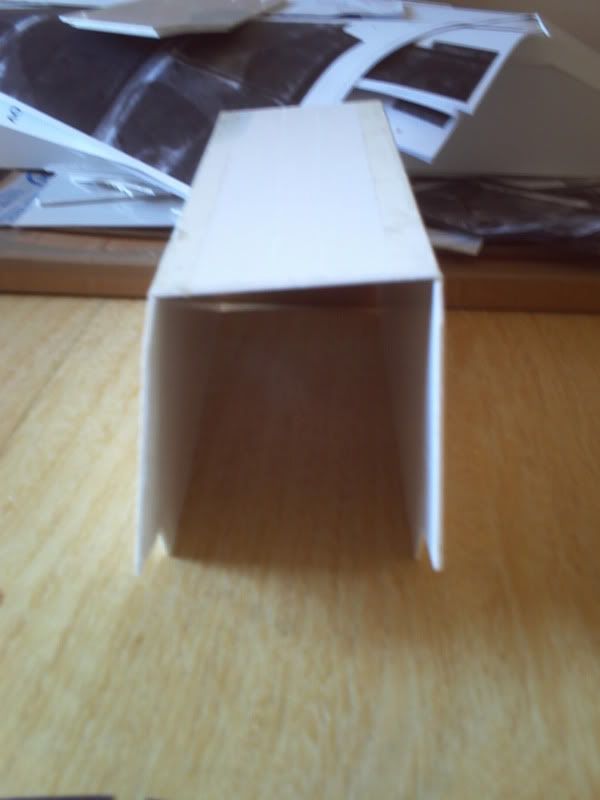
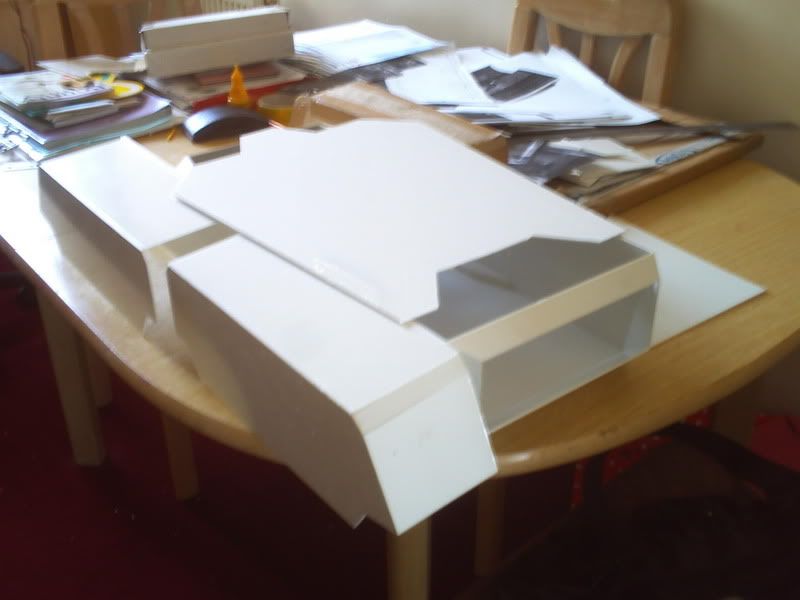
And the top in place, it was a perfect fit which I was rather impressed by!
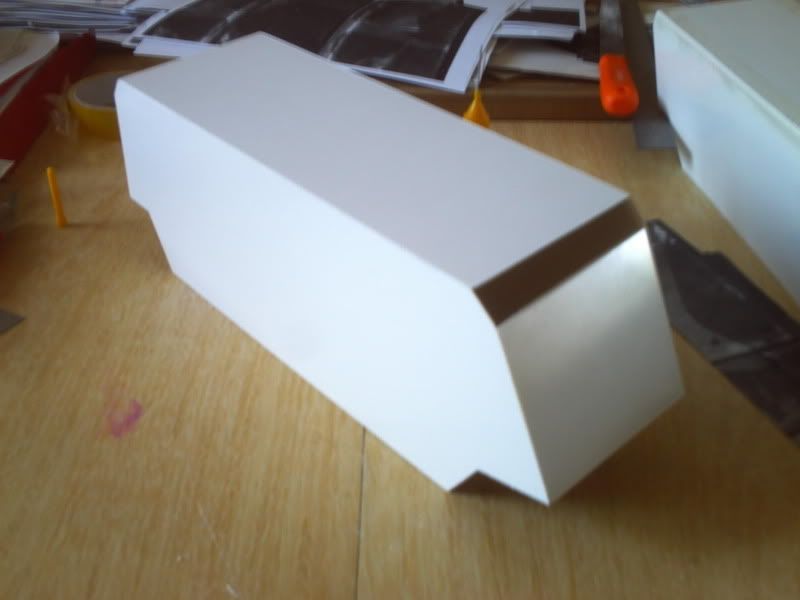
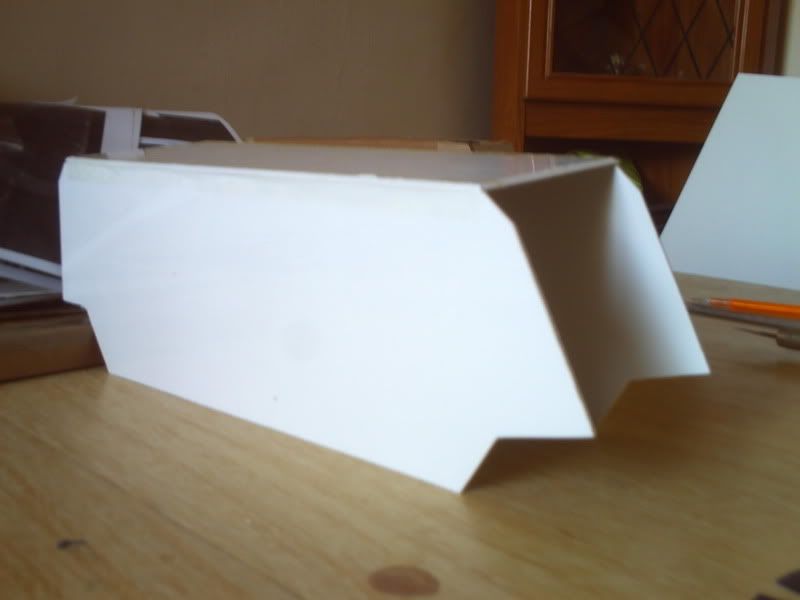
I've actually slightly altered the original design at the back of these parts which can be seen in this next image. The large flat back piece should actually have another smaller strip at the bottom, angled inwards, much like a reflection in a puddle of the one on top. I figured this way it'll give more space for me to play with the track configuration and quite simply is ever so slightly easier to build! I have excess material this way so I can always revert to the original plans at a later date.
Now the small filler at the rear (above) was actually a very nice size and fitted rather snugly. The one in this image was almost 2mm too narrow on the outside edge though as I'd had to file that much off the larger piece fitted below it earlier. Should've seen it coming really... With a little sanding and careful work with the Dremel it achieved a fairly good fit but I may well revisit it later. At least it will be at the back of the model when it's finished!!!
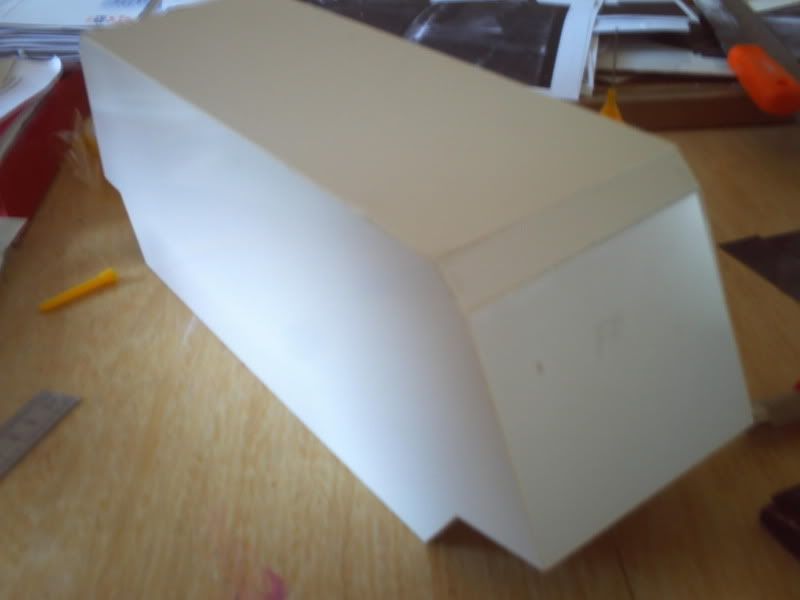
I tried to get a good example shot of how the finished tracks may look here but wasn't really able to. Here's the best I got but it doesn't quite show off the scale as I'd hoped it would. Still some more shots in a moment should do that!

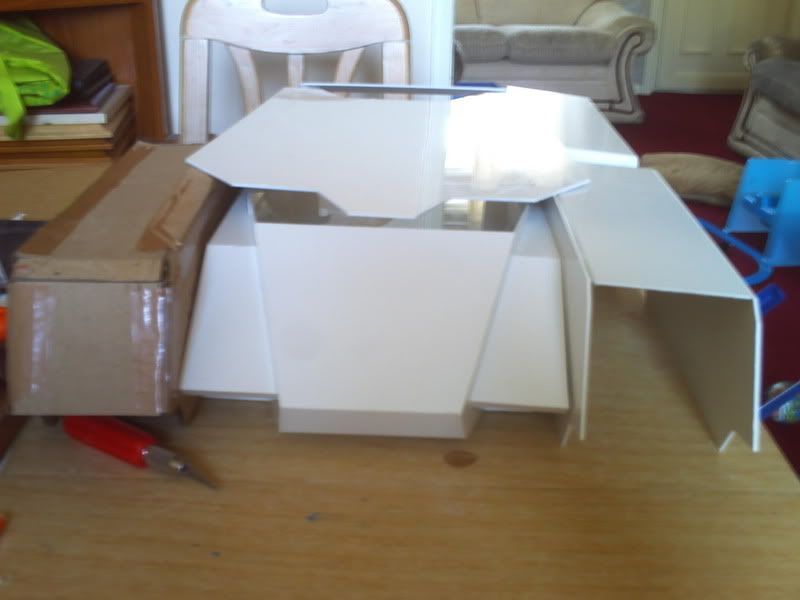
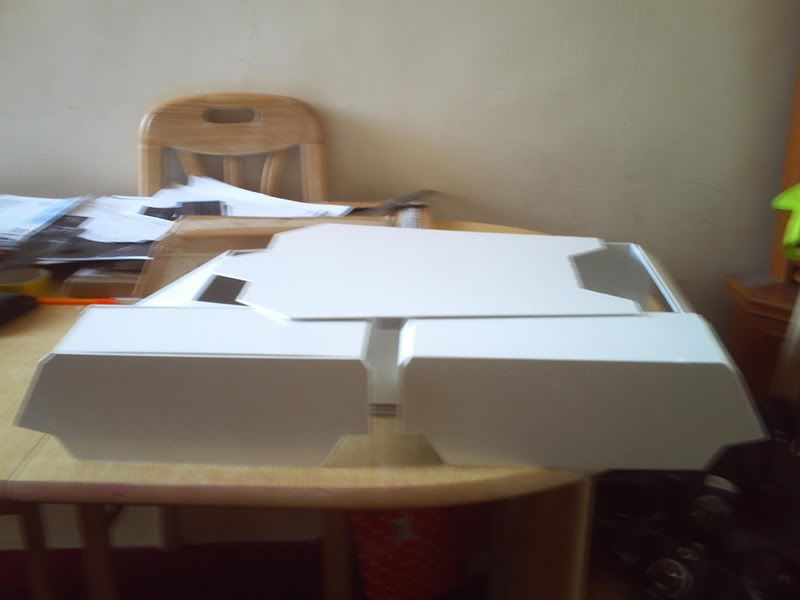
And here's one of them! I decided to put together the bits I had so you can see the gigantic turret base here for the first time along with the new tracks. Everything is mocked up as it will be in the end result but I must confess it looks very ugly at this point. The sheer size of the turret bottom is what's causing it I think but once everything is finished that won't be a problem anymore.

Here's one from the front with the cardboard track guard and the other unbuilt one mocked up in place. This is the kind of view a giant would get just before it had it's legs mangled beyond repair.
A nicer image from the side showing an almost perfect profile minus the turret. Add the cannon to this veiw and you have the full length of the build!
And finally a shot to put the newly completed part into perspective! This is where it will fit, right next to the death star grill!
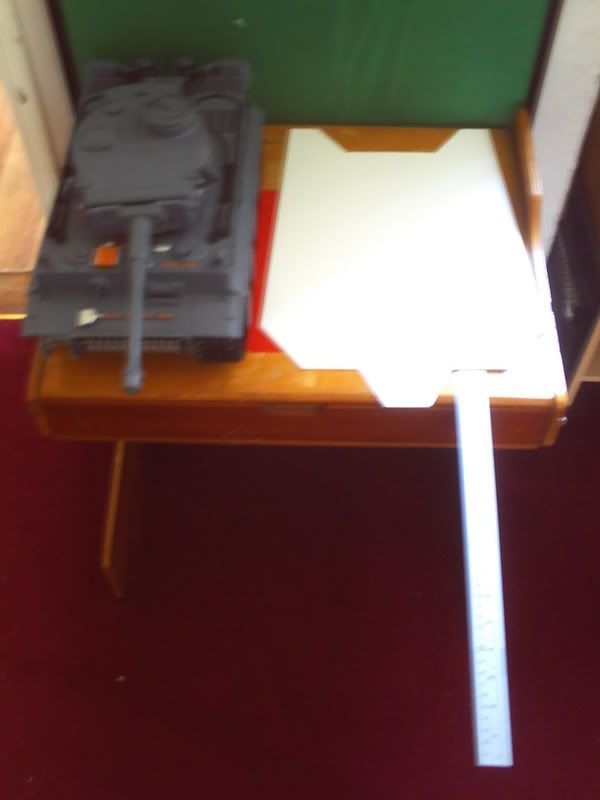
I thought now was a good time for another scaled comparison with my little baby Tiger tank so I sat it next to the base of the Mammoth's turret. The ruler is there representing one of two main cannons and is 40cm long!

Will get on with the otehr side today and hopefully be able to show off all 4 of them finished soon. I'll at least have them done by the time the weekend is up as I have time off from the nipper on Sundays

Thanks for watching, input as always please. It's the only way to make things better! T