Page 7 of 8
Re: New Tiger Build.
Posted: Wed Sep 02, 2015 10:25 am
by HERMAN BIX
Mr Jarndices' way is a lot more classy.......................you can align the holes with those pins as long as the bolt/nut holes are sufficient in clearance to allow a bit of come & go as required, paint & weathering will cover a lot of evils

For sure take Mr Jarndices' advice, it takes more patience, but it the right way to do it

Re: New Tiger Build.
Posted: Sat Sep 05, 2015 11:20 pm
by jackalope
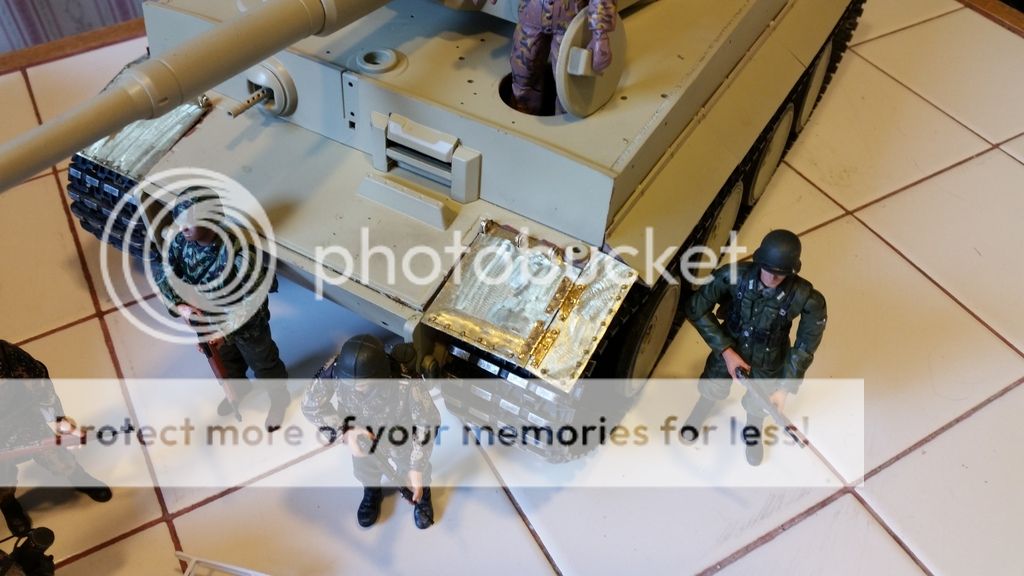
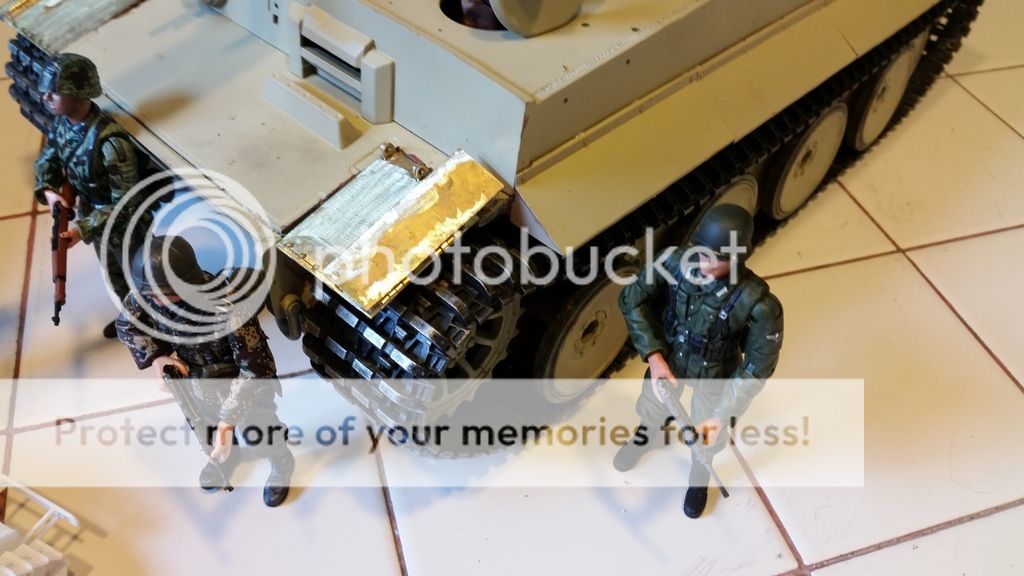
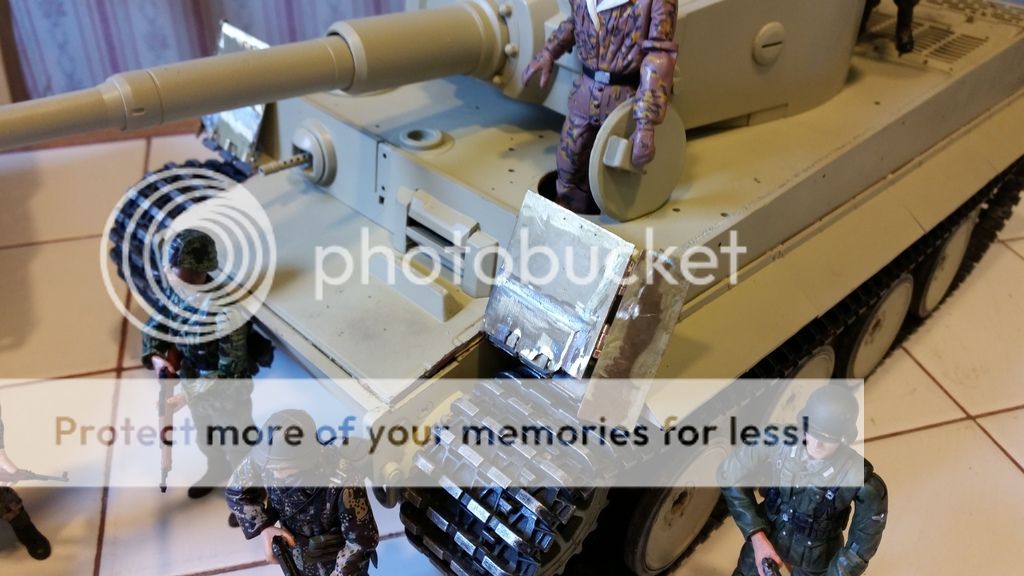
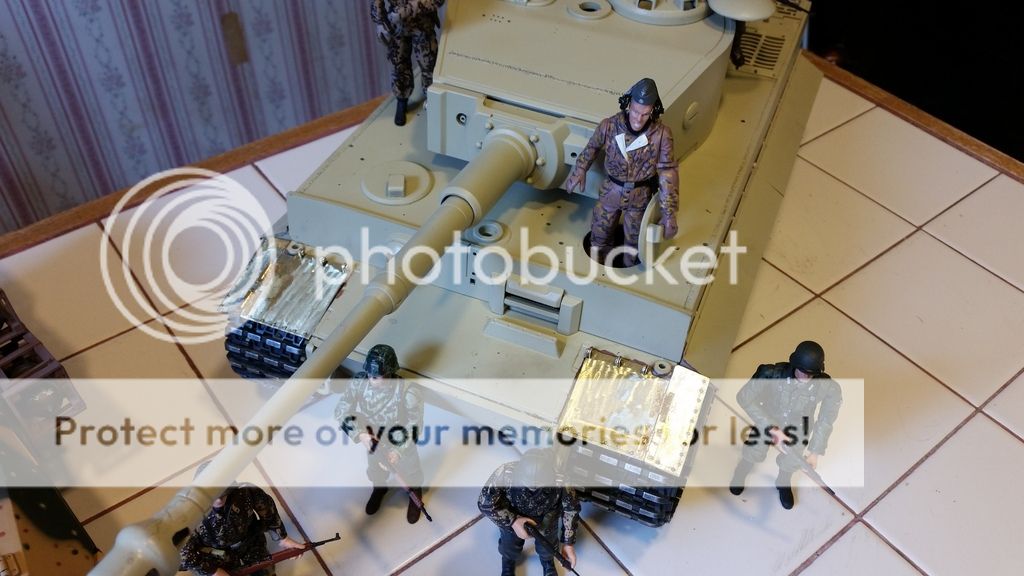
Success! I got the left front fender finished and on the tank and all the hinges work just like the real thing would!
Now on to the right side so I can get some pics up of the progress to show you guys. It's coming along really well.
Re: New Tiger Build.
Posted: Sat Sep 05, 2015 11:32 pm
by edpanzer
Coming along nicely Terry
Re: New Tiger Build.
Posted: Tue Sep 08, 2015 12:53 am
by jackalope
Re: New Tiger Build.
Posted: Tue Sep 08, 2015 7:33 pm
by edpanzer
Bloody good work Terry! ! I'll have a set of those front fenders there ace
Re: New Tiger Build.
Posted: Tue Sep 08, 2015 7:55 pm
by jarndice
Jack I love your "Photo-Etch" front fenders, I always make my own and I cheat, I buy the "VOYAGER" front & rear fender sets,
Because the brass sheet is so thin I cut 1mm plasti-card to shape and glue the PE to the card then using dolls house accessories website hinges,
I pin vise the hinge holding holes and push dress making pins through the holes (I use a block of soft wood as a template to hold everything together) then a spot of superglue at the point the pin comes through the hole,
Let it dry and clip the pins flush to the plasti-card back.
You now have a set of fenders with the bolt/rivet heads finishing off the look.
All my Tigers have properly working front and rear fenders and they are much tougher than the original PE fenders.
Dress making pins come in different sizes so you have to see in your minds eye how big the Bolt/Rivet heads would be when in position to get it looking right.
If your into detailing this can be very satisfying
shaun
Re: New Tiger Build.
Posted: Tue Sep 08, 2015 8:34 pm
by jackalope
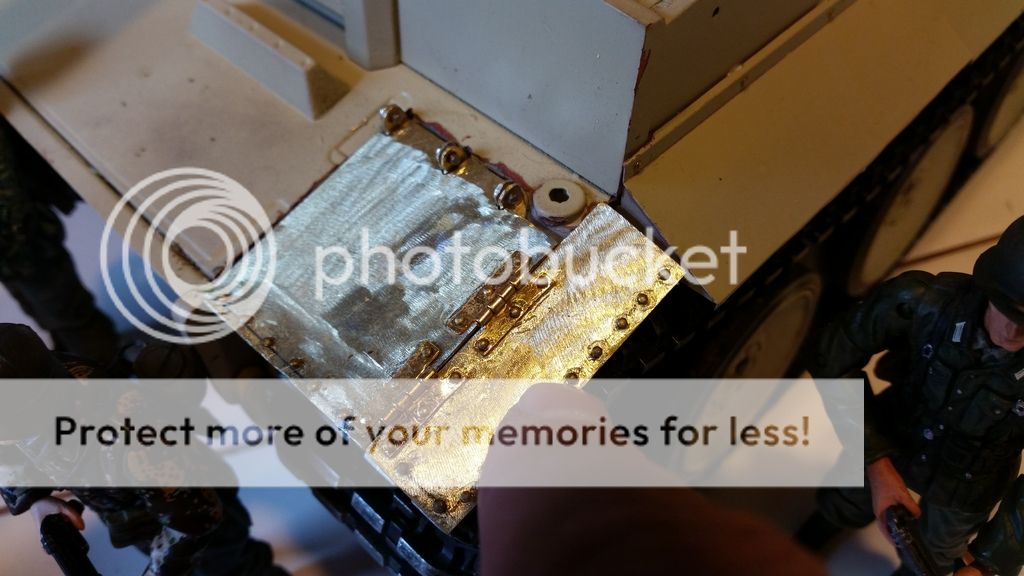
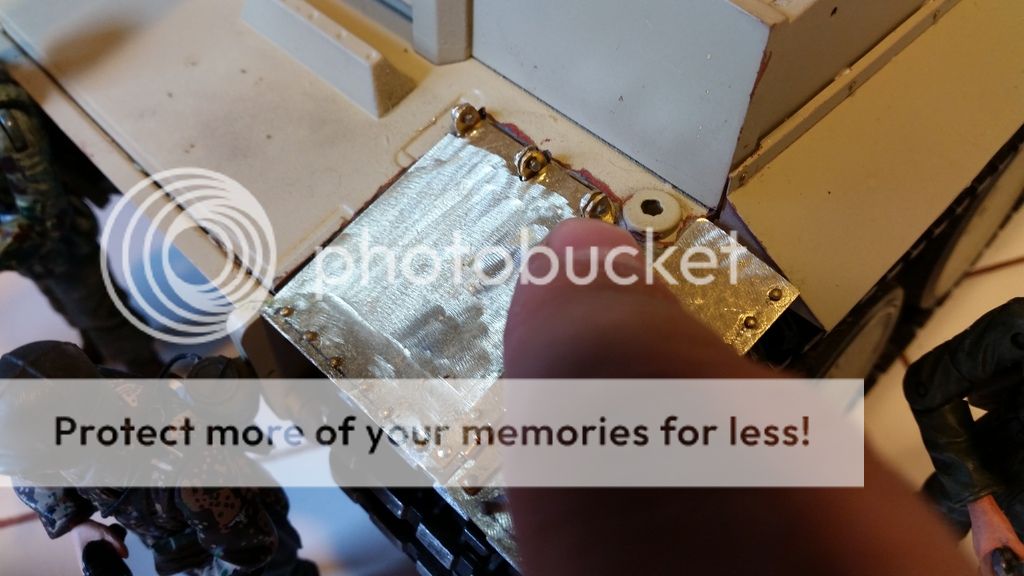
Thanks guys! I have dress makers pins but I found these tiny doll house nails and went with them cause they're brass as well.
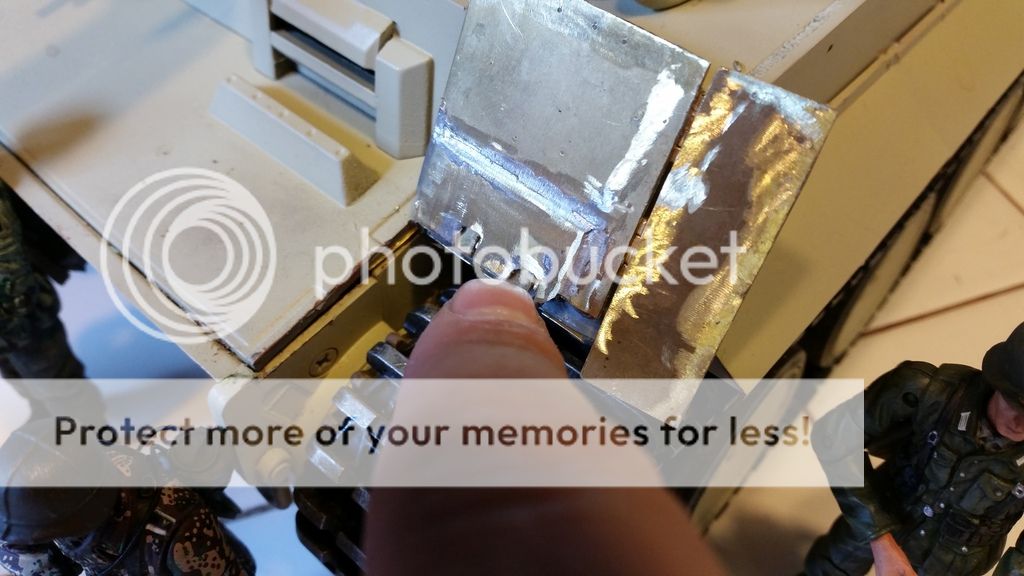
I also used the doll house nails to hold on the brass side skirts to my home made mounting pads on the side because they have these tiny ridges that are almost like barbs so they push in but then don't want to come back out.
I also picked up a diamond router bit for my dremel tool so I can make the proper mid production Tiger rear mud flaps as well.
The brass I use is much to thick to cut with scissors I use my dremel tool with a diamond cutting wheel and it's like a hot knife through butter!
I've done some custom wiring and installed some servos to do some neat stuff, I'll post some pics later.
Re: New Tiger Build.
Posted: Tue Sep 08, 2015 8:36 pm
by ALPHA
Why does the driver look so Angry

Nice work on those hinges Jack...you should have told me...I could have sent you some brass ones
ALPHA
Re: New Tiger Build.
Posted: Tue Sep 08, 2015 10:25 pm
by jarndice
If you need to cut soft but heavier guage brass than you find in commercial PE I recommend Garden Secateurs,
You can control the cut and it is easy to make accurate small cuts.
shaun
Re: New Tiger Build.
Posted: Tue Sep 08, 2015 10:35 pm
by jackalope
Alpha, He's German, don't they all look like that?

(That was a joke, please don't start with the political correctness.)
And they are brass.

Shaun, This brass isn't very soft not sure how well any shears would do VS. this sheet. I'd be afraid the shears would bend the brass rather then cut it.
I just take a piece of masking tape, stick it to the brass sheet, measure out how I want to cut it and use my Dremel on it. Once I get it cut out I remove the tape and clean up the edges and all done!