Hi
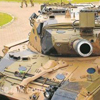
a bit more work done and a coat of primer applied so that I can check filler etc.
I think I will stop here and just add the side plates over the tracks, tools, tow ropes and a machine gun on the turret.
Next job is a coat of paint then fit the above parts before the club meeting next month. Hopefully I can enlist the tallents of the guys at the meeting to help me sort out the recoil unit and electrics then I can post a video of the Centurion for you to see.
I hope this project has given some encouragement for others to have a go, it has been great fun to date and has given me an idea for my next build.
Mike
centurion part 4 foto
Re: centurion part 4 foto
- Attachments
-
-
-
-
-
-
-
Gigantohawk
- Corporal
- Posts: 299
- Joined: Fri Oct 03, 2008 9:44 pm
- Location: Huddersfield, West Yorkshire
Re: centurion part 4 foto
It gets better and better Mike. A great piece of modelling.
-
fleshpedler

- Sergeant
- Posts: 664
- Joined: Mon Sep 15, 2008 1:36 am
- Location: weston super mare
centurion part 4 foto
Mike i believe i am right in saying that they were a dark green rather than olive drab and a number of post war tanks were painted with a black camo but not the micky mouse design,
colours something between tamiya dark green XF61 and XF26 which is deep green i would try a mix of these ,but if you want to go for only one of these then XF26 with black camo would be best as it would soon get lost under some dust and dirt....look forward to seeing it...
fleshy..........................

Re: centurion part 4 foto
Fantastic job! Especially like how the turret has turned out. Brilliant work!
Cheers
Chris
Cheers
Chris
-
Andy in Cheltenham
- Corporal
- Posts: 427
- Joined: Mon Sep 21, 2009 12:54 pm
- Location: Tewkesbury
Re: centurion part 4 foto
A mono trailer would look nice on the back.

-
Andy in Cheltenham
- Corporal
- Posts: 427
- Joined: Mon Sep 21, 2009 12:54 pm
- Location: Tewkesbury
Re: centurion part 4 foto
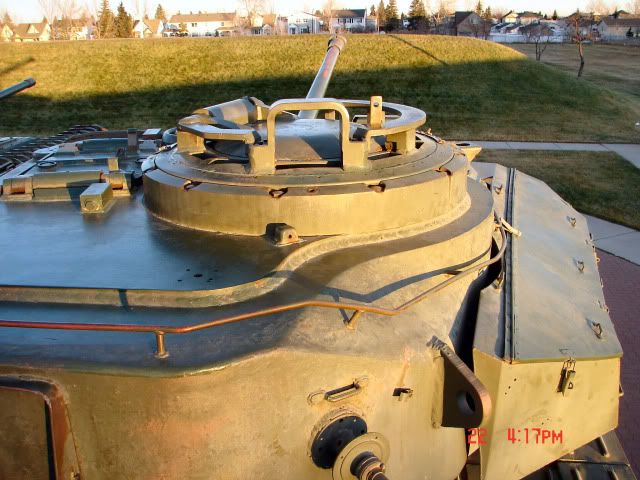
I'm really sorry for being critical on such a lovely job. I don't think it needs the extra piece on the Cupola. It just needs a .30cal on a single point, not the sliding rail.

Re: centurion part 4 foto
The Mk5 "British"
-
Andy in Cheltenham
- Corporal
- Posts: 427
- Joined: Mon Sep 21, 2009 12:54 pm
- Location: Tewkesbury
Re: centurion part 4 foto
Sorry ignore my ignorance there. I knew you were doing it British which is why I mentioned the mono trailer. It's just that I was trying to picture the Cupola in my head and the wrong image came up. 
Re: centurion part 4 foto
Don't worry, that happens to me all the timeAndy in Cheltenham wrote:Sorry ignore my ignorance there. I knew you were doing it British which is why I mentioned the mono trailer. It's just that I was trying to picture the Cupola in my head and the wrong image came up.
