Hi,
I took the opportunity of a rainy day to finish the SAS Jeep by painting the 1/10 crew figures i created.
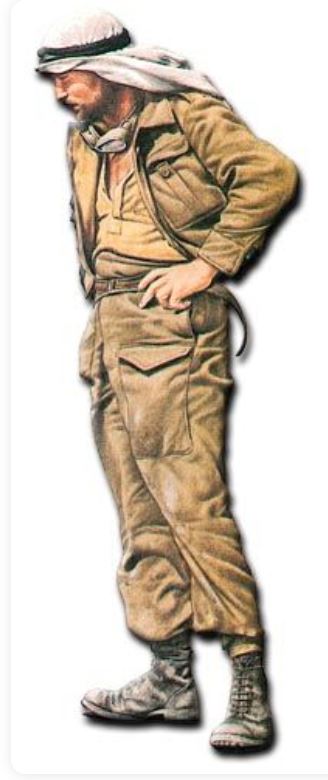
First i did some study of pictures on the web to find the proper colors. These are the best color plates i found. This one showing an officer and head gear.

- 1/10 RC Jeep Willys MB - Long Range Desert Group - Build
- Capture.JPG (72.12 KiB) Viewed 2720 times
This plate is interesting for showing the pants, belt and boots.
- 1/10 RC Jeep Willys MB - Long Range Desert Group - Build
- Capture2.JPG (40.25 KiB) Viewed 2720 times
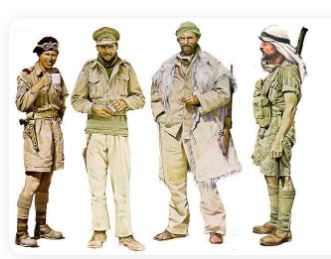
This plate showing variations of khaki color uniforms, or actually a lack of uniformity.
- 1/10 RC Jeep Willys MB - Long Range Desert Group - Build
- Capture3.JPG (24.77 KiB) Viewed 2720 times
A primer coat is required over the resin, the view is clearer with the primer, and the figures are getting some improvements.
 Viewed 2720 times")
- 1/10 RC Jeep Willys MB - Long Range Desert Group - Build
It was my first time painting 1/10 scale figures and i have to say that it is much easier than 1/16. Painted with Vallejo and Tamiya acrylics.
 Viewed 2720 times")
- 1/10 RC Jeep Willys MB - Long Range Desert Group - Build
Before putting the heads on, the uniforms were given a thorough wash of North Africa Desert pigments, and then Dark Earth pigments in lower areas.
 Viewed 2720 times")
- 1/10 RC Jeep Willys MB - Long Range Desert Group - Build
Overall, the painting of the figures took about 3 hours of work.
 Viewed 2720 times")
- 1/10 RC Jeep Willys MB - Long Range Desert Group - Build
Painting faces has always been my weak point. I finally found the secret recipe for the skin that works for me. Unless you are a master painter, here are 7 simple steps to paint 2 faces in 30 minutes of work, yes 30 minutes for both...
1- Coat of Tamiya enamel grey primer in spray
2- base coat of Vallejo 70.876 applied with large brush, let dry 3 hours.
3- lips in Vallejo 70.804 with tips of blade
4- eyeball Tamiya flat white applied with the tip of blade
5- eye is Tamiya German grey with tip of blade
6- Beard and eyebrows Tamiya German grey for driver, Dark Sea Grey for the gunner
7- Very light dry brush of Tamiya flat white over the whole face and beard to lighten the raised areas.
That's it, nothing else. I found the results acceptable, the best i can expect and it avoided creating caricatures.
 Viewed 2720 times")
- 1/10 RC Jeep Willys MB - Long Range Desert Group - Build
And here is the finalized 1/10 scale RC Jeep of the Long Range Desert Group/SAS in 1942. You can click on the pictures for close ups.
 Viewed 2720 times")
- 1/10 RC Jeep Willys MB - Long Range Desert Group - Build
 Viewed 2720 times")
- 1/10 RC Jeep Willys MB - Long Range Desert Group - Build
More pictures on following post.