Hi, thank you very much for your interest and encouragements, really appreciated, it makes me want to do a better job.
Here presenting the basic interior, minus the electrical cabling, straps, radios and other items that should be added only after painting. By reviewing the pictures for this post, I also noticed a few things that needs to be redone, common with scratch building.
The BMP interior is quite low and cramped. Makes you wonder how tall Russians actually fit in there. As a 6 feet 4 inch guy, I personally prefer the large electric ramp of the M113. Notice the fuel tanks inside the rear door... not a good idea, extra armor would be wiser.
 Viewed 3166 times")
- Ludwigs BMP-1 1/16 RC build BMP
Not a smooth or fast exit under any situation.
 Viewed 3166 times")
- Ludwigs BMP-1 1/16 RC build BMP
The ability for the infantry to shoot their weapons from inside the vehicles instead of sitting and doing nothing seemed to be a good idea when it came out and was copied by the Germans with the Marder 1 MICV and the US with the M2 Bradley IFV.
However, it proved impractical and was abandoned by all on later versions of their vehicle. It would probably work in the context of a post apocalyptic world to shoot at zombies standing on the side of the road. But when facing groups of tank hunter/killer teams firing RPGs strait down from the 4th floor of a building or an ATGM from 2km away, what an APC need are layers of armor (ie slat, active, reactive...) and supporting infantry outside the vehicle when facing enemy soldiers. The firing ports are useless weak points.
 Viewed 3166 times")
- Ludwigs BMP-1 1/16 RC build BMP
The first task was to create the central module, composed of the main fuel tank in the front and battery compartment in the rear. Sitting on hundreds of liters of fuel in the middle of a warzone is a dangerous position.
 Viewed 3166 times")
- Ludwigs BMP-1 1/16 RC build BMP
It became obvious that the idler arrangement should be installed before completing the interior.
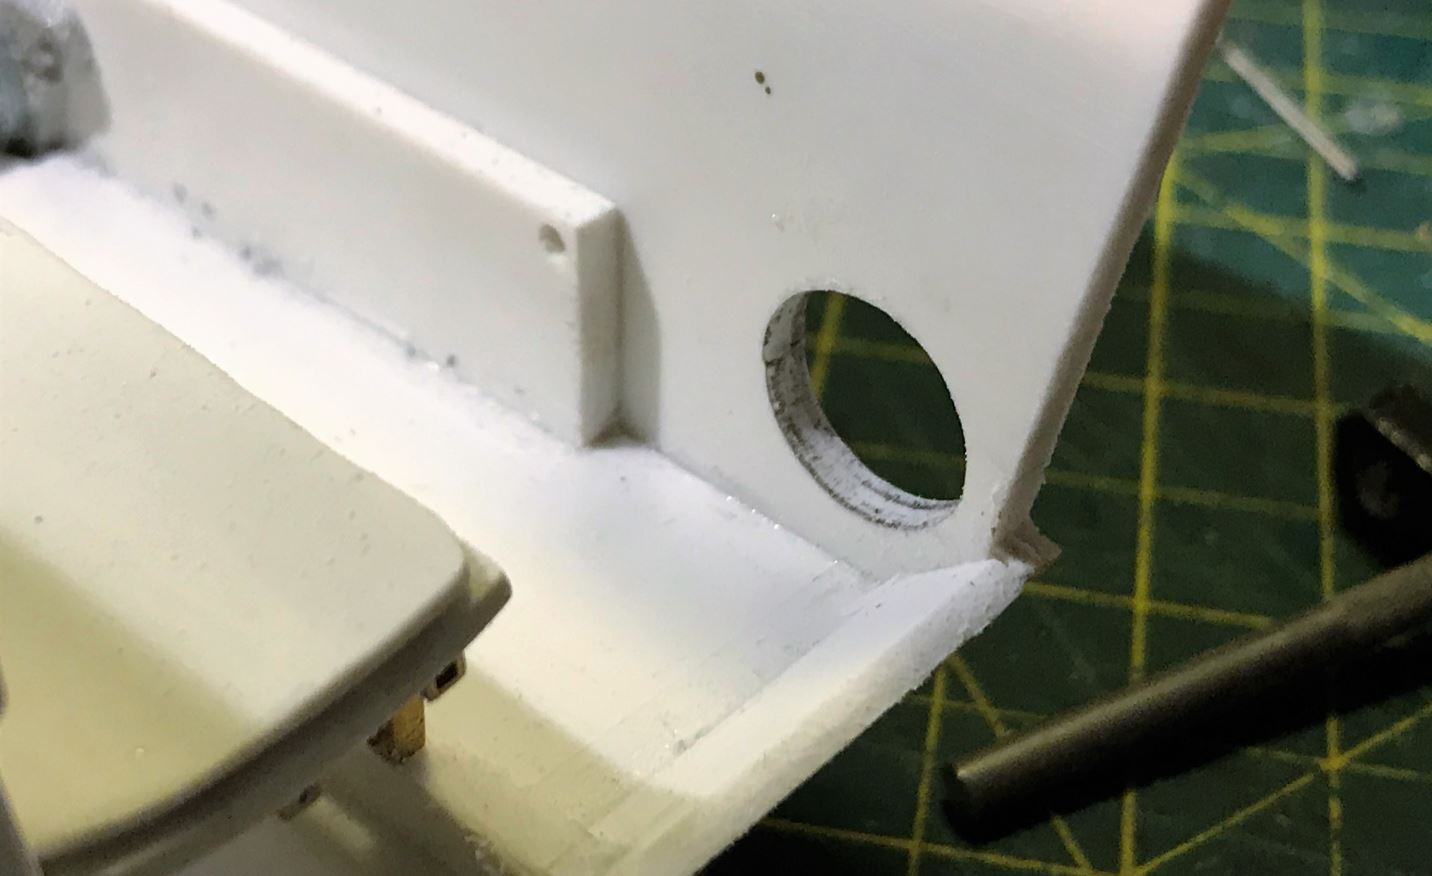
- Ludwigs BMP-1 1/16 RC build BMP
- Capture1.JPG (95.68 KiB) Viewed 3166 times
An HennTec Panther adjuster was modified to fit the BMP without taking too much room inside. The whole thing was cut in pieces. Plasticard spacers and reinforcement were created for the fit to the hull.
 Viewed 3166 times")
- Ludwigs BMP-1 1/16 RC build BMP
Showing the adjuster hull attachments ready for installation
 Viewed 3166 times")
- Ludwigs BMP-1 1/16 RC build BMP
Modified Mato T-90 idler wheels were used, not ideal but at least they have 5 spokes. Once disassembled, the shaft on the exterior half was cut to create the core of a BMP idler wheel.
 Viewed 3166 times")
- Ludwigs BMP-1 1/16 RC build BMP
Basic elements for the idler, with a flanged ball bearing at the center and an M4 metal pin as shaft.
 Viewed 3166 times")
- Ludwigs BMP-1 1/16 RC build BMP
Idler wheels are assembled.
 Viewed 3166 times")
- Ludwigs BMP-1 1/16 RC build BMP
Continuing on following post