Hi,
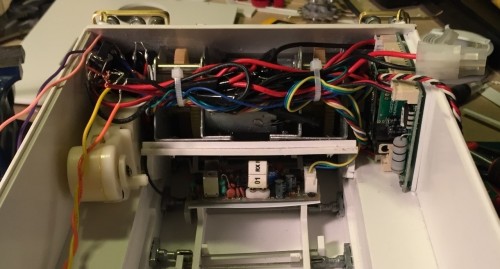
Work has started on the interior. I have determined that it is possible to hide most of the electronics behind the engine firewall. The Heng Long receiver is under the gearbox, the control unit is on the right, minus the black plastic box but it is installed on a plasticard plate instead, and the door elevation unit is on the left. Although the firewall will hide the engine area, the driver's position will need to be hidden somehow.
All this free space allows me to almost fully detail the fighting compartment, which is extremely visible when the ramp is down and the trap on top is open. Gas tank, radio shelves, seating, etc will be scratch built with great pleasure. This is the main reason to jam pack the electronics at the front. It is a question of personal priorities.
- Ludwigs M113
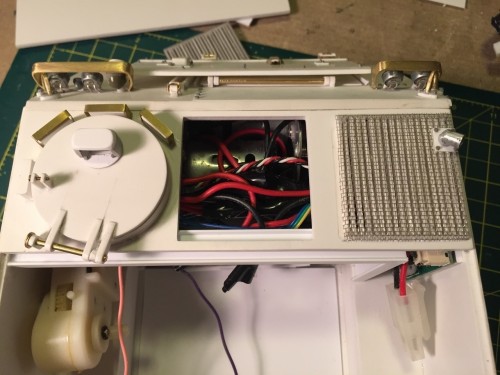
The real M113 has a beam overlapping the front and back area. As this is a weak point, it made sense to replicate it to provide much needed support for that central area.
- Ludwigs M113
I could not run the beam side to side because of the control unit on the right side, so it is supported by a vertical section in front of it. Technically, the battery fits in the engine area under the beam. However, I have yet to find a practical way of making it removable. So, i will likely need to sacrifice my Zippy Compact battery, with the charging plug accessible through the removable grill. For heavy maintenance, the firewall will need to be removed to access from the rear. It is obvious that both ceilings will never be glued and will provide access to electronics and interior. Will find some magnet arrangement for it. The elevation unit will need to stick out for sure, i have yet to design the mechanism to open/close the rear ramp, likely using a pushrod under the seat, up/down as the unit rotates. Something like that. I have discarded the idea of rotating the cupola using a rotation unit. I prefer to show the cupola accurately, with the commander at the M2.
- Ludwigs M113
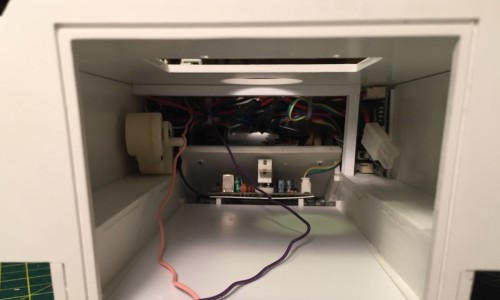
The main firewall section is built and shown here in dry fit. You can also see that the floor has been installed, nothing is glued at this point. Shapeways wing nuts are looking good on the engine bulkhead.
- Ludwigs M113
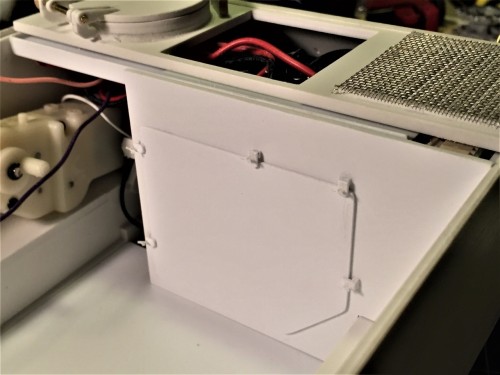
Yes, the sound, it's very important. The Heng long speaker was too large to hide inside the vehicle. I searched my junkyard and found that the speaker of a Hobby Engine M1A1 is of perfect size to fit inside the gas tank.
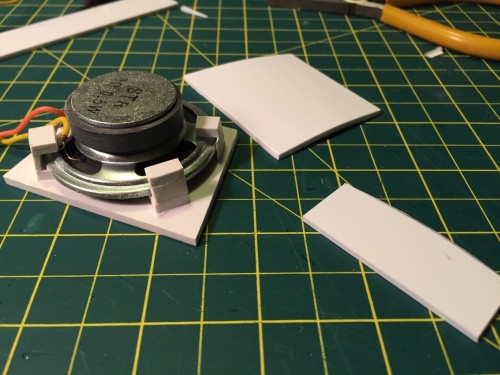
- Ludwigs M113
This is the scratch built gas tank/speaker, modelled as per references. There seems to be many variations of M113 gas tank sizes, select the size according to period and variant. The wire for the speaker will run under the radio shelf.
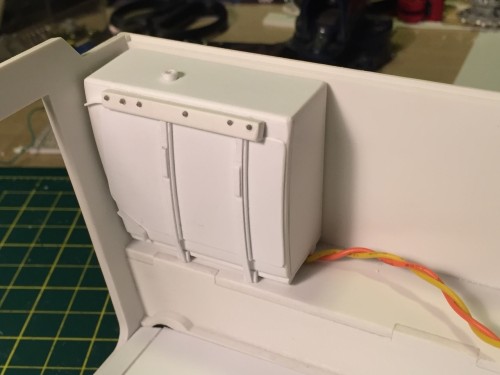
- Ludwigs M113
The gas tank is the first thing you see when the ramp is down so it is important to make it accurate. It is also visible from above through the trap on top. The floor is temporarily in place, i am waiting for a Henntec track adjuster that i will do my best to fit in. And of course, the proper type of diamond tread plate will be added to the floor. I had to cheat a bit on the floor height because the suspension is higher on the model than on the real M113
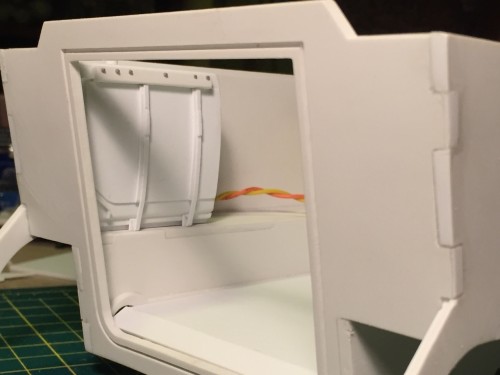
- Ludwigs M113
View from the back, with gas tank on left and engine firewall in dry fit mode in front. The wires that is running towards the back are for the tail lamps and interior lighting. They will likely run under the radio shelf and behind the gas tank.
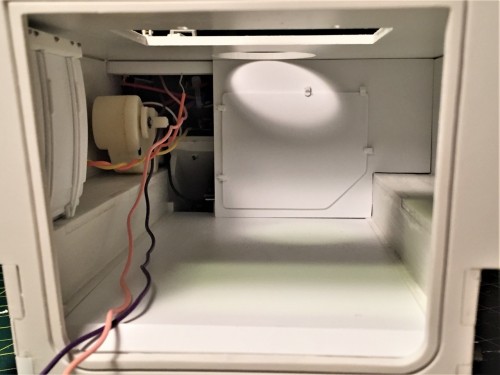
- Ludwigs M113
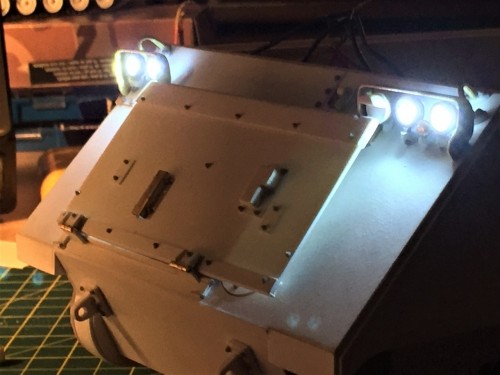
The Mato headlamps are wired up, it is quite impressive to have 4 of them.
- Ludwigs M113
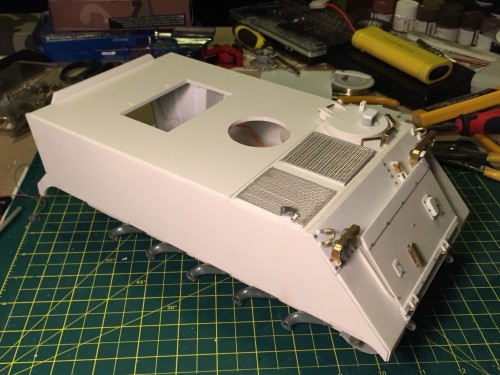
Overview of the M113
- Ludwigs M113
Regards, Louis

 invasion"....... and on the word of the supreme commander convinced themselves that a disguise as model tank builders would be the perfect way to" blend in"
