Page 5 of 6

Re: Wings' T90 Build log

Posted: Sat Jun 07, 2025 7:33 am
by Wings0fPlague
Ah, thanks Herman! That's a fantastic way to do it.
Do you just cut the CDs with a blade? I imagine they would shatter quite easily, and would be best with no backing graphic on it?

Re: Wings' T90 Build log

Posted: Sat Jun 07, 2025 7:40 am
by HERMAN BIX
Once the PVA is dry on the backing just cut the section you need oversize with a good pair of scissors, then sand the shape to size. If you cut the CD without securing the backing as you call it, the stuff just flakes off.

Re: Wings' T90 Build log

Posted: Sat Jun 07, 2025 10:11 am
by Pavel
And you are right again, I wrote that the tank is painted from the tip of the nose to the tip of the tail, and the black rubber caps are after the painted ones have flown away with the smoke...
For periscopes, you can use a film separated from a broken smartphone, remove the glass and there is a bunch of films, choose the one that is rainbow.
You can even take from holographic stickers from different products.
If you have money, you can even buy this on Ali...
You can choose the color, here is blue, there are all reasonable colors and even black...
https://aliexpress.ru/item/100500498121 ... _rcmd=core
https://aliexpress.ru/item/100500498117 ... _rcmd=core
https://aliexpress.ru/item/100500804129 ... _rcmd=core

Re: Wings' T90 Build log

Posted: Tue Jul 01, 2025 3:13 pm
by Wings0fPlague
Hi chaps,

Been a while, just a quick little update on the paint of the hull
IMG_20250701_220834_054.jpg
IMG_20250701_220834_054.jpg (94.53 KiB) Viewed 1102 times
IMG_20250701_220832_460.jpg
IMG_20250701_220832_460.jpg (74.92 KiB) Viewed 1102 times
Still mud to add, black is the paint chipping off the skirtings

Cheers,

Wings

Re: Wings' T90 Build log

Posted: Mon Aug 25, 2025 2:58 pm
by Wings0fPlague
Hello all!

I return, much later than I would've liked (life got in the way a little) with an update to this T-90 build!
She is currently fully painted! here are some photos;
20250825_213814.jpg
20250825_213814.jpg (1.94 MiB) Viewed 286 times
Lots of small details like leaves and mud all over;
20250825_213841.jpg
20250825_213841.jpg (2.1 MiB) Viewed 286 times
The triangle worn on Ukranian tanks during the Kursk counteroffensive, painted by hand with some drips;
20250825_213953.jpg
20250825_213953.jpg (1.35 MiB) Viewed 286 times
The iconic log, painted (thanks pavel!)
20250825_214040.jpg
20250825_214040.jpg (1.15 MiB) Viewed 286 times
And just some detail close-ups;
20250825_214047.jpg
20250825_214047.jpg (1.48 MiB) Viewed 286 times
20250825_214052.jpg
20250825_214052.jpg (1.24 MiB) Viewed 286 times
I'm very happy with how the skirts came out, they're not perfectly aligned, but I think that adds to the war-torn look (or, atleast, that's my excuse for my shoddy sheet metal work :haha: )
20250825_214121.jpg
20250825_214121.jpg (1.77 MiB) Viewed 286 times
I hope to work on the flag and the camo netting in the coming days.
Any advice on mounting the camo netting will be greatly appreciated!
I intend on making the flag look tattered by rubbing it with sandpaper, and getting it dirty - I'm considering using it as a 'rag' in one of the aircraft exhausts at work :haha:

Cheers!
Wings

Re: Wings' T90 Build log

Posted: Mon Aug 25, 2025 5:04 pm
by AlanWhite
Thats looking great :thumbup:

Re: Wings' T90 Build log

Posted: Mon Aug 25, 2025 10:16 pm
by HERMAN BIX
Yep, nice effects.
What green did you use ?

Re: Wings' T90 Build log

Posted: Mon Aug 25, 2025 11:09 pm
by Herr Dr. Professor
Whew! Wings, that is quite an accomplishment. I applaud the weathering and the fuel lines form the "drop tanks" (O.K. it's a WWII aircraft term :haha: ) and the rubber pieces in the front and... and... and...

Re: Wings' T90 Build log

Posted: Tue Aug 26, 2025 1:56 am
by tankme
I always love a good looking target... :)

Re: Wings' T90 Build log

Posted: Tue Aug 26, 2025 11:48 am
by Wings0fPlague
Thanks lads! Your comments are very much appreciated!
Took it into work today so I could work on it at lunch, had some ideas for things that needed my work toolbox.

Firstly, cut and tore up my sheets of camo netting, and found a decent looking layout.
seen here is my first dry-fit;
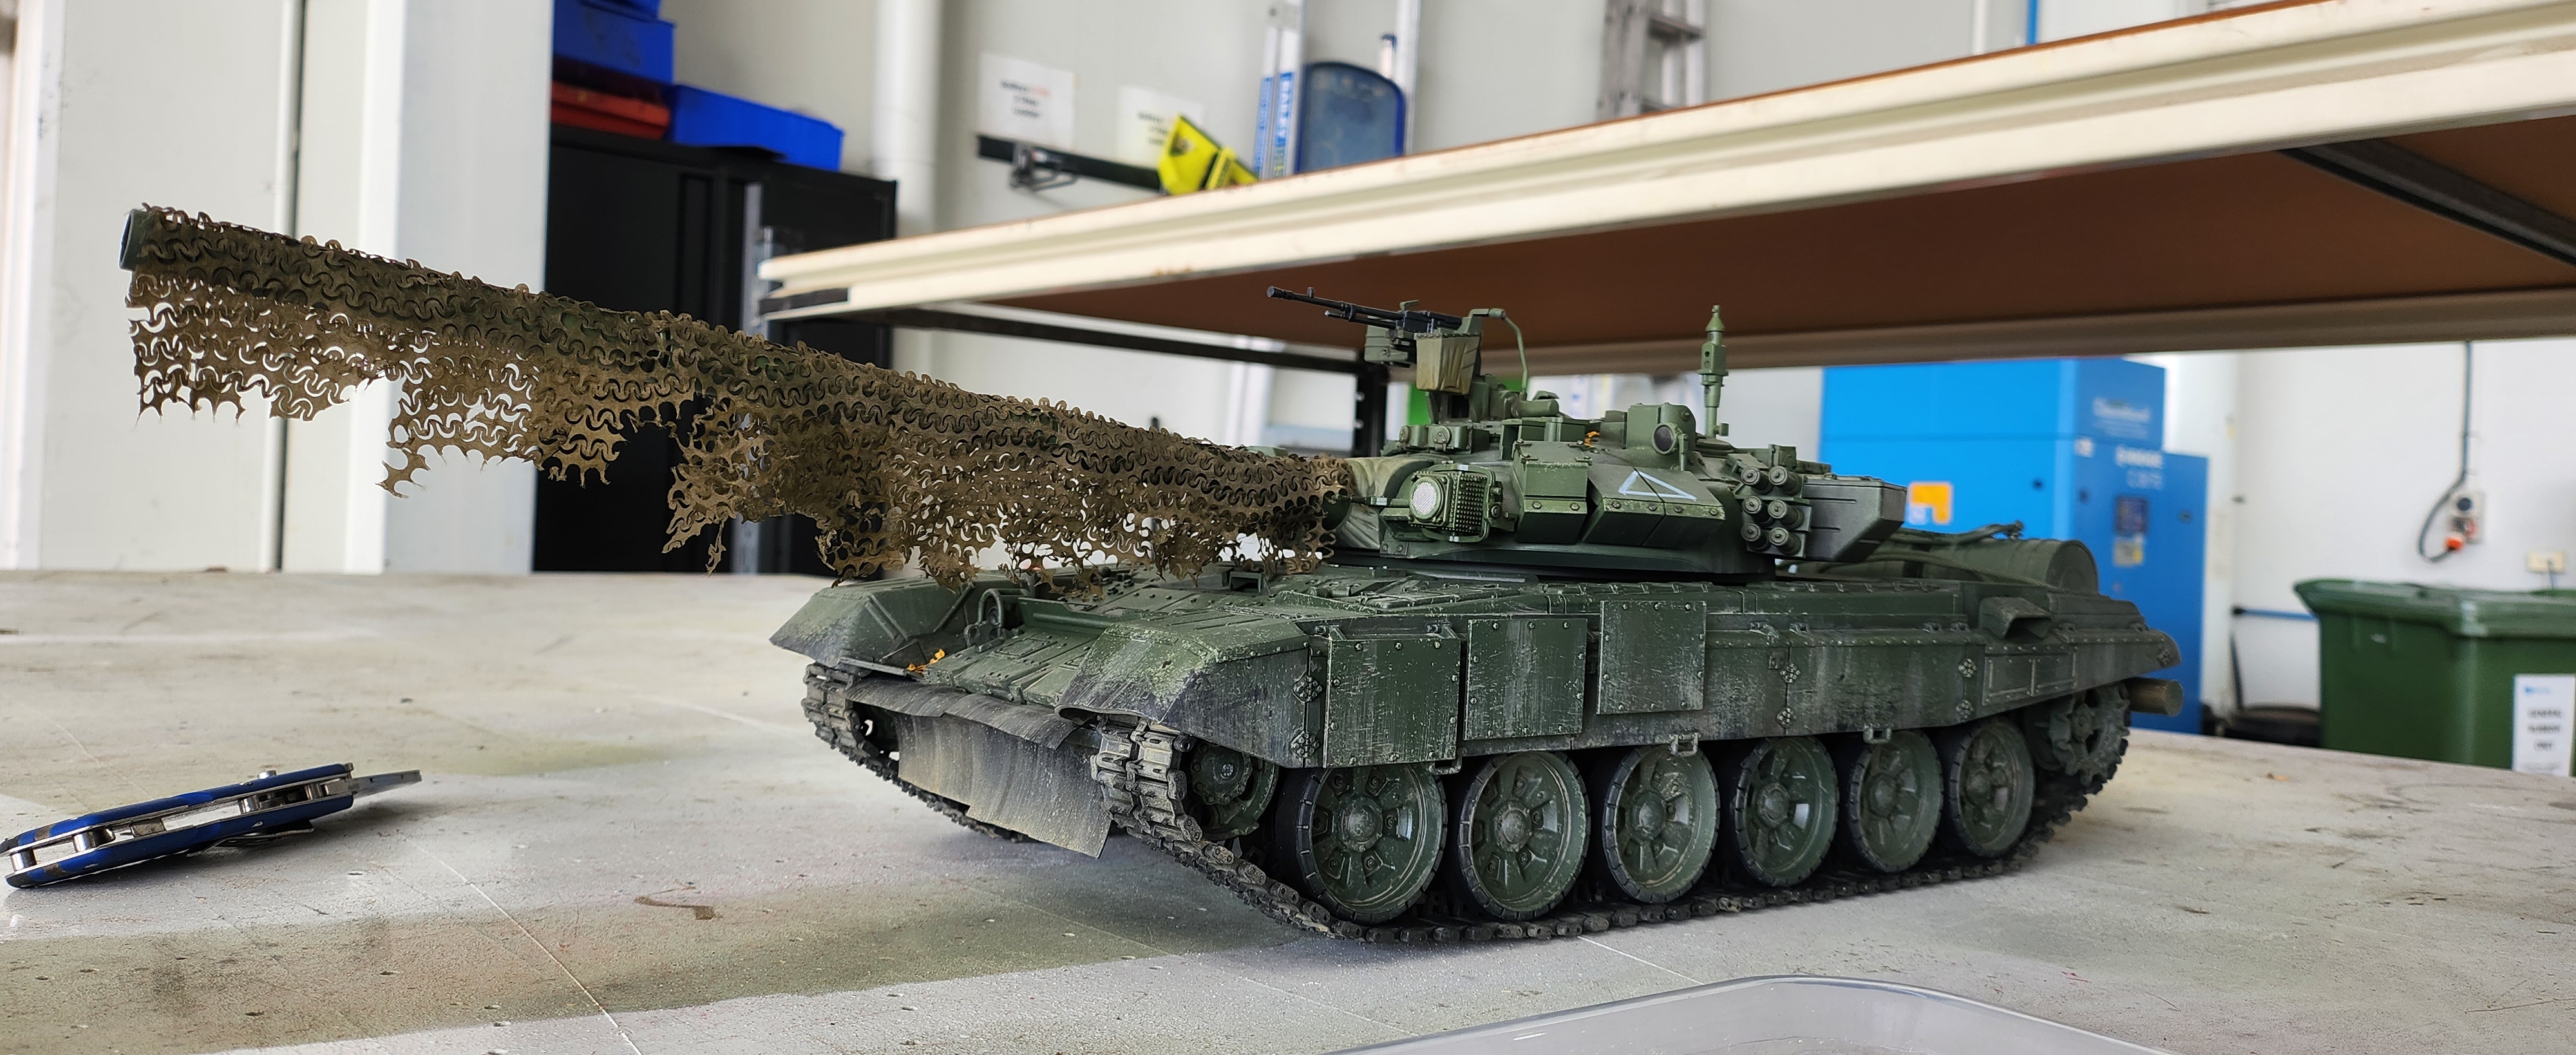
20250826_101513.jpg
20250826_101513.jpg (2.01 MiB) Viewed 218 times
This was properly attached later using a regular glue-stick, which seems to hold quite well, and I was sure not to flatten it on application.

Next was the flag.

I purchased a desk flag from ebay and it was perhaps the most tracked item I have ever received, every movement I had 2 emails; one from the courier, one from the seller - both telling me the same thing
I felt as though I'd ordered a nuclear weapon! :haha:

of course, this flag was too big, but the beautiful thing about the Ukranian flag is that with only 2 colours, it can be any size you want!
I cut it to size, and to make it look worn and stressed, I rubbed it against some 80 grit sandpaper very softly.
following this, I needed to make it dirty... and while I didn't have any paints with me at work, I did have something else...
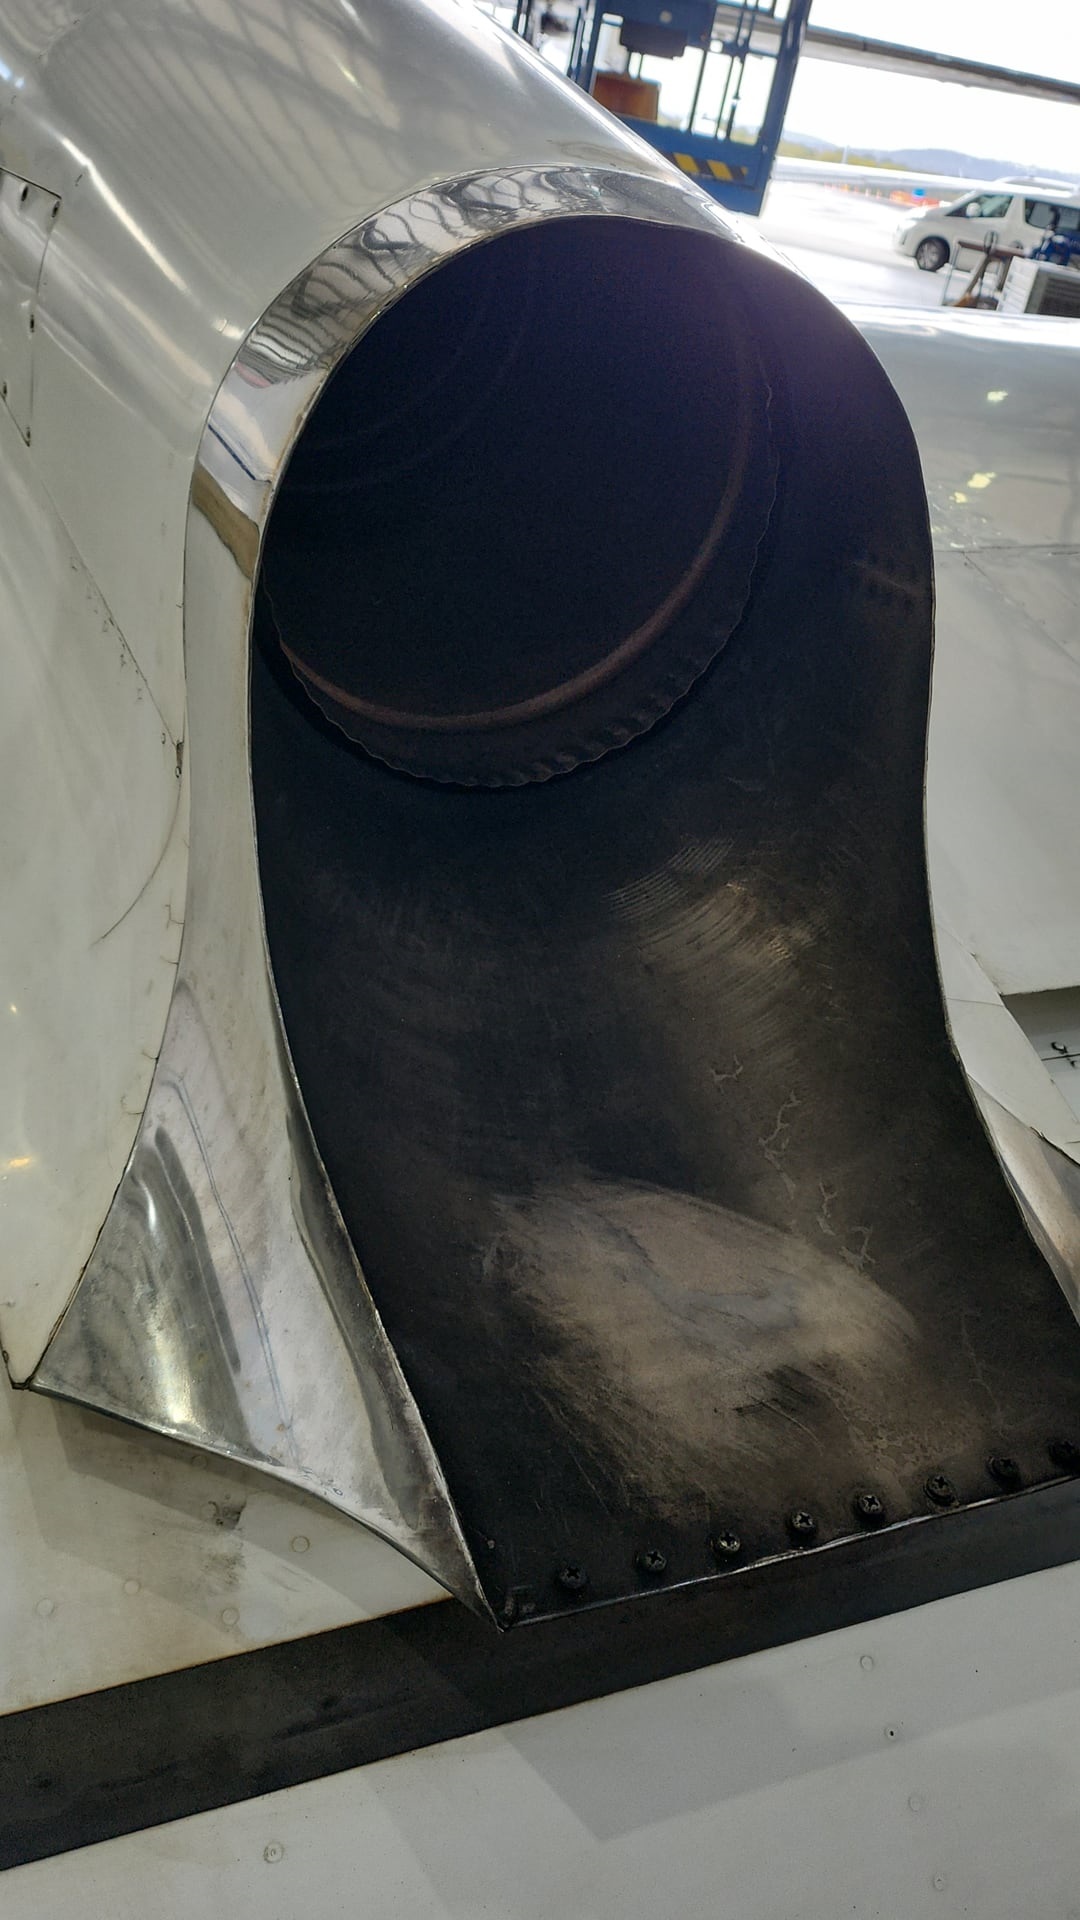
538869081_1065598385359212_615537714520614744_n_.jpg
538869081_1065598385359212_615537714520614744_n_.jpg (323.83 KiB) Viewed 218 times
What better way to simulate dirt and oil than just using the exhaust of burnt jet fuel! :haha: :haha:

This turned out far better than I expected, and, after tying it to the stock antenna piece using bits of rag, this was the result;
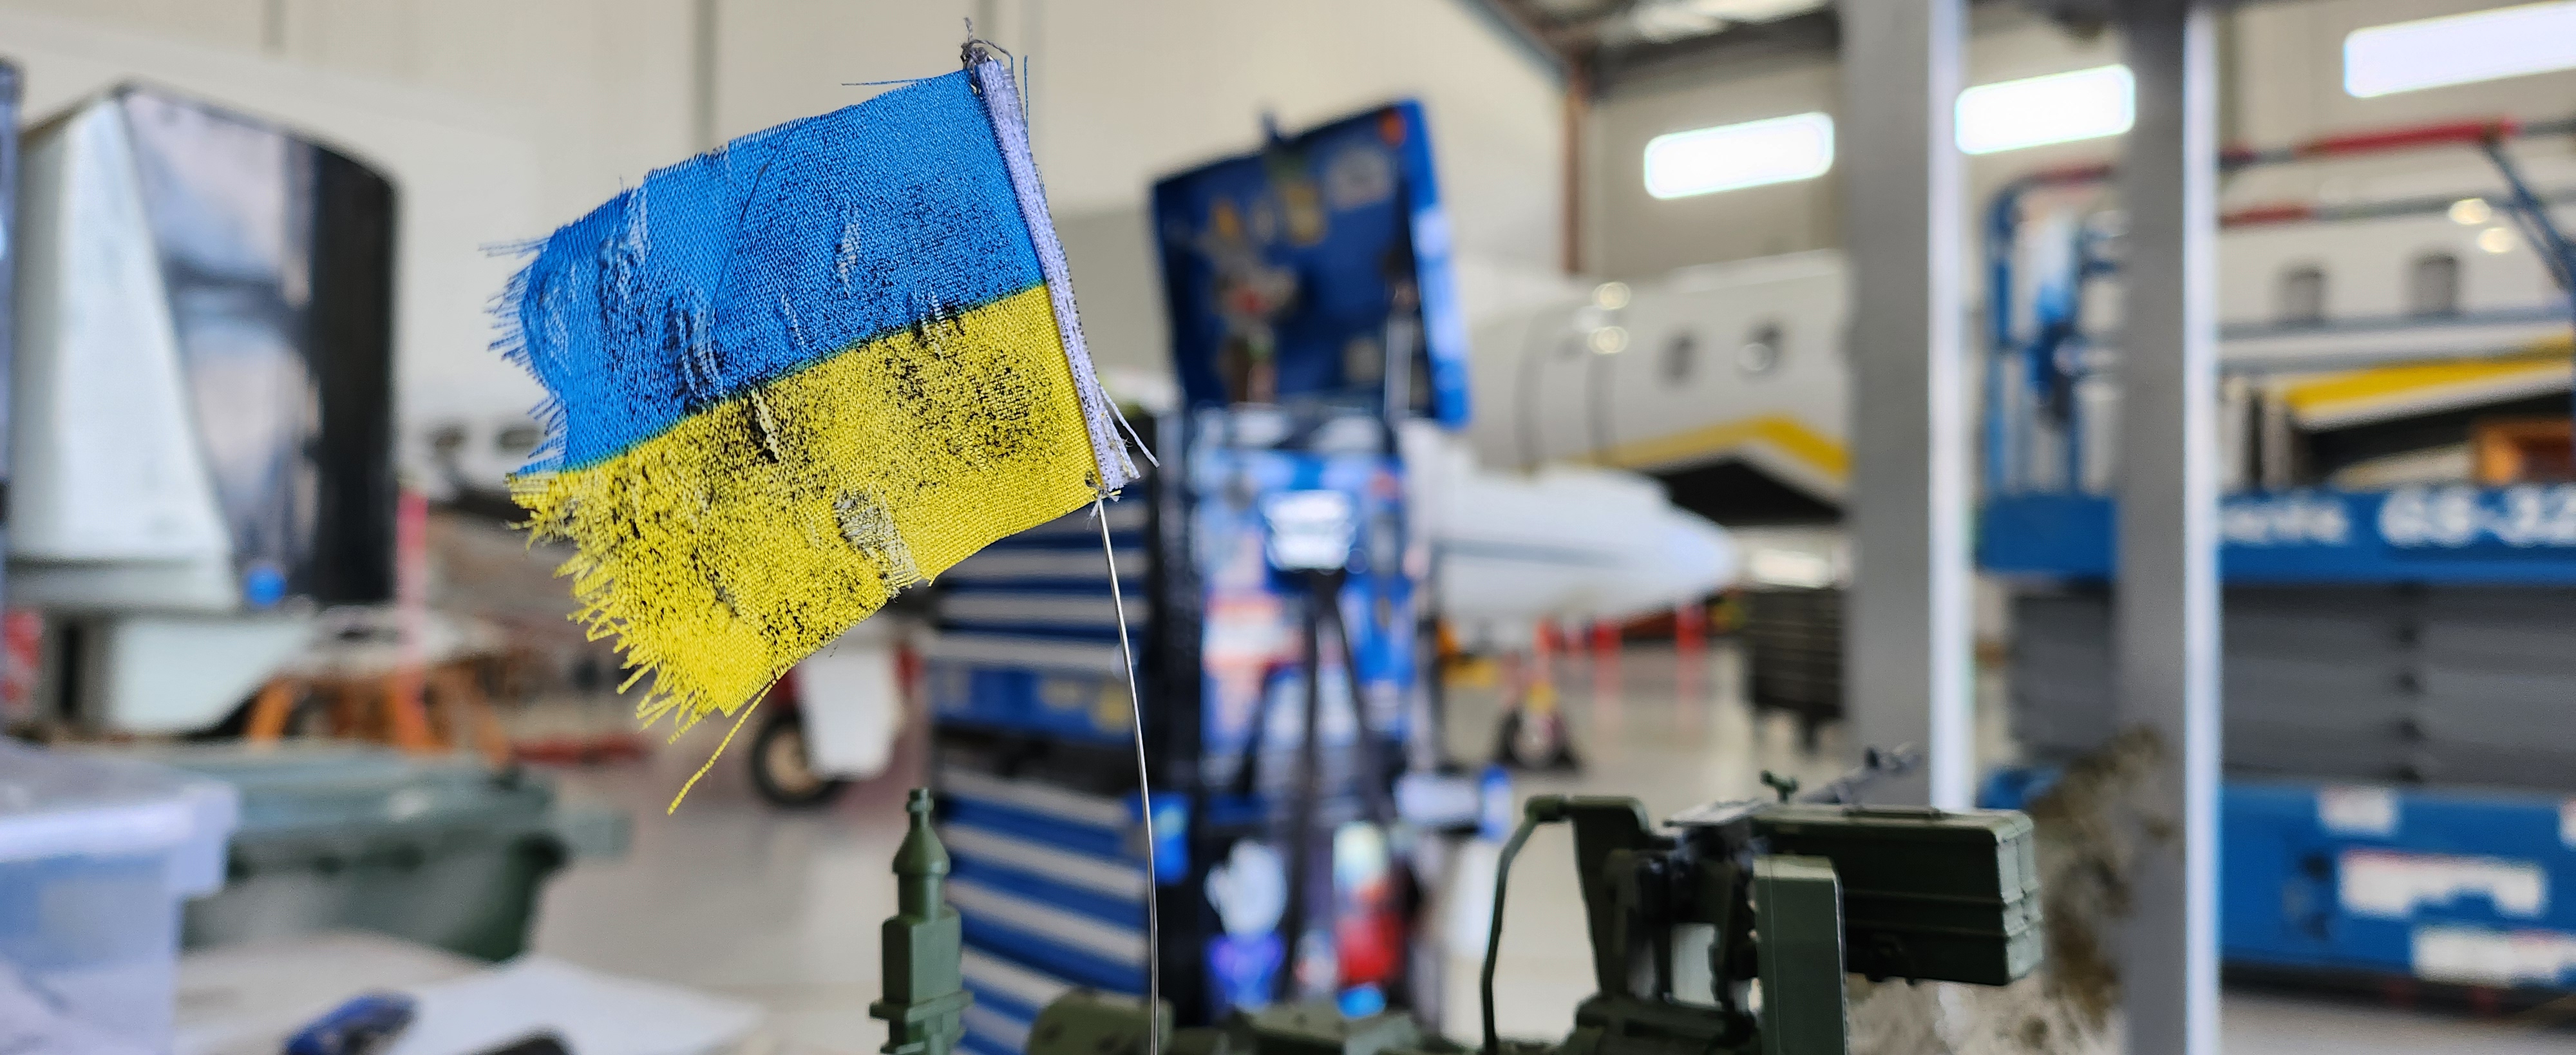
20250826_130236.jpg
20250826_130236.jpg (1.9 MiB) Viewed 218 times
This looks awesome, very happy with these;
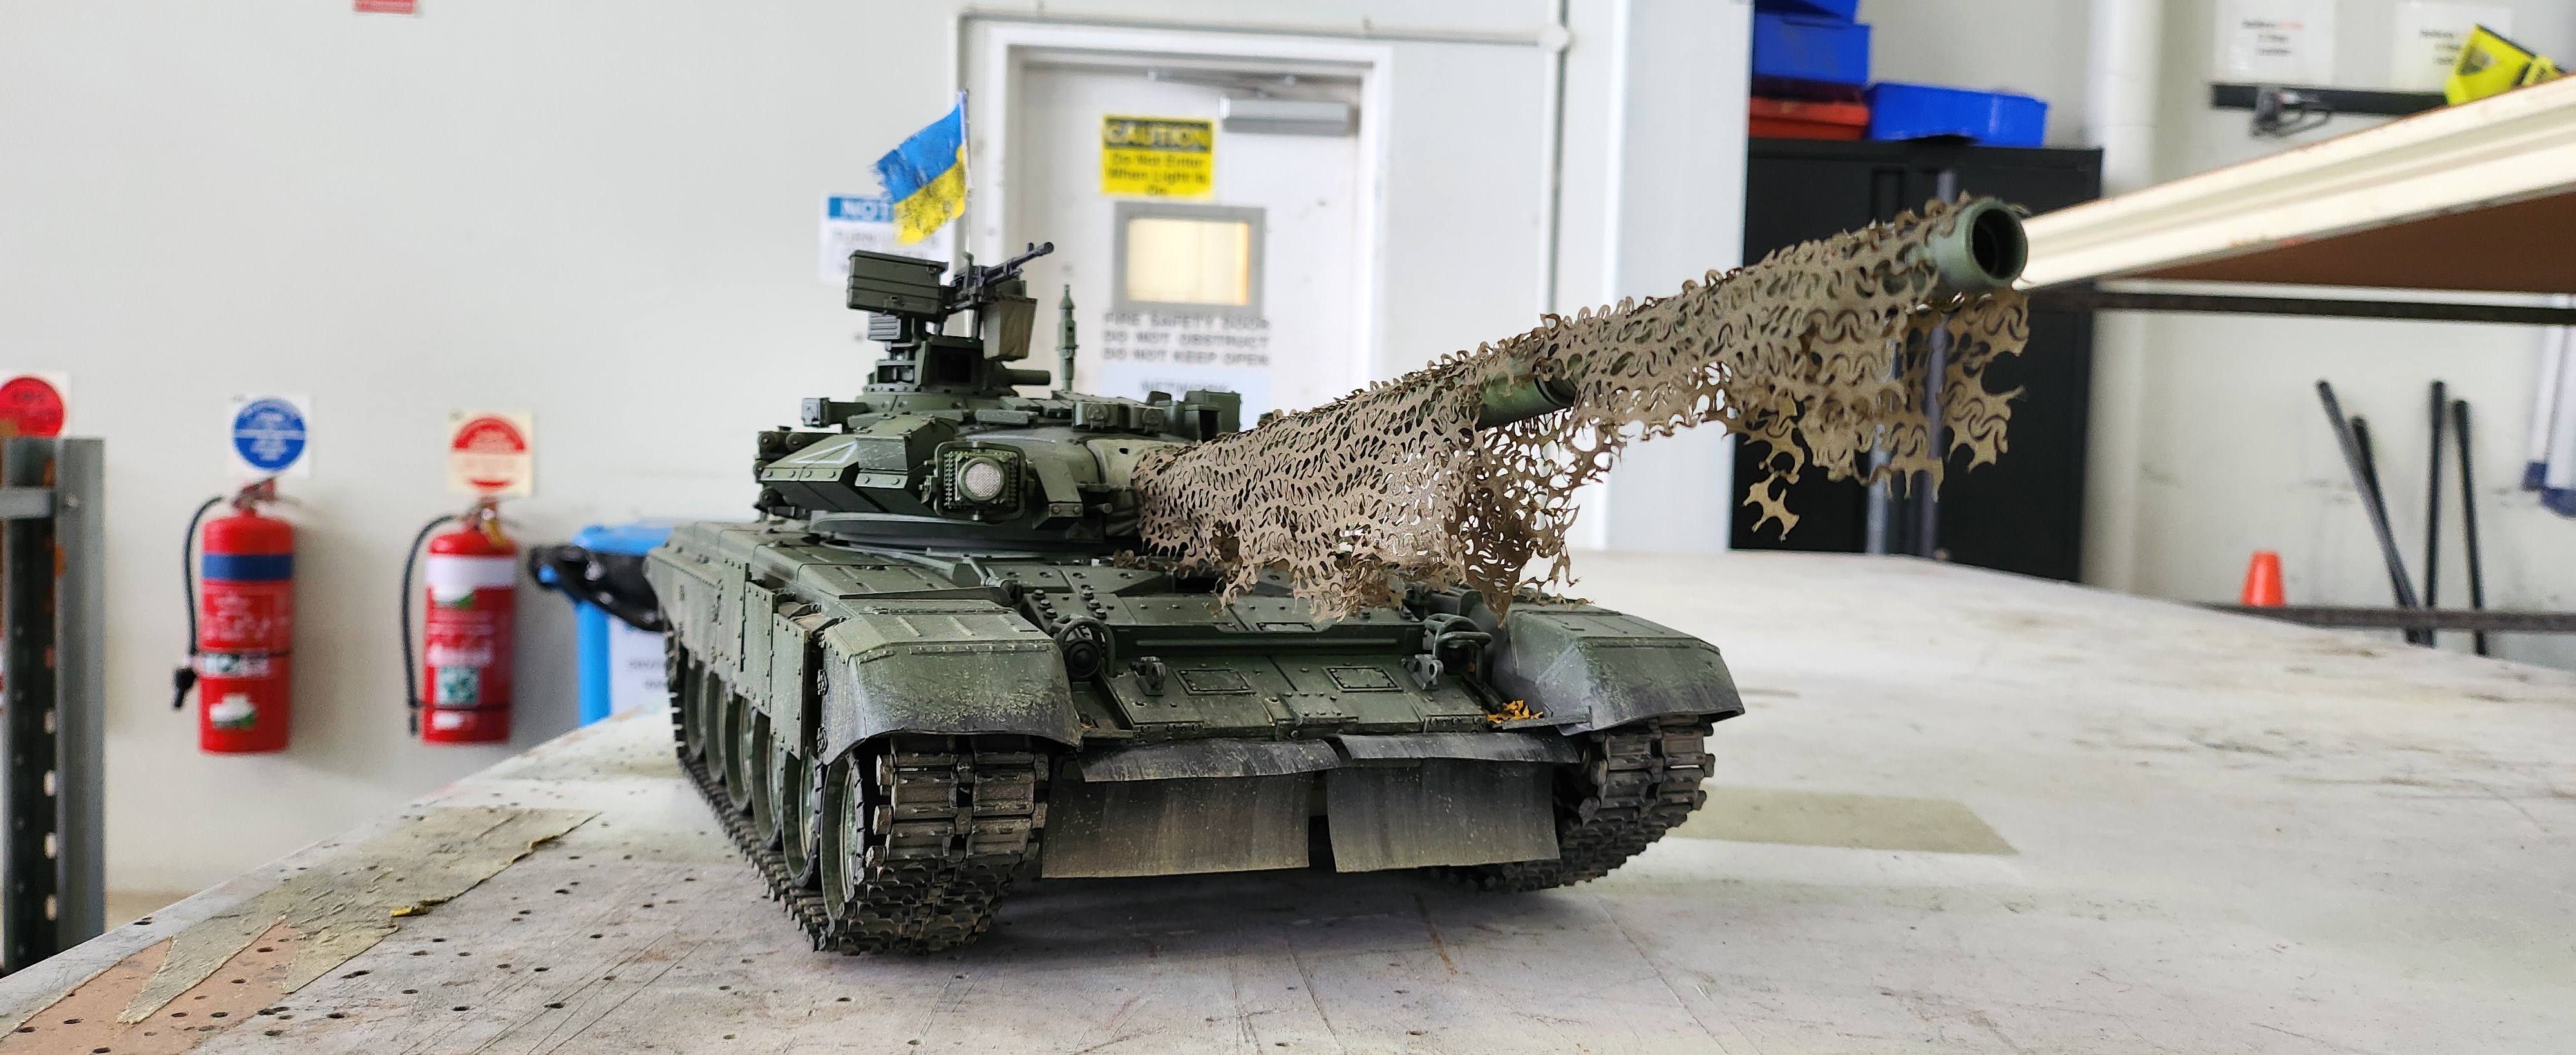
20250826_152859.jpg
20250826_152859.jpg (1.83 MiB) Viewed 218 times
I took it for it's first test drive after I got home, but I'll put those photos in another post :D

Cheers!

Wings