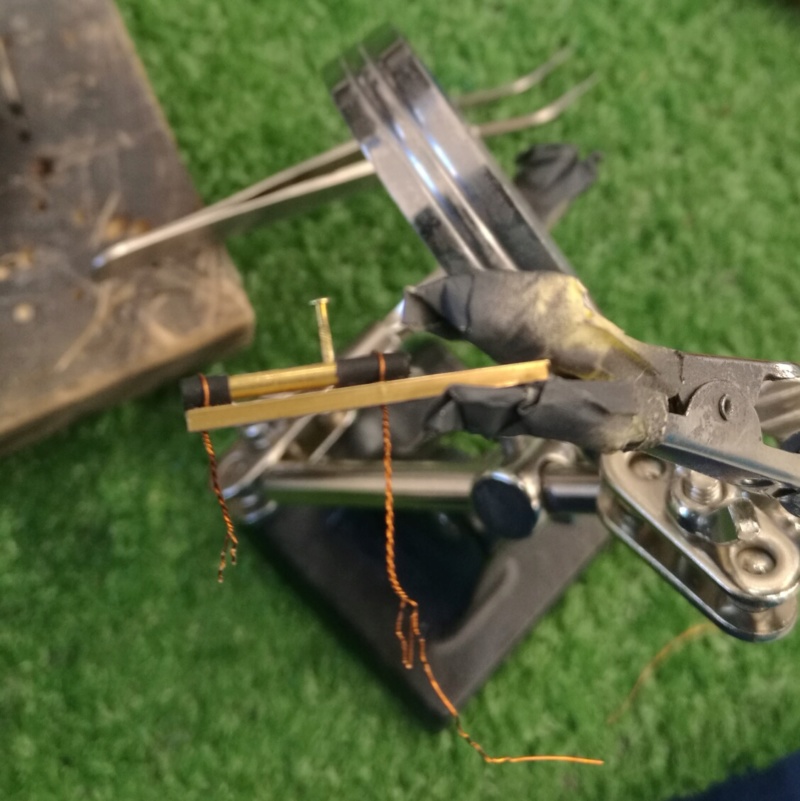
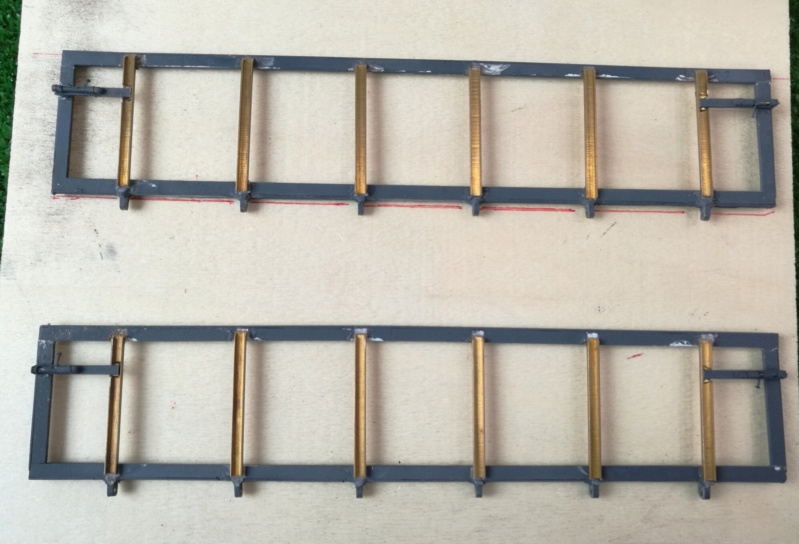
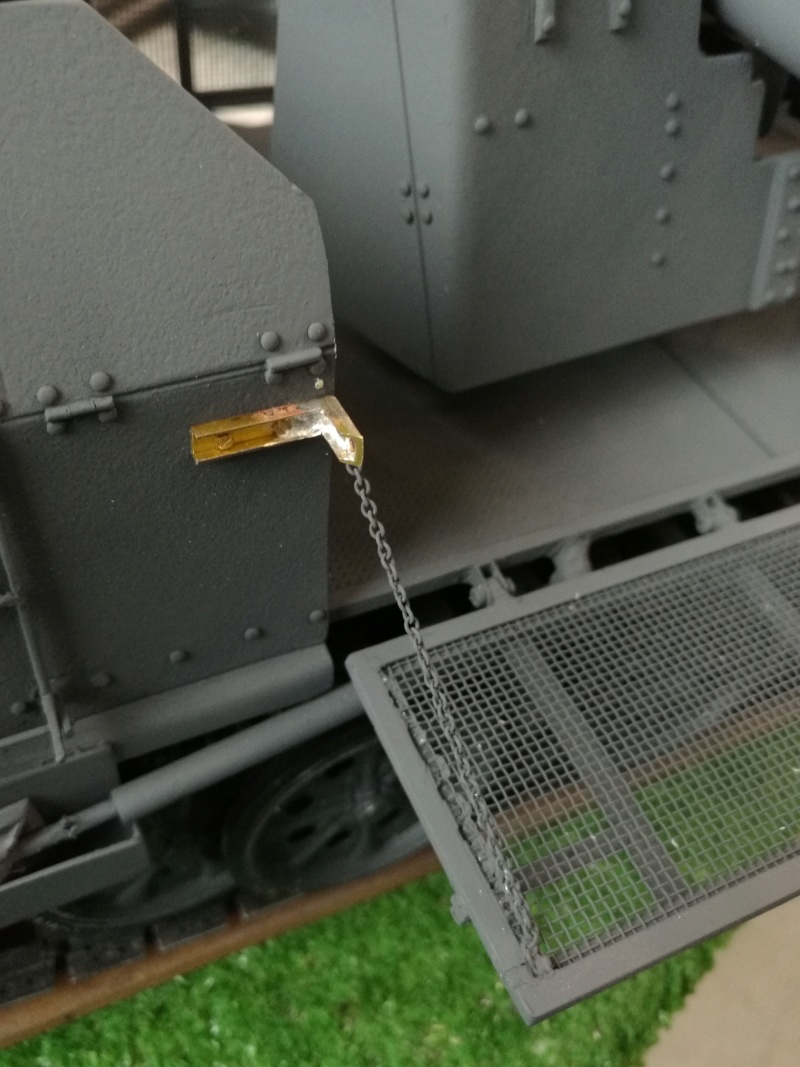
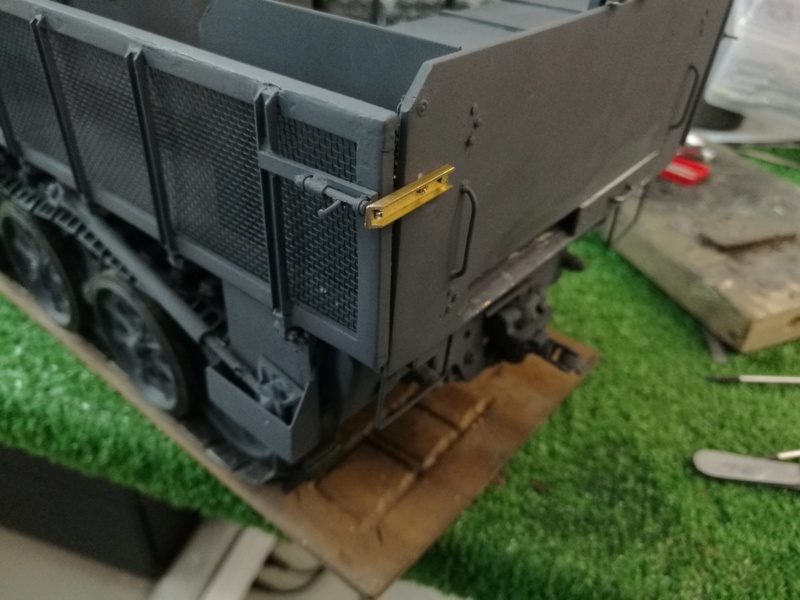
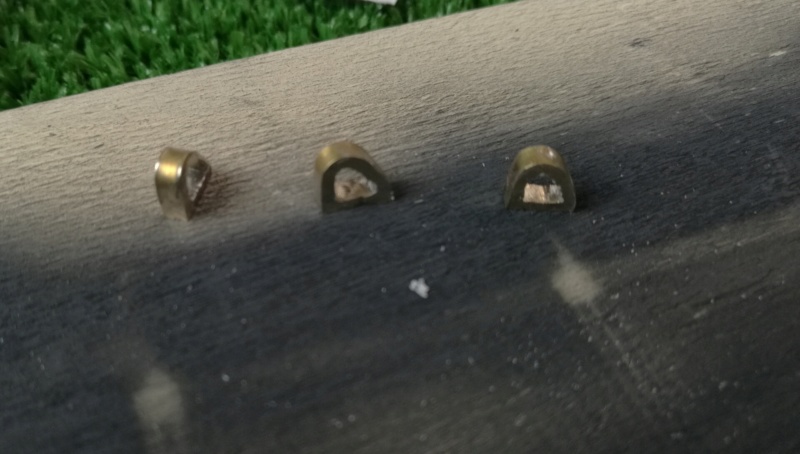
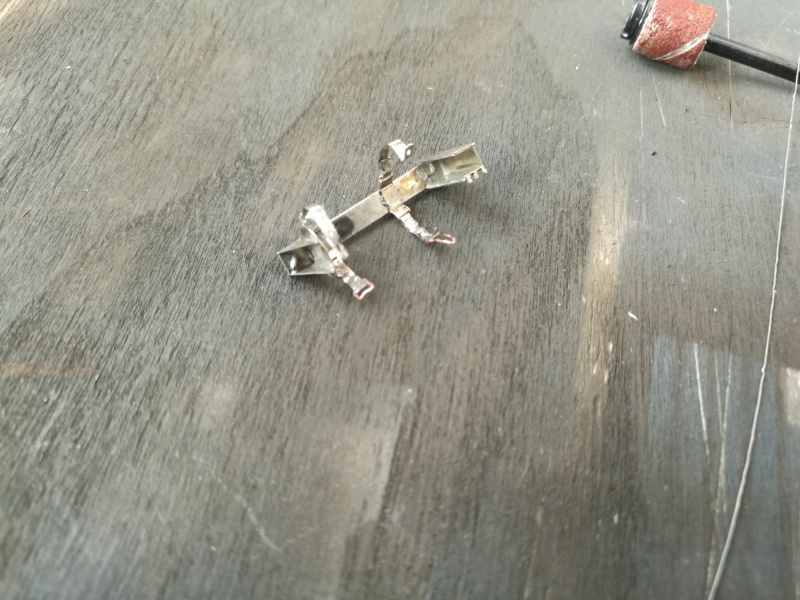
From the last nuemro si Nuts & Bolts it turned out that the latches that hold the sides in closing are not 2 but 4. So the two facts are not enough. Since building two equal to the first two, it was heroically opted to build 4 from scratch:
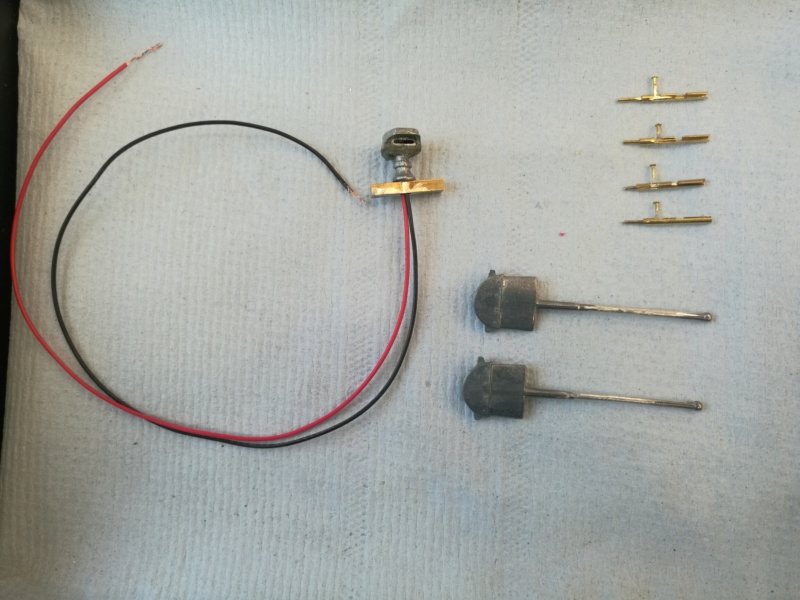
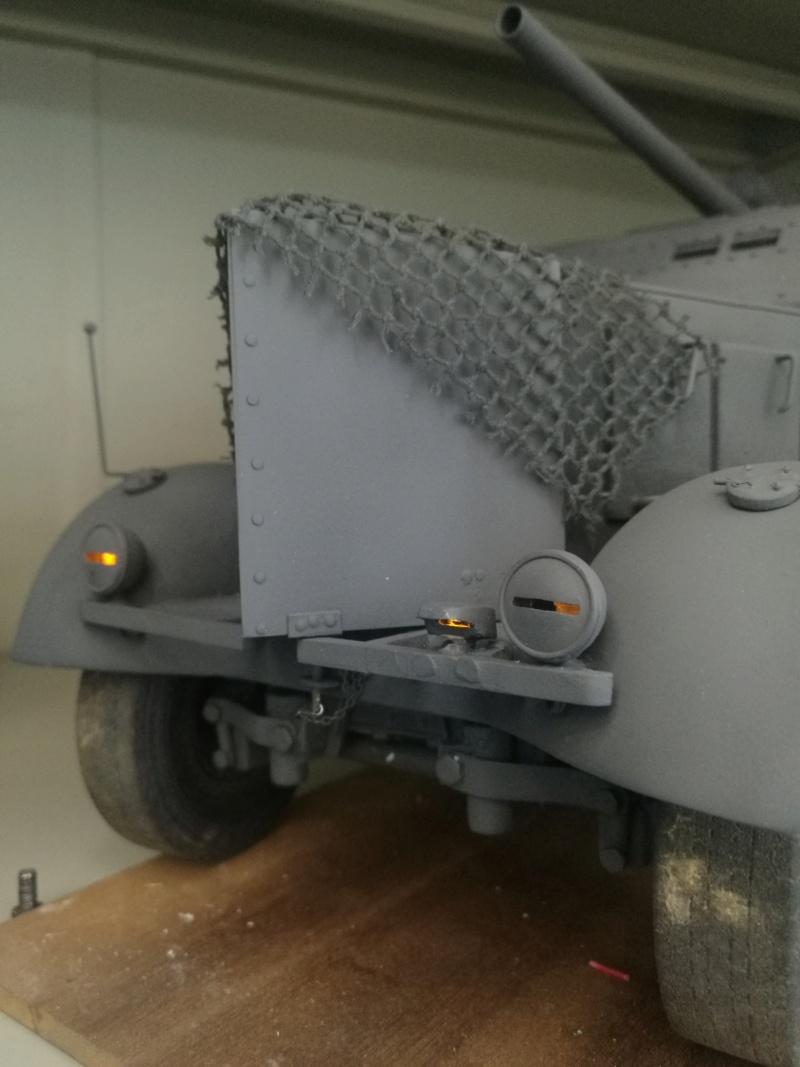
Meanwhile, work is being done on the front plate notek and its base. And on the side blades. Which notek? The one that illuminates the plate:
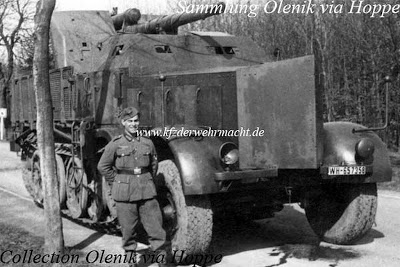
This is one of the rare photographs where the notek is still intact. In all those commonly around the notek has already been broken and the stump of the substrate is not noticed, which was no longer repaired:
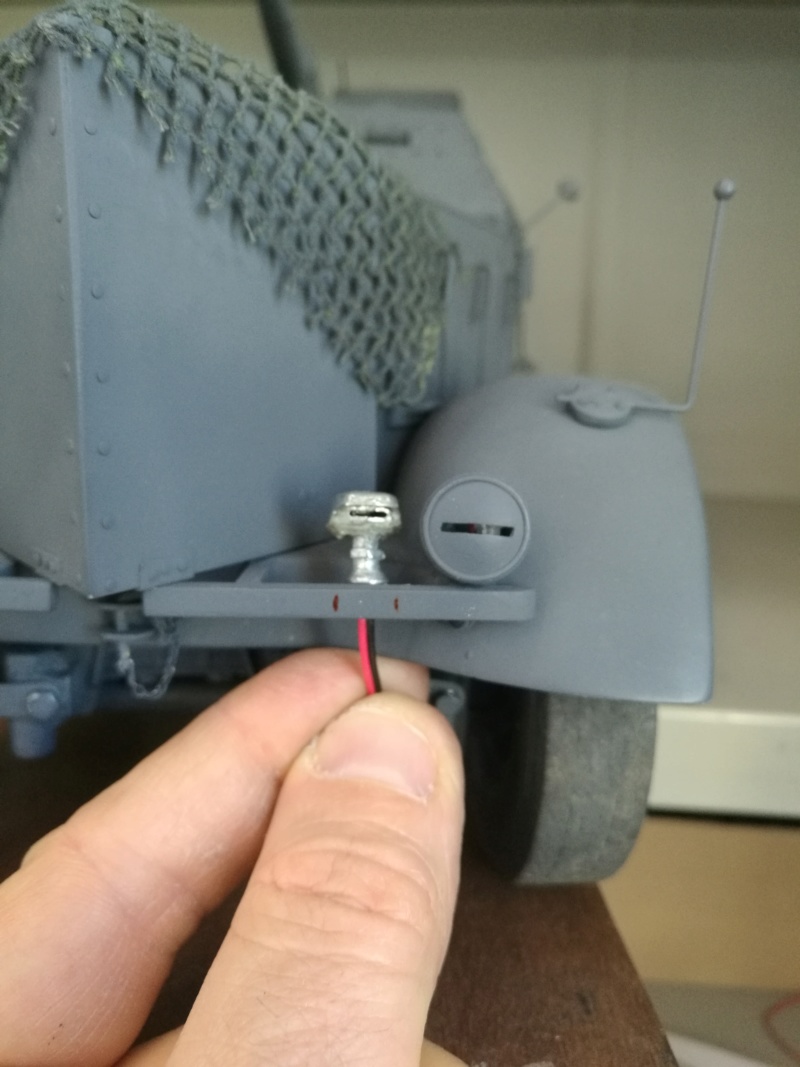
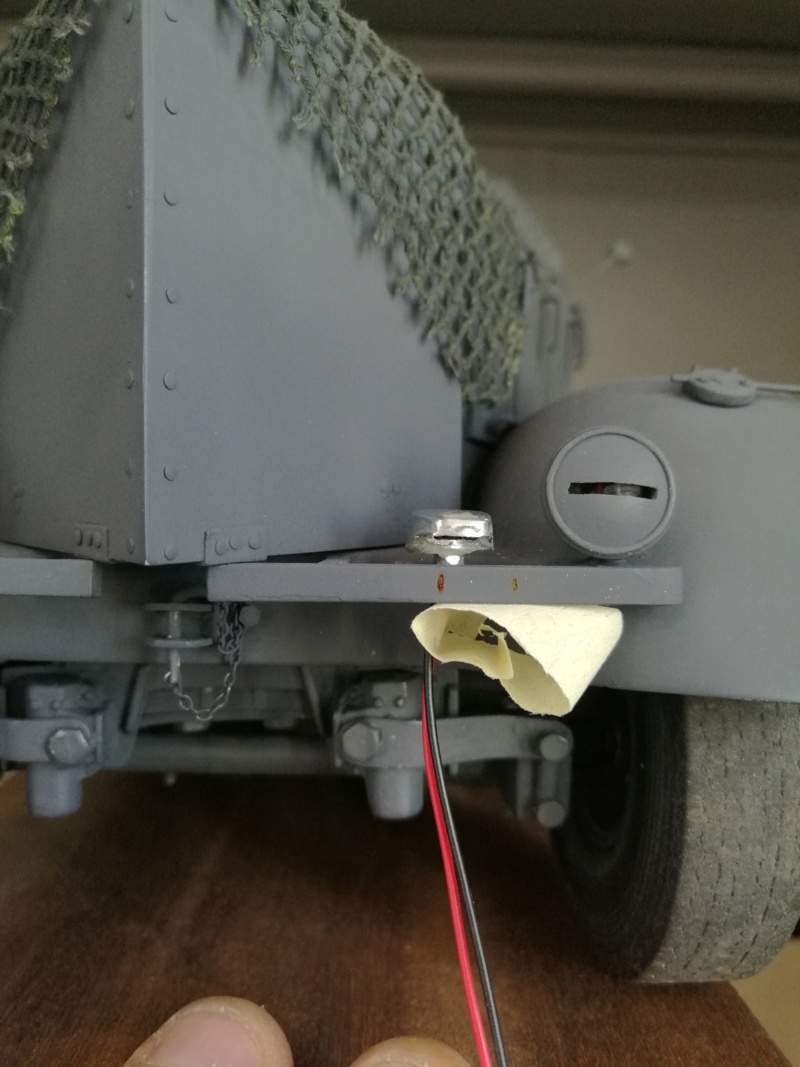
Here is ours:
By shortening the support the installation is credible:
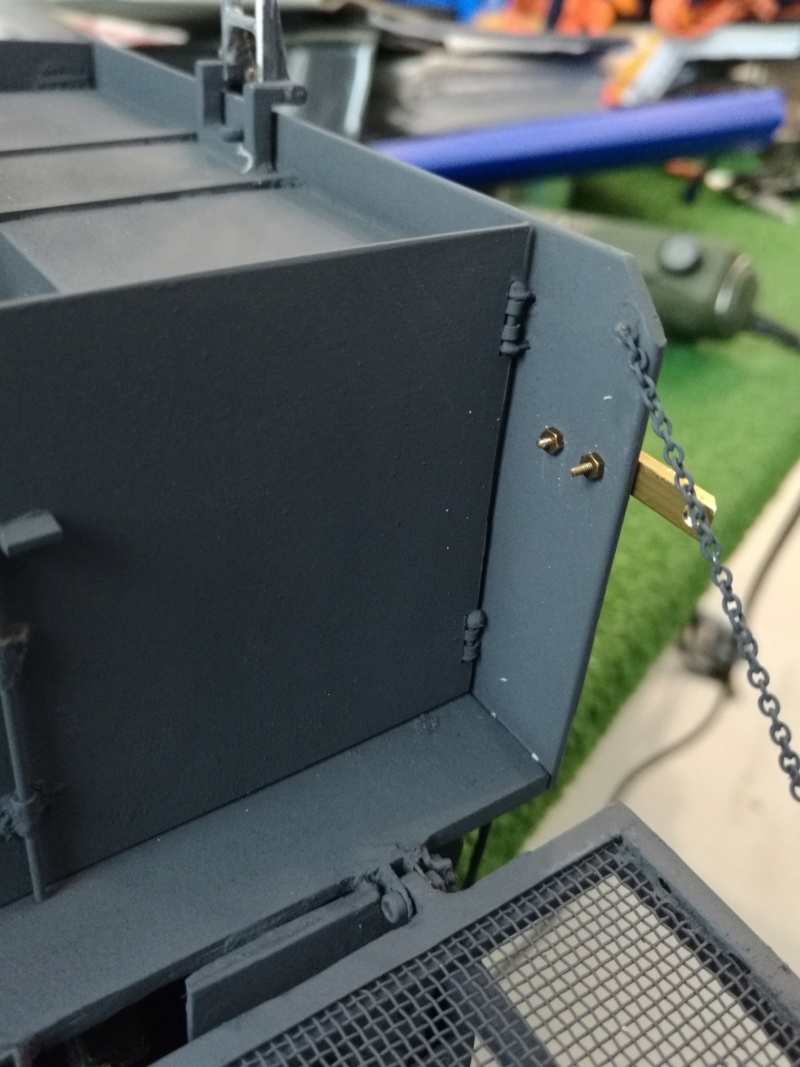
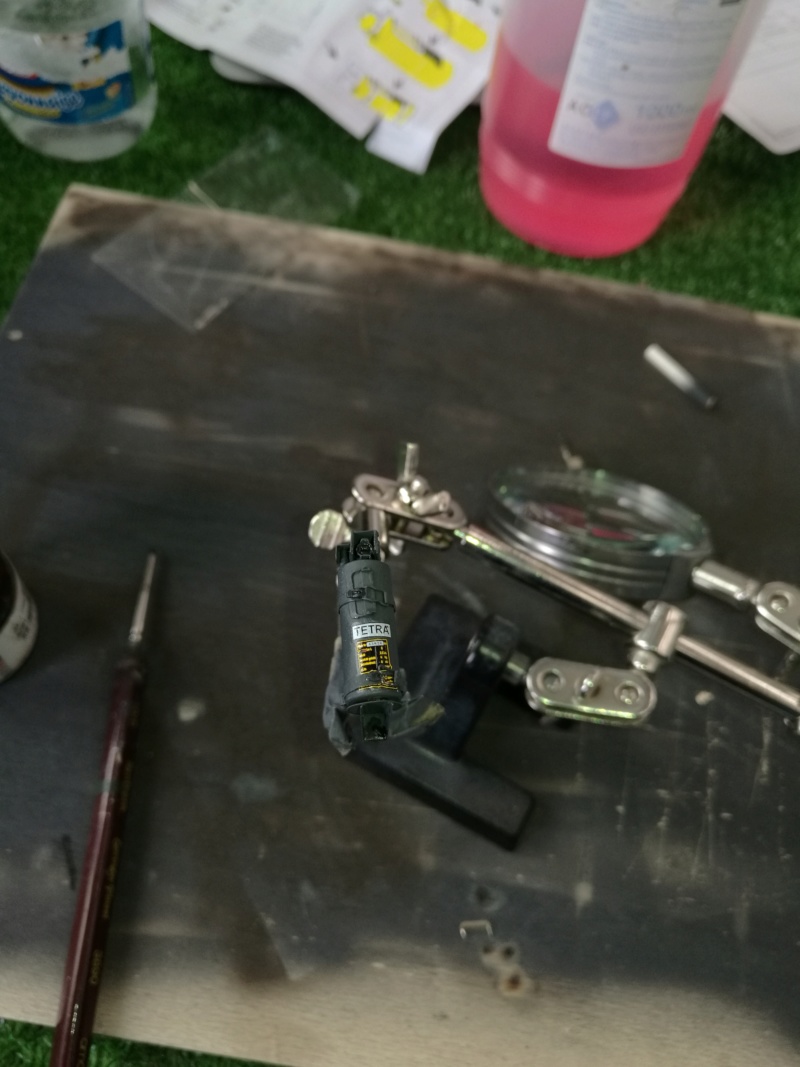
Now all that remains is to drill and thread the bumper M2, make the socket for the Allen head and secure everything with two M2 screws that will be covered by the plate. What does it take: lol !:
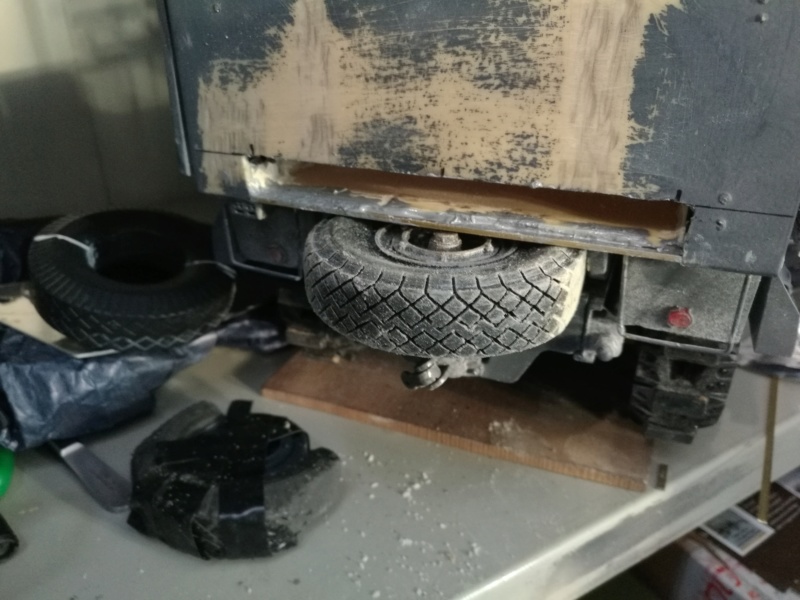
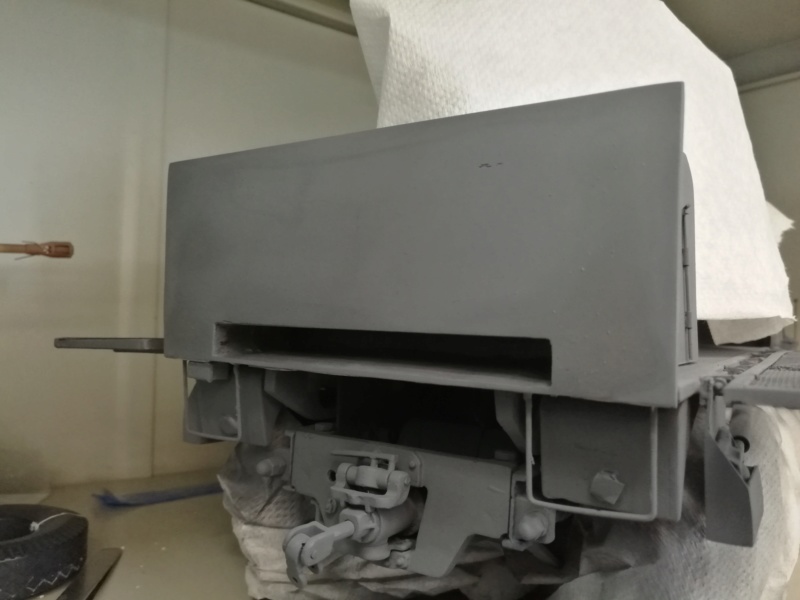
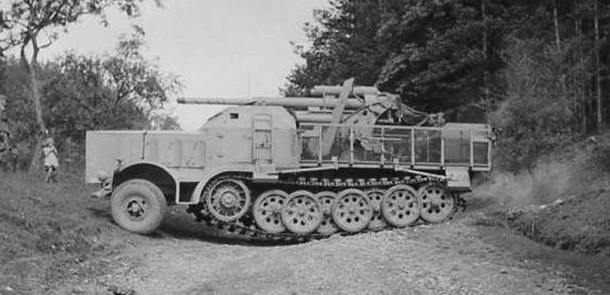
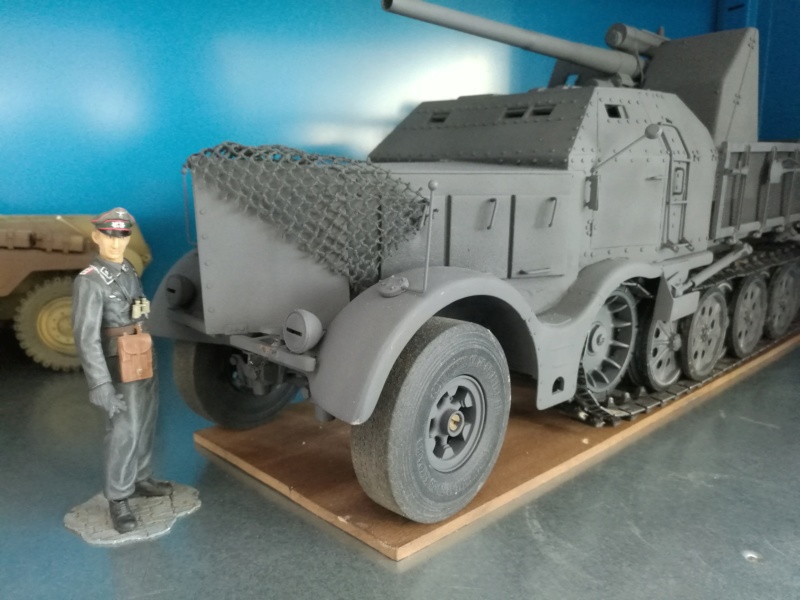
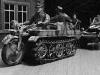
On the latest issue of Nuts & Bolts there is a photo (more unique than rare) in which you can see what the Famo's rear looked like.
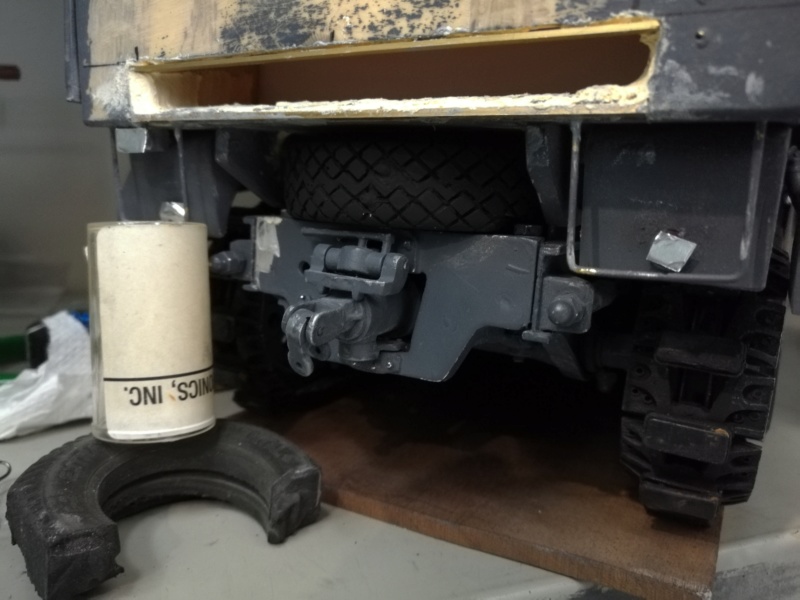
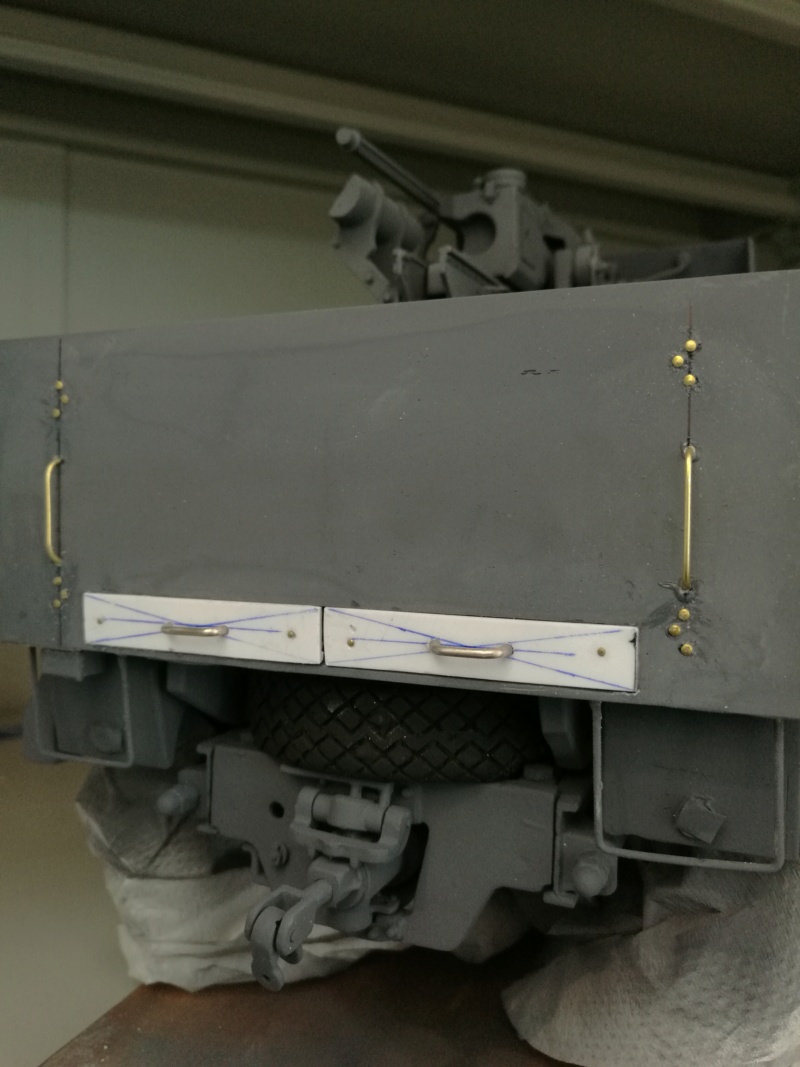
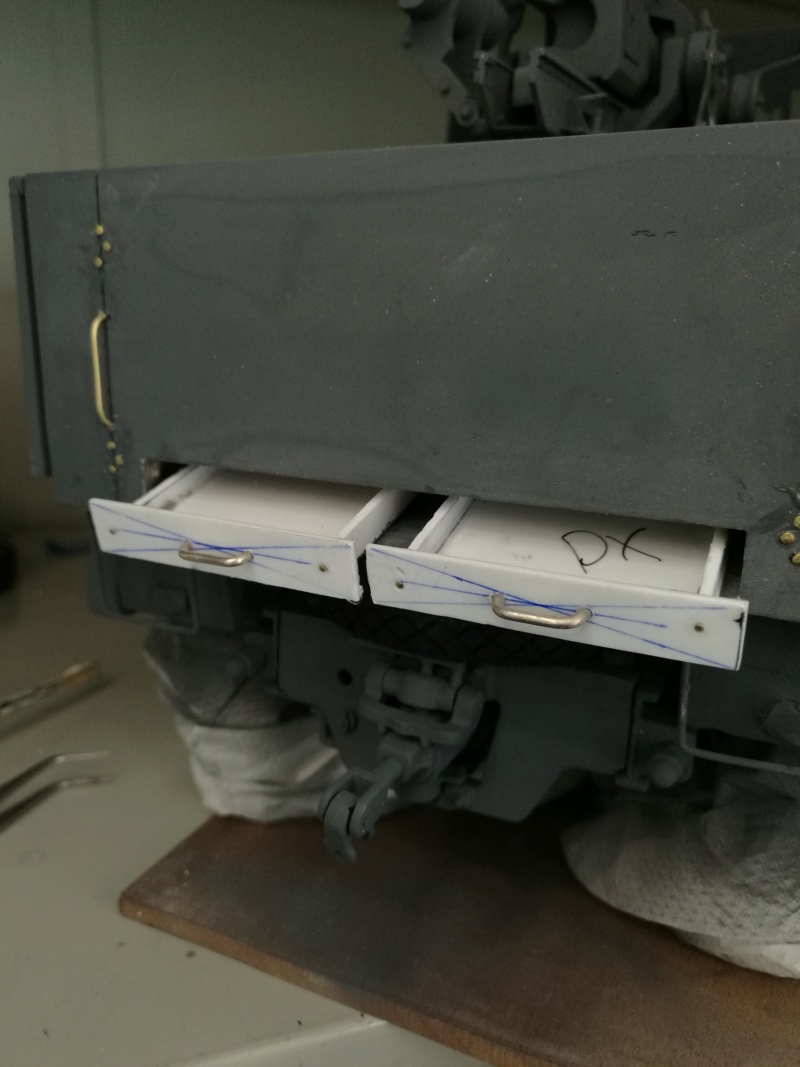
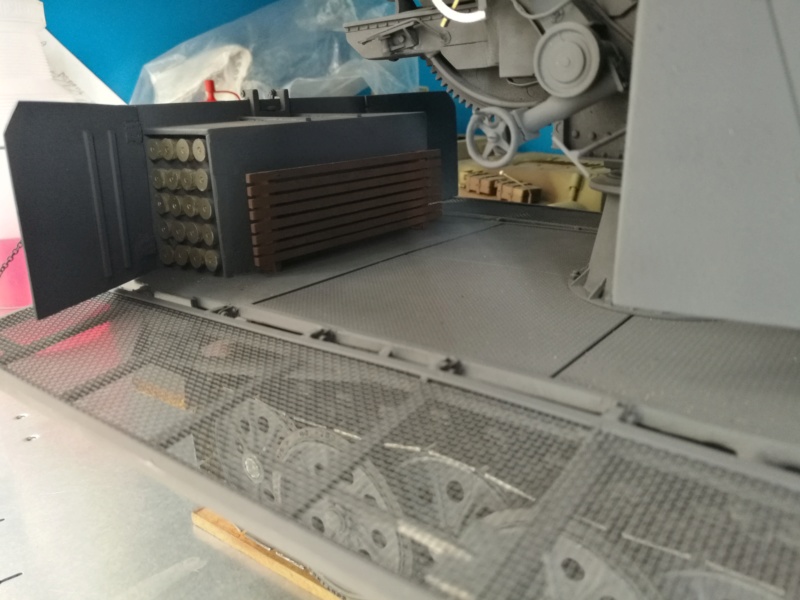
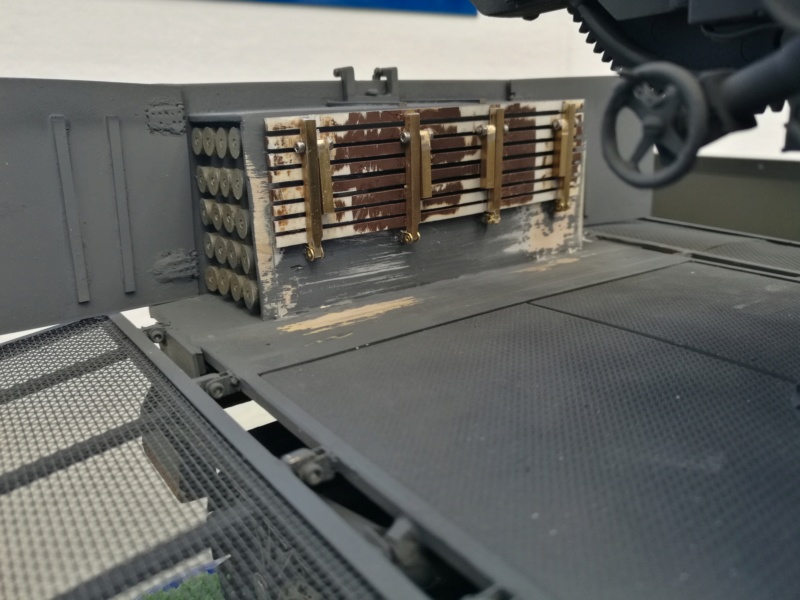
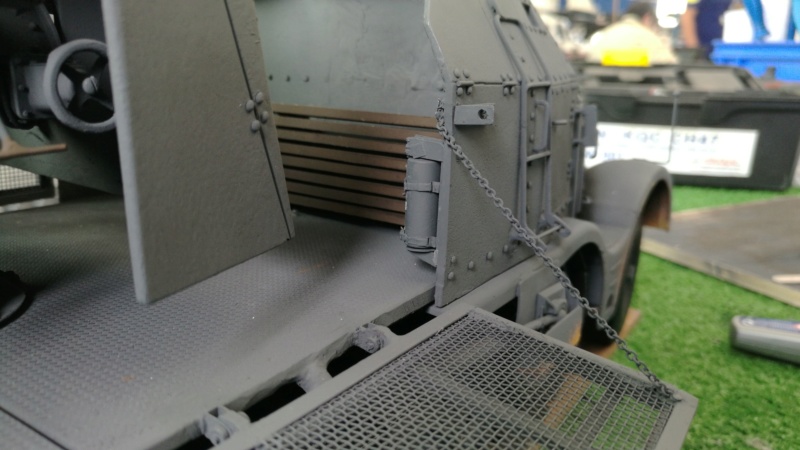
Juckenburg had done his best but he had missed both the position of the plate and the side members that he had positioned behind the reserve. The countryside version of the Famo included two sets of 3 drawers placed on the side, for the tools supplied. Since there was no place on the Flak version in this position, the factory decided for two drawers placed under the reserve, accessible from behind.
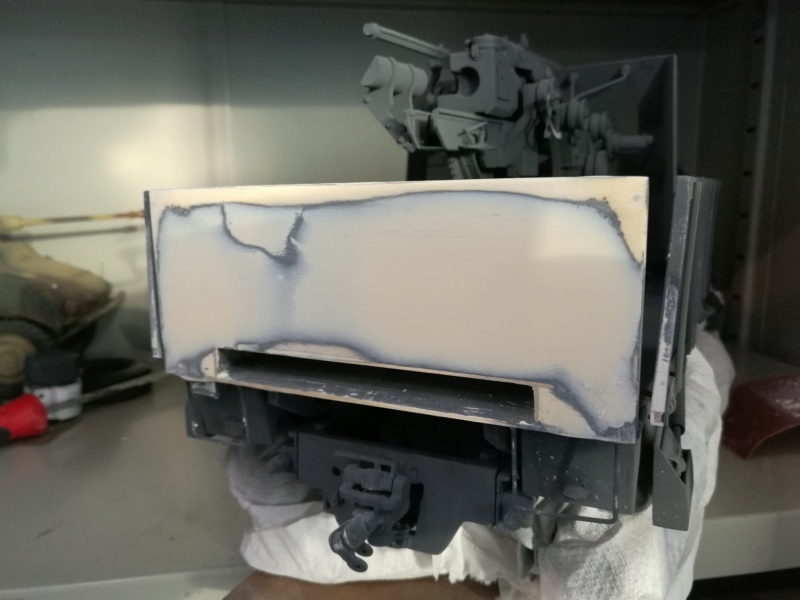
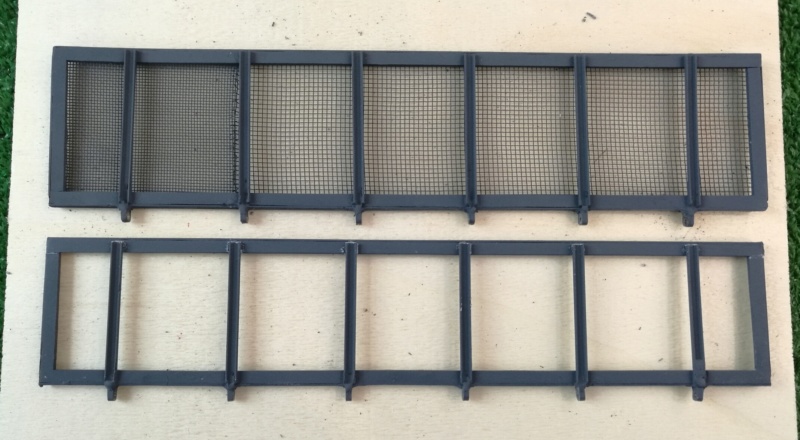
We start by shaving the back and working the resin:
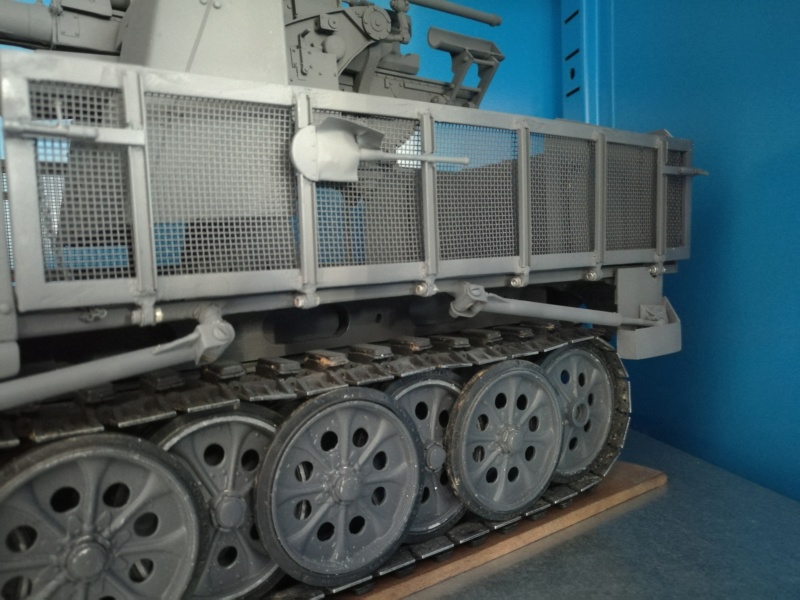
The drawers are held in a closed position by magnets
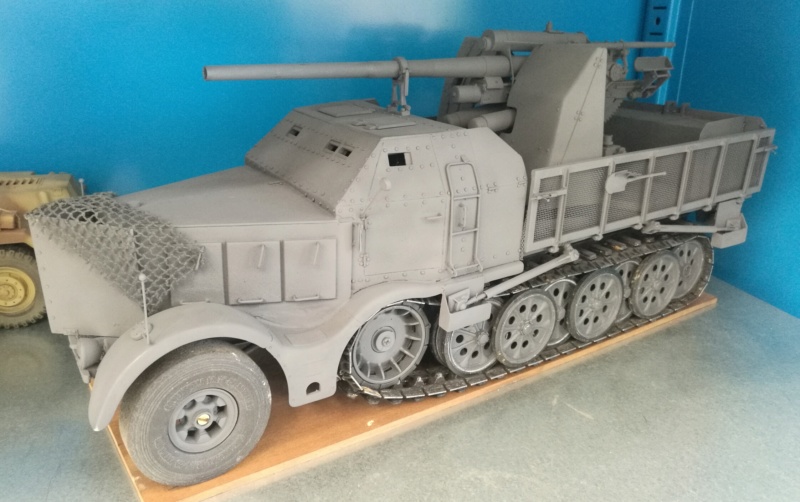
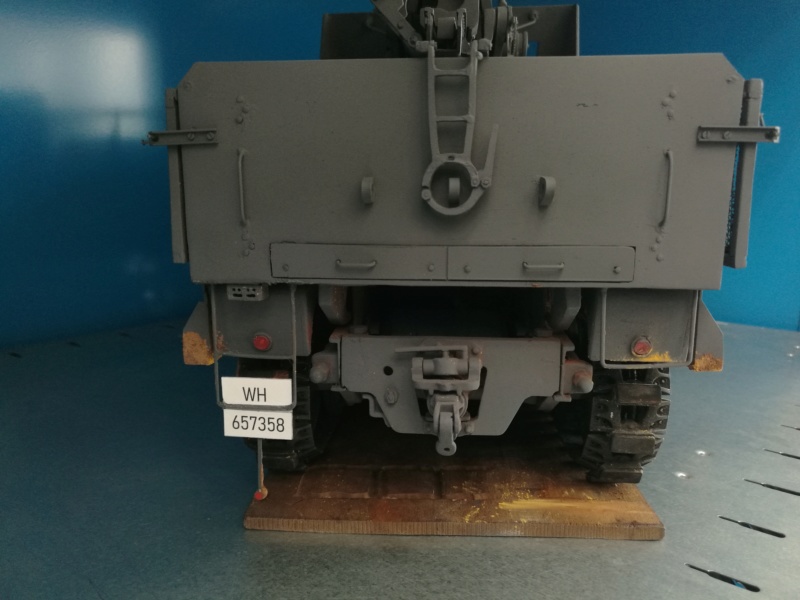
Some photos on the latest issue of Nuts & Volta question the work (splendid) done by Juckenburg that on the rear of the Famo Flak 88. Unfortunately the German did not have certain photos so he could not know that the last order of the Famo had a bevel at 45 degrees (just like the two covers of the reserves).
What does it take to make a bevel? No pity that the side rail on the side ends at the bevel. Too bad that Juckenburg not knowing the bevel did end the sides much higher. So they don't go well.
We shorten the sides
Original and shortened
Brass vs resin
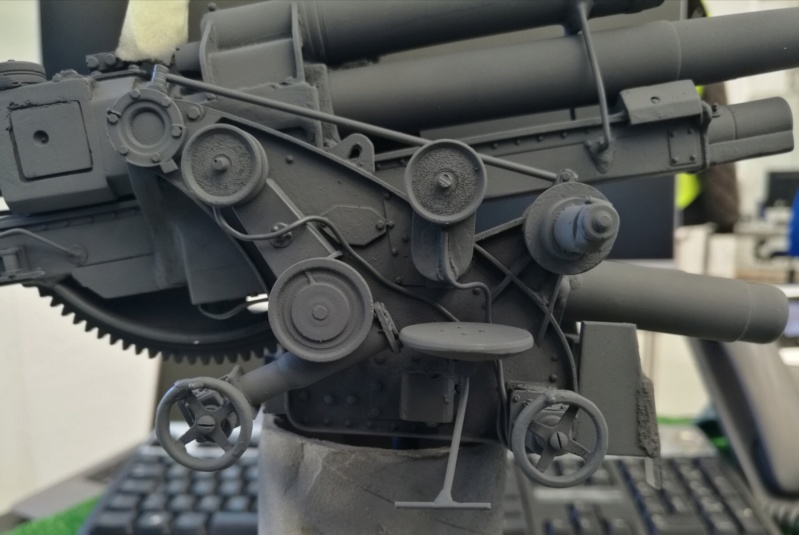
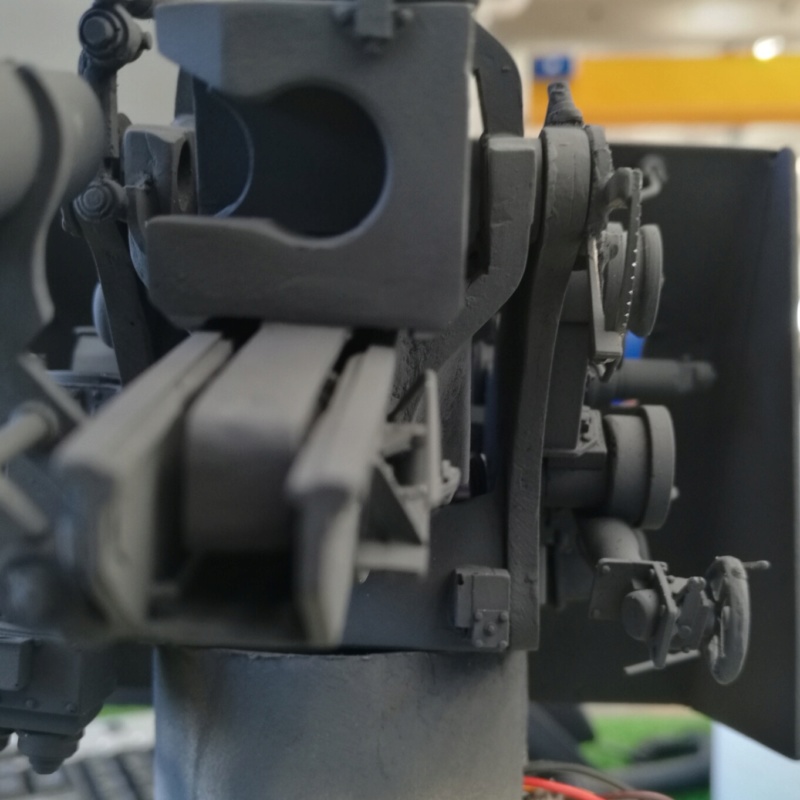
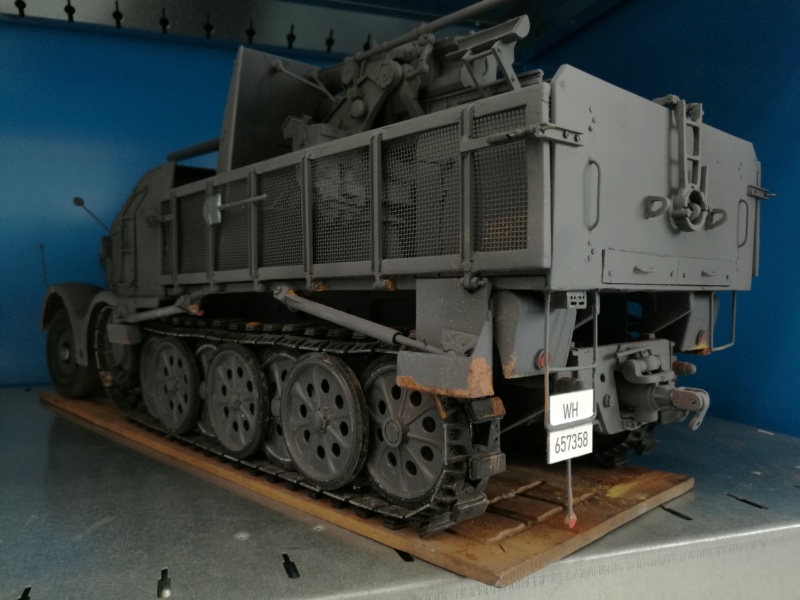
While I was there I installed bolts & shovels. I have replaced the intermediate supports with a brass U which is more suitable for us.
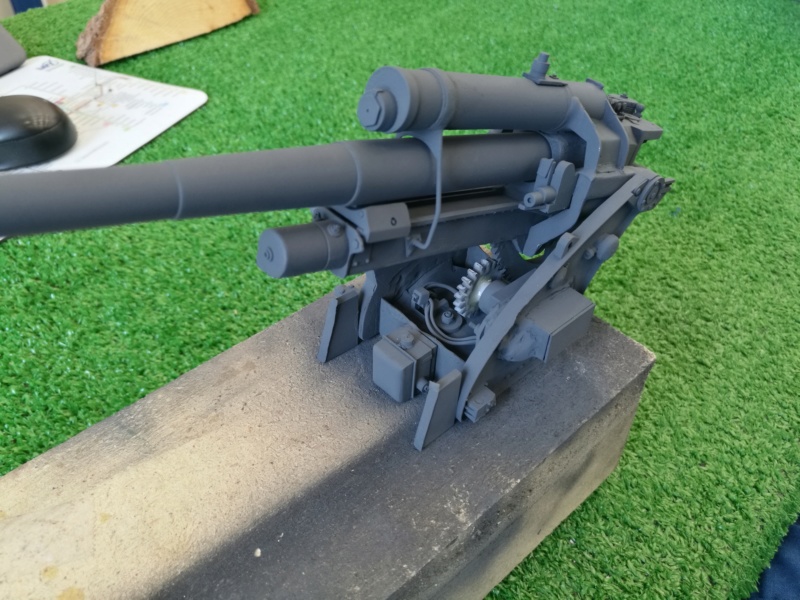
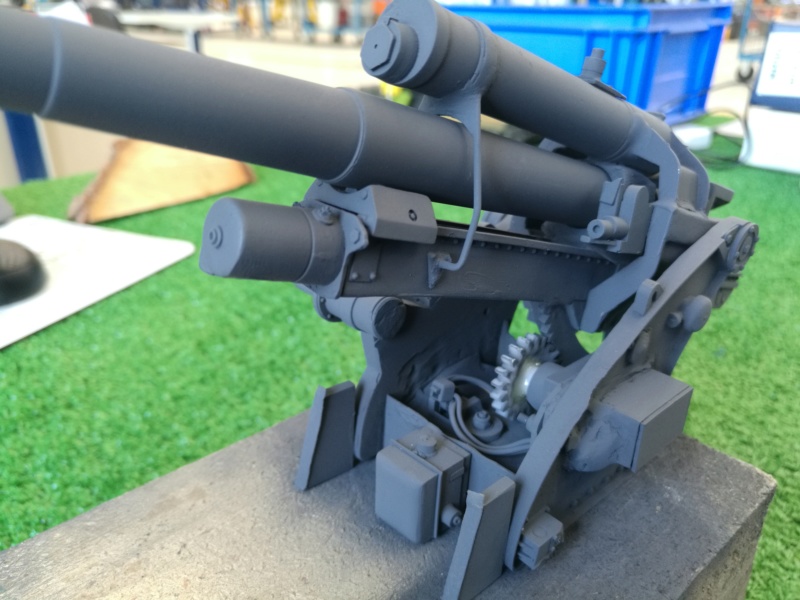
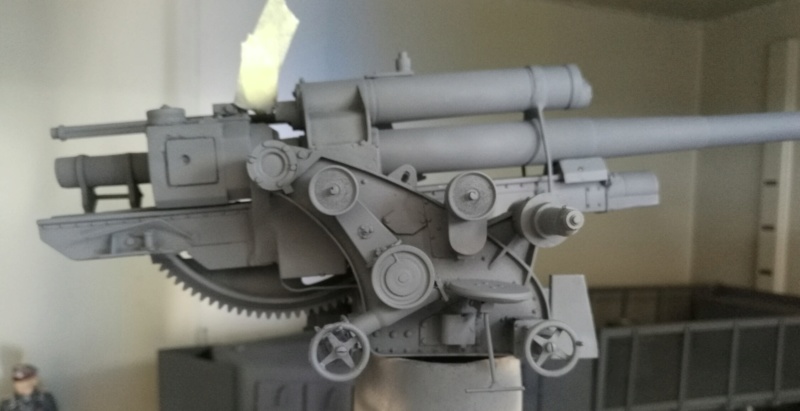
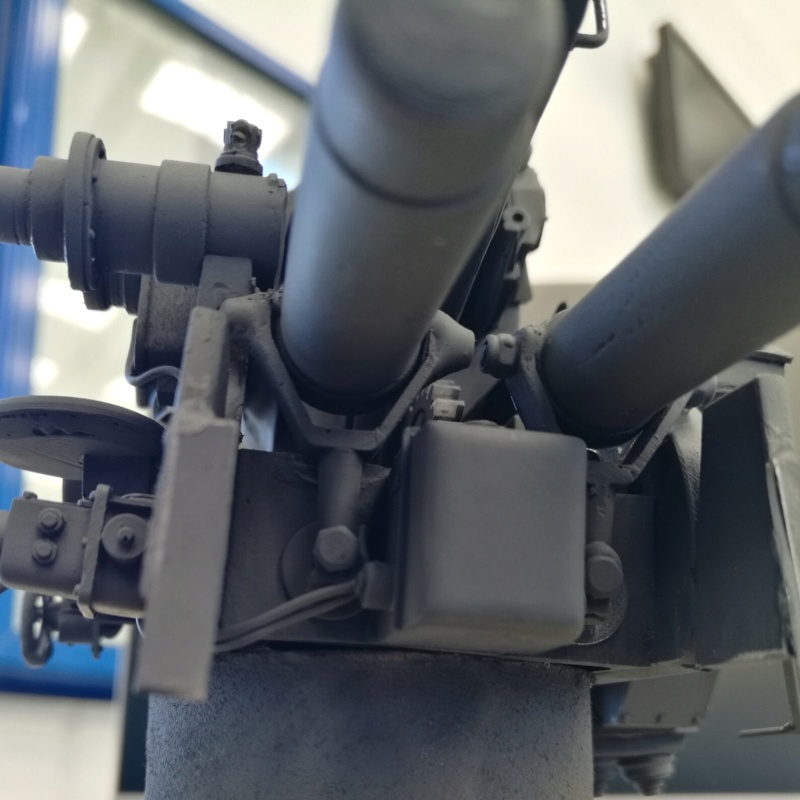
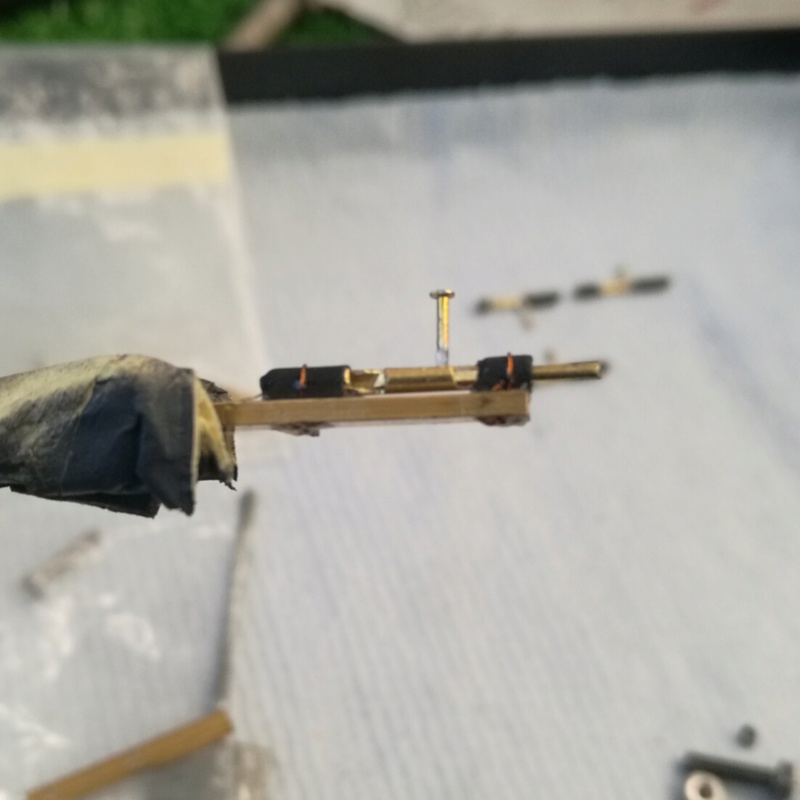
Now Lock travel barrel:
Latch Receptacle:
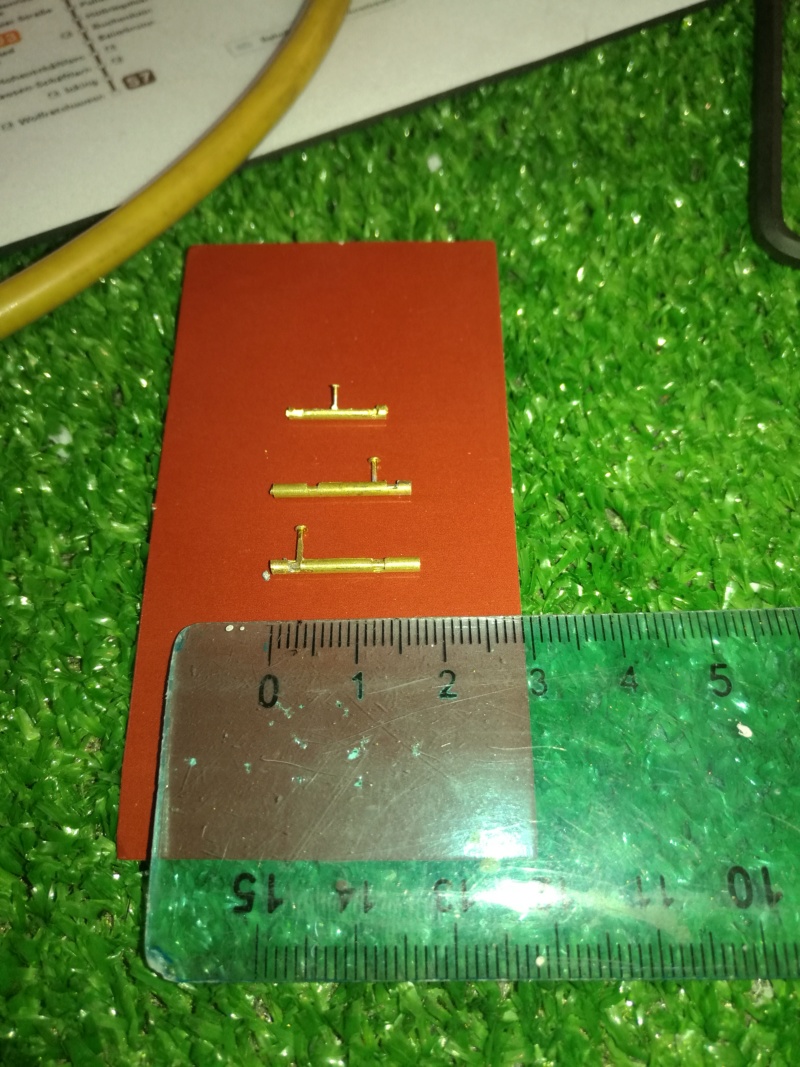
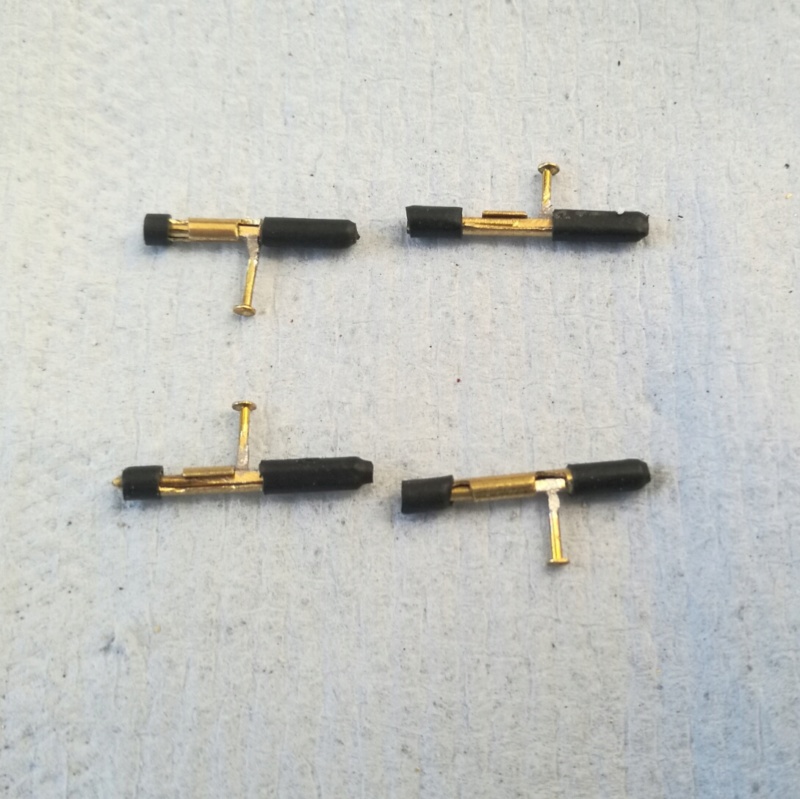
Bolts & Nuts are M1
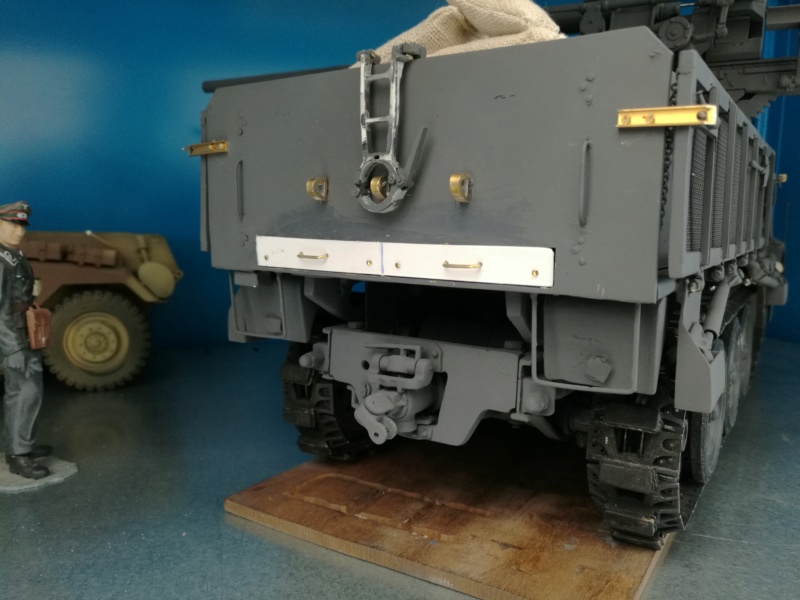
Rear supports made
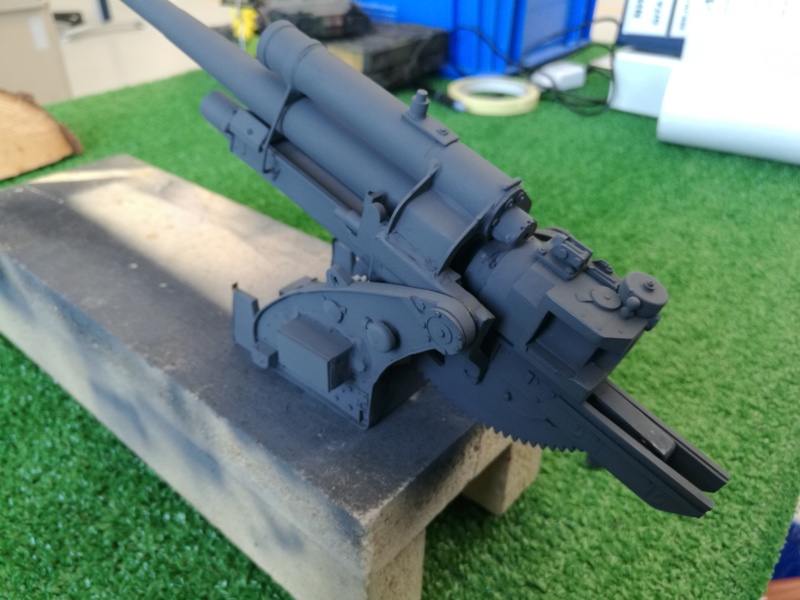
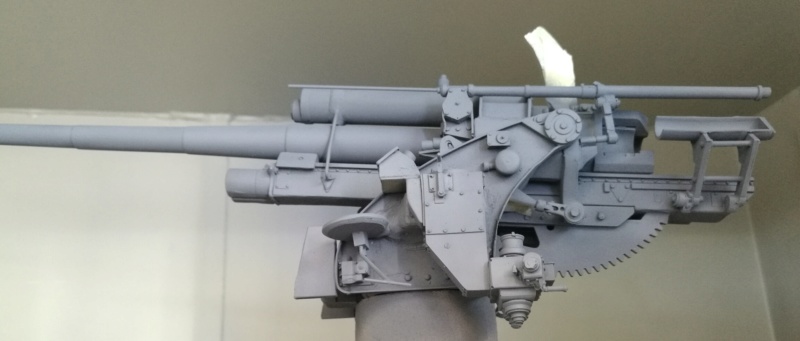
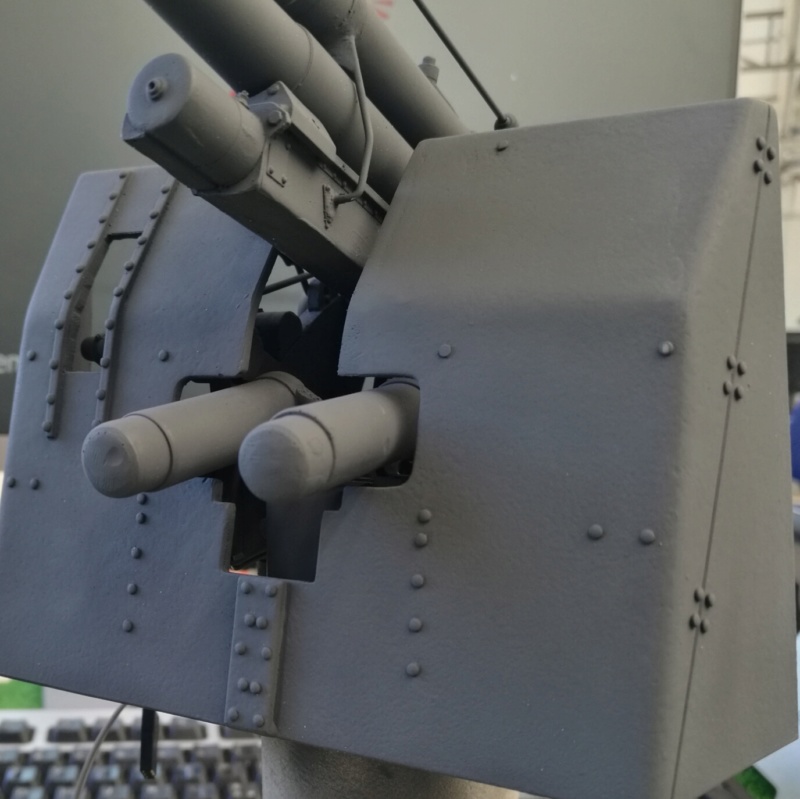
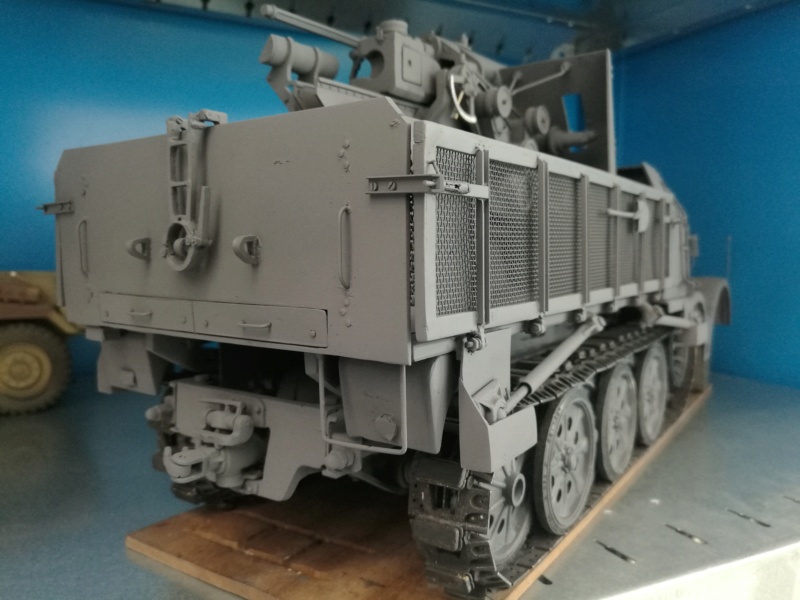
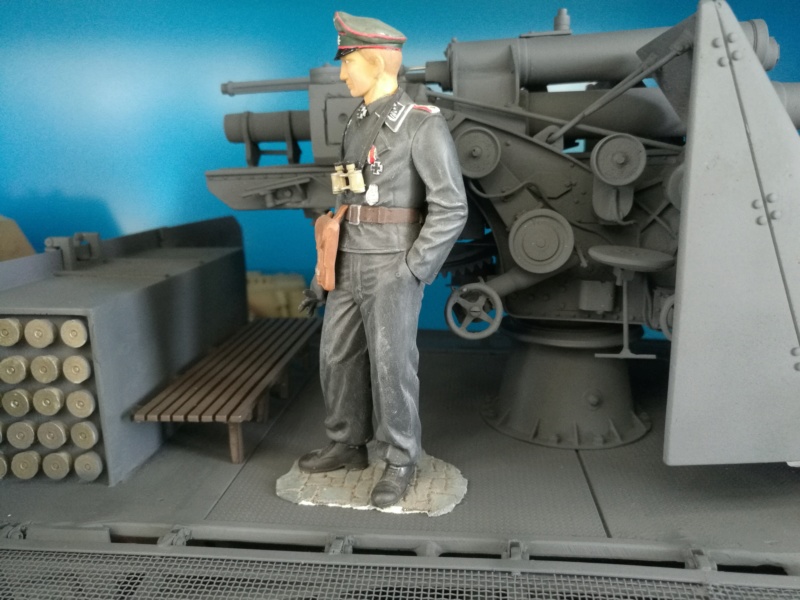
A nice painting to all new installations
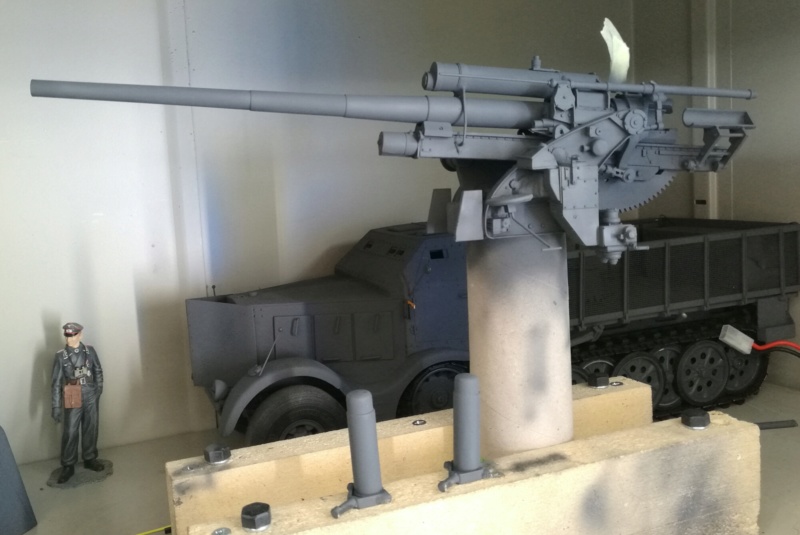
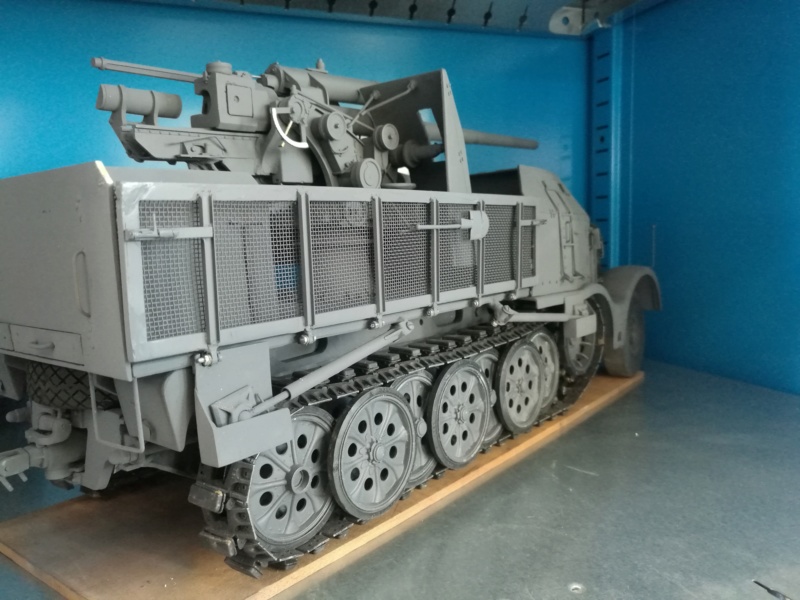
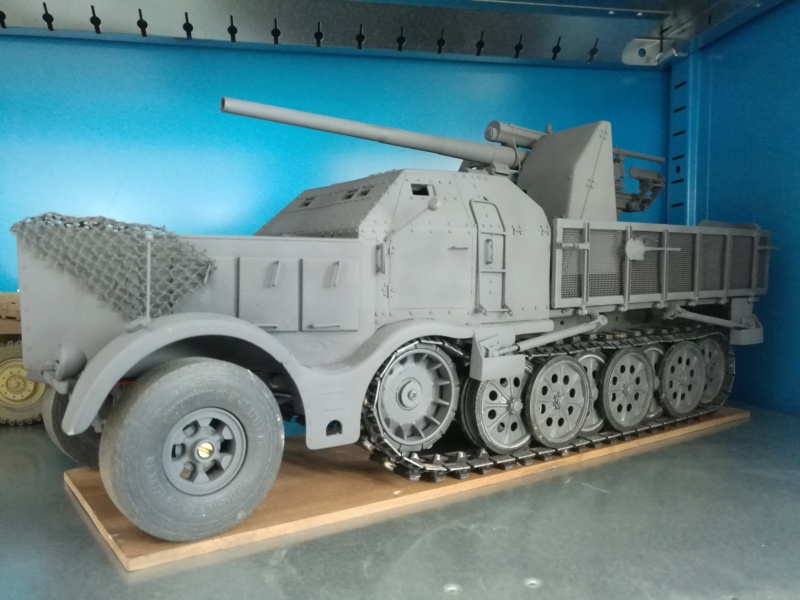
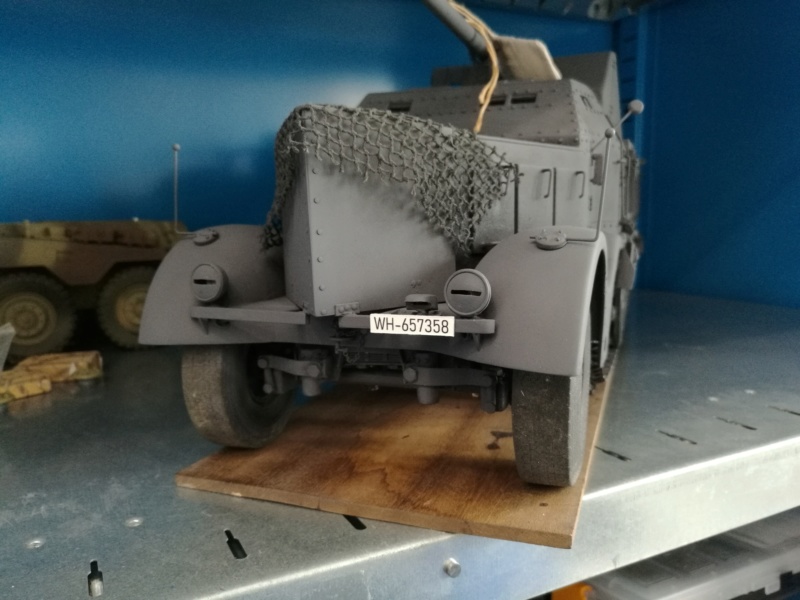
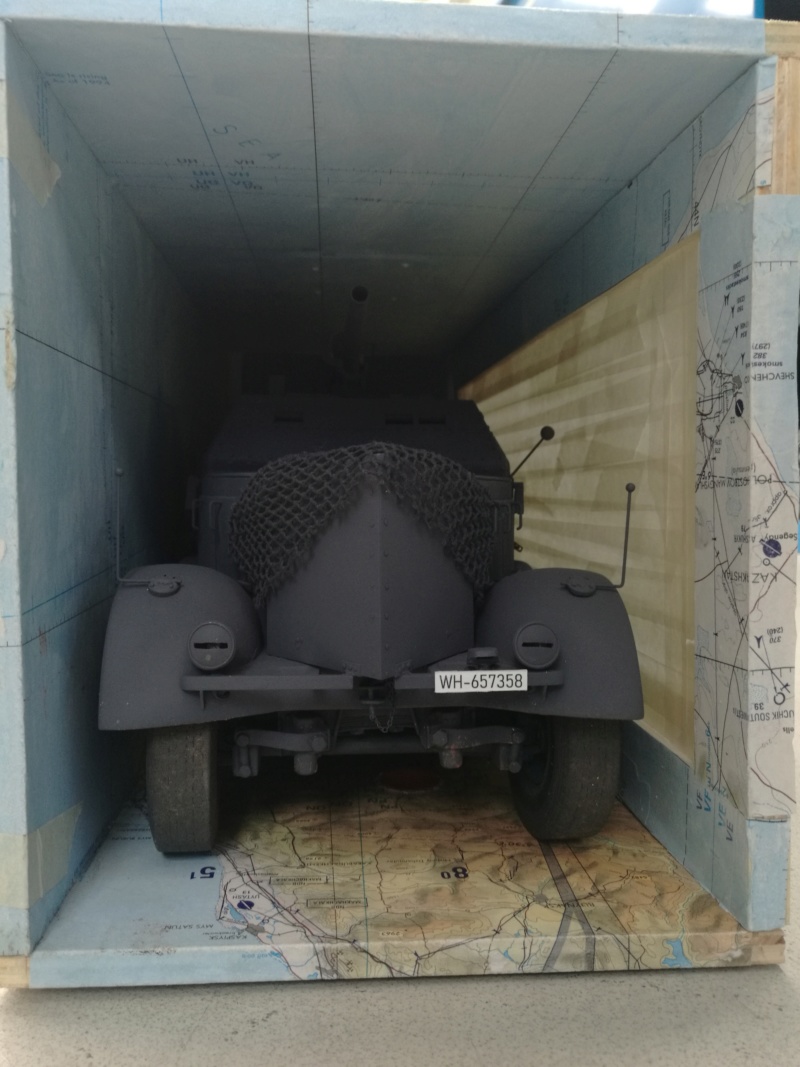
The front is completed:
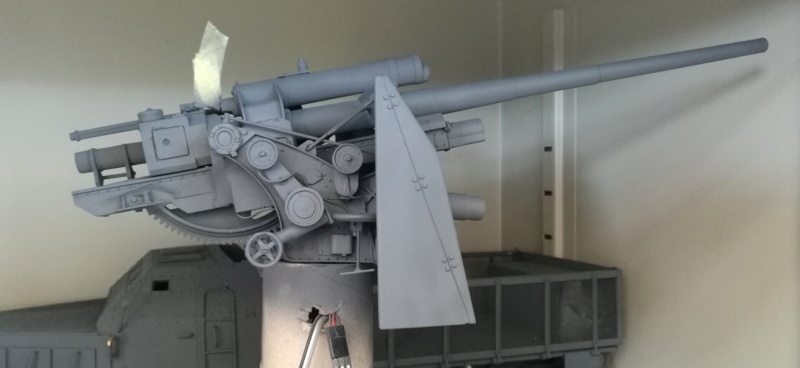
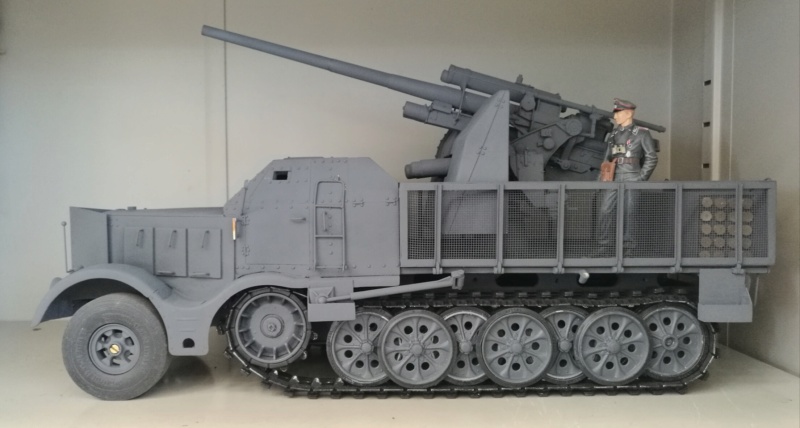
Now the rear license plate is also in place.
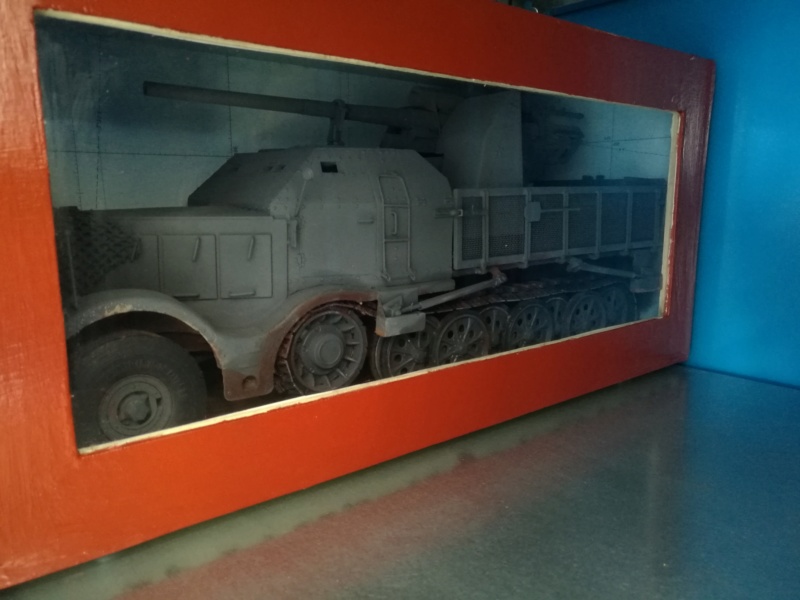
the rear is almost complete, only the exhaust pipes are missing
HL camo E' Tiger
HL L' Tiger
M26 Pershing WW2 project
Tam K'Tiger project
HL Walker Bulldog project?
HL Panzer IV Munitionsschlepper für Karl-Gerät
HL Sherman project?