Page 4 of 5

Re: Brummbar

Posted: Thu Aug 20, 2020 5:30 am
by xhelfix
good morning,

that look superb! Great work on the brummbär.
Thanks for let us take part.

Greetz, Andy

Re: Brummbar

Posted: Sun Sep 06, 2020 5:32 pm
by baldrick131
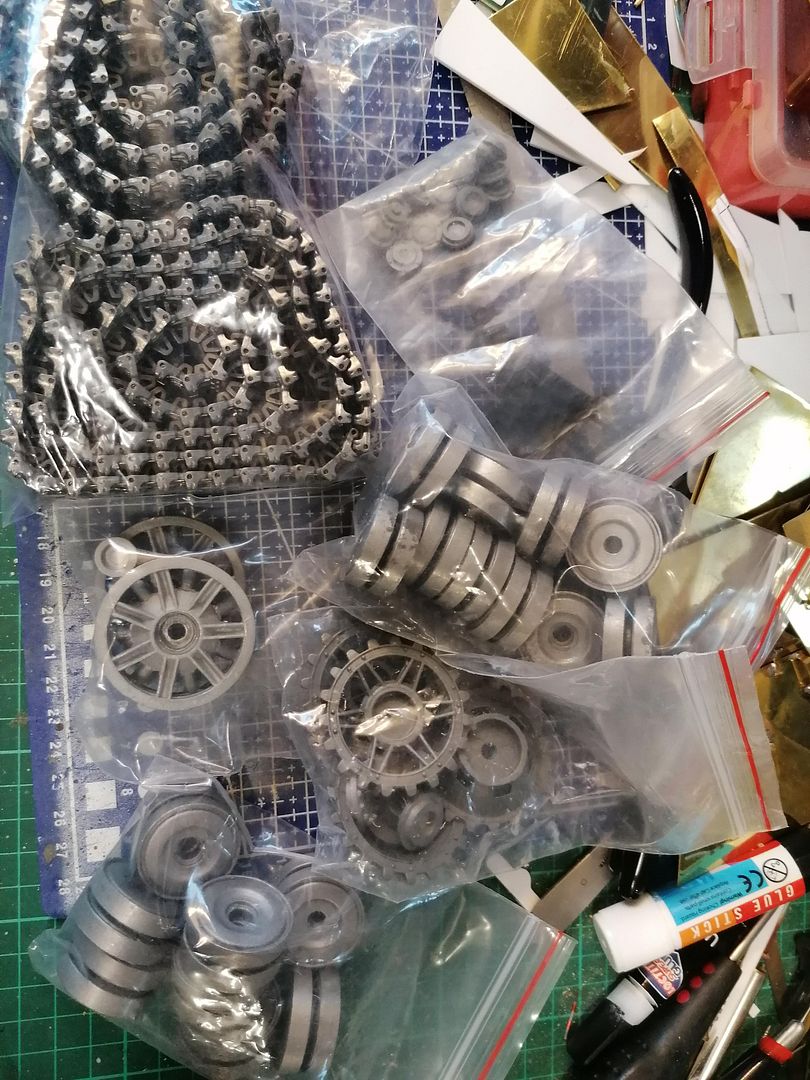
After a few days away in sunny South Deon I can finally get on with some tanking before I came back I ordered some late model Pz 4 Idler and Drive sprockets along with 9 sets of all steel type road wheels from Asiatam and metal tracks from Tankzone so I would have something to get on with when I got home.
Image
First job was to tap out all the axles M3 so I could use fanged M3 dome headed allen screws.
Image
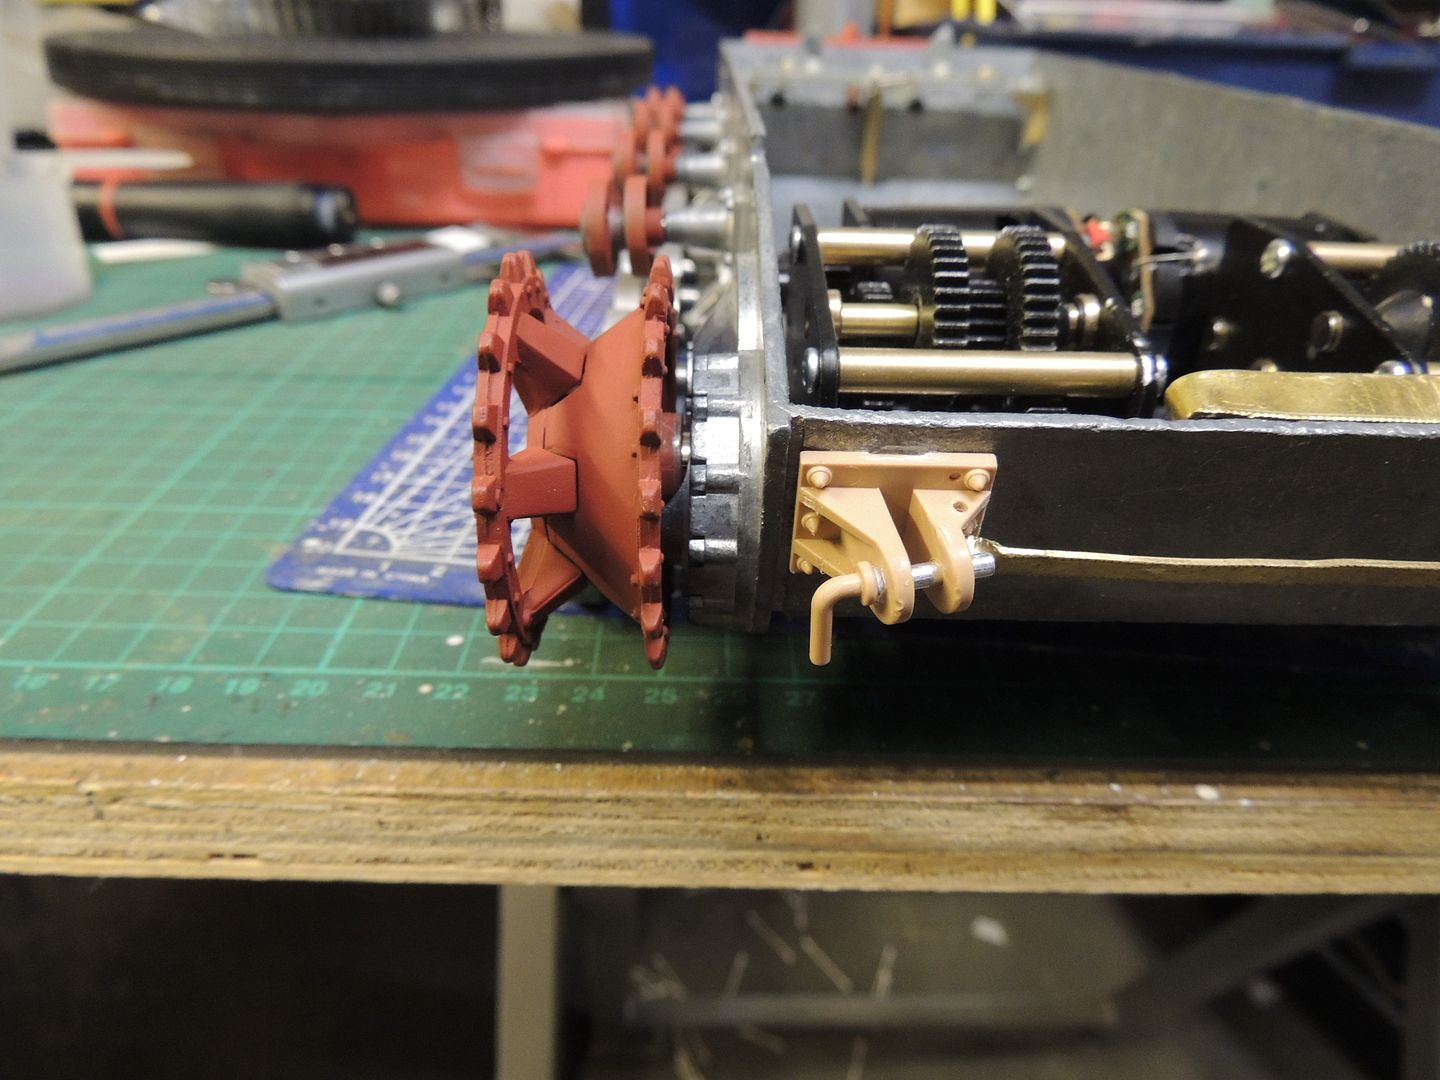
Then I had to make 2 new brackets to hold the spare wheels like I had suspected.
Image
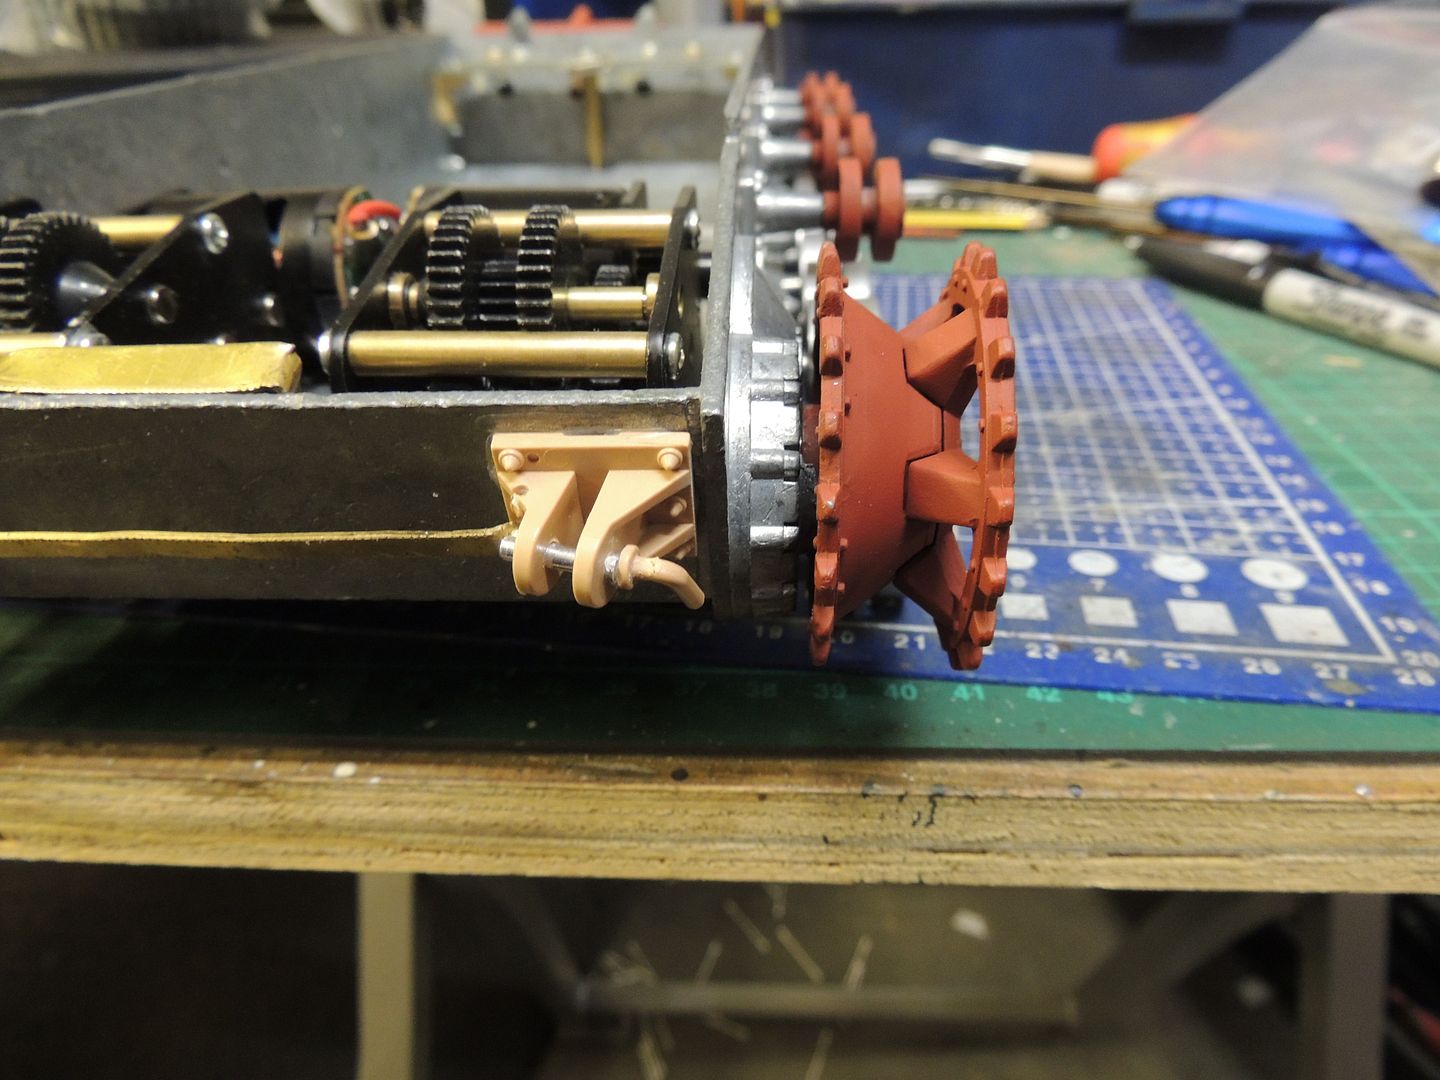
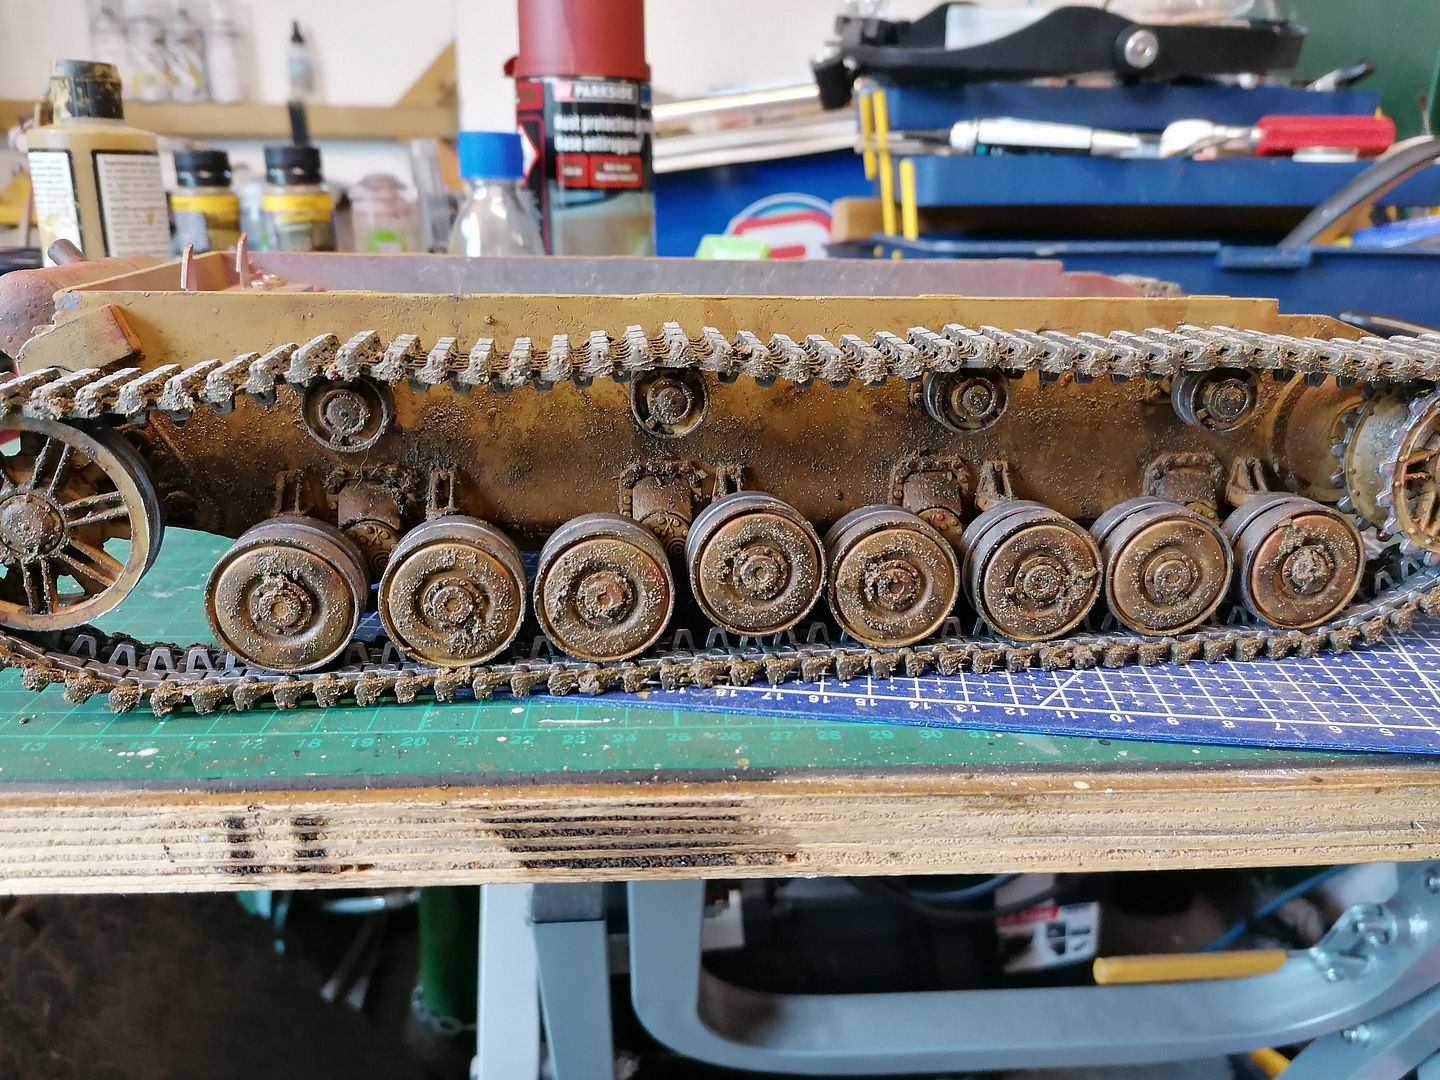
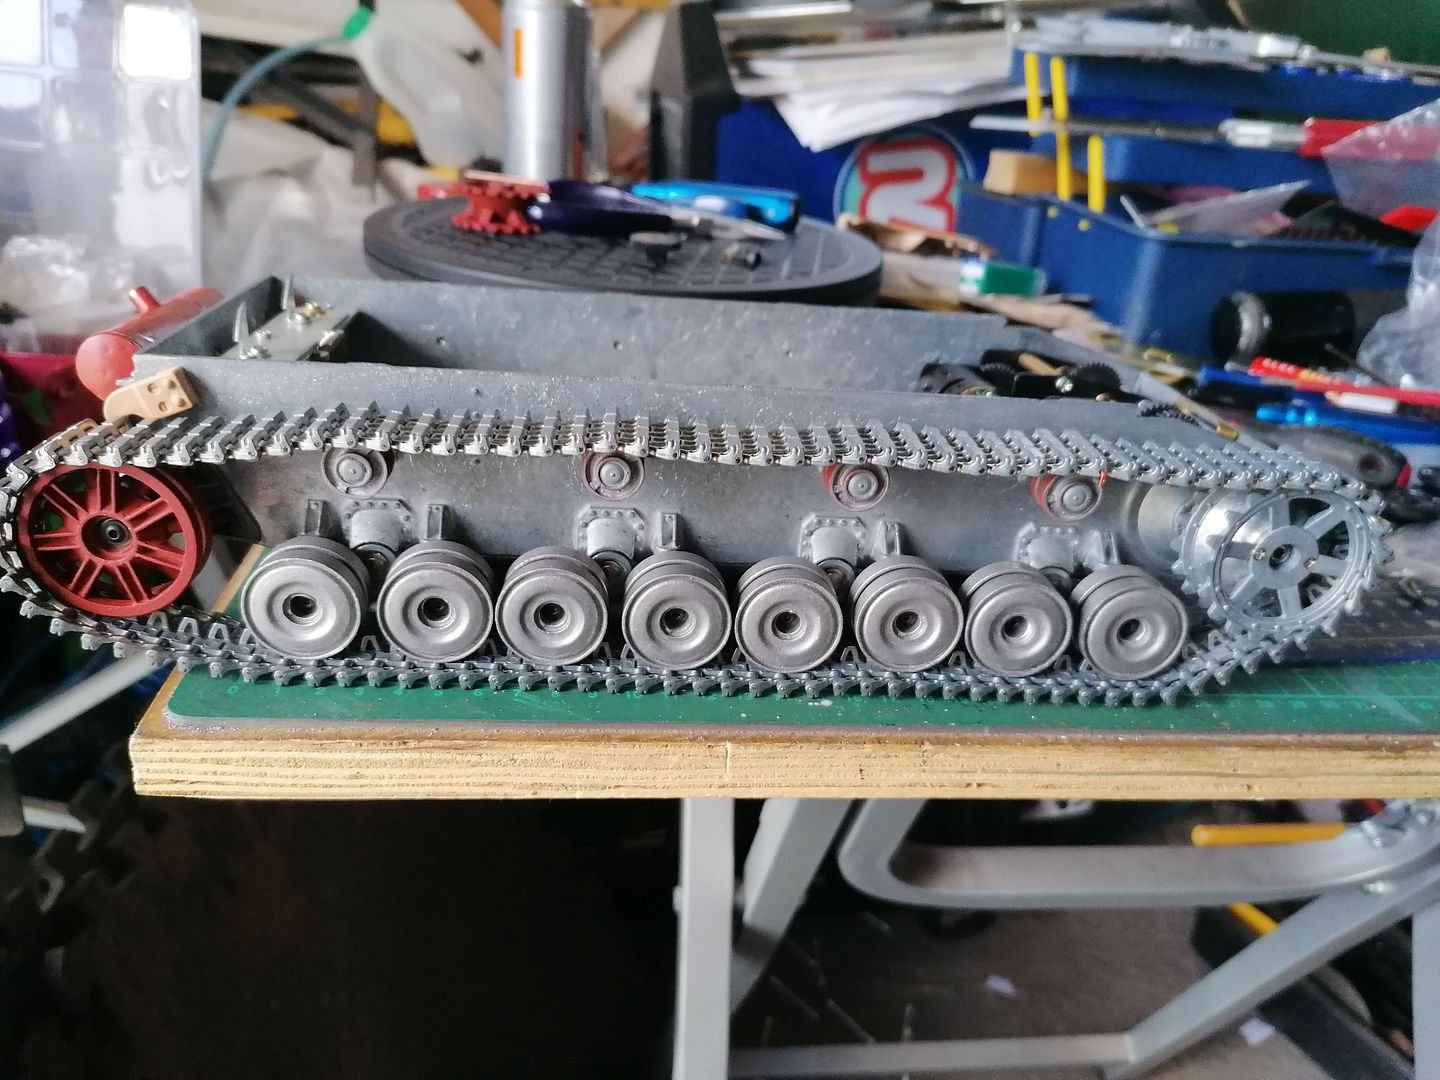
Having installed the wheels and suspension I fitted the new idlers and had to tweak the adjuster arm with a file to get the wheels parallel to the hull side and a little bit of work on one idler to get it to turn freely.
Image
Image
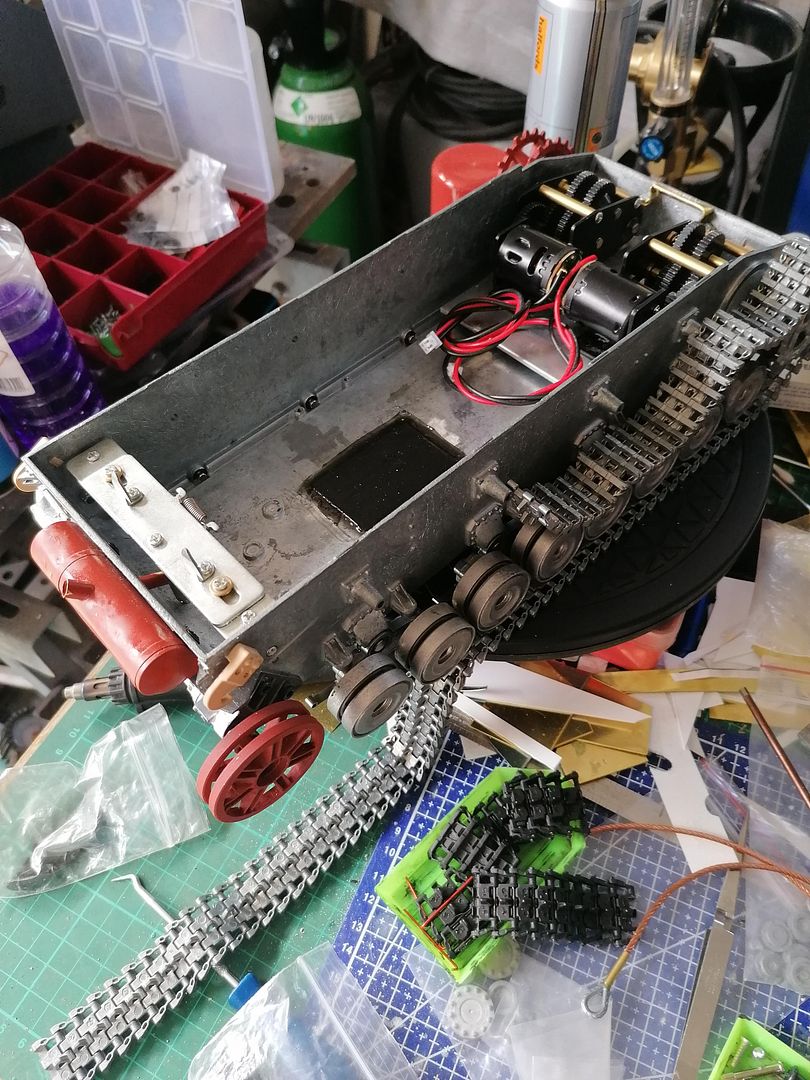
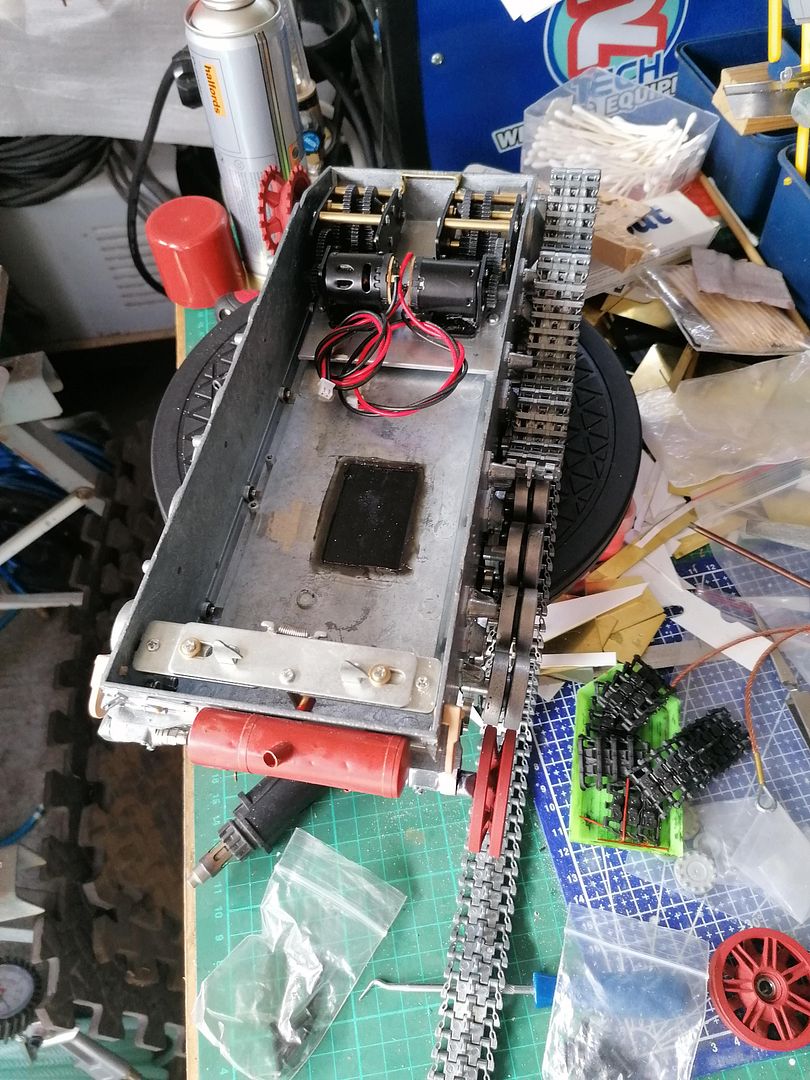
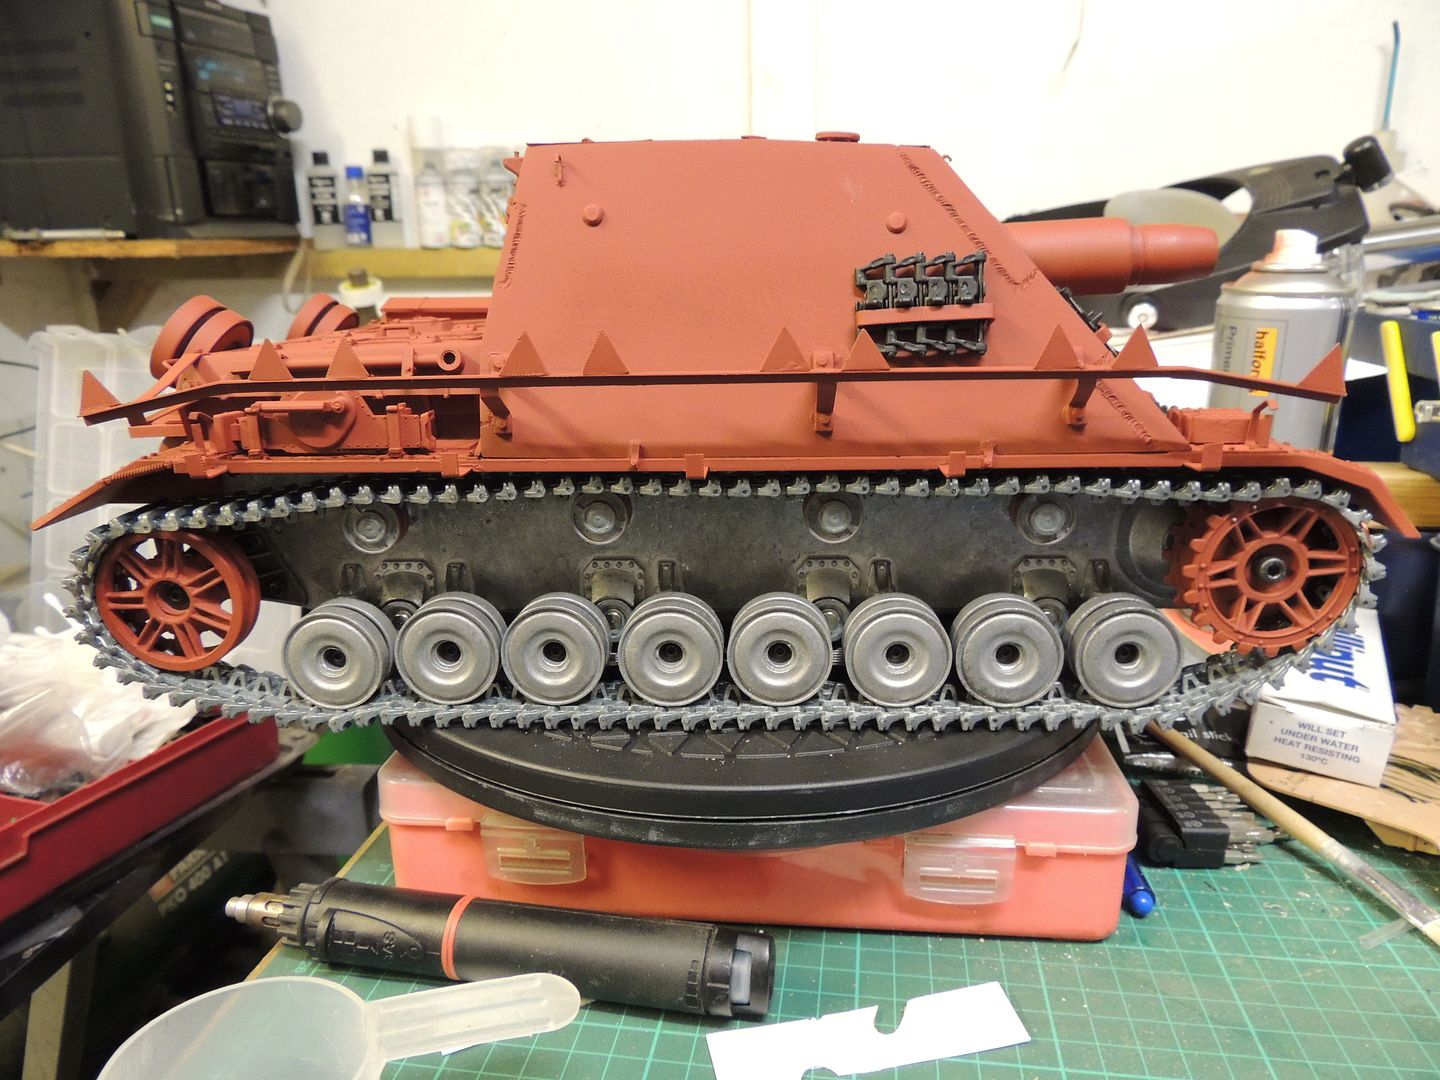
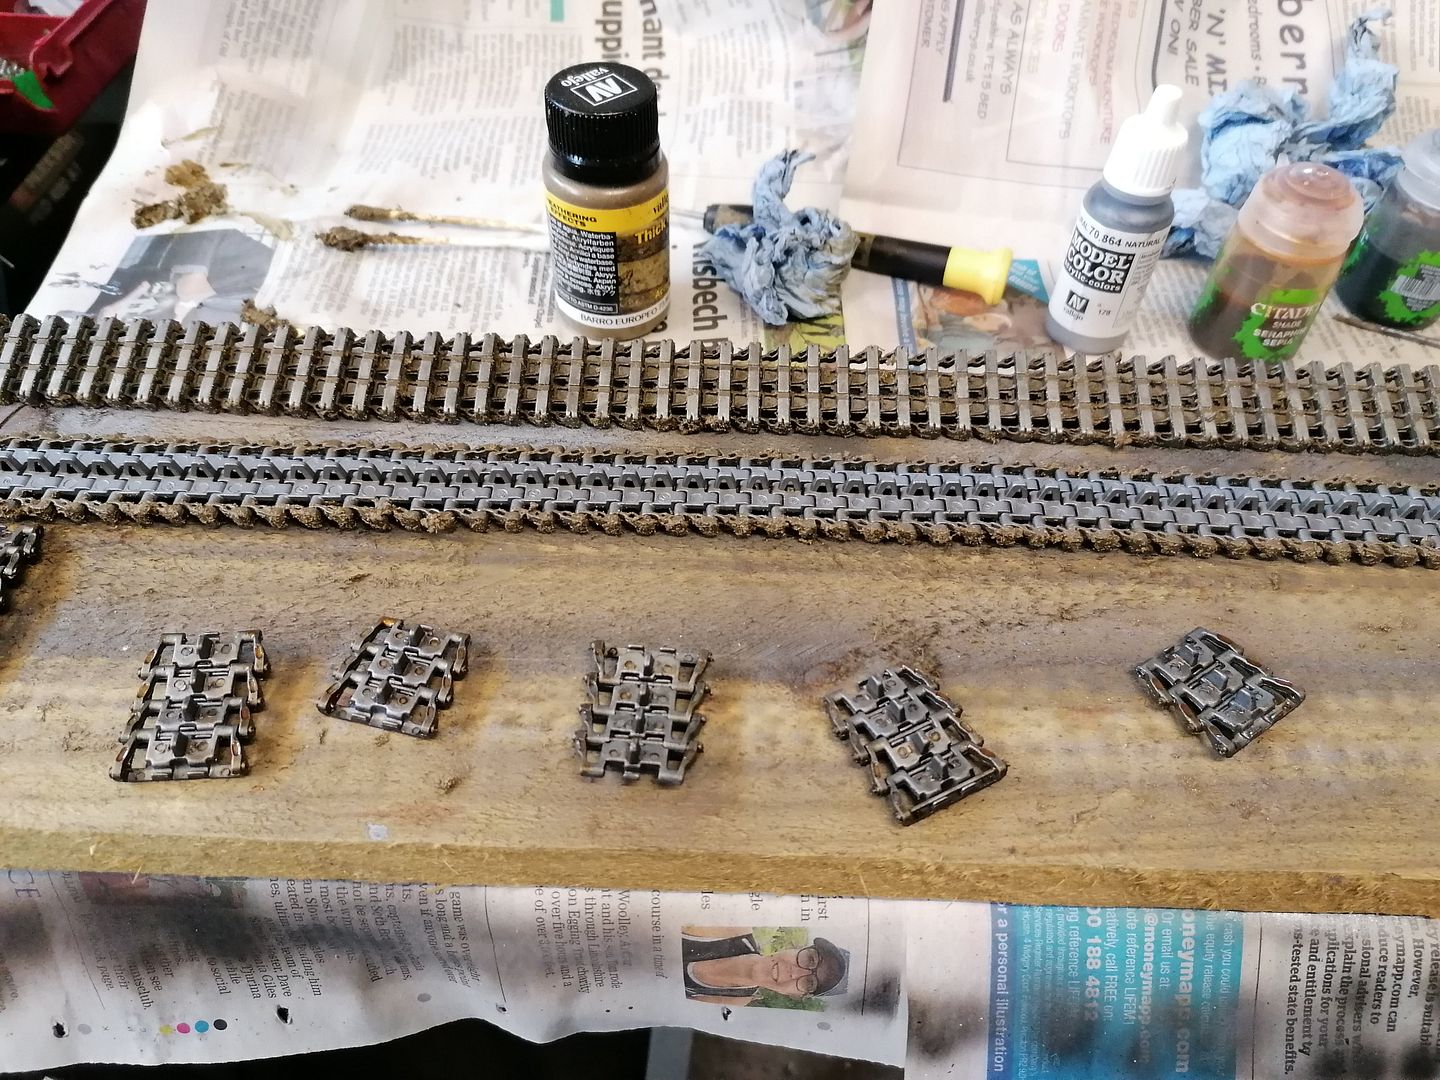
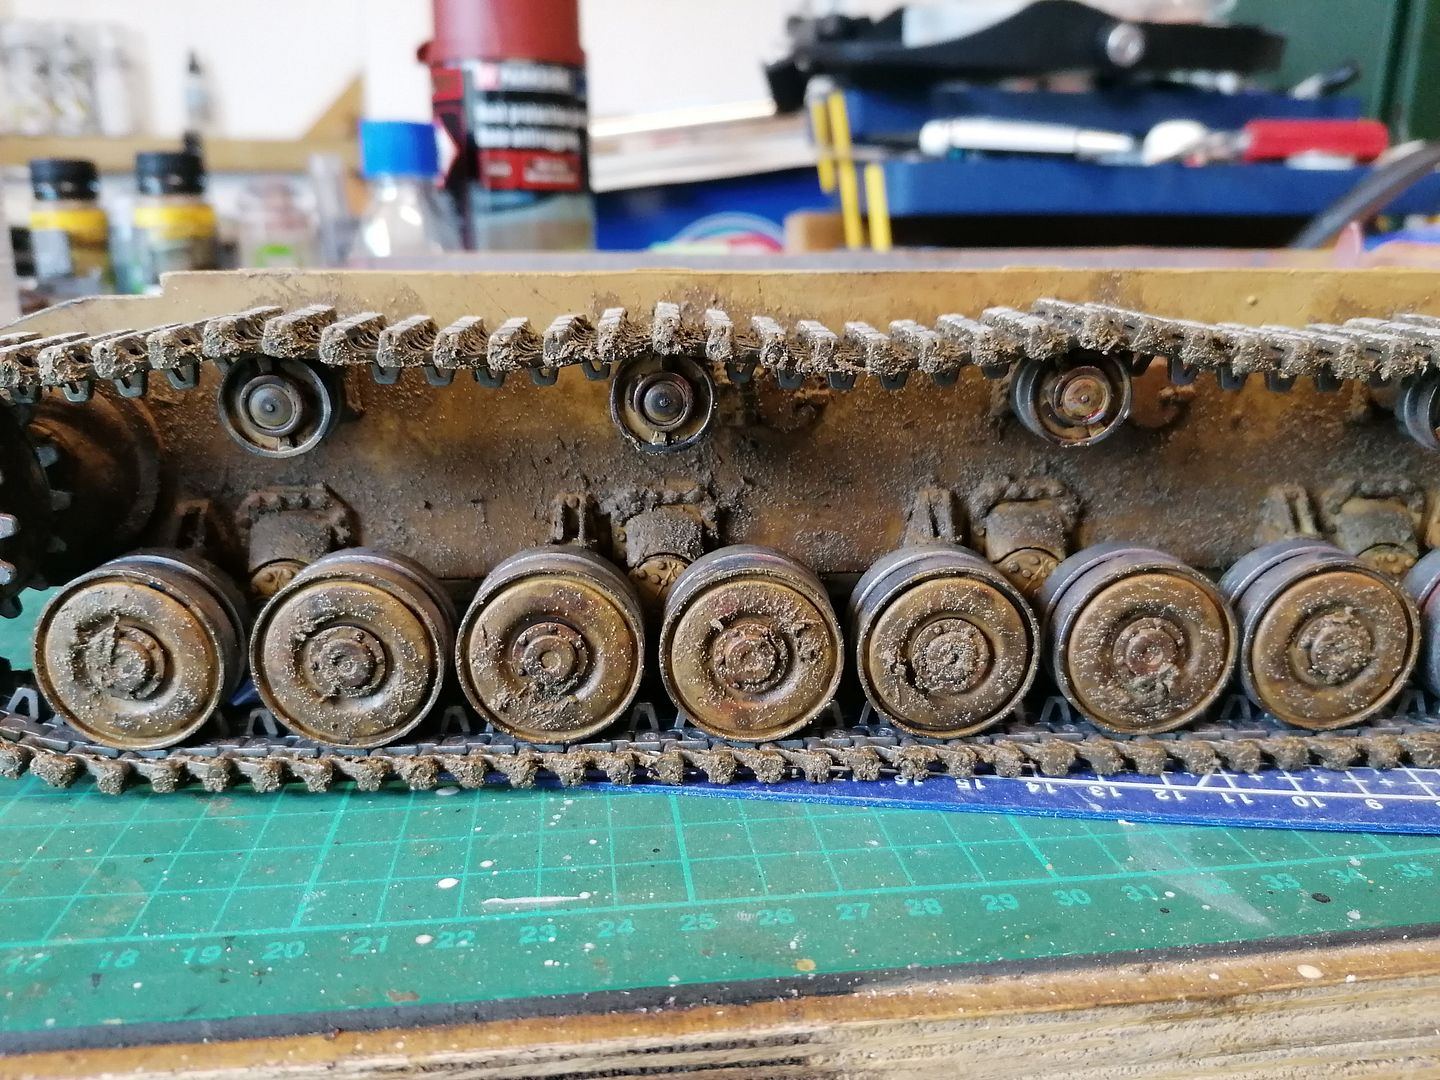
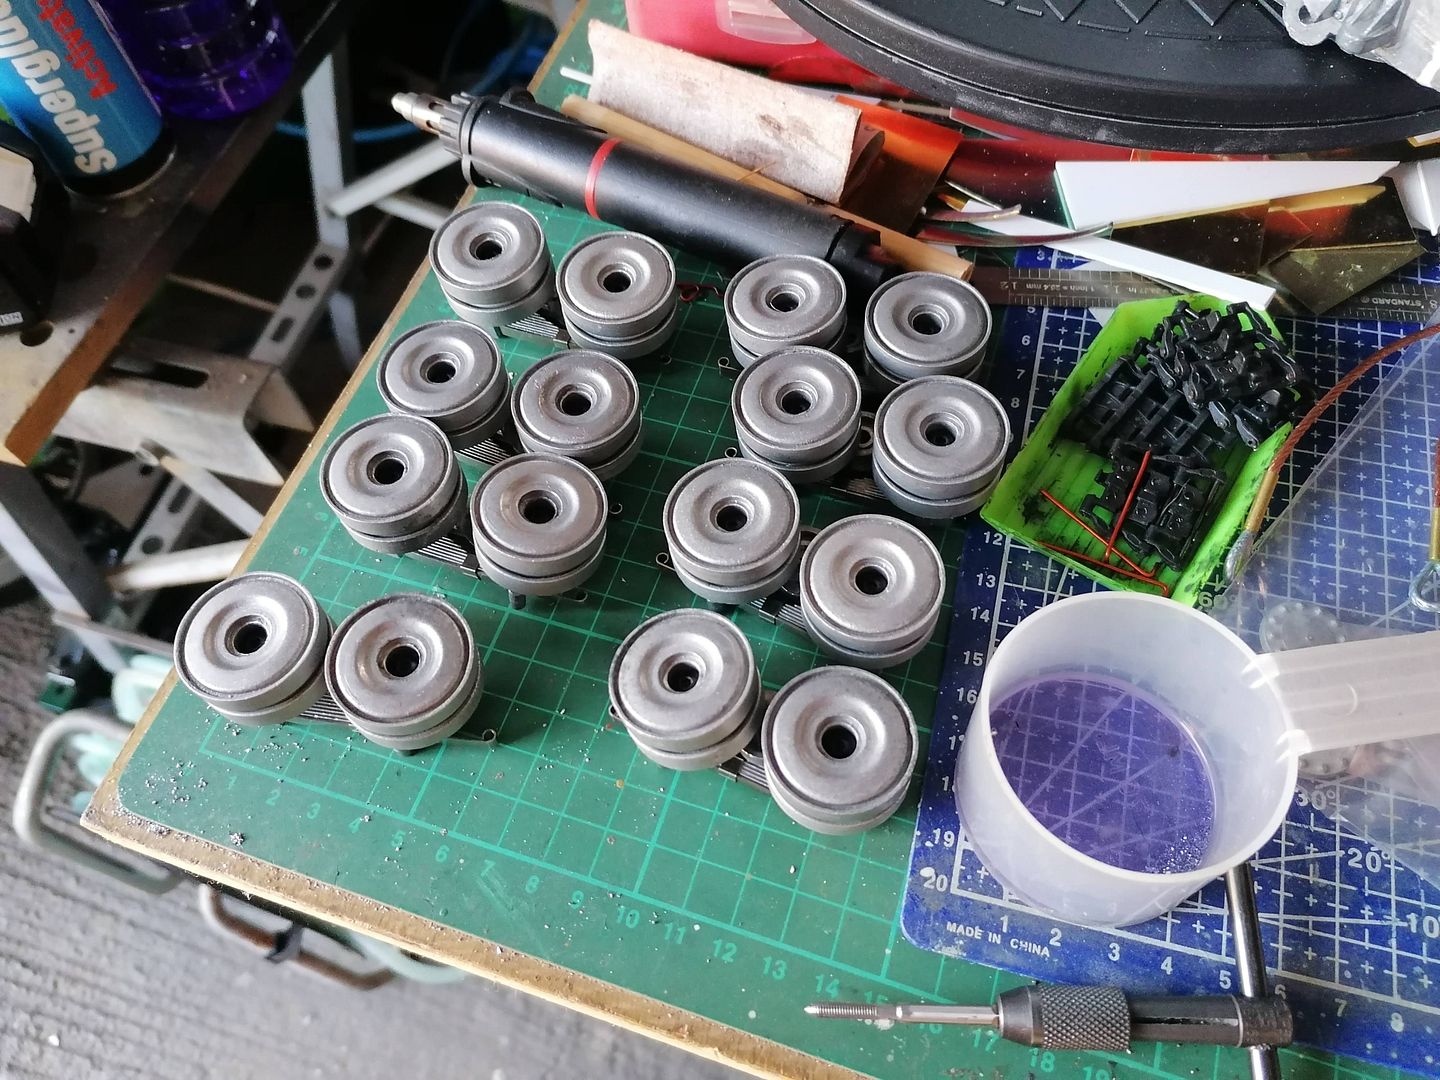
Next was the metal type return rollers that I had got ages ago first painting the backs of them and using some adjustable pipe pliers and a screw as a drift and pressing them to gether.
Image
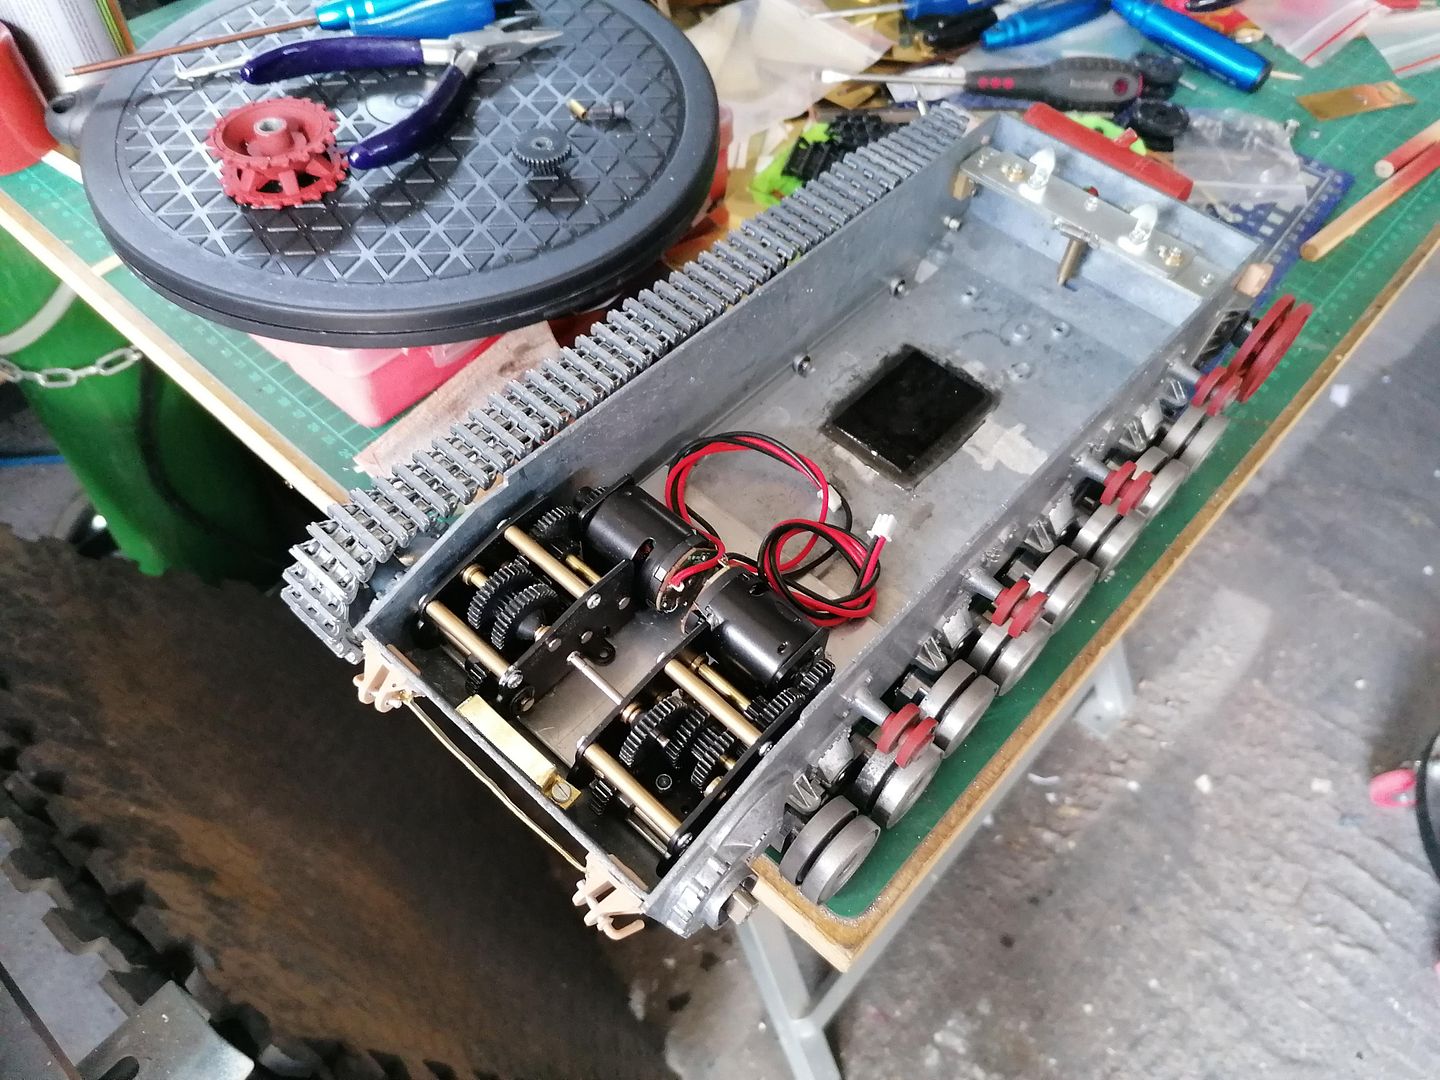
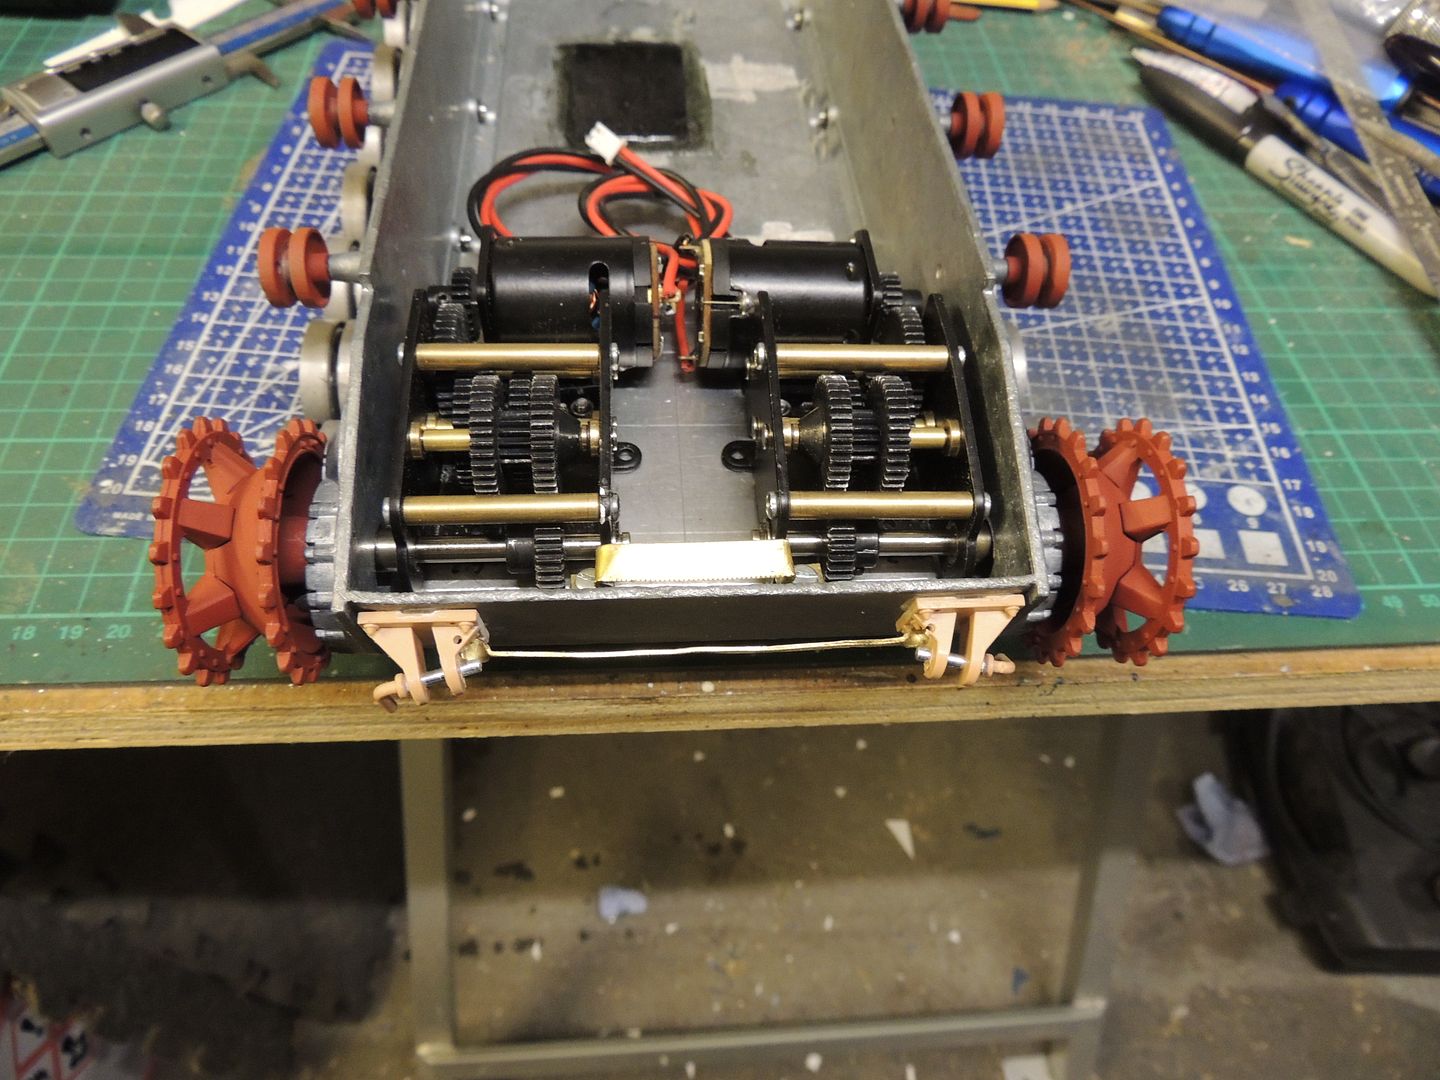
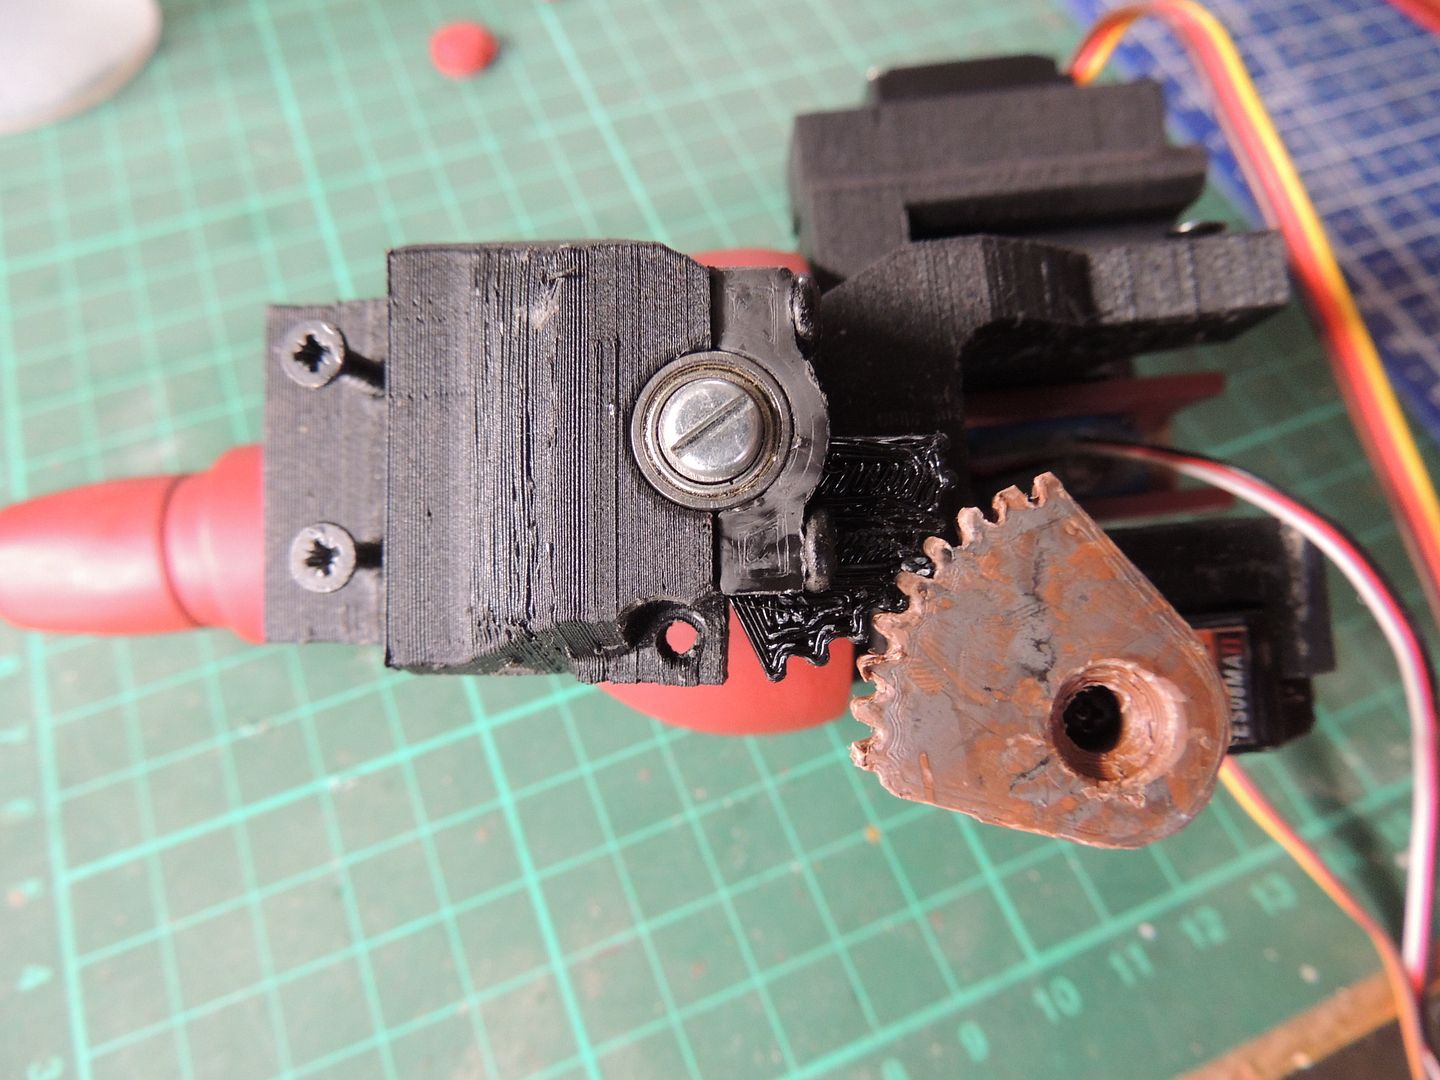
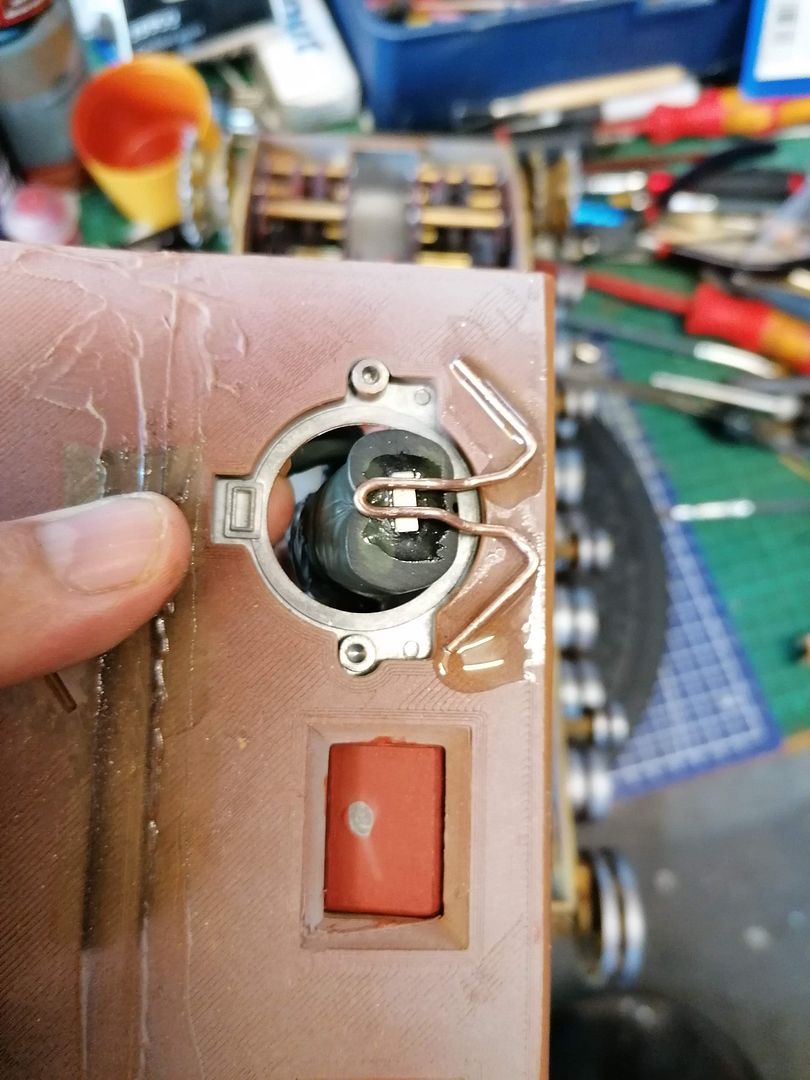
Now i encountered my biggest problem yet with all the rollers and wheels fitted the drive sprockets from Asia tam looked like they stuck out too far from the hull about 3mm too much and would have caused running issues with the tracks even the taigen drive sprocket stuck out but not as much for some reason Iknow these gearboxes are not intended for the Pz4 but as they are the same type used in the tiger the only issue so far was the motor terminals were clashing and rotating one motor 90 deg solved that but as they are mounted on the factory screw hole positions it seems odd the shafts stick out too far :think:
My first thought was to just re drill the mounting holes but that would have led to motor terminals being very close to the opposite motor so after some head scratching my only solution is to remove the output shafts from the gearboxes (not a hard job) and take them and the hull to work and use a lathe to shorten them slightly and get the drive sprockets in the right place.
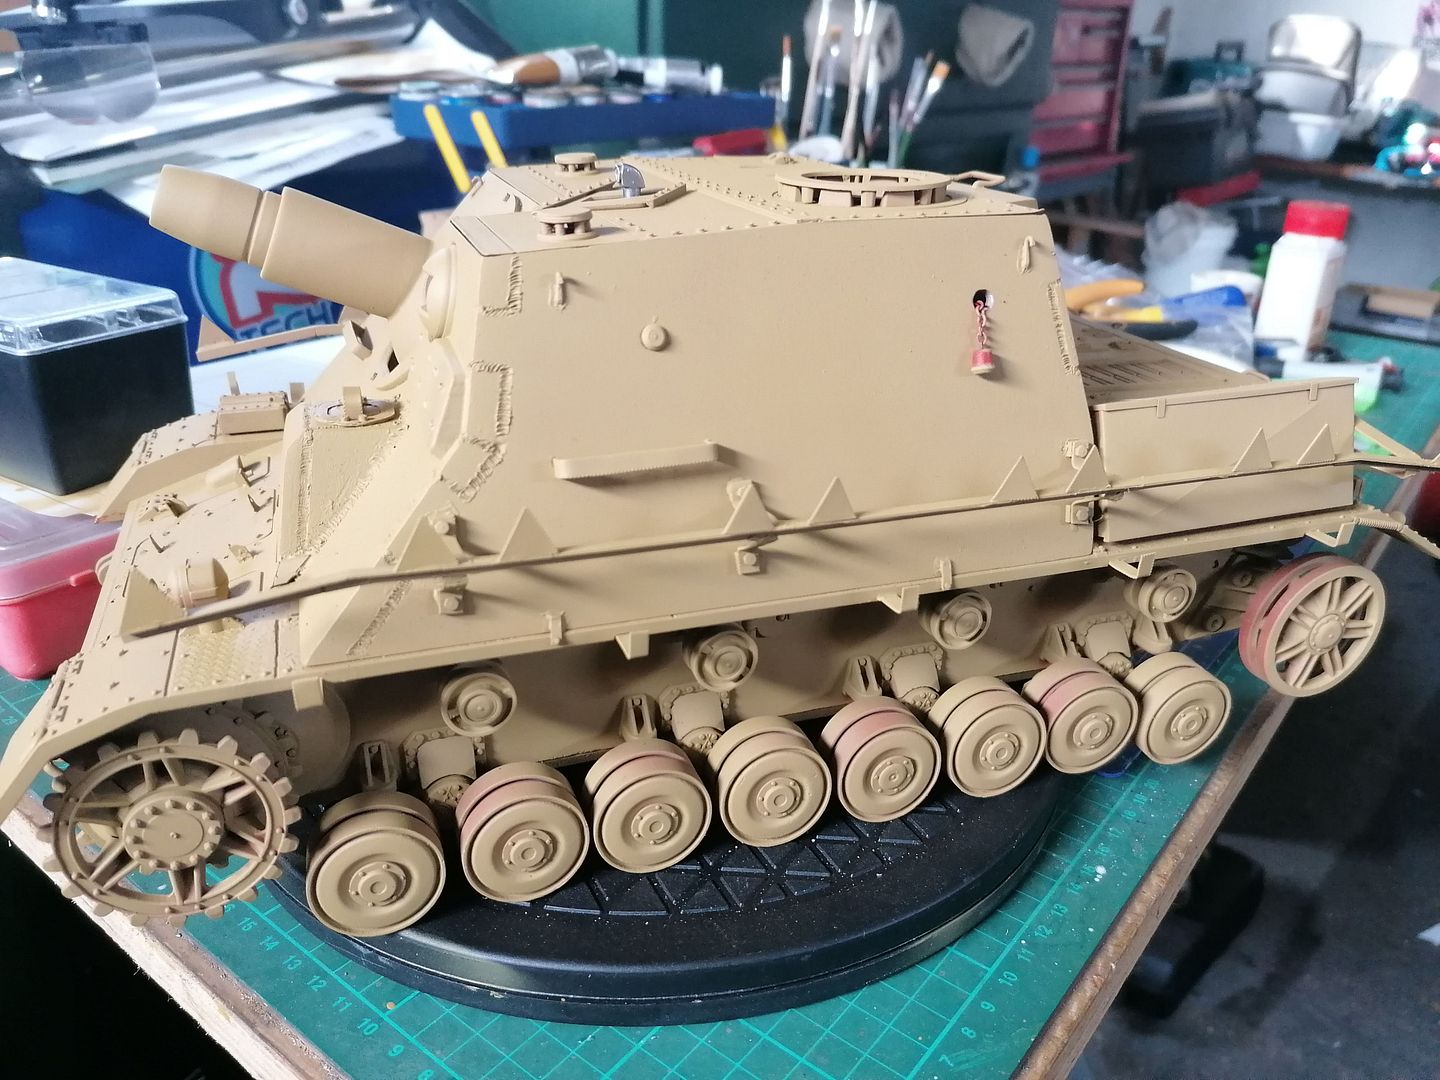
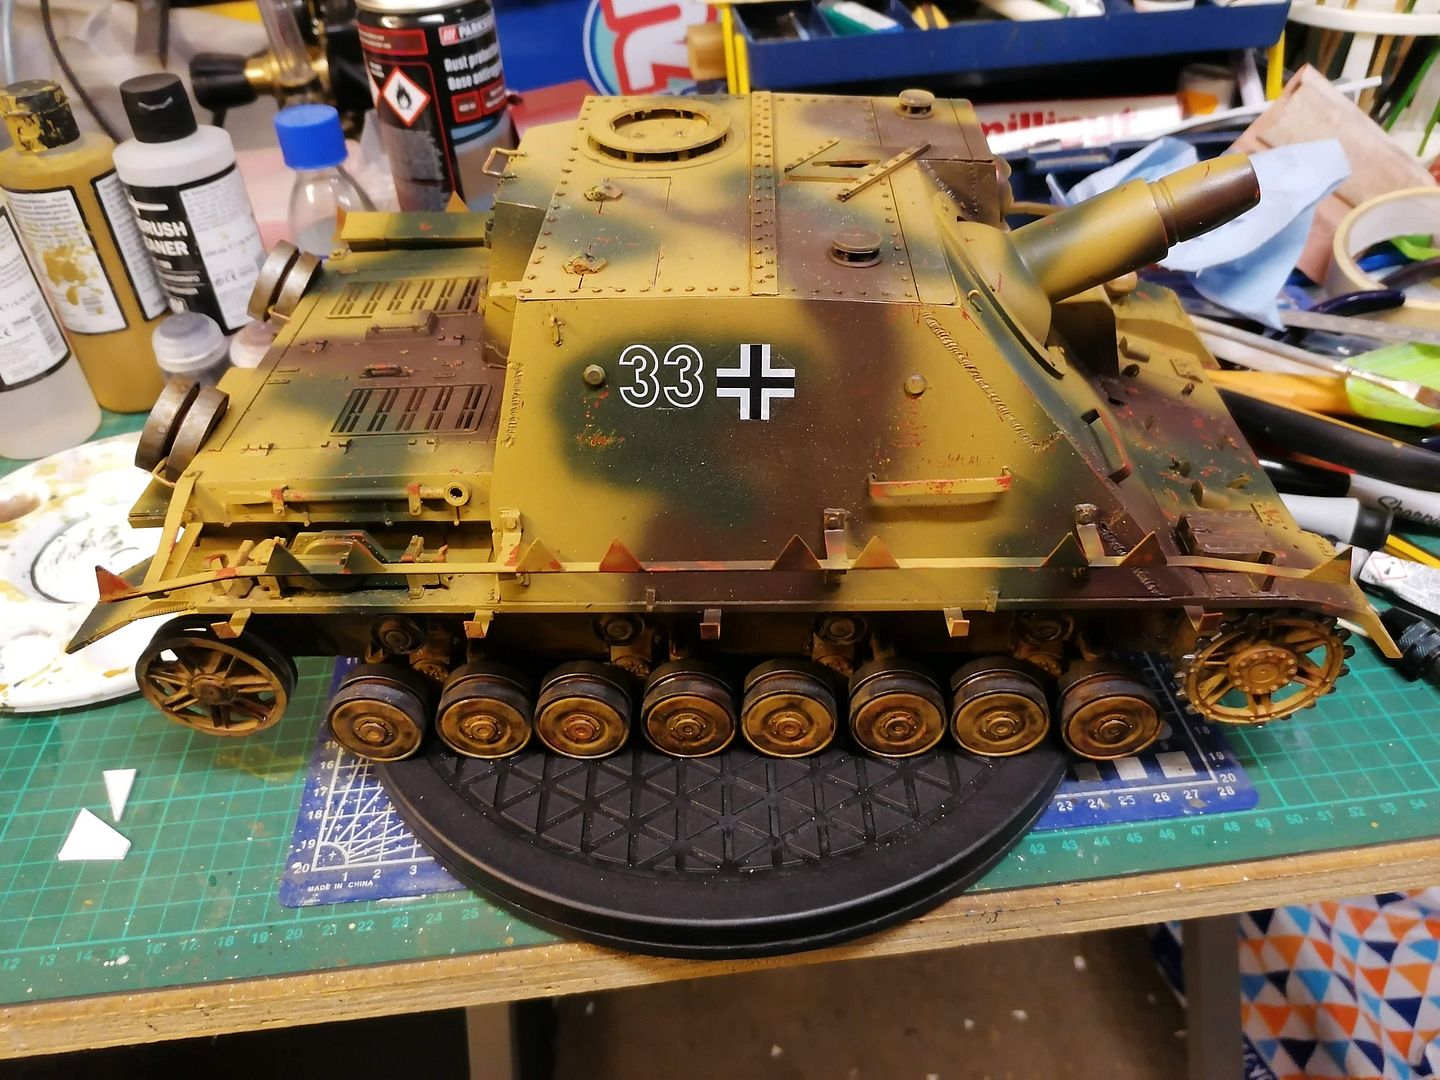
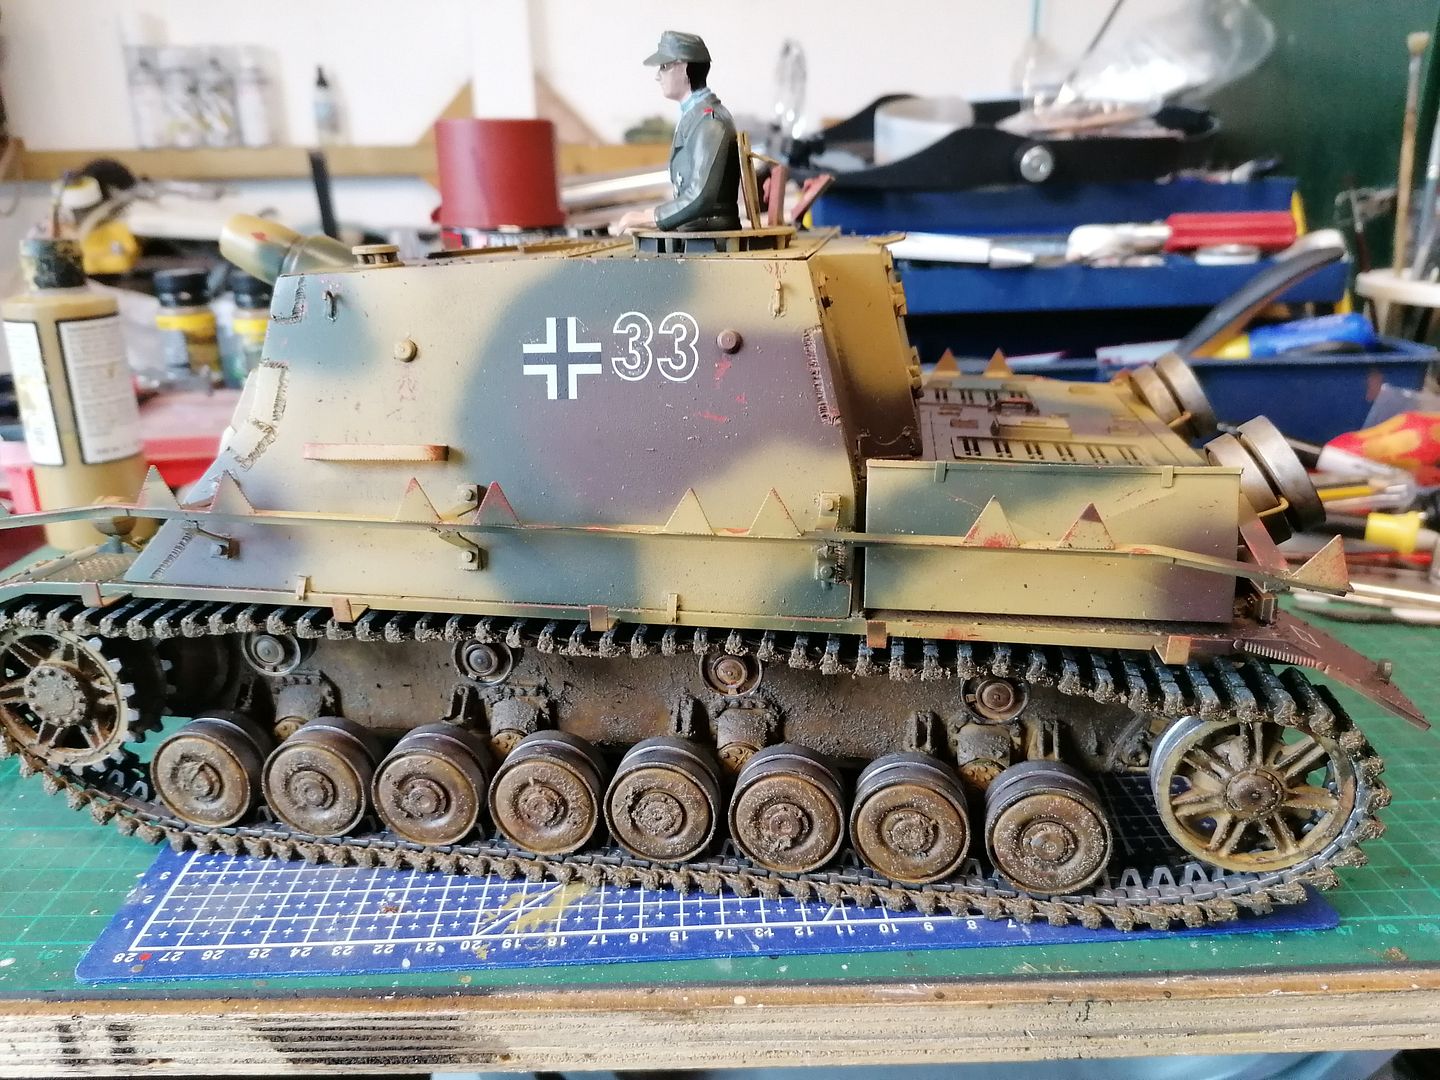
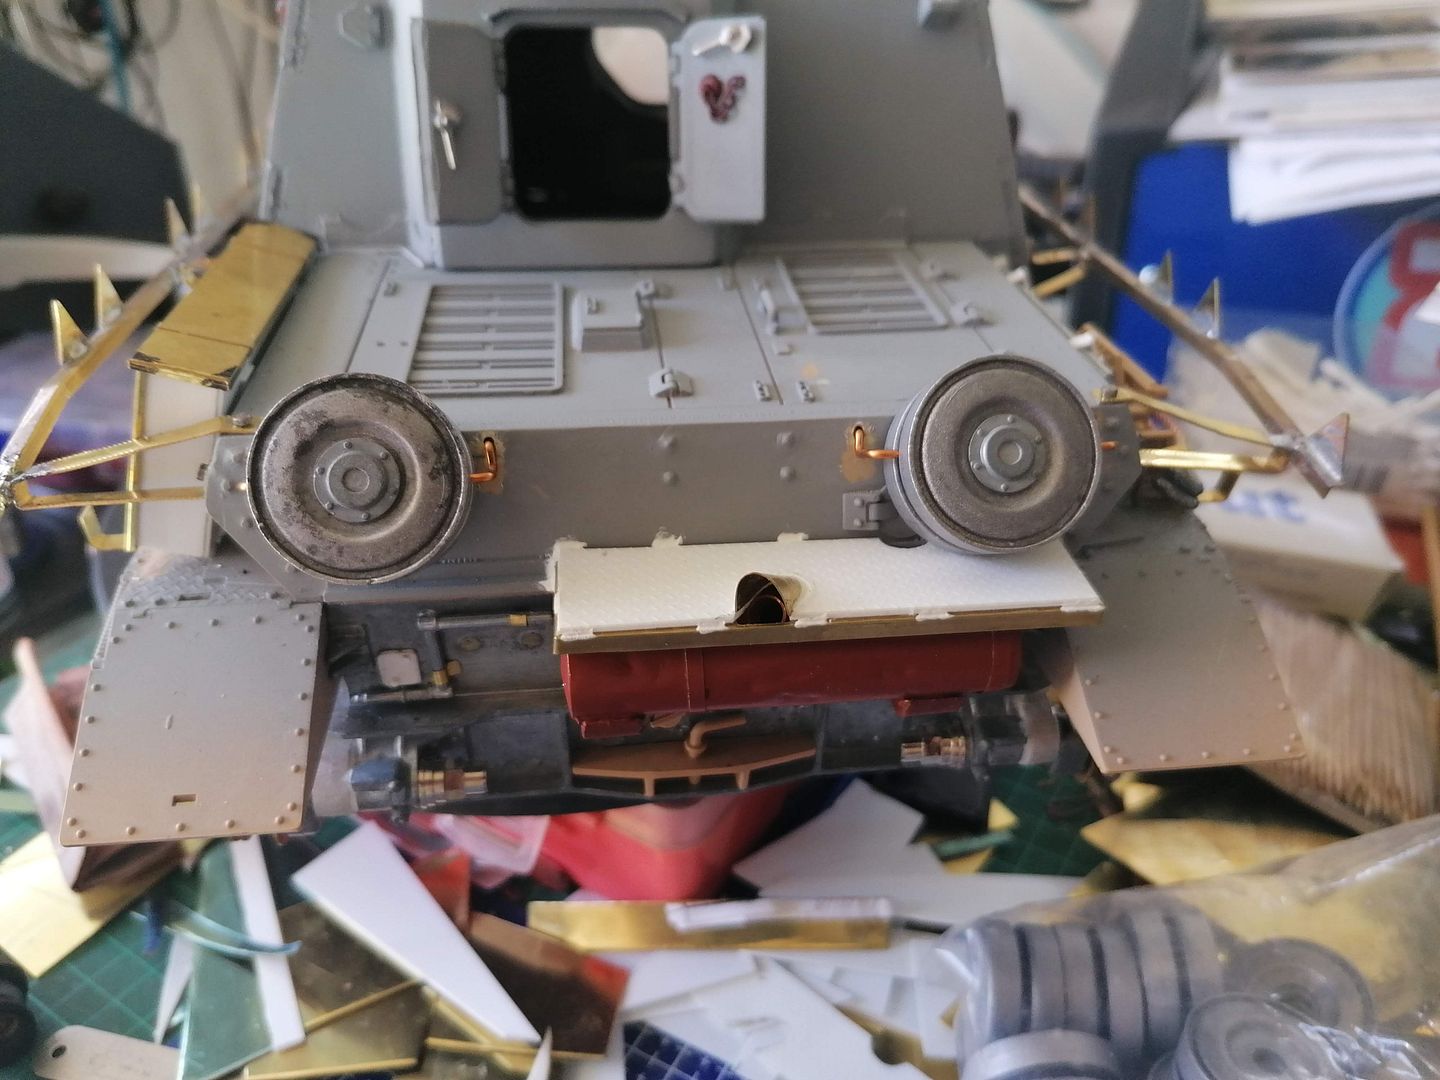
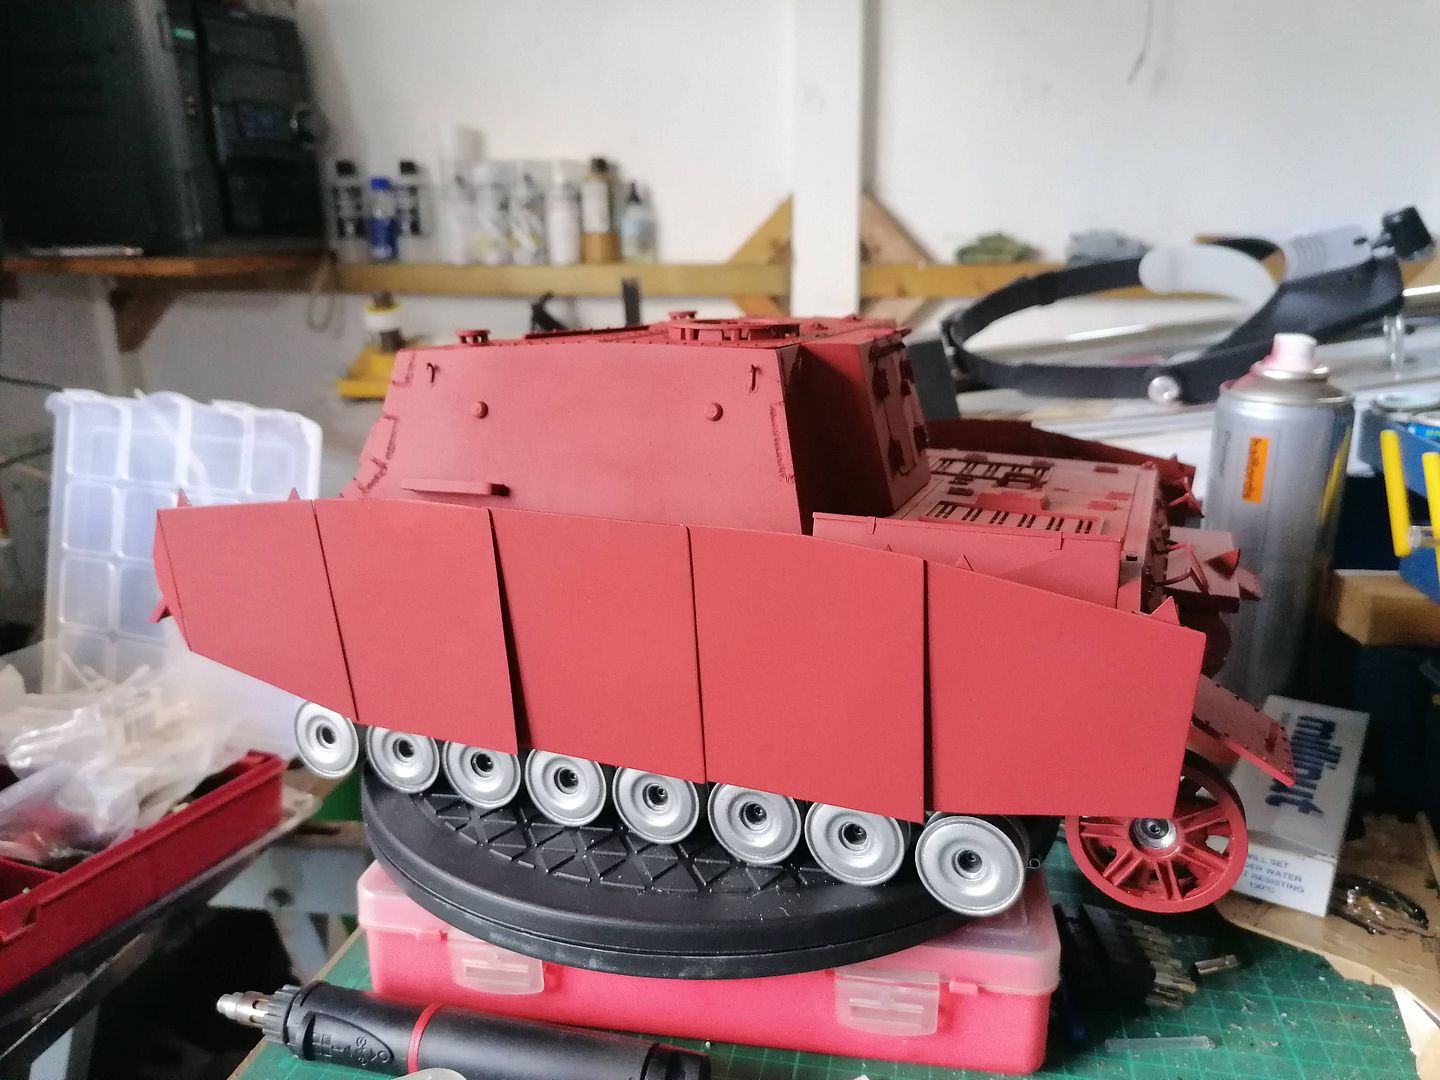
I did fit one track to see how it looked and noticed the rear towing hook was very close to the edge of the track so will need modifying to avoiding any snags with the track .
Image
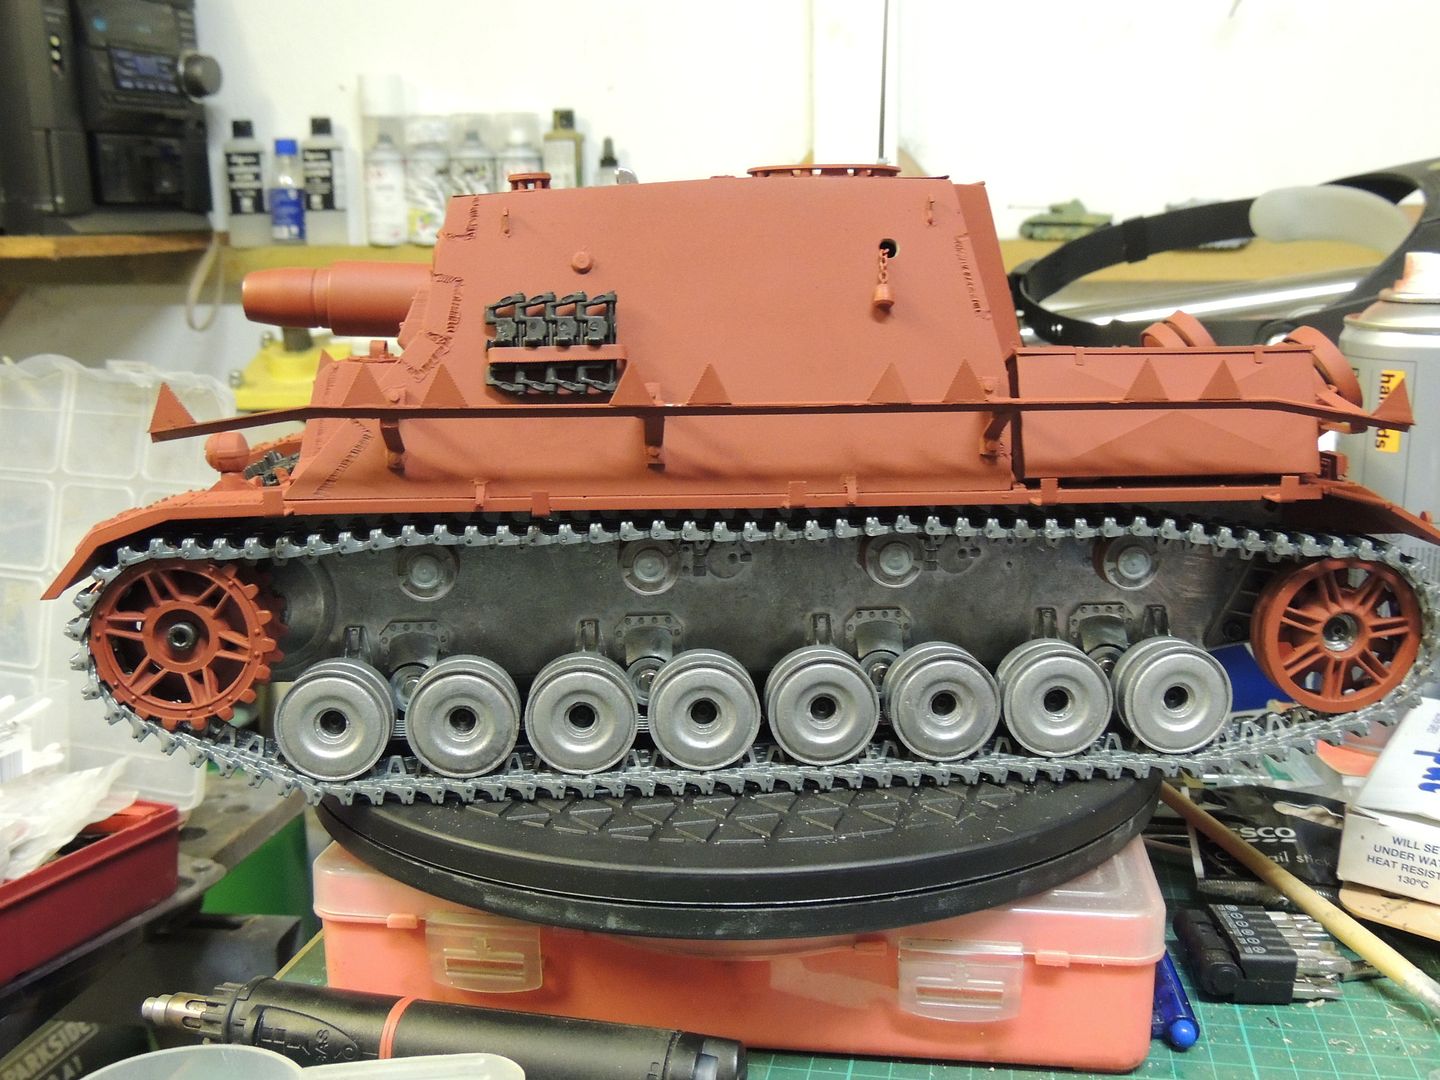
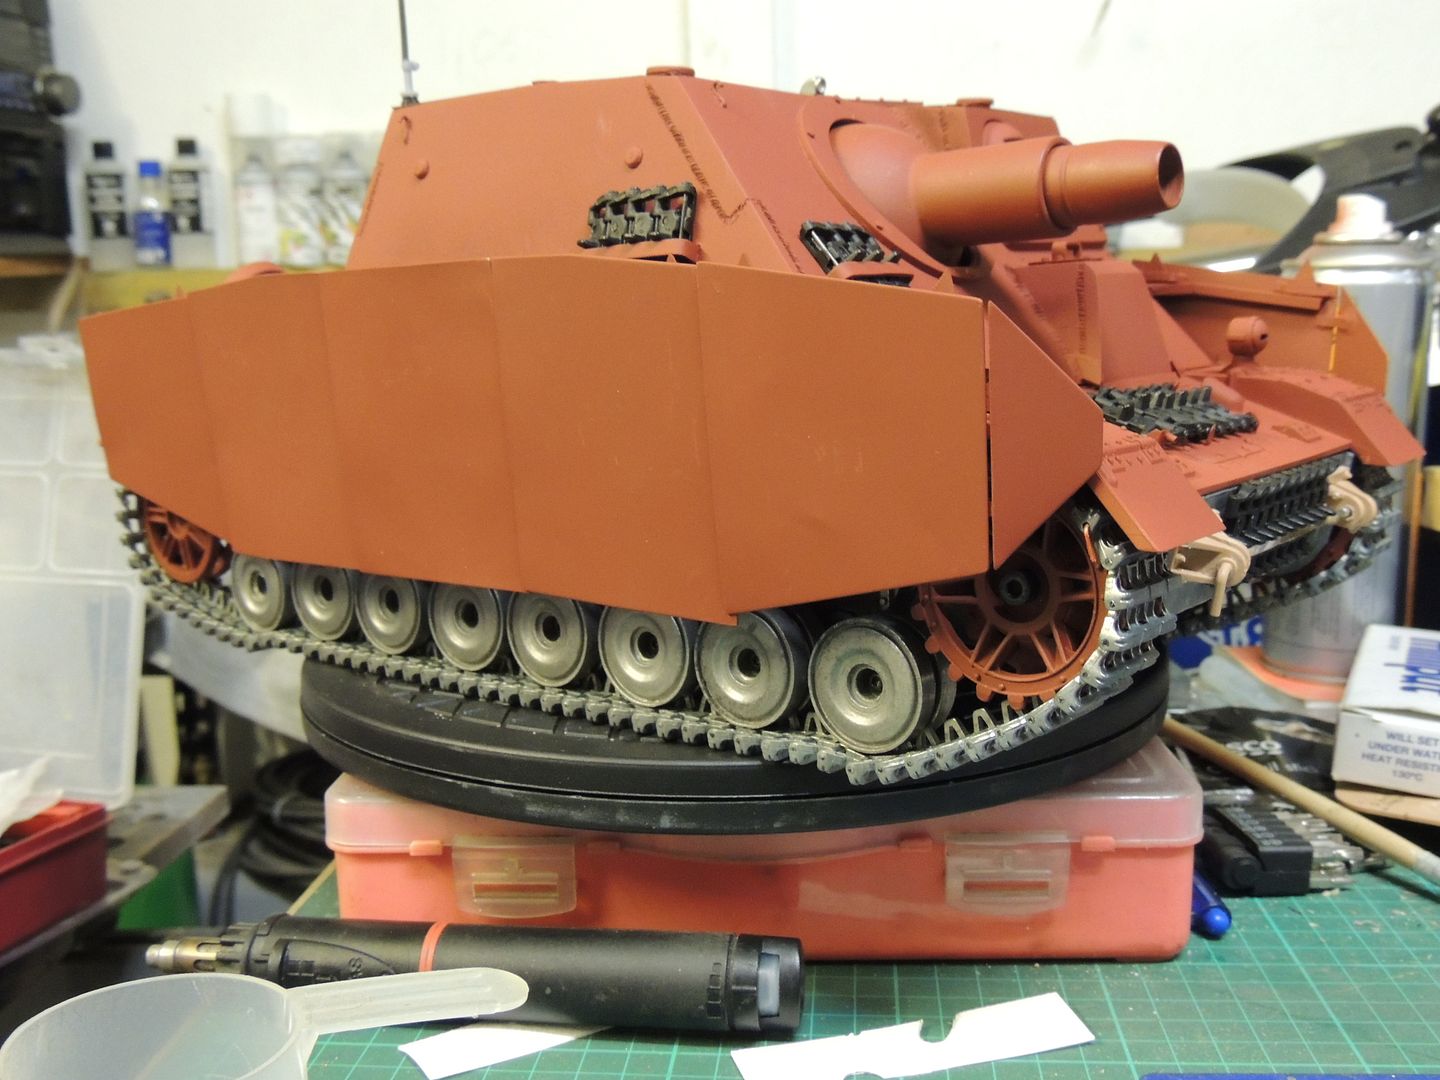
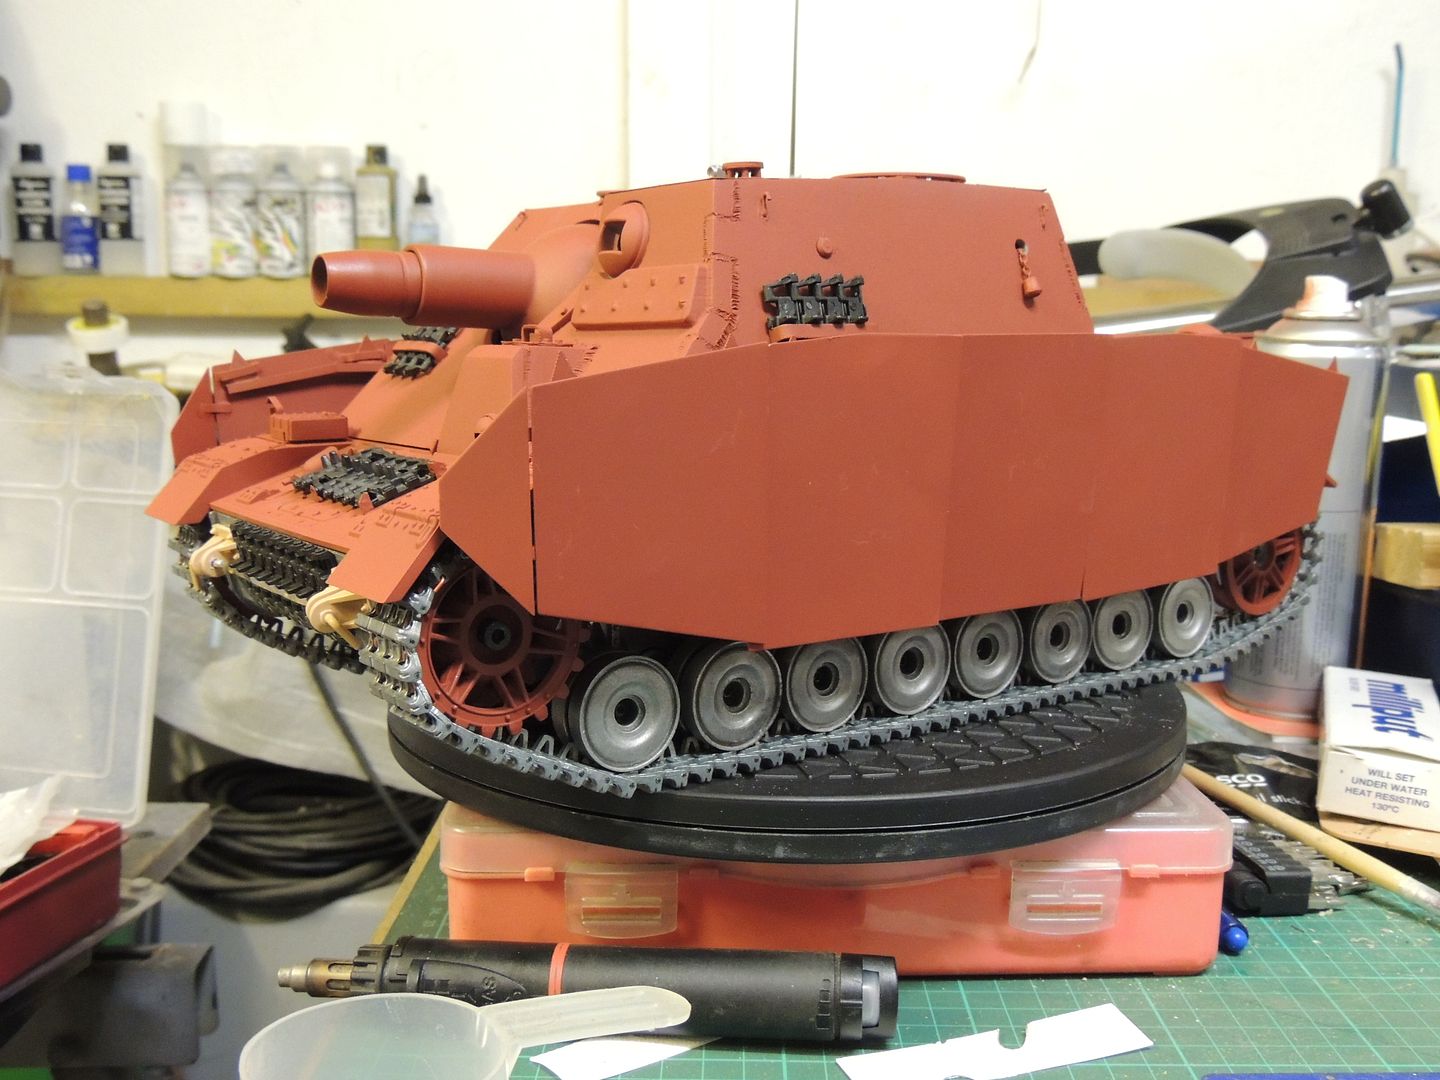
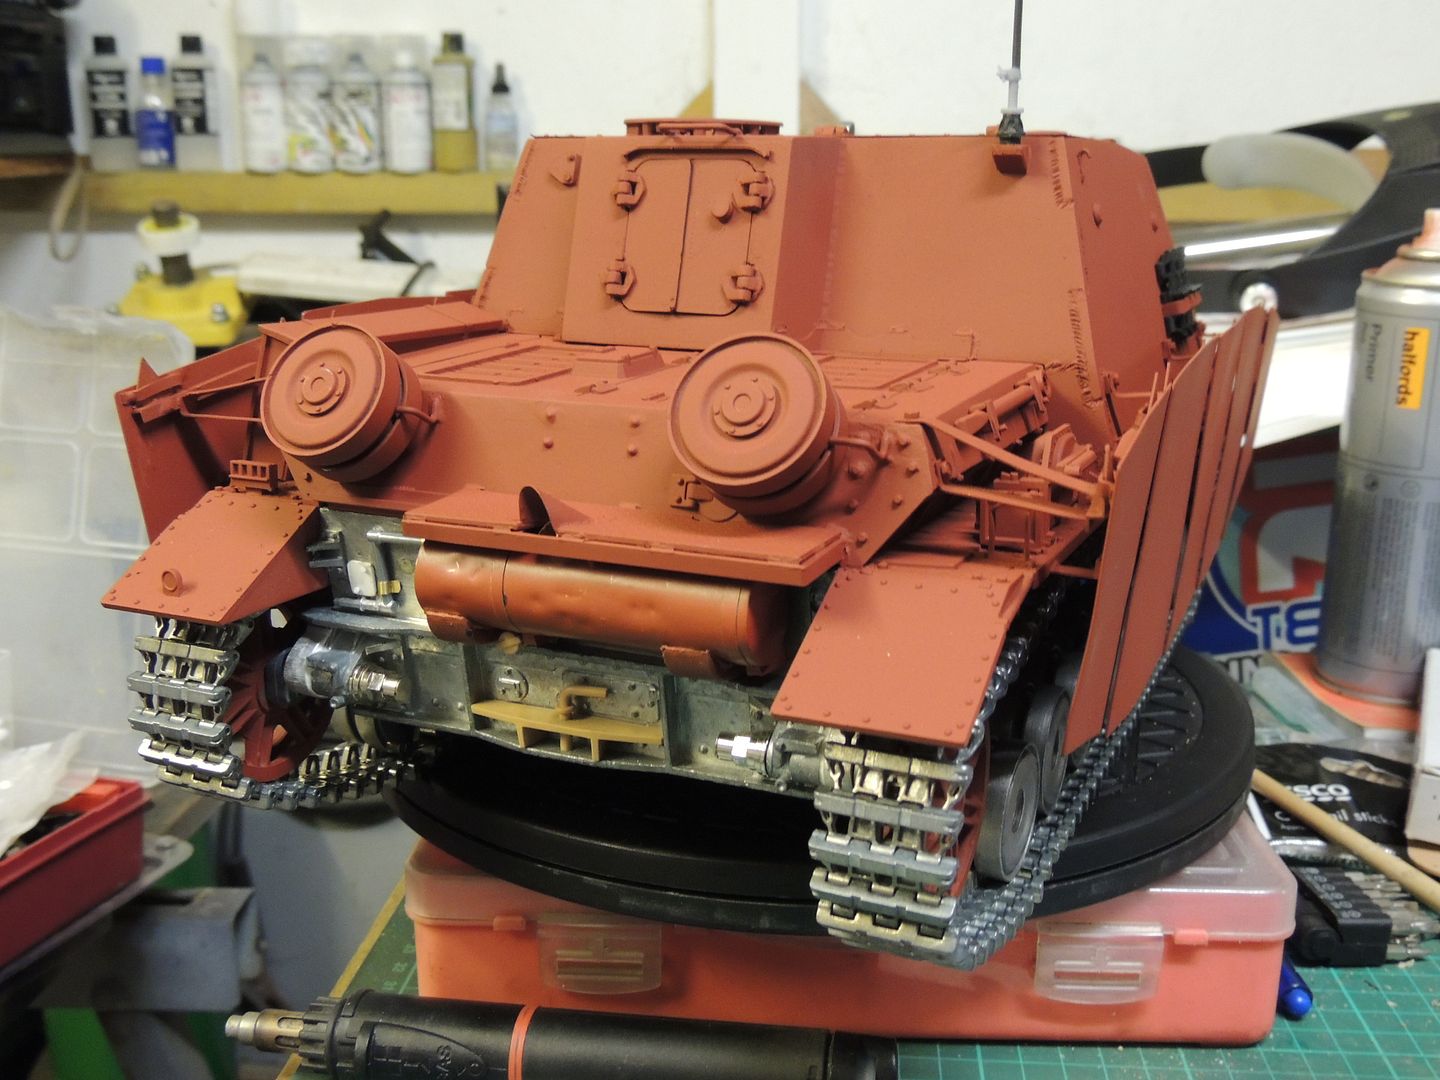
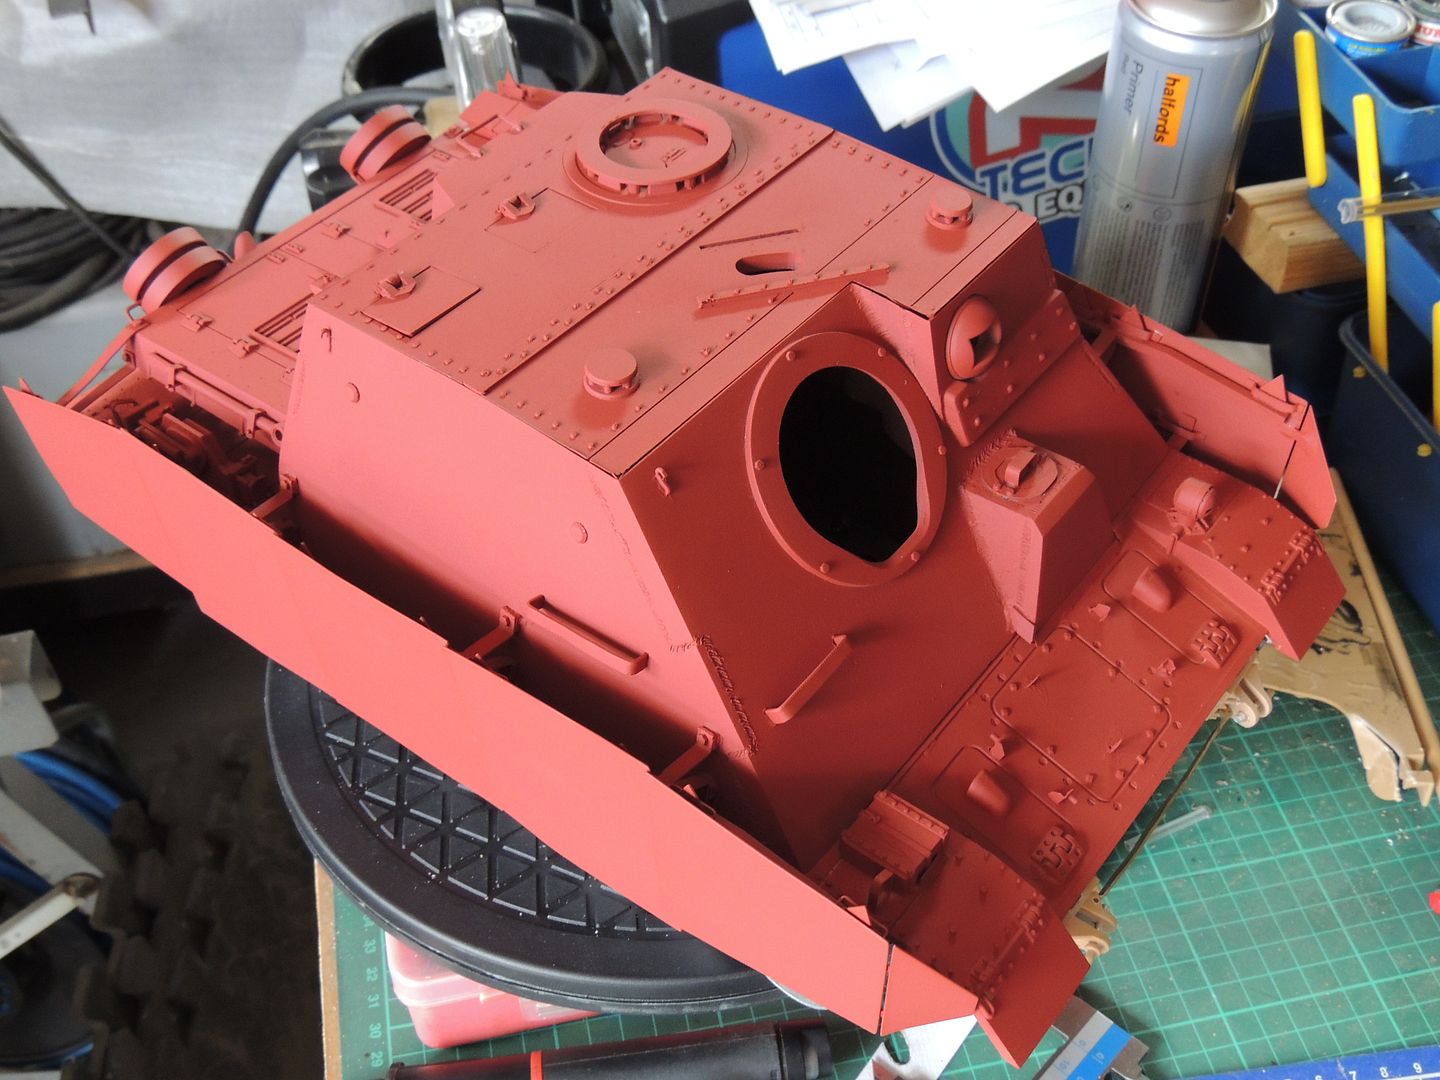
It was time to put some primer on the top half of the hull now the spare wheel brackets were finished time to say bye bye to the lovely brass parts.Image
Image
Image
Image
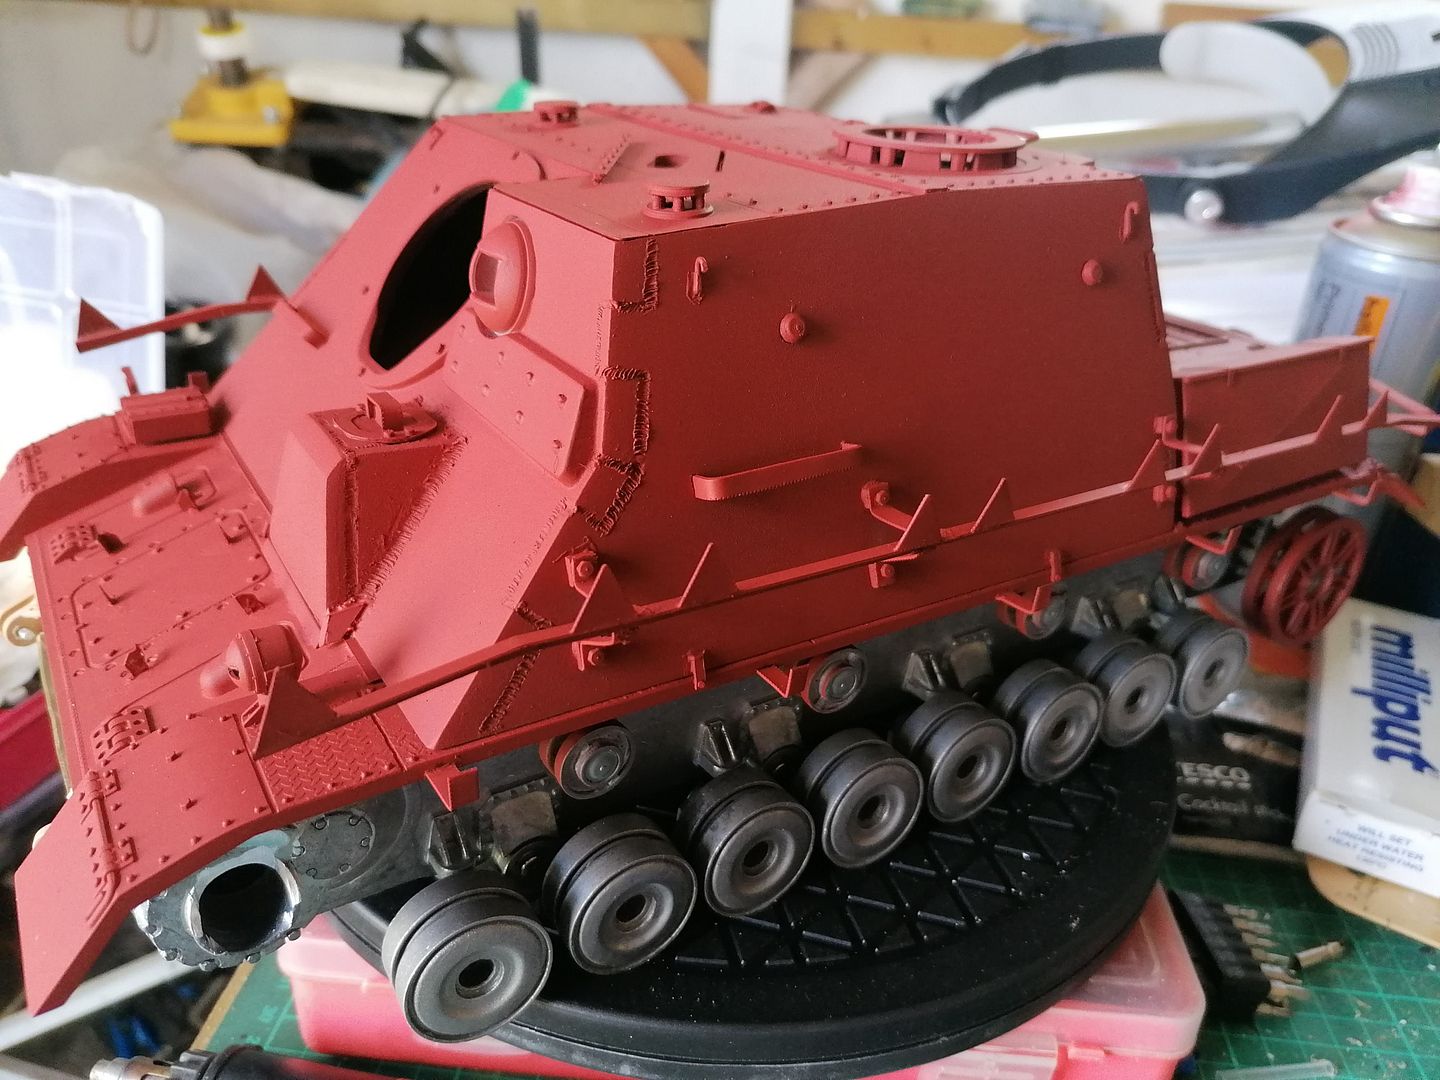
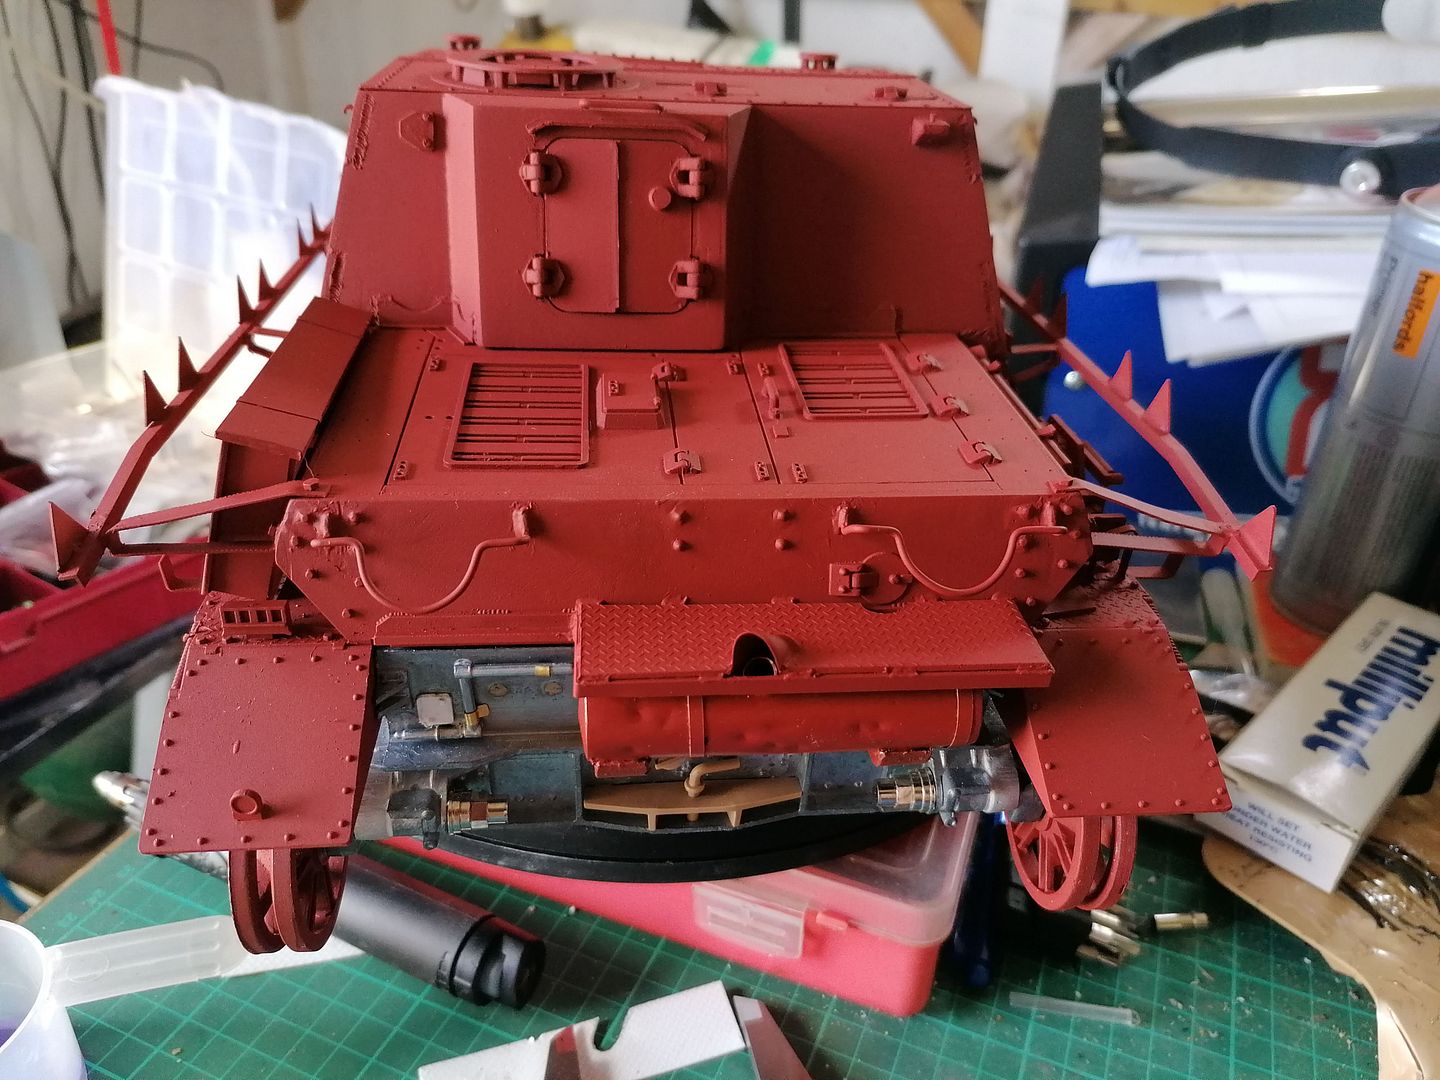
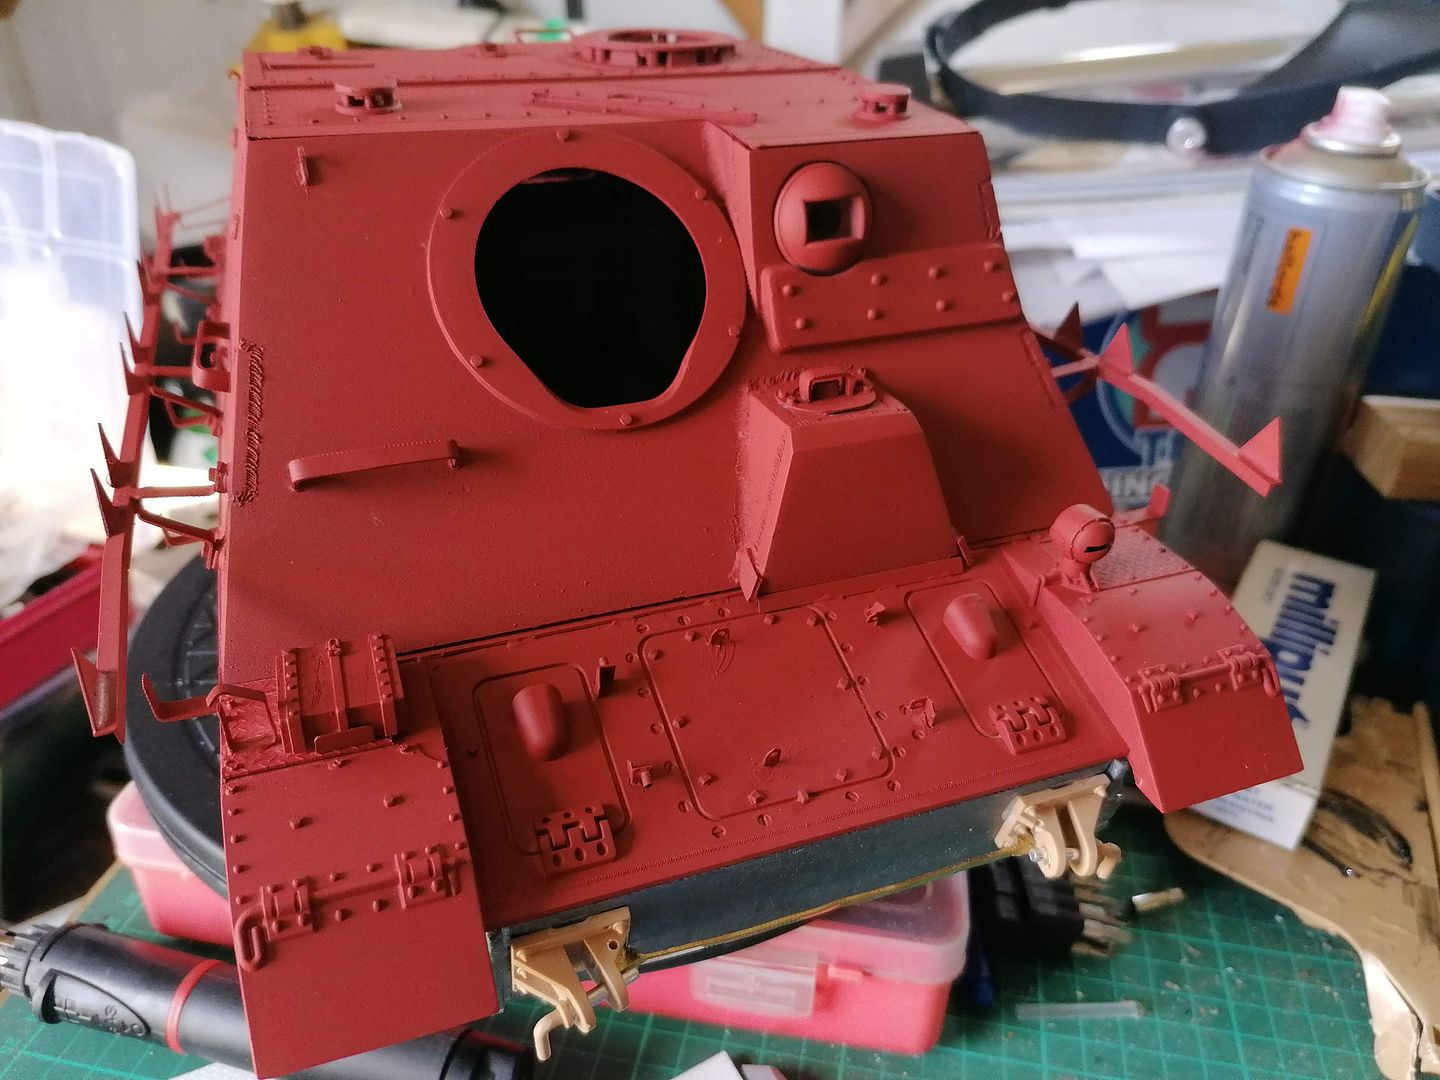
It looks very different with the side armour painted all in red oxide.
Image
Image
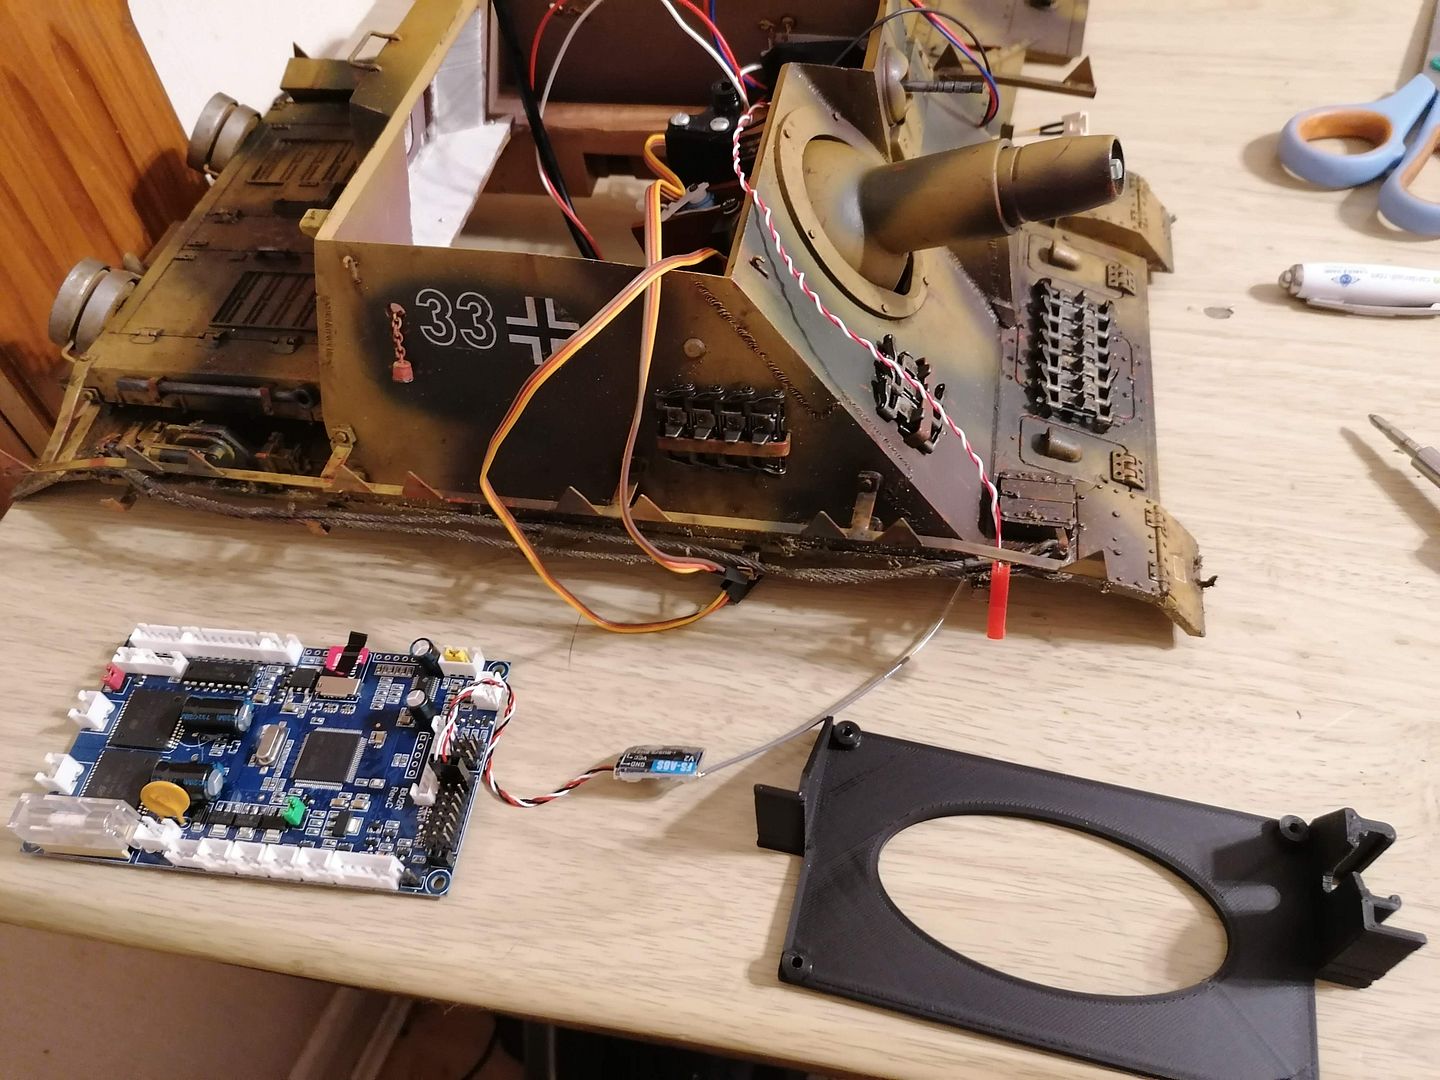
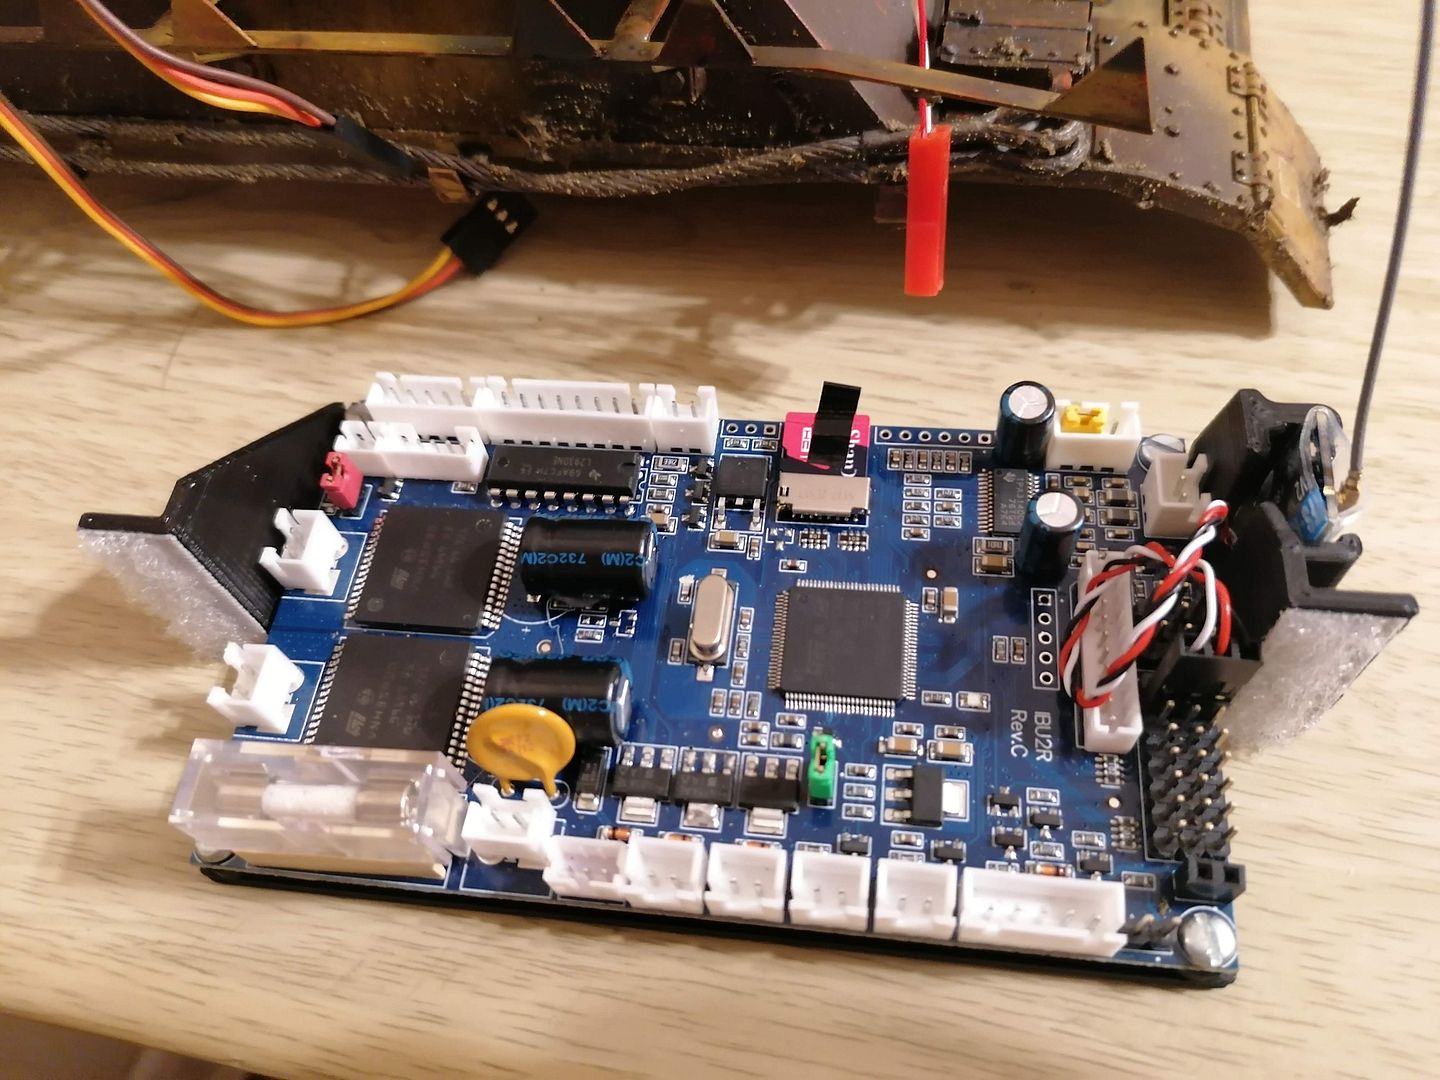
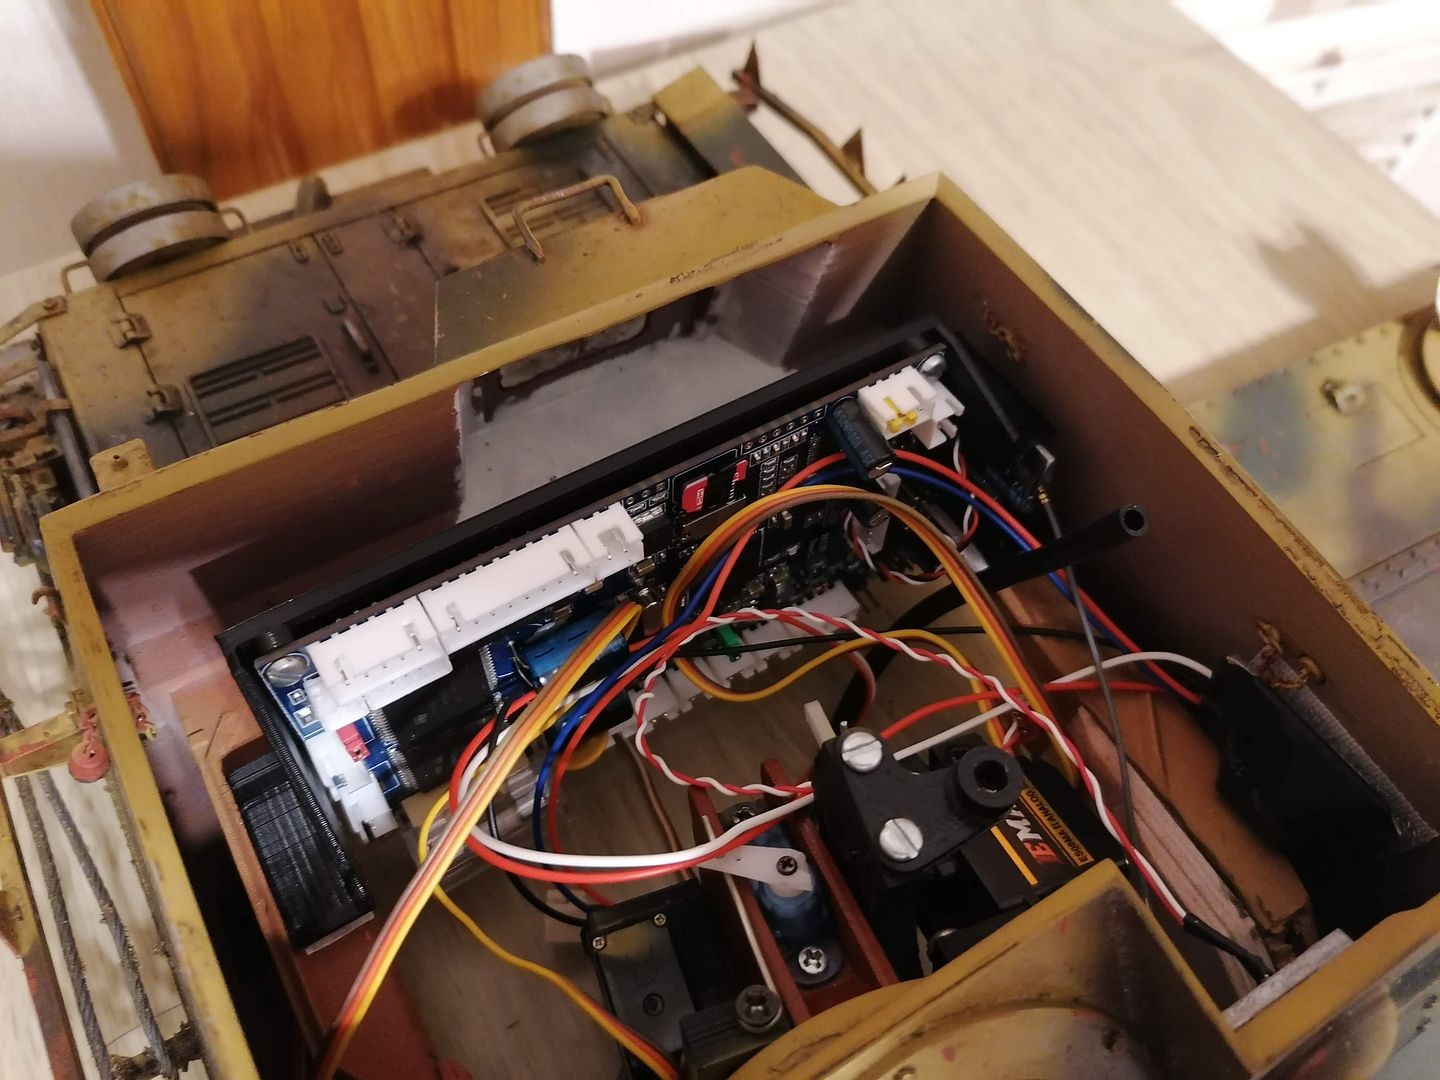
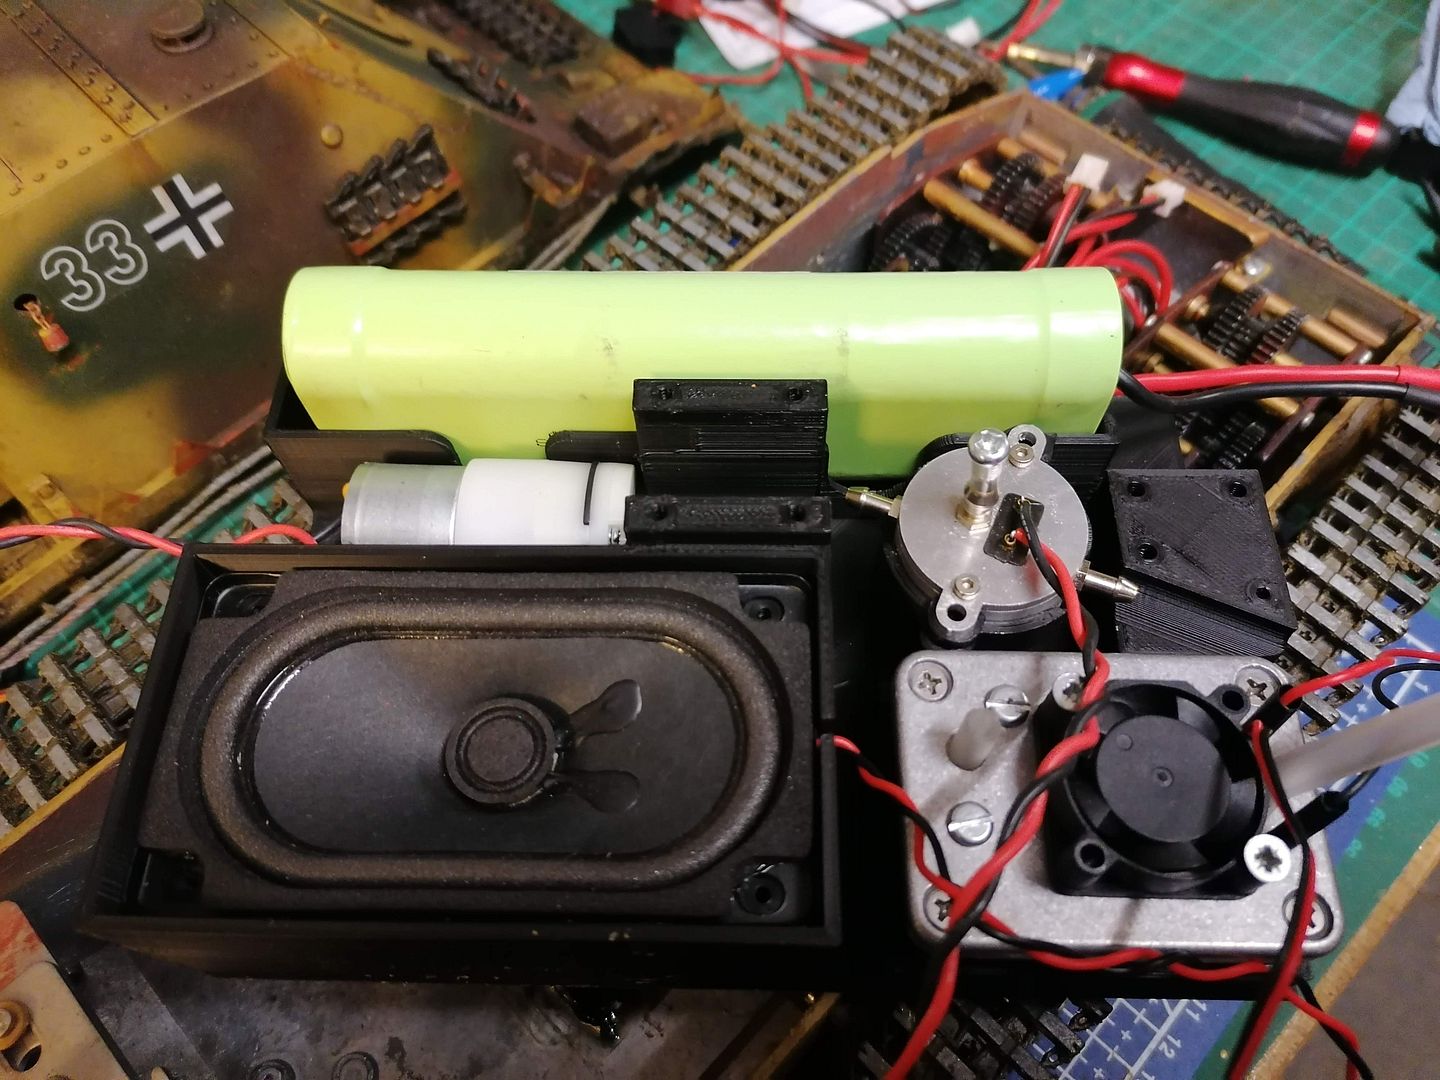
So hopefully I can get the drive shafts sorted this week and get the sprockets fitted and trial fit the tracks sort the tow hooks and red oxide the lower hull and wheels ready to give it its first coat of yellow. Wile waiting to get the control board and battery to start designing and printing the speaker box and mounting hardware for it all

Re: Brummbar

Posted: Sun Sep 06, 2020 9:41 pm
by midlife306
Looks brilliant


Sent from my iPhone using Tapatalk

Re: Brummbar

Posted: Sun Sep 06, 2020 9:41 pm
by c.rainford73
Almost a shame to paint it. You did such excellent work building and fabricating the brass parts. :clap:

Re: Brummbar

Posted: Mon Sep 07, 2020 11:27 am
by HERMAN BIX
An outstanding example of a rarely modeled Tank in this scale.
The roadwheels seem to make it ;)

Re: Brummbar

Posted: Mon Sep 07, 2020 10:28 pm
by baldrick131
After a few minuets on the bosses lathe the drive shafts were shorter and the sprockets look in a lot better position.
Image
Image
Image
So time to chuck some tracks on and get a look at it.
Image
Image
Now I cant wait to get the electrics to get it up and running but at least I can now start to get some paint on while I raise the funds together.
Image
Image
Image

Re: Brummbar

Posted: Sat Sep 12, 2020 9:22 am
by baldrick131
As I have a few quiet minutes I have loaded the gears to replace the gun traverse linkage this does not require any mods to the gun apart from replacing the gimble clamp and fitting a gear on the servo.
Image
Image
I have added the parts to my gun page here (honest! thingiverse is being a bit slow B| )
https://www.thingiverse.com/thing:4433929

Re: Brummbar

Posted: Sat Sep 12, 2020 10:15 am
by HERMAN BIX
I know a guy that would do just about anything to get hold of one of these, what a magnificent job Sir :clap: :clap:

Re: Brummbar

Posted: Sun Sep 27, 2020 4:07 pm
by baldrick131
It has been a busy few days lately giving the Brummbar a coat of paint.
Image
Image
I even had a go at the hairspray chipping technique'
Image
Image
But disaster struck when I somehow dropped the roof section and broke off the 2 small hatches!
Image
Image
So I had to make some repair pieces out of plasticard and fixed them by pinning and gluing them down.
Image
and while I was revelling in the glory of being able to fix it I realised the sliding cover for the periscope was missing, After a search I found ionly to see the dog had found it first so had to make a new one.
Image
Some decals arrived so I gave the hull a coat of gloss and applied them they are for an early version but I am not going for rivet counter accuracy so they will do.
Image
Image
Image
While waiting for the decals to dry off I made and fitted a bracket to attach the figure left over from my sturmtiger.
Image
Image
The tracks were next after painting them and a bit of weathering and mud they were ready to fit.
Image
It was time to do the final weathering of the lower hull so I could it the tracks.
Image
Image
Image
I temporarily fitted the Torro controller and took it for a spin to see if anything fell off or got caught up.
Image
Image
It went ok nothing jammed or fell off I do need to lubricate everything but I waited until all the painting on the lower hull was finished to avoid problems.
phpBB [video]

I still have to weather the top hull section and the skirts and re paint the figure. I'm also going to add stowage and tarpaulins which I will try to make myself I've been watching some YouTube stuff and it doesn't look too difficult. But the biggest job to do is get the IBU2U board and smoker.

Re: Brummbar

Posted: Mon Nov 02, 2020 8:07 pm
by baldrick131
I have done some more weathering and I think Its as far as I need to go with it so i got some resin crates and jerrycans to put on it and started making a forded tarpaulin.
After watching a few videos on YouTube and painted my first ever crates.
Image
The results are quite good for my first attempt at detailing a tank.
Image
Image
The crew figure also got his make over.
Image
And all my electronics turned up so I could start to cram it all in.
Image
I printed the first bracket to mount the IBU2U in the upper hull using Velcro this also holds the receiver.
Image
Image
Image
I made my first "tank tidy"(patent pending :haha: ).
Image
This is to hold all the big bits in place noting is fixed in place I will hold it in place with some Velcro the speaker will have a lid over it screwed down holding it in place.
Image
I will have to make a few changes the battery is a bit to high and pushes the IBU2U up slightly and in turn the tank roof!
so as there is a small gap between the tank floor and the "Tank tidy" so I will make one that allows the battery to sit on the floor.
The small holes are to mount some more parts to hold the control board for the barrel smoker but I haven't started those yet.
Image