Page 4 of 7
Re: Full metal (almost sturm tiger build)
Posted: Mon Jan 20, 2014 11:47 pm
by tomhugill
After chatting with the fellas at the mad meet I got some ideas for the elevation and traverse in the sturm. Im going to be using a 5g micro servo for traverse (its a very limited range of movement) and have used a full sized servo for elevation. Currently the full elevation is possible but the gearboxes get in the way. I hope to sort this in future! The mechanisms was more a proof of concept and quite bodged. I'll make it up neat and get some photos soon. The servo has had the potentiometer disconnected so doesn't centre when you centre the stick (ie becomes a mini gearbox which you can plug into the RX). Using this technique you can have servo elevation and traverse/turret rotation with tamiya electronics.
The test:
http://www.youtube.com/watch?v=BrRaP8YZ8h8
Edit embedding YouTube seems to have broken!
Re: Full metal (almost sturm tiger build)
Posted: Sat Feb 01, 2014 6:29 pm
by tomhugill
Re: Full metal (almost sturm tiger build)
Posted: Sat Feb 01, 2014 9:31 pm
by PainlessWolf
Tom,
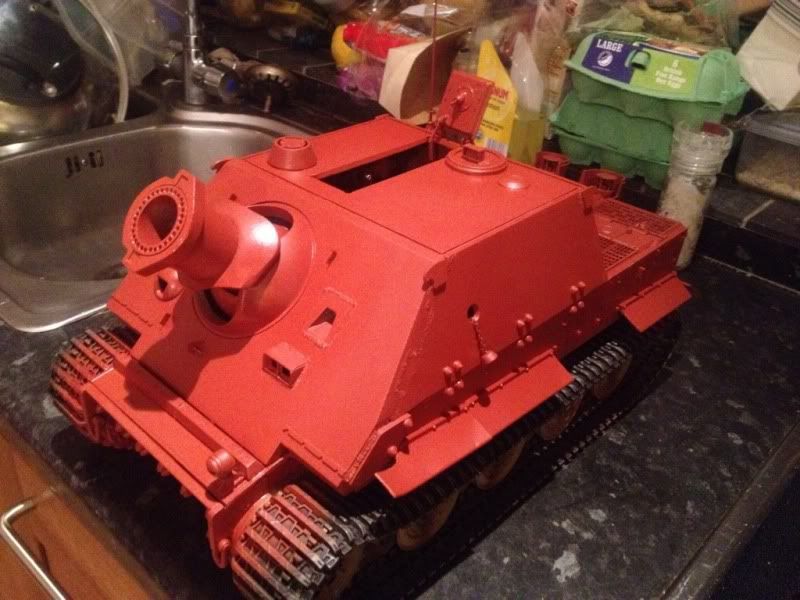
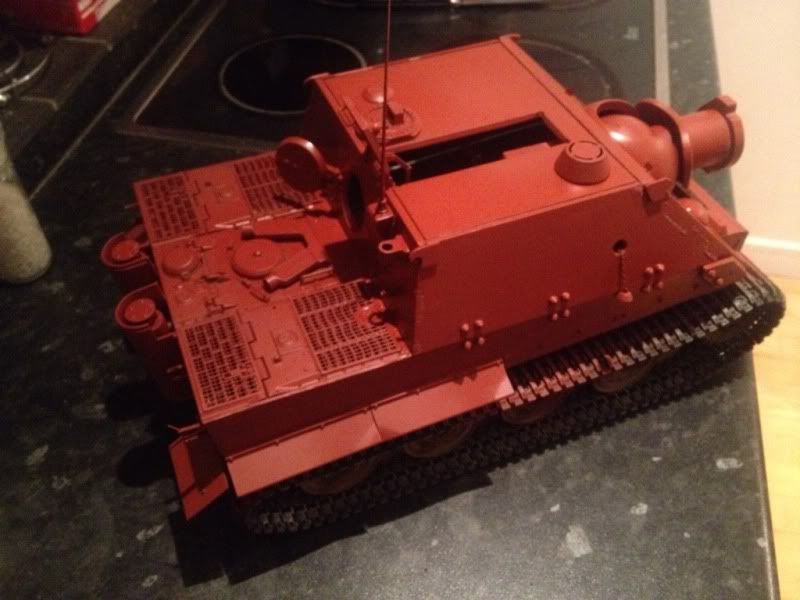
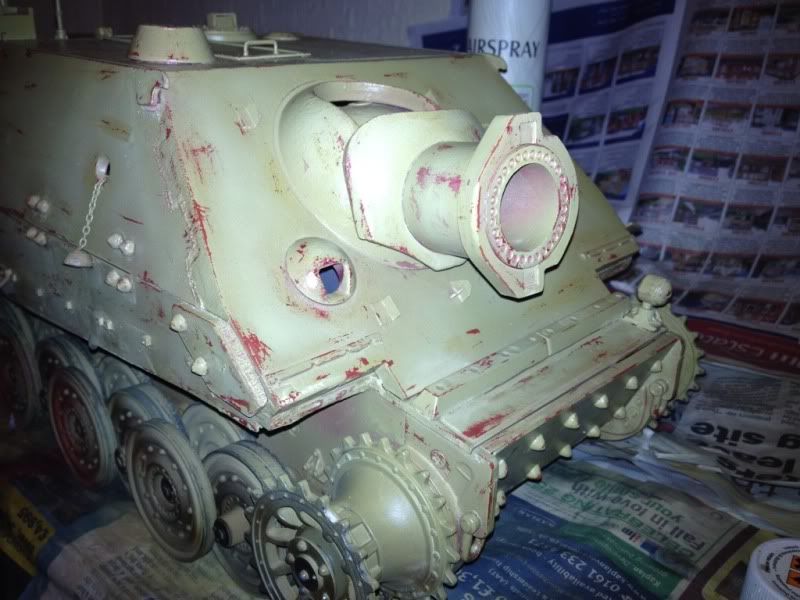
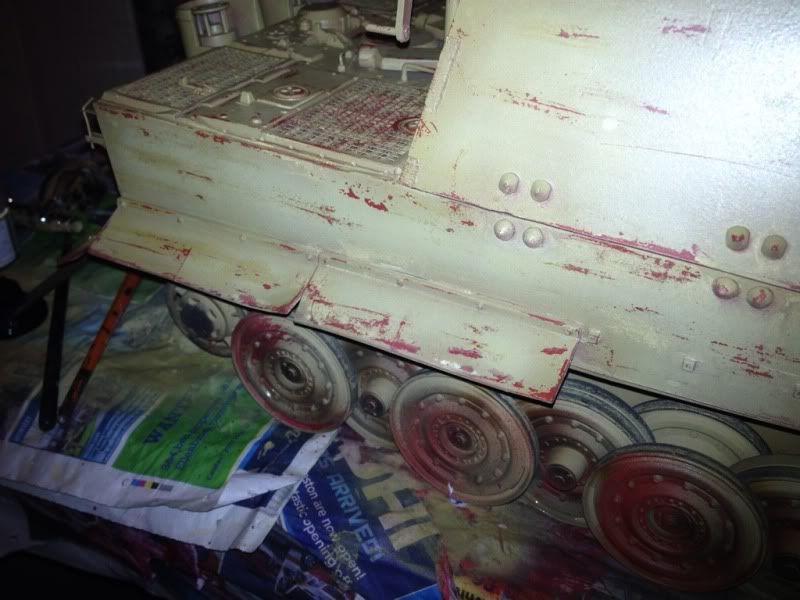
Looking great in red! I sense that the End is Near. ;o)
regards,
Painless
Re: Full metal (almost sturm tiger build)
Posted: Sun Feb 02, 2014 3:41 am
by cannedheat
very nice old chap wot wot
Re: Full metal (almost sturm tiger build)
Posted: Tue Feb 25, 2014 8:40 am
by tomhugill
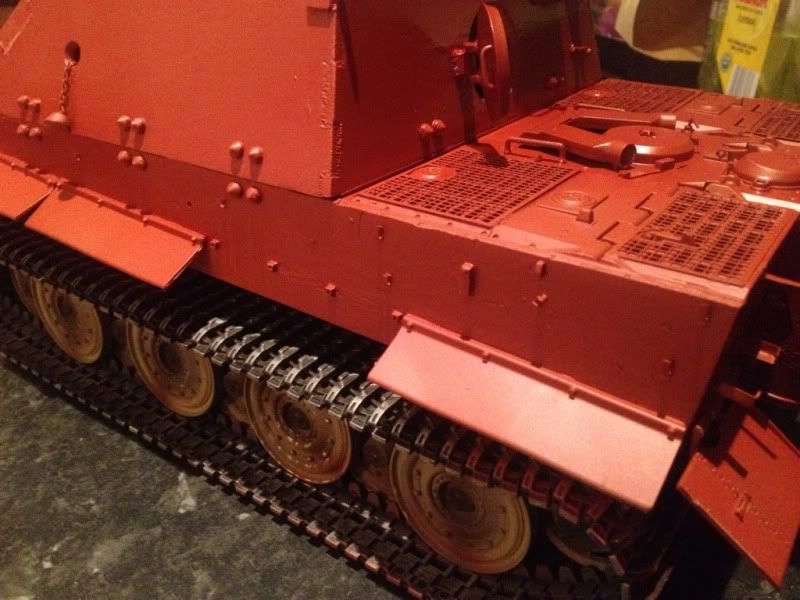
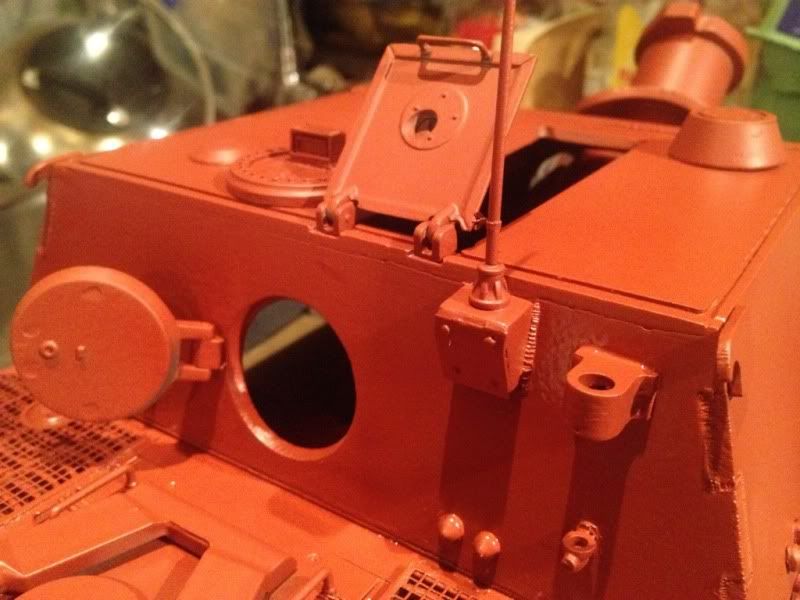
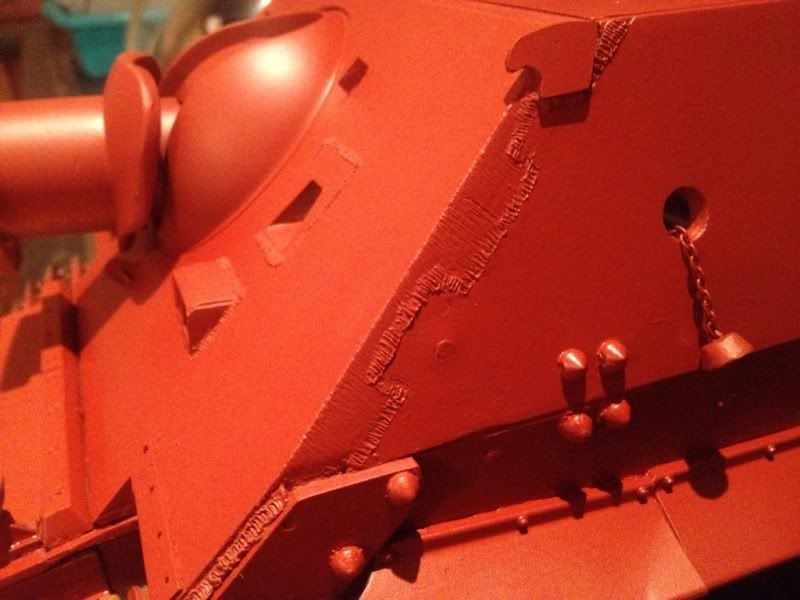
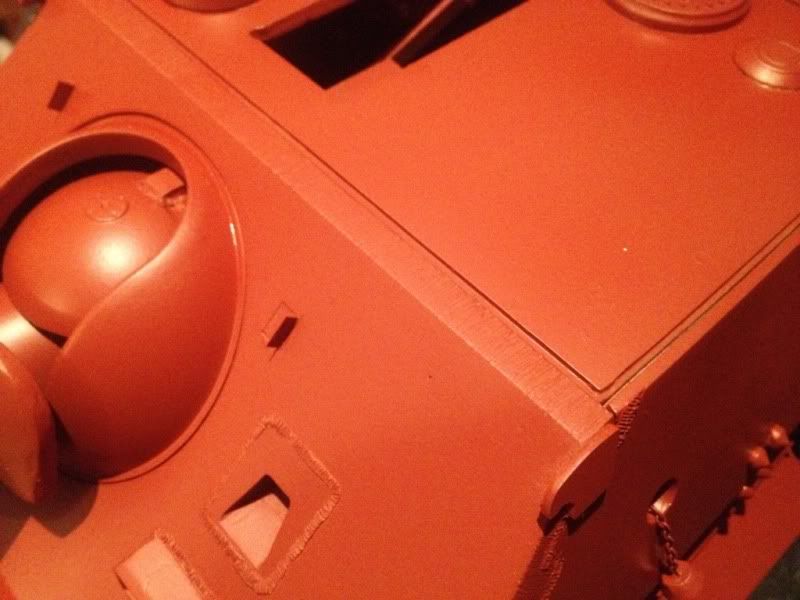
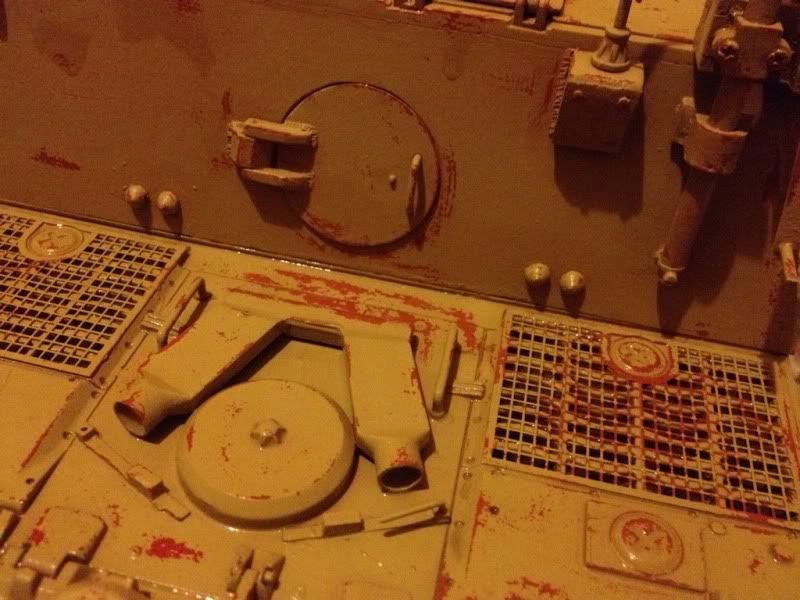
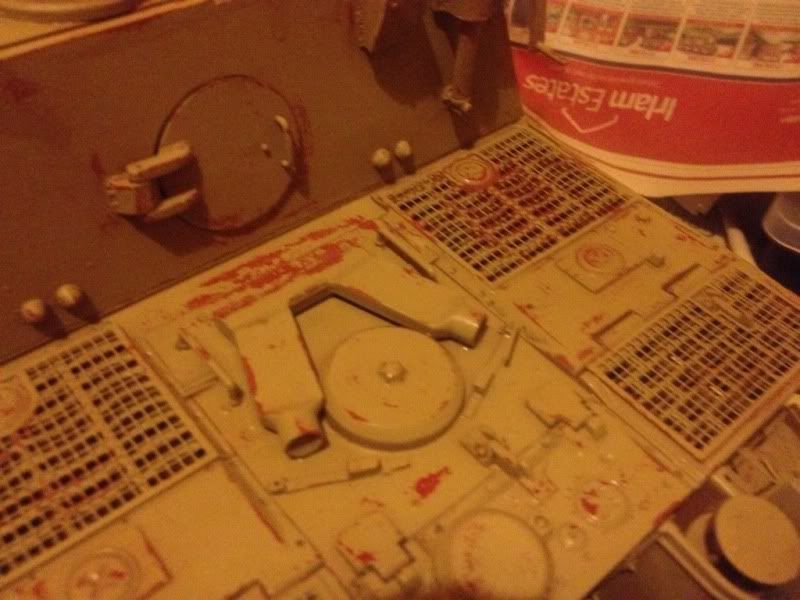
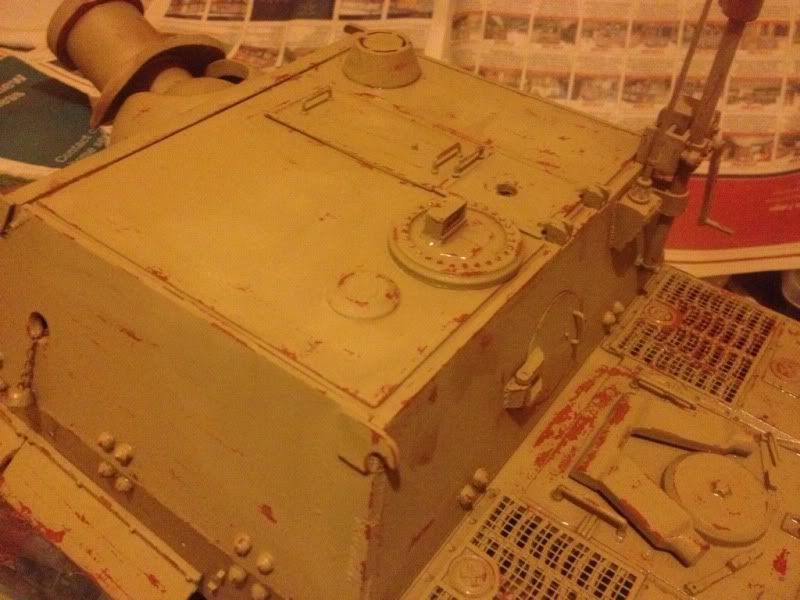
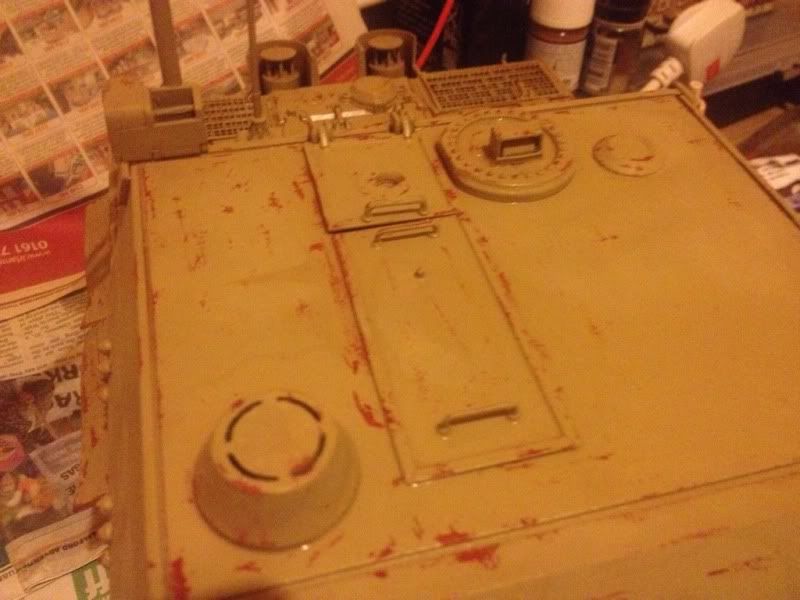
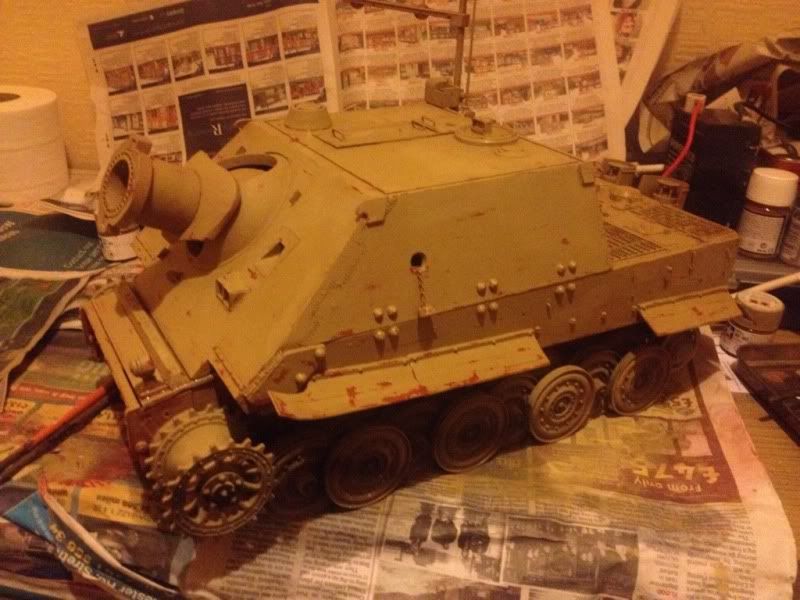
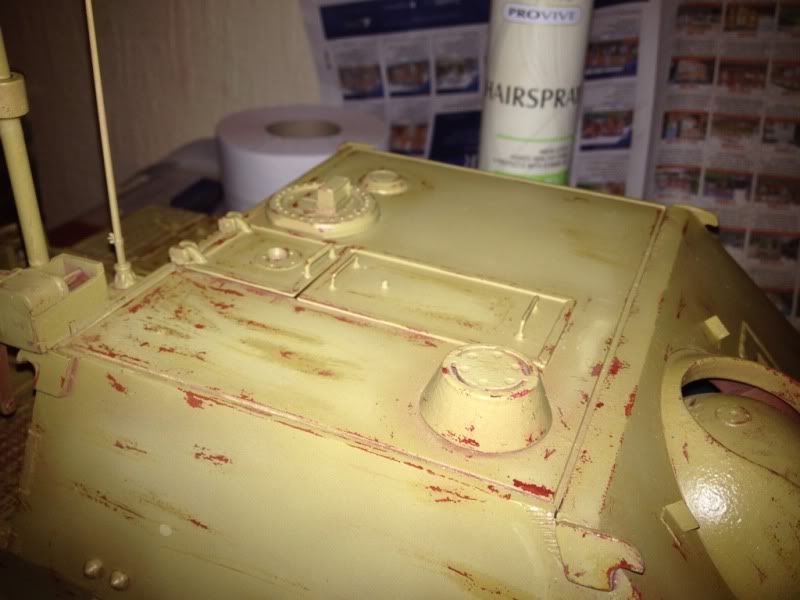
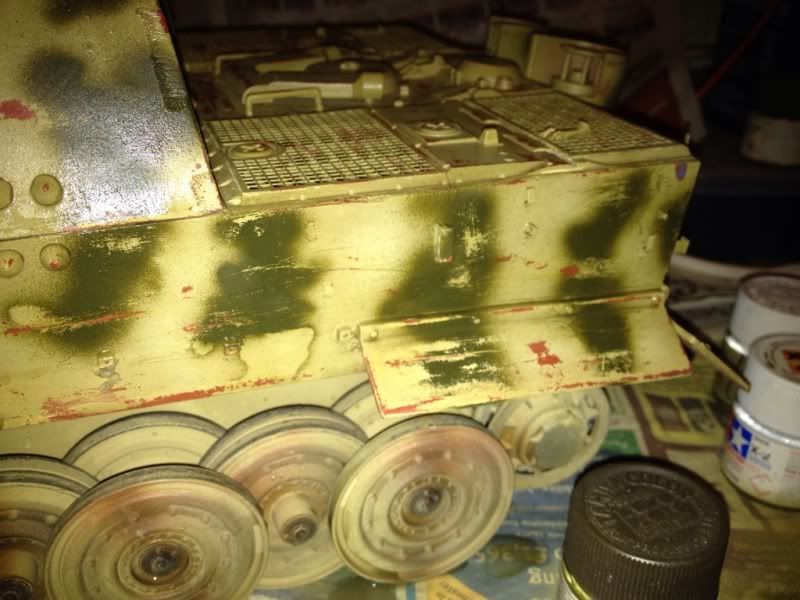
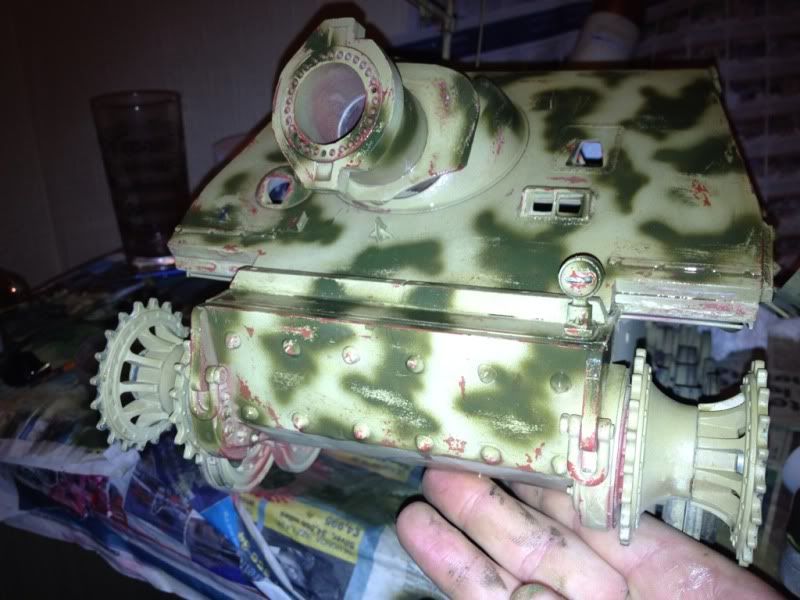
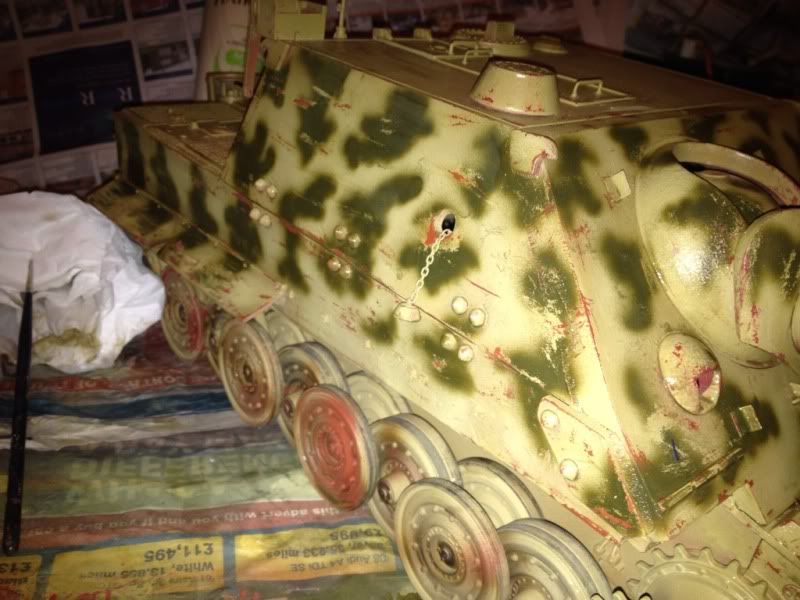
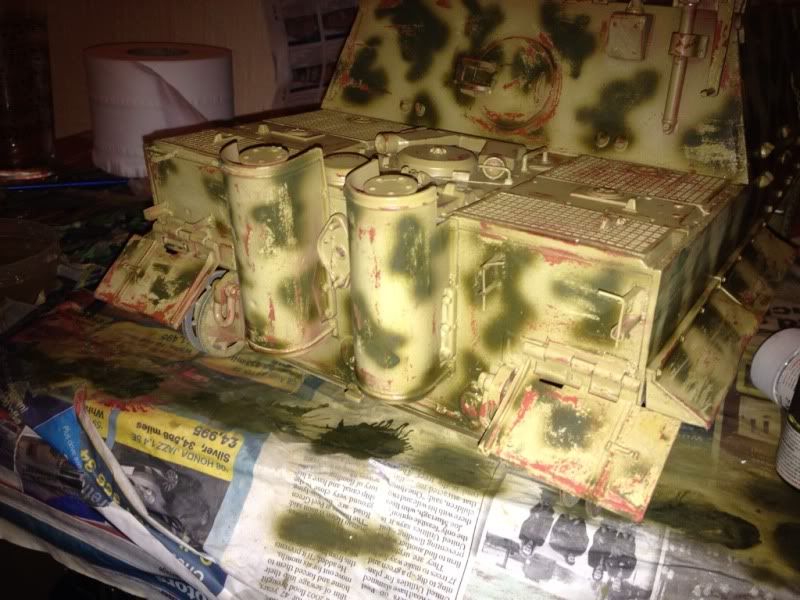
I decided that a cast texture was required in some areas, mainly the main gun and mantlet. First time using mr surfaced but it's come out ok! I've now reprimed the parts treated with mrsurfacer 500 too.
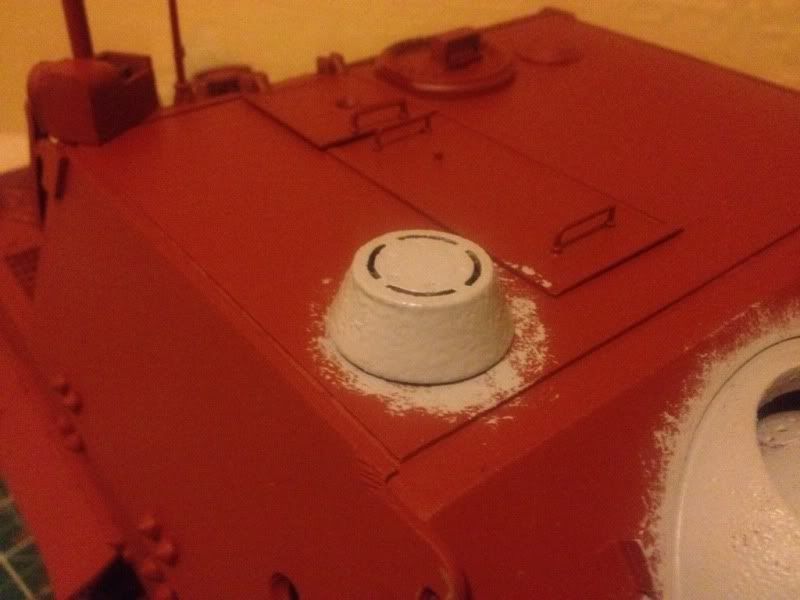

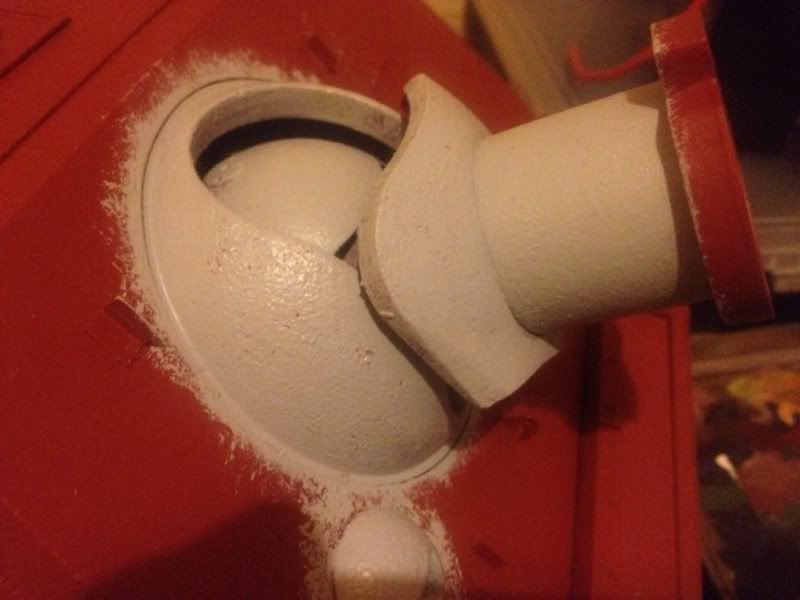
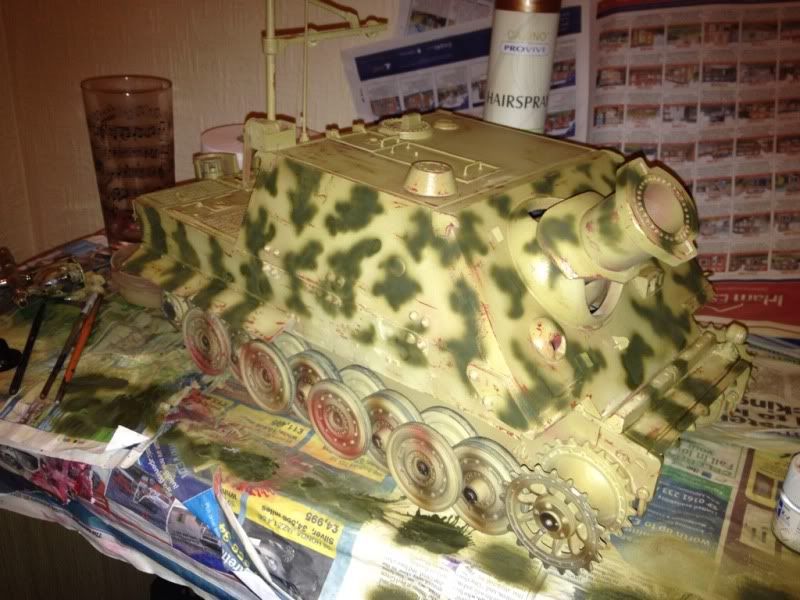
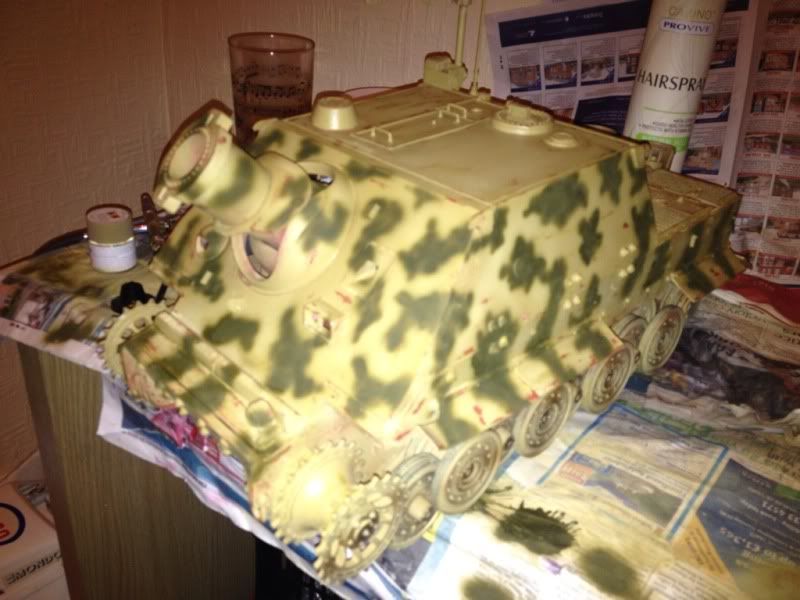
Slowly creeping to completion, hopefully I'll have a chance to get the dukelgelb base down and weathered tonight. Need to obtain a tamiya tiger speaker and a detailed mg from some where too.
Re: Full metal (almost sturm tiger build)
Posted: Tue Feb 25, 2014 1:22 pm
by PainlessWolf
Tom,
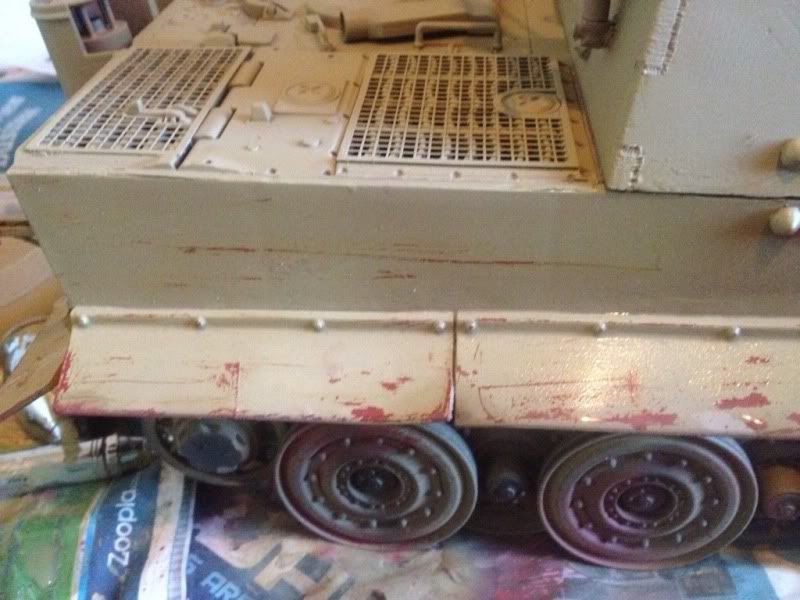
The work really shows on this tracked artillery. The Mr. Surfacer adds just the right touch to all of the metal laying under the paint. This build exudes a brute surliness. Great job, Sir!
regards,
Painless
Re: Full metal (almost sturm tiger build)
Posted: Wed Feb 26, 2014 11:32 pm
by tomhugill
Re: Full metal (almost sturm tiger build)
Posted: Thu Feb 27, 2014 11:35 pm
by tomhugill
Re: Full metal (almost sturm tiger build)
Posted: Fri Feb 28, 2014 7:48 am
by cupoftea
Looking good Tom. Impressive work.
Re: Full metal (almost sturm tiger build)
Posted: Sat Mar 01, 2014 9:23 am
by tomhugill