Doc,
Whether it be a crank or a cam shaft it has to be remembered that this was for turning over the tank's engine when it was cold - not a spare for the actual engine to work...
Anyway, on with the show.
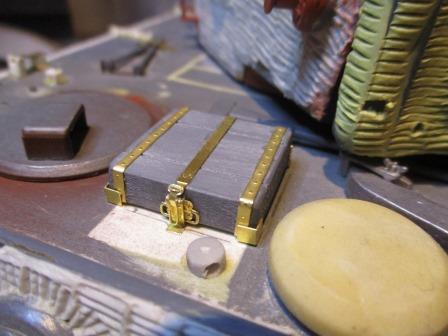
- The jack block was another challenging piece using the Voyager set - but I think it's worth it!.jpg (36.56 KiB) Viewed 14018 times
The jack block
The jack block was a common feature on German WWII tanks. On the Tiger 1 it was carried on the hull roof to the left of the radio operator's hatch. I have already discussed above how its position was changed slightly once the centrally mounted headlight was fitted.
The block itself was made of wood, held together with strengthening ribs which were pinned or nailed in place. A carrying handle was also fitted to one edge. When stowed the block fitted into four brackets attached to the hull roof and there was a retaining bar which hinged from the rear and fitted over the block to clamp it in place at the front.
The Heng Long Tiger comes with a very crude approximation of the block. The Tamiya part is better, but there is no handle and the moulded retaining bar and clamp can only go so far to match the detail of the real thing.
Once again I used the Voyager photo-etch set. Like all the other clamps in the set this one can be made to work so that theoretically you would be able to remove the block to assist with painting. However, I had serious doubts about its survivability on an RC tank - so I opted to make the whole assembly removable.
Some people have used a piece of real wood (either balsa or hardwood) for the block itself. This has the advantage of giving the block a realistic wood appearance from the start, but in this scale I still think you can achieve this with a little texture and a good paint job. Besides, a photo I have seen in AFV Modeller magazine from a collection of parts recovered from destroyed Tigers in Normandy suggests that the block itself would have been painted black in any event.
So I chose to use the original HL part which I removed from the hull some time ago with a razor saw. I then sanded this down to remove what detail there was and used rougher sandpaper to give it a wood grain effect. The lines between the individual blocks were then scribed in with the upside-down tip of a craft knife.
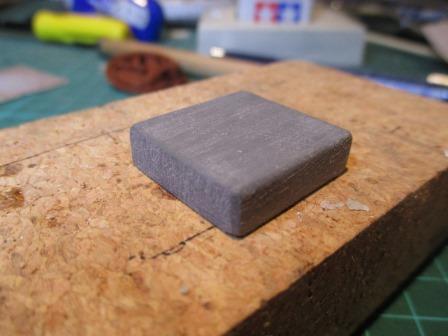
- This is the original Heng Long jack block which I removed from the hull with a razor saw and then sanded down.jpg (33.38 KiB) Viewed 14018 times
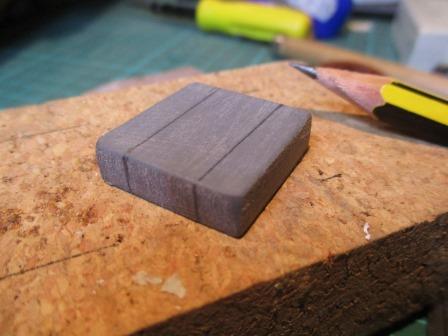
- Lines were then drawn on with a pencil....jpg (34.99 KiB) Viewed 14018 times
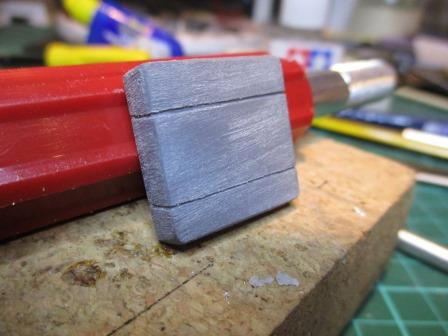
- ...before the edge of a knife blade was used to gouge out the joint lines.jpg (35.85 KiB) Viewed 14018 times
I then started working with the Voyager photo etch parts. The strengthening ribs have a lovely riveted texture. The handle was a little more fiddly but again adds a realistic touch.
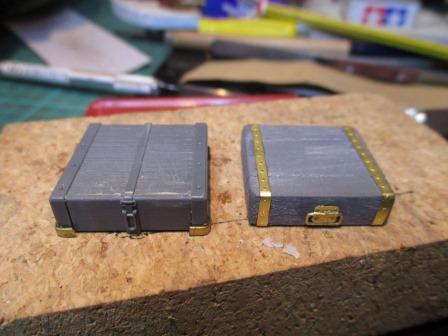
- A comparison with the Tamiya jack block before adding the retaining bar and corner brackets.jpg (35.99 KiB) Viewed 14018 times
By far the most fiddly bit is the front clamp for the retaining bar, which involves inserting a thin piece of wire through four tiny holes which have to be lined up correctly in order for it to work. Quite apart from the difficulty of seeing what you are doing (impossible for me without a magnifying lamp) the only way I found to achieve this was to hold the parts in place with some double-sided tape. Because I did not intend to leave mine workable I then glued everything in place.
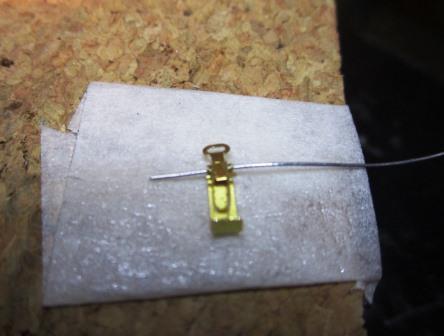
- Using double-sided tape to hold everything in place was the only way I found to insert the wire through the clamp.jpg (31.74 KiB) Viewed 14018 times

- The retaining bar and corner brackets now in place.jpg (34.79 KiB) Viewed 14018 times
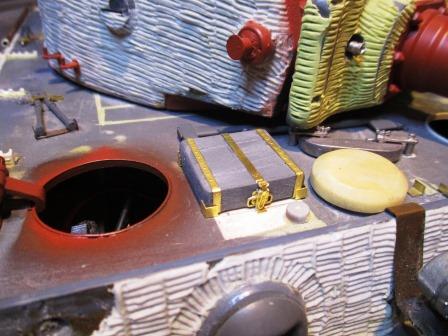
- The finished jack block temporarily in place - it should look much better with a coat of paint.jpg (45.87 KiB) Viewed 14018 times
