Page 3 of 4
Re: MY KING TIGER PROJECT
Posted: Fri Mar 30, 2012 10:00 pm
by n1ghtpony
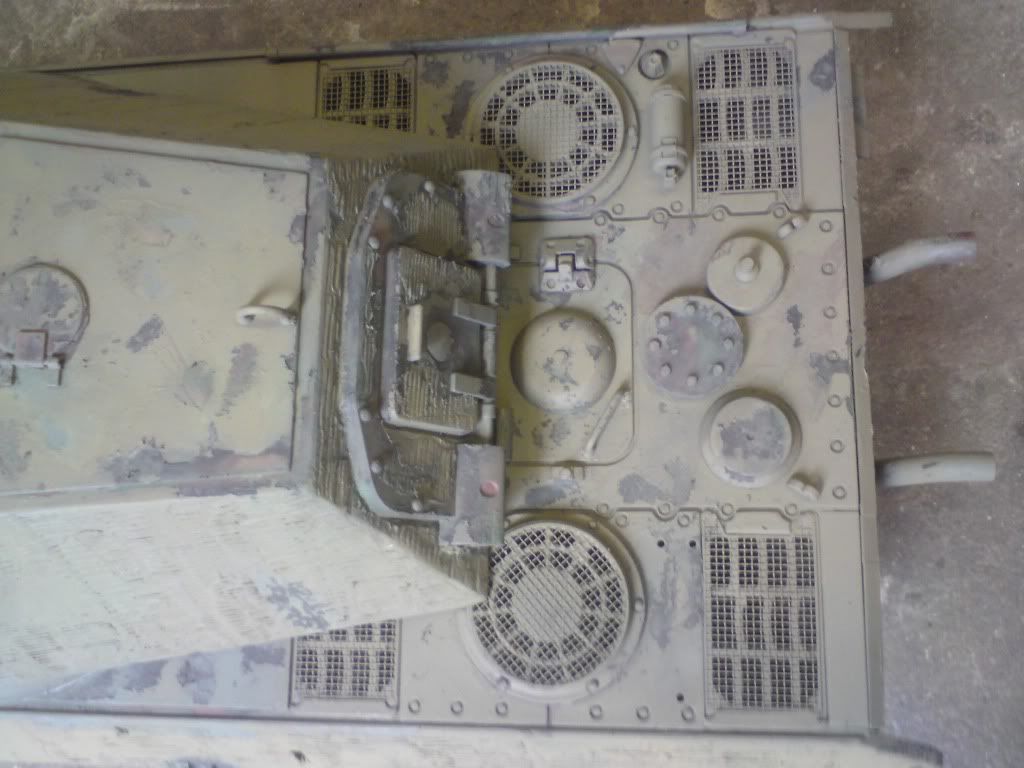
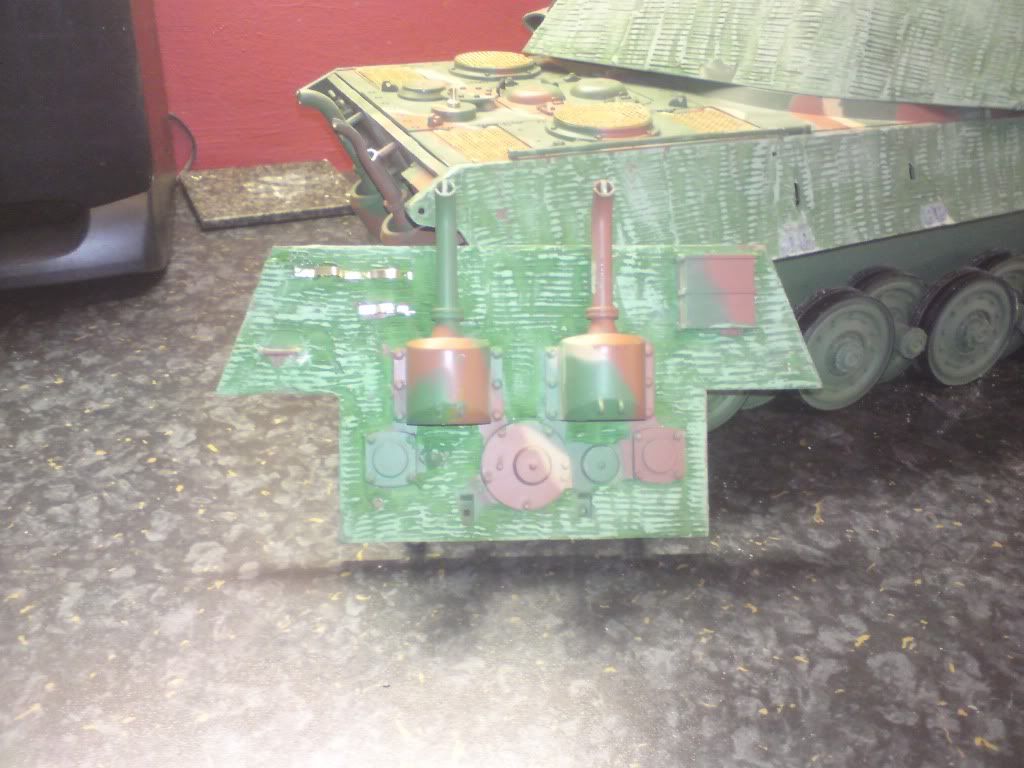
just working on the rear panel now just a few things i want changed ie no mudflap holes removing the shackles and some detailing to the exhaust
Re: MY KING TIGER PROJECT
Posted: Sat Mar 31, 2012 7:10 pm
by n1ghtpony
Re: MY KING TIGER PROJECT
Posted: Sat Mar 31, 2012 7:12 pm
by n1ghtpony
oh! and a big thanks to MC for the info on the zimmerit

Re: MY KING TIGER PROJECT
Posted: Sat Mar 31, 2012 7:53 pm
by mustclime
Your welcome......If you want the seperations between the lines, try this........
drag the hacksaw about 5mm side ways, then without lifting the blade ,slide the blade up and down...and then drag it another 5mm....this will give you the Differance in the "rows" created with the hand width trowl.
Re: MY KING TIGER PROJECT
Posted: Sat Mar 31, 2012 8:06 pm
by n1ghtpony
thanks MC
ill try this technic tomorrow want to get it mastered ready for the turret

Re: MY KING TIGER PROJECT
Posted: Thu Apr 05, 2012 8:34 pm
by n1ghtpony
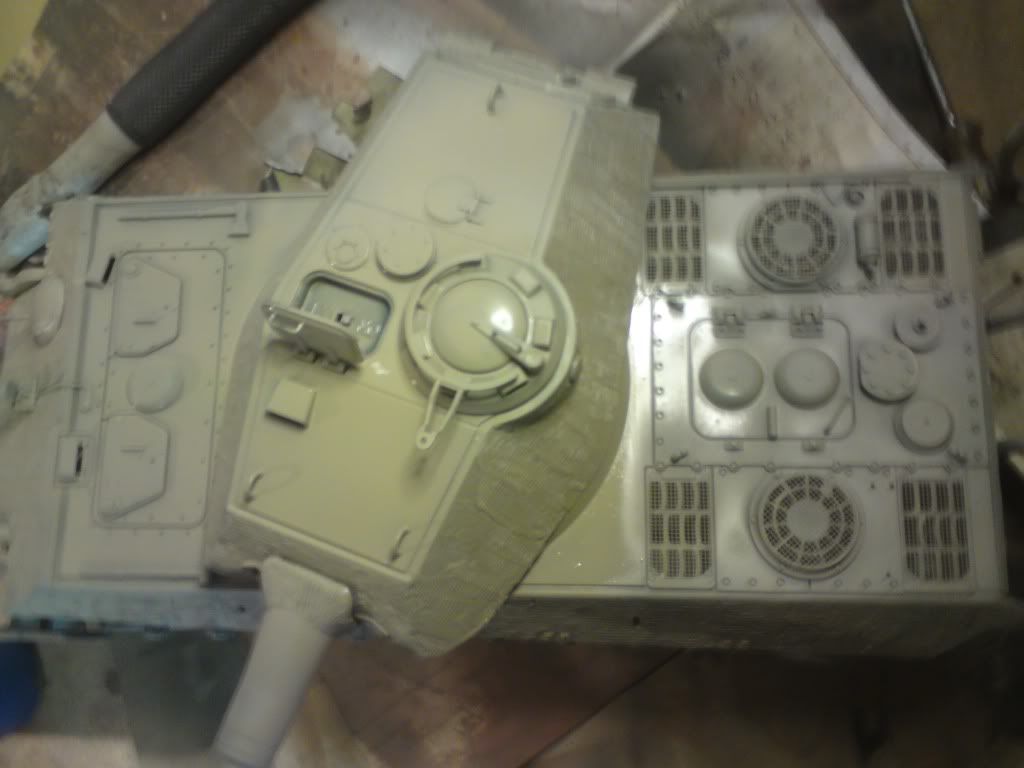
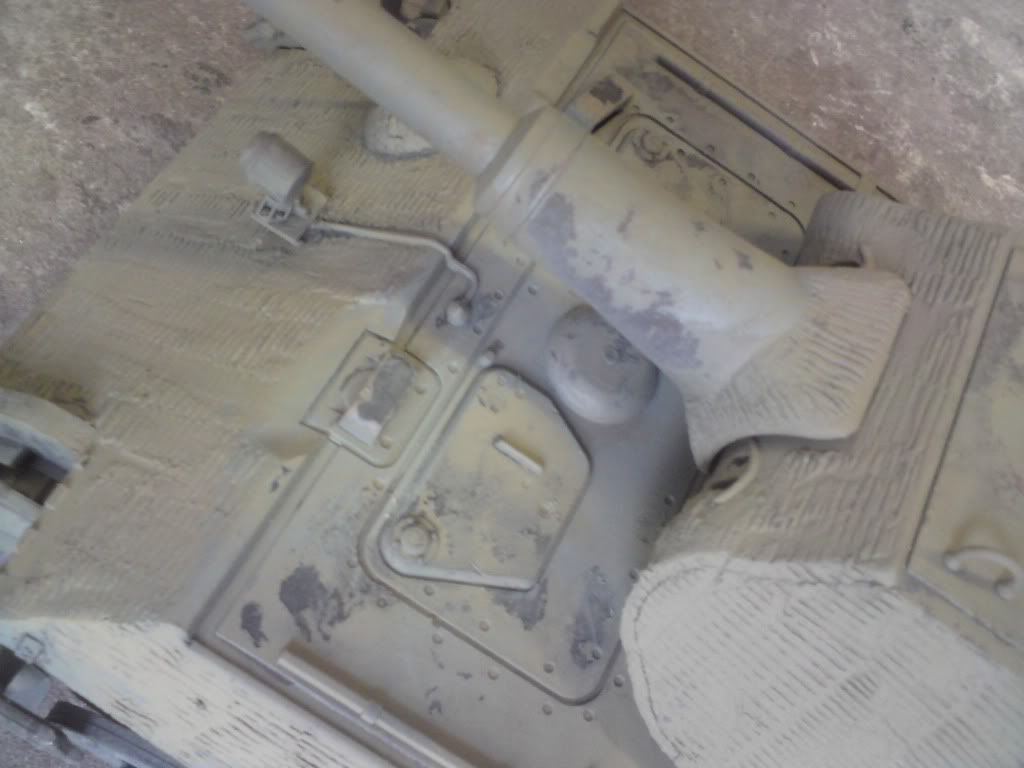
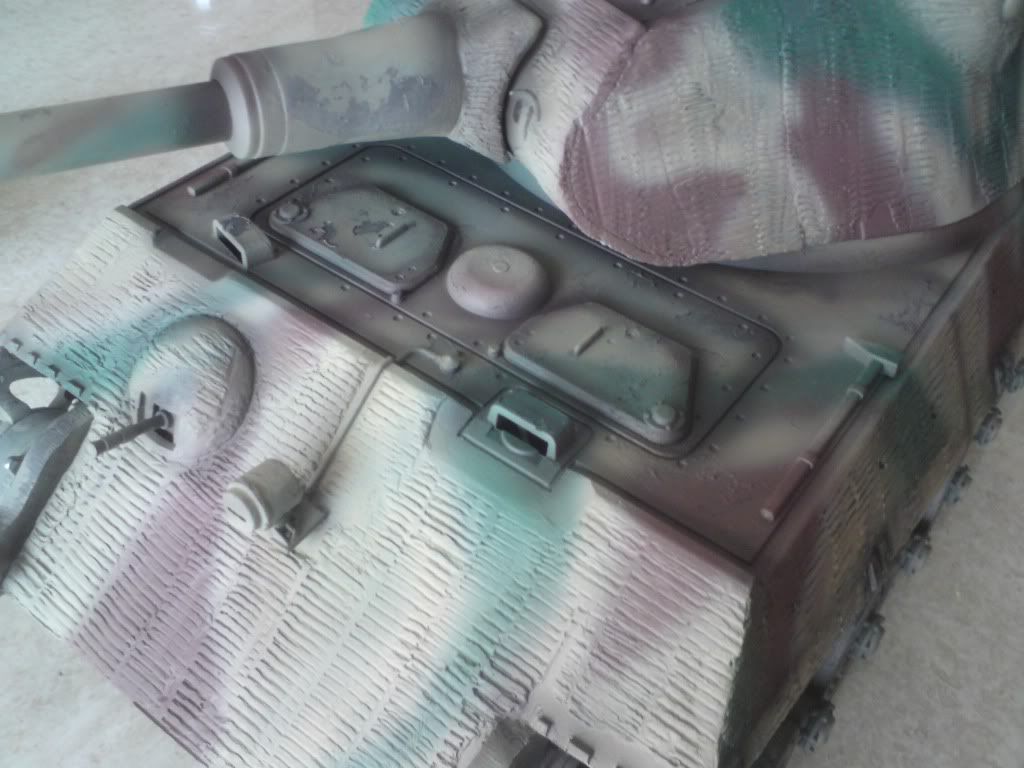
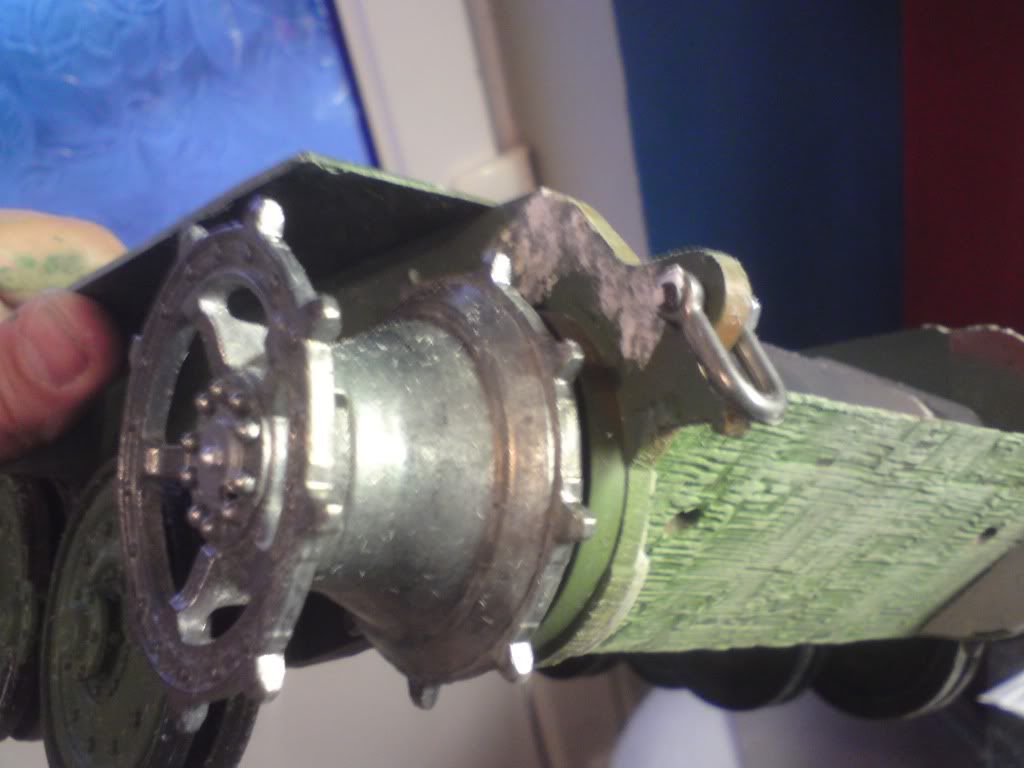
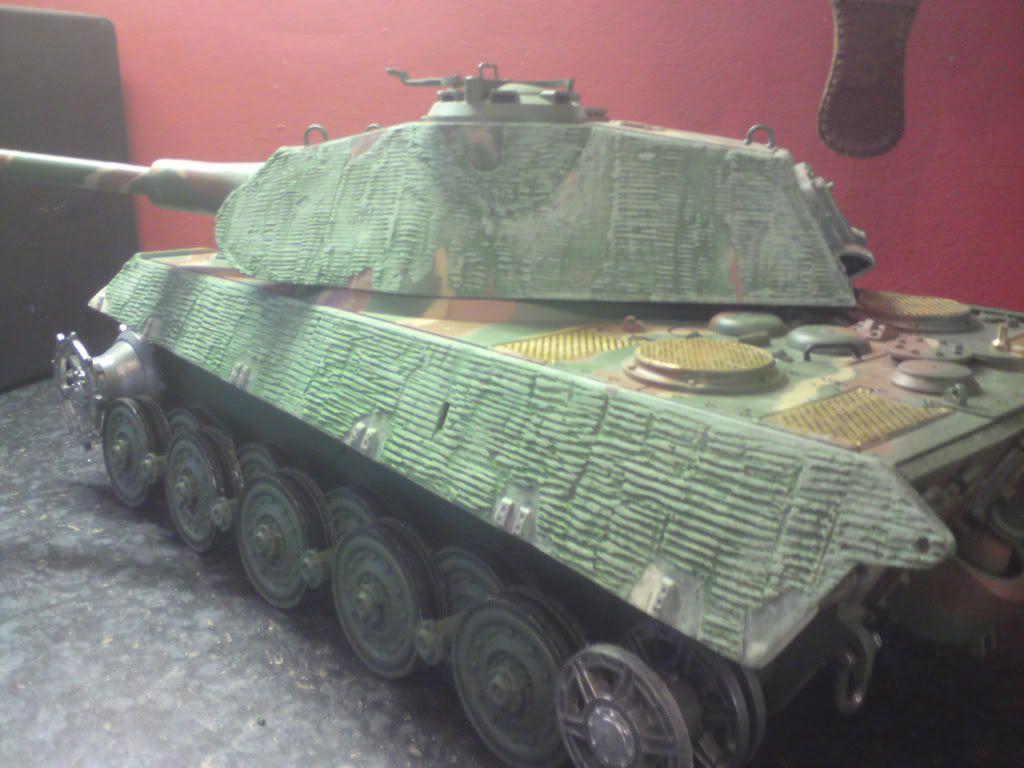
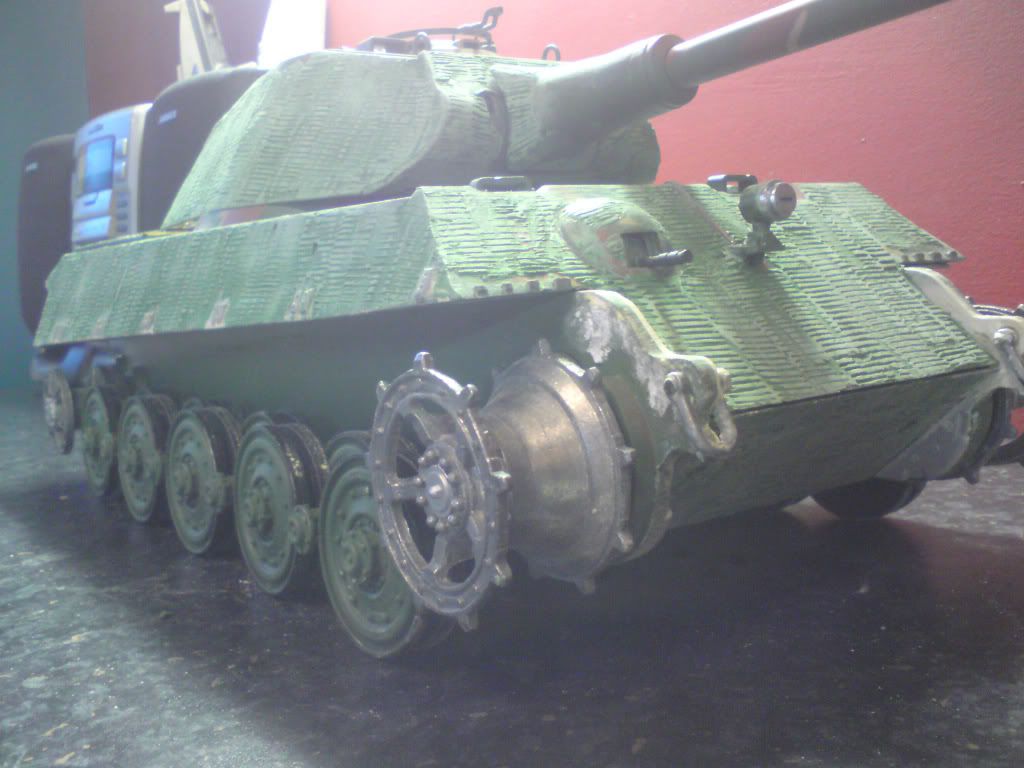
ok more detail done all zimmerit complete ...thanks god MC was right about having patients ...now has metal shackles ,more rear panel detail transmission detail that heng long dont have is on ,also want to mod the drivers viewing port like the mattorro model it looks better .even scored the bulk heads to look like a blow torch cutter been through them.. pictures will follow .my aim is to have it as nice and detailed as a static but usable ..will be preping for its undercoat tomrrow will post pictures before i do this so the work can be seen....and after seeing MC having a few sets of tracks on the turret i decided this was a must for me
pics tomorrow
Re: MY KING TIGER PROJECT
Posted: Fri Apr 06, 2012 8:39 pm
by n1ghtpony
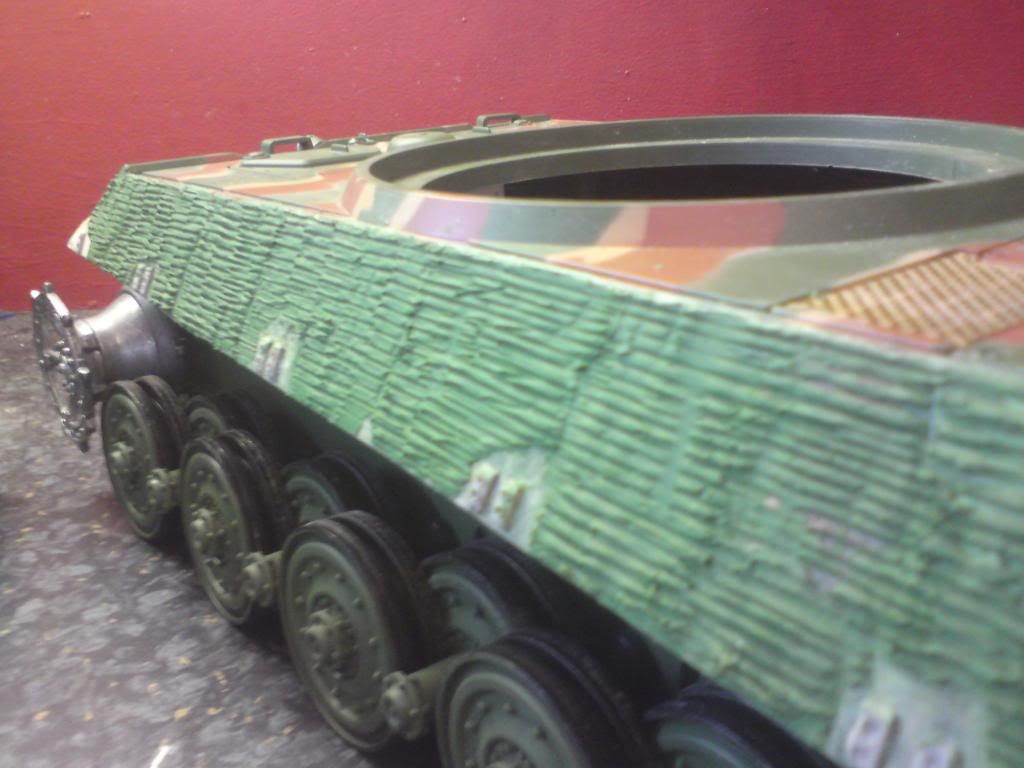
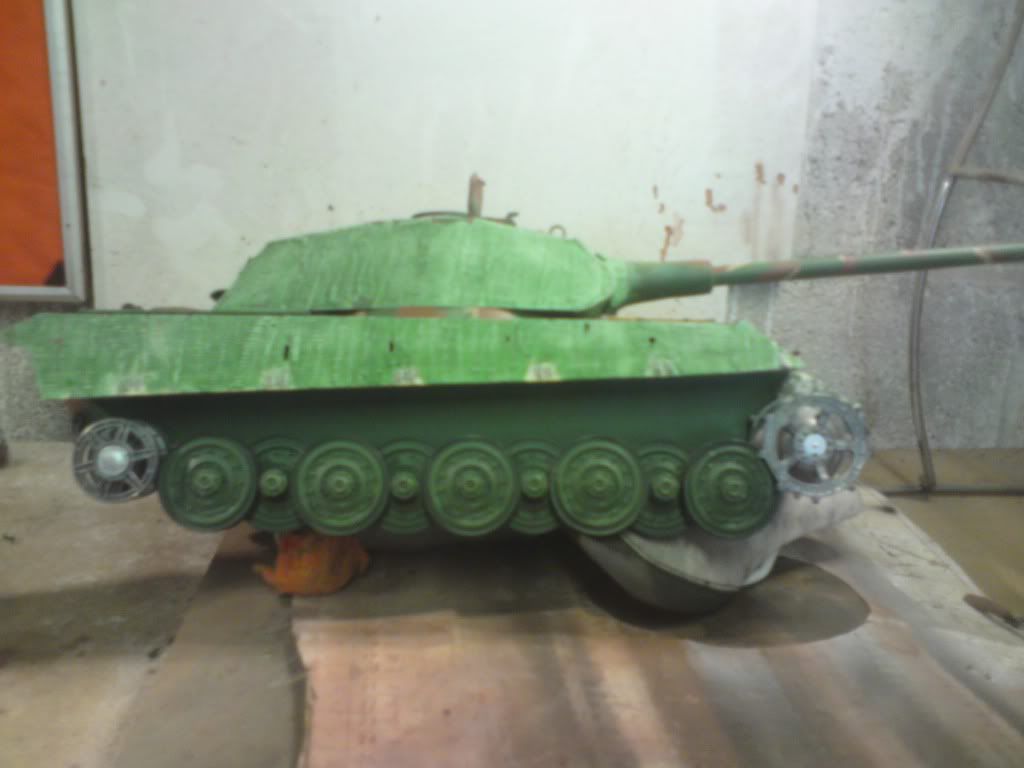
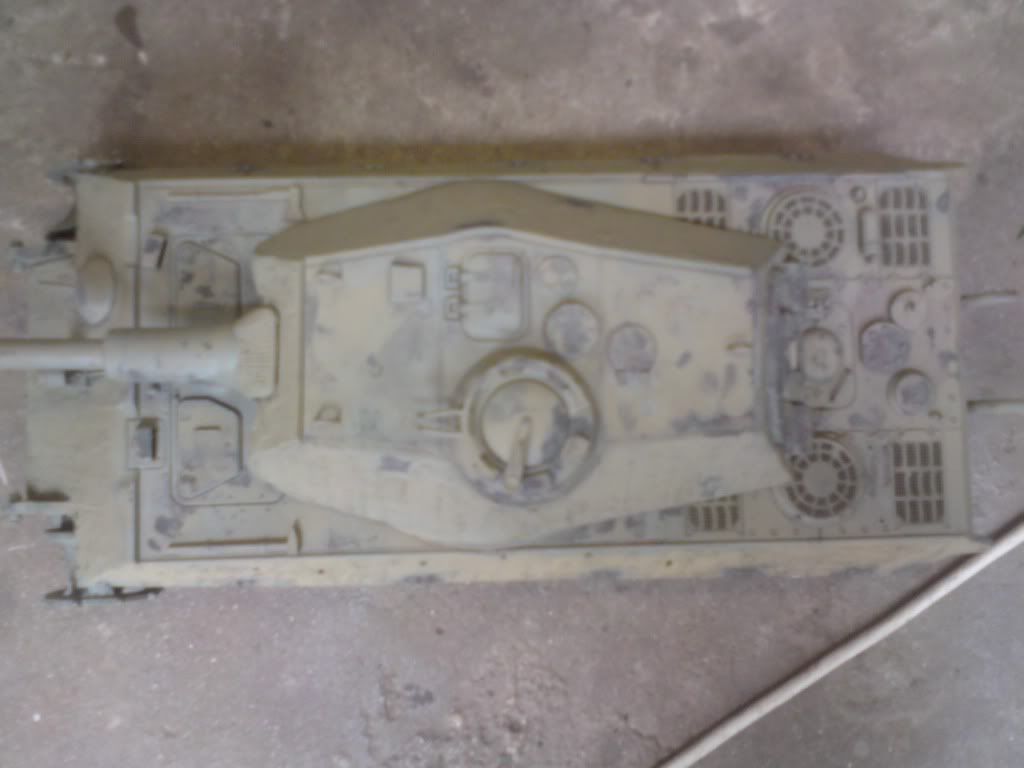
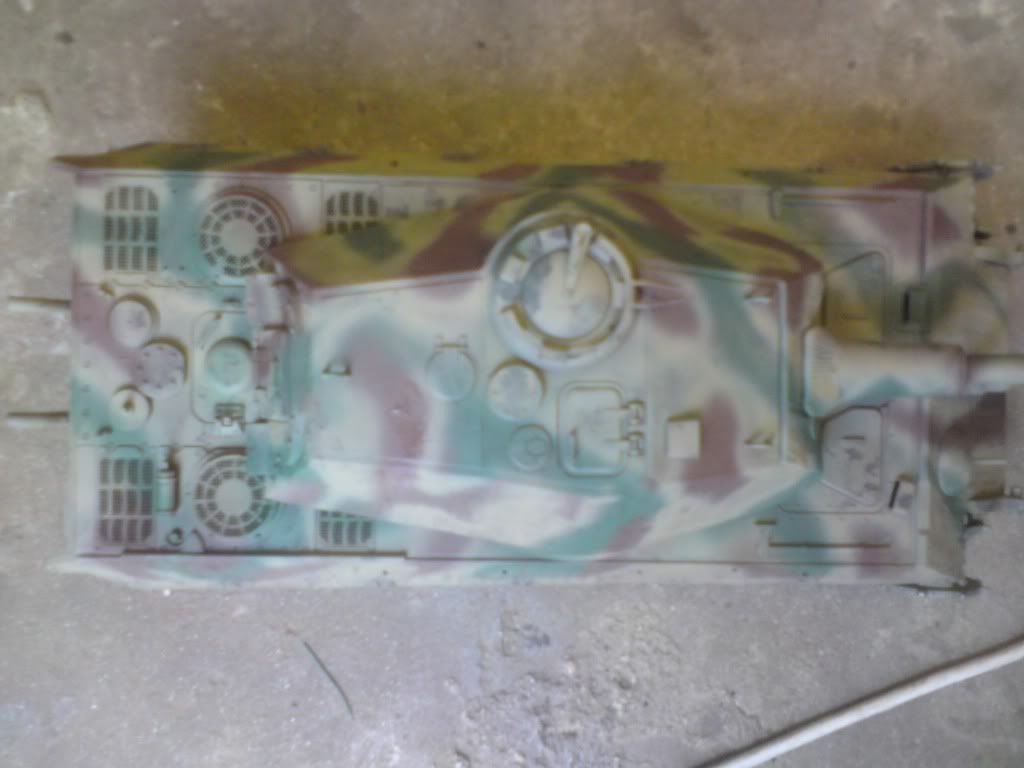
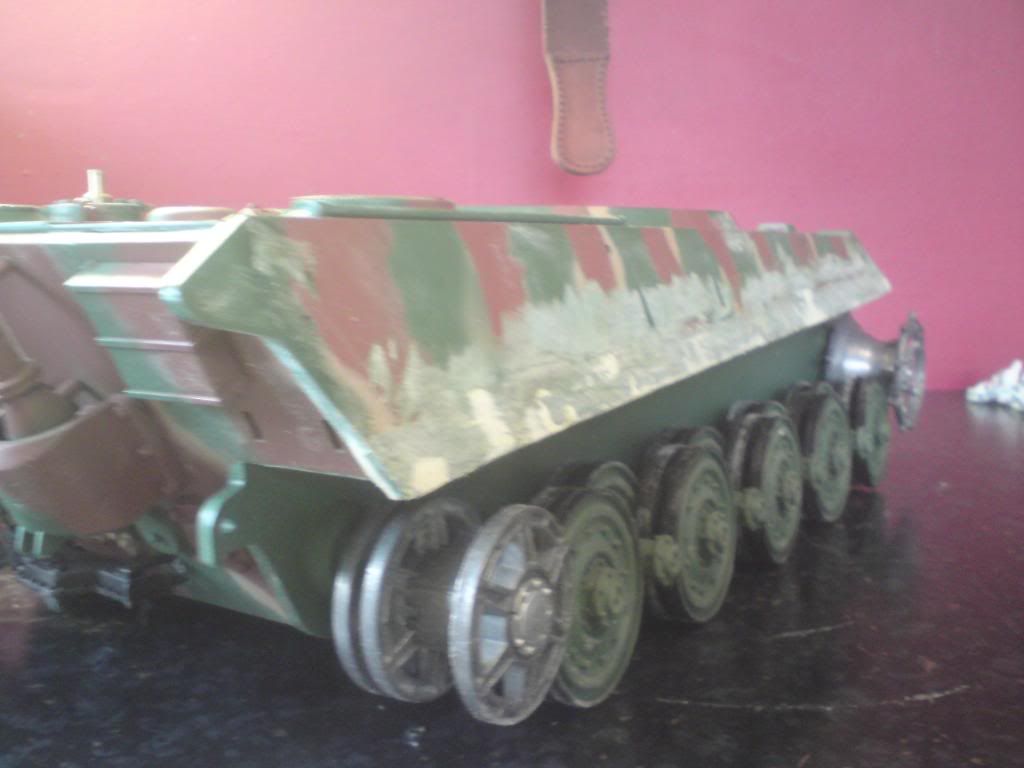
gutted today expected to be starting the base coat but it took far longer building up the front bulk heads but now is totally ready ..already chose my coloure scheme

added some filler for mud on the outside by the track
then buit up the area
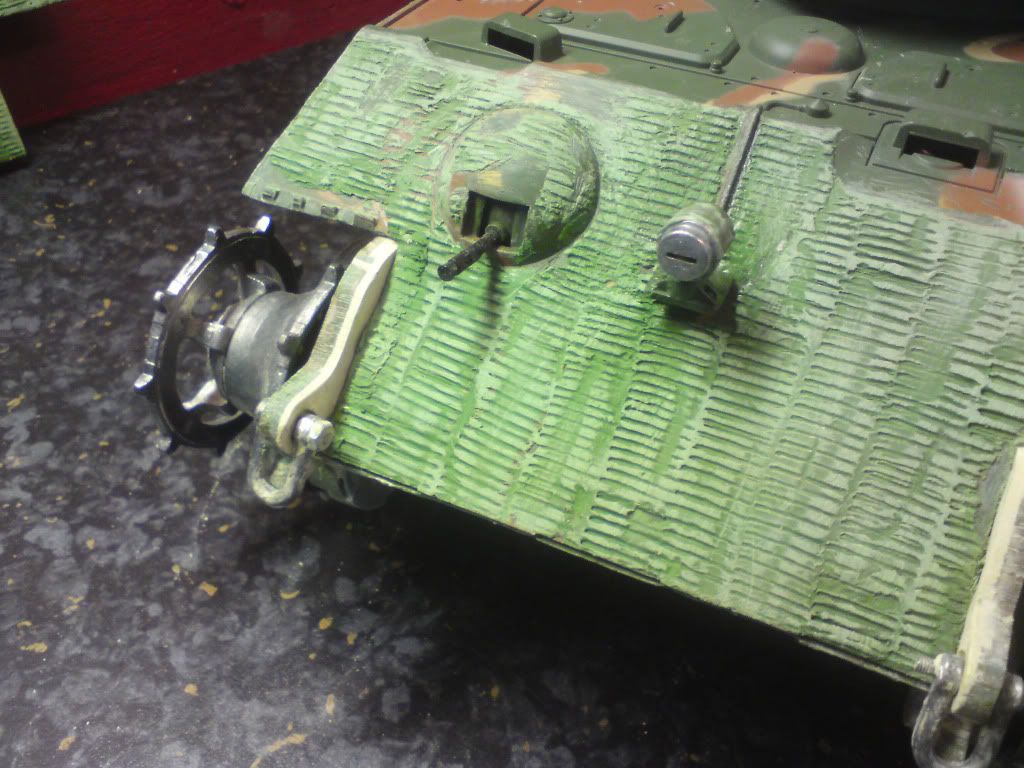
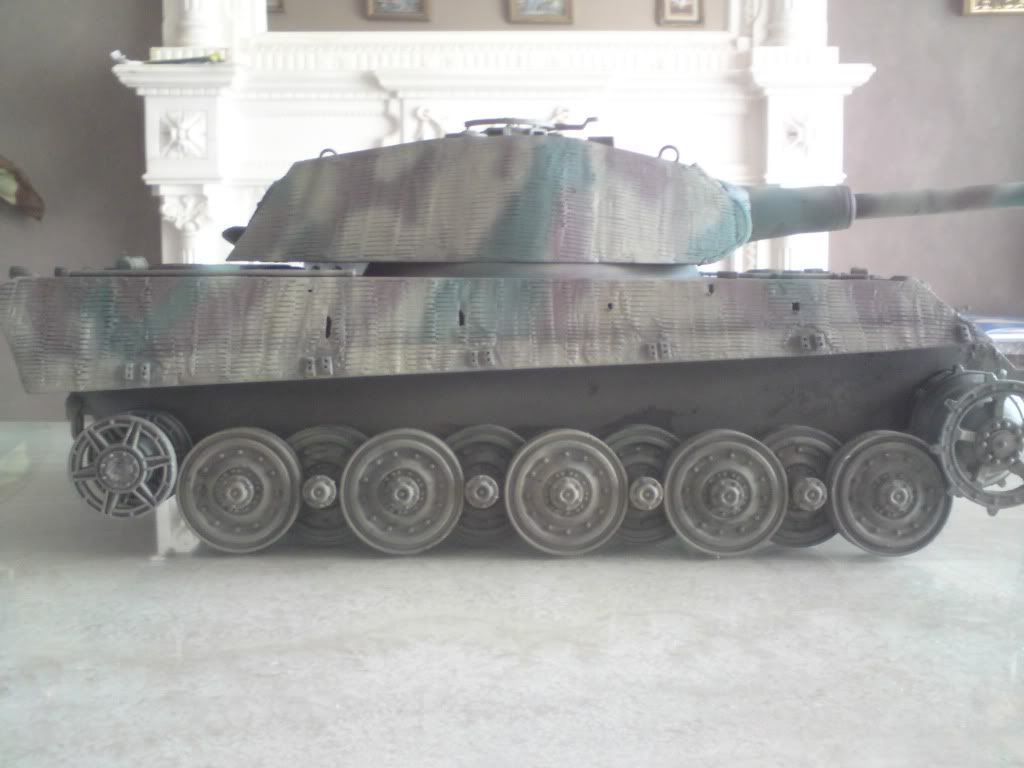
her she is ready for paint

Re: MY KING TIGER PROJECT
Posted: Fri Apr 06, 2012 8:40 pm
by n1ghtpony
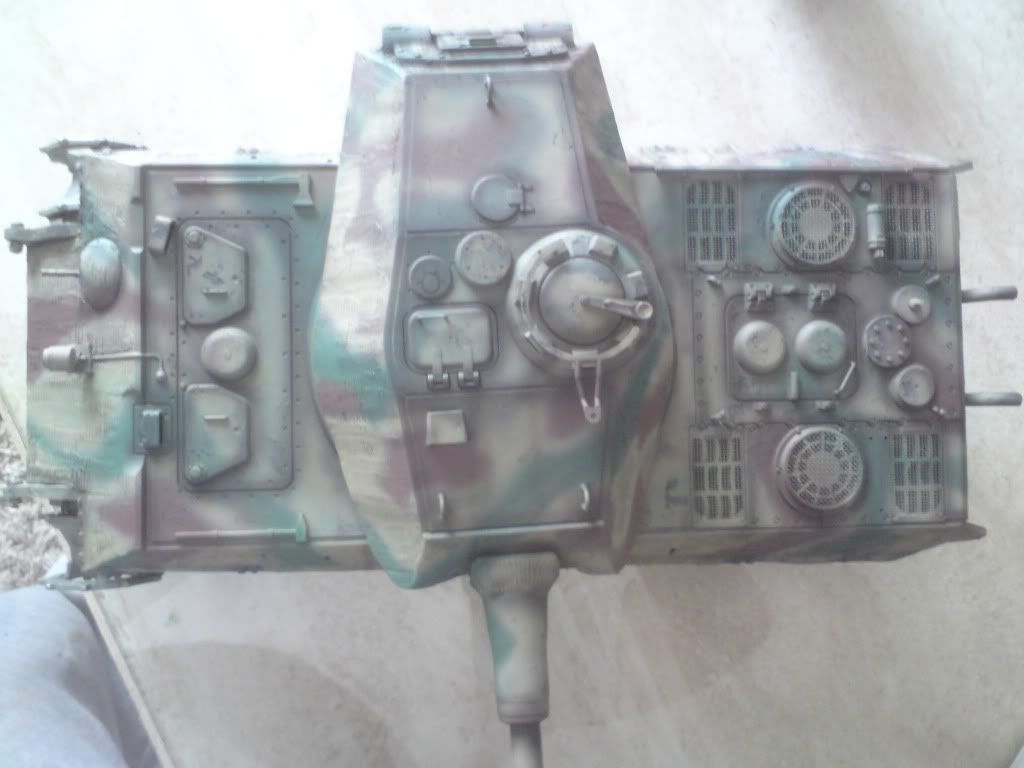
rear detail
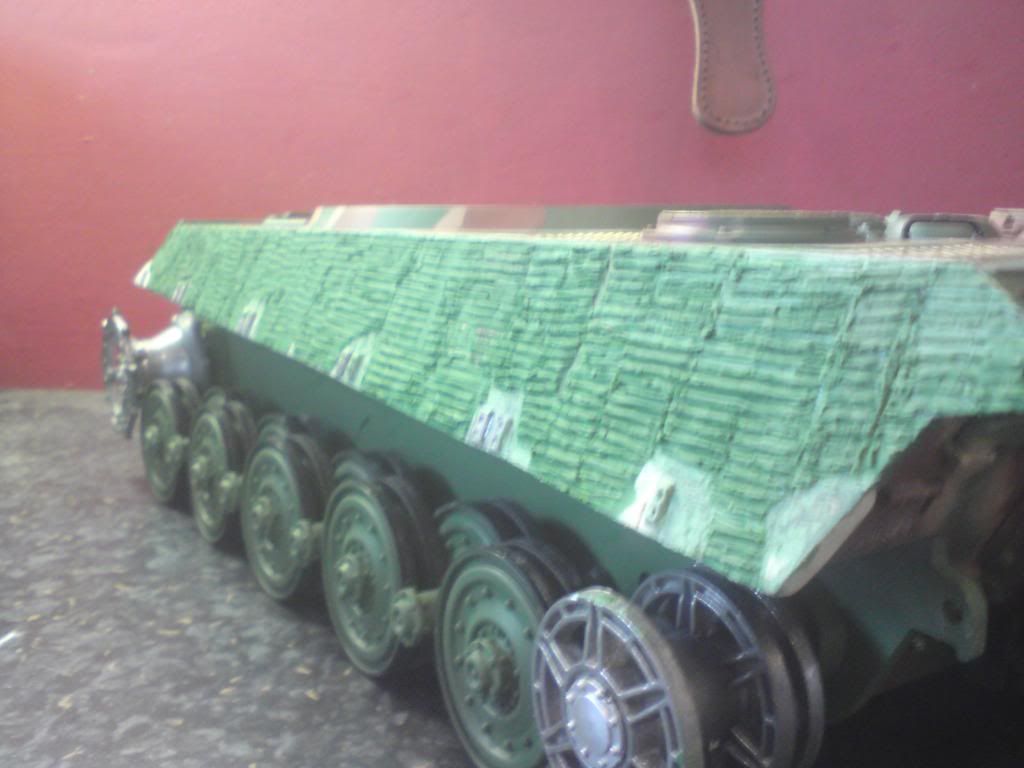
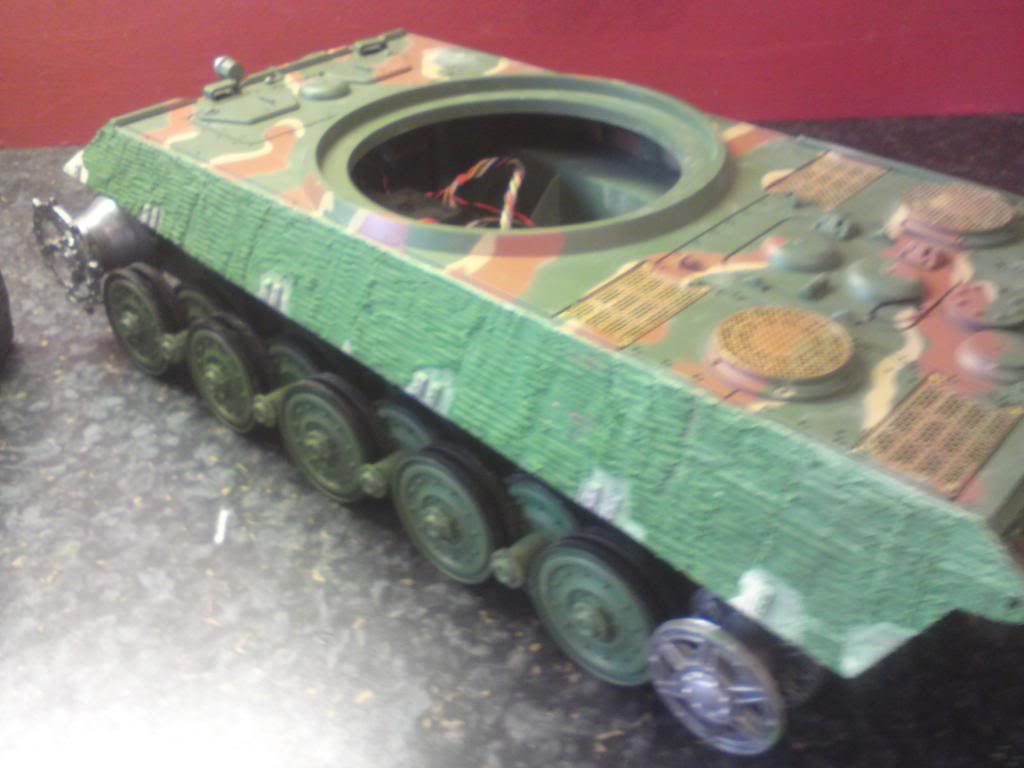
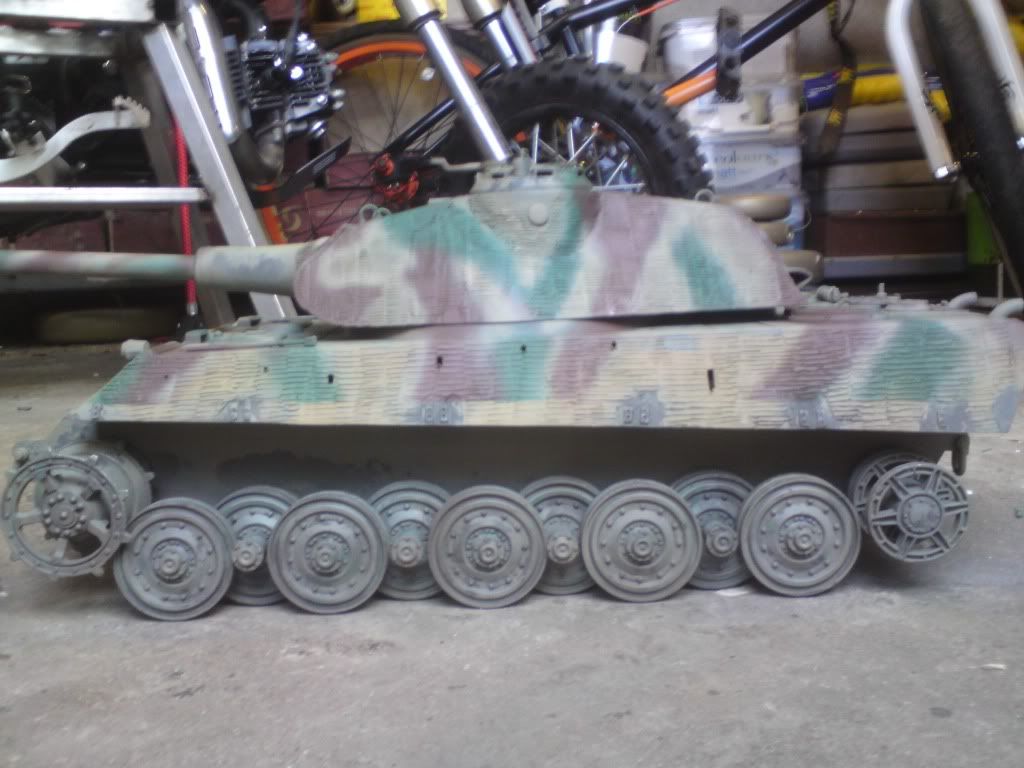
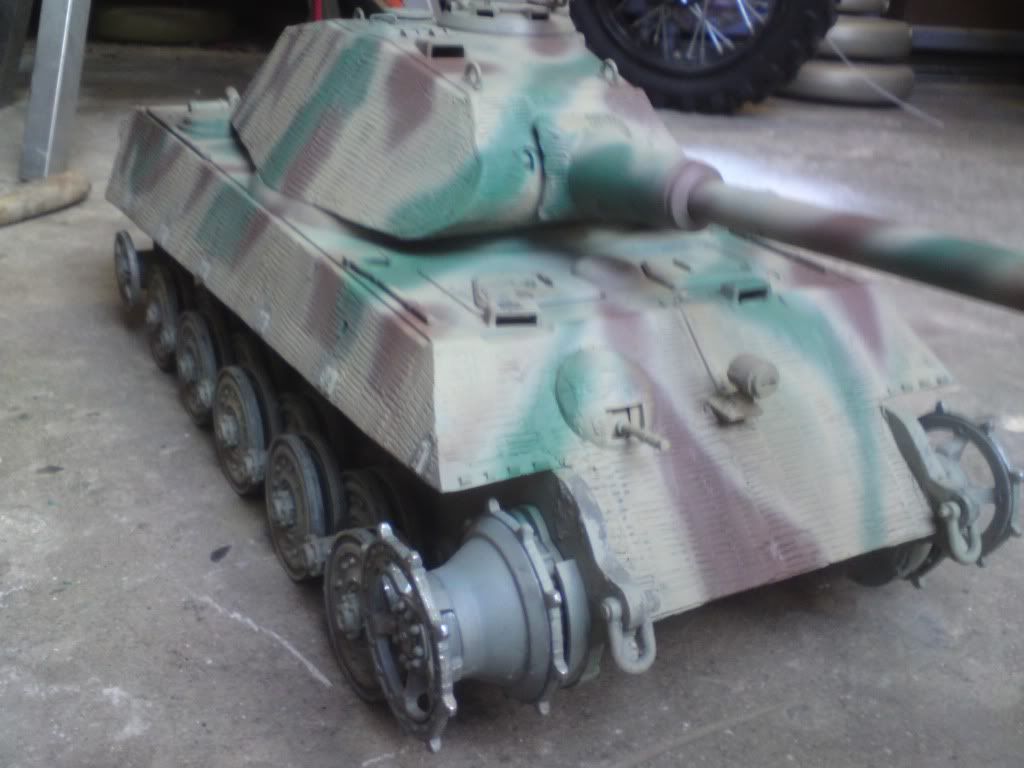
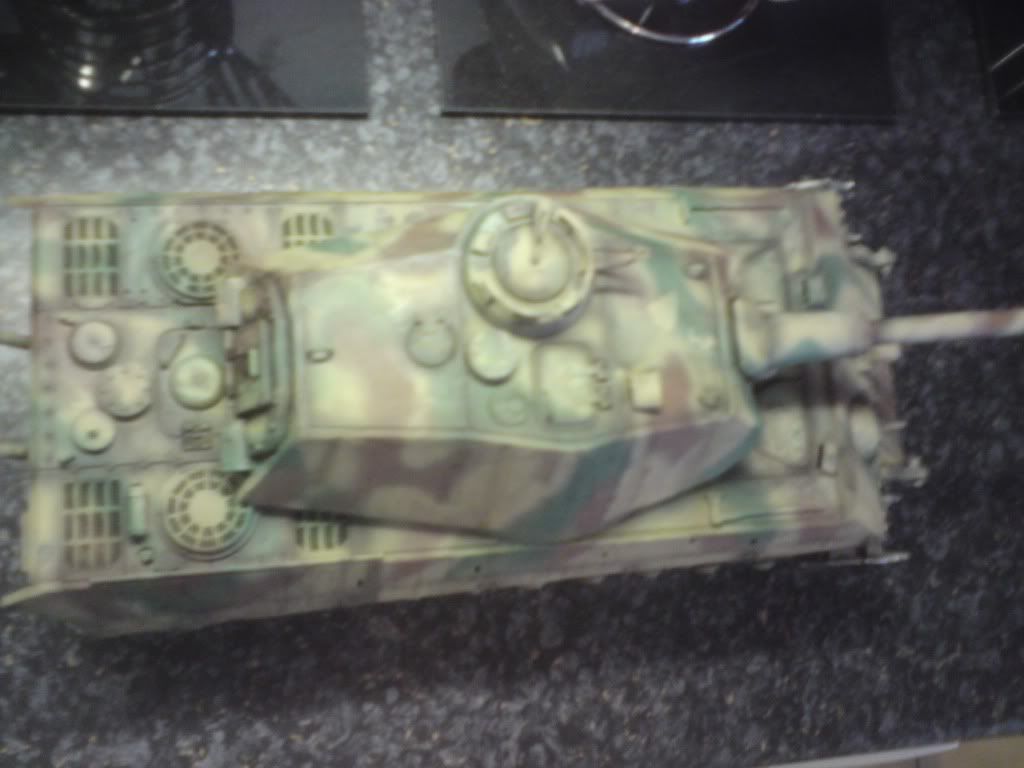
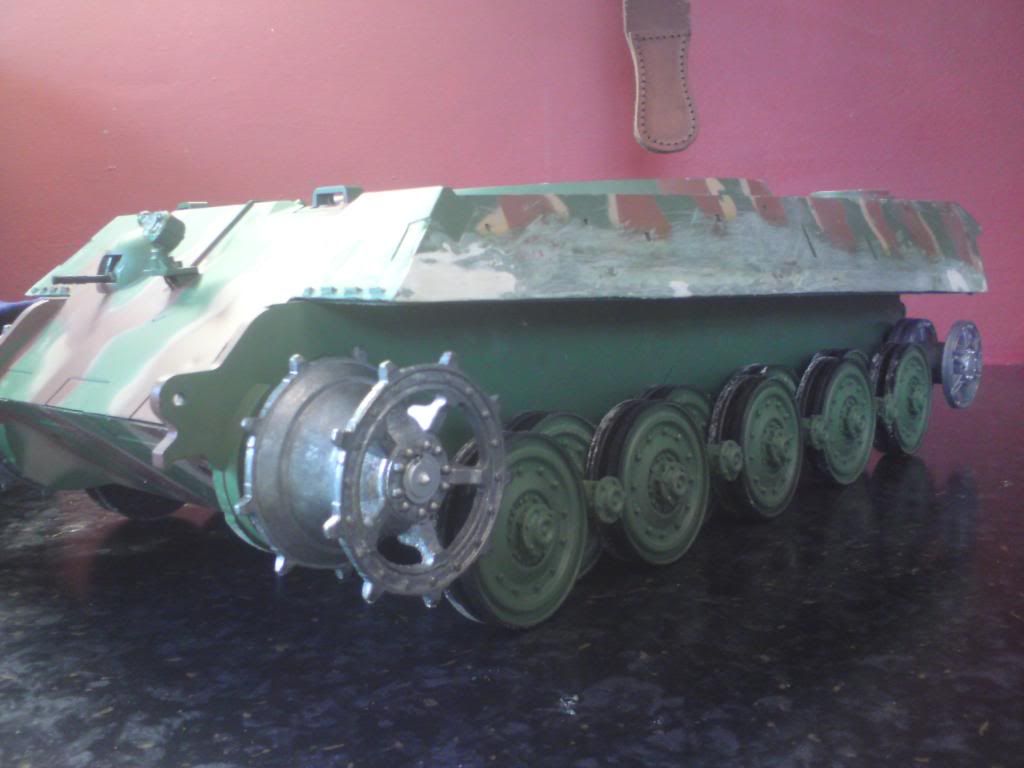
Re: MY KING TIGER PROJECT (PAINTED!!)
Posted: Sat Apr 07, 2012 5:46 pm
by n1ghtpony
Re: MY KING TIGER PROJECT
Posted: Sat Apr 07, 2012 5:50 pm
by n1ghtpony
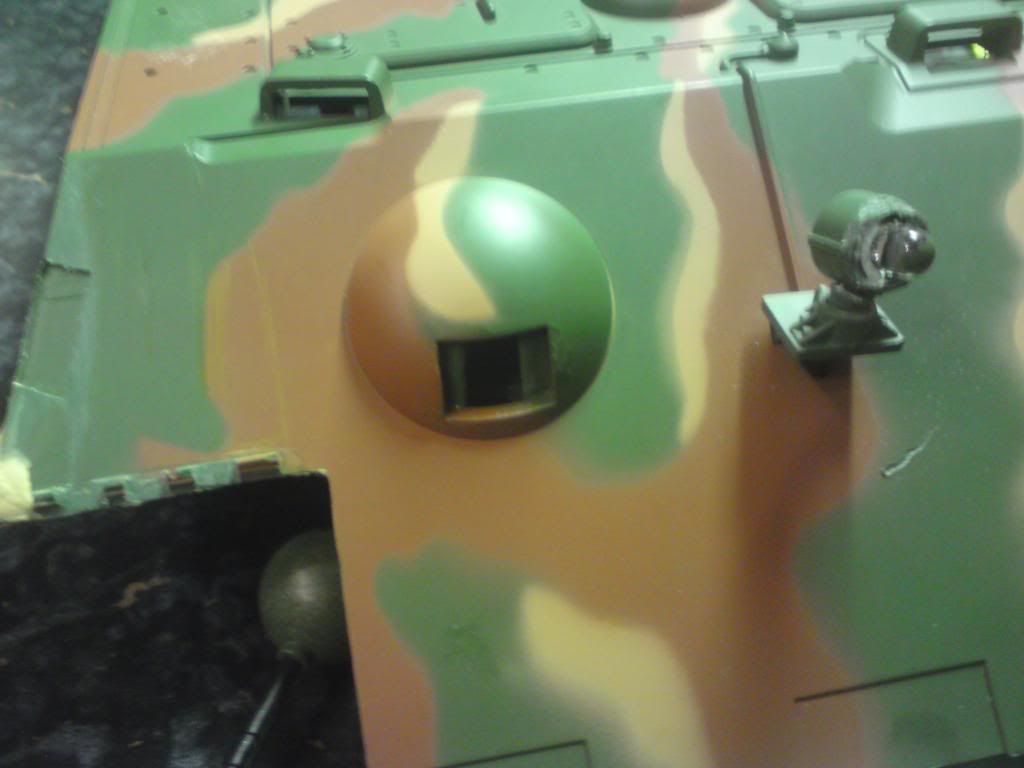
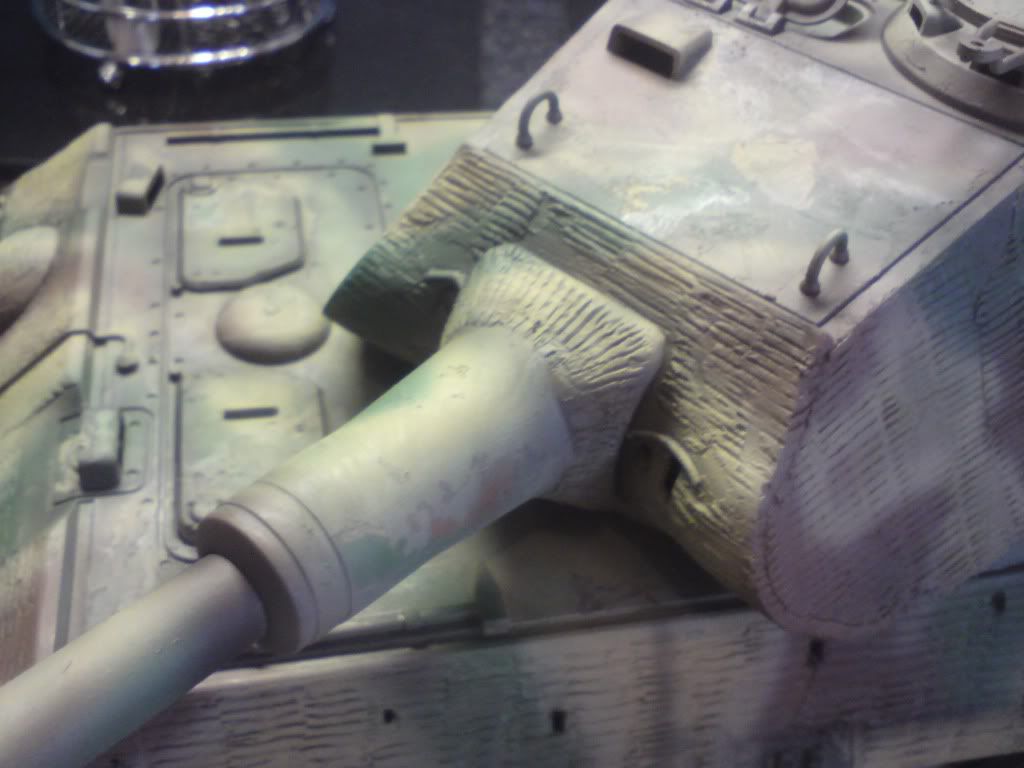
 also a small mod to the inner gun port