Tiger Ebbey .....

User avatar
majordisastor
Lance Corporal
Posts: 208
Joined: Fri Apr 23, 2010 5:24 pm
Location: Llantrisant, South Wales

INNER STRENGTH ......

Post by majordisastor »

INNER STRENGTH
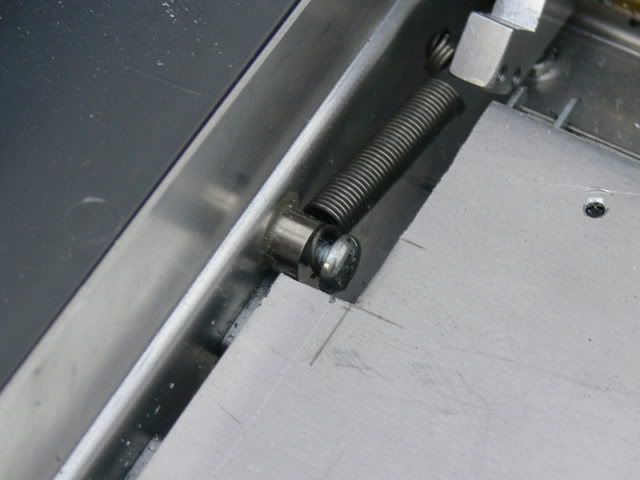
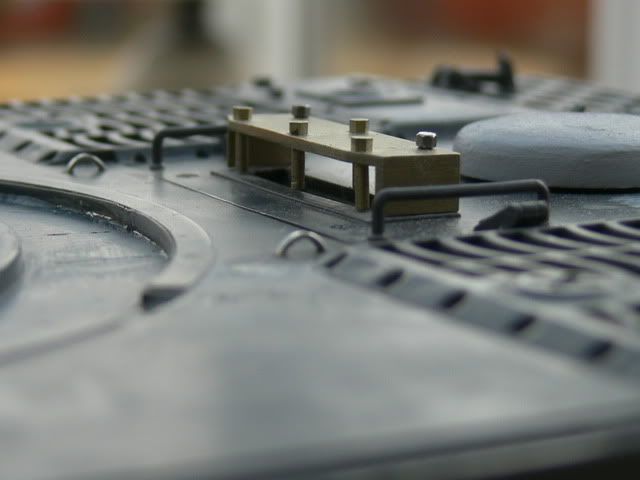
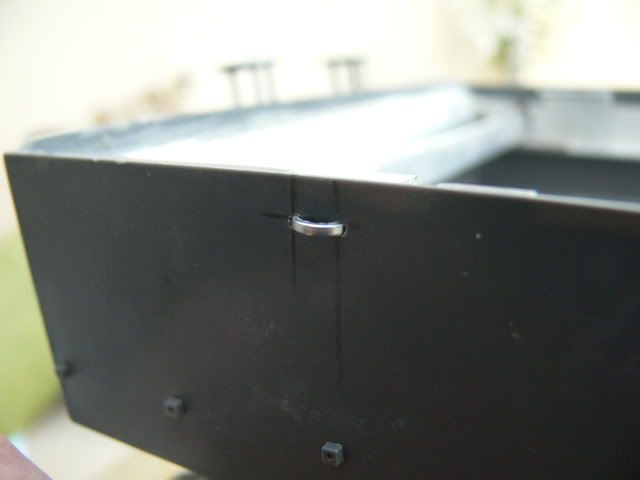
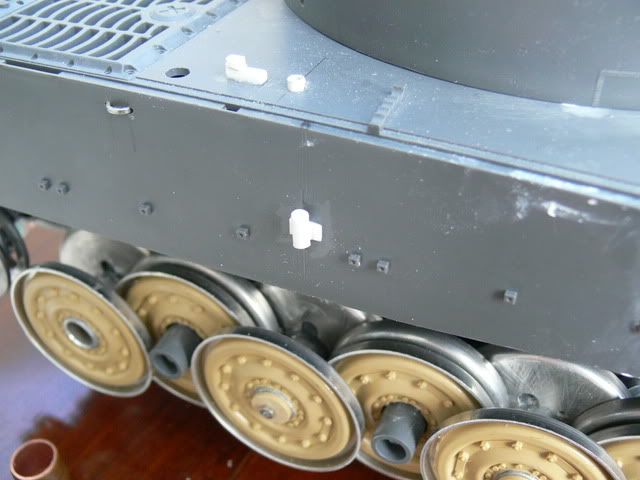
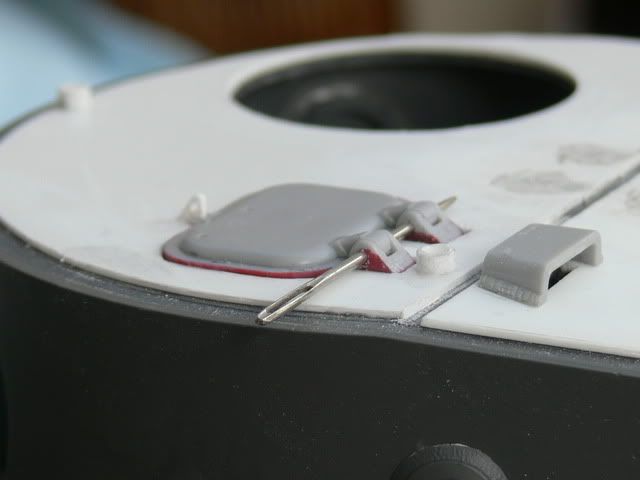
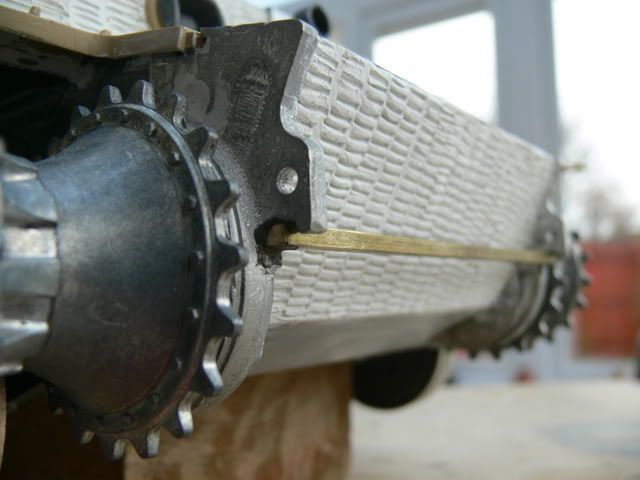
First up is a Homer Simpson moment, Take a look at the inner front of the tank. I added that bar to give some much needed structural strength at this point- sadly that created another issue.

Image


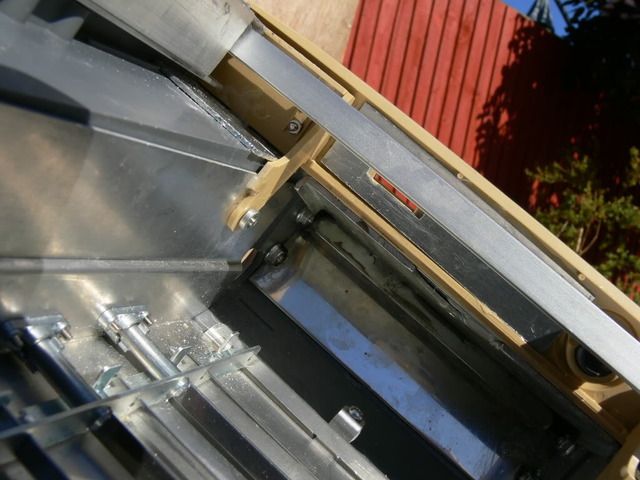
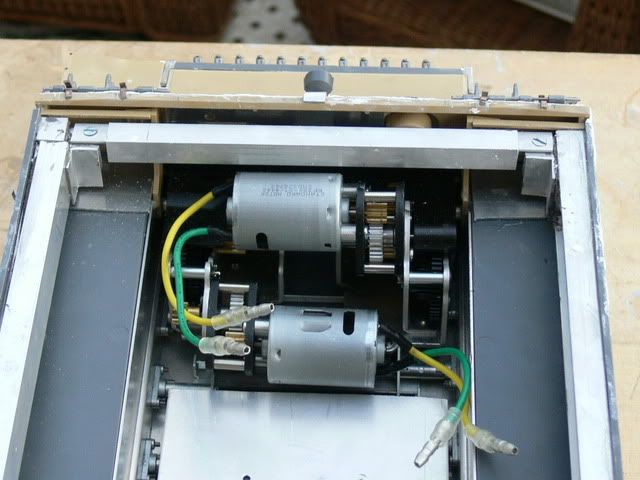
Worked really well I thought – until you come to fit your gear boxes – Sort of an essential part I as the plan is to have Ebbey move under her own power . However, that bar created a problem not unlike trying to manhandle a couch through a door way after you had nailed a piece of 4x 3 across the entrance. It was never going to happen – out it had to come, to add further joy, excess Araldite had bound the whole front glacis plate assembly together.

After a bit of tugging brute force and joint cracking off it came- fortunately all the reinforcing I had carried out earlier meant that no damage was done – Ebbey has a surprisingly tough lower hull.

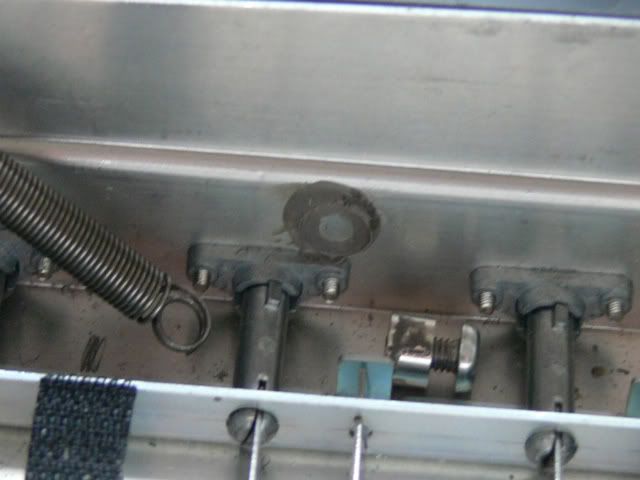
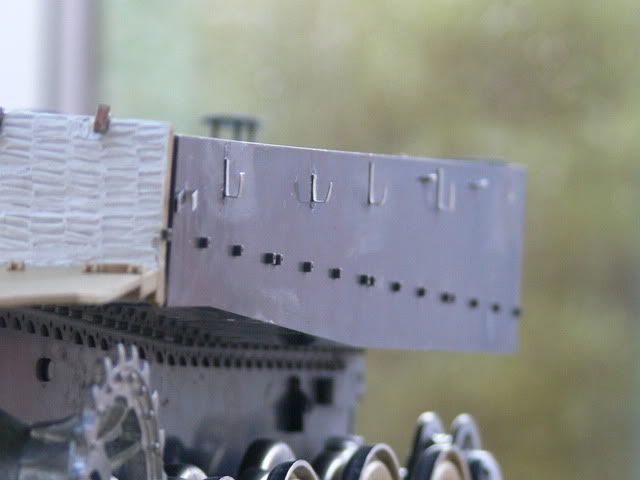
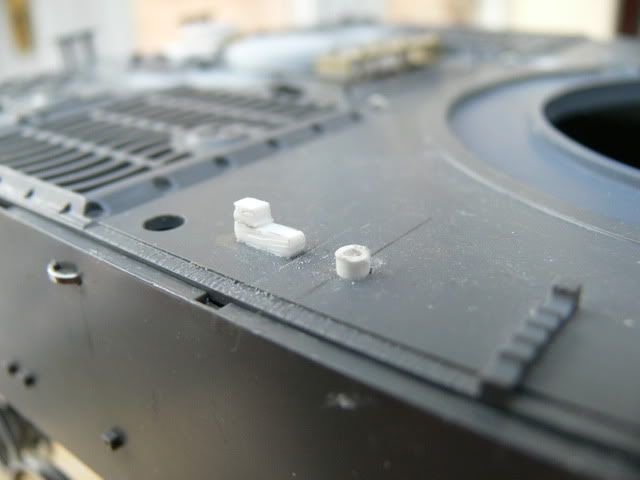
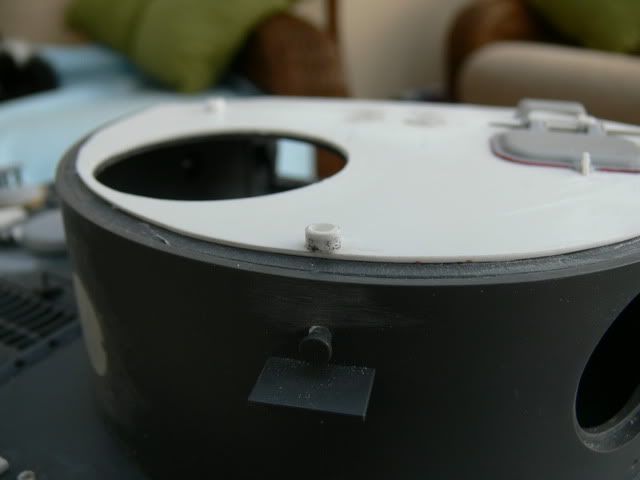
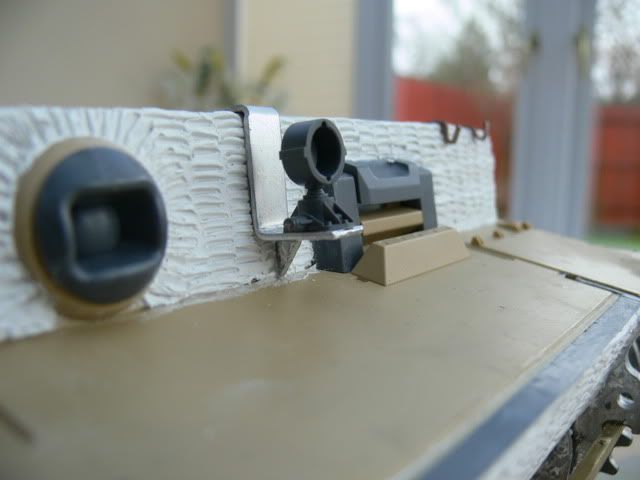
So back to the drawing board …. I decided to make some angle brackets up with some scrap alloy, held together with Chemical Weld.

Image

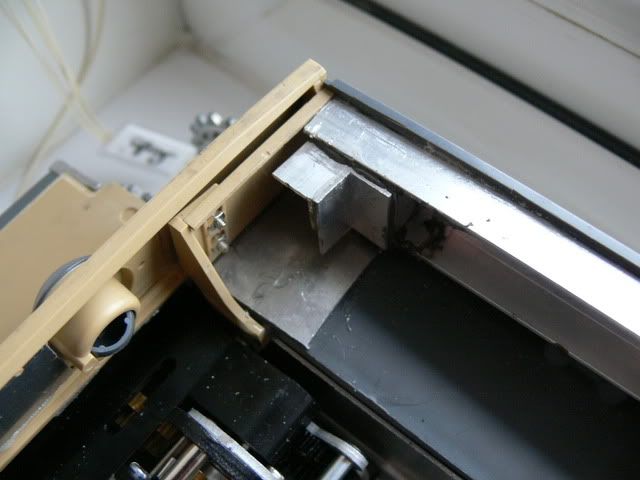
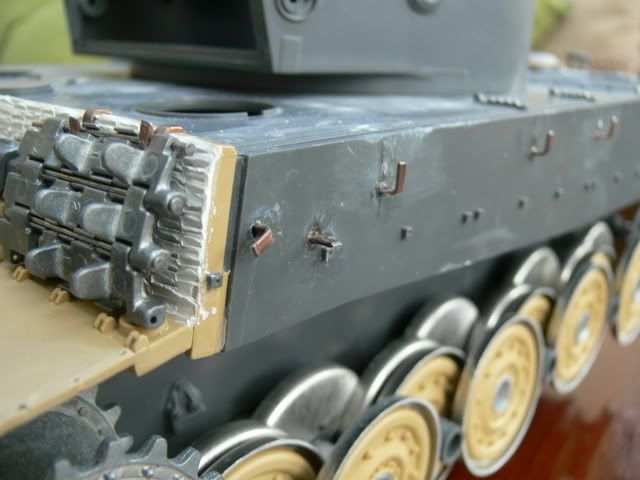
I could then fit a new strengthening bracket across the front - and this time – I used screws to hold it in place .

Image

Image

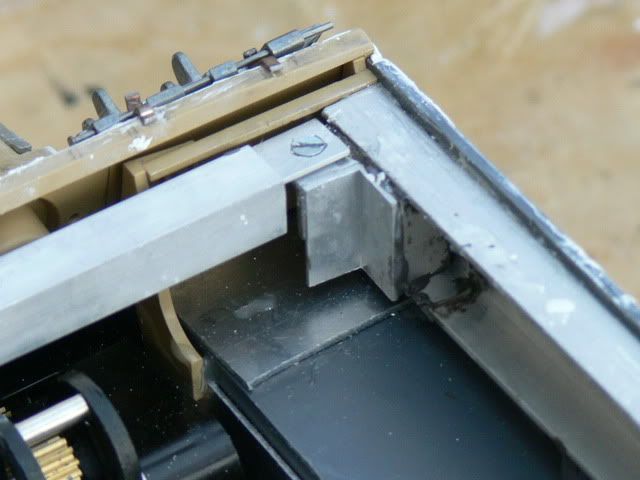
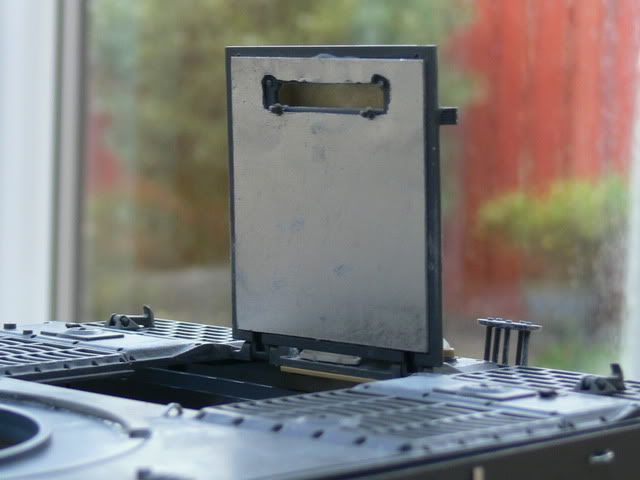
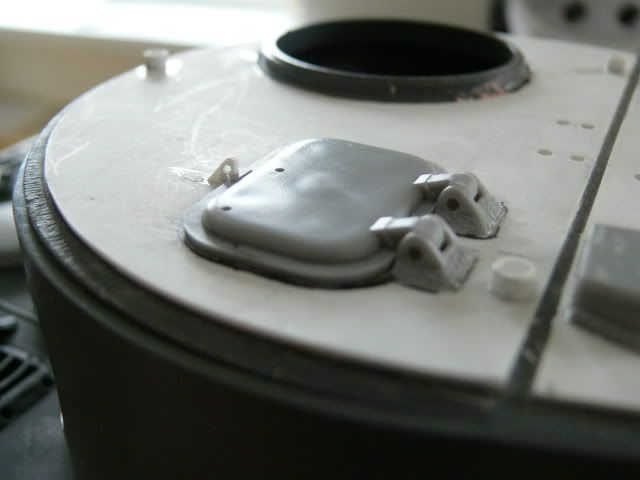
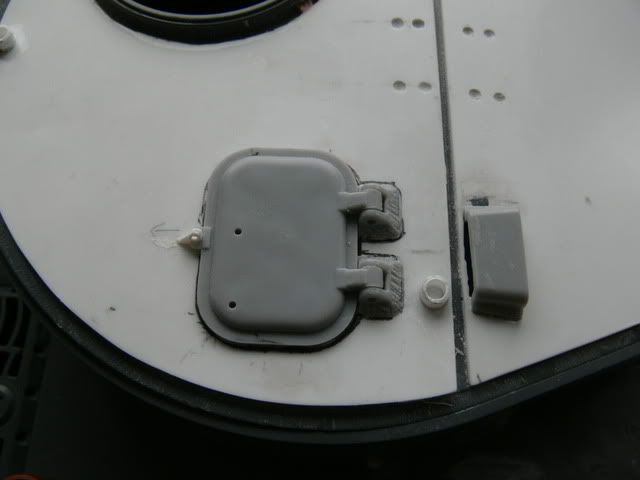
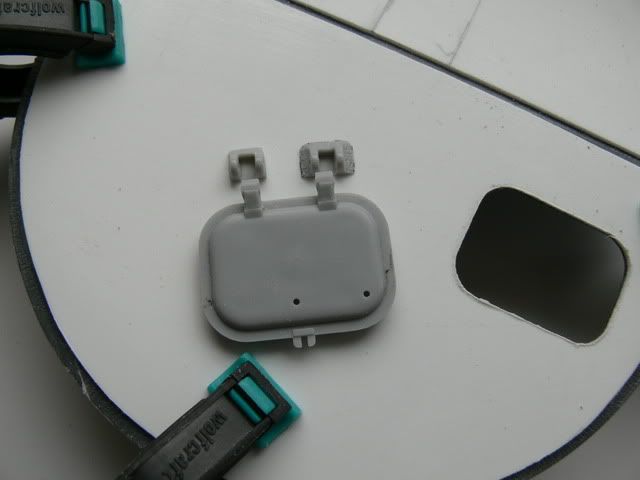
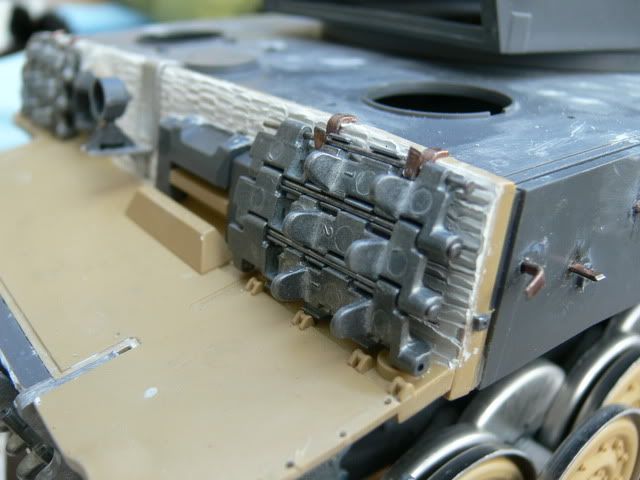
The end result is easy access for future maintenance - and a hull deck so strong you can pick the whole heavy tank up by holding it between the two front hatches – not something to try on a standard Tamiya build for sure.

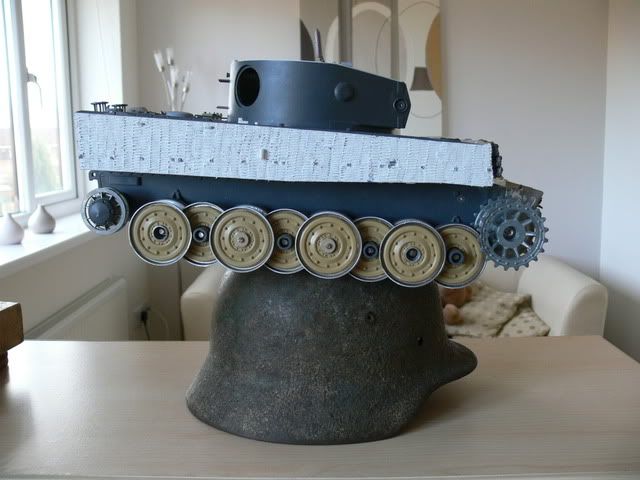
Ever had the feeling that others have gone before you ?

Image


Andy
It always gets darkest before it goes completley black......
User avatar
majordisastor
Lance Corporal
Posts: 208
Joined: Fri Apr 23, 2010 5:24 pm
Location: Llantrisant, South Wales

Re: Tiger Ebbey .....

Post by majordisastor »

REAR IDLER SUSPENSION FUN

I fitted Daryl Turners excellent rear idler suspension to tiger Ebbey – Daryl makes an excellent product with all the bits too get it to work properly.

Image

Here is a link to show you what he has to offer and how to fit them.

http://www.customrcmodels.com/shop/dary ... _parts.htm" onclick="window.open(this.href);return false;

I decided however to avoid drilling holes around the inner chassis and to glue some threaded spacers with chemical metal into the lower hull instead. I screwed in some hunky screws as anchors for the tension springs to finish off- or so I thought.

[Much later during the build process I suffered my first suspension failure – one of the rear suspension mounts failed – coming completely unstuck . Rather disappointing I thought – as Ebbey had yet to put track to ground in anger.

Lesson learnt – follow Daryl’s instructions.

Image

So – not exactly Vorksprung der technic – time to carefully design and craft a innovate solution.

Actually – I couldn’t t be arsed – I drilled a hole straight through the side of the inner and outer hull sides-and passed a screw through both. A couple of nuts later and I had a rock solid mount with no fear of collapse.

Image

From the outside the screw head will be hidden by the road wheels ……unless you are an unfortunate !/16 Sherman commander that happens to be unfortunate to get mixed in with Ebbeys tracks of course !!

Image

I left the other side still glued – just as a test to see how long it will last.
It seems pretty solid at the moment – but time will tell …….

Going back to the front end I have added solid Sherman driveshaft bearings – held in Place with seatbelt mounting washers from an air cooled 1974 Volkswagen beetle.
Transmission covers are metal Heng Long ones – no added structural advantage here – and the weight is about the same- still nice to try.

Image

Andy
It always gets darkest before it goes completley black......
sassgrunt
Sergeant
Posts: 729
Joined: Wed Oct 29, 2008 9:08 am
Location: Hawaii, USA

Re: Tiger Ebbey .....

Post by sassgrunt »

Andy, I have really enjoyed following your build so far. On my build (which is about at the same point as yours; only I haven't gotten back to it for two years), I also followed the FRAG instructions for creating your own late roadwheels. I had to laugh out loud, because I went through some of the same headaches that you did, (it brought back painful memories. So painful, in fact, that when I wanted to build a Panther F, I ordered a set of the Schumo metal ones - which created a whole new adventure in trying to fit them with bearings)!

I didn't like the roadwheel hub from the Tamiya King Tiger, and waffled a bit on what to put there. I finally decided to slice up the wheels from a 1/18 Tiger I, (it was a broken piece from the Bay), and glued those hubs onto the ends of the shafts. I like the way they came out, as they were better-looking than anything I could have scratchbuilt. -Mike
User avatar
Von kraftwerk
Lance Corporal
Posts: 217
Joined: Thu Mar 24, 2011 11:54 am
Location: London England

Re: Tiger Ebbey .....

Post by Von kraftwerk »

bloody hell!
User avatar
majordisastor
Lance Corporal
Posts: 208
Joined: Fri Apr 23, 2010 5:24 pm
Location: Llantrisant, South Wales

Re: Tiger Ebbey .....

Post by majordisastor »

I didn't like the roadwheel hub from the Tamiya King Tiger, and waffled a bit on what to put there. I finally decided to slice up the wheels from a 1/18 Tiger I, (it was a broken piece from the Bay), and glued those hubs onto the ends of the shafts. I like the way they came out, as they were better-looking than anything I could have scratchbuilt. -Mike
Thats crafty - well thought out Mike !! :thumbup:

Andy
It always gets darkest before it goes completley black......
User avatar
majordisastor
Lance Corporal
Posts: 208
Joined: Fri Apr 23, 2010 5:24 pm
Location: Llantrisant, South Wales

Re: Tiger Ebbey .....

Post by majordisastor »

HULL DETAILS

With all the immediate beefing up done to the moment it was quite nice to start adding bits of deck on.
As Tiger Ebbeys a late model there has been quite a lot of shaving off of details and hole filling- mostly due to the changing tool deployment throughout the Tigers production run.

First port of call was the rear engine deck. I have remodelled the armoured engine intake cover to a cast one – no screw needed as the deep waterproofing requirement had been dropped earlier.
And moving the deck latch and adding the small triangle engine access cover.

Image

The simpler air intake cover replacing the Feifel intake assembly’s

Image

I also added an inner metal plate to the engine cover deck lid to give it a bit of extra weight.

Image

Mr Surfacer 500 added to create a better cast texture to those bits that need it.

Image

Tarpauling Hooks

If you have followed Fleshys excellent work on Tiger 205 you will have come across his carefull modelling of the tarpaulin hooks the germans added to the sides of the their Tigers – and later the rear deck. All are absent from both Tamiya and Heng Long offerings.

If you are expecting another delicate reacreation – look away now.

I simply used wire staples for fixing telephone wire to things. After drilling two holes through both the plastic and inner aluminium reinforcement – I tapped the staples in with a hammer – job done!

Image

Image

A further change those cunning german tank designers made was a revision to the left hand side track cable mounts.

Fab !! Once again my model has moved far enough away from the standard kit to make it not worthwhile to try adapting anything from the kit sprues .

First I tried thin alloy strips stuck on with superglue …..cut down from the tops of old coke cans.

Image

I wasn’t that convinced the following morning so I moved onto to these …..

Image

The are made from the heavy copper coated staples you find holding large cardboard boxes together.

Again I drilled holes in the side of the tank and attached them with superglue, filled the surrounding gap with Araldite for added strength – after a coat of Zimmeritt they should be tough enough.

Image

The white plastic plate at the rear is going to repaired battle damage – bless those spanner monkeys in the field workshops !!

Andy
It always gets darkest before it goes completley black......
User avatar
Von kraftwerk
Lance Corporal
Posts: 217
Joined: Thu Mar 24, 2011 11:54 am
Location: London England

Re: Tiger Ebbey .....

Post by Von kraftwerk »

tasty! tasty! very very tasty! its very tasty!
User avatar
majordisastor
Lance Corporal
Posts: 208
Joined: Fri Apr 23, 2010 5:24 pm
Location: Llantrisant, South Wales

Re: Tiger Ebbey .....

Post by majordisastor »

EBBEYS TANK MODEL TYPE

I always felt that the late Tigers looked meaner than their earlier models- but a lot plainer.

If you look at them they have been stripped right down . Their backside is rather dull in comparison to the packed Feifel ,toolbox equipped sisters.

So – I decided upon modelling Ebbey as a Befehlswagon – or command tank – its easier to write and a heck of a lot easier to say.

The most famous and frequently modelled example is of course 007 – Michael Wittmans Normandy tank – so I won’t model it after his.

Paul (Septons) superperb Normandy forest camo 222 really caught my eye at the Swindon meet and confirmed that was the right path to take.

If you were to ask me for a timeframe for Ebbey then I would place her as a post June 1944 build – with all of the final late Tiger features and the added ones of a Befehlswagon- Sorry command tank.

Theatre of operations and camouflage yet to be decided ….watch this space………..

So as a start – here is the additional extended aerial mount on the right hand hull side,

Image

And on the upper deck – the exhaust pipe for the additional radios generator and work ongoing on the connection point for the bigger antenna.

Image

Moving to Ebbeys backside …ahem.. I have moved the jack mounts to the opposite side while I wait to aquire a King Tiger Jack and a suitable diameter tube for the BefeXXXX command tank aerial tube.

Image

I have altered the starter plate with the extra hole to match up with the correct engine type.

Image

Mr Surfacer has been added to bolster the texture of the armoured exhaust covers and a thicker finish has been stippled onto the exhausts themselves.

Andy
It always gets darkest before it goes completley black......
User avatar
majordisastor
Lance Corporal
Posts: 208
Joined: Fri Apr 23, 2010 5:24 pm
Location: Llantrisant, South Wales

Re: Tiger Ebbey .....

Post by majordisastor »

THE TURRET ROOF


I wasn’t happy with the roof of Ebbey – its modelled on the later thicker 40mm roof with the central welding seam down the middle.

It was the loaders hatch – well , Ok then the only hatch at present – that I didn’t like.

Image

I felt it did not sit right – and Rob G(Wibblywobbly), reference post confirmed it - it might not up to Pantiger standard – but it had to go.

Image

Previous version above and reworked version below.....

Image

Small changes but all going hoefully in the right direction ......

Andy


So new one new roof later – more card and two attempts of cutting around the Tiger Magaizine hatch later – and its much better.

Image


I also reduced the size of the weld moulds around the hinge mounts – they were quite thick as you can see- but I quite liked them because of it.

Image

I also reworked the rear crane post after the Saumor Tiger – just to make Ebbey a little different.

Image

Small changes - but all going hopefully in the right direction .....

Andy
It always gets darkest before it goes completley black......
User avatar
majordisastor
Lance Corporal
Posts: 208
Joined: Fri Apr 23, 2010 5:24 pm
Location: Llantrisant, South Wales

Re: Tiger Ebbey .....

Post by majordisastor »

ZIMMERITT !!


In my previous posts I introduced- Robert A Pertuss. Dipl.ING.HSK 1903 – 1986.
I may introduce myself as, Builder of Tiger and Konigstiger
.

I think its only fair that we allow him to tell us a little about Zimmeritt from the factory point of view…
One day Ministerialrat Kniepkamp showed up in Kassel and reported that the Russians used magnetic mines , which close combat soldiers attached to the side or the rear of the Panzer.

These mines were highly dangerous for the Panzer and should be rendered ineffective by a thick grooved layer of some sort of cement applied to the surface of the Panzer. With this method the magnets which are to hold the explosive charges onto the steel surface would not be strong enough to keep the mines in place.

Our purchasing department was able in the course of one afternoon ,to find out what material would be suitable, and quickly obtainable. It had to be fast drying and had to become stone hard.

Two days later the first drums of nitro-spachtel arrived. With the use of quickly improvised comb like toolsmade from thin sheet metal, we made a fist test application, with best results. In only three hours the stuff was hard and could accept the camouflage paint. Panzers ready for delivery the day after the nitro-spachtel was received had this protective coating applied. Panzers were delivered that way until the very end.
On a smaller scale …….

Image

This is Tiger Ebbey sitting pretty on my Italian Campaign helmet - still retaining its original colours, and the name of its former owner….

Image

First of all was the lower hull plate, I then added a brass bar, fixed to the front tow shackles to allow extra tracks to be added later ....

Image

I left the front upper deck plain as not all tanks appeared to have had Zimm applied here.

I scratch built a metal lamp bracket and added the standard Tamiya kit lamp to see how it all matched up- I might change this for the higher grade schumo one later on…..

Or go for a broken headlight look with a few wires spilling out of it ......

Image

Track hanger brackets were added to the flat plate alongside the driver and Radio operators positions. Yep more copper staples in use here.

Image

Added some spare track links - finaly Tiger Ebbey is starting to develop some character – more to come for sure !!

Image

Image


The idea is to create a ' mean as a junkyard dog ' look - Ebbeys been around a bit and has the scars to prove it .......

More Zimmeritt added to the sides and that will be that for the moment ..... The extra sideskirt mounting point - missing from the Tamiya model is in fact one of the Feifel air cleaner mounting posts that I removed from the rear plate as part of the early build process.... waste not want not !!

Image


Image

This is superfine white milliput - easy to work with added water to increase its working time.

I wanted to give the rough in the field texture to the Zimmerit finnish - hope you think it works !!

Andy
It always gets darkest before it goes completley black......
Post Reply

Return to “Tiger I”