Page 3 of 12
Re: My Panther
Posted: Sat Sep 18, 2010 7:57 pm
by Nic.H
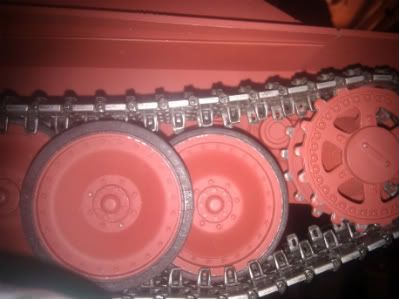
Hi, well, finally got the covers fitted, 2 to 3mm removed from the small wheel shaft seems to work-dont forget to take some of the screw also. Sorry about the pic quality as I had to use my phone.
You can see that I have sprayed them now....they do give a better look, and the small wheel is now about the right height
Re: My Panther
Posted: Sat Sep 18, 2010 8:14 pm
by Nic.H
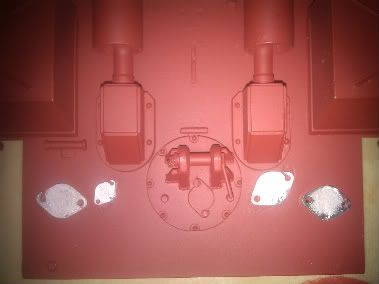
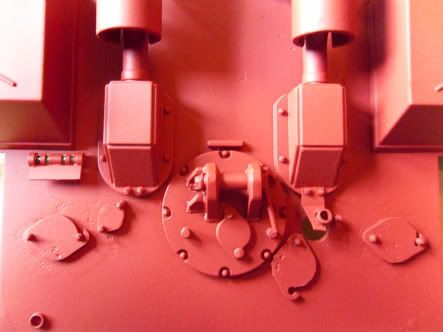
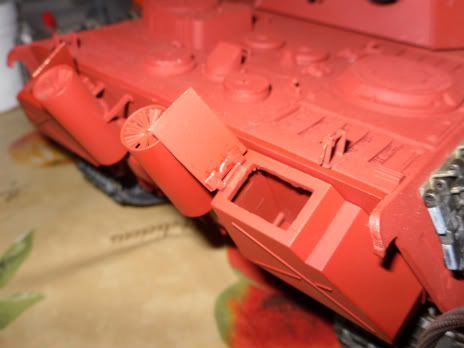
Here is the rear end....the bits came with the Wecohe pack, so I thought I would try and fit them, ground off the plastic covers, then, I find that the small bolts are way to big for the pre drilled/cast holes......will try and fill them in some how, maybe with low heat solder....
Here are the covers roughly lined up on top of the removed ones, got to grind off the rear colum light too...
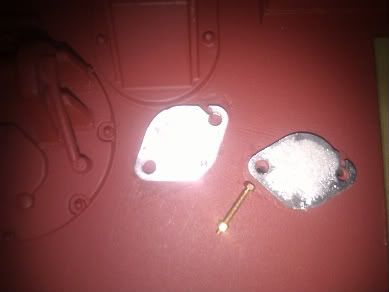
Here you can see the bolts and the over sized holes......
Nic
Re: My Panther
Posted: Sat Sep 18, 2010 8:59 pm
by Nic.H
Saxondog wrote:Same here I have tomorrow to work on the Jagdpanther's adjusters, I have used Dietrich's string method a lttle sanding and I have a nice flat surface to mount the shaft support plates. Not real happy with the wheels they seem to have to much play in the bushings. Did you have that problem?
Regards Blake
Hi again Blake, ran out of time today, will take some pictures of the idlers, when I got them...oh, just after I got the tank around xmas, I could not get one set of bearings to sit in, had to "adjust" them to fit.....will have a look next weekend when I am home................work is running me ragged lately, off tomorrow again!
Re: My Panther
Posted: Sun Oct 03, 2010 9:31 am
by Nic.H
Hi, just a quick update.....disaster!.....as a few of you are aware(Ryder cup), its been raining a bit in south wales, well my garage roof has given up under this monsoon and is leaking like a sieve....all over the tank, all my bits....books, tools...well, everything, all my woodworking tools, and wood store......boo hoo
Nic(very peed off)
Re: My Panther
Posted: Sun Oct 03, 2010 12:29 pm
by [ICE]monkey
sorry to hear about your roof , what a downer
regards, ice
Re: My Panther
Posted: Sun Oct 03, 2010 7:20 pm
by Johnf
Sorry to hear about your bad luck.
Re: My Panther
Posted: Sun Oct 03, 2010 10:39 pm
by Nic.H
Thanks dudes.......got my boxes of bits in the bathroom(panther bits), next to the radiator.....hot as hell there!(rayburn has no thermostat!)....the router table and bits will have to dry out without tlc...
Nic
ps.....for unknowns...a rayburn is a coal/wood burner(for the hot water/central heating)...think steam engine!.......hot as hell!, when she is up to full steam, well, full temp, i would be running away.fine line between hot house and boiling alive.......lots of fiddling with her to keep on top of the temp..anyhow, rescued the panther bits!
Re: My Panther
Posted: Mon Oct 04, 2010 6:34 pm
by [ICE]monkey
glad about the panther bits , we used to have a rayburn great when the wind blew burnt coal like no tomorrow, lol but boy was it hot
Re: My Panther
Posted: Tue Oct 05, 2010 10:47 am
by Nic.H
Hi Ice, aye, they are good, but you can not take your eye of it!.....
Nic
Ps....dremmel has bitten the dust to....tried drying it out, but no go
Re: My Panther
Posted: Sun Oct 10, 2010 12:47 am
by Nic.H
Hi, since my garage roof leaked I did not do much on the tank, but I brought all the small parts in to the house to dry out....so I had a go at the arse end today....
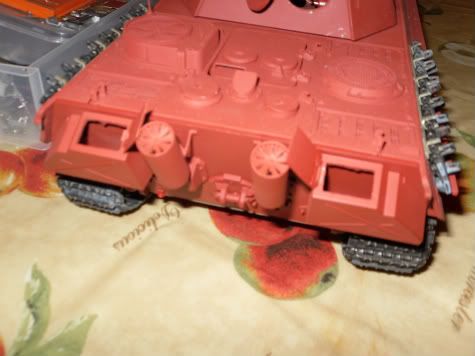
Here you can see the starter handle bracket....(just!)
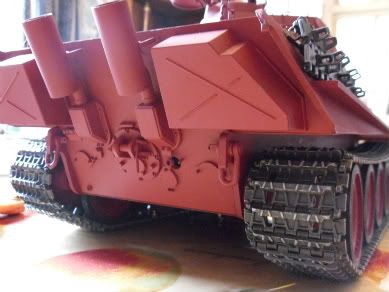
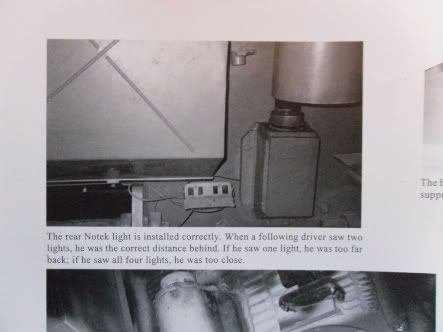
In this image it can be seen from front on...plus all the small engine access covers were replaced...but only the starter cover has been drilled to see inside. I made the starter handle bracket out ot plasticard and an off cut round thing(filed out)...the lower part of the convoy light is also plasticard....I just tried to copy the picture in "Panther in Detail"by Culver and Feist(page 108)
Also replaced all the turret handles, commanders anti aircraft ring and lifting hooks for metal ones...
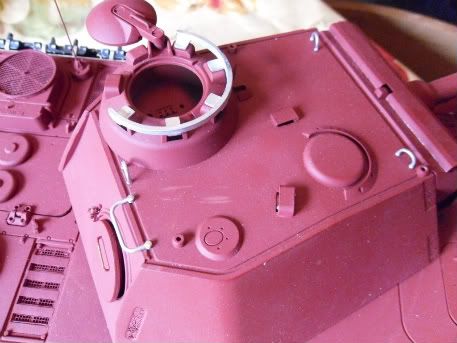
Made some lids from the brass sheet that held the brass shurtzen kit...just the right thickness, made little hinges from thinner brass off cuts...and soldered them on...what a mess!, my first attempt at brass work...
Dont look to close!

Done more today than the last couple of months!....at this rate I might get it finished this year

Nic