Page 3 of 4
Re: Scratchbuilt DUKW
Posted: Tue Oct 28, 2025 11:21 pm
by MonsieurTox
Re: Scratchbuilt DUKW
Posted: Tue Oct 28, 2025 11:23 pm
by MonsieurTox
Re: Scratchbuilt DUKW
Posted: Wed Oct 29, 2025 12:20 am
by Stormbringer
Coming on well following with interest

Re: Scratchbuilt DUKW
Posted: Wed Oct 29, 2025 12:27 am
by Ecam
Nice work my friend. So much more detail and much more sanitary than my attempt. Keep up the terrific work!
Re: Scratchbuilt DUKW
Posted: Wed Oct 29, 2025 8:27 pm
by Herr Dr. Professor
MonsieurTox, you persevere in this fine project, with each step showing your superb skills. Somewhat limited as primarily an RTR type, I applaud your achievement yet again.
Re: Scratchbuilt DUKW
Posted: Wed Oct 29, 2025 8:53 pm
by tankme
I applaud anyone who can take on a project like this. I don't have the attention span most of the time to scratch build that much.
Re: Scratchbuilt DUKW
Posted: Fri Nov 07, 2025 11:41 pm
by MonsieurTox
Thank you guys !
Ecam wrote: ↑Wed Oct 29, 2025 12:27 am
Nice work my friend. So much more detail and much more sanitary than my attempt. Keep up the terrific work!
Thanks Eric, more detail but not sure it'll work as good as yours ! I have a lot of problem with the front axle so I may just drop it and do a 6X4. They were using the 6X6 only to get out of the water but since there's no ramp to get out of the lakes around me, I'll have to get it out of water by hand anyway

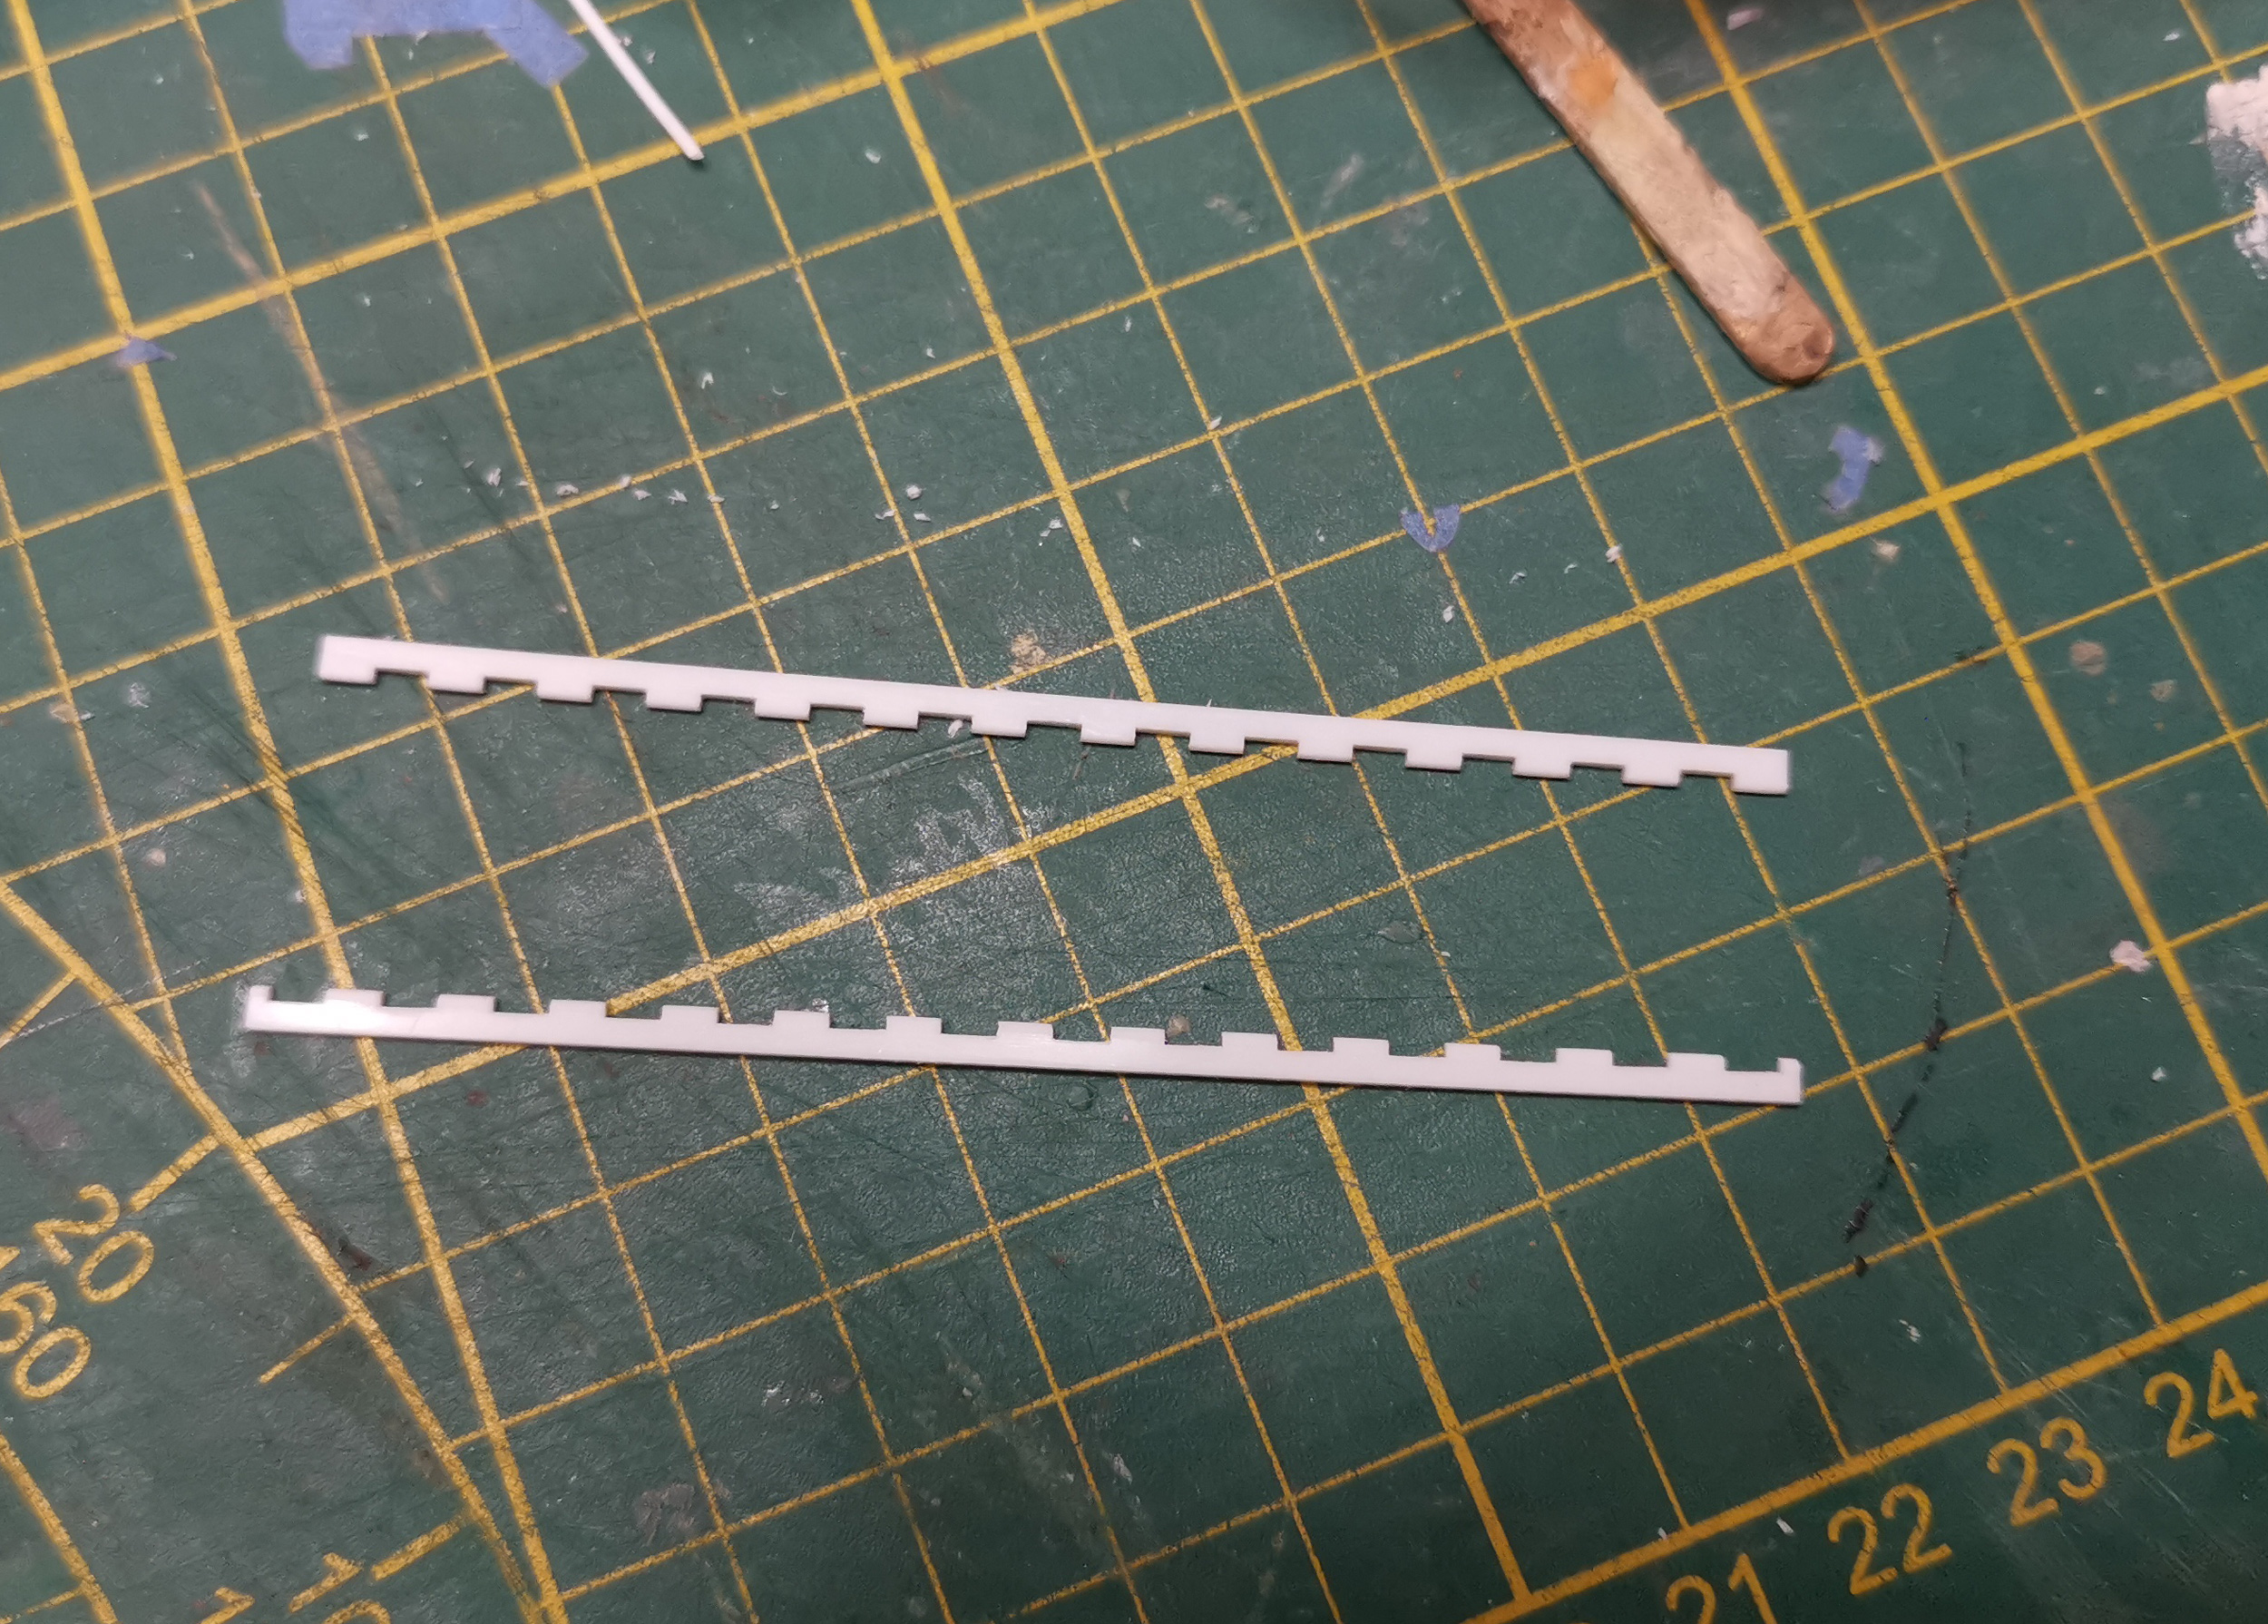
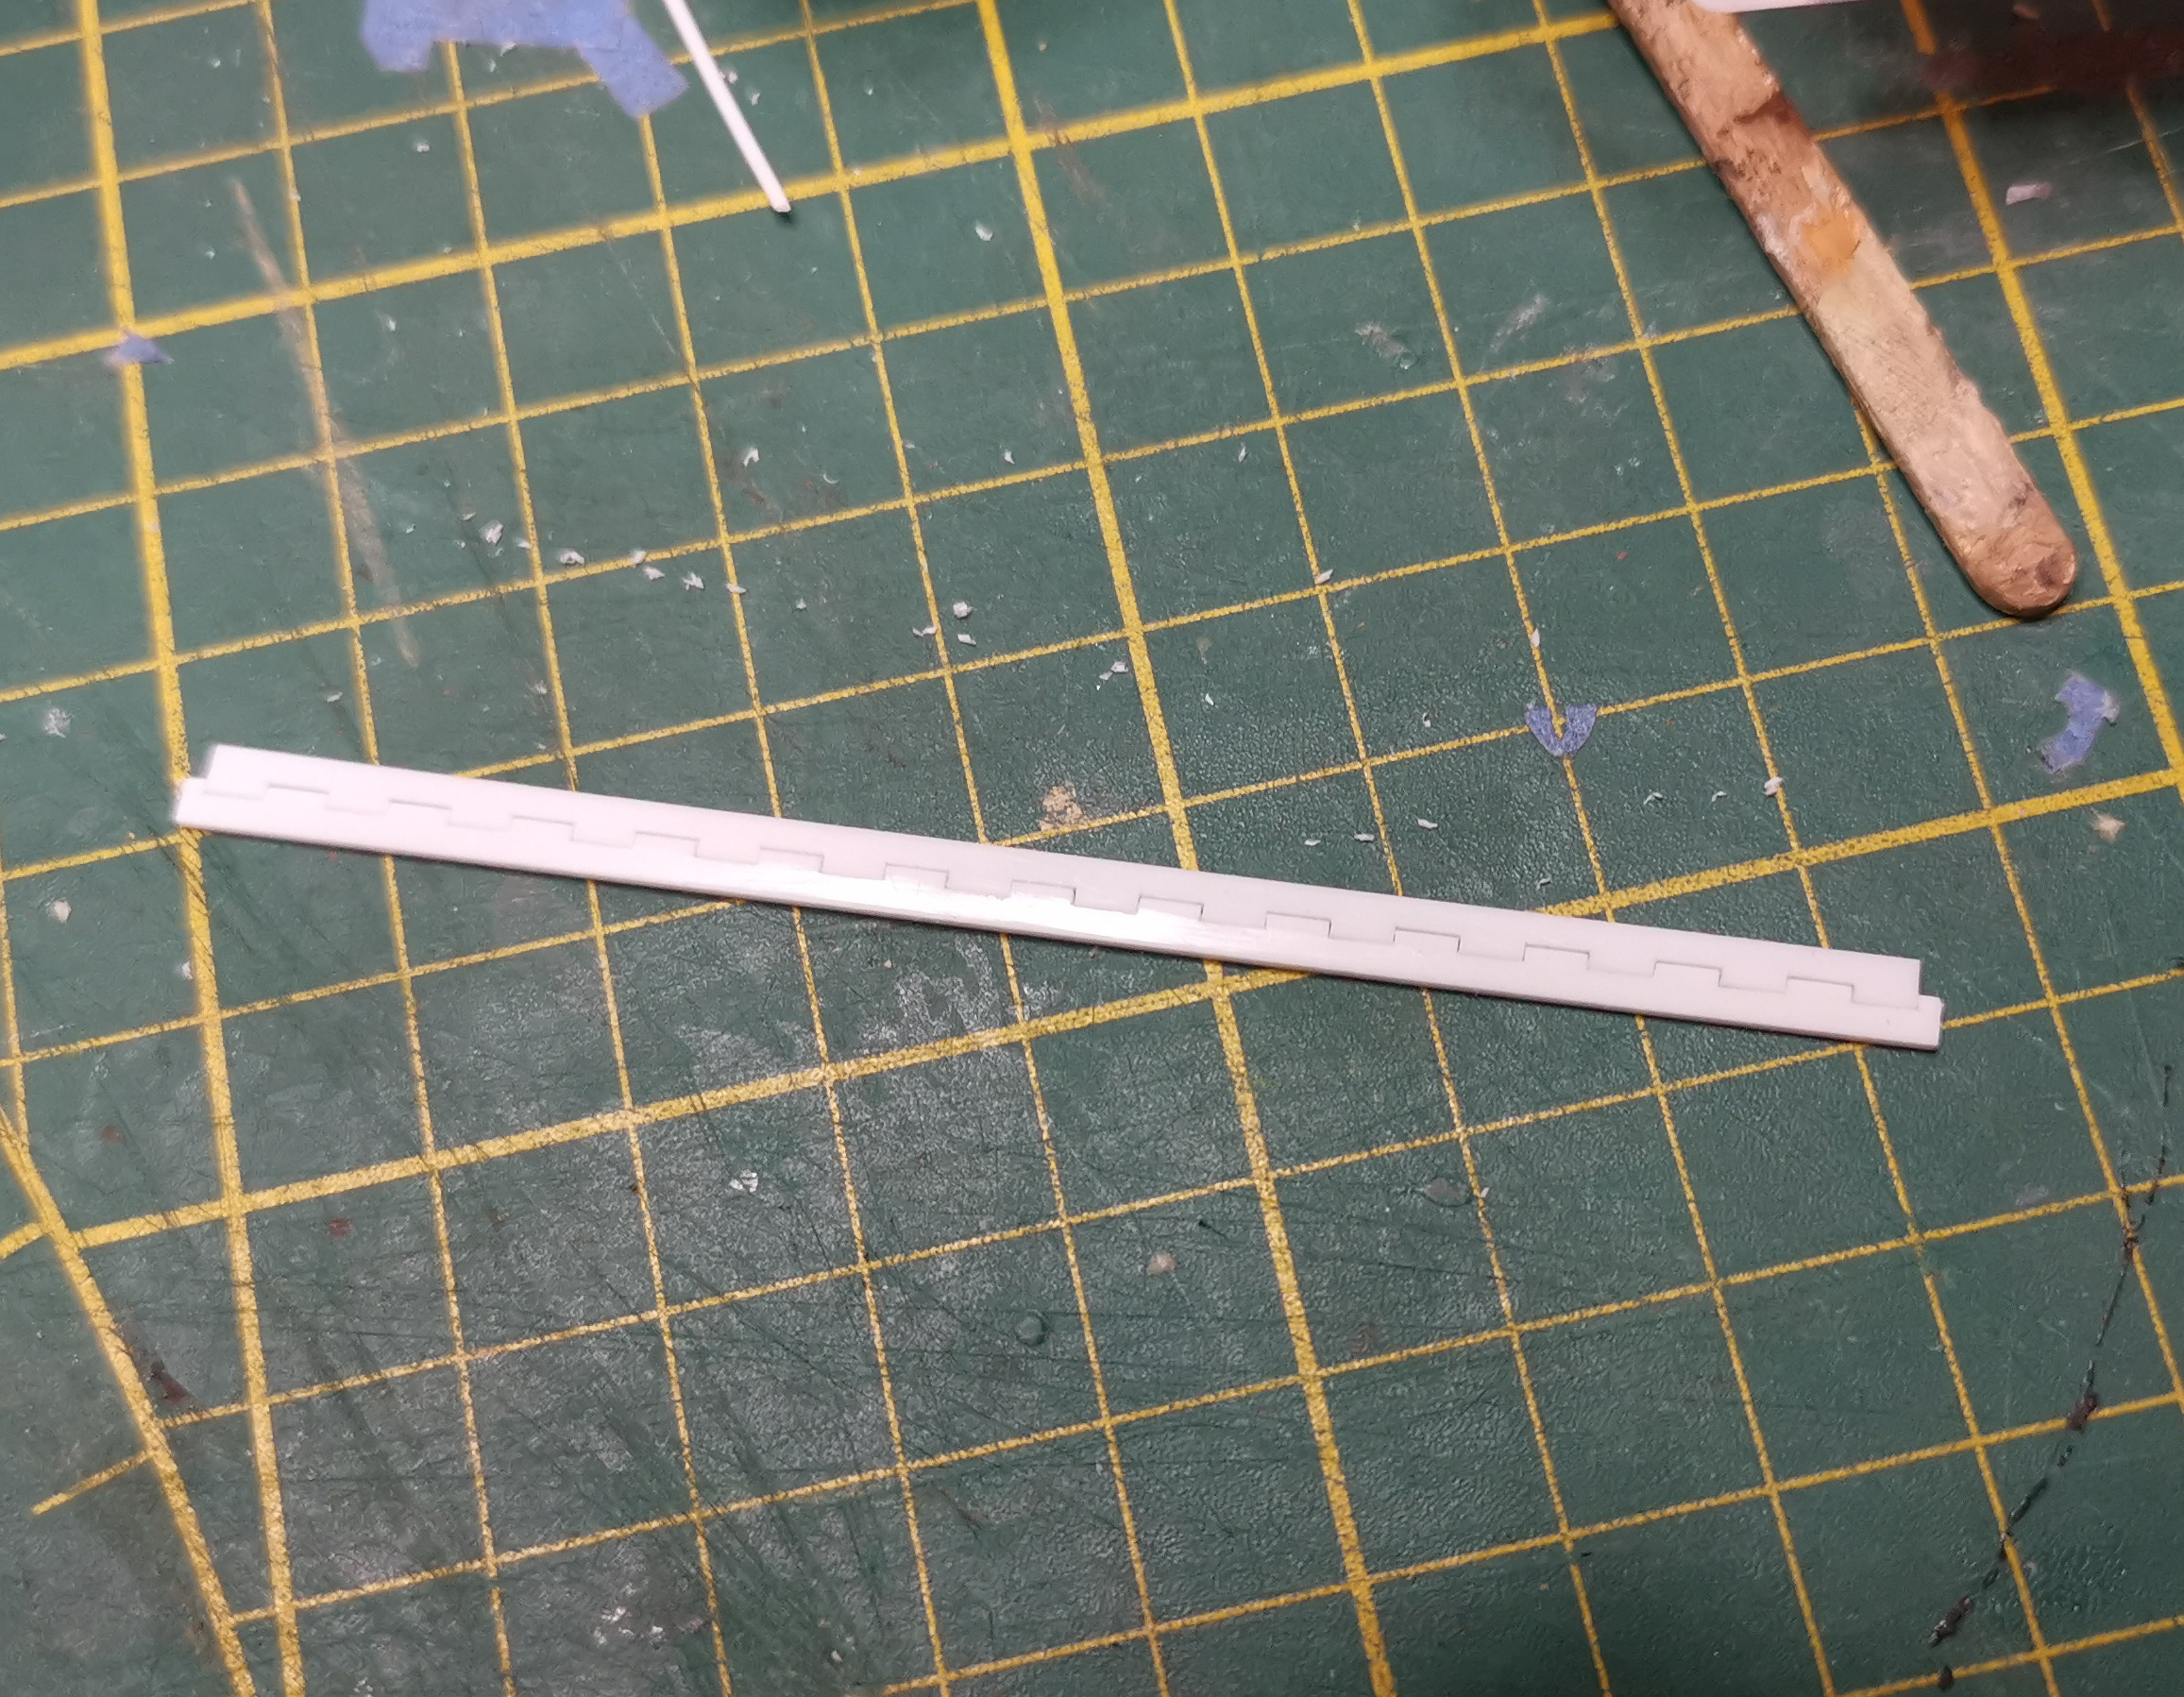
Making of the hinges for the breakwater, I made a jig to shape the C channels I previously created :
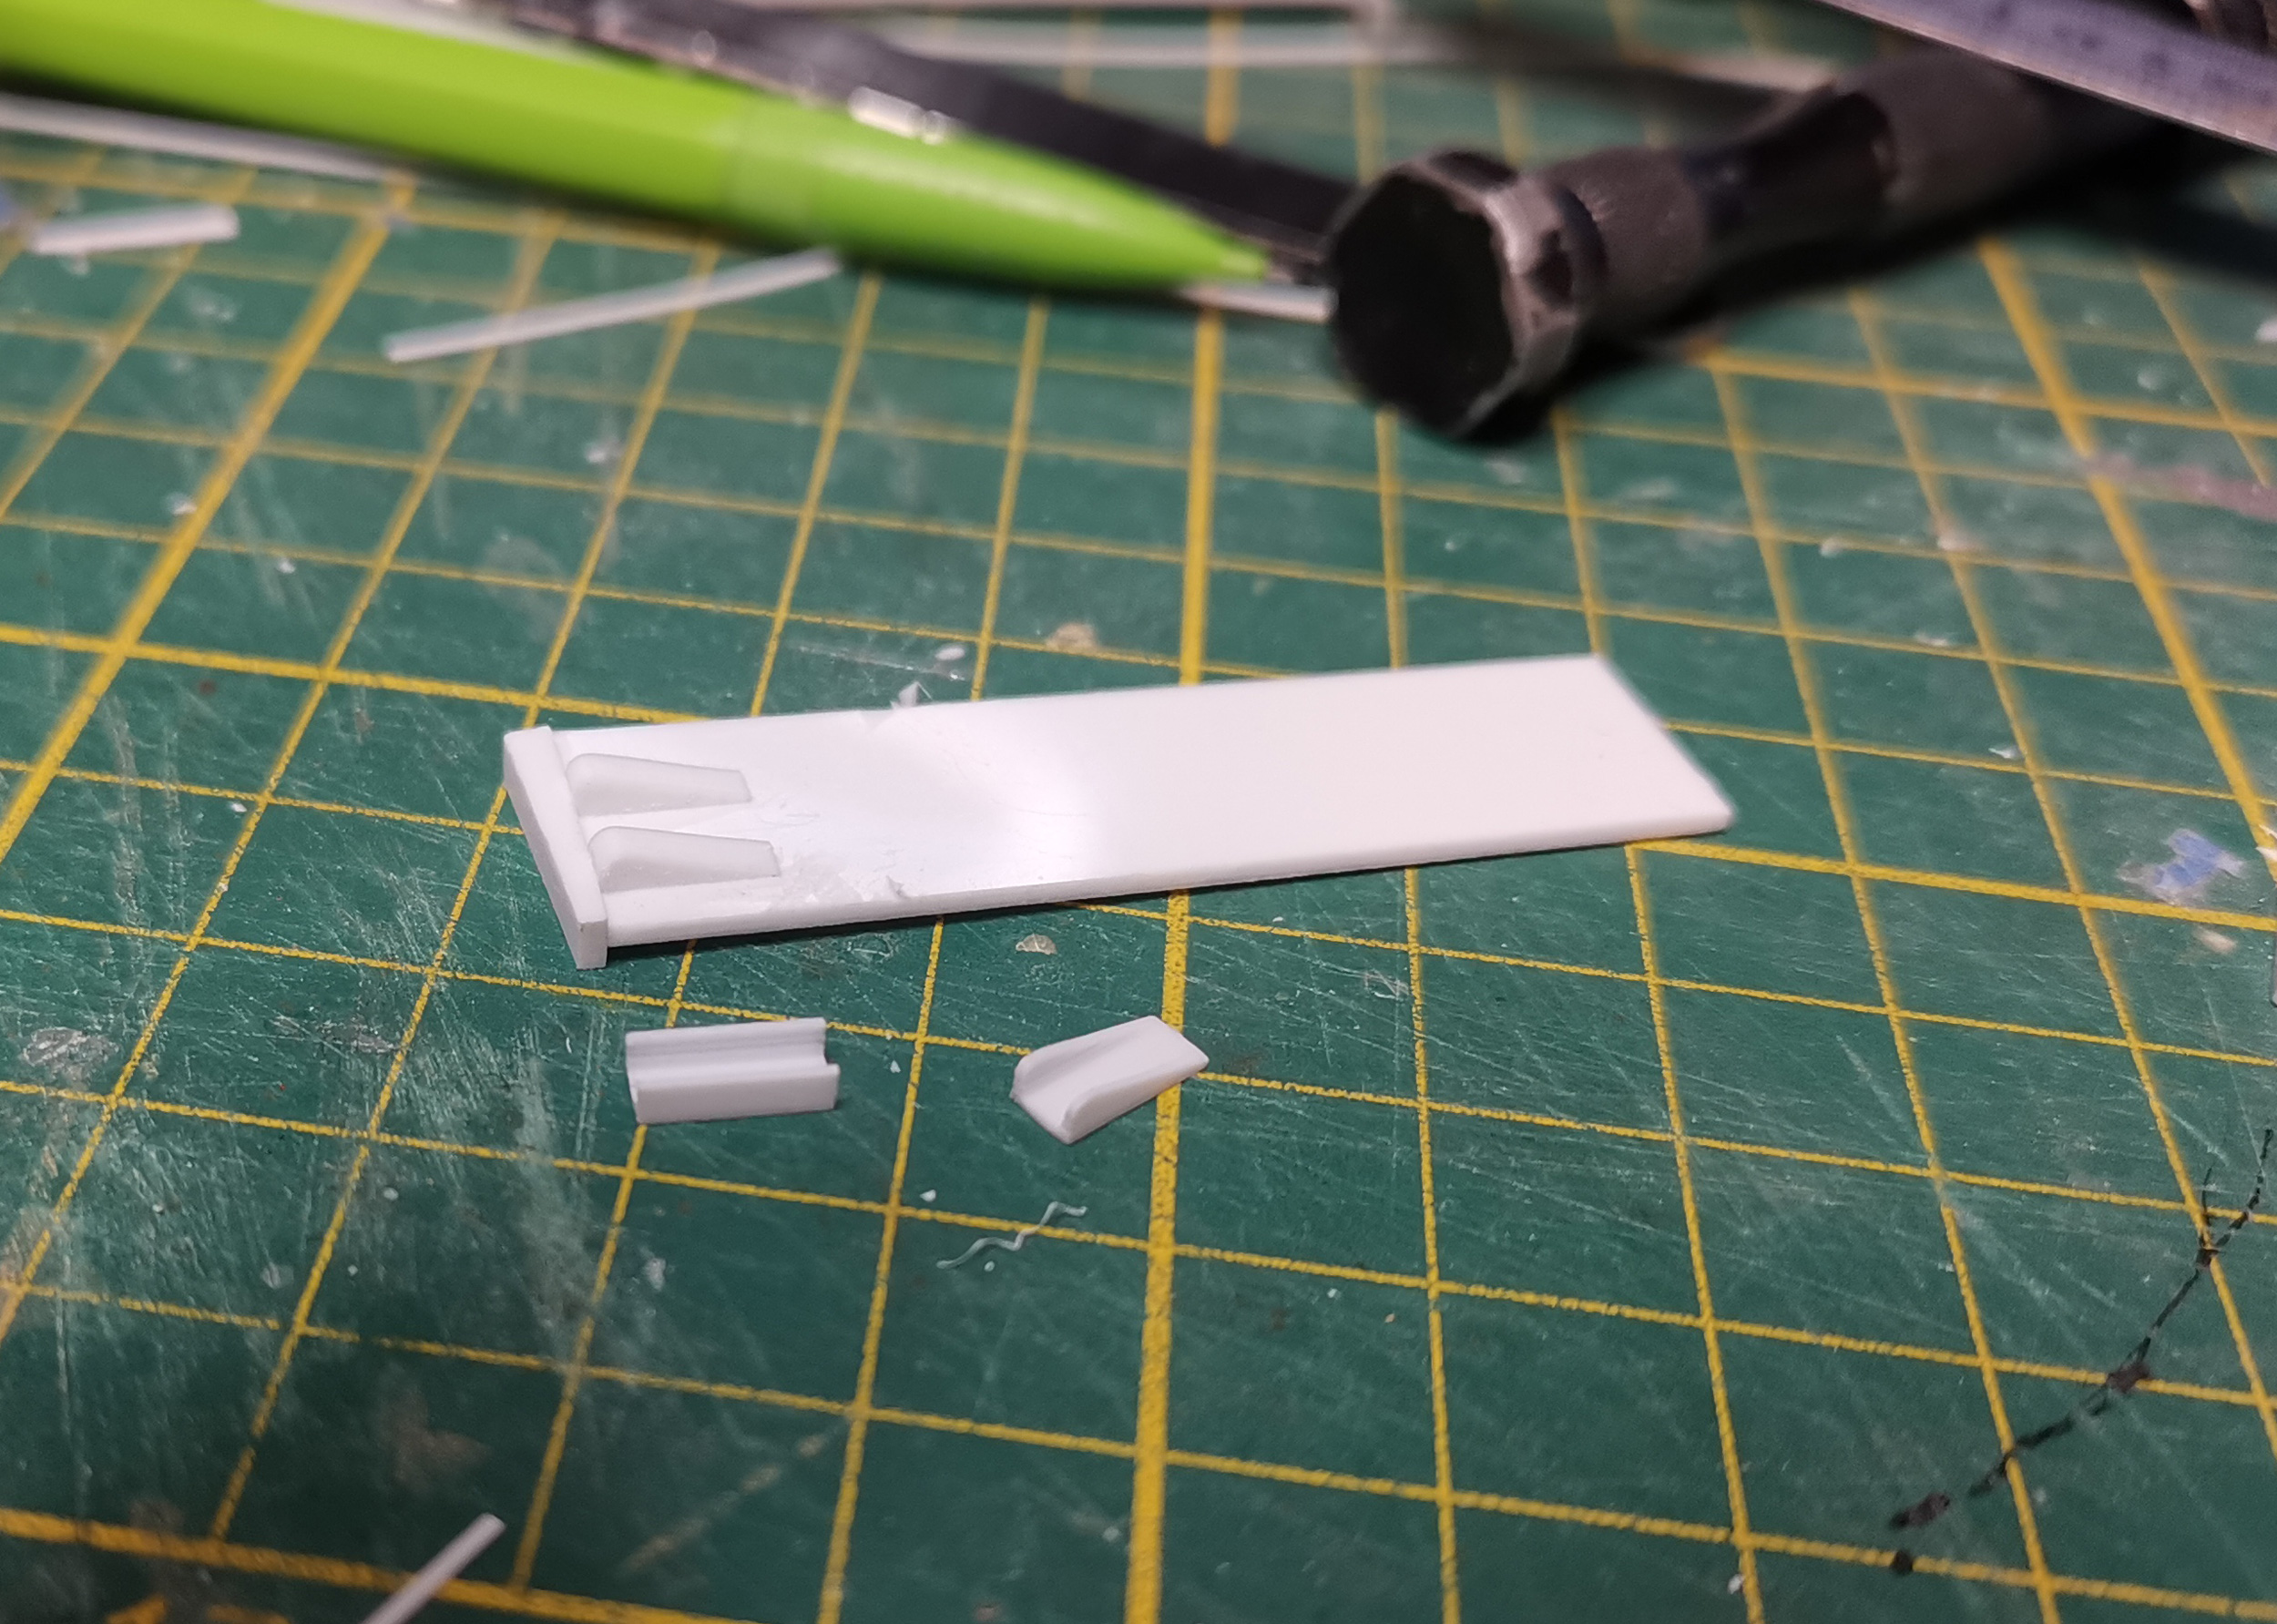
- DUKW36.jpg (1.11 MiB) Viewed 609 times
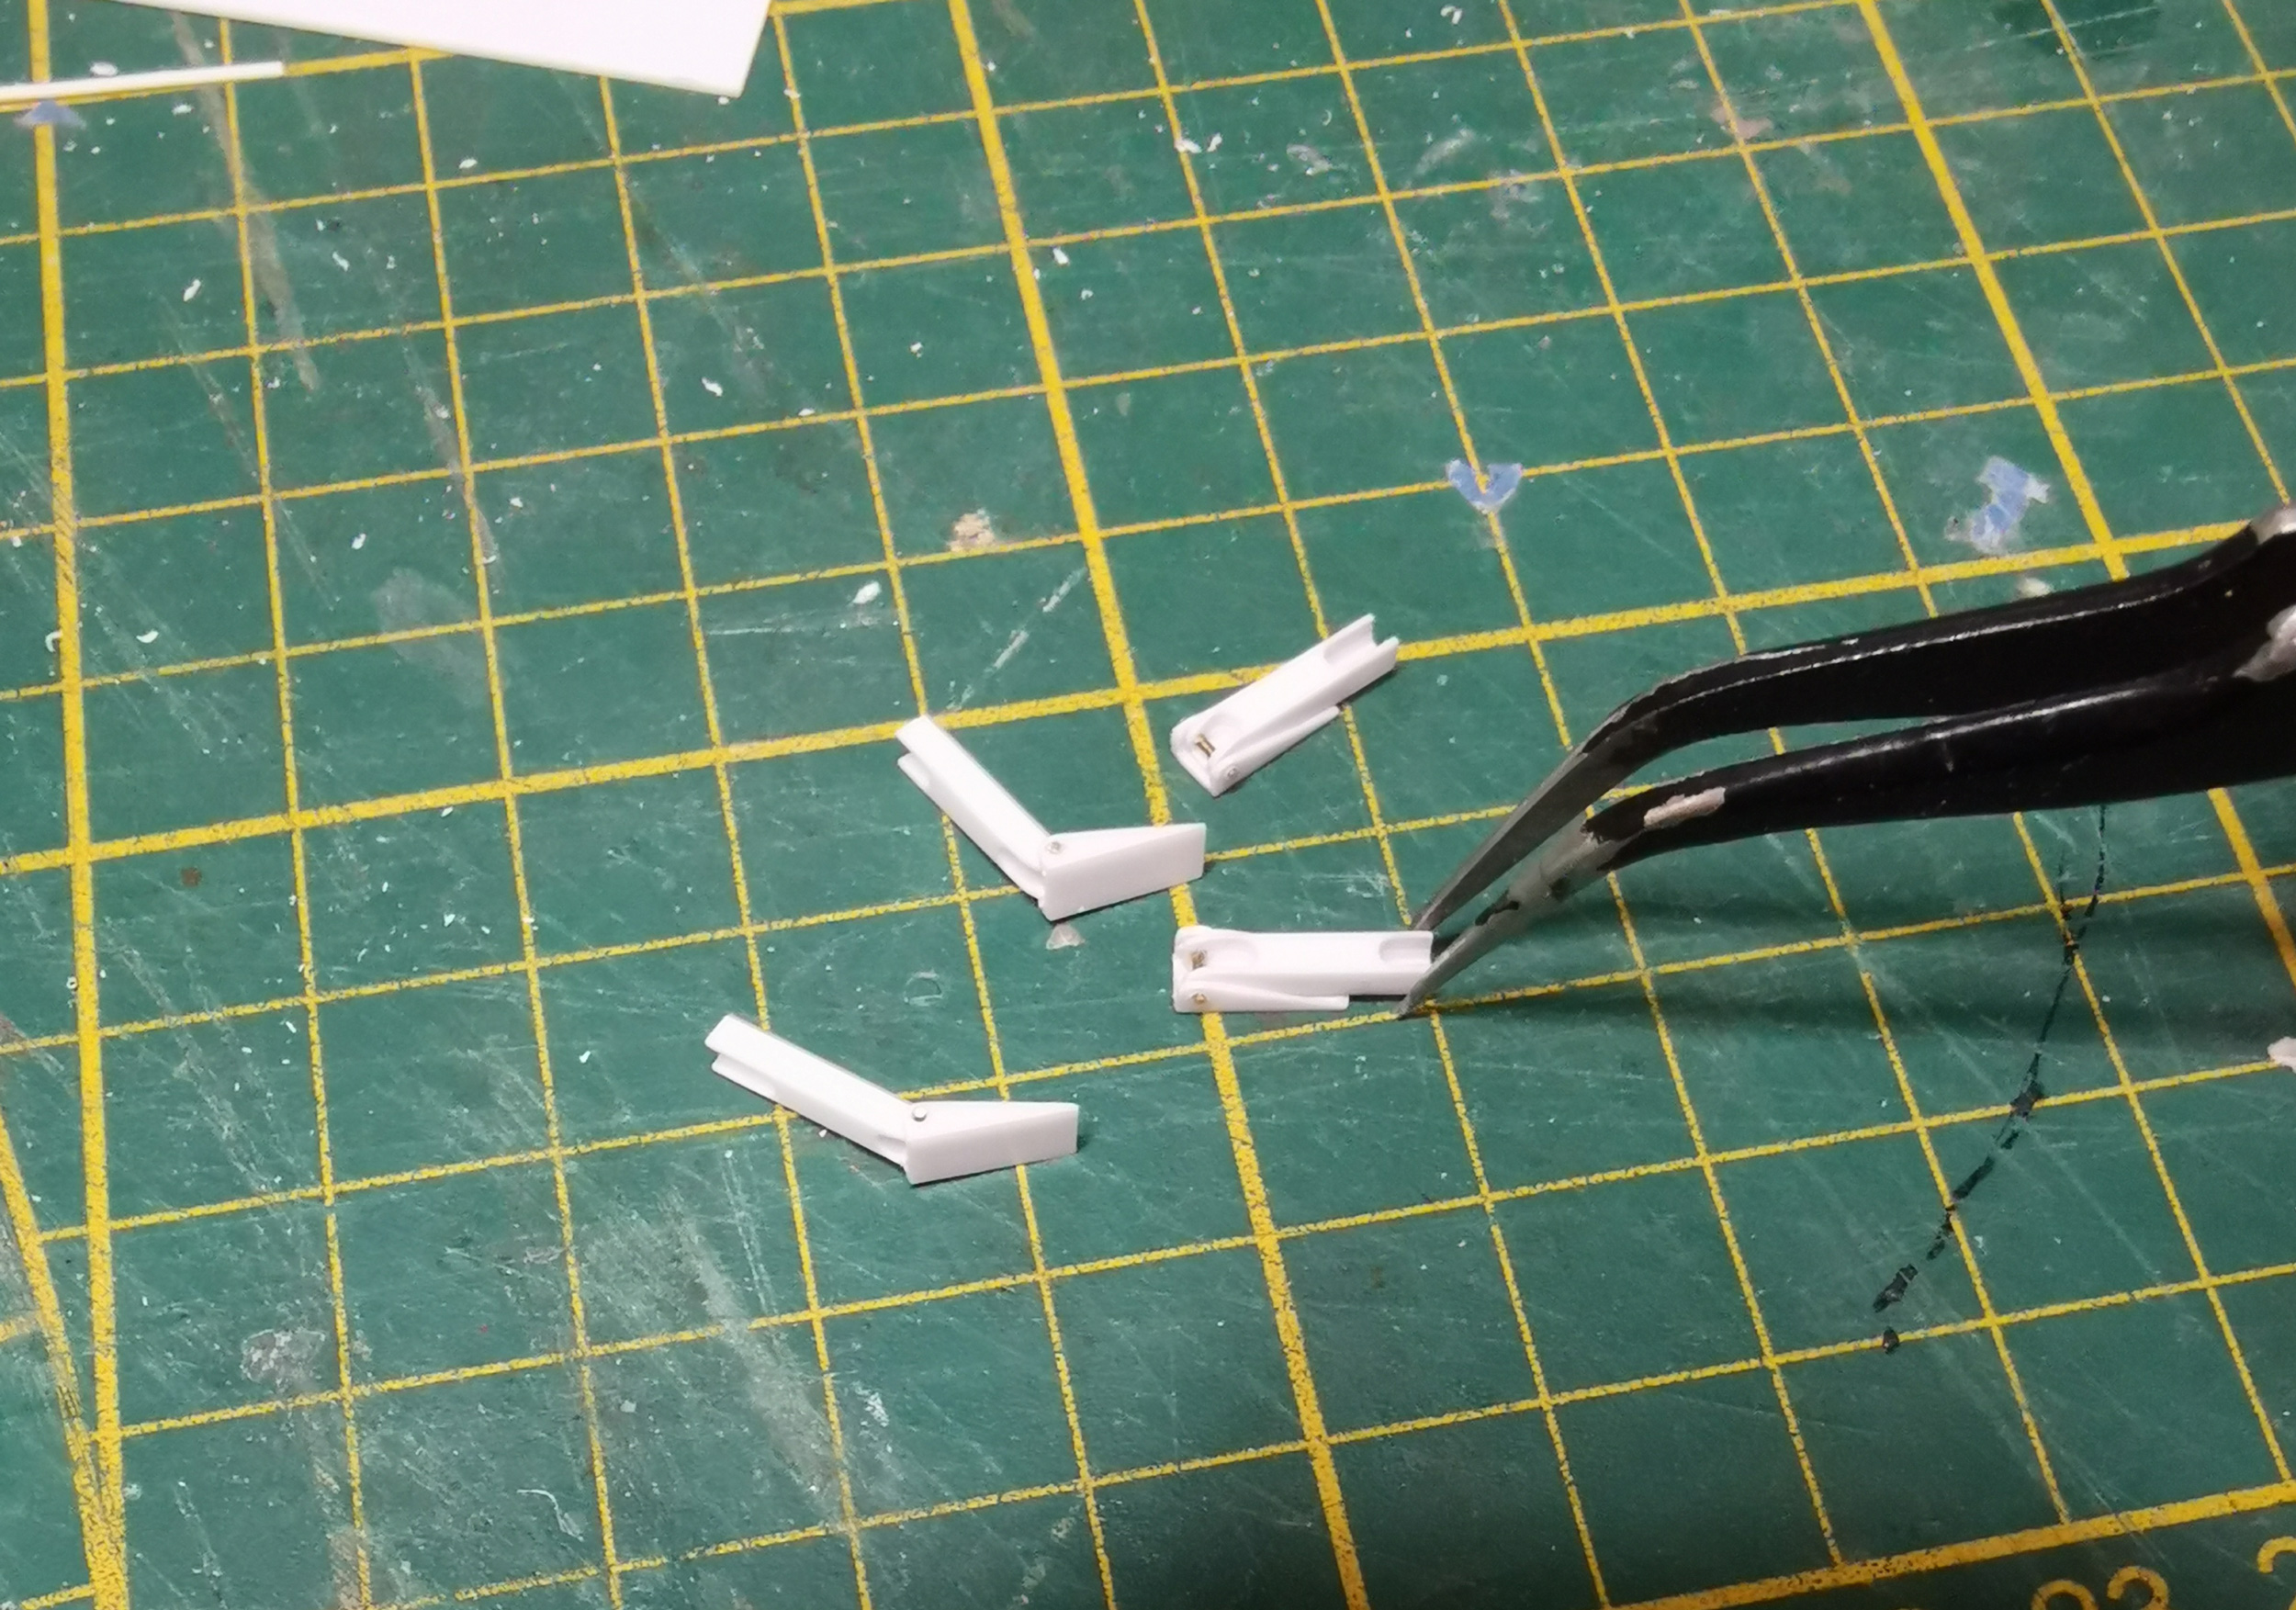
- DUKW37.jpg (1.15 MiB) Viewed 609 times
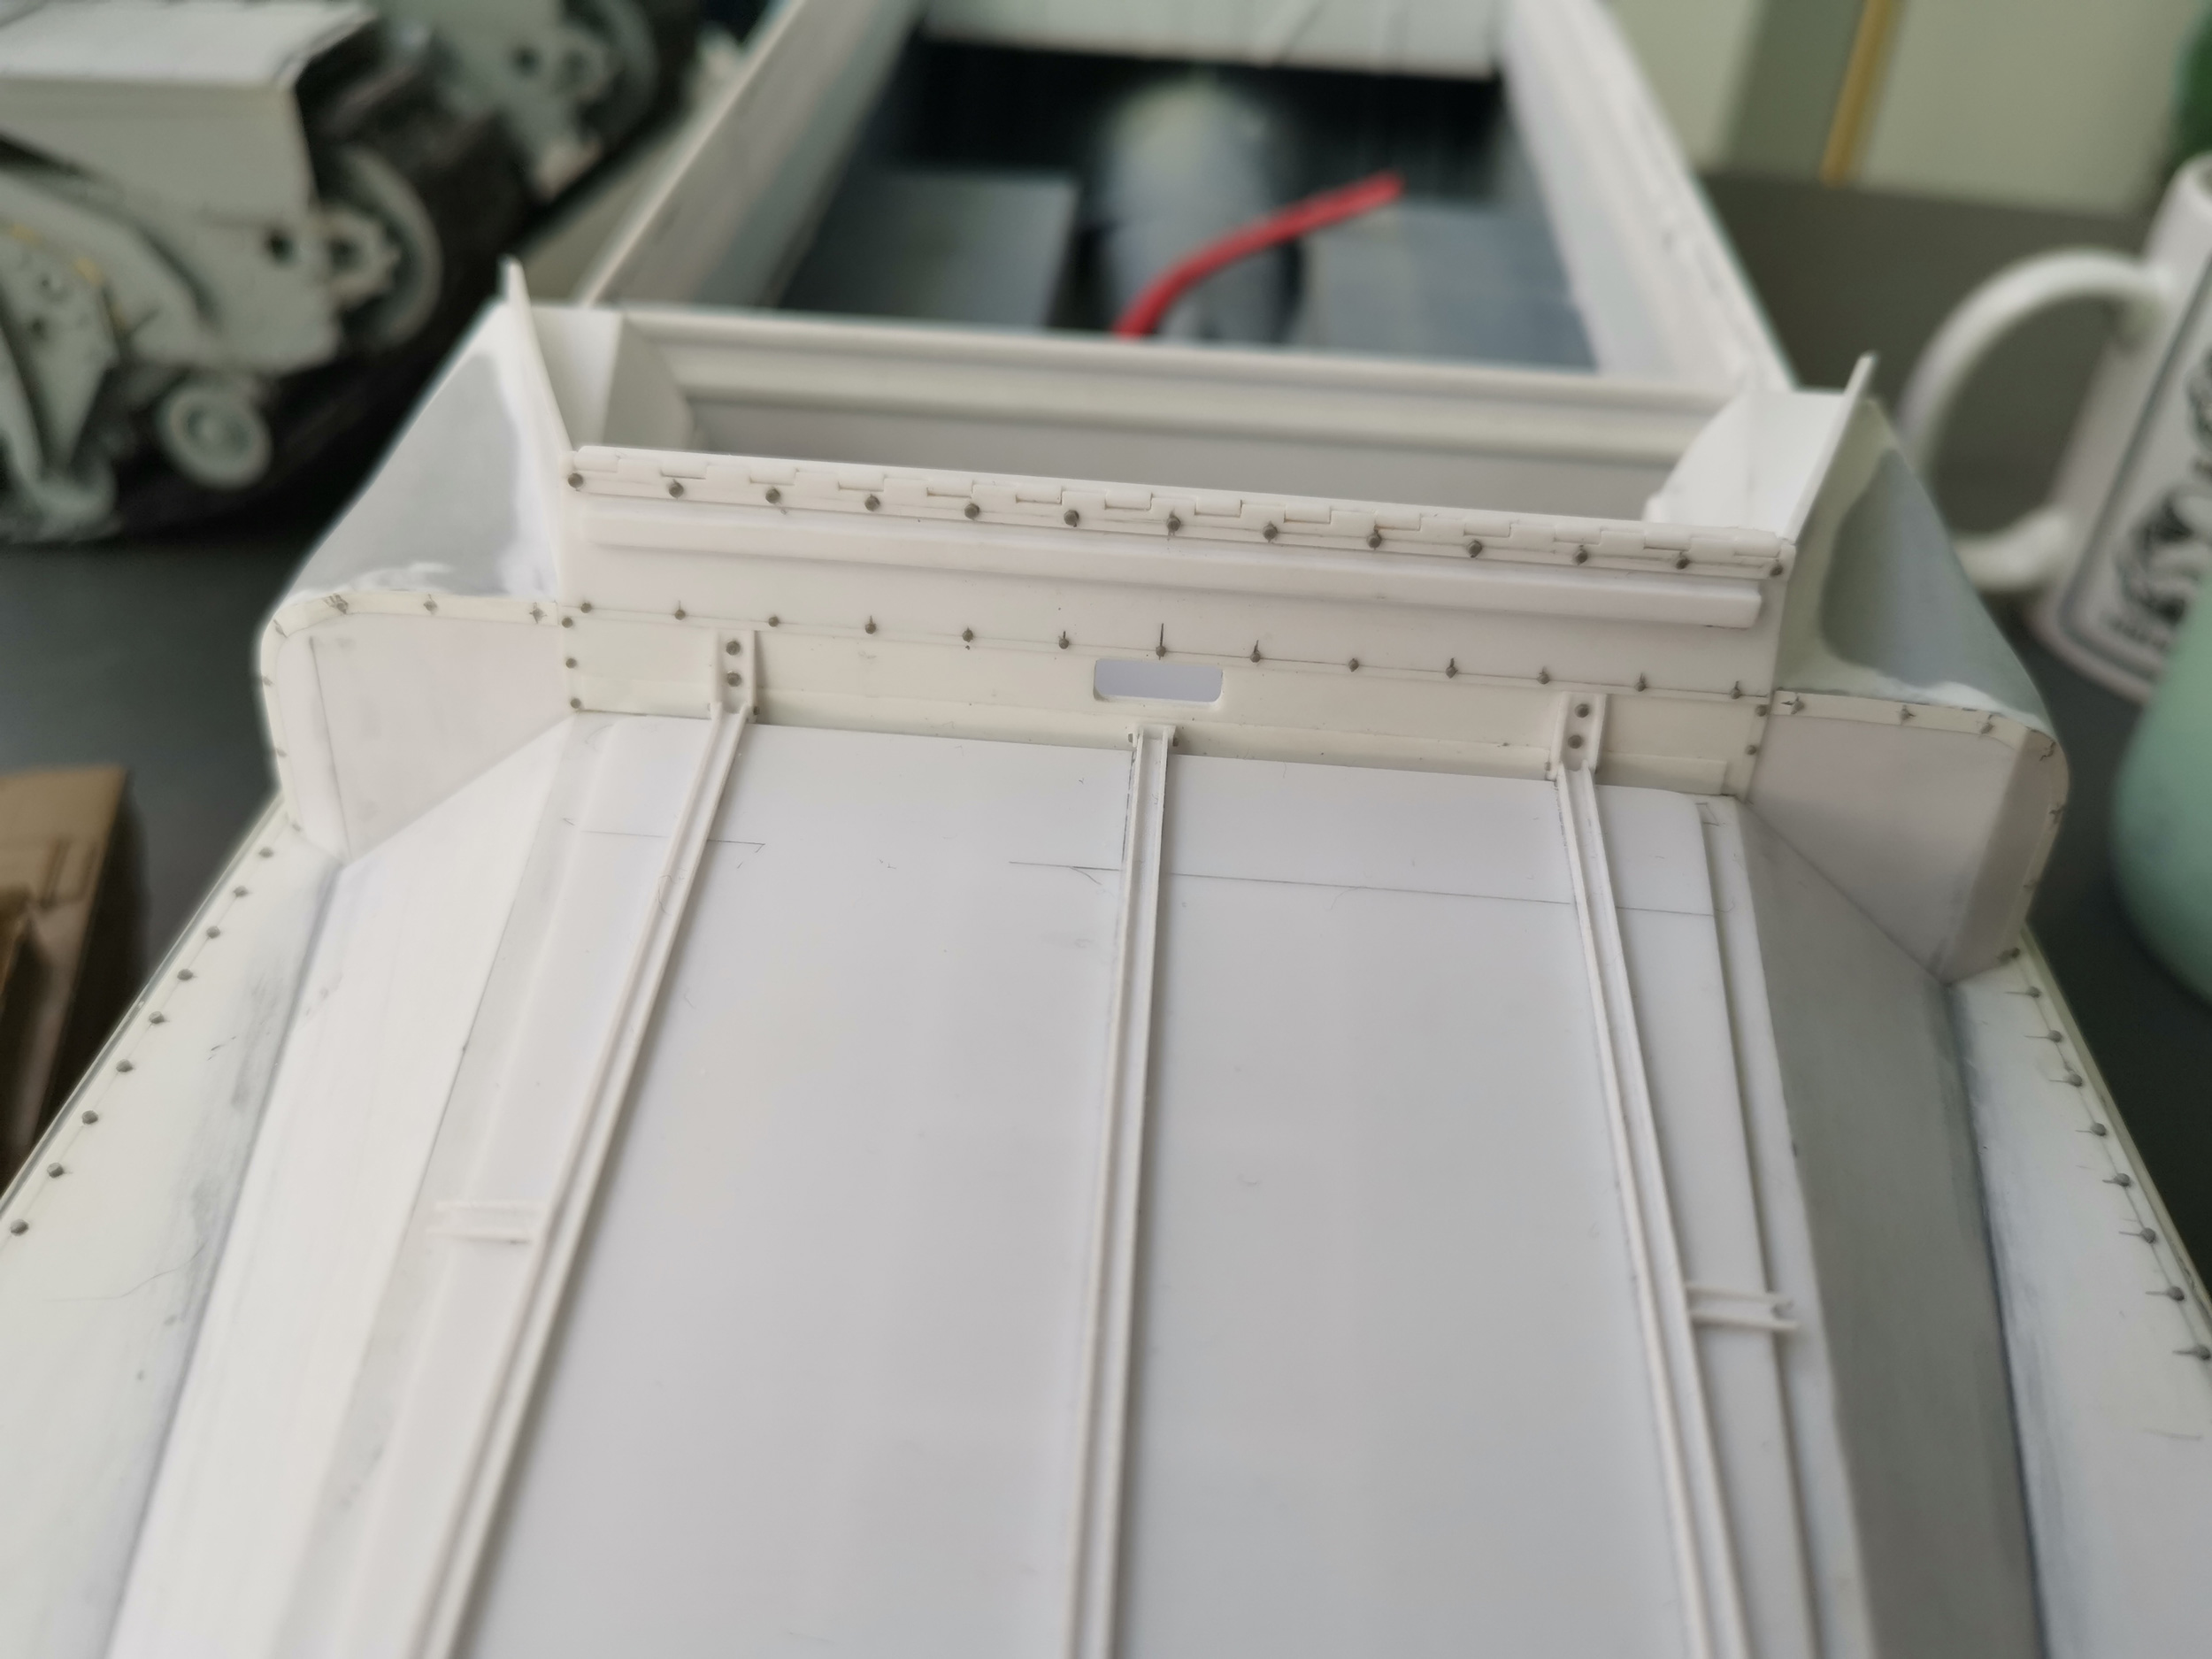
The breakwater is made out of styrene but I tried to recreate the hollow rails :
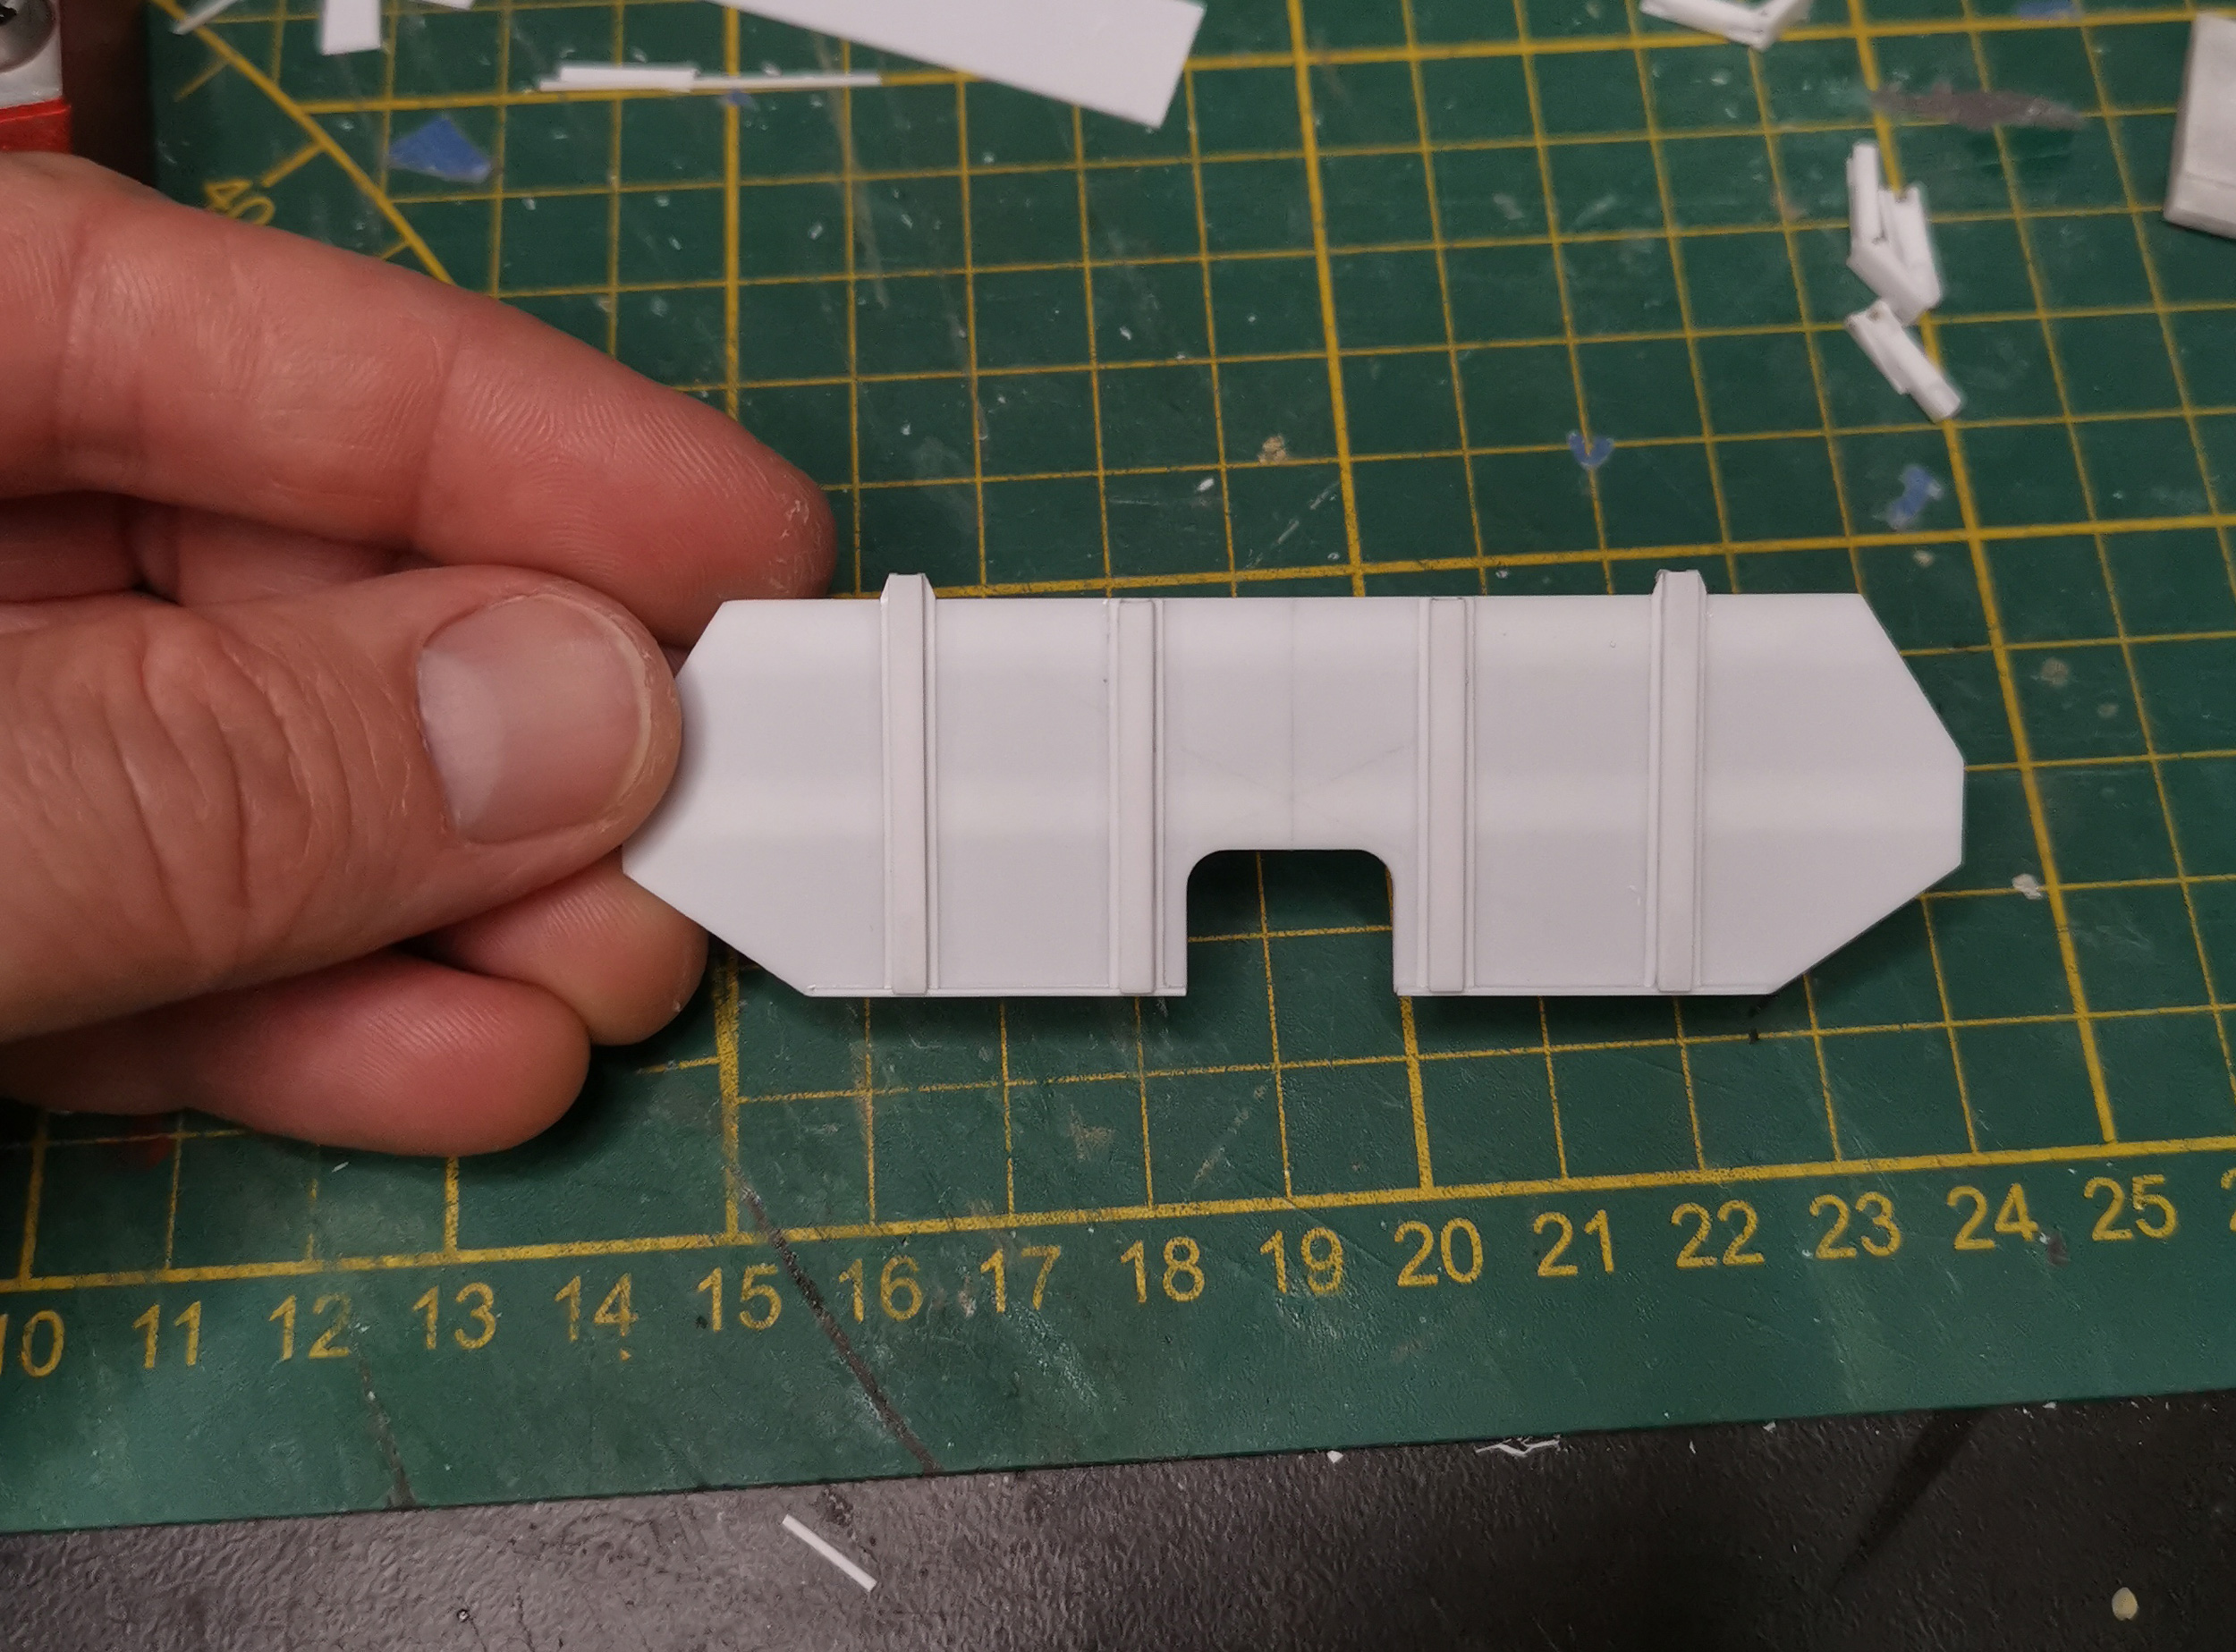
- DUKW38.jpg (1.2 MiB) Viewed 609 times

- DUKW39.jpg (964.57 KiB) Viewed 609 times
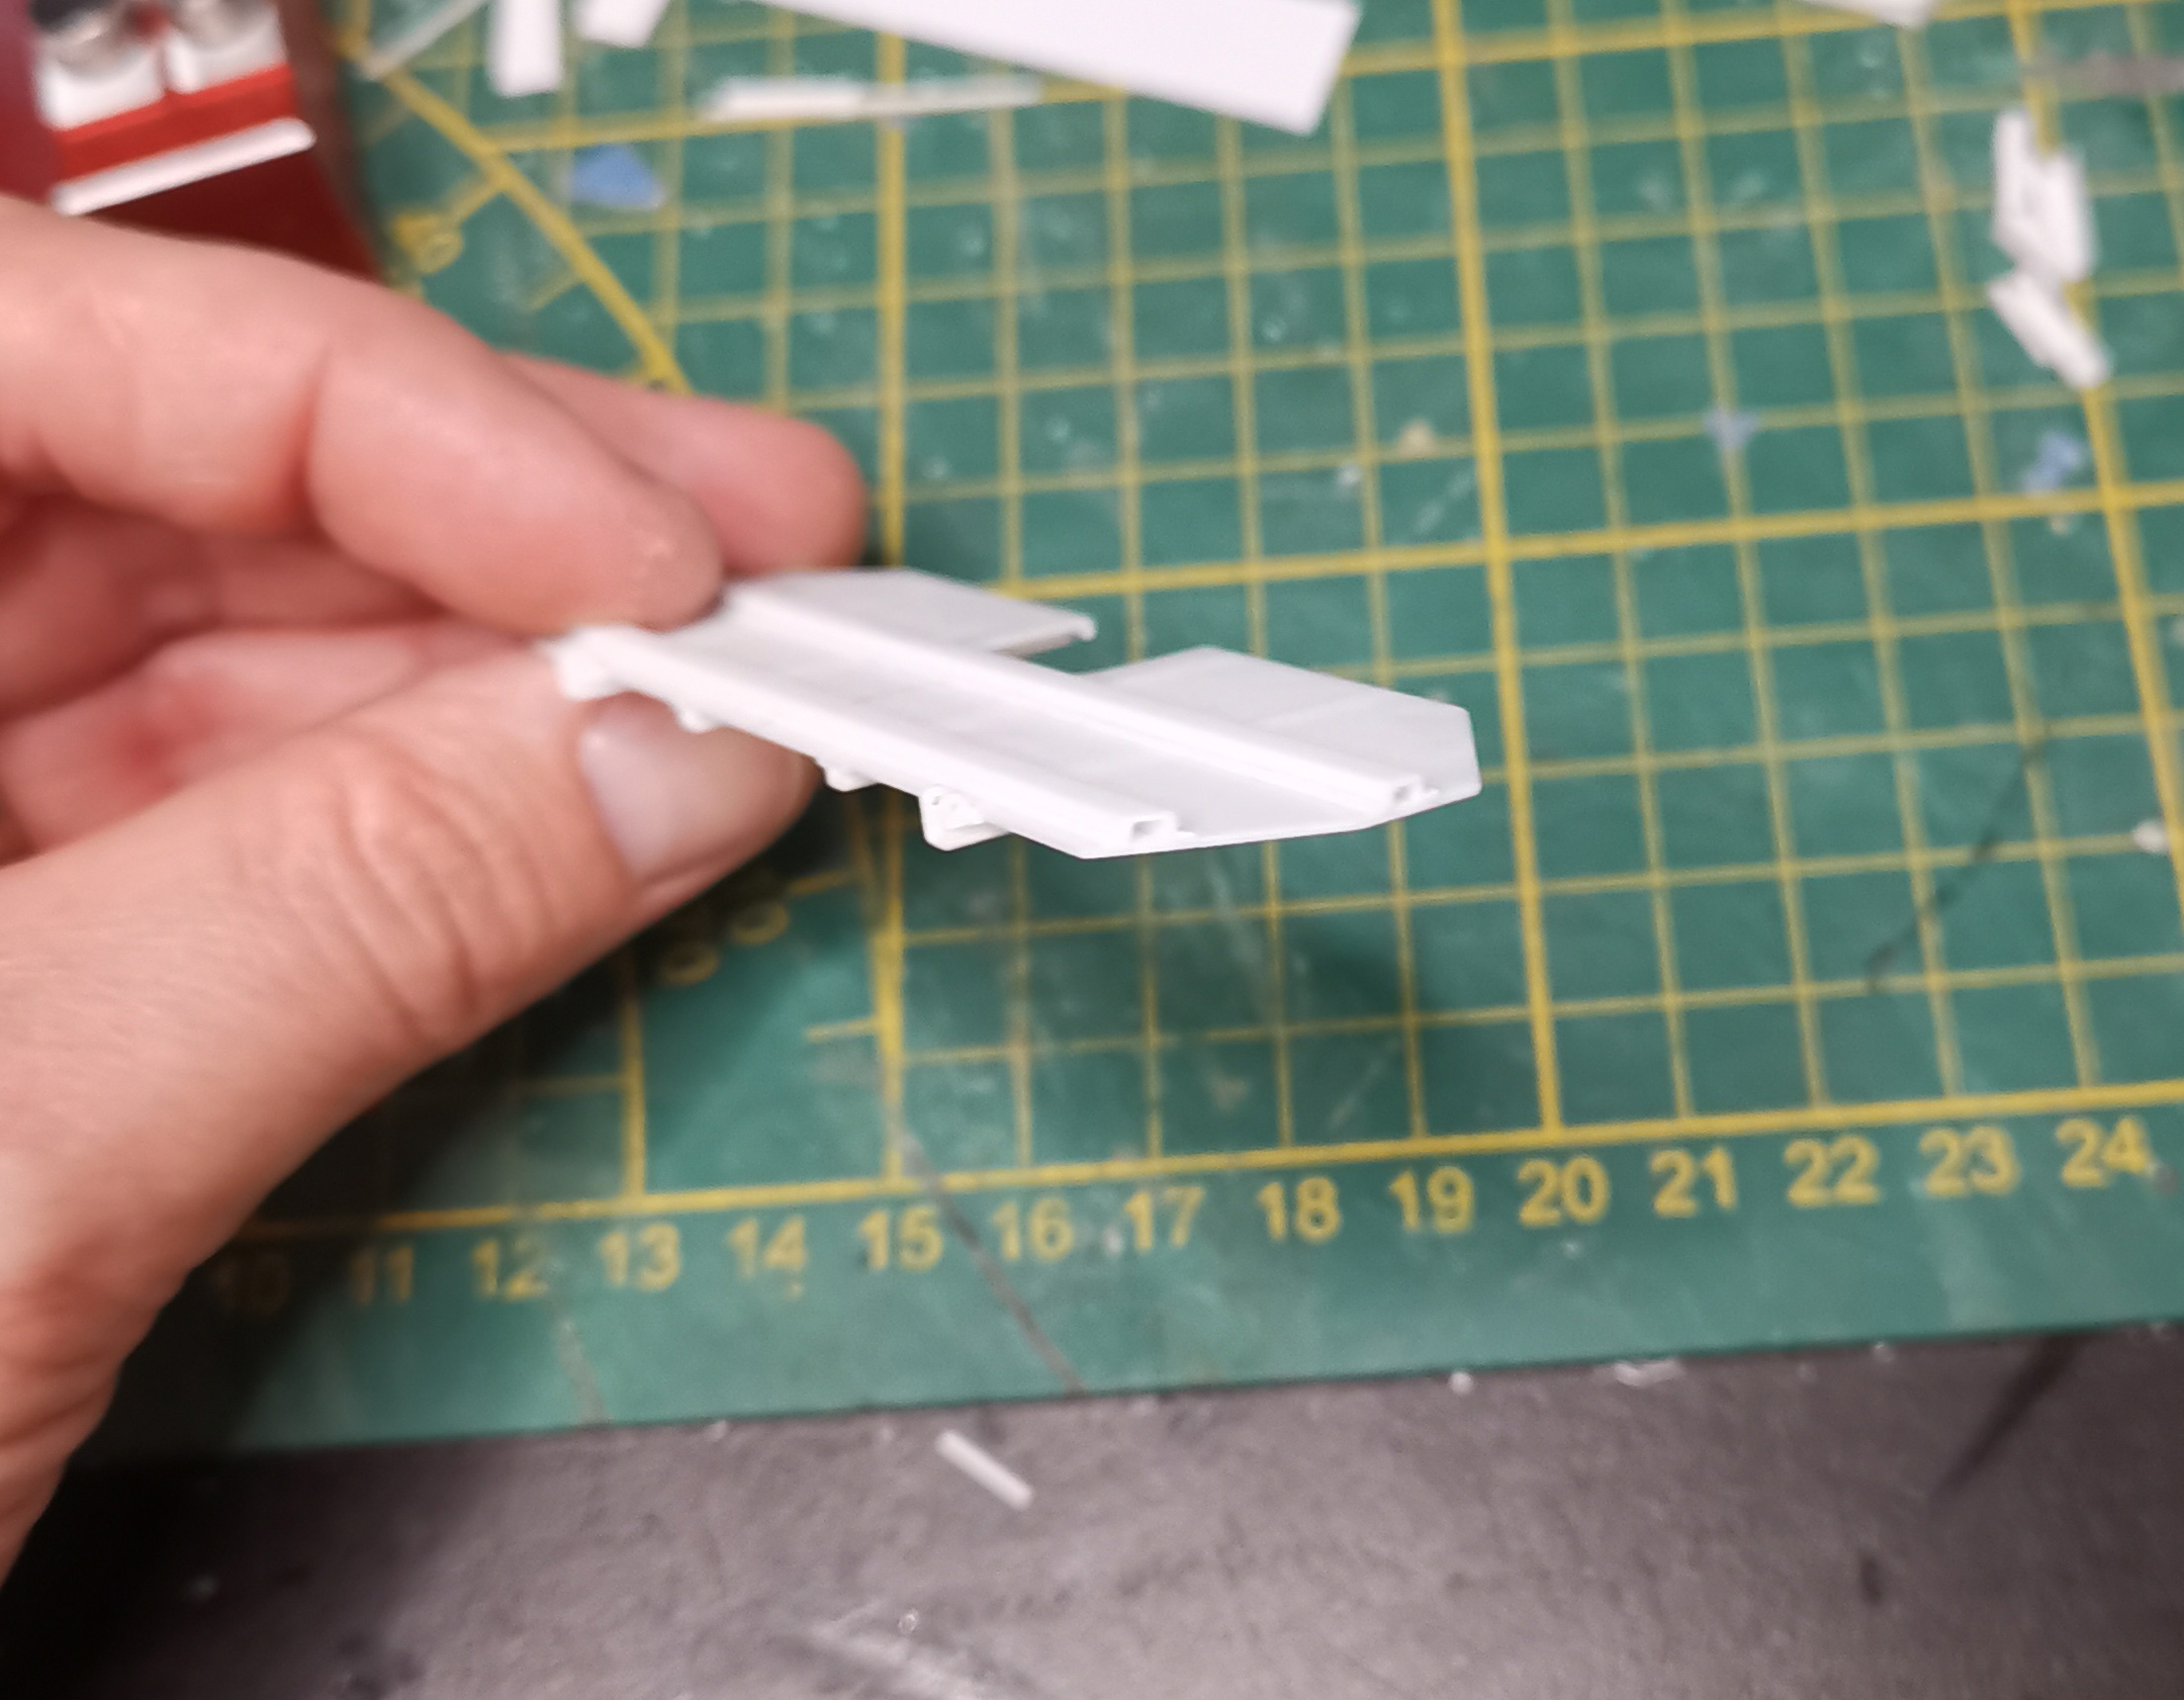
- DUKW40.jpg (680.58 KiB) Viewed 609 times
Re: Scratchbuilt DUKW
Posted: Fri Nov 07, 2025 11:46 pm
by MonsieurTox
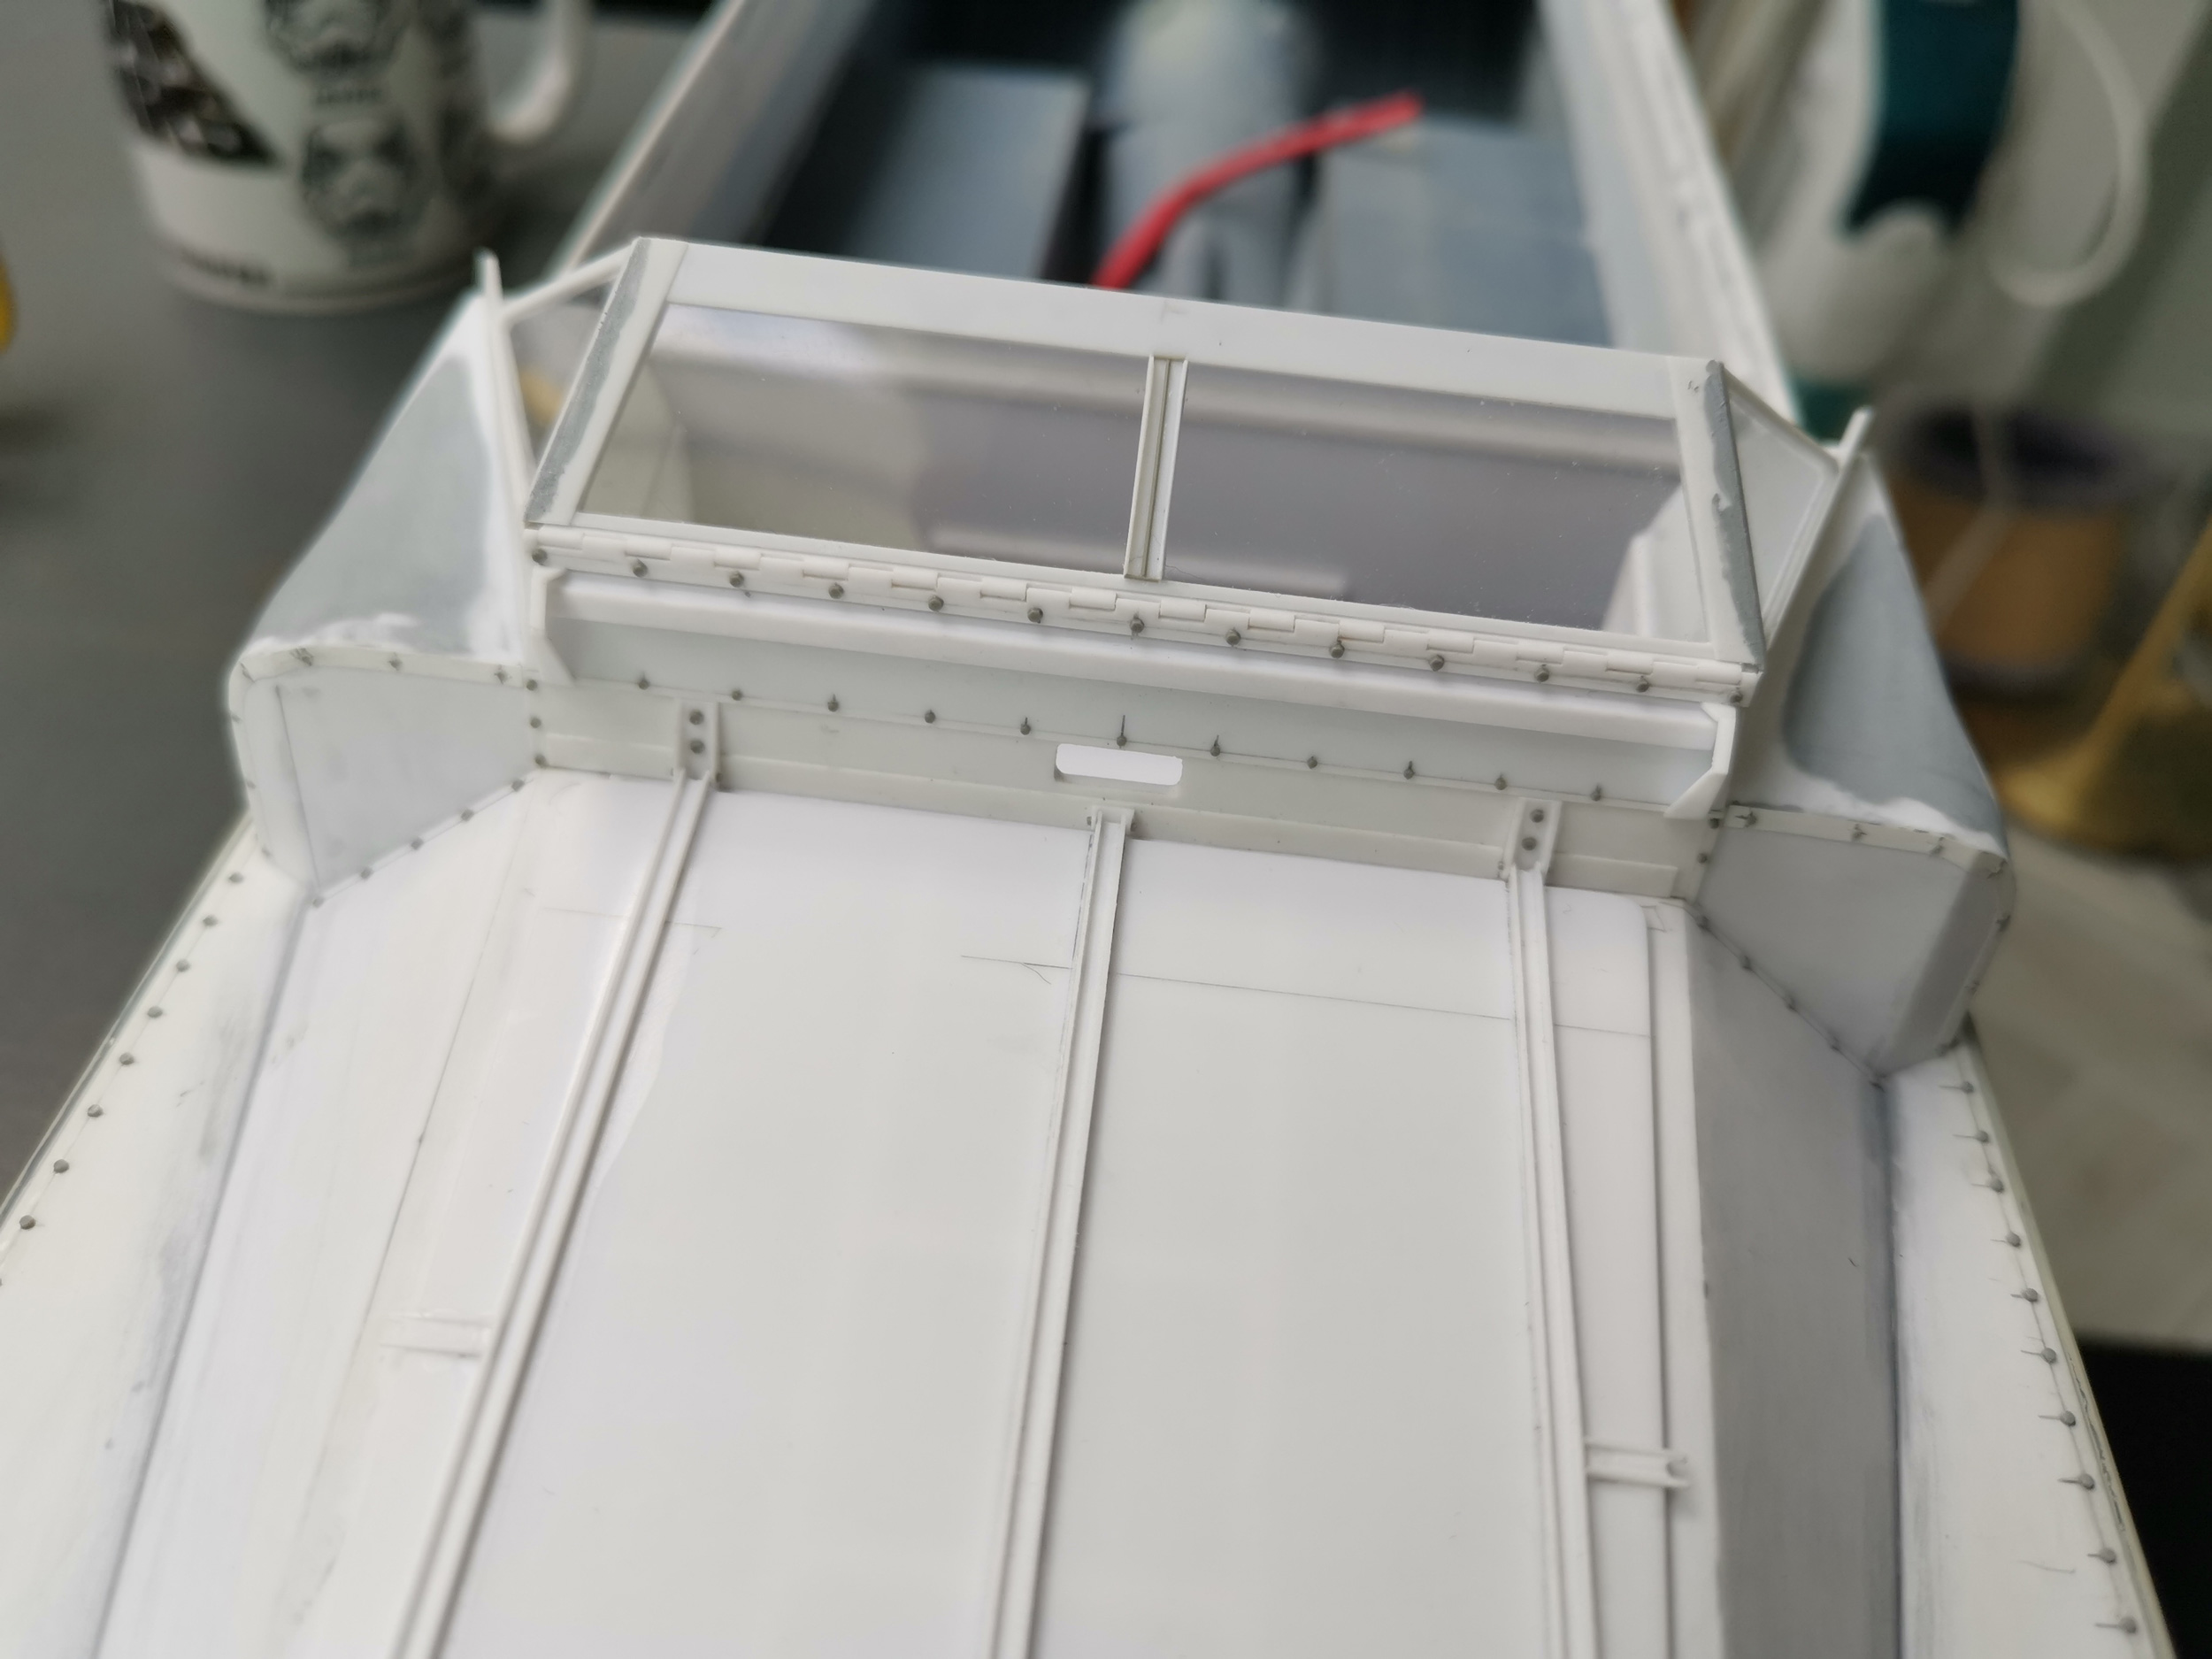
The making of the windshield.
Some more hinges... not the same kind this time, and they are just cosmetic !
Once again, they are made out of styrene :
- DUKW42.jpg (1.44 MiB) Viewed 605 times
Together, nice tight fit :
- DUKW43.jpg (1.46 MiB) Viewed 605 times
In place :
- DUKW44.jpg (483.97 KiB) Viewed 605 times
You can notice I added more details on the front plate (more plates, rail, bolts etc)
You can also notice the hinges of the engine compartment door.
Making of the windshield, I tried to make it like the original, glass sandwitched between an inner and an outer frame.
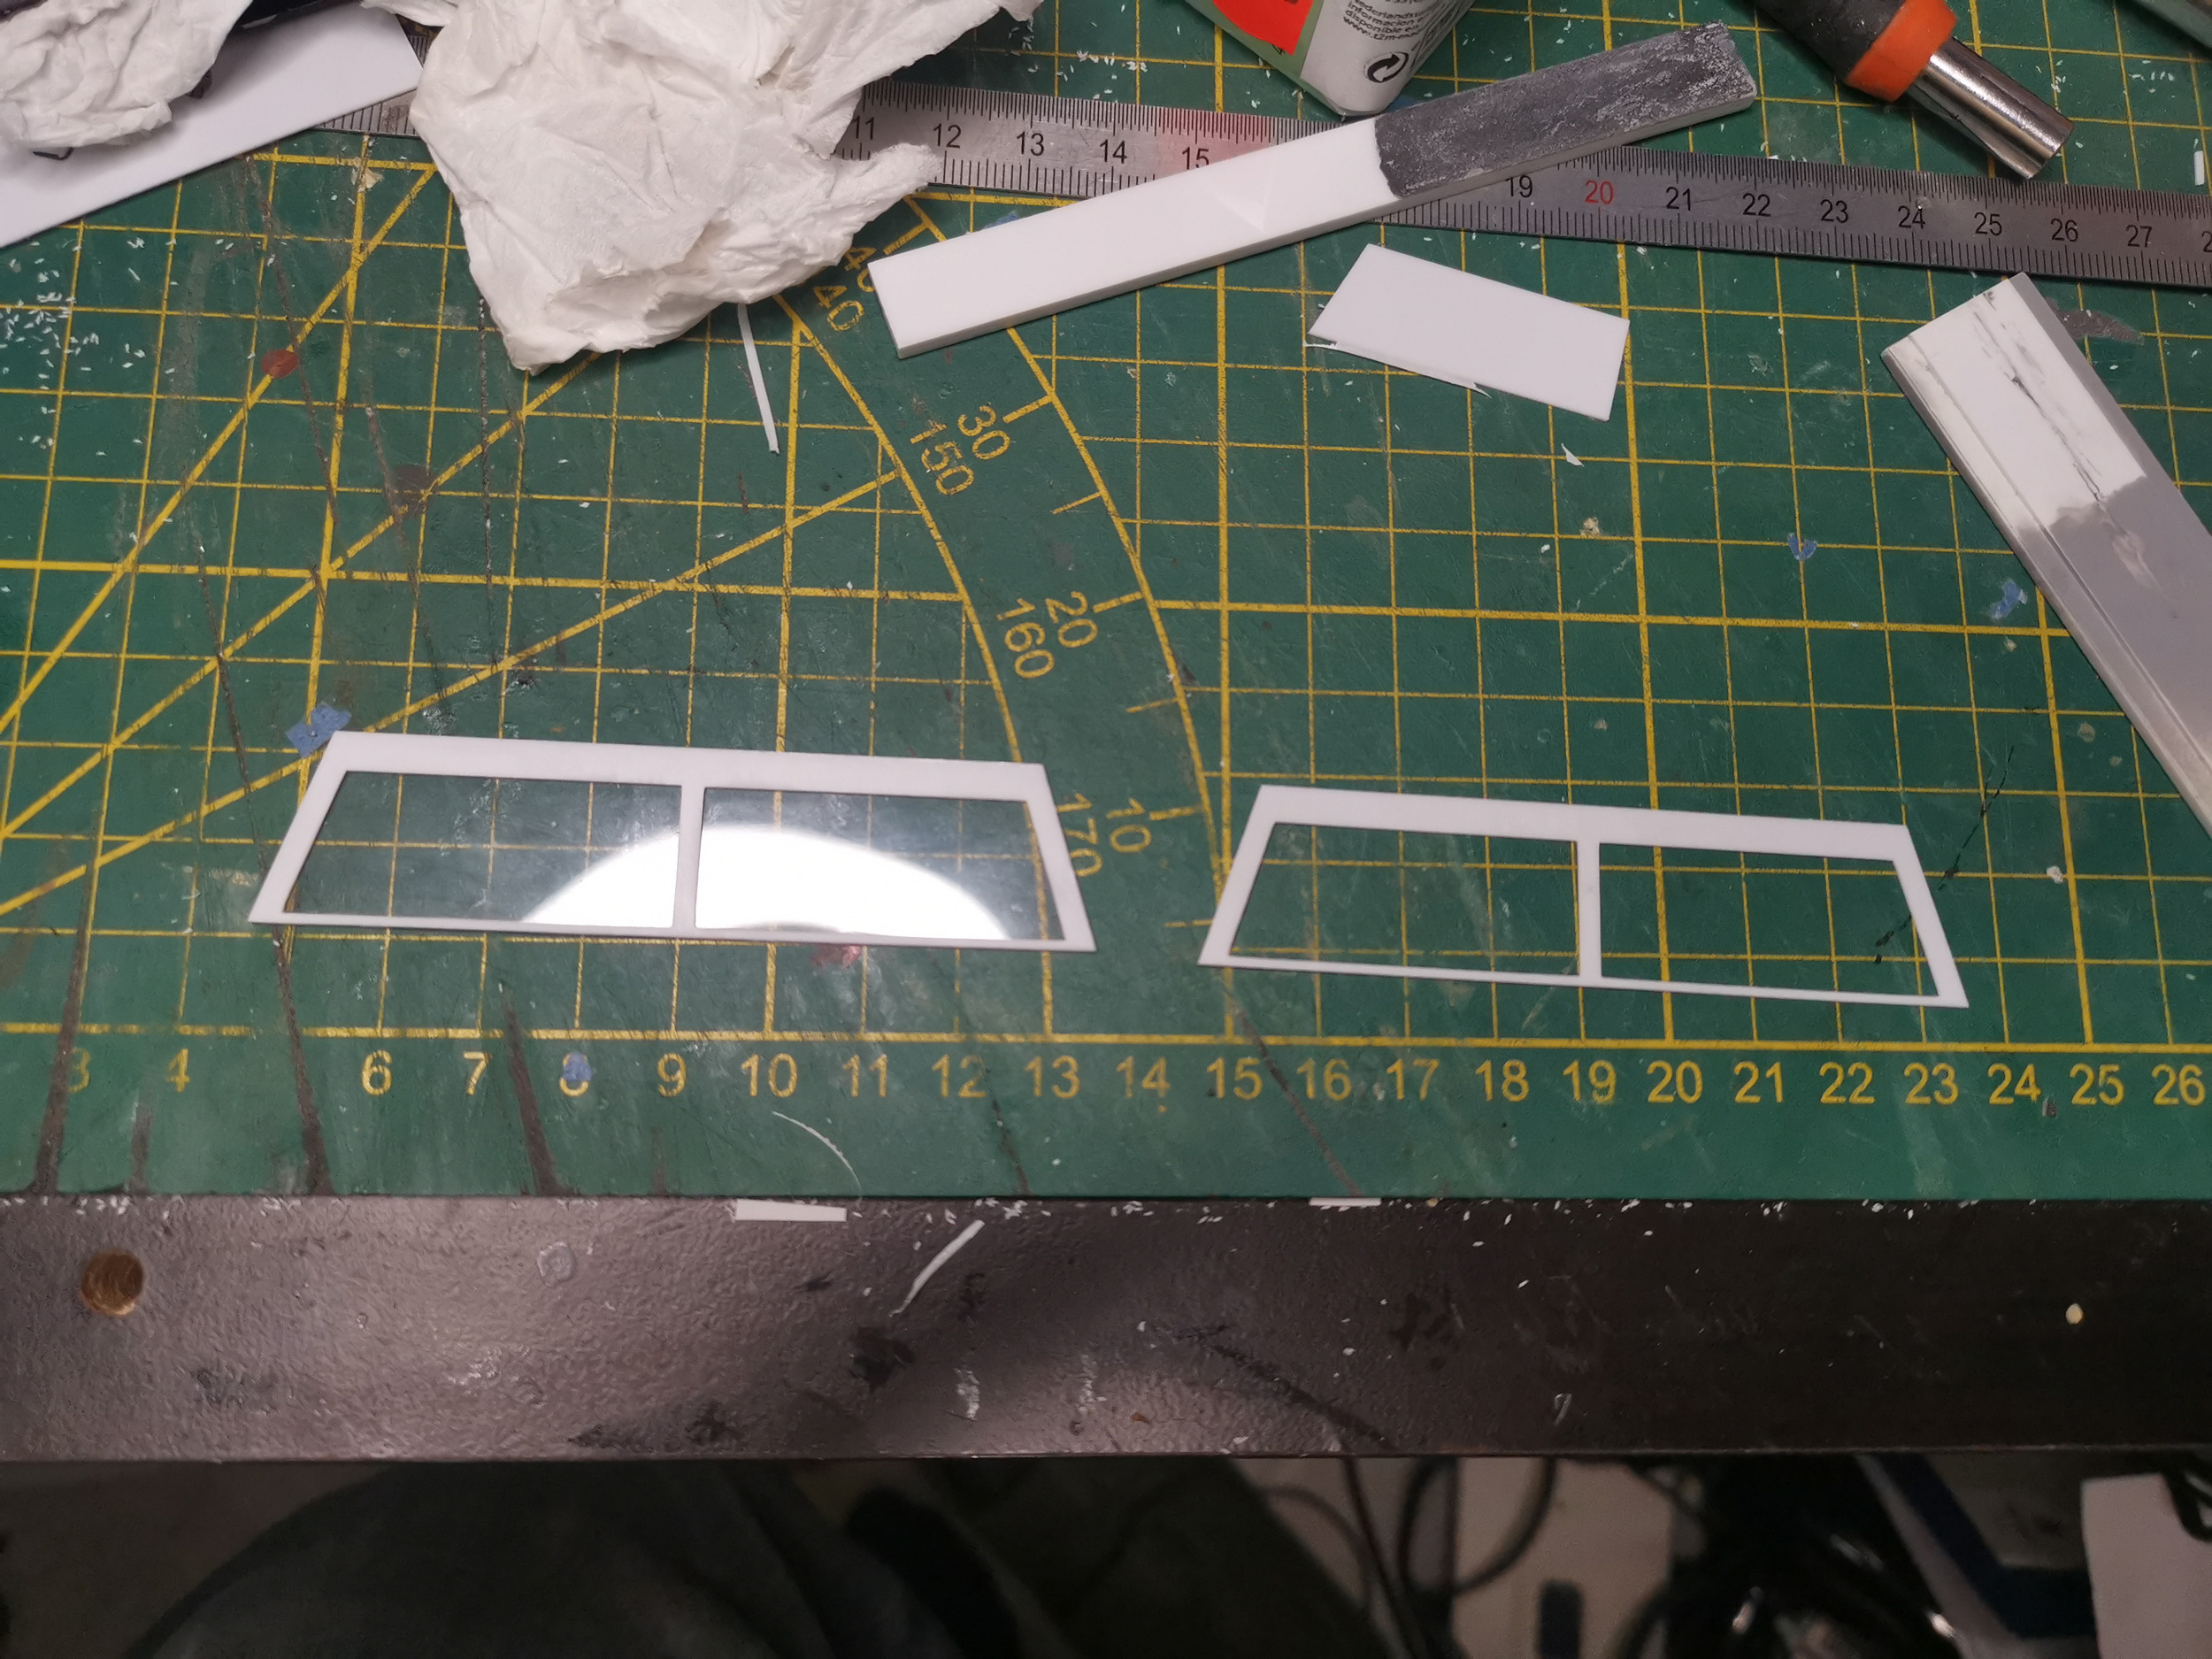
- DUKW45.jpg (1.29 MiB) Viewed 605 times

- DUKW46.jpg (546.45 KiB) Viewed 605 times
- DUKW47.jpg (487.64 KiB) Viewed 605 times

- DUKW48.jpg (426.93 KiB) Viewed 605 times
Re: Scratchbuilt DUKW
Posted: Fri Nov 07, 2025 11:55 pm
by MonsieurTox
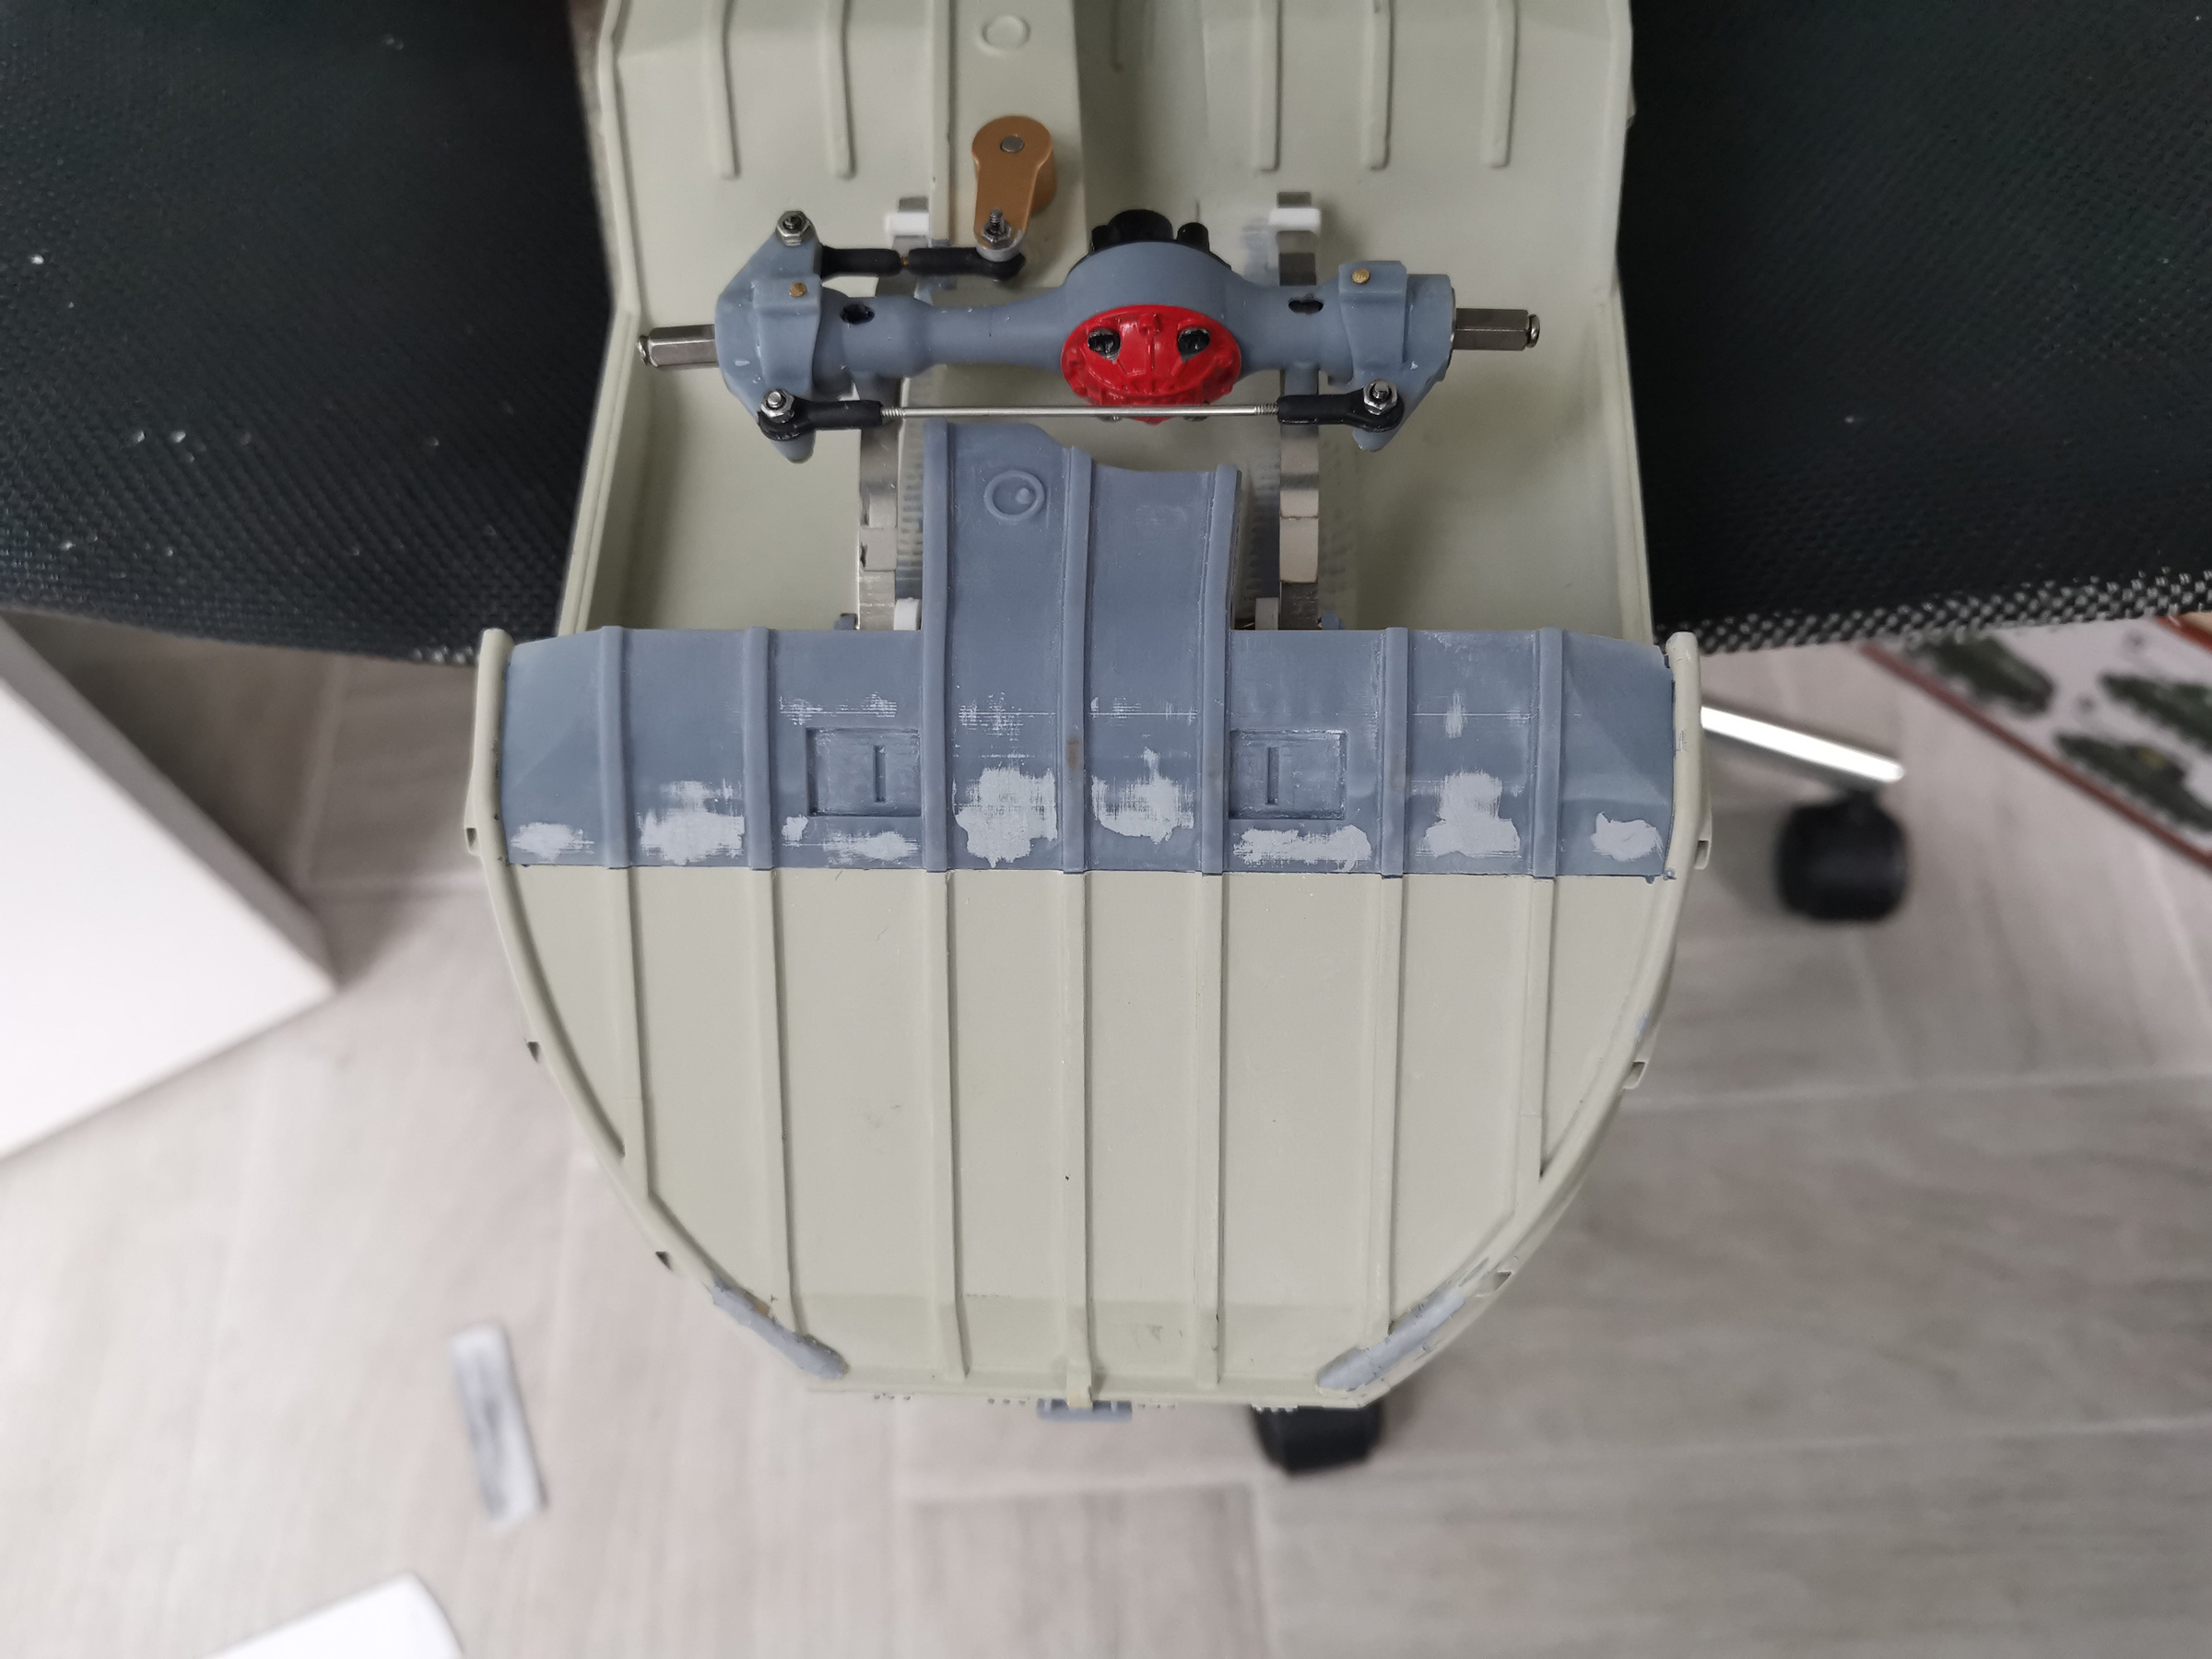
I was not happy with the shape of the nose. The middle was not going low enough so I had to correct the profile to get a more accurate look.
The more I looked at it the more it was bugging me so I had to find a plan.
It ended to be a 3 days of work (about 25 hours, from start to finish, redoing the CAD, printing the parts, cutting the hull etc...)
The grayed area needs to be cut and replaced :
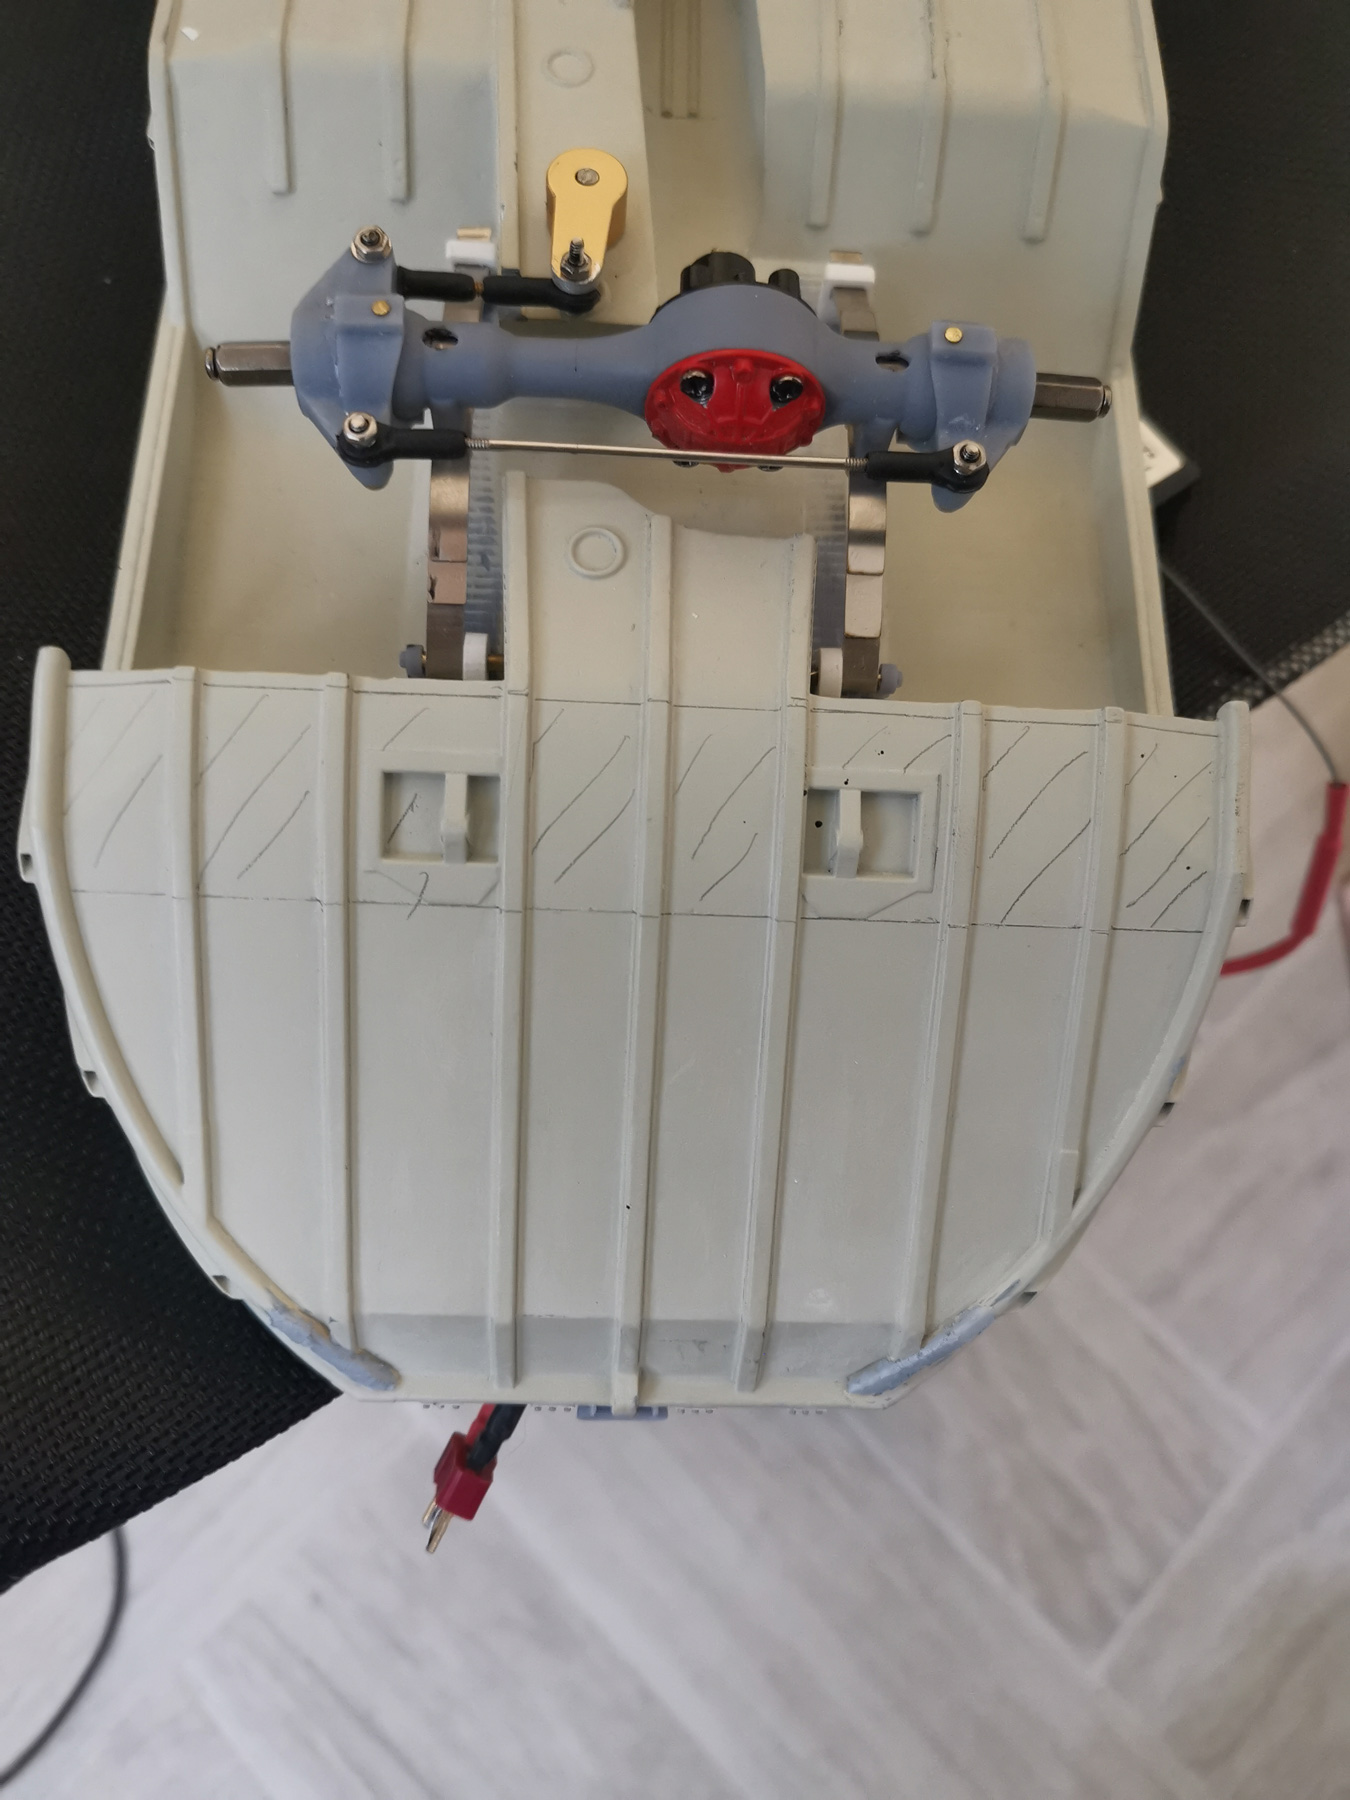
- DUKW49.jpg (401.48 KiB) Viewed 602 times
To be replaced with that part :
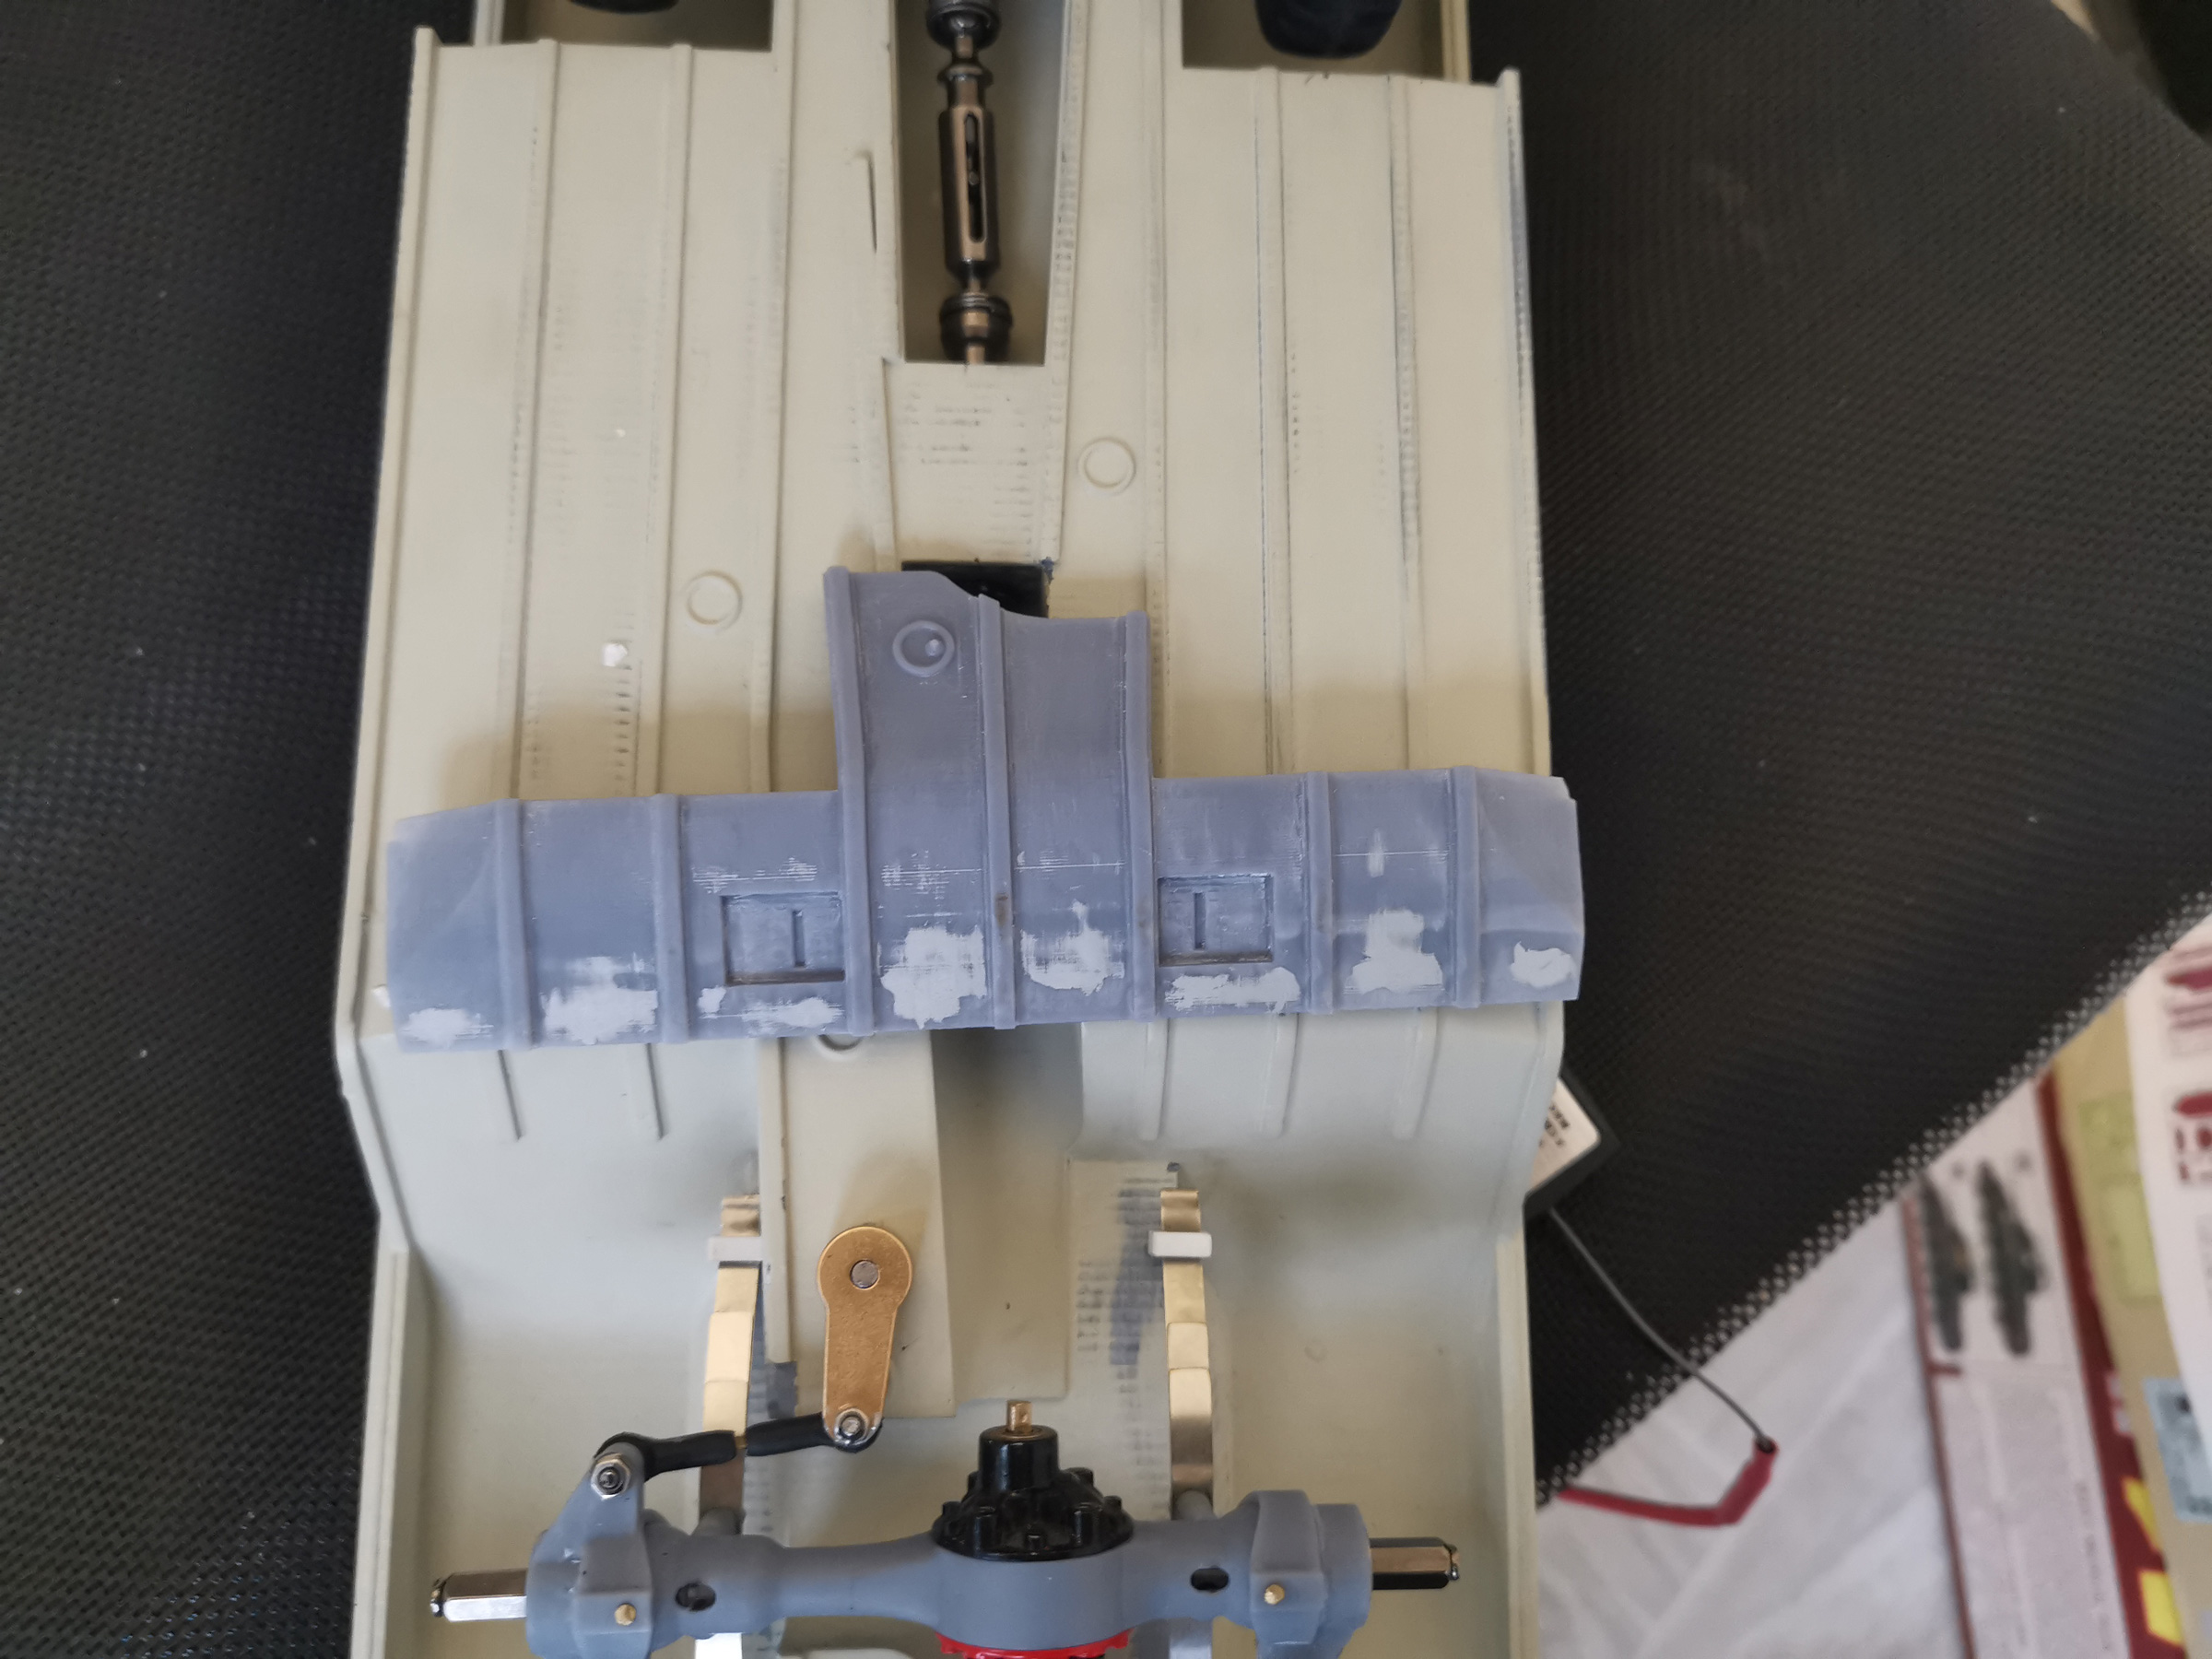
- DUKW50.jpg (699.54 KiB) Viewed 602 times
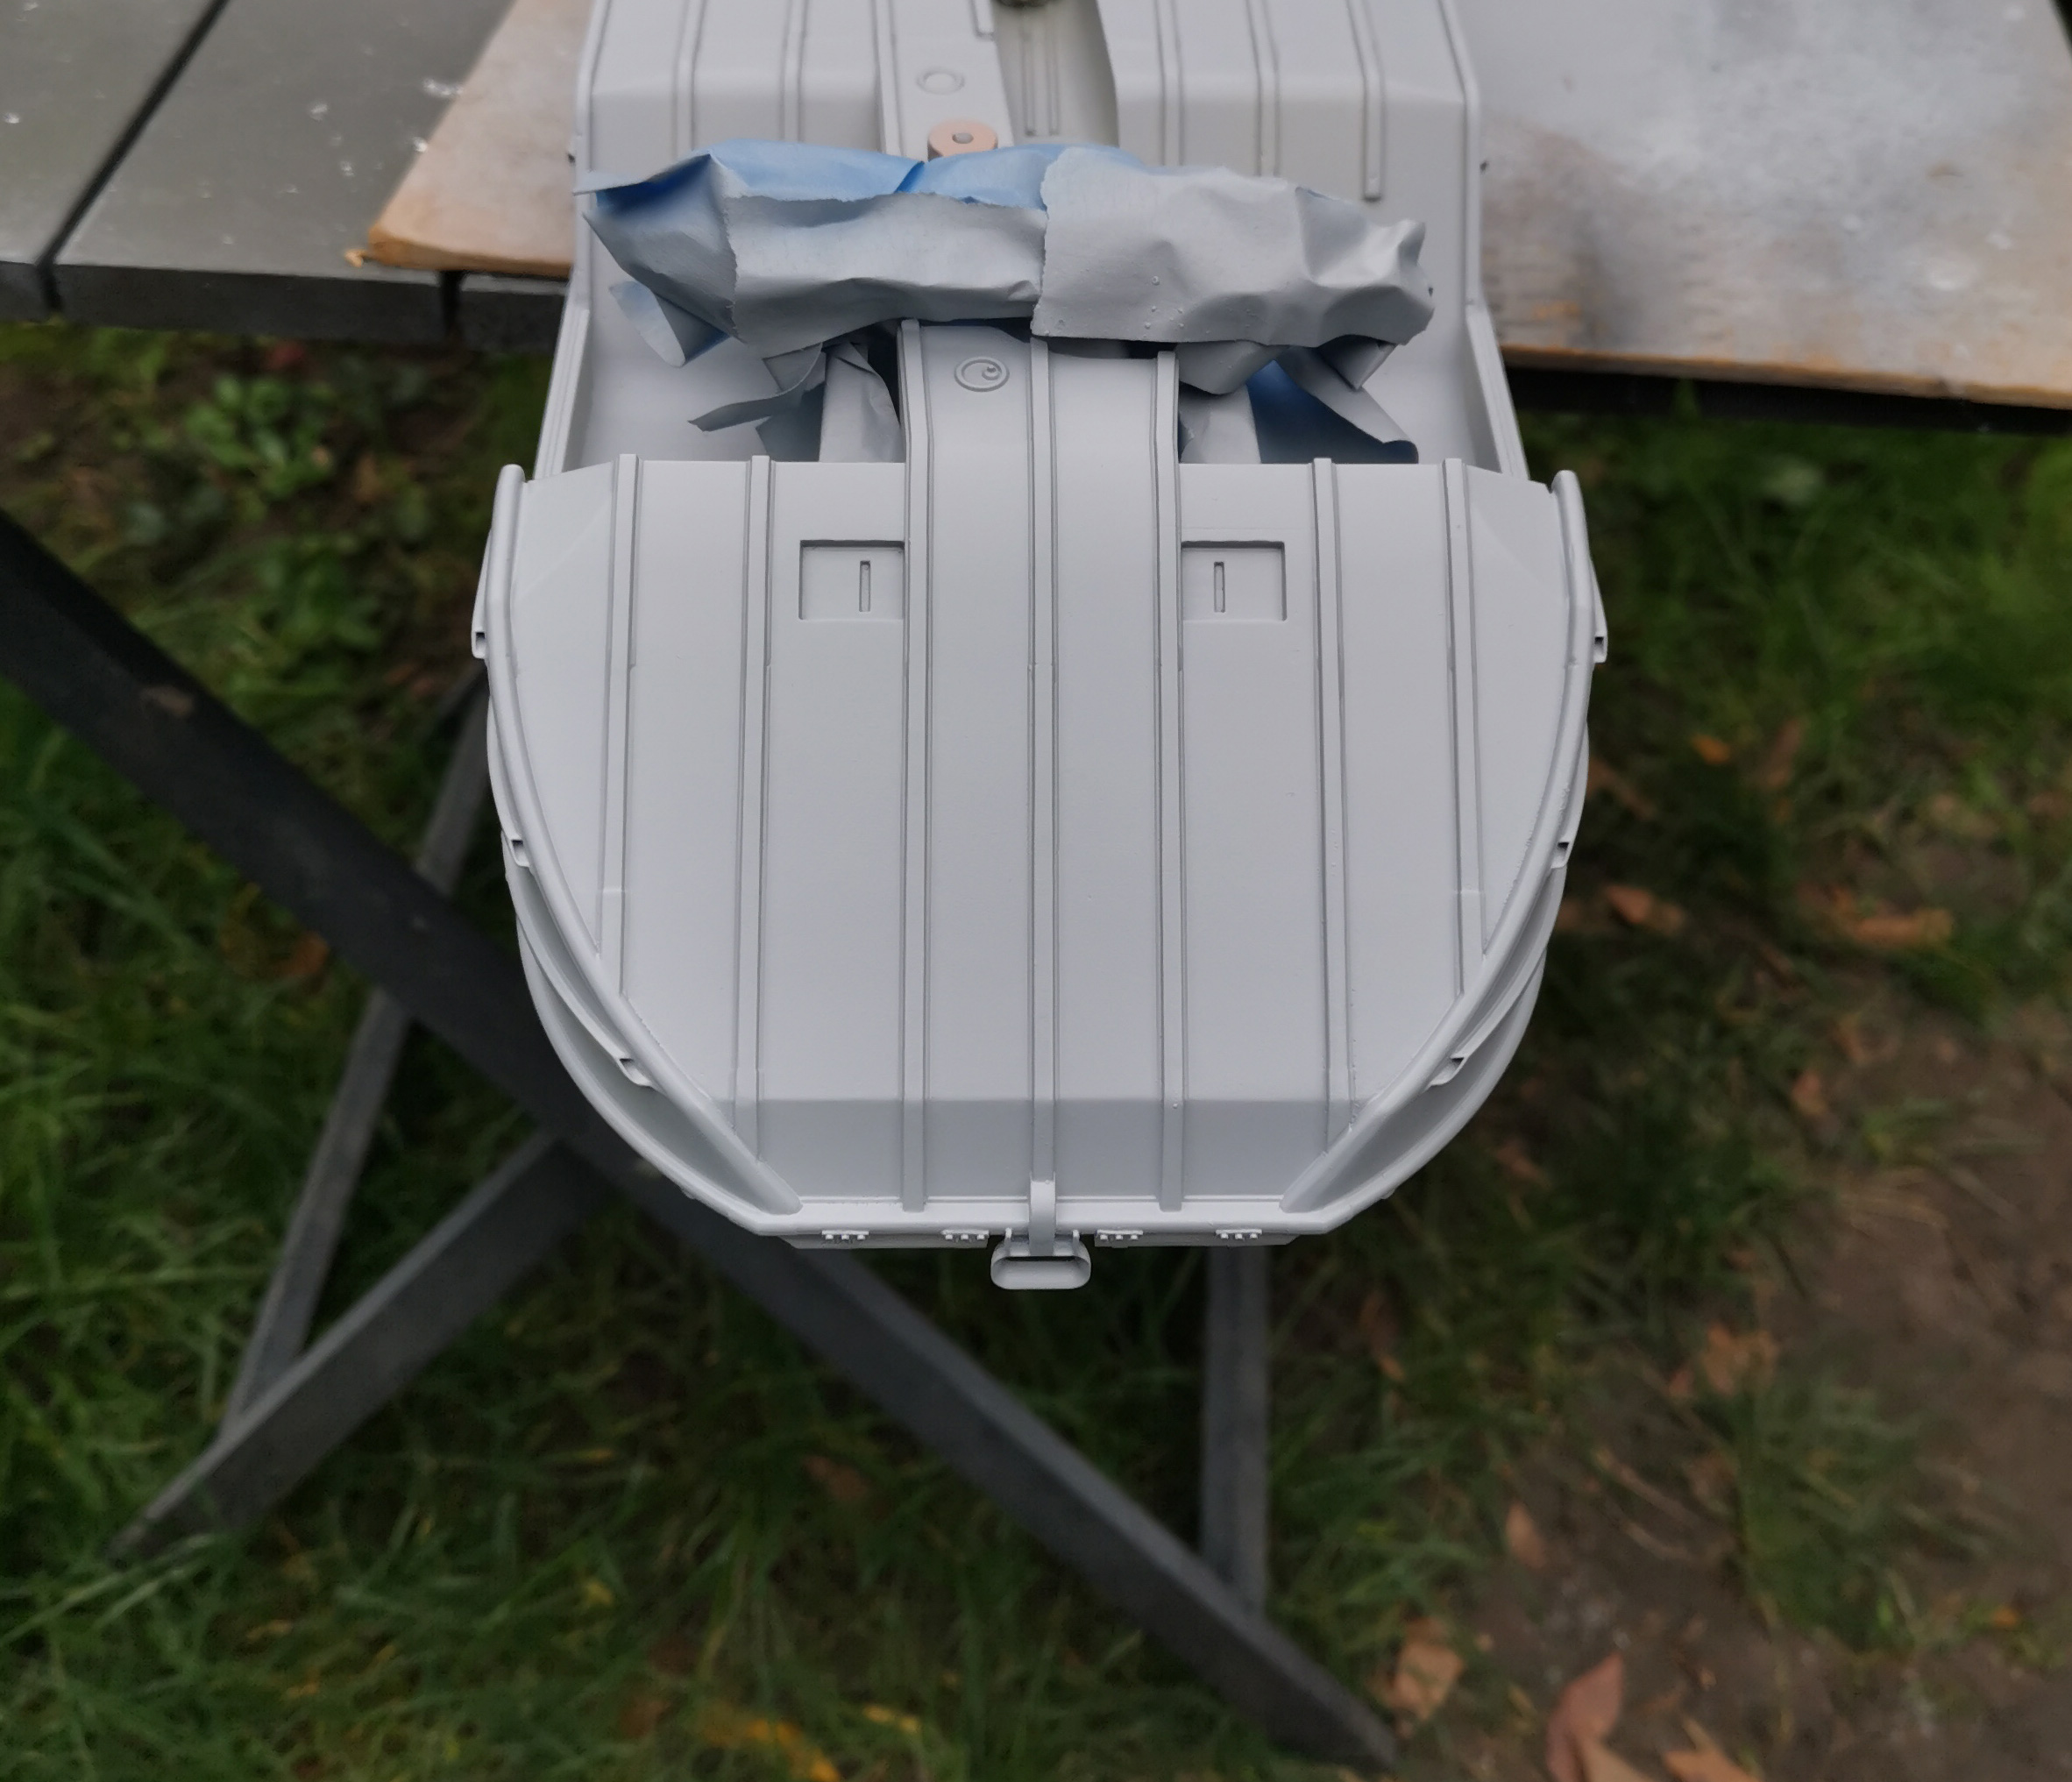
Hull is cut... No turning back now, 2 options : a success or a big fail and I have to start over the whole thing.
- DUKW51.jpg (647.76 KiB) Viewed 602 times
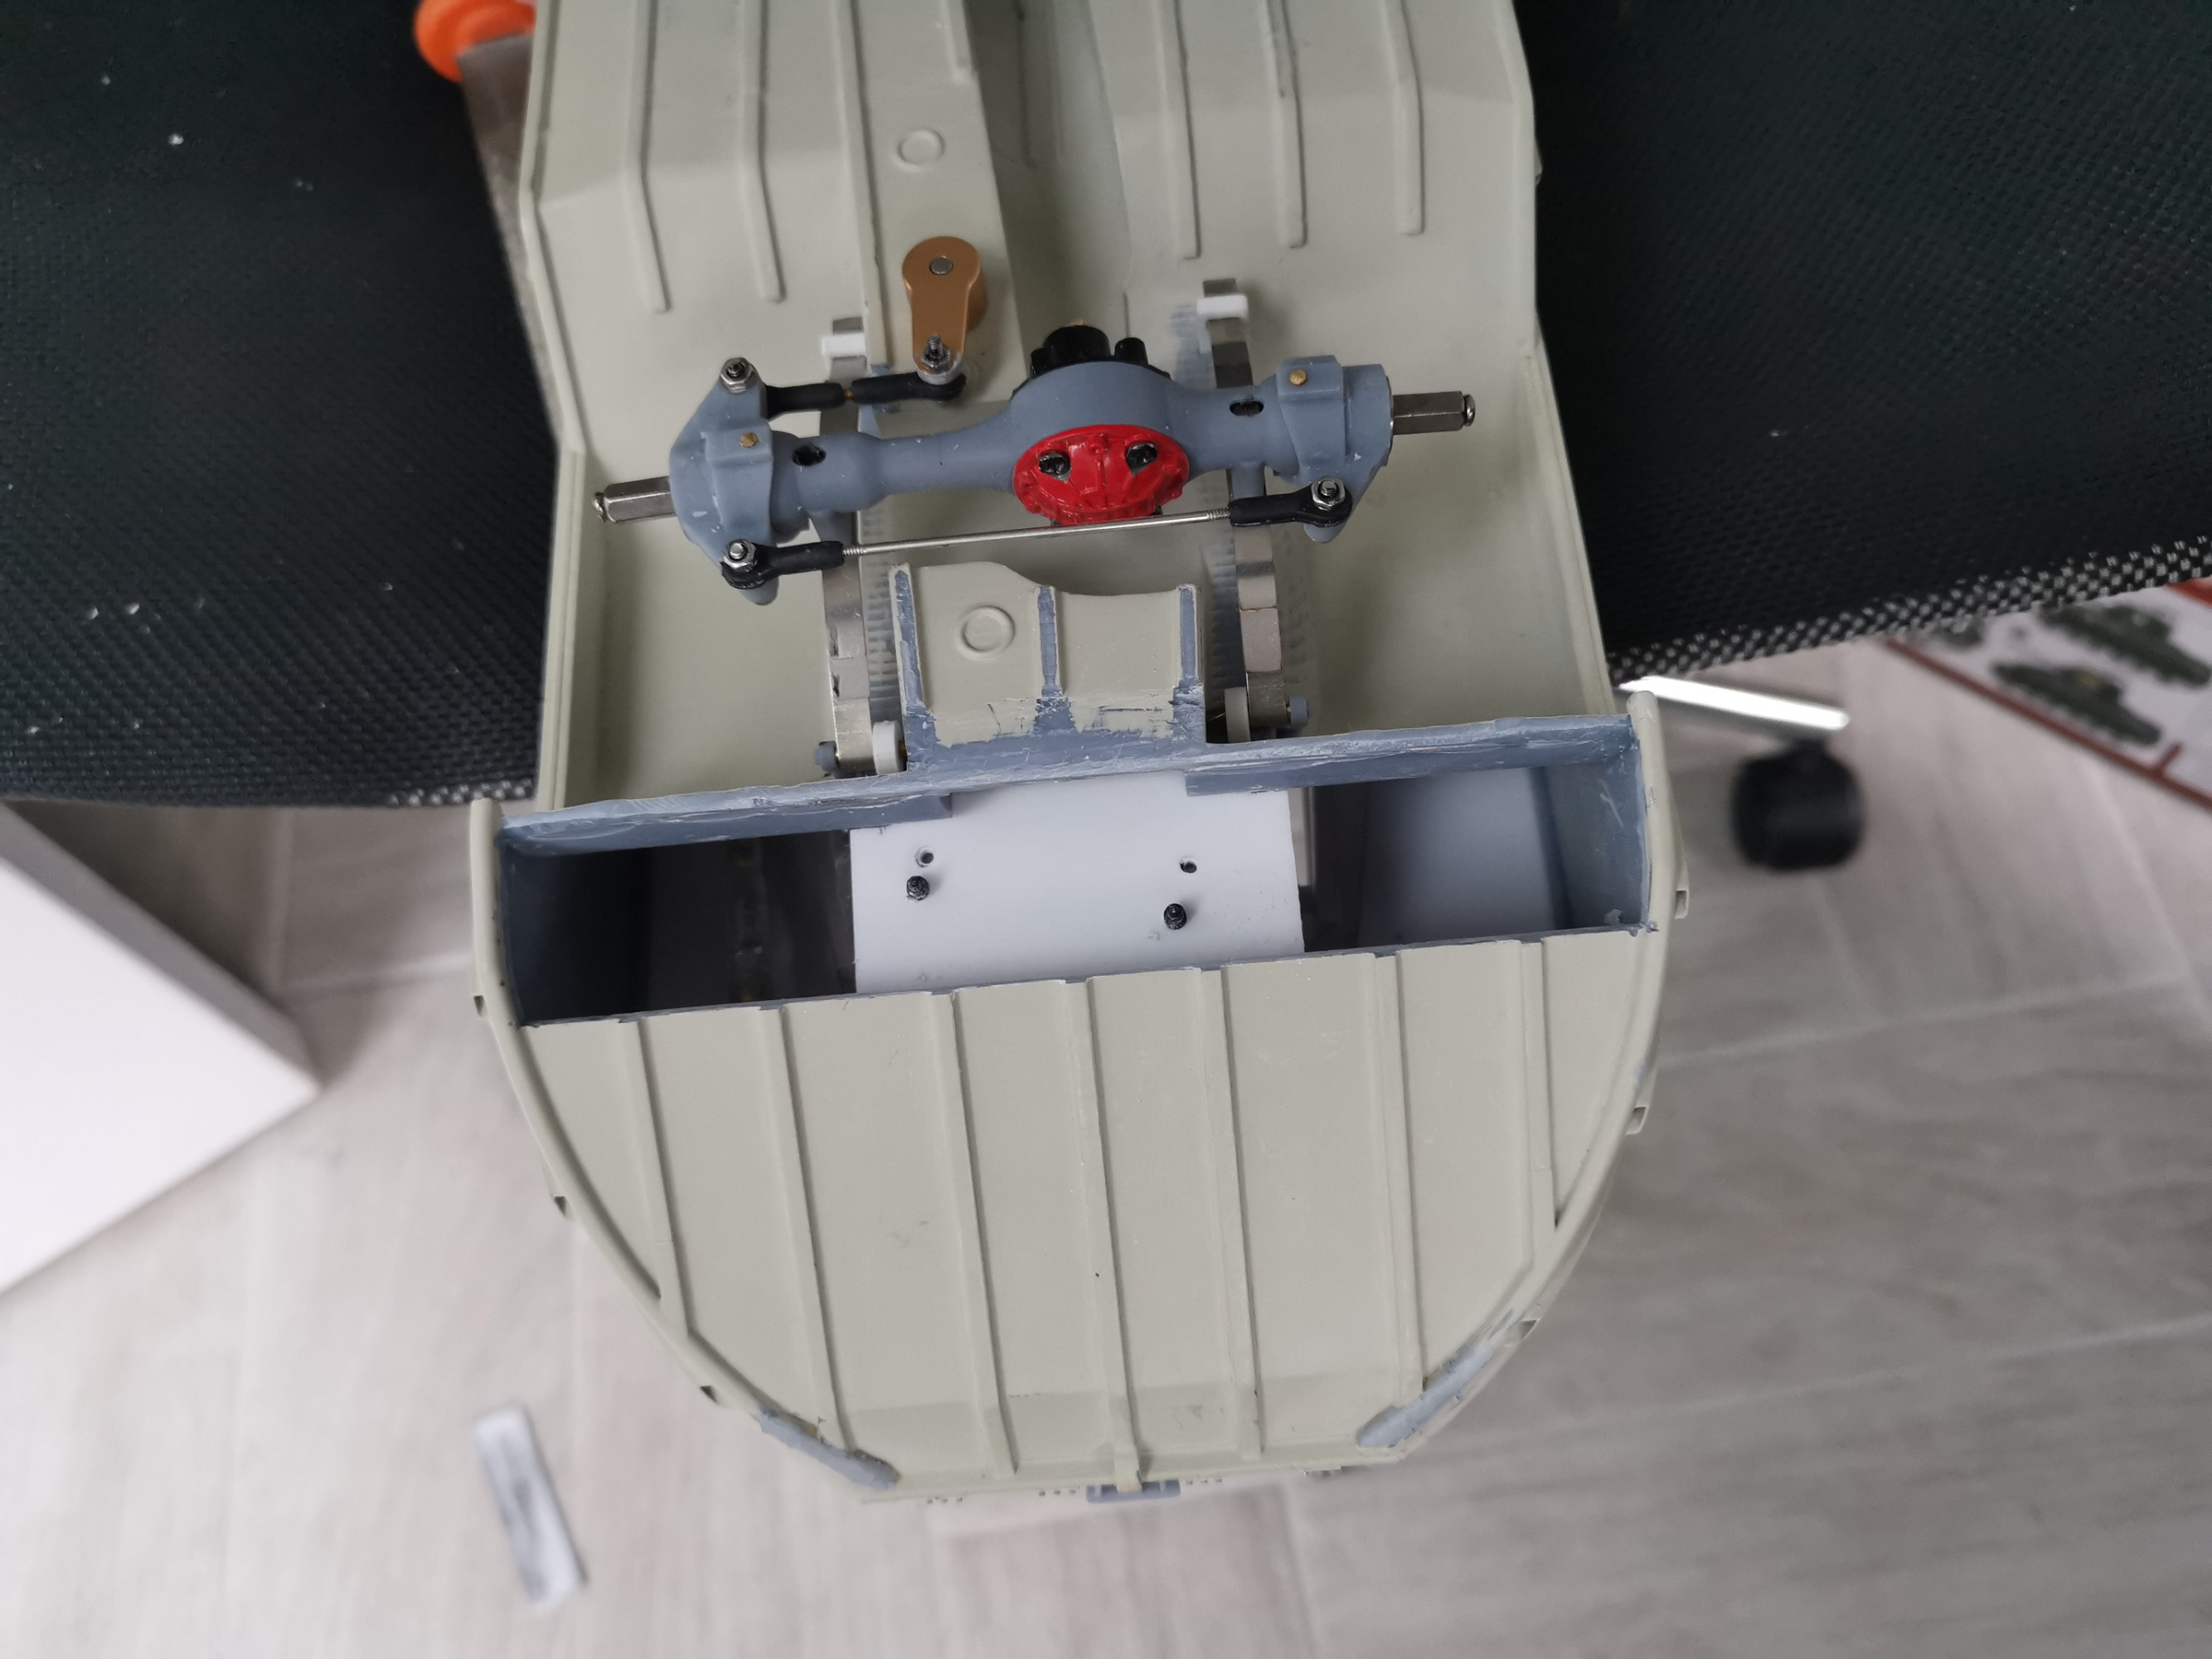
Putting the new part in place... This is a good fit, now I have to align it perfectly to get a smooth transition (well actually I want NO transition
)
- DUKW52.jpg (625.4 KiB) Viewed 602 times
The part is slowly glued mm after mm with UV resin. I use a UV pen designed for that. Using UV resin is the best way to go to bond two 3d printed parts, the result is like it would have been printed in a single part.
And it worked...
The result, that's not perfect but better than I was hoping to be honest !
- DUKW53.jpg (728.96 KiB) Viewed 602 times
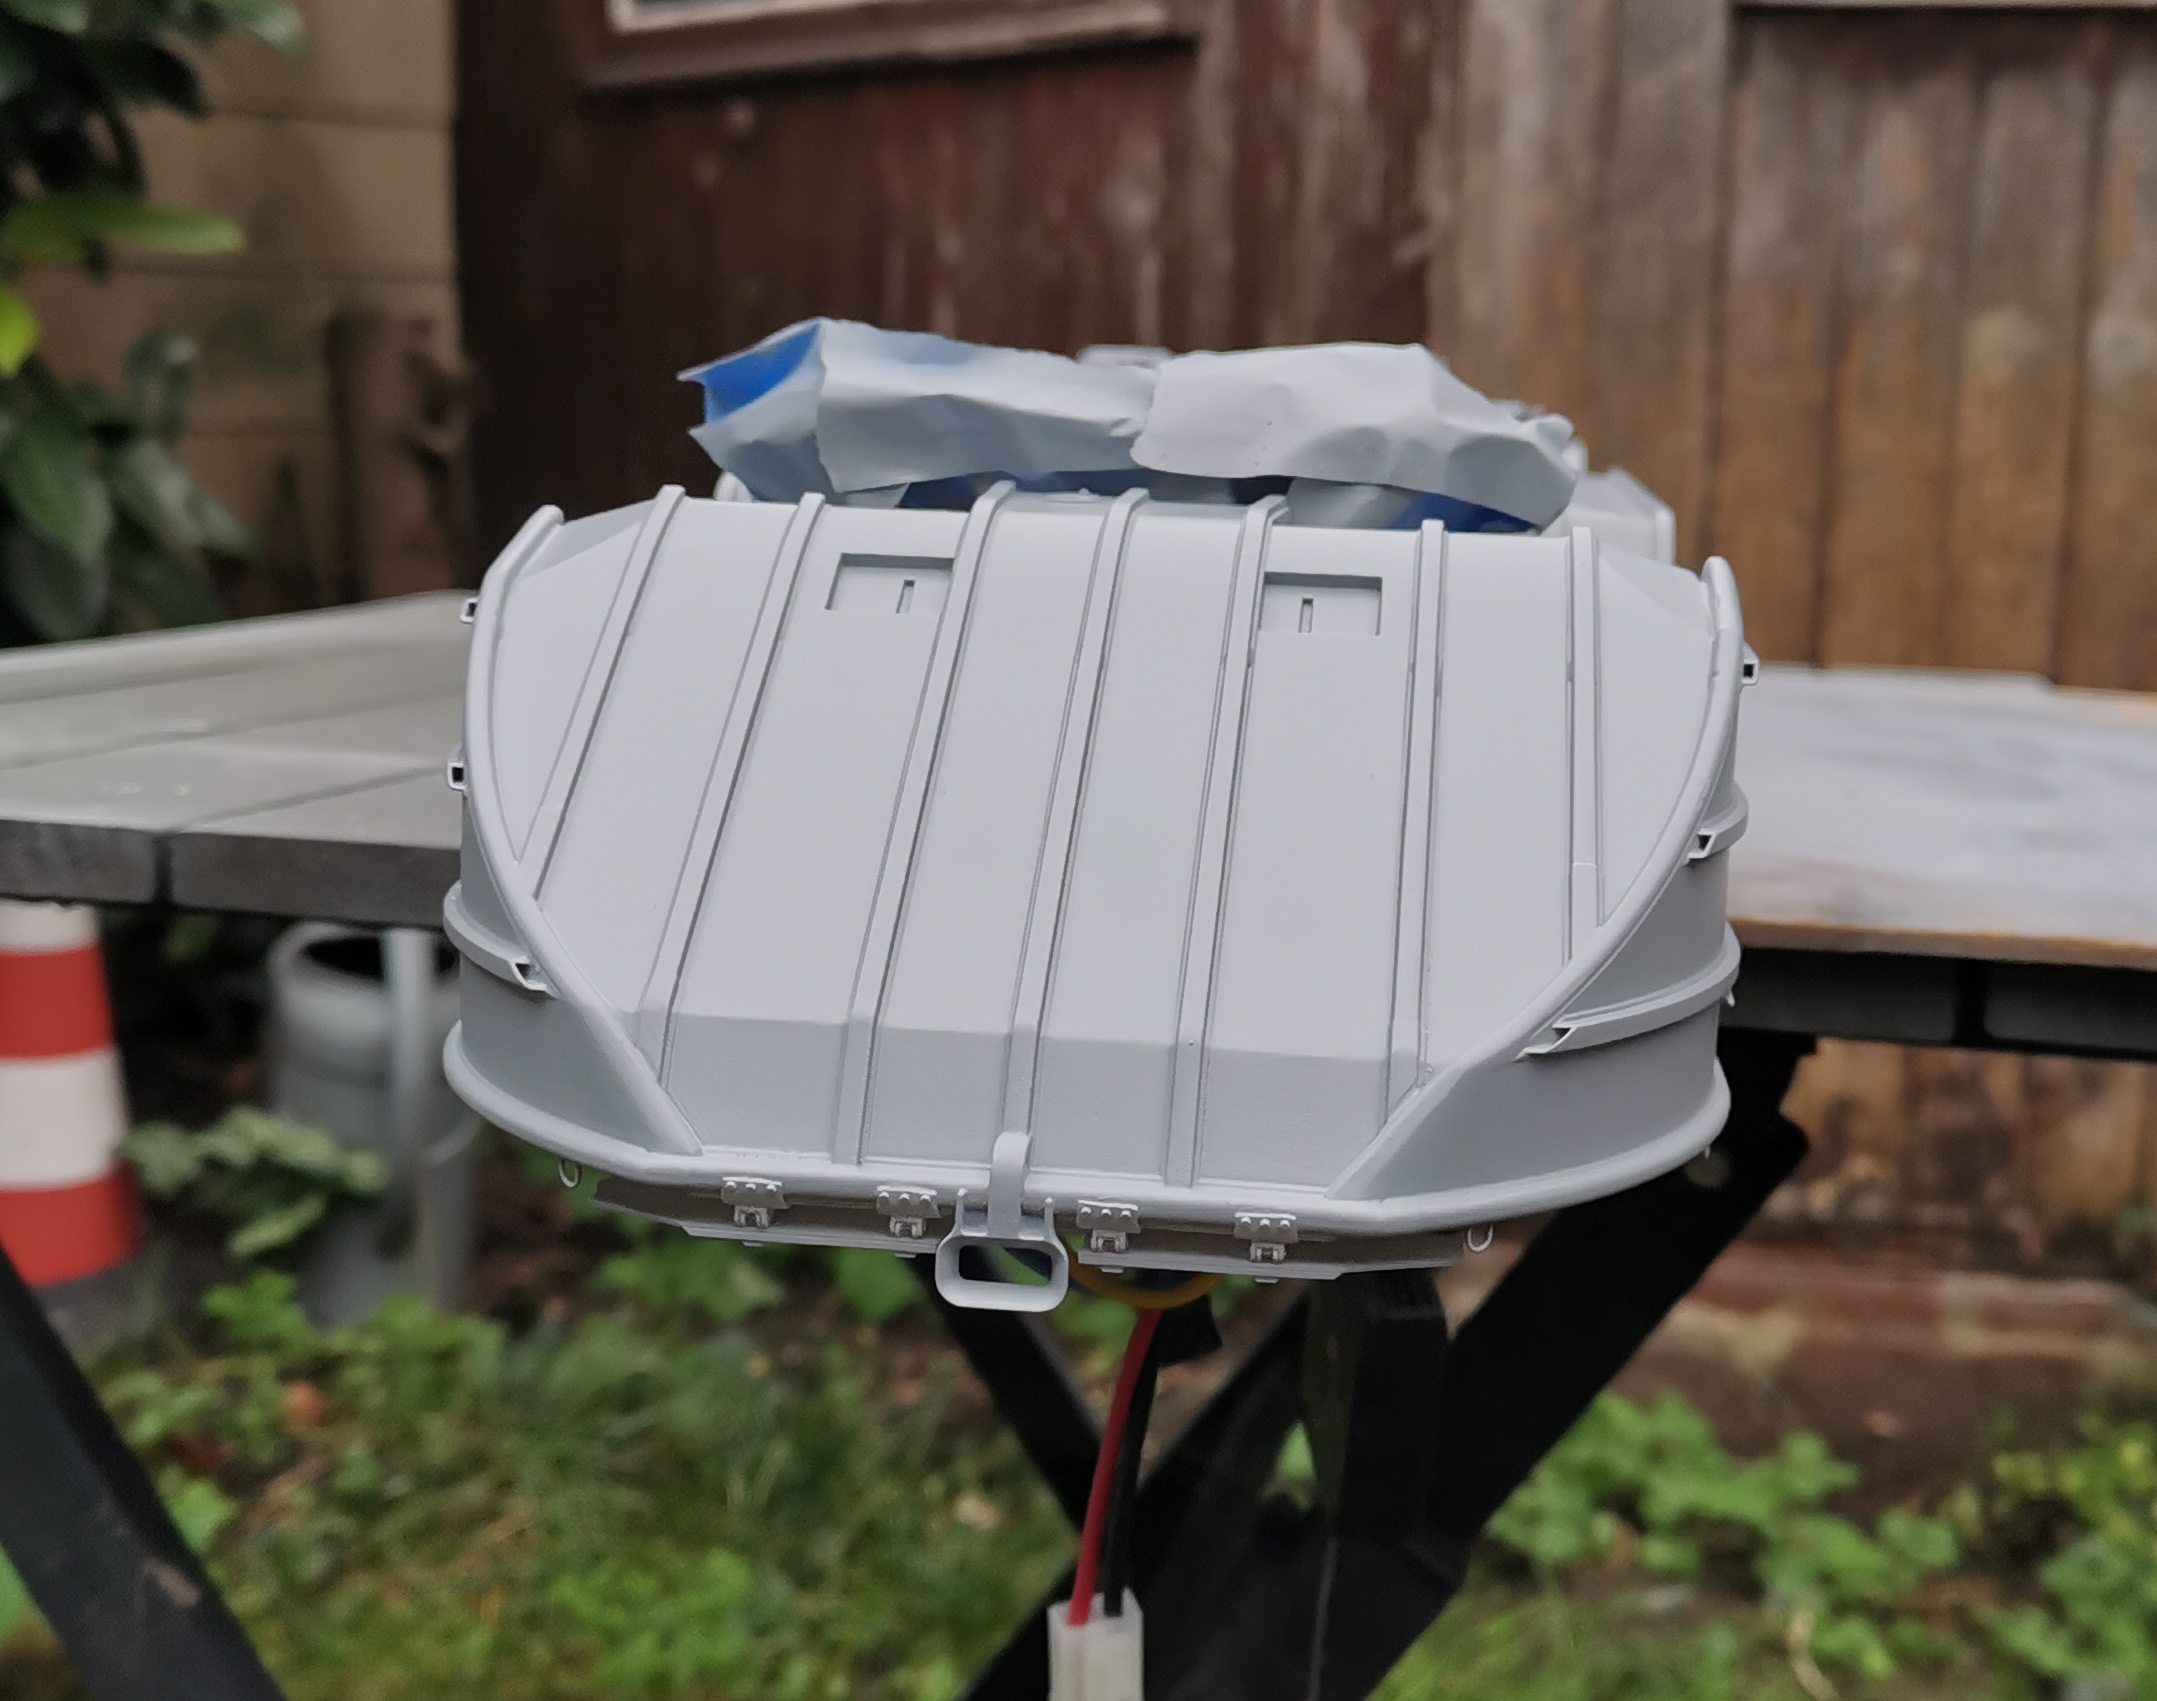
- DUKW54.jpg (676.45 KiB) Viewed 602 times
Maybe I'll sand the side of the rails a bit better, I can notice some resin blobs thanks to the close ups pics

Re: Scratchbuilt DUKW
Posted: Fri Nov 07, 2025 11:56 pm
by MonsieurTox