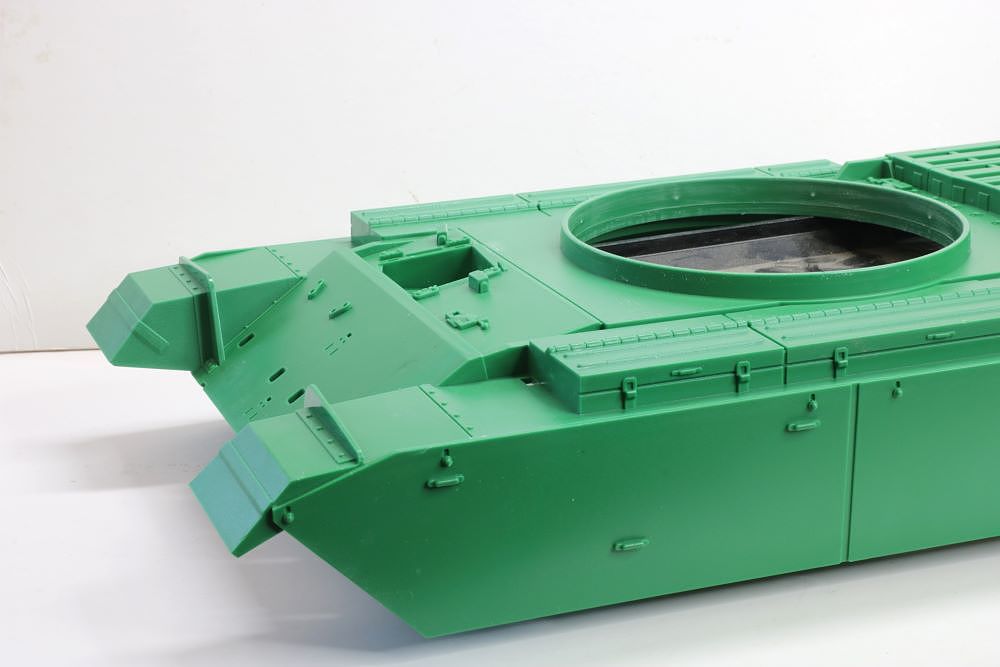
With paint on the lower hull and suspension components, I set about assembling the lower hull to get it rolling. It took some careful scrutiny of the videos to sort out which screws might go where as there are no directions, even then there was a bit of guesswork as the videos don't focus on some of the critical places.
Most of you won’t have any problem with this, but if you are new to RC tank building, here are some tips I can offer:
- Don’t make the Haya kit your very first tank. Get experience with Heng Long RTR tanks as to what types of screws go where.
- Coarse thread screws go into plastic, fine thread screws go into metal.
- Small head screws retain metal, large hat screws retain plastic.
- Small numbers of a screw type indicates special usage, large numbers of screw type are usually plastic assembly screws.
- Rehearse assembling different parts and don’t over tighten on the first go – these materials will chew out if screws are tightened too often.
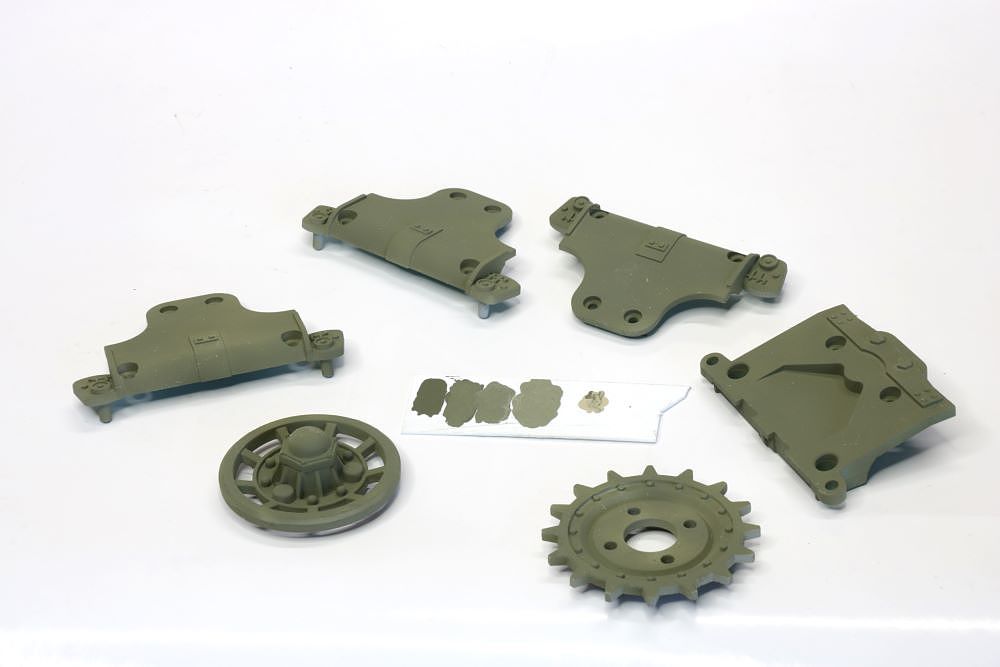
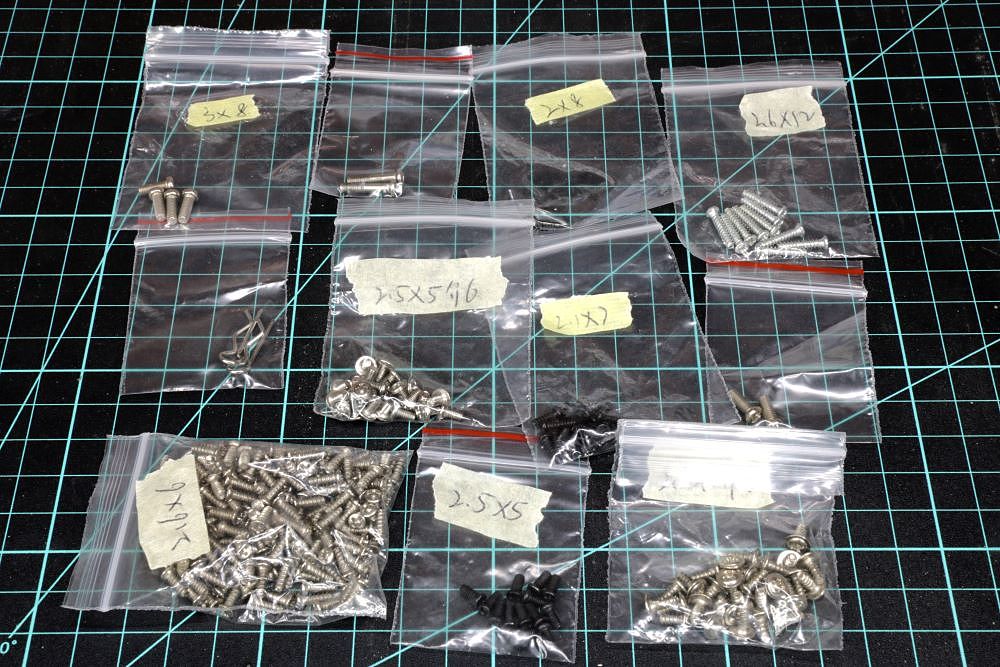
Here are the screws as they come in the kit.
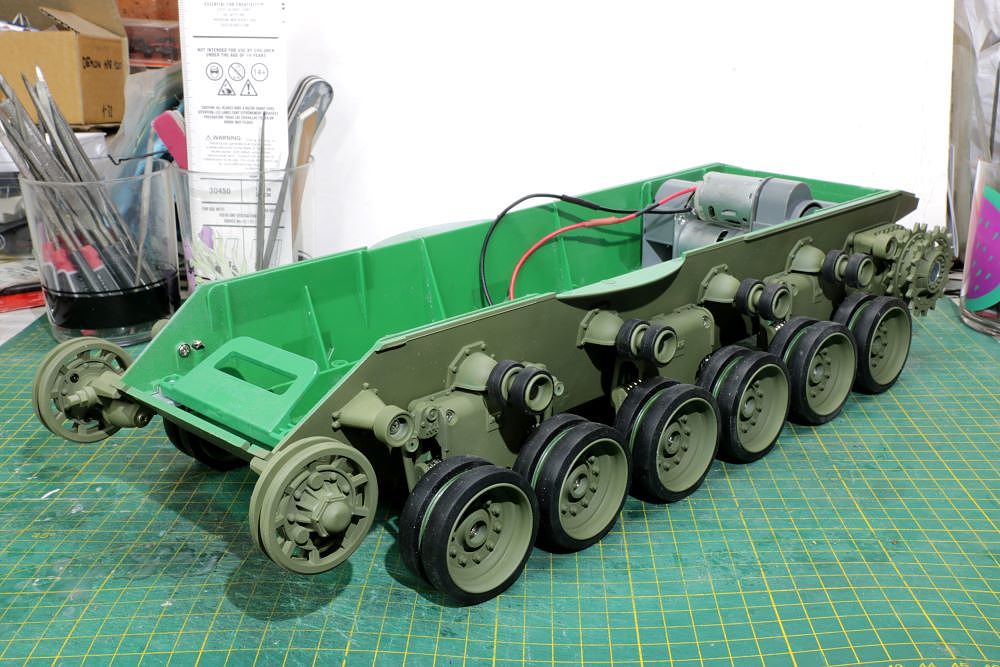
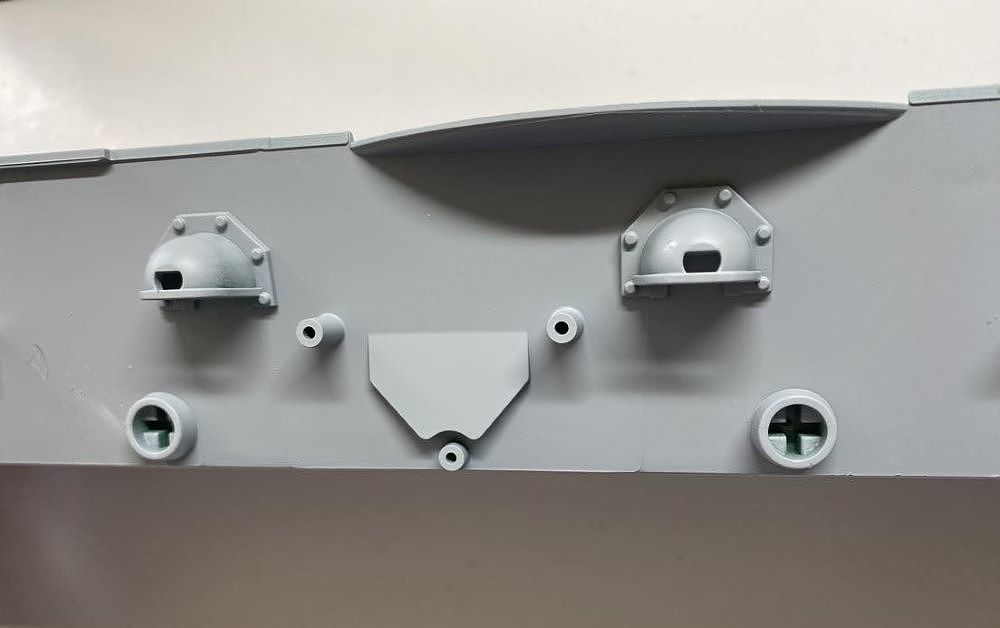
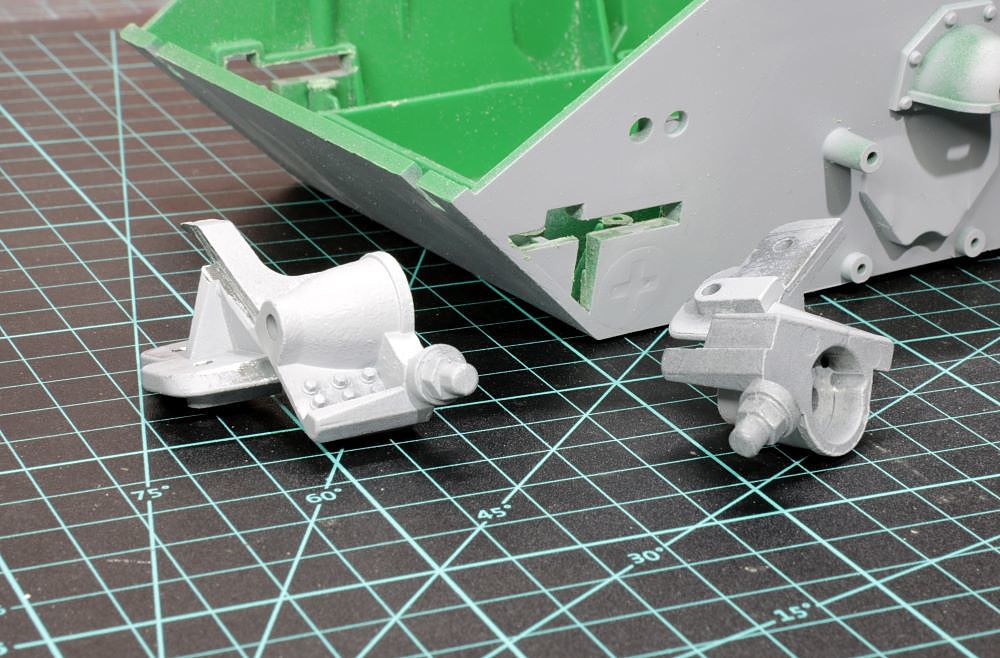
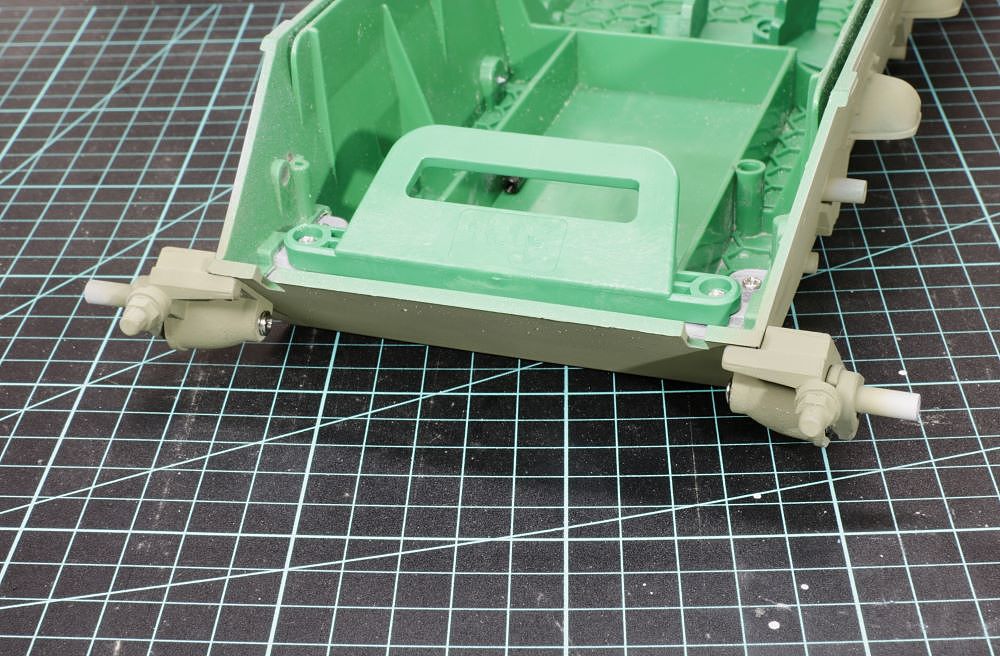
The idler mounts took some fettling of both the plastic hull slots and the metal mounts to get them to seat properly. I think the concept is for it to be an interference fit so that it is nice and solid. The idlers have a spring arm, like a suspension arm, and the spring can be clocked via the various holes. The springs are left and right sided with the arms having positions at 4 o’clock or 8 o’clock and the idler will be loose if not on the correct side.
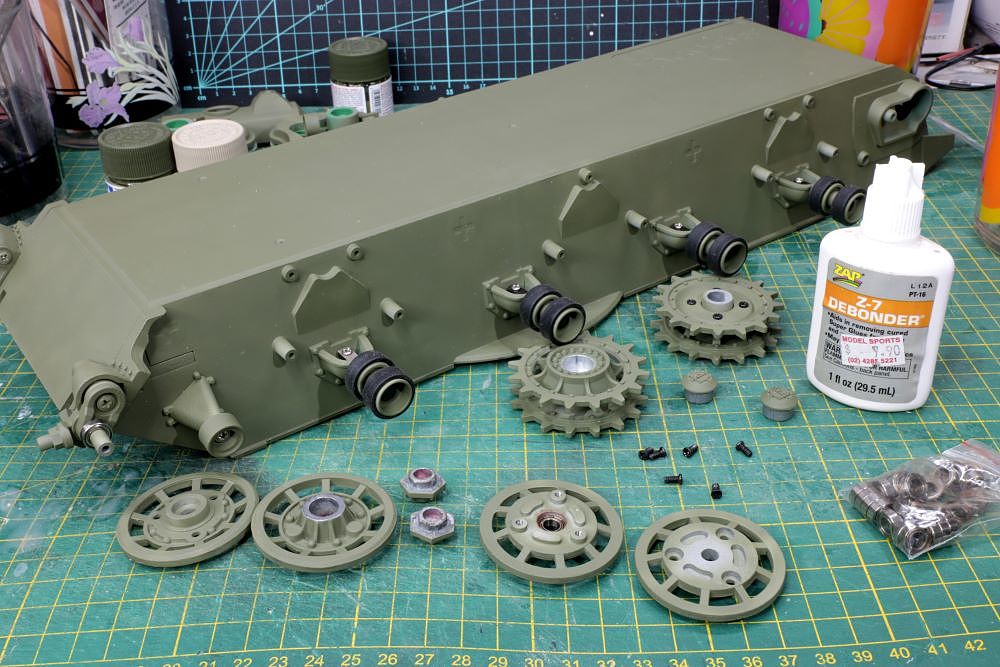
As mentioned in the video, the return rollers need to be installed before the suspension stations so as not to block access to the screws. I then went to install the idlers and their bearings, but somebody had CA glued the screw caps in place. I figure it was a mistake as the drive sprocket caps were just pressed in. I dabbed some CA Debonder from the inside, but it still took some nervous hits with a steel drift to knock them free.
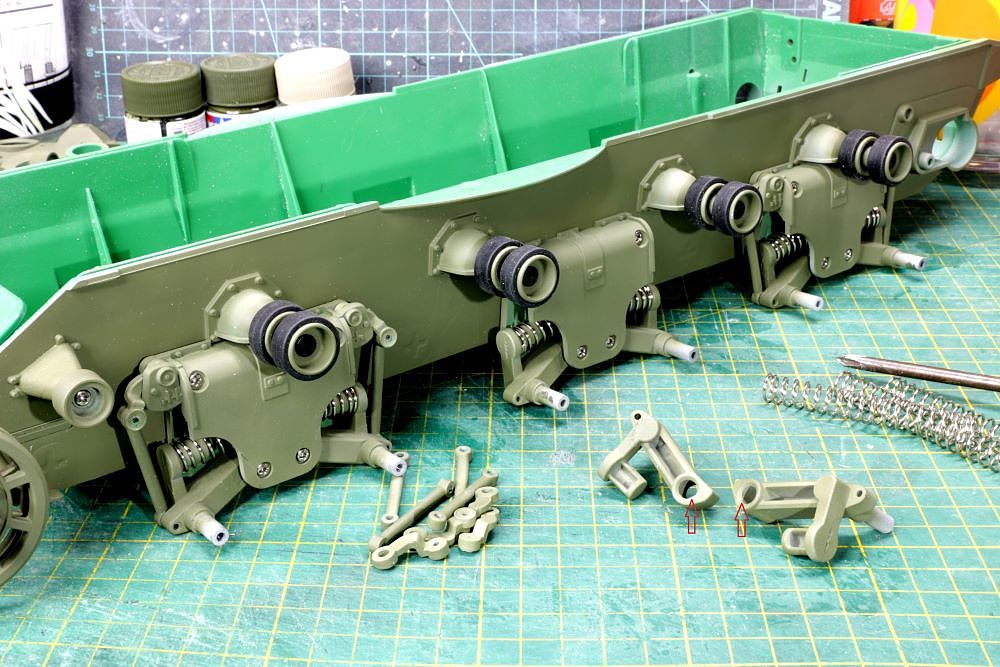
Also as mentioned in the video, the central suspension station is different to the fronts and rears. Also the suspension arms are left and right sided for each station. I found that both left and right arms had casting flashings that needed to be filed off to make them fit cleanly.
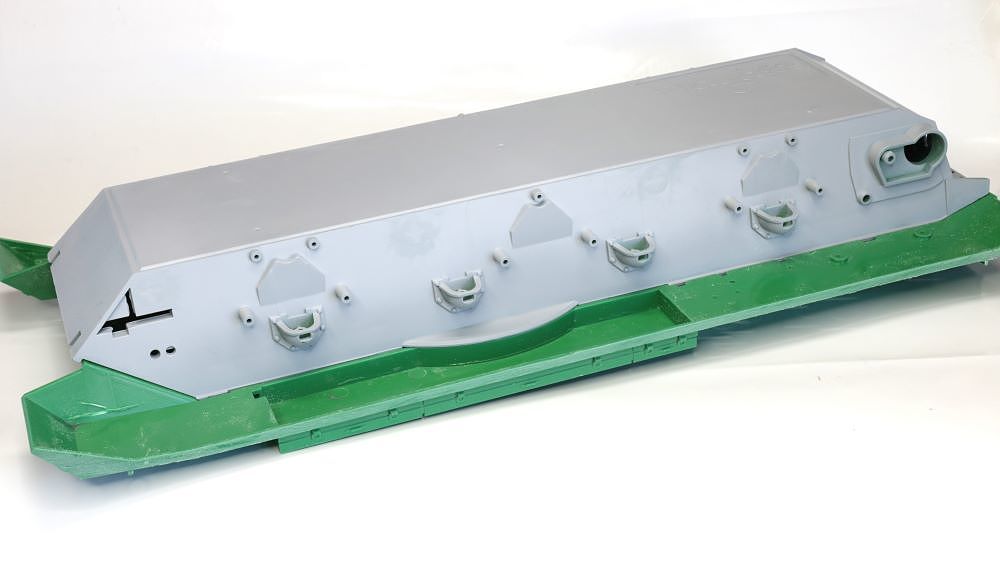
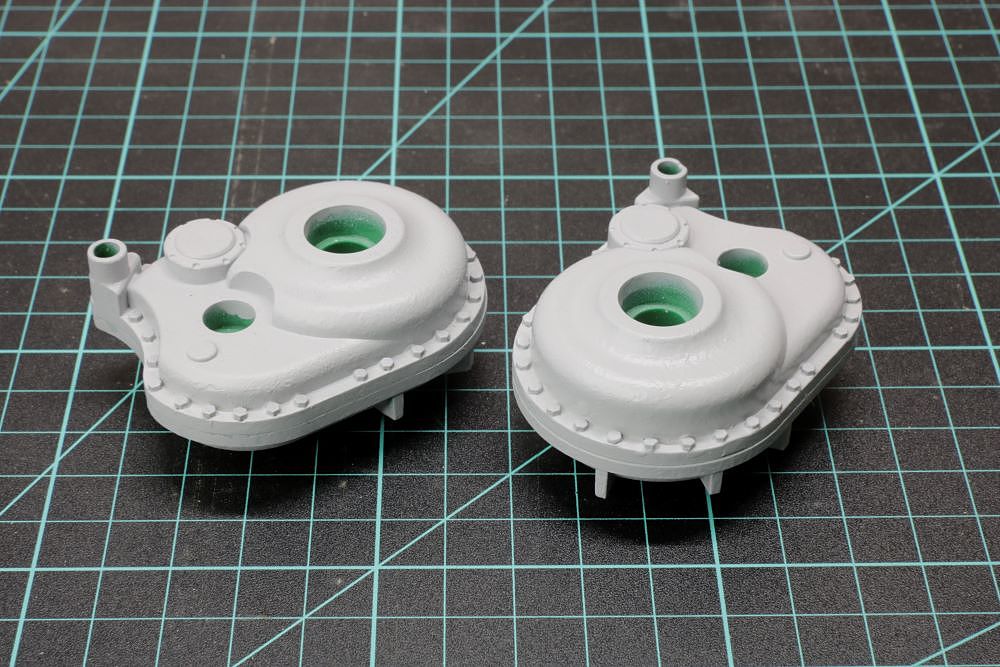
The rear drive casings have bearings to support the shafts.
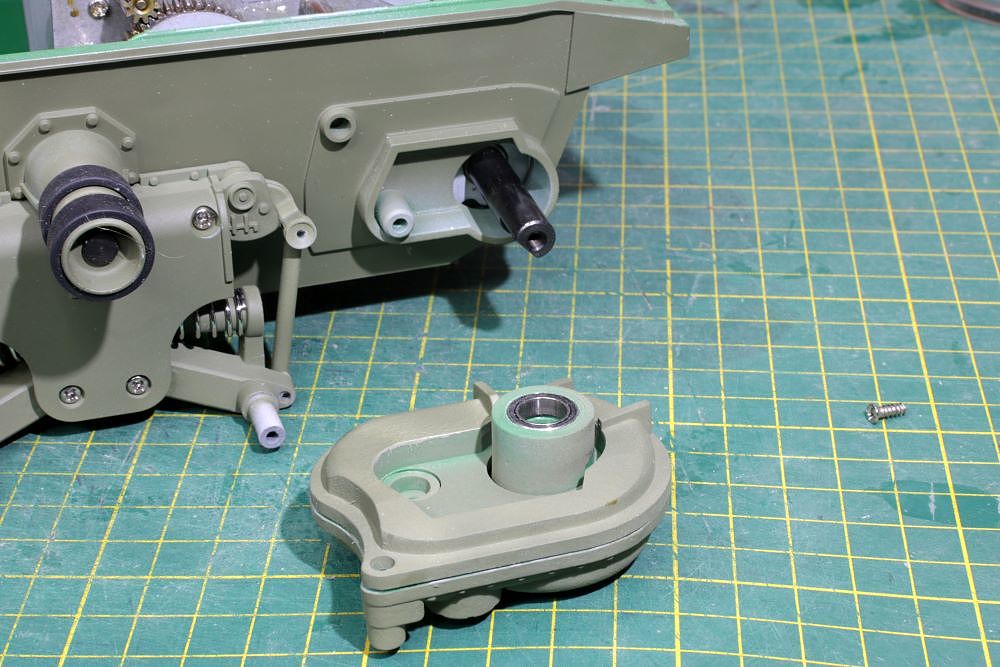
She is a roller and the gearboxes are now in.