Page 3 of 7
Re: Wight's Sherman
Posted: Thu Jan 15, 2009 10:47 am
by Mackem
Your workmanship is absolutely outstanding, an inspiration to us all.
This tank must go straight to the top of the master class as soon as it's finished.
John
Re: Wight's Sherman
Posted: Wed Jul 01, 2009 7:52 pm
by Wight
Hey guys.
As you can see I've been out of tanking for a little while,but I got the old girl down off the shelf the other day and actually did a little more to it!
Also been running it around the garden which has been inspiring me to get it finished.
BREL wrote:
great build, I take it you used the sewing thread method of cutting out the hatches
Unfortunately for me I had not learned of this method when I cut them.I tediously chain drilled,cut and filed them.
Not much of an update,but progress is progress.
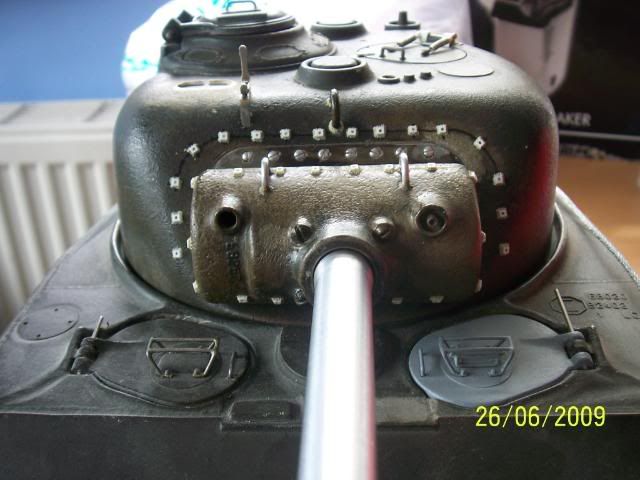
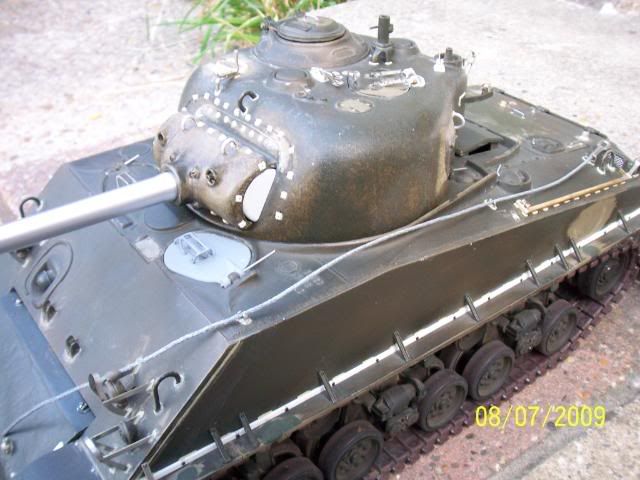
Hopefully I am nearing the finish of the turret.I have added the little fixings on the front of the turret for the mantlet shroud/gator what ever it's called.
Also did the welds around these.
Made a new sight using one from a pershing turret detail kit in metal and soldering it to a bit of bent brass.Just needs the welds now.
Just a few more fittings to fit on the turret and that should be it! Hurrah!
Thats it for now,hope to find time to do more as soon as.I think the bug has re bitten!
Cheers,Steve.
Re: Wight's Sherman
Posted: Wed Jul 01, 2009 8:28 pm
by fv432
looking good as always steve glad to see you back mate

Re: Wight's Sherman
Posted: Thu Jul 09, 2009 9:04 pm
by Wight
Thank you.
Managed to get some more done over the last few days.
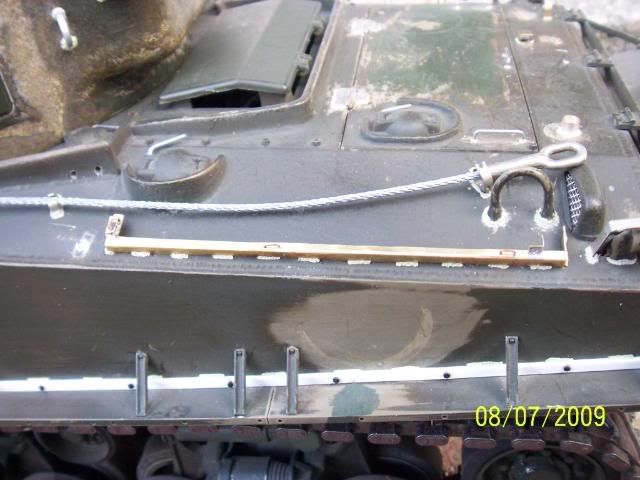
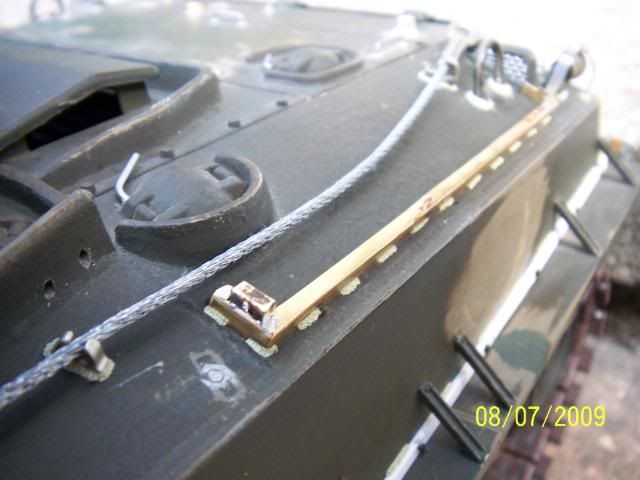
I made the rack for the aiming stakes but have yet to make the stakes themselves,I have not worked out how yet.
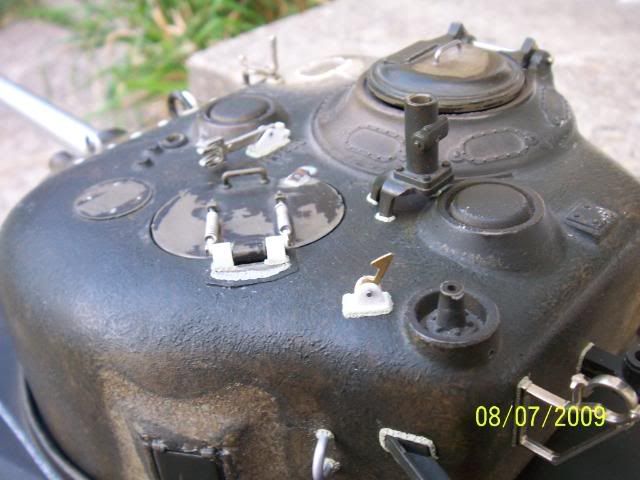
Also added more fittings to the turret and did more welds that needed doing.
Thats it for now.
Getting closer to painting now which I am looking forward to,it'll be another learning experience.
I have been running the tank around the garden a lot lately which I am enjoying more than the modelling.
I have changed the steering from the left stick to the right as I could not control it smoothly in this configuration.I put it down to years of driving rc cars with left stick throttle,right stick steering.I can steer and throttle so much easier now.
Cheers,Steve.
Re: Wight's Sherman
Posted: Sat Jul 11, 2009 7:03 am
by Mackem
I see you haven't lost your eye for detail during your time out.

Brilliant workmanship, keep it coming.
John
Re: Wight's Sherman
Posted: Sun Jul 12, 2009 10:53 am
by Steenv
FANTASTIC
Just a quick question - which tools did you use to cut open the hatches?
cheers
Steen
Re: Wight's Sherman
Posted: Sun Jul 12, 2009 9:53 pm
by Wight
Thanks guy's.
I did the hatches the long and tedious way.
I started by chain drilling all around the hatches with a tiny drill bil.
Then used a craft knife to join the holes and cut out the hatch.
Finished off with files/sand paper to clean it all up.
Since then I have learned of another technique on this and other forums,cotton string.
Not tried it yet but apparently cotton string cuts through the plastic nicely.
Cheers,Steve.
Re: Wight's Sherman
Posted: Mon Jul 13, 2009 7:17 pm
by tankmad
Just noticed this what a FANTASTIC BUILD keep up the good work.
Stevie
Re: Wight's Sherman
Posted: Mon Jul 13, 2009 7:21 pm
by [ICE]monkey
very nice, its comming together well, i like the details
all the best, ice
Re: Wight's Sherman
Posted: Tue Jul 21, 2009 10:56 am
by Wight
I am hoping this is the last update before painting,fingers crossed.
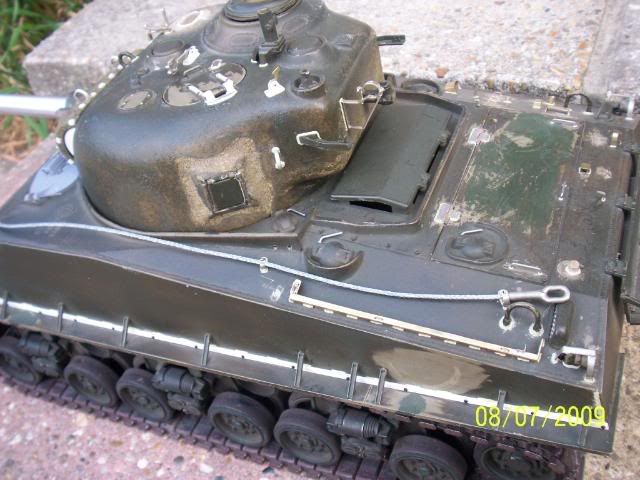
I added some plastic to the front vent cover to make it look a little more detailed.
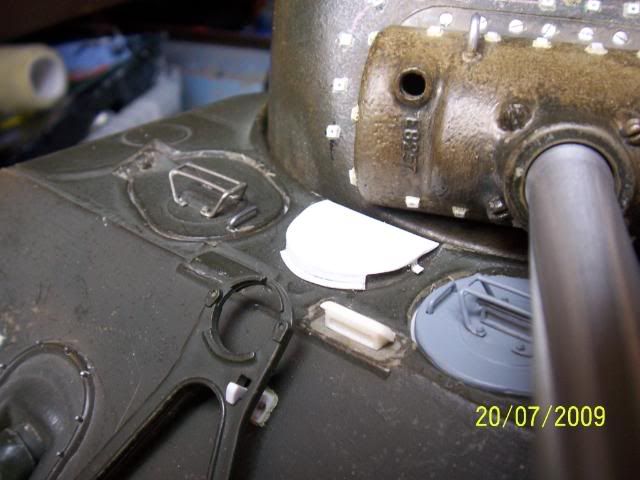
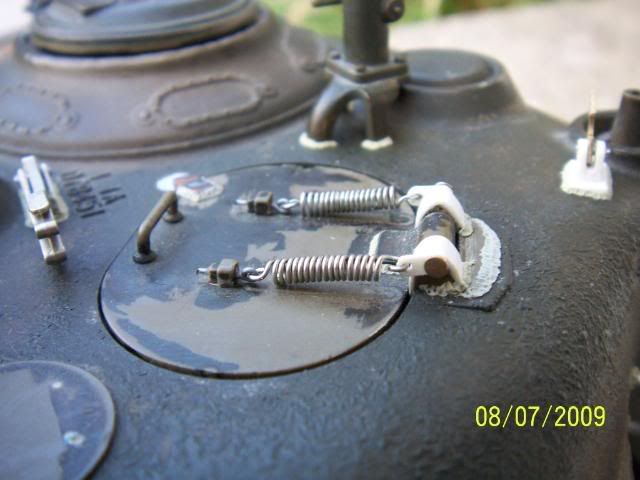
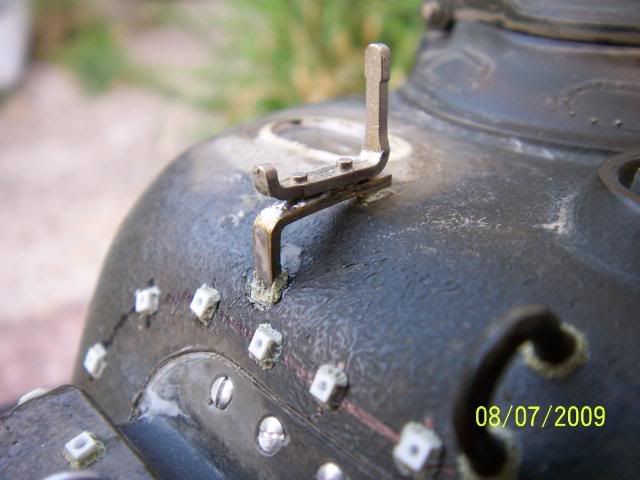
Also a little hook for the gun brace which takes it nicely off the glacis plate,again making it look a little more 3D.

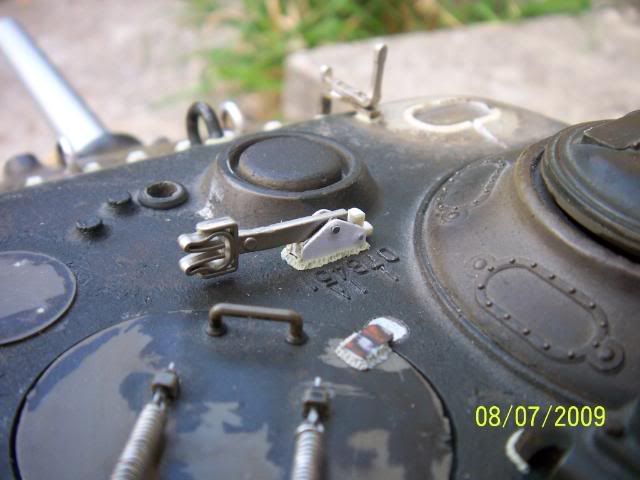
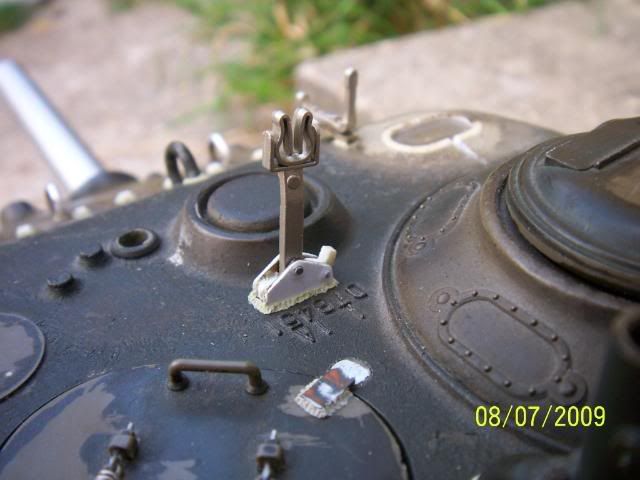
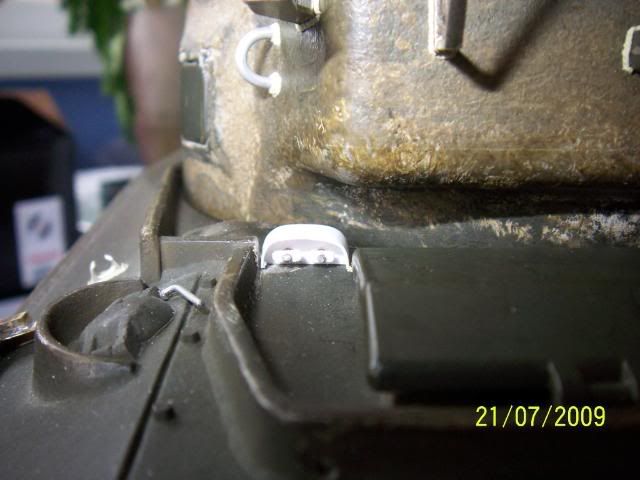
Been meaning to add this little detail for a while now.It's for the fire extinguishers,I think they are a pull release for them.
Lastly I emptied this old tool box which just happened to be the right size for the Sherman and Transmitter.
I Knocked up a bit of wood with plastic conduit to keep the tank from sliding in the box and a brace for the transmitter with a fashionable pink hair band thing I pilfered from one of my girls to keep in place.
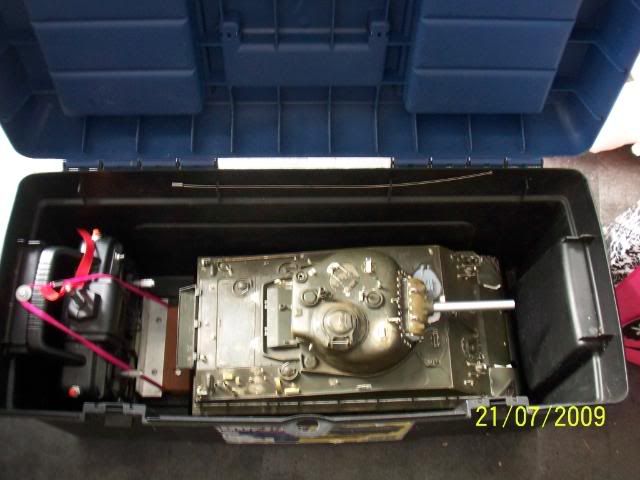
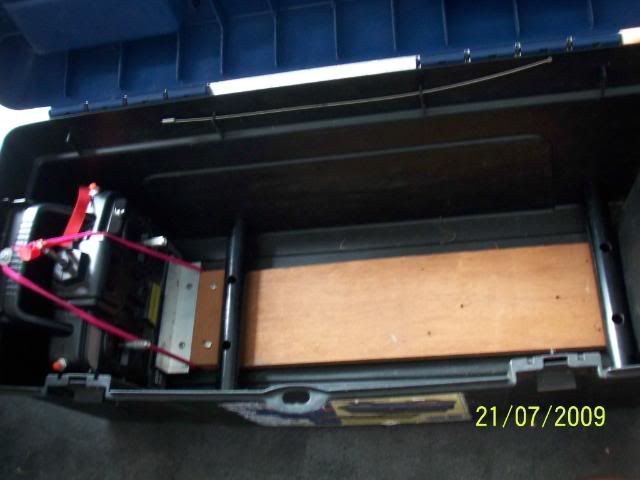
That should hopefully keep it safe and makes it transportable.
Sorry for the seemingly low quality of these pictures,I don't know why they did not come out too well.
Cheers
Steve.