Page 3 of 14

Re: Panzer IV Ausf F1 to H Build

Posted: Tue Jan 06, 2015 12:11 pm
by HERMAN BIX
A favour Mr Rob, when you get to be doing the Schurzen, can you please advise the mounts and plate dimensions as you go.
These seem to be quite elusive for this scale that I can find without calculating or buying ready made ones.

Cheers

Re: Panzer IV Ausf F1 to H Build

Posted: Wed Jan 07, 2015 10:07 pm
by KTRob
Thanks for all the kind words guys :{
philipat wrote:I like it. Good work and you move quick. :clap: :thumbup:

Xacto makes keyhole blades!?! I'll have to look into that.

Question: how much did you lower the rear return roller by? And, raise the sprocket? How did you raise the sprocket? Lower hull is coming up soon for me.
Hi Philipat, with the rear roller, I measured between the original mounting holes and placed the new top holes in the center, I would guess about 5mm lower overall. I managed to remove the rollers without breaking the pegs off so used plastic weld to reattach after drilling the four holes out, I have seen them reattached with small bolts and nuts instead.
Image

The drive sprocket was raised by placing a sheet of 2 and 1.5mm styrene under the gearboxes. I put the 2mm sheet on top and drilled 10mm holes in it to allow for the screws on the bottom of the hl boxes. One thing I did have trouble with was the sprocket had a toe-in effect going on, in the end I cured it by putting an m3 washer under the two outer screws that hold the boxes into the hull. You will need longer screws, don't do what I did though and put the screw through the hull bottom 8O.

Its a bit trial and error to get it right, I ended up cutting out the two screw posts in the nose as they were in the way.

I can't find my pics of this, when I find them I will post them up.
HERMAN BIX wrote:A favour Mr Rob, when you get to be doing the Schurzen, can you please advise the mounts and plate dimensions as you go.
These seem to be quite elusive for this scale that I can find without calculating or buying ready made ones.

Cheers
Hi Herman, I am planning to do mine from these diagrams that a kind soul put on another site:

http://www.rcuniverse.com/forum/rc-tank ... kirts.html

There are some examples of the finished article and they look pretty good, hope this is useful.

Robert

Re: Panzer IV Ausf F1 to H Build

Posted: Wed Jan 07, 2015 10:17 pm
by KTRob
Got a little more done, zimmerit done on r/side lower hull:
Image

Image


also a bit of filler in the hatch openings as they weren't level when test fit:

Image

Re: Panzer IV Ausf F1 to H Build

Posted: Thu Jan 08, 2015 8:01 pm
by philipat
Looking good! :thumbup:

Thanks for the info. I had the same problem with the rear hatches...same solution. :haha:

Re: Panzer IV Ausf F1 to H Build

Posted: Wed Jan 14, 2015 11:32 pm
by KTRob
Thanks Philipat, not been having much fun with the rear hatches.

I did get them level, but managed to break a hinge on the L/hand one, tried various glues, jb weld and soldering but nothing sticks, in the end I cut off the broken hinge and made a plastic one, this was attached with some steel epoxy glue (no pic, will upload one in a bit).
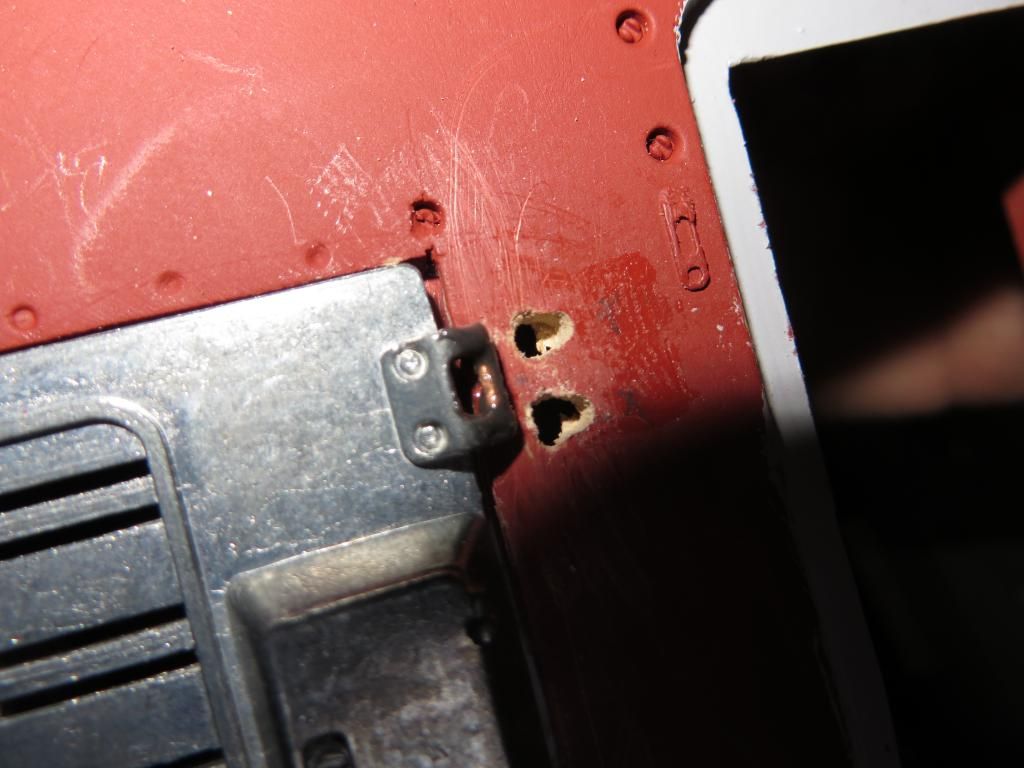
The busted hinge:
Image

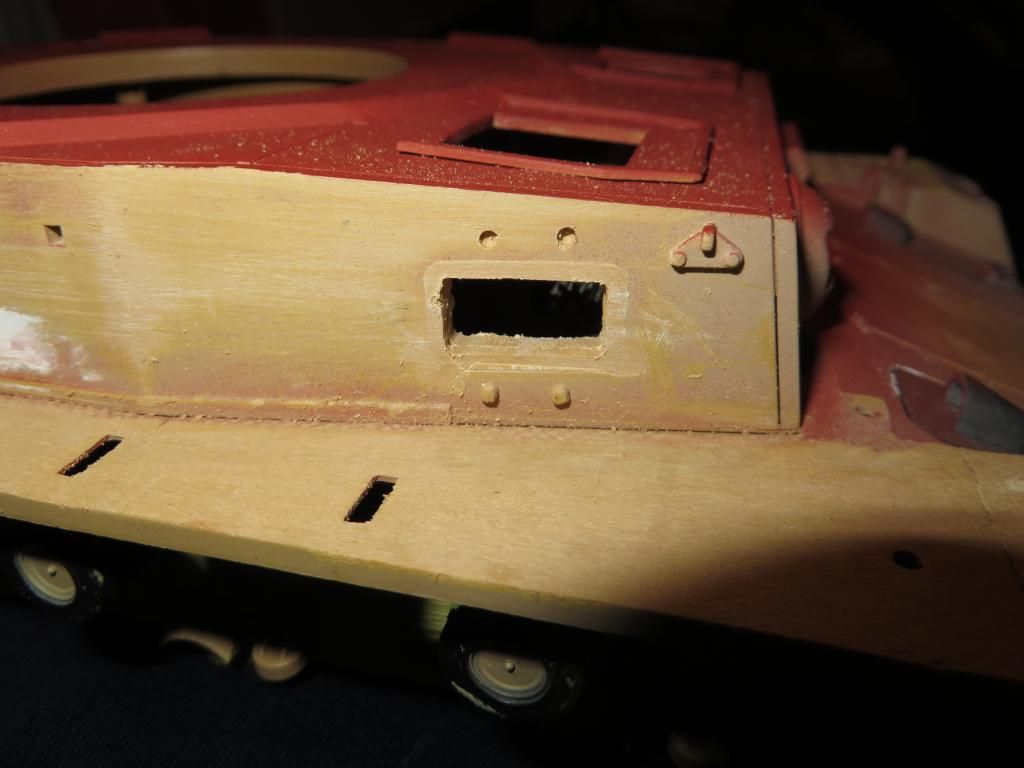
One thing I did want to do, was have the side vision ports open. As I found out though this was not too easy.

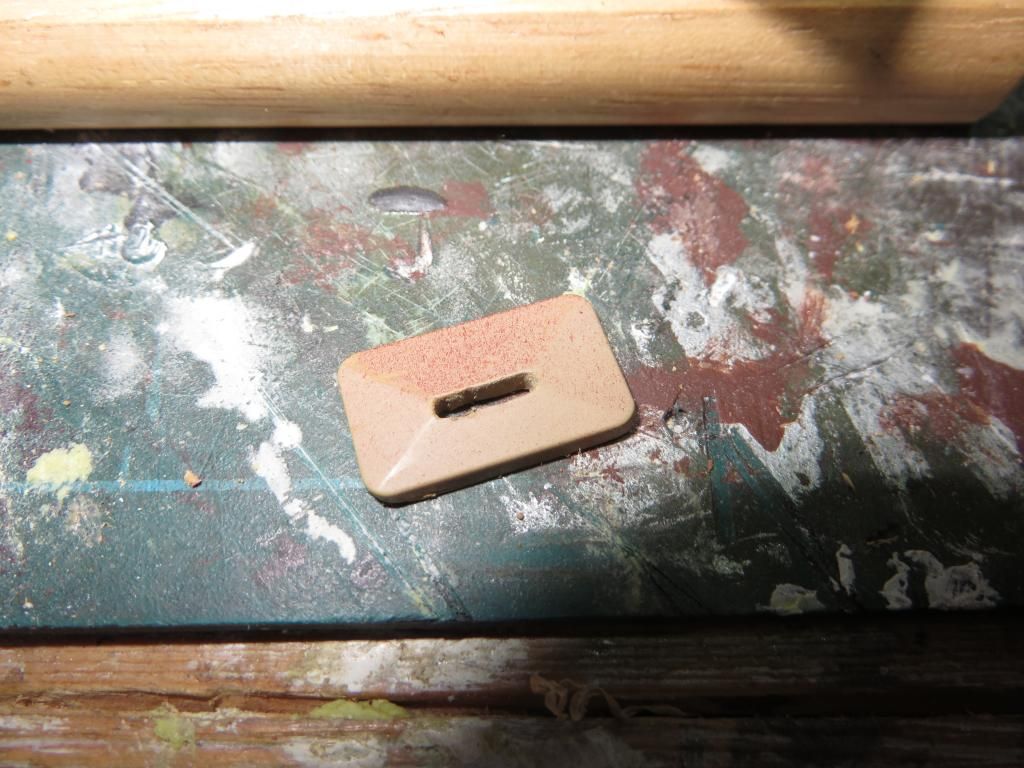
Started by cutting off outer part:
Image

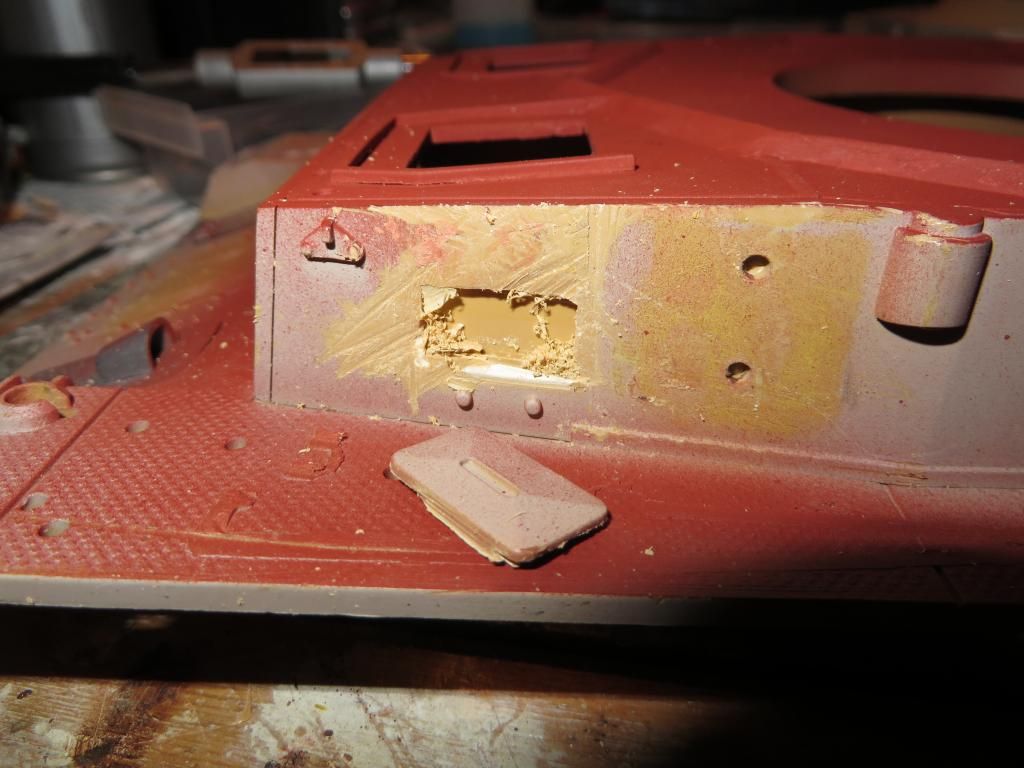
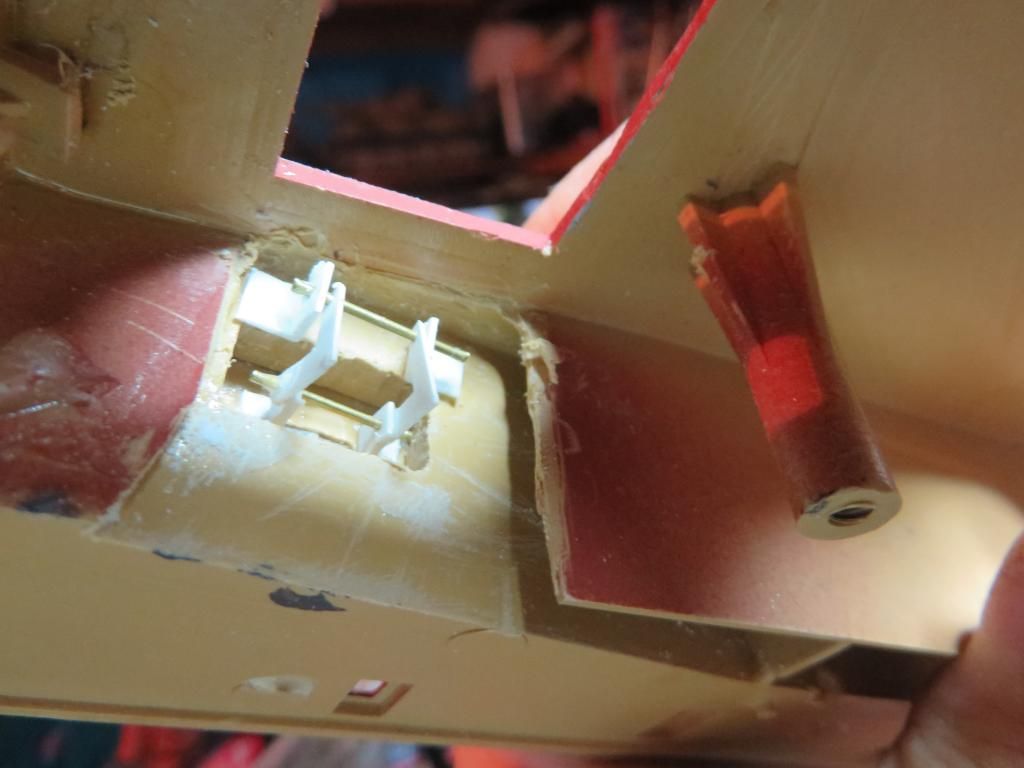
Then using a drill and files, cut the hole open and cleaned it up, this involved cutting part of the inner hull away, it does not affect stiffness of the hull:
Image

The vision block was then drilled out and tidied up with a file:
Image

Then a small piece of Perspex was cut to fit, will probably tint with Tamiya clear green?
Image

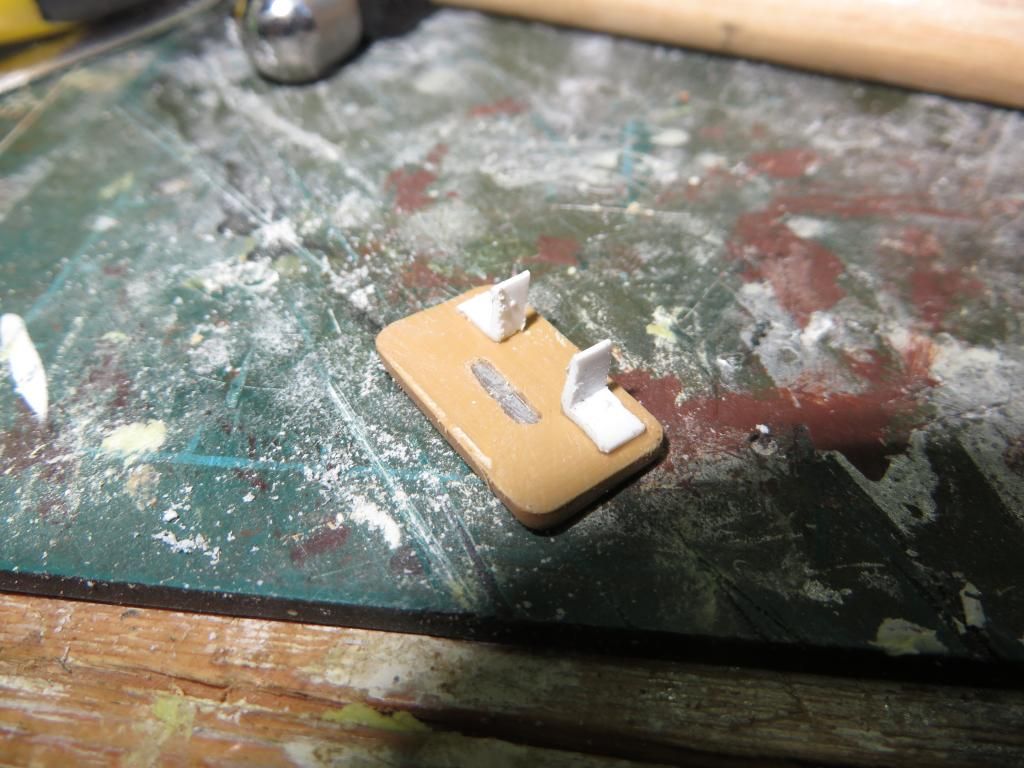
It took me a few goes to get the hinges right:
Image

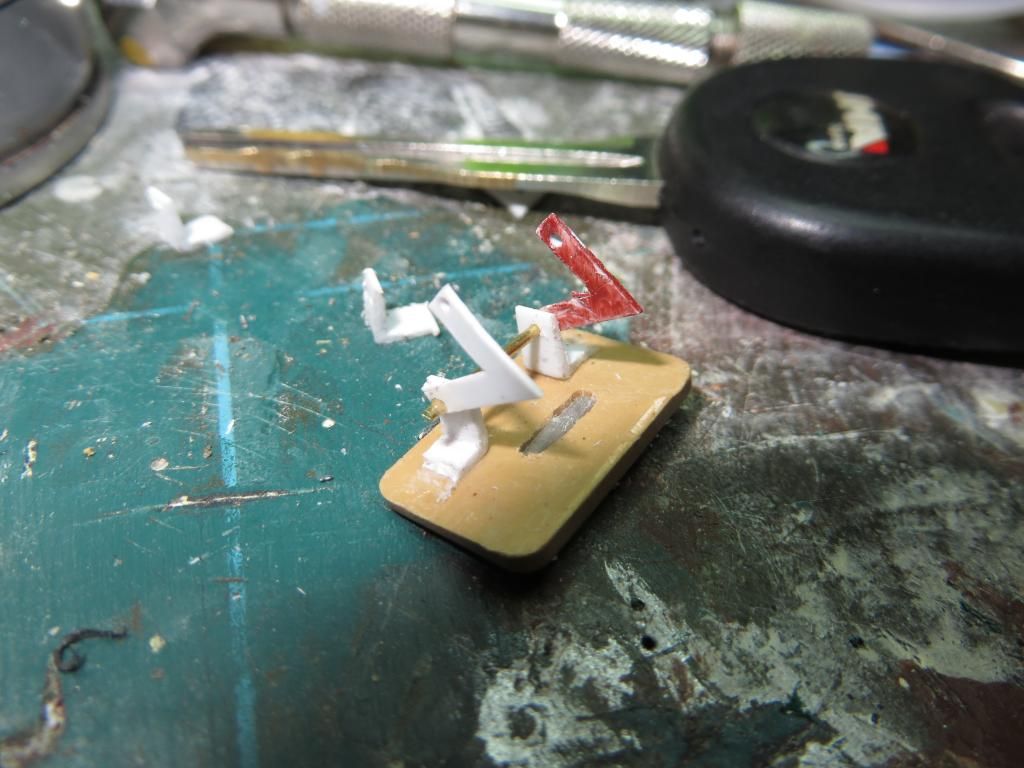
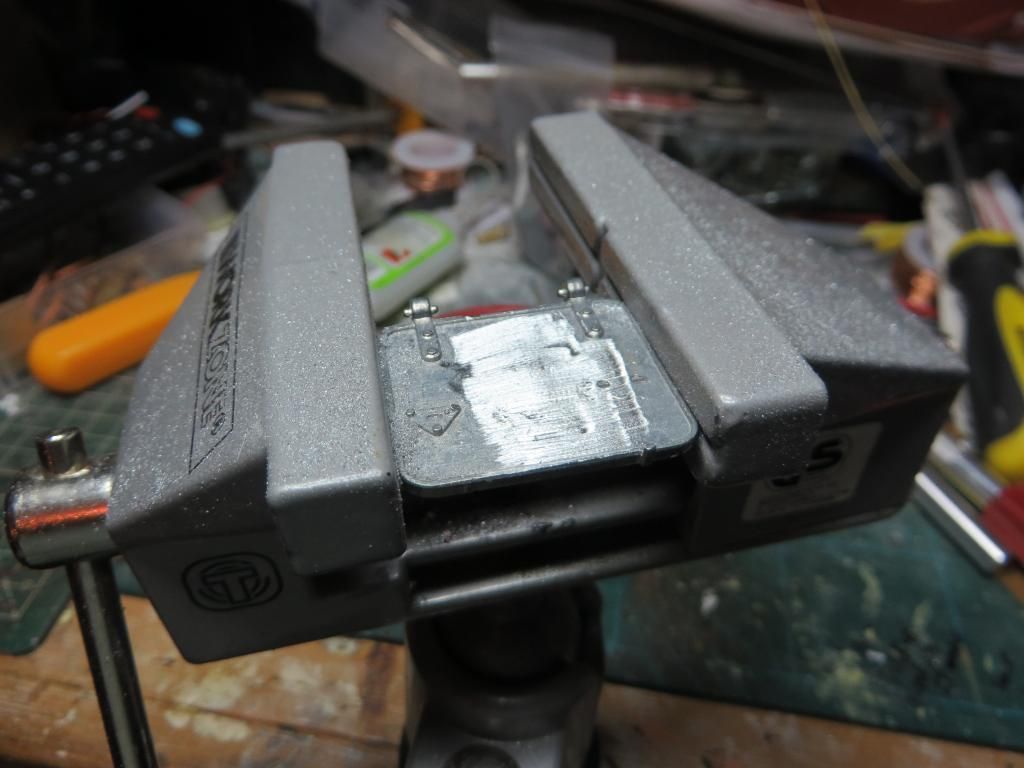
In the final version, I glued the V shaped arms to the brackets on the block, then as you can see the visor hinges as it should:
Image

Finished:
Image

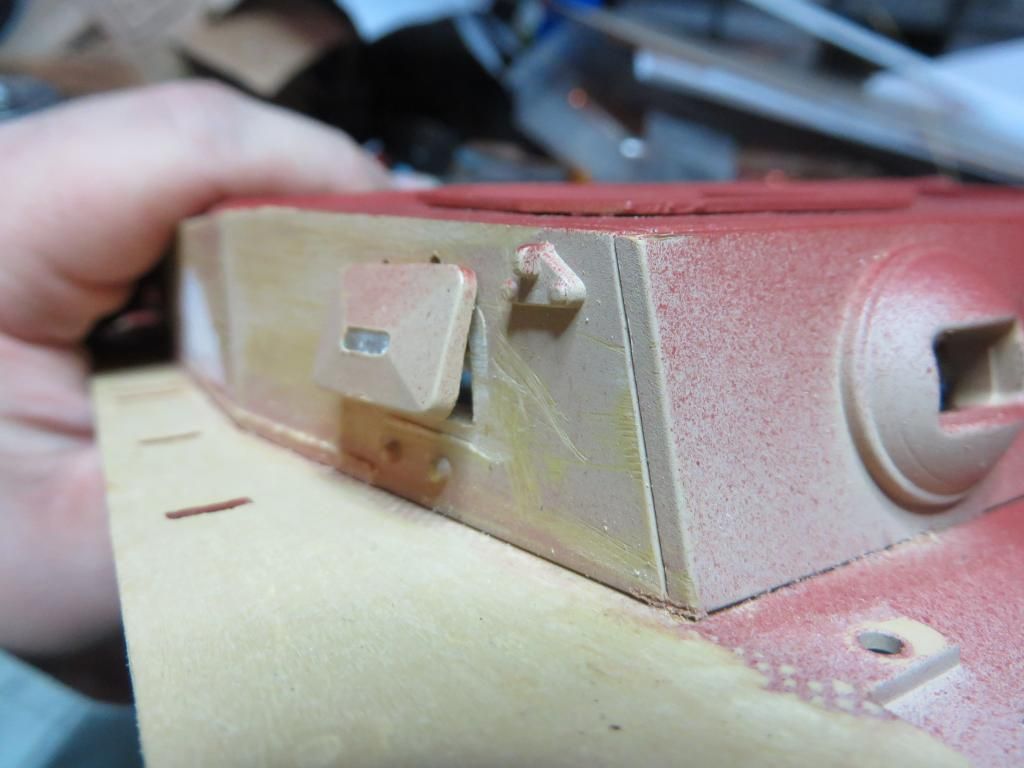
As can be seen, I have ground the fenders down ready for Chequer plate

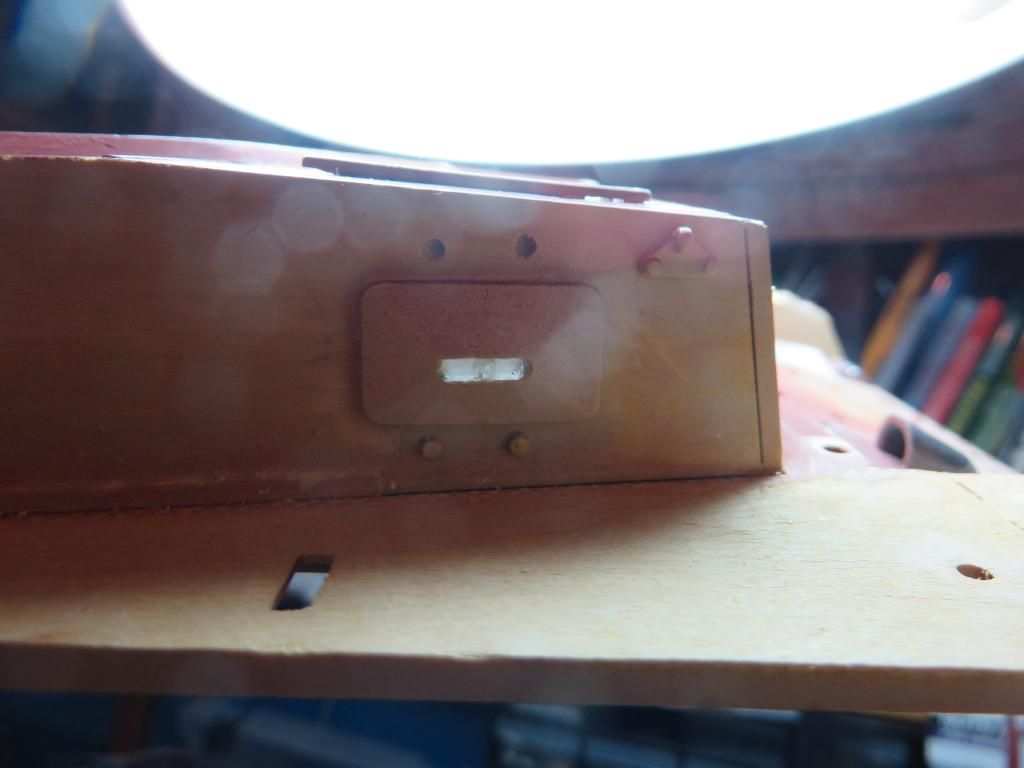
Final shot shows light coming through the vision block:

Image

I have also ground down the signal port on the front hatches as they were not fitted to the Ausf H:

Image

Hope to get some more done tomorrow.

Robert

Re: Panzer IV Ausf F1 to H Build

Posted: Thu Jan 15, 2015 12:12 am
by Merlin707
ALPHA wrote:
Interesting thought Grasshopper....I had thought the same thing....but if those cans were filled with water instead of gas... they would serve as good projectile stoppers.... a bullet would almost ...and remember I say Almost...come to a dead stop ...maybe not even reach the other end of the can...
Water is a good bullet stopper ;) ....as is dirt which I am older than...and also what could be in those cans :D

ALPHA
Hi Alpha, yes indeed you would be correct for a standard rifle bullet fired from the ground, however when you take into account a .50cal round fired from a diving aircraft doing 270+ knots on a strafing run, those Jerry cans wouldn't even slow the bullet down even if filled with sand let alone water.

Just to put into context, a spitfire round could penetrate up to 5 inches of solid steel plate when fired at strafing run speed.

Because of the muzzle velocity + a/c speed + angle of attack the heat of the round would vaporise the water ahead of it until submerged to a depth of 4 feet. It is only after this depth that the round would either break up or lose any effective injuring characteristics.

This is why a lot of sailors at Pearl died once in the water and during the Normandy invasion on the landings when getting out of the landing craft because they thought they would be safe just under the water.

Just my military input two Penneth lol.

Re: Panzer IV Ausf F1 to H Build

Posted: Thu Jan 15, 2015 10:34 am
by philipat
nice work on the side hatches.

I think I've been unimpressed with JB Weld. Basically, been using 2-part 5-min epoxy instead.

Re: Panzer IV Ausf F1 to H Build

Posted: Sat Jan 17, 2015 8:14 pm
by KTRob
Merlin707 wrote:
ALPHA wrote:
Interesting thought Grasshopper....I had thought the same thing....but if those cans were filled with water instead of gas... they would serve as good projectile stoppers.... a bullet would almost ...and remember I say Almost...come to a dead stop ...maybe not even reach the other end of the can...
Water is a good bullet stopper ;) ....as is dirt which I am older than...and also what could be in those cans :D

ALPHA
Hi Alpha, yes indeed you would be correct for a standard rifle bullet fired from the ground, however when you take into account a .50cal round fired from a diving aircraft doing 270+ knots on a strafing run, those Jerry cans wouldn't even slow the bullet down even if filled with sand let alone water.

Just to put into context, a spitfire round could penetrate up to 5 inches of solid steel plate when fired at strafing run speed.

Because of the muzzle velocity + a/c speed + angle of attack the heat of the round would vaporise the water ahead of it until submerged to a depth of 4 feet. It is only after this depth that the round would either break up or lose any effective injuring characteristics.

This is why a lot of sailors at Pearl died once in the water and during the Normandy invasion on the landings when getting out of the landing craft because they thought they would be safe just under the water.

Just my military input two Penneth lol.
Hi Merlin, I think you are probably right.

I have looked on the internet at photos of other panzers and it seemed to accepted practice to have a row of fuel cans on the turret roof. I would imagine the tanks were unloaded and driven to a deployment area, then the vehicles were refilled with what was carried in the cans?

Just a guess.... :think:

Re: Panzer IV Ausf F1 to H Build

Posted: Sat Jan 17, 2015 8:22 pm
by KTRob
philipat wrote:nice work on the side hatches.

I think I've been unimpressed with JB Weld. Basically, been using 2-part 5-min epoxy instead.
Thanks philipat, for some reason I decided I wanted them to open, took a lot of work for a small gain :haha:

I tried some 5 minute epoxy but that wouldn't stick. The pot metal they use is strange stuff.

Here's a pic of my ugly repair, will be tidied up and made to look like a field repair when complete:

Image

Re: Panzer IV Ausf F1 to H Build

Posted: Sat Jan 17, 2015 8:25 pm
by KTRob
Got the new chequer/diamond plate on:

Image

This is 1/100th Scale plastruct and was stuck on with plastic weld.

I measured each section then marked out on a piece of paper to make a template to cut the sections out to.

I also added the additional armour to the front plate, 2mm sheet.