I tried doing the lettering on the turret using a stencil set. The results were discouraging - just not good enough. In fact they looked as if done by a drunken monkey wiht a brush. Unless you do the letter perfectly, of course, the whole thing doesn't look right. And this was nowhere near perfect. I'm just going to use the decals now!
Unfortunately I used paint for the letters so i had to undo that. That involved spot repainting with the airbrush. I do like how the effect came out. I resprayed in spots using dunkel "sand" from model master and olive drab. Here's the results...i think i'm about done with the paint on this tank!

There is still much to do, to finish a proper job on this tank. Most important i'm waiting transmiter and crystal and it doesnt even run...So that comes first naturally.
After that I have faster mabuchi motors on the way-i want more torque and climbing ability. Although the stock motors are about fast enough, I have enough tio worry about with this troublesome tank so i may just wait til i have a good reason to tear it all apart again.
Still need to do the fitting of the fan on the RX18, fitting the cables on the side of the hull, the jack, the rear fenders. Fitting nylon spacer under the drive sprocket on the drive shaft for stability. To top it all off, i have a new HL Tiger 1 on the way too!!! For that reason I've been trying to do a lot lately, i want the King Tiger to be up and running and just about done when the new tank gets here...or close as possible.
If I have done everything right- with the complete re wiring of this tank from the old burnt up rx01/rx13 board to the new RX18 system- all i should have to do is plug in the crystals, plug in the turret wires, put the batteries in the transmitter and drive it off...if if IF!

I did some of the decals tonight for the turret since like i said hand painting them not an option, for me! The only thing wrong with the decals really is you have no choice of numbers. I did something silly, because I didn't know better, i threw one of them in water because I thought that is how they work. I have not done ANY model decals in 30 years and in those days (when dinosaurs roamed the earth and a monogram tank model or a 1/32 ME109 cost $4) they were all water transfer.
The fact is the HL decals are dry transfer. I had to google that to find that out. You cut out your number, then peel off the back. Apply your number then use a pencil to press on the numbers through the clear plastic and they are supposed to stick. They are fiddly and you might need tweezers as they don't always stick right and sometimes try to pull off as you remove the clear plastic.
I am not sure whether to spray satin clear over these decals, I'm wondering if it would melt them. Sounds like a test of the extra decals is in order but I've done enough for now.

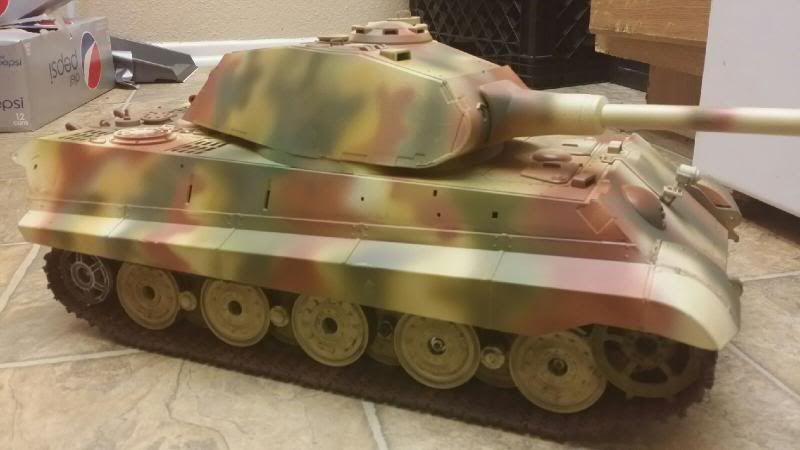
I gave it all a light coat of clear satin so i can get A good idea of how good the paint looks. I may stop right here or else, just do a very light wash of arroyo burnt umber just to highlight the seams plus a light drybrushing to blend the colors fully. One thing I've (re) learned about scale modelling is rushing a paint job is always a poor idea- when in doubt i learnt to leave things alone for a while no matter how eager to see results! I'll allow a couple days for the paint to hardened- the perfect excuse too. Now if only the dang transmitter would get here...


