Re: 1/12 Tamiya Hummer
Posted: Sun Oct 06, 2013 2:07 pm
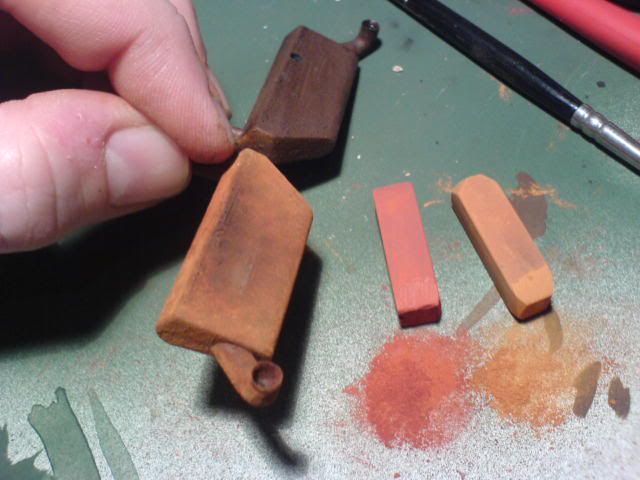
I like using artist oils and white spirit for washes, gives you longer to blend the colours or mop up the bits you don't want. Enamel model paints work in a similar way. I only use 3 colours, a black, a dark brown called Burnt Umber and a reddy brown called Burnt Sienna.
Wet the area you want to wash with white spirit, then put a blob of each colour on a plastic surface (I use lids from old takeaway cartons). Mix some white spirit in with the colour you want until you get the concentration you need and then touch or paint it onto the model. Because you've already wet the surface the pigment will run into the grooves and hollows. You can move it around with the brush and suck it out of areas you don't want it with a dry brush. Mix in the different colours for varying shades, really you just need to give it a go with a little trial and error. Probably best to start with a less obvious area or an old model for a bit of practice. I used the above technique on my Landie before the camo went on...
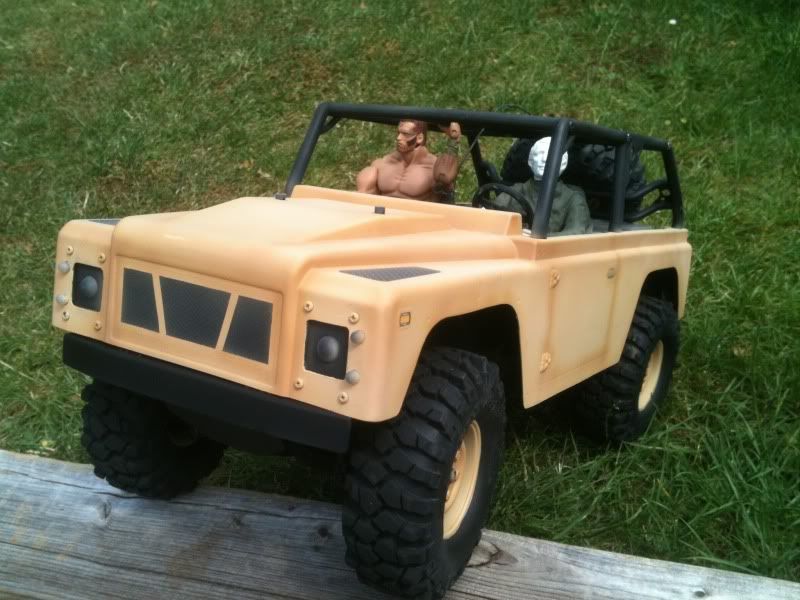
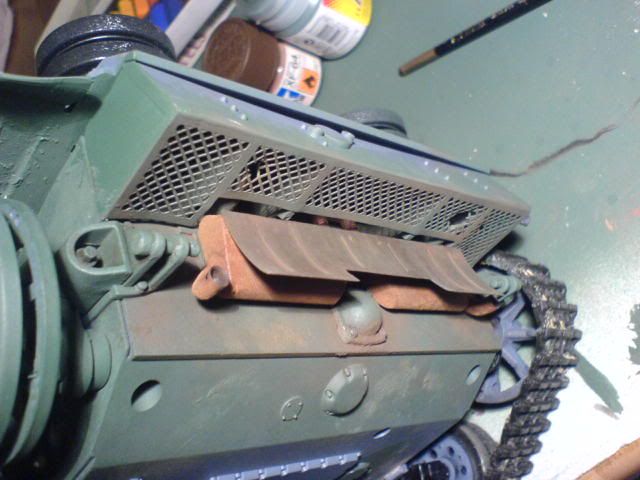
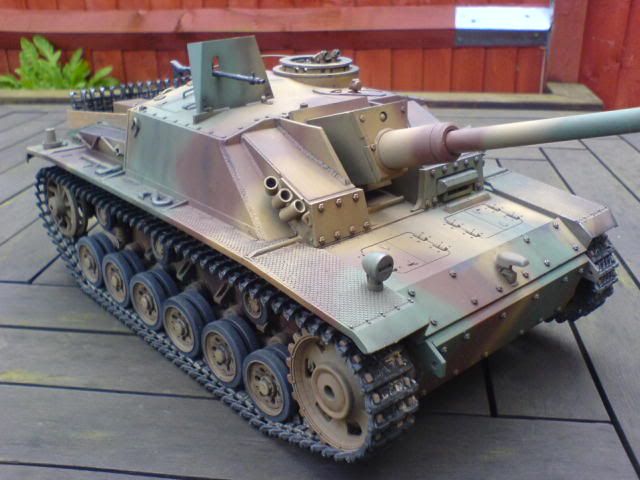
The Landie had just been sprayed a single tan colour, all that shading was done with washes. It was deliberately heavy so it would show under the camo scheme. It also works very well on tanks as it's easy to get that oily, grubby look. Here on my Stug3 it shows up well on the weld seams and the rain streaks
Wet the area you want to wash with white spirit, then put a blob of each colour on a plastic surface (I use lids from old takeaway cartons). Mix some white spirit in with the colour you want until you get the concentration you need and then touch or paint it onto the model. Because you've already wet the surface the pigment will run into the grooves and hollows. You can move it around with the brush and suck it out of areas you don't want it with a dry brush. Mix in the different colours for varying shades, really you just need to give it a go with a little trial and error. Probably best to start with a less obvious area or an old model for a bit of practice. I used the above technique on my Landie before the camo went on...
The Landie had just been sprayed a single tan colour, all that shading was done with washes. It was deliberately heavy so it would show under the camo scheme. It also works very well on tanks as it's easy to get that oily, grubby look. Here on my Stug3 it shows up well on the weld seams and the rain streaks