Munty wrote:I reckon I should have all four tracks done within a month (or Christmas at the very latest!) so fingers crossed we'll see something interesting soon!
And that was September 22nd. So I clearly didn't make it! However... Febuary 7th is a date that will go down in history as the day when I finally finished my tracks!
As usual it's been a few months off then a frenzied week of work so I don't think I even picked up the project again until 2014 following my last post! While theoretically this stuff was all very simple replication of work I've already done there was the normal practice of remaking prototypes to appease the OCD in me so I actually ended up completely remaking the first bogey with new materials and slightly different templates. It's fairly missable to the untrained eye though!
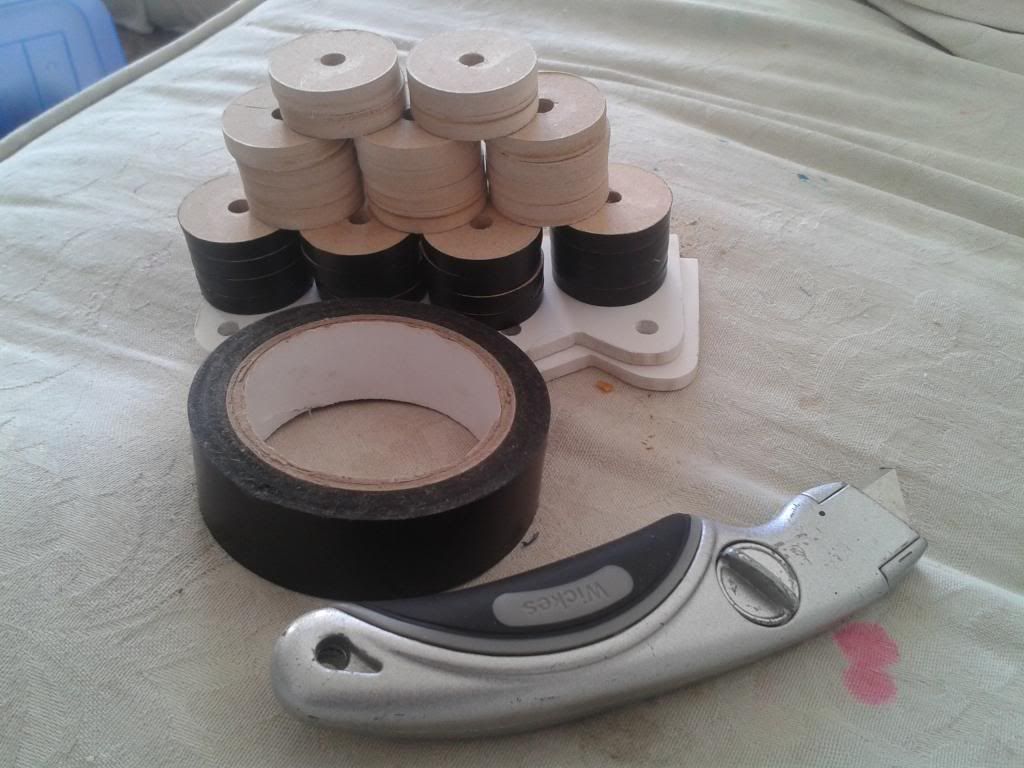
I don't think I posted up the other sprockets and driveshafts I had to make for this build but regardless of whether I did or not it's nothing that hasn't been seen before so you're probably lucky not to be seeing more pictures of them! I believe I also made up the remaining two wooden frames since my last post but I only have pictures of the bogey assemblies on hand right now so here they are!
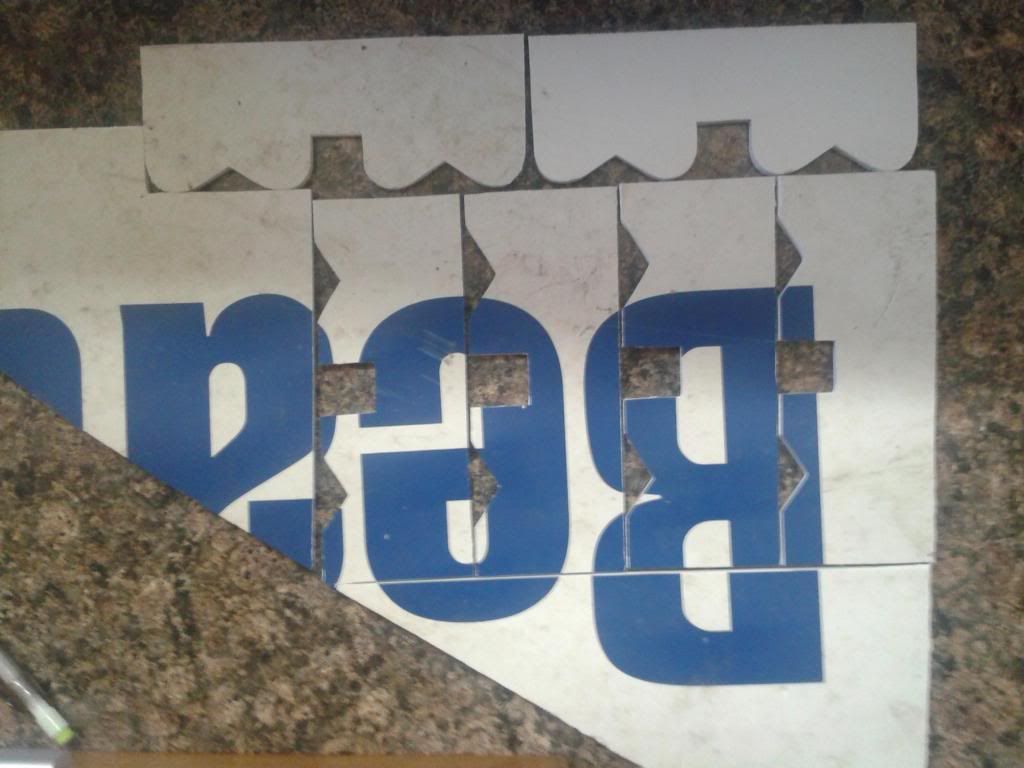
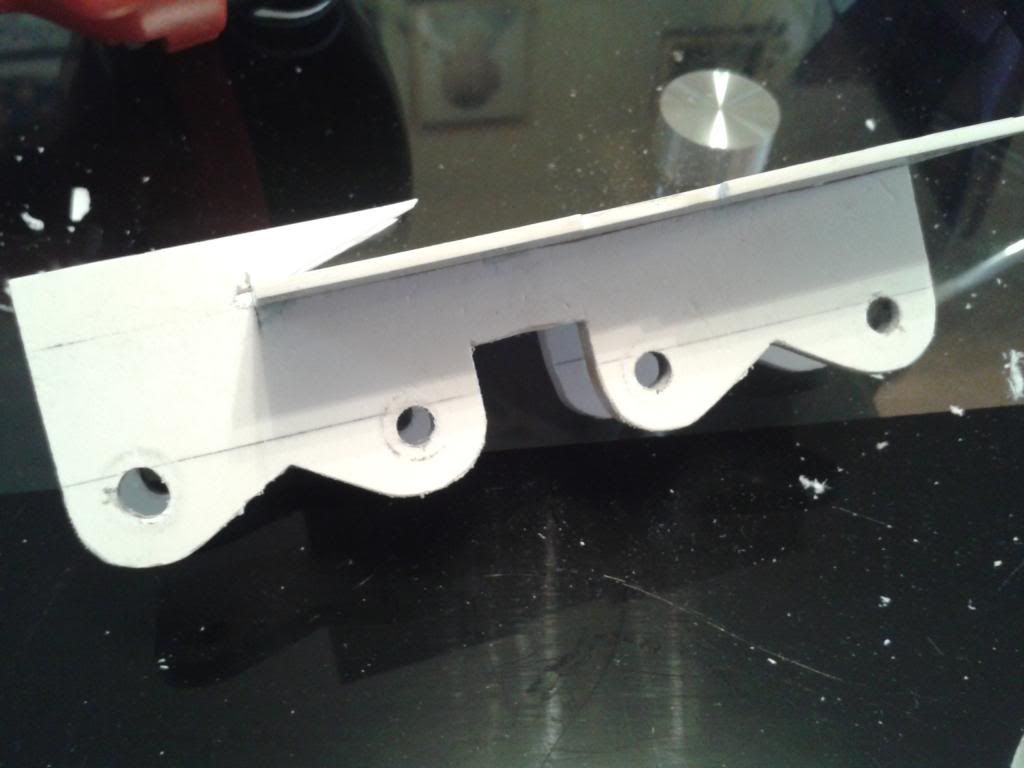
I don't think I ever showed the construction of the first one of these so here it is for the remaining three instead! As mentioned, I also remade the original later on as the final design more closely mimics 2 pairs of wheels as opposed to the original which was 4 equidistant ones. It was also a bit rough around the edges as all my prototypes tend to be... Either way here is the sign I 'found' which helped me with the other bogeys.
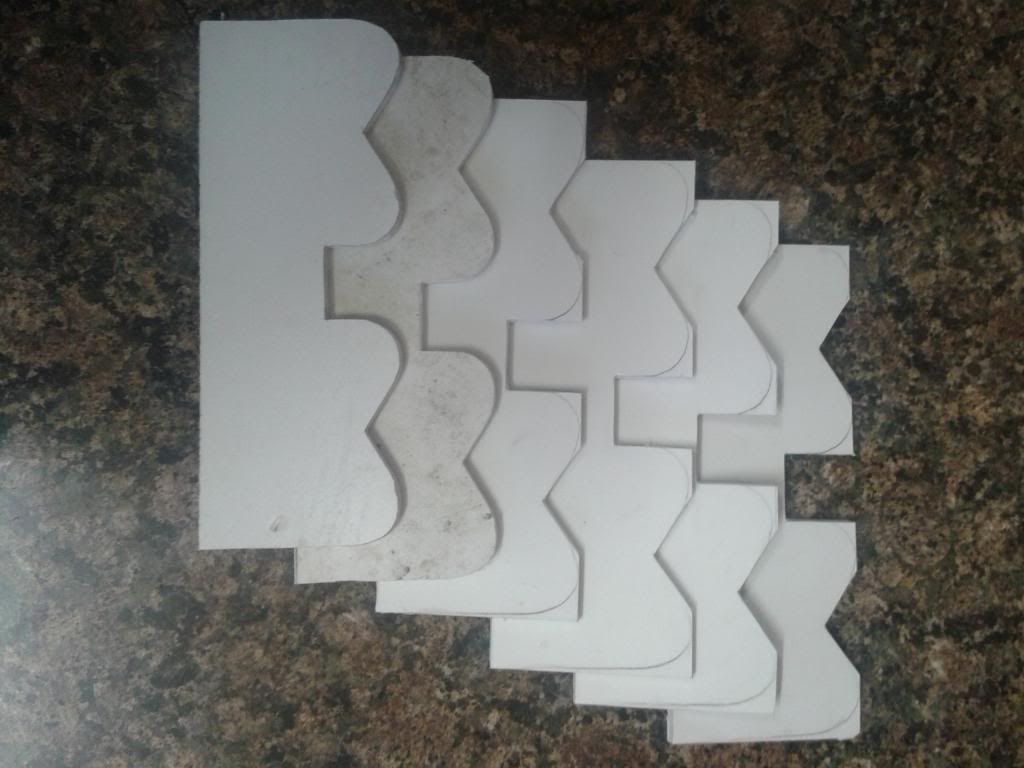
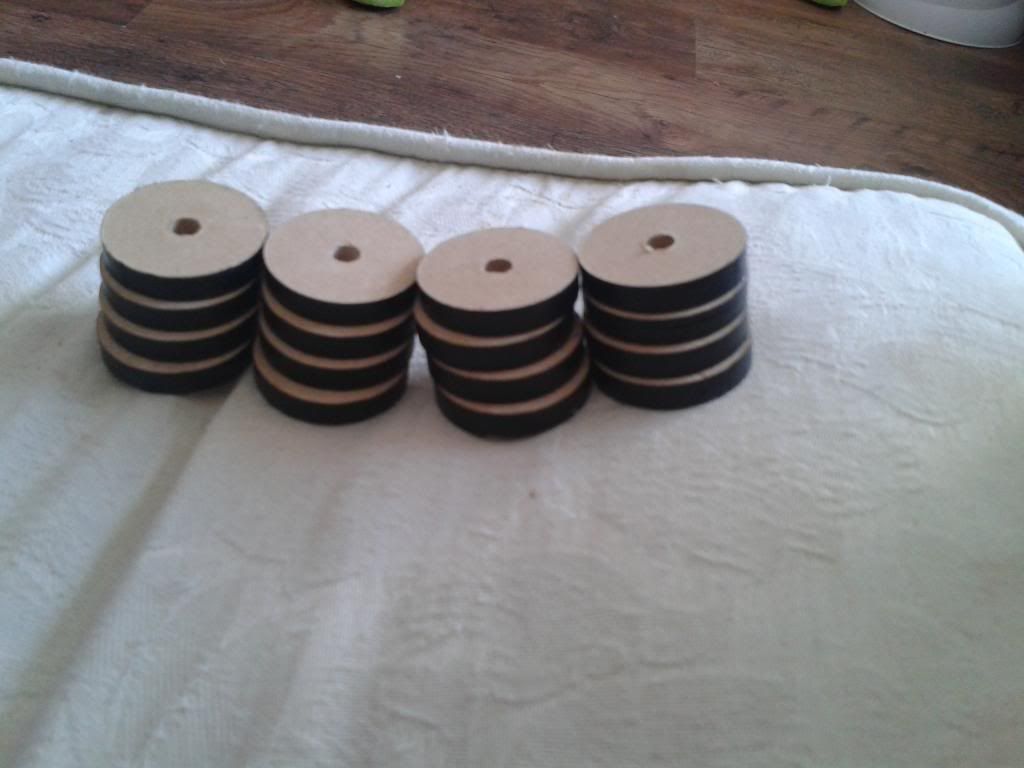
The next shot is mid-process before everything got trimmed and sanded. The leftmost pair are neaqrly ready to go though.
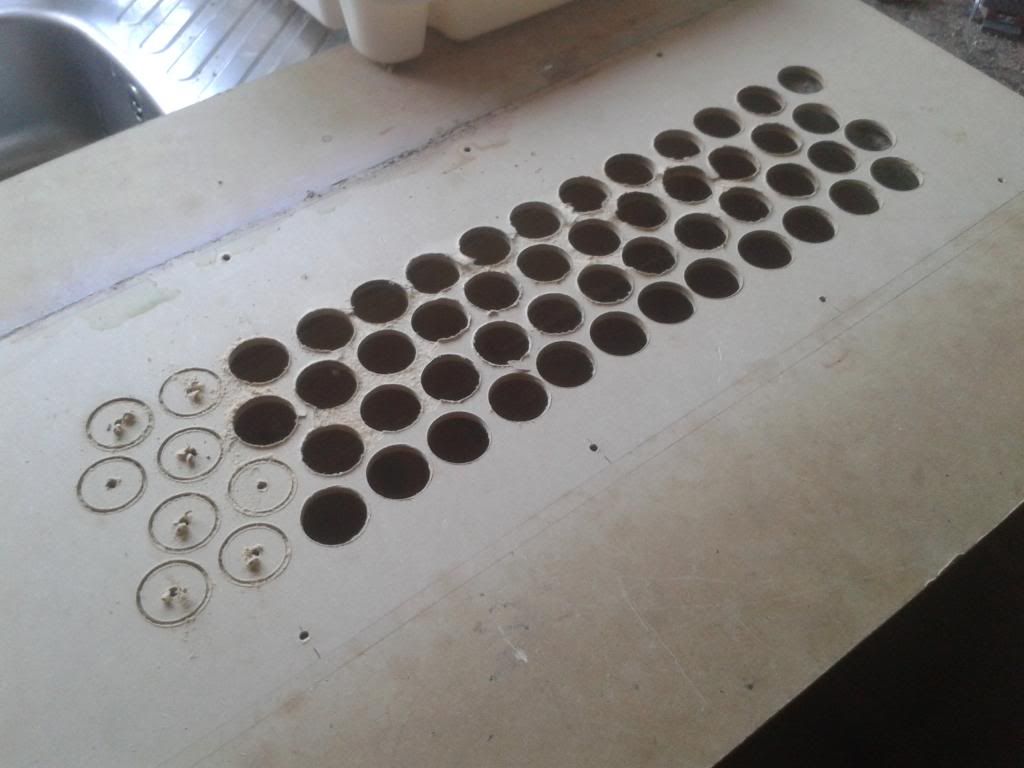
I decided the material I used for the wheels in the prototype was just too tough to cut another 48 and it would've been hard to detail too due to the finish (It was intended as a flooring material afterall) Instead I reverted to some cheap ply from a cupboard I made for my kids some years ago which was a dream to work with. I found the easiest way to cut them was to drill half from one side and then flip the board and finish from the other. This material is marginally thinner than the old stuff but it's JUST enough that it doesn't interfere with the guide teeth on the tracks.
Here are two of the three remaining tracks that I whipped up in a direct comparison to the finished prototype. I know they look the same but believe it or not there are subtle differences! And of course they haven't had the tops cut down yet either...
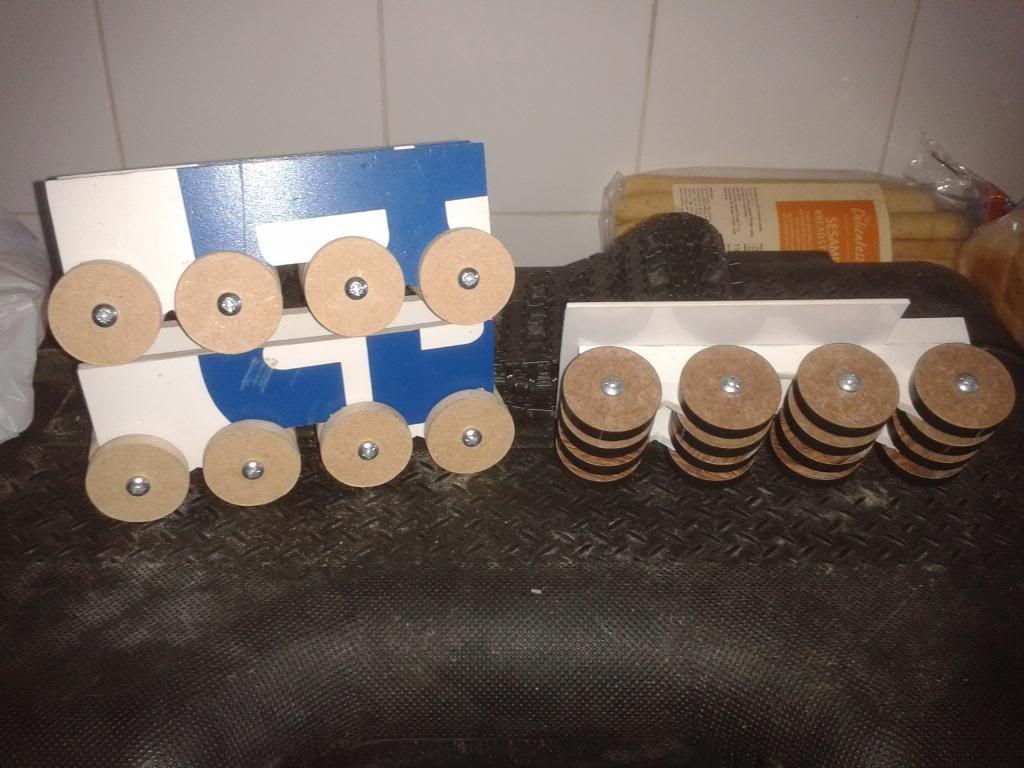
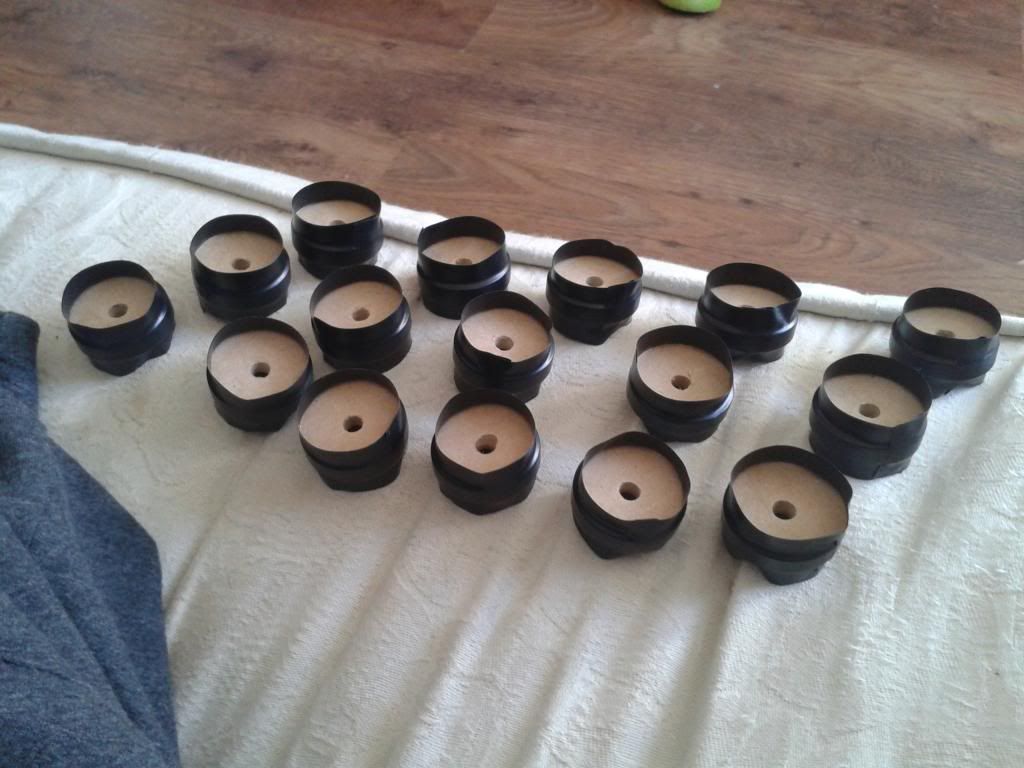
Welcome to our segment on tyre fitting! This seemed to work on the prototype bogey so I've done it again on the others. It's fairly self explanatory for anyone who cares!
Here's the retired prototype... It had a number of flaws that made me willing to cut a replacement for it but I doubt anyone but myself will notice them!
It's worth mentioning that I don't actually have any images or information regarding the actual fitting of these bogeys to the track structure itself. Odd really as it was pretty tricky to get it right. Just a single mm too high or too low and they'd either hold the sprockets off the ground or be raised off it themselves! In the end I got a system down which was pretty much foolproof but I won't bore anyone with it and I'm not sure how I could explain it even if I tried!
Of course the exciting moment only came when all of the drive shafts, idlers, bogeys, support frames and tracks were all finished to an acceptable level. And that didn't happen until yesterday. February 7th 2014... My mammoth tank is finally ready to drive! I have full confidence in the construction of this hardware and have little doubt that it will function as expected when the time finally comes. Of course I expect there to be some teething trouble but that's all part and parcel of a never before attempted fantasy scratch build I guess... I just can't believe I've finally reached such a big milestone. There was a day, not too many years ago, when it was just me and a small paper model of this tank sat on my desk. Then I started thinking, you know what would be cool?
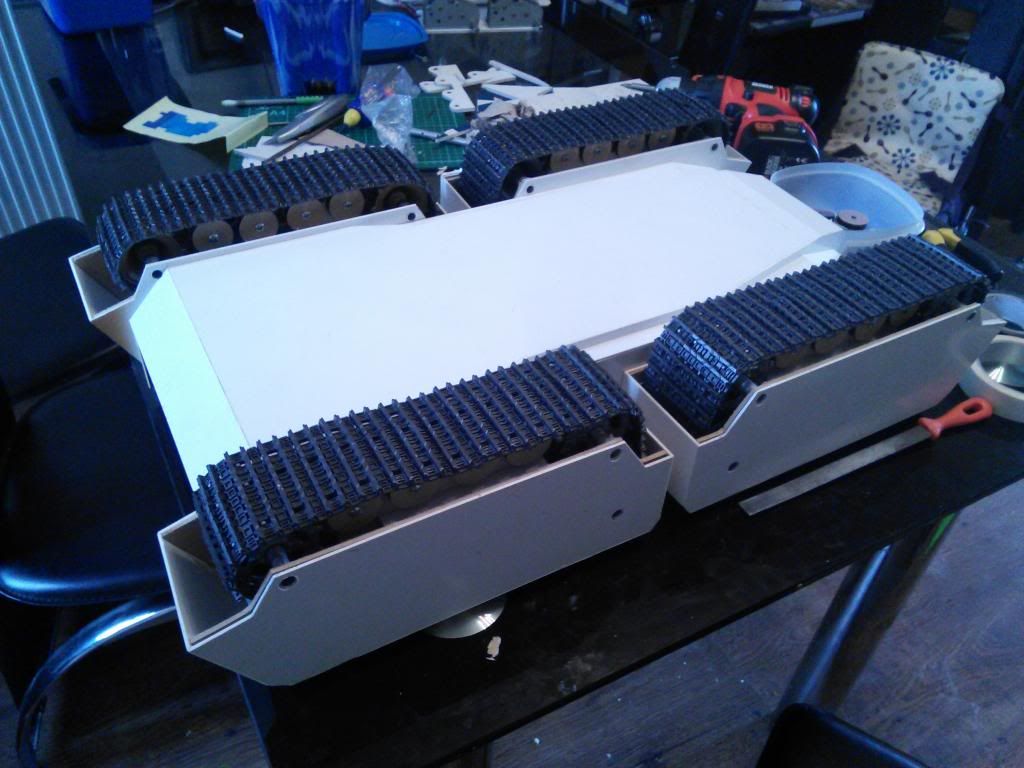
Here she is on her back for one last time! All tracks are complete here, though some of the pins are marginally too short and so will cause failure/require replacement at some point. Drive shafts are all finished and only require a means or connection to the gearbox itself, probably a simple splitpin! All idle sprockets are also complete here though a means of securing the rear of these assemblies would be advantageous at some point (however it is unlikely to be a problem as the track itself should prevent failure) Bogey assemblies are of course finished too, though I don't yet have suitable screws to permanently attach them to the wooden support frames. That means there is currently lateral movement, a serious problem were this tank to drive as the entire assembly can move and become jammed in the neighbouring idler! This was a foreseen issue however and is easily fixed with a trip to town! But, returning to my initial point, here she is on her back for the last time!
And once again, it's time for some gratuitous track shots!
The next job will be to make up the remaining two pieces of track armour, though I'm worried I no longer have enough of the material I used for the others... I also need to finish the second Mammoth Tusk missile pod at some point, which shouldn't be too difficult, and there is always more detailing to be done in the engineering bay!
Realistically, I think the next thing I'll attempt will be armour plating of the turret. It's simply a much smaller job than armour plating the hull! It should make a HUGE asthetic difference too which is what I'm shooting for now. Also, the turret requires no reinforcement whatsoever but I'm still concerned that the hull may do. If ANYONE has any advice on a product or method I could use the strengthen and also conceal the joins in my plasticard shell please do let me know so I can get on with that!
I also need help with the next step of hardware installation so that these tracks can run under their own power. Would be a shame not to now that they finally can! I already have two Heng Long signal controllers (or whatever they are) so am I correct in thinking I can connect each of those up to one pair of motors? If yes then I still need a battery, or more likely several, a controller, and a way to link said controller to both boards simultaneously. Someone said something about crystals I believe? Any help on that would be great though taa!
For now I'm off to have a celebratory beer and check if I have enough material for track armour! If I do then that'll get done tomorrow, if not then something else will! Befor eI go though I have a treat for anyone who's invested in this build... Some of you may remember that I said I'd actually seen these tracks run a while ago but not managed to get a video. Well this time I did it again. And this time I DID get a video! It's not great, and one of the pins was loose during this run which you can see at the end if not before. Given that though, everything worked perfectly despite having one link half missing! That aint not half bad!
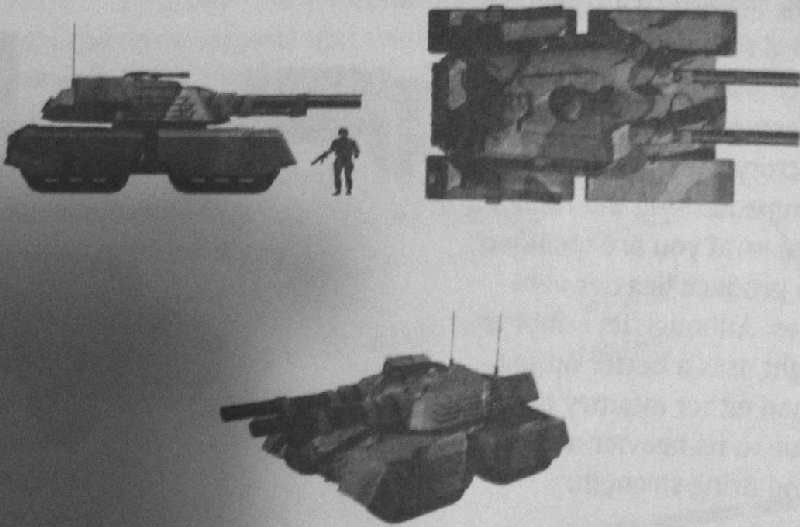
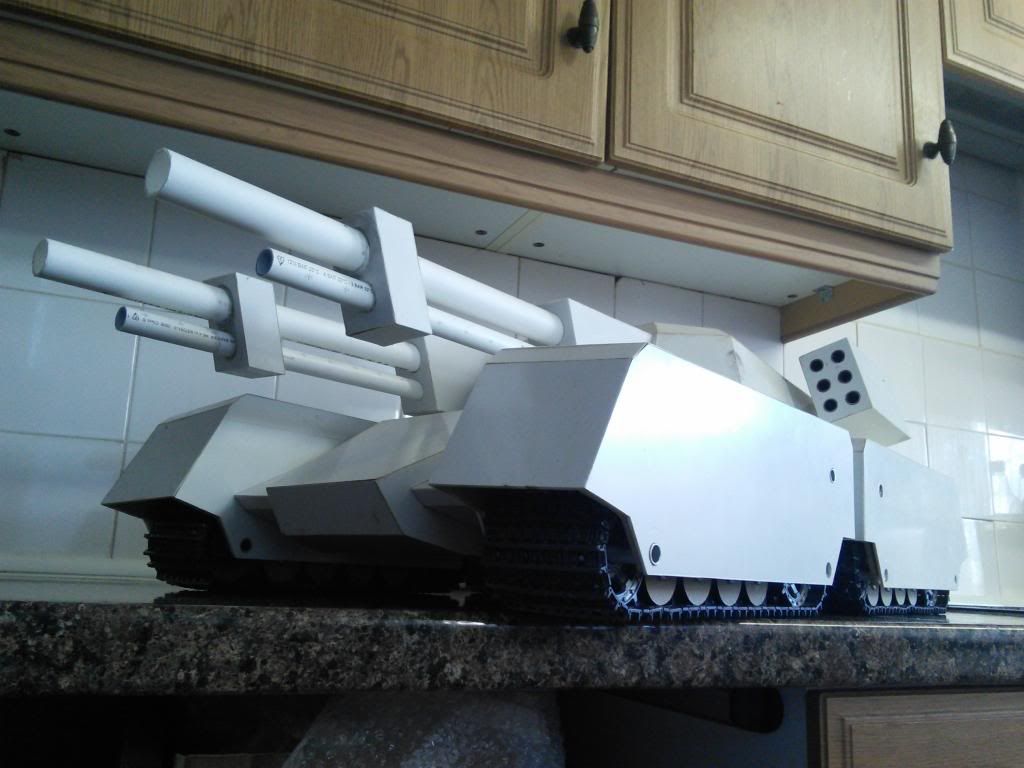
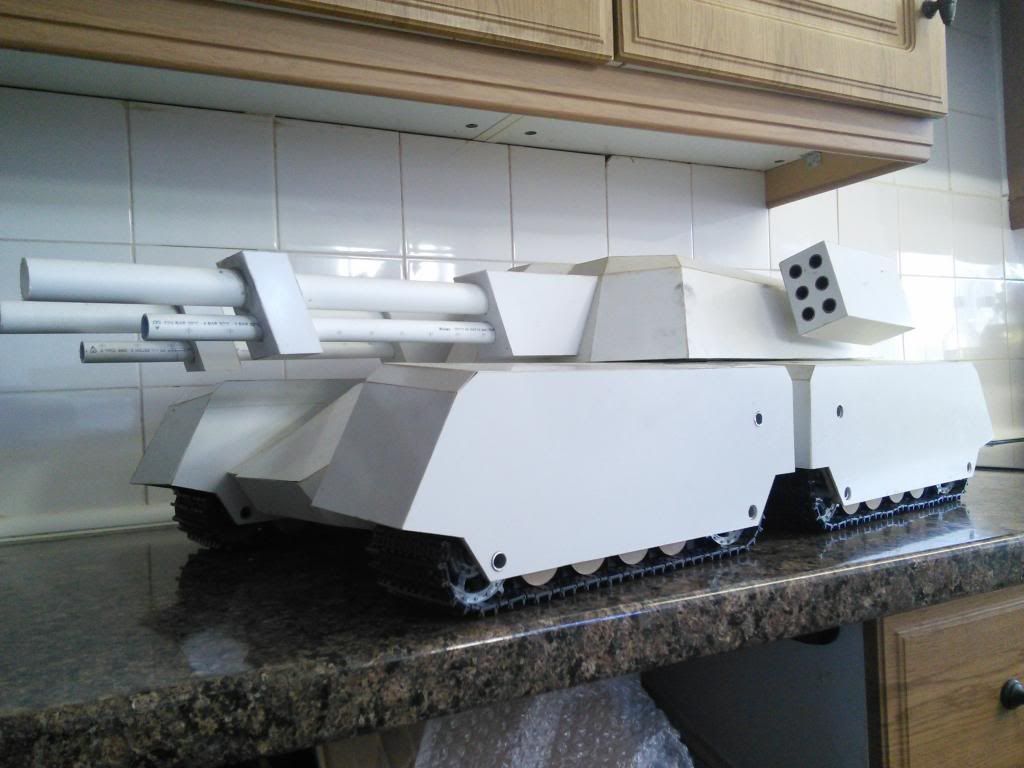
So here for the very first time, is my Mammoth tank...