Page 16 of 19
Re: DUKW Scratch Builds
Posted: Thu Aug 24, 2023 12:33 am
by Ecam
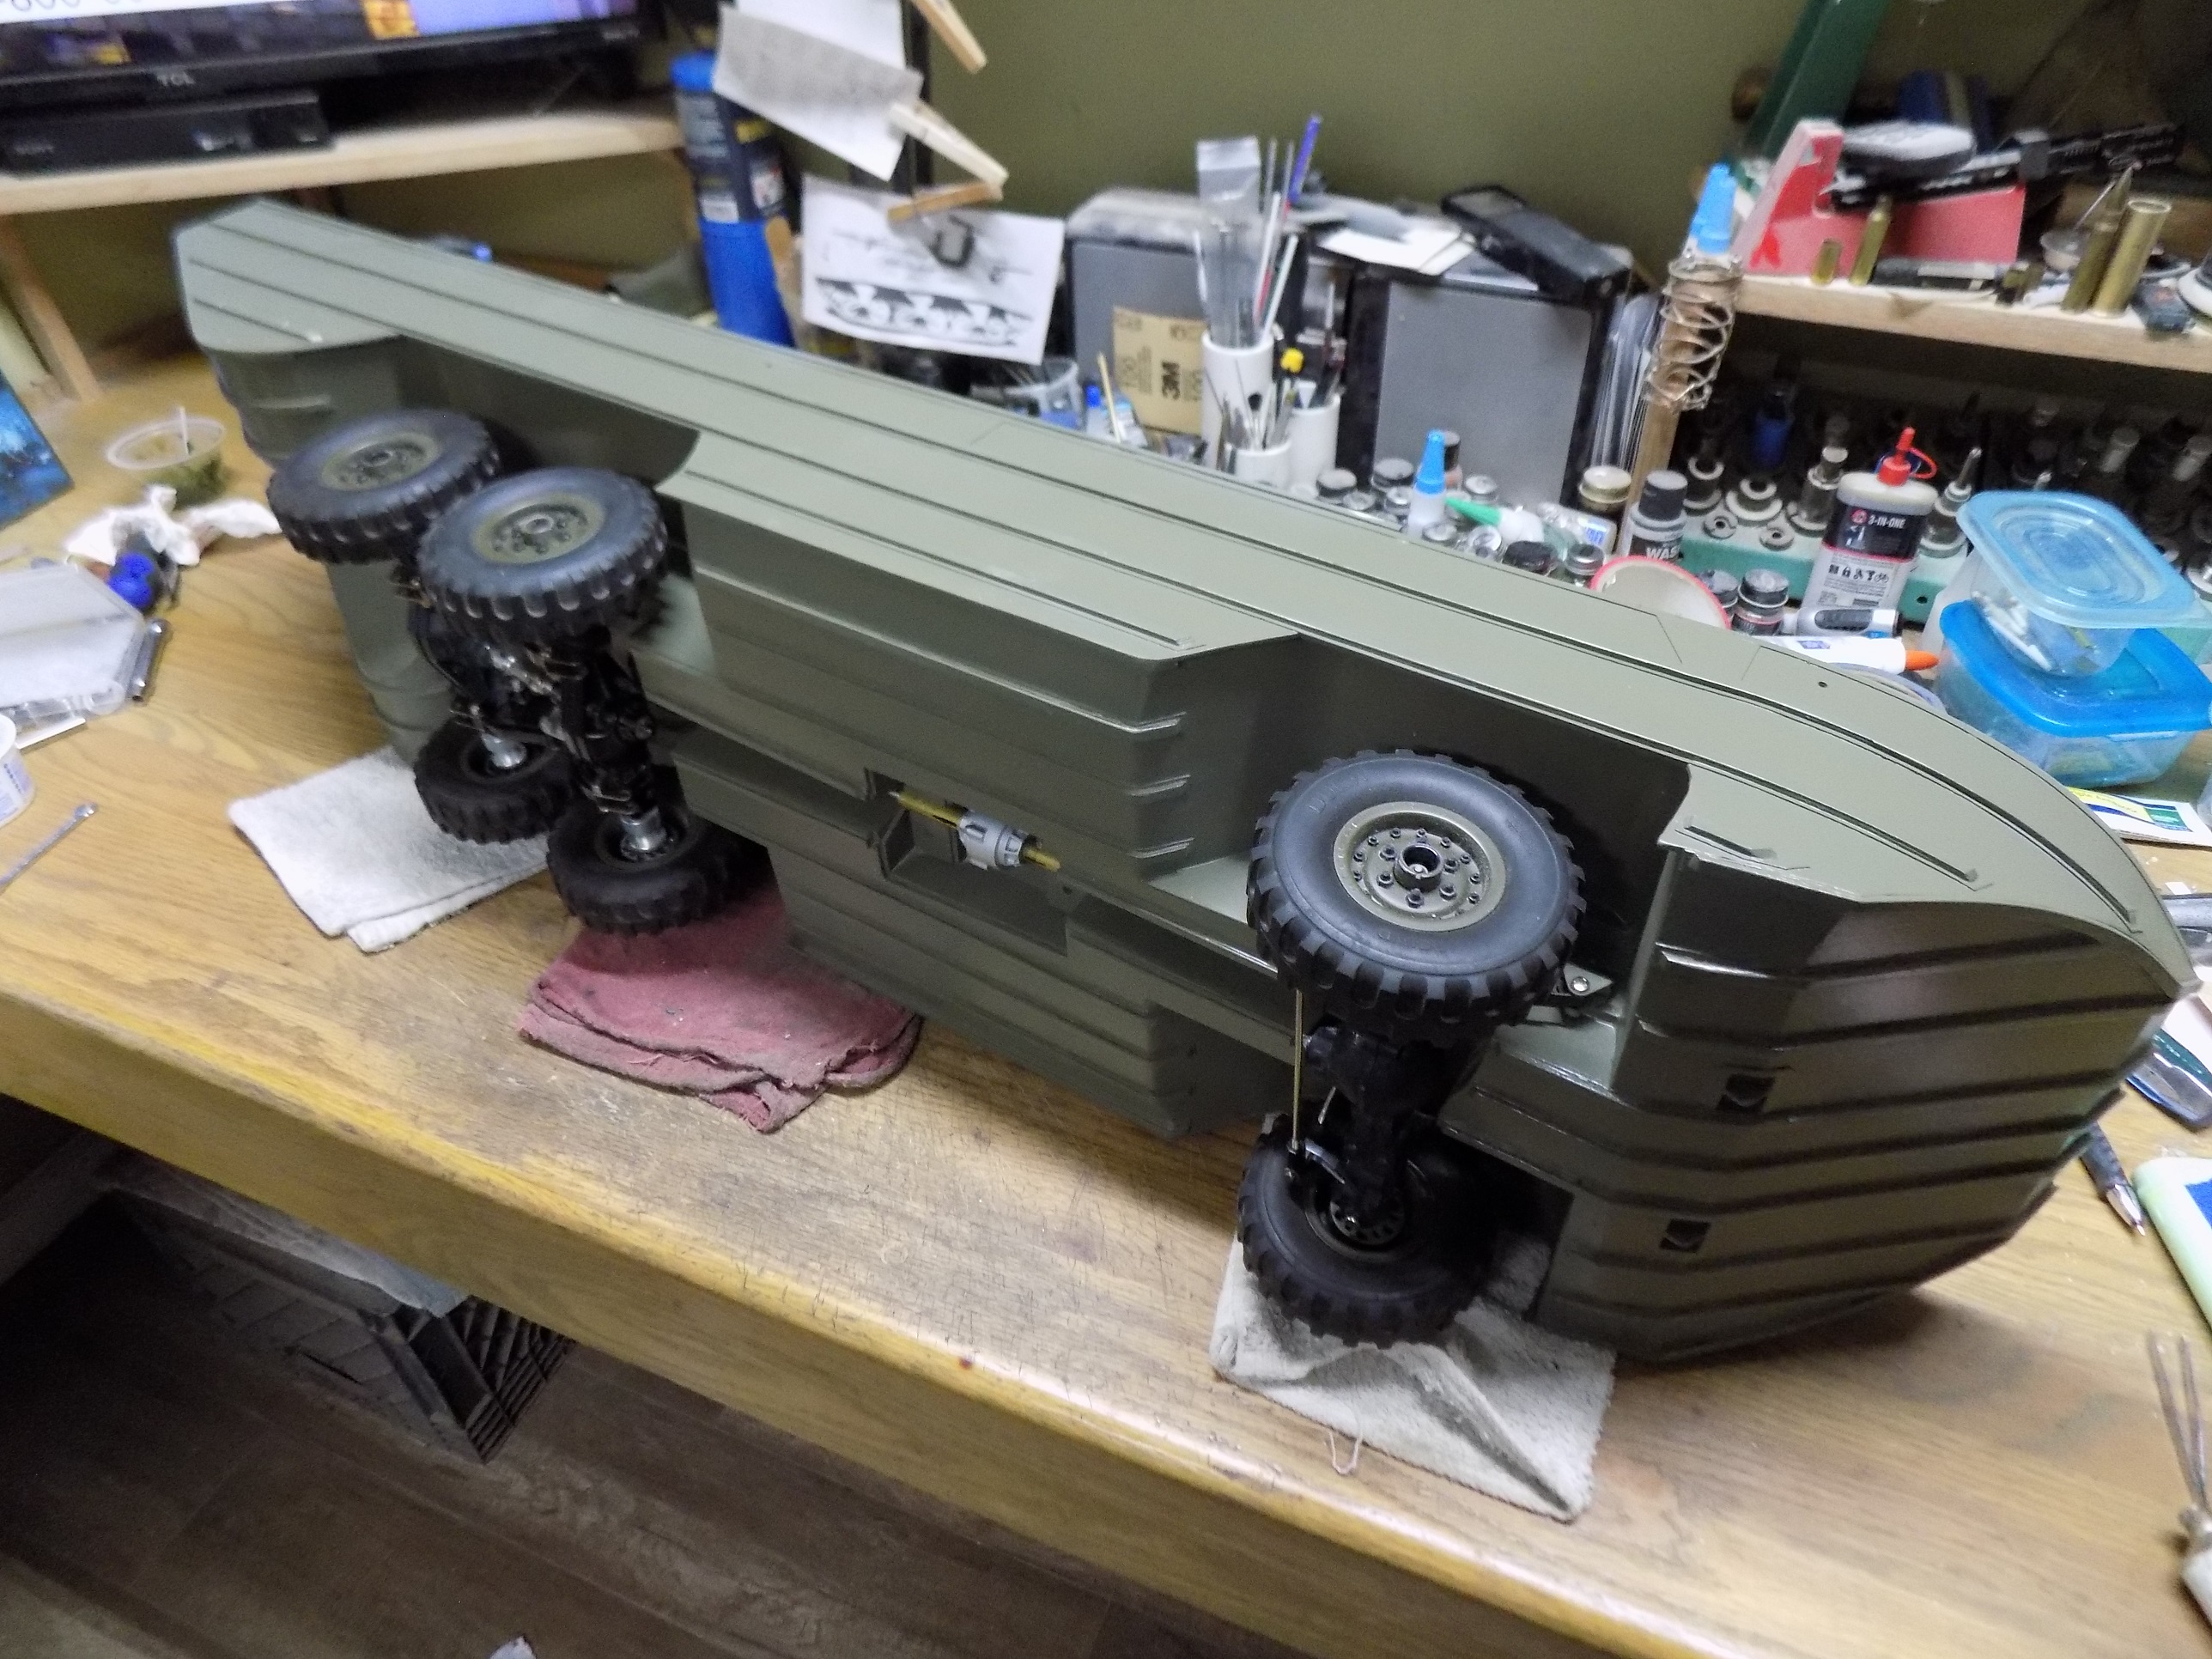
Packing the axles and transfer case stuffing boxes with marine grease. The t-case box will get some dielectric grease (if unfamiliar it is water proof and does not harden) so it should be a good product to use.
- D179.JPG (1.41 MiB) Viewed 367 times
Re: DUKW Scratch Builds
Posted: Fri Aug 25, 2023 4:01 pm
by Ecam
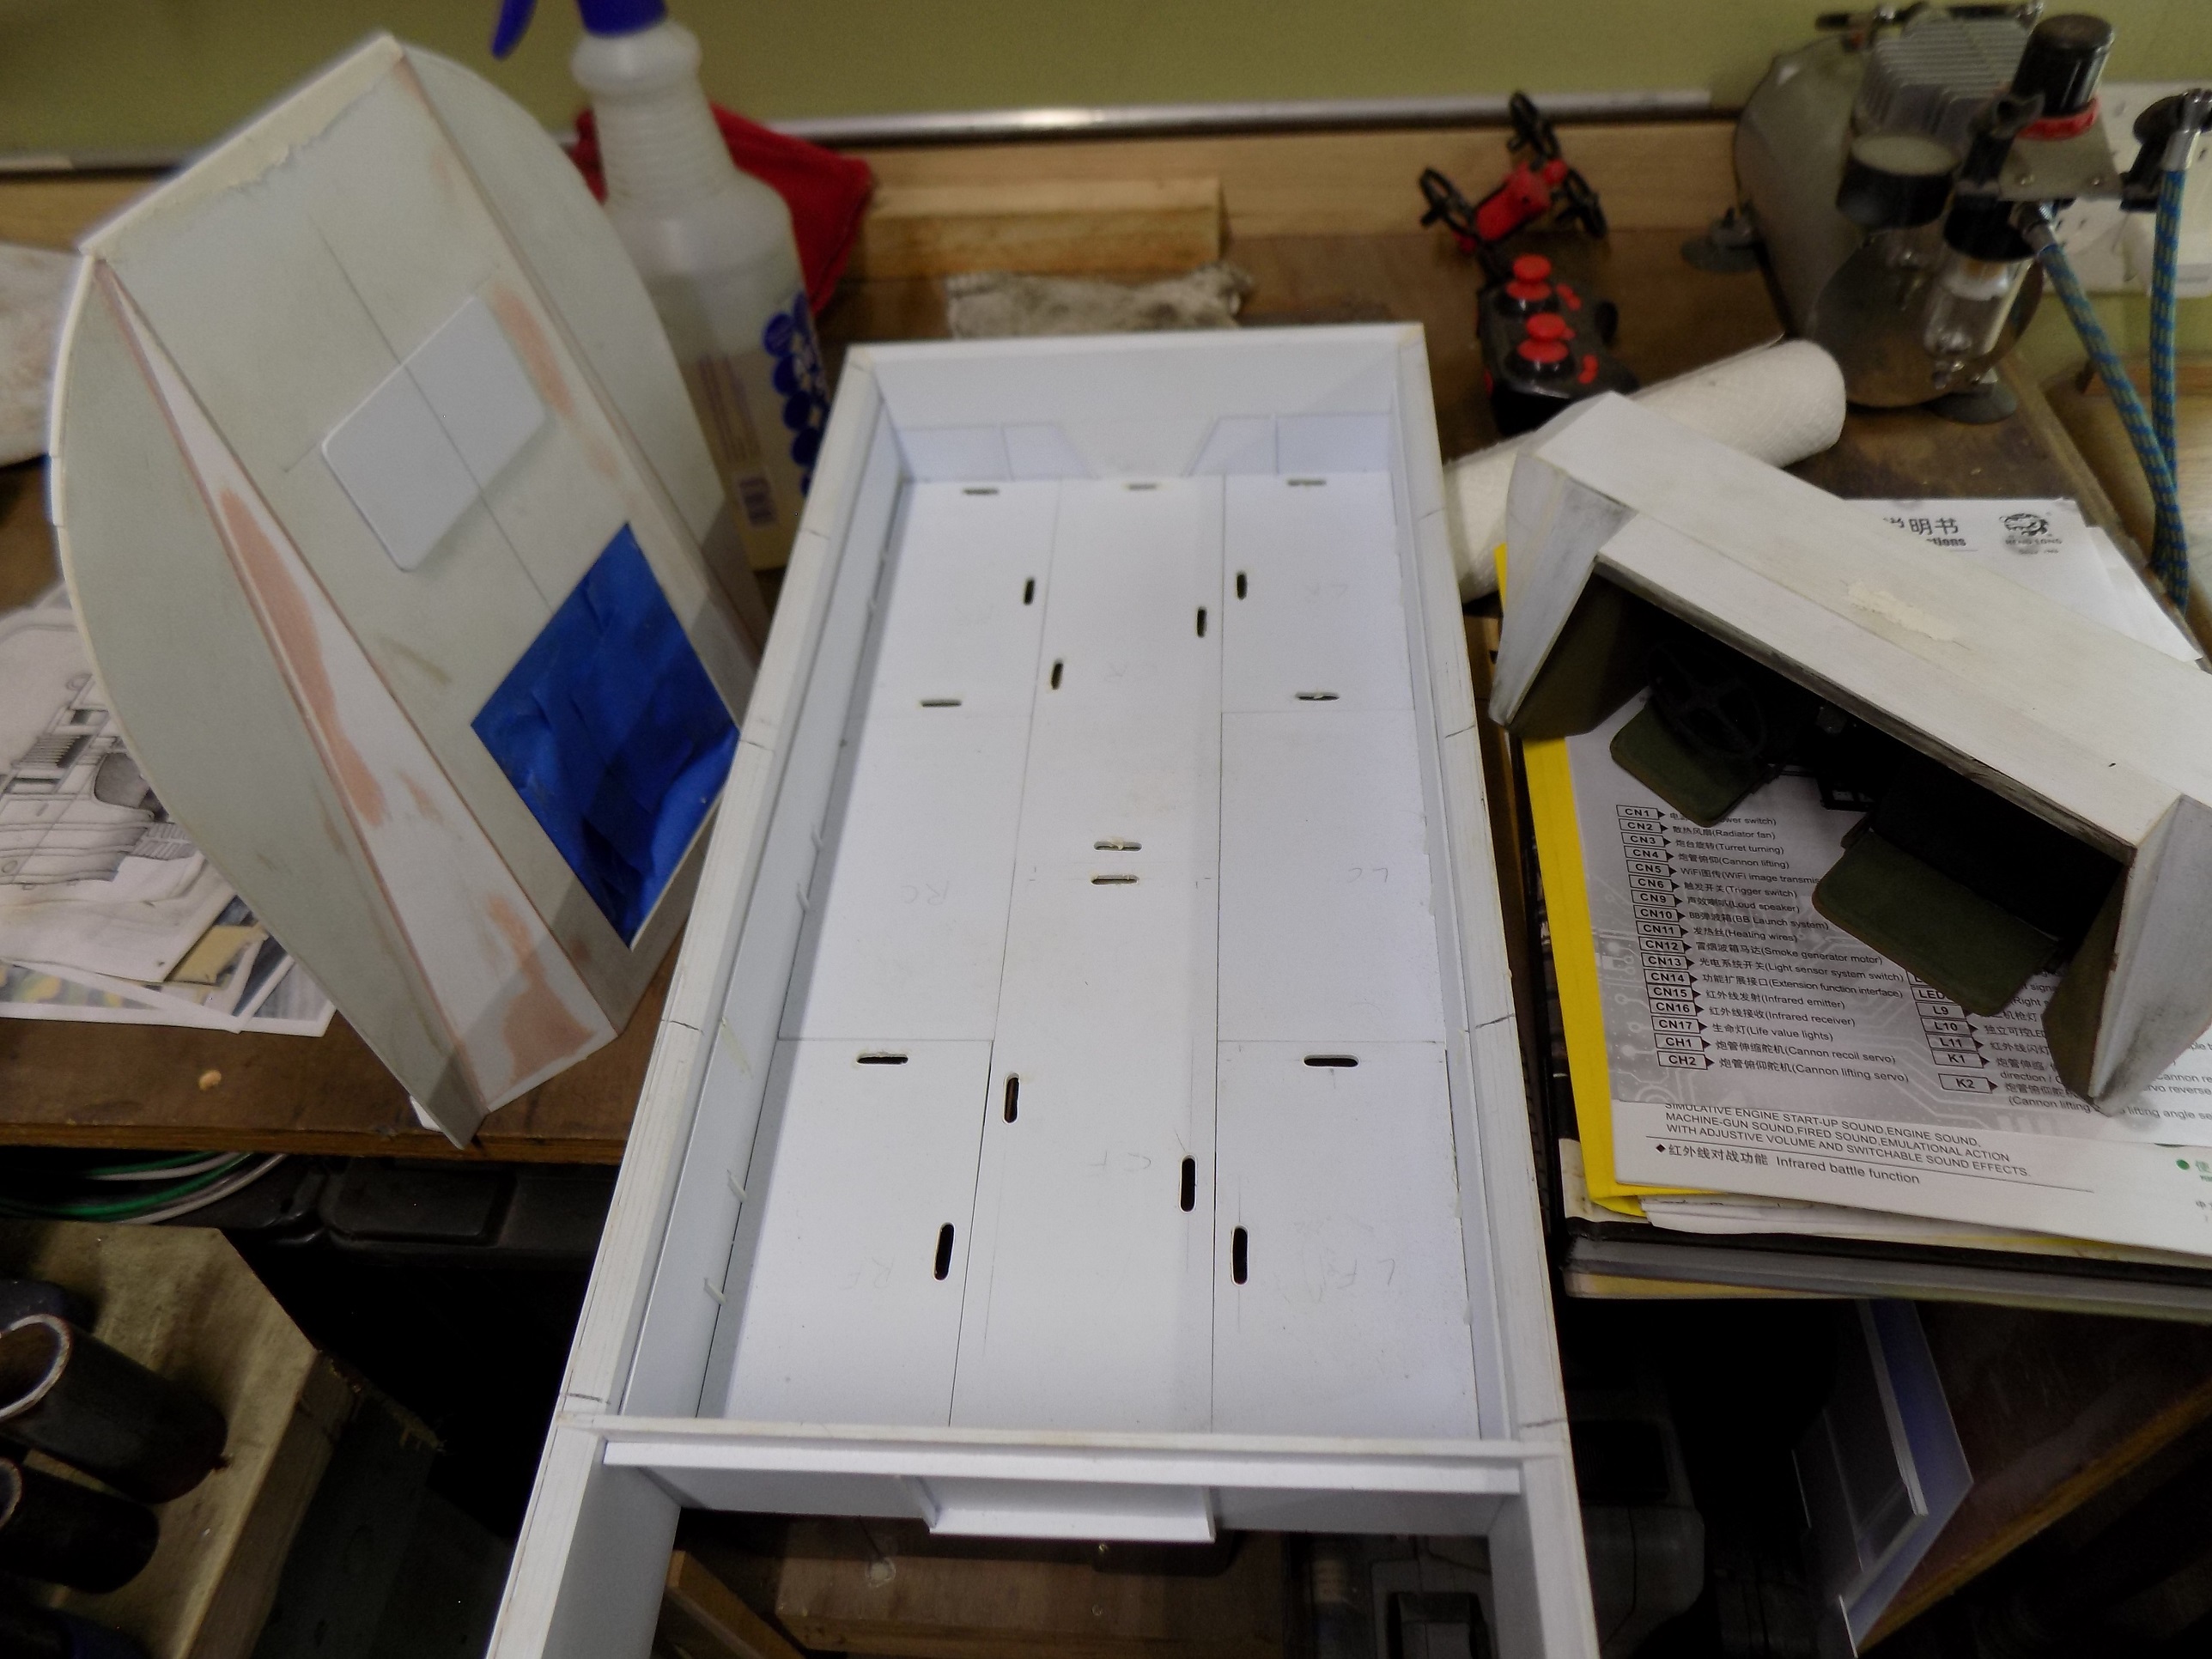
Working on the top parts of the hull to get them ready for paint.
- D181.JPG (991.51 KiB) Viewed 366 times
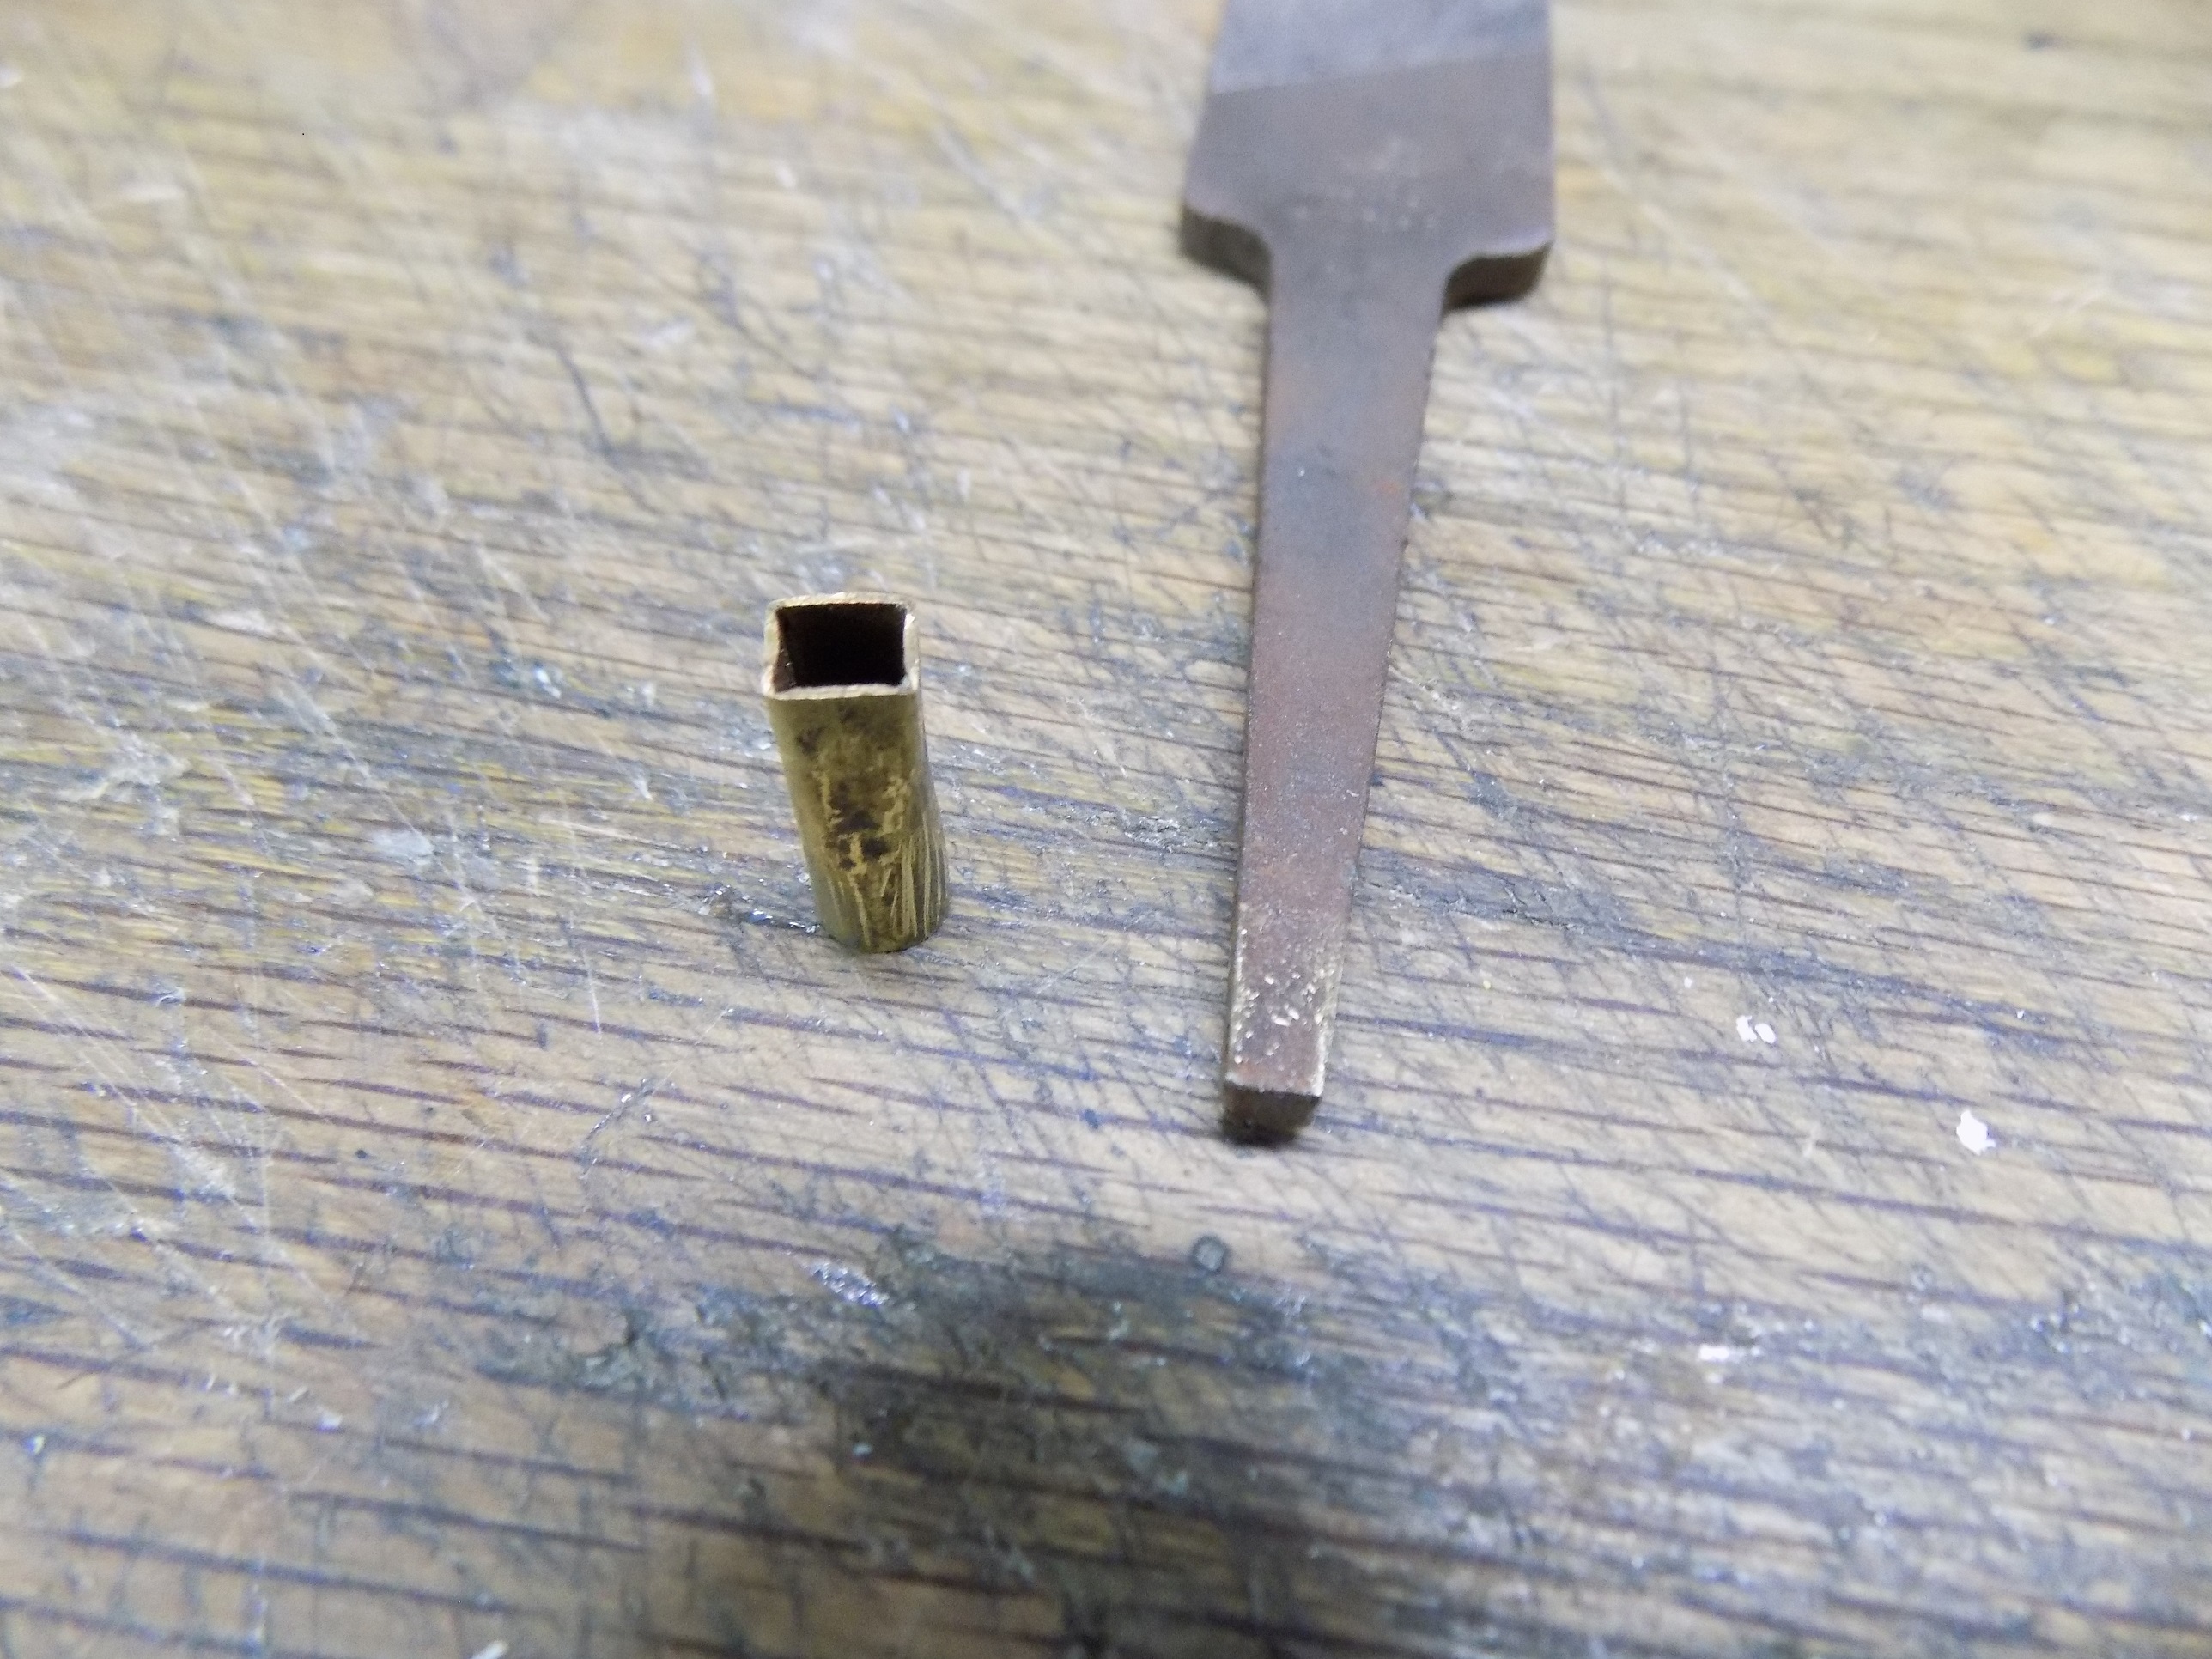
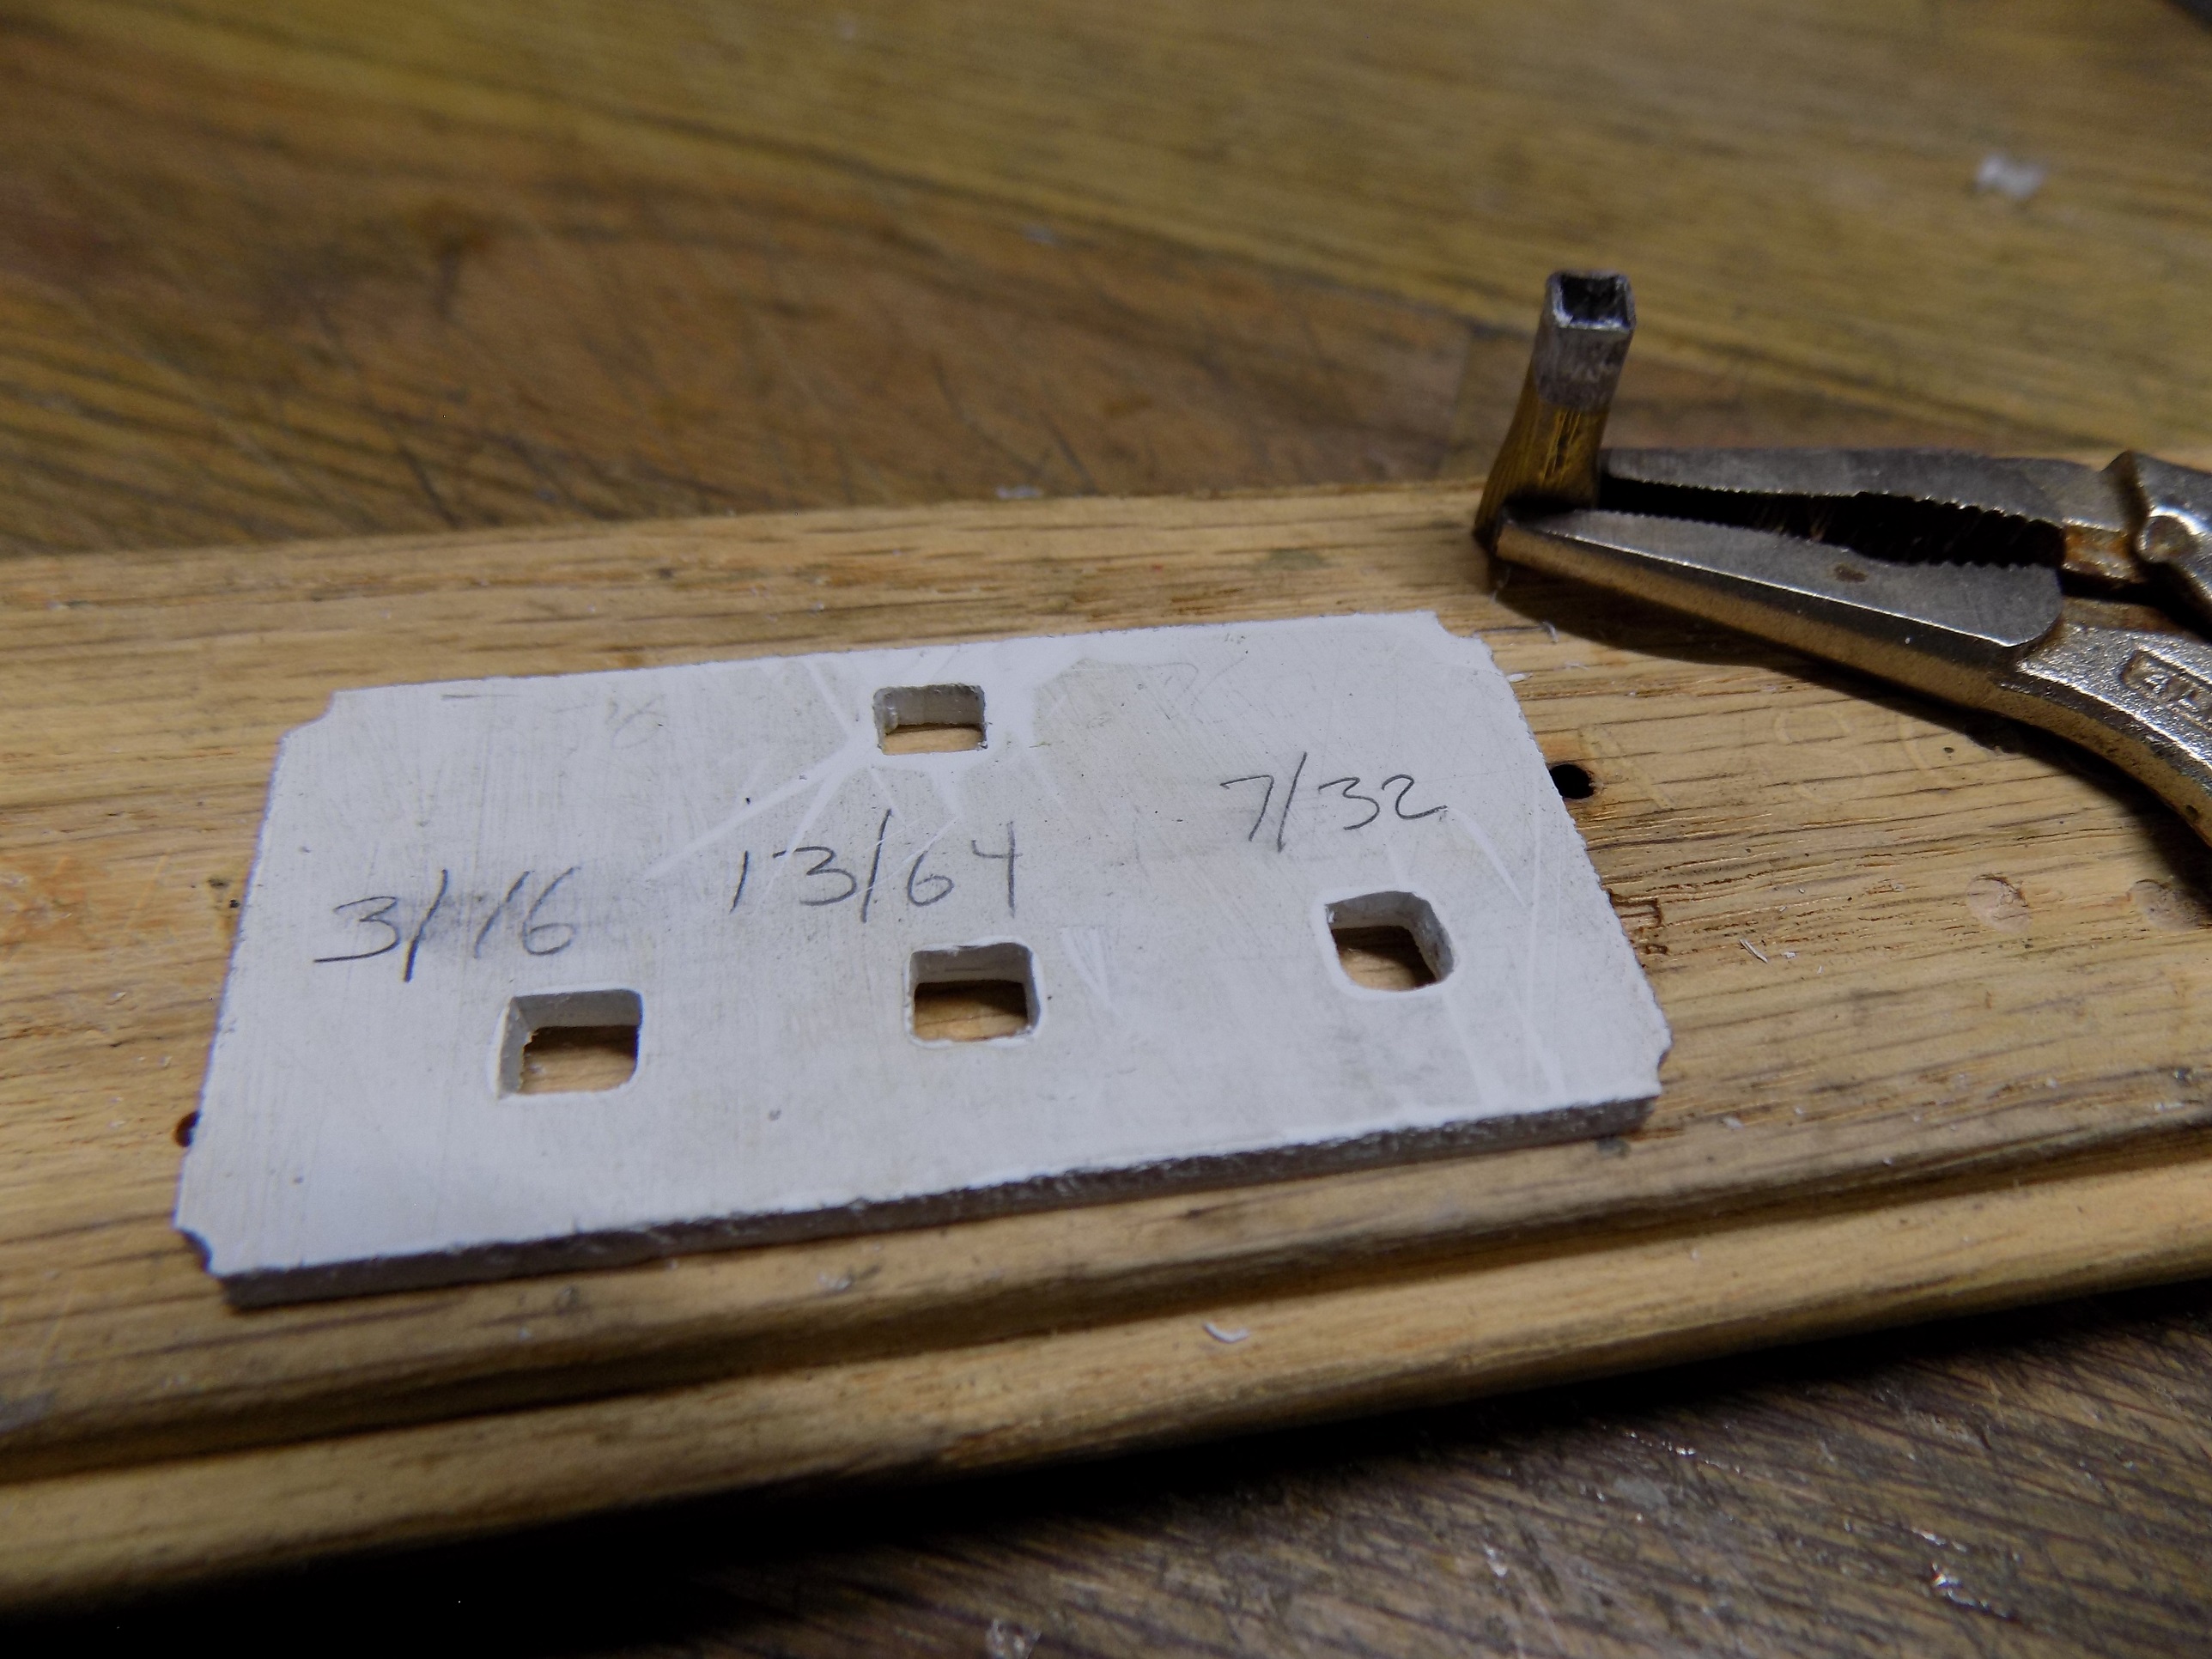
Had a nice conversation with my brother Mike yesterday on how to drill square holes for the canvas cover hoops. He gave me a great idea. Some times you just got to make some tools. I have some putty curing on the cargo deck. Once dry I will drill some holes and then heat the square brass tube and hope to shape the pockets. With luck I'll have some pictures of the results later today.
- D180.JPG (1.31 MiB) Viewed 366 times
Re: DUKW Scratch Builds
Posted: Fri Aug 25, 2023 9:13 pm
by tankme
The paint on the lower pulls it all together. Really looking the part now.
Re: DUKW Scratch Builds
Posted: Fri Aug 25, 2023 10:29 pm
by Ecam
tankme wrote: ↑Fri Aug 25, 2023 9:13 pm
The paint on the lower pulls it all together. Really looking the part now.
That was true for me as well on both of the ducks. Just didn't look right until some paint pulled it together.
Re: DUKW Scratch Builds
Posted: Fri Aug 25, 2023 10:40 pm
by Ecam
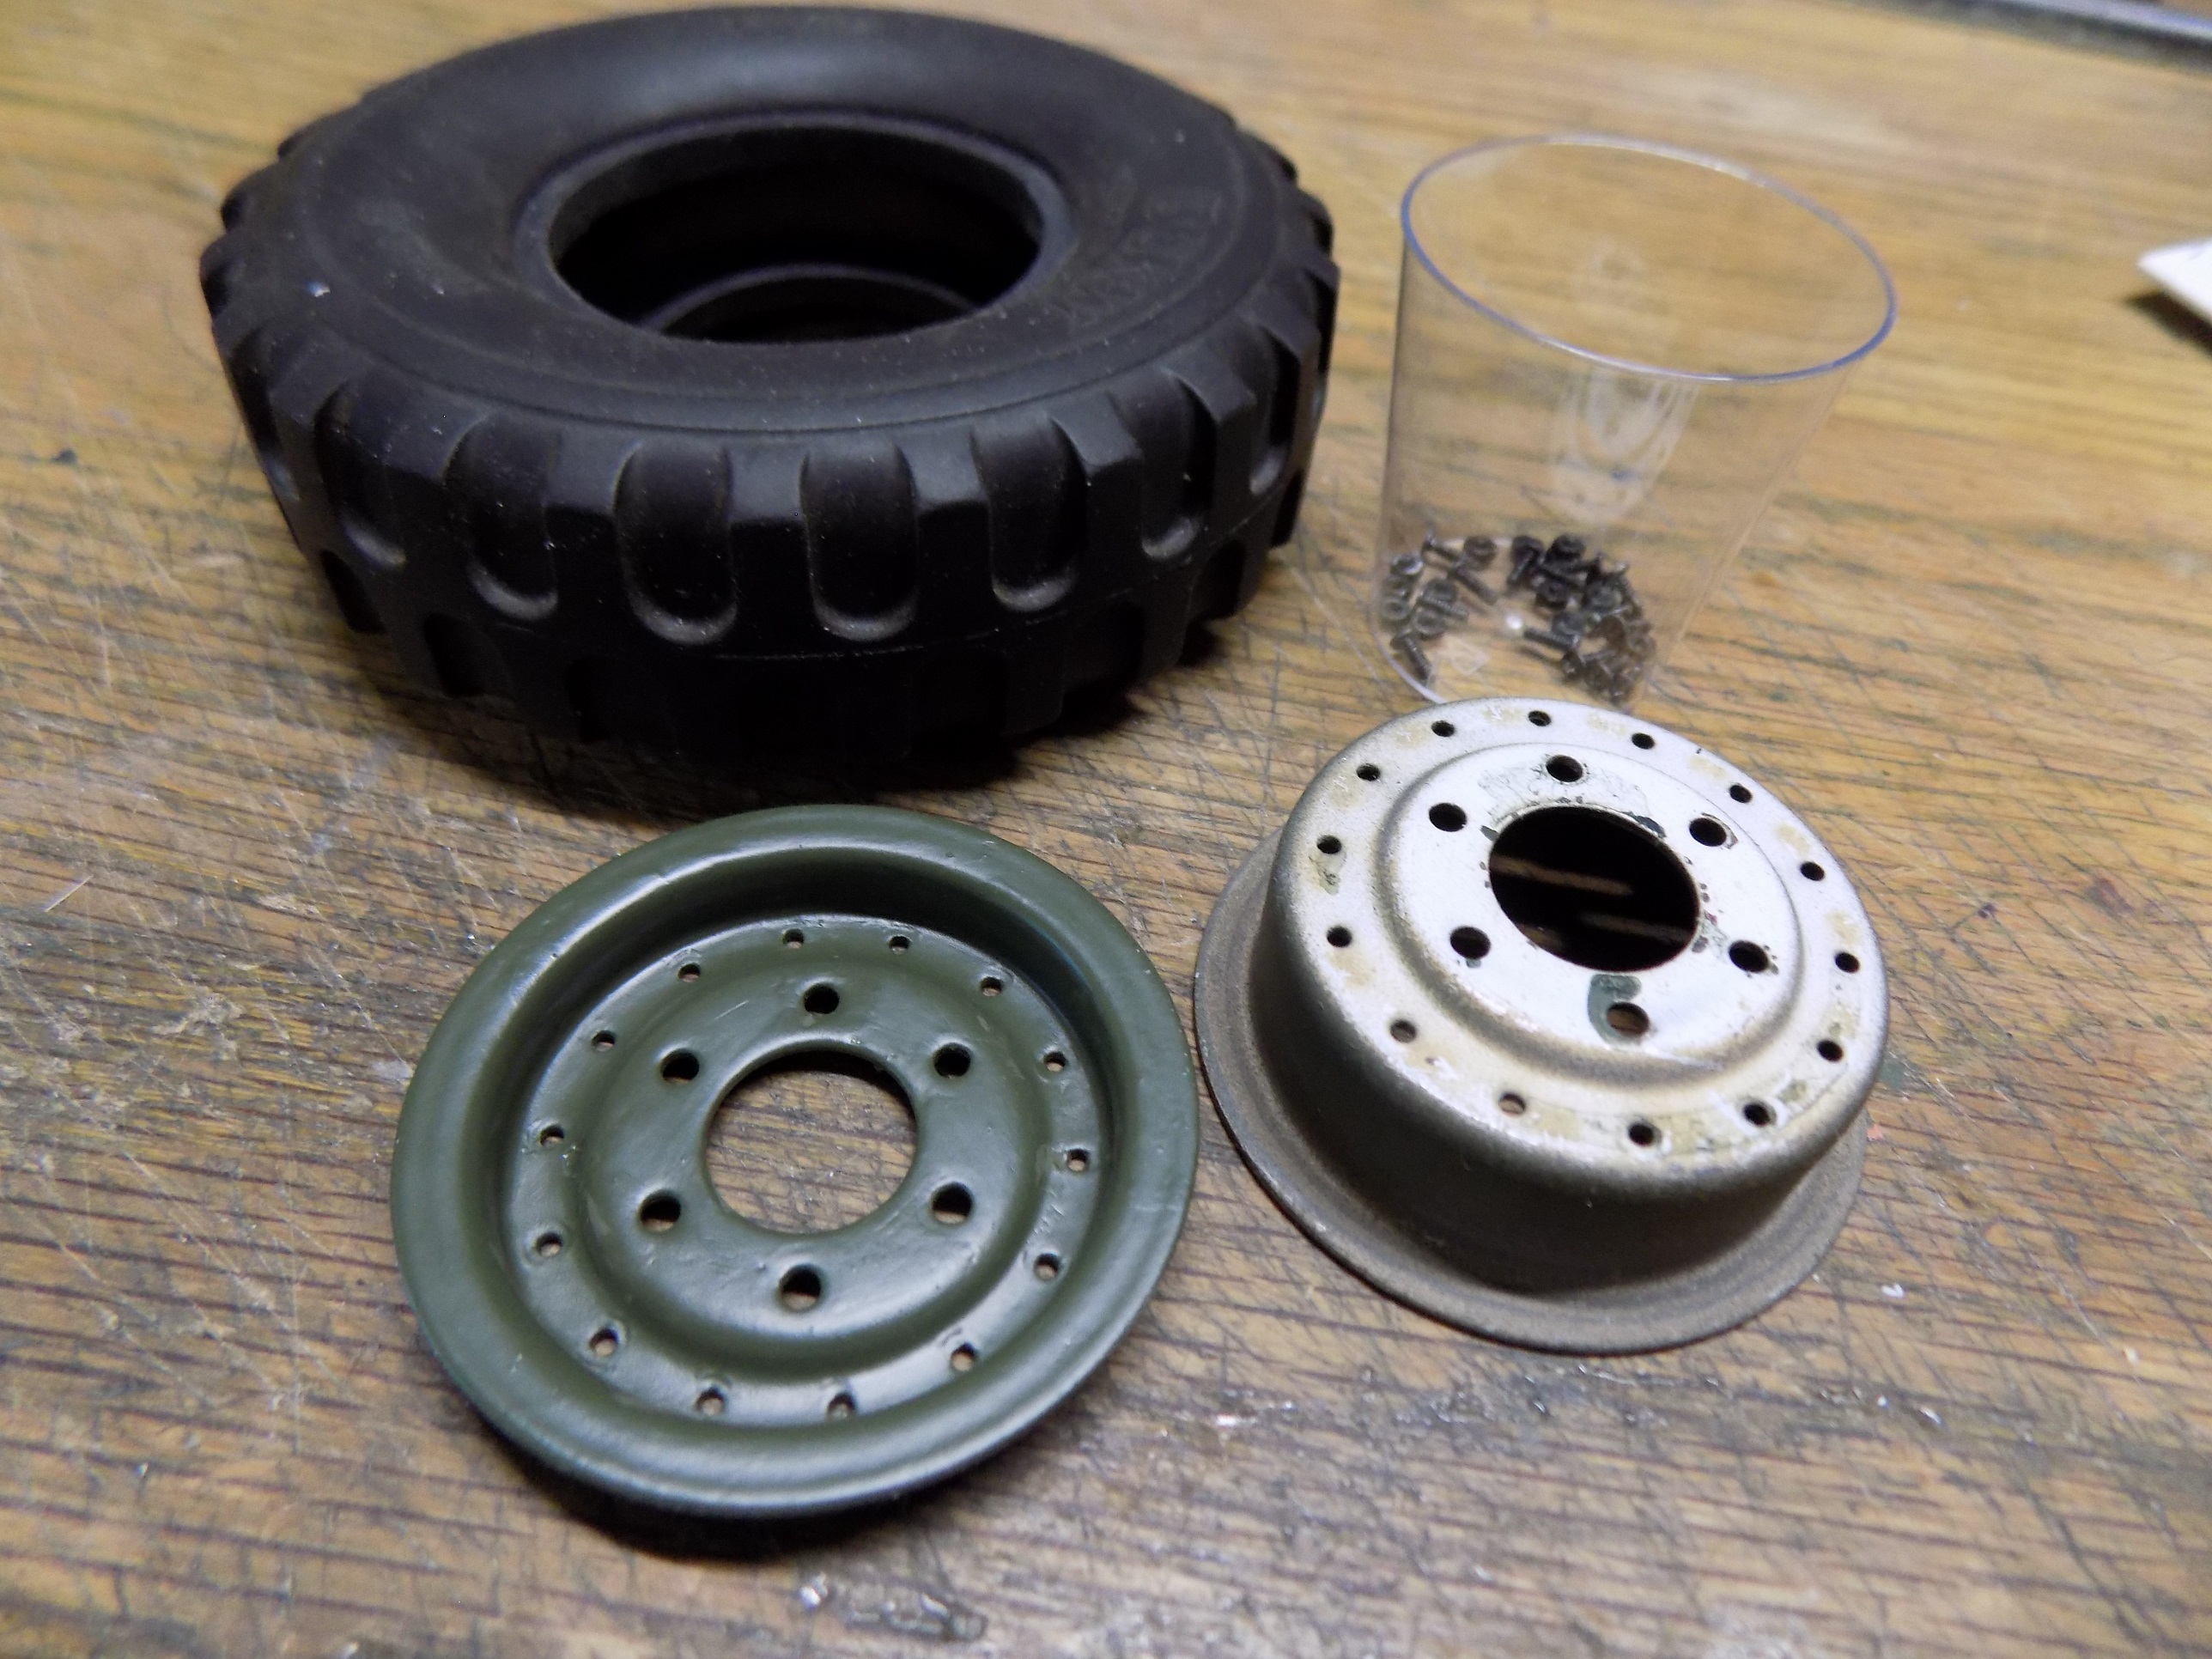
I chipped the paint on Mike's spare DUKW wheel when a drill bit broke through and the chuck jaws hit the rim. I tried touching it up, but just couldn't match it well enough. Had to pull it apart to clean it up and re-coat. These are really cool wheels but those really small fasteners are a chore with aging eyes and fumbling fingers. Earlier I had to rework the front tires/tyres to add more "stuffing" inside the tire. They were starting to look like they were @ 5 PSI as the duck grew in weight.
- D184.JPG (1.23 MiB) Viewed 365 times
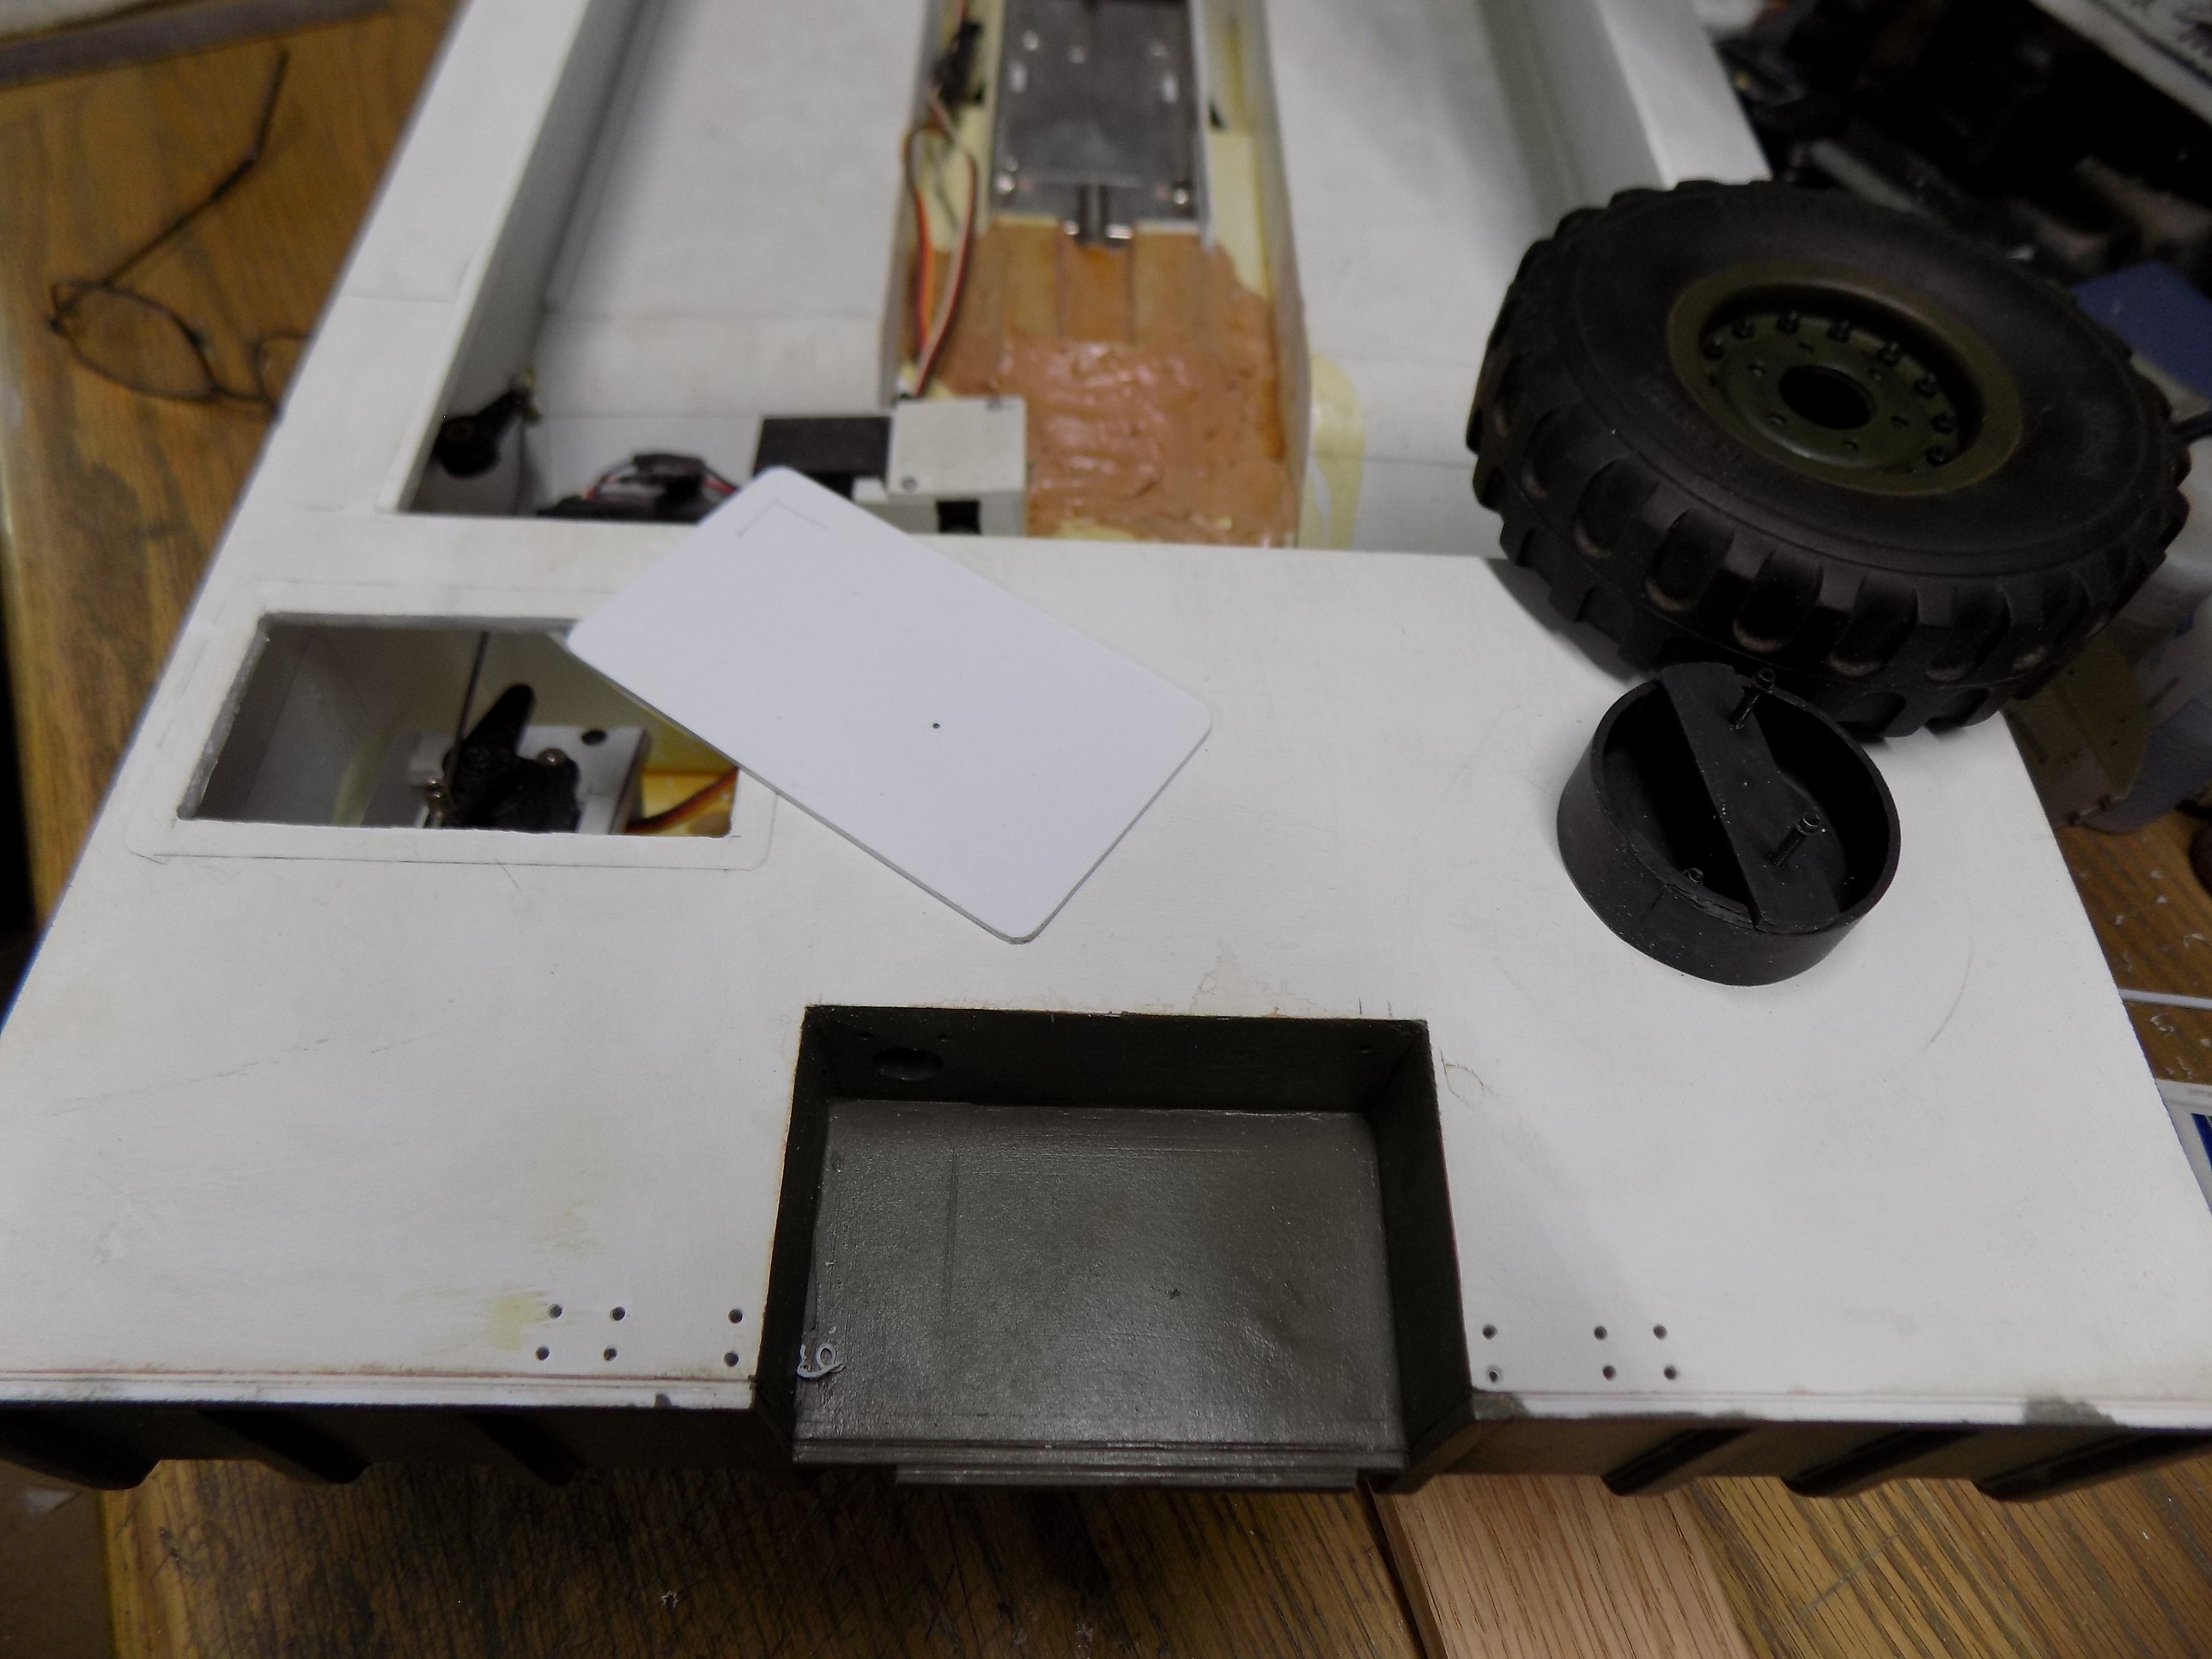
Cut a hole in the deck for the rear storage box and made a spare tire mount. The wheel has not been repainted in this photo. The storage box on the front deck will not be functional. In this case the twin motors are just below that deck hatch.
- D182.JPG (973.6 KiB) Viewed 365 times
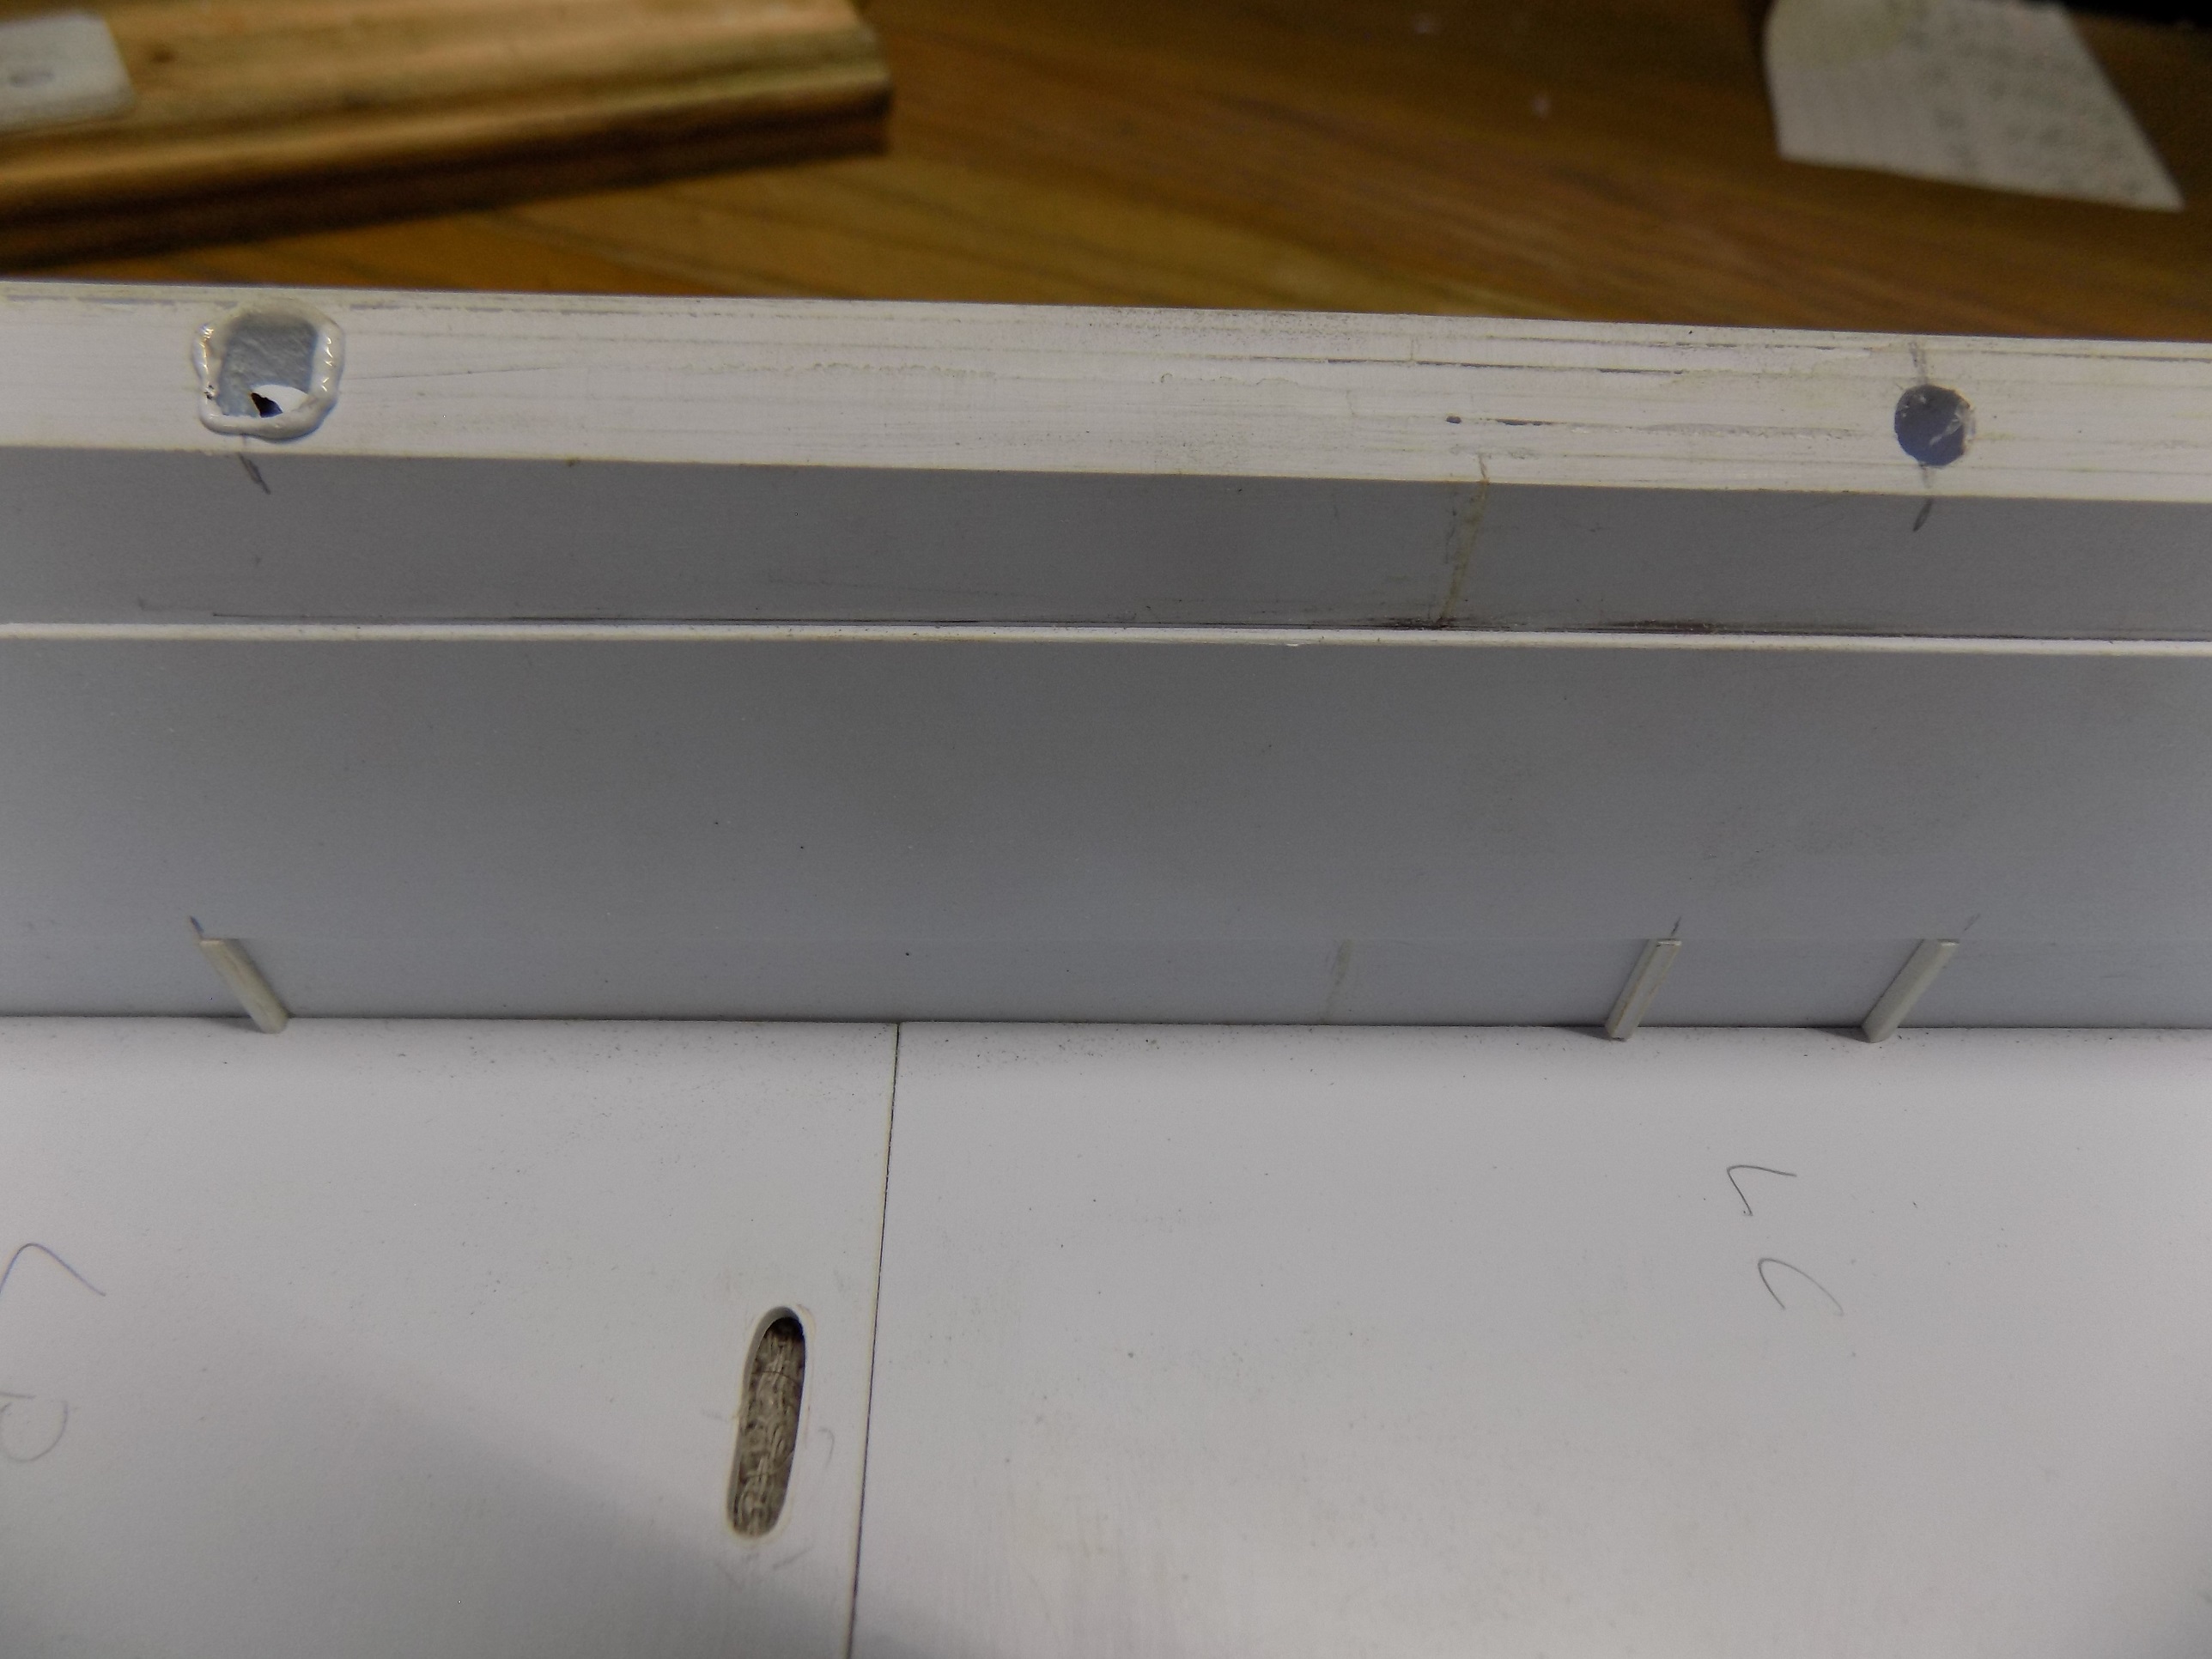
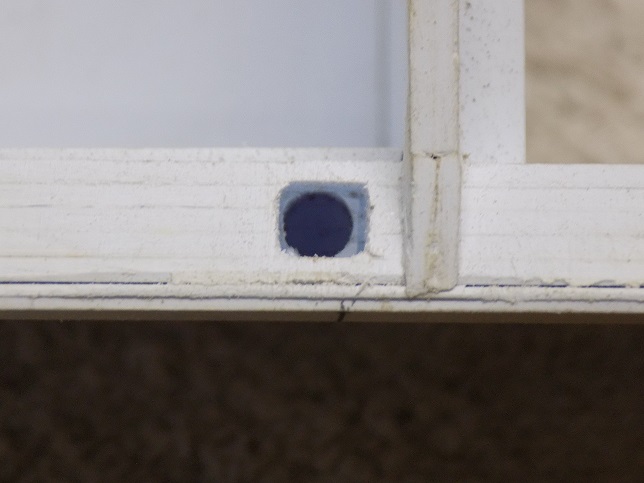
Experimented on different diameter pre-drills. Chose the 3/16. It's only in primer now because I am debating (with myself) as to if and where paint shades should change between outside/inside and floor. All in all, I am happy with the way the pockets came out. Thanks Mike for the great idea! You are still my favorite
older brother.
- D183.JPG (1.03 MiB) Viewed 365 times
- D185.JPG (846.9 KiB) Viewed 365 times
- D186.JPG (119.47 KiB) Viewed 365 times
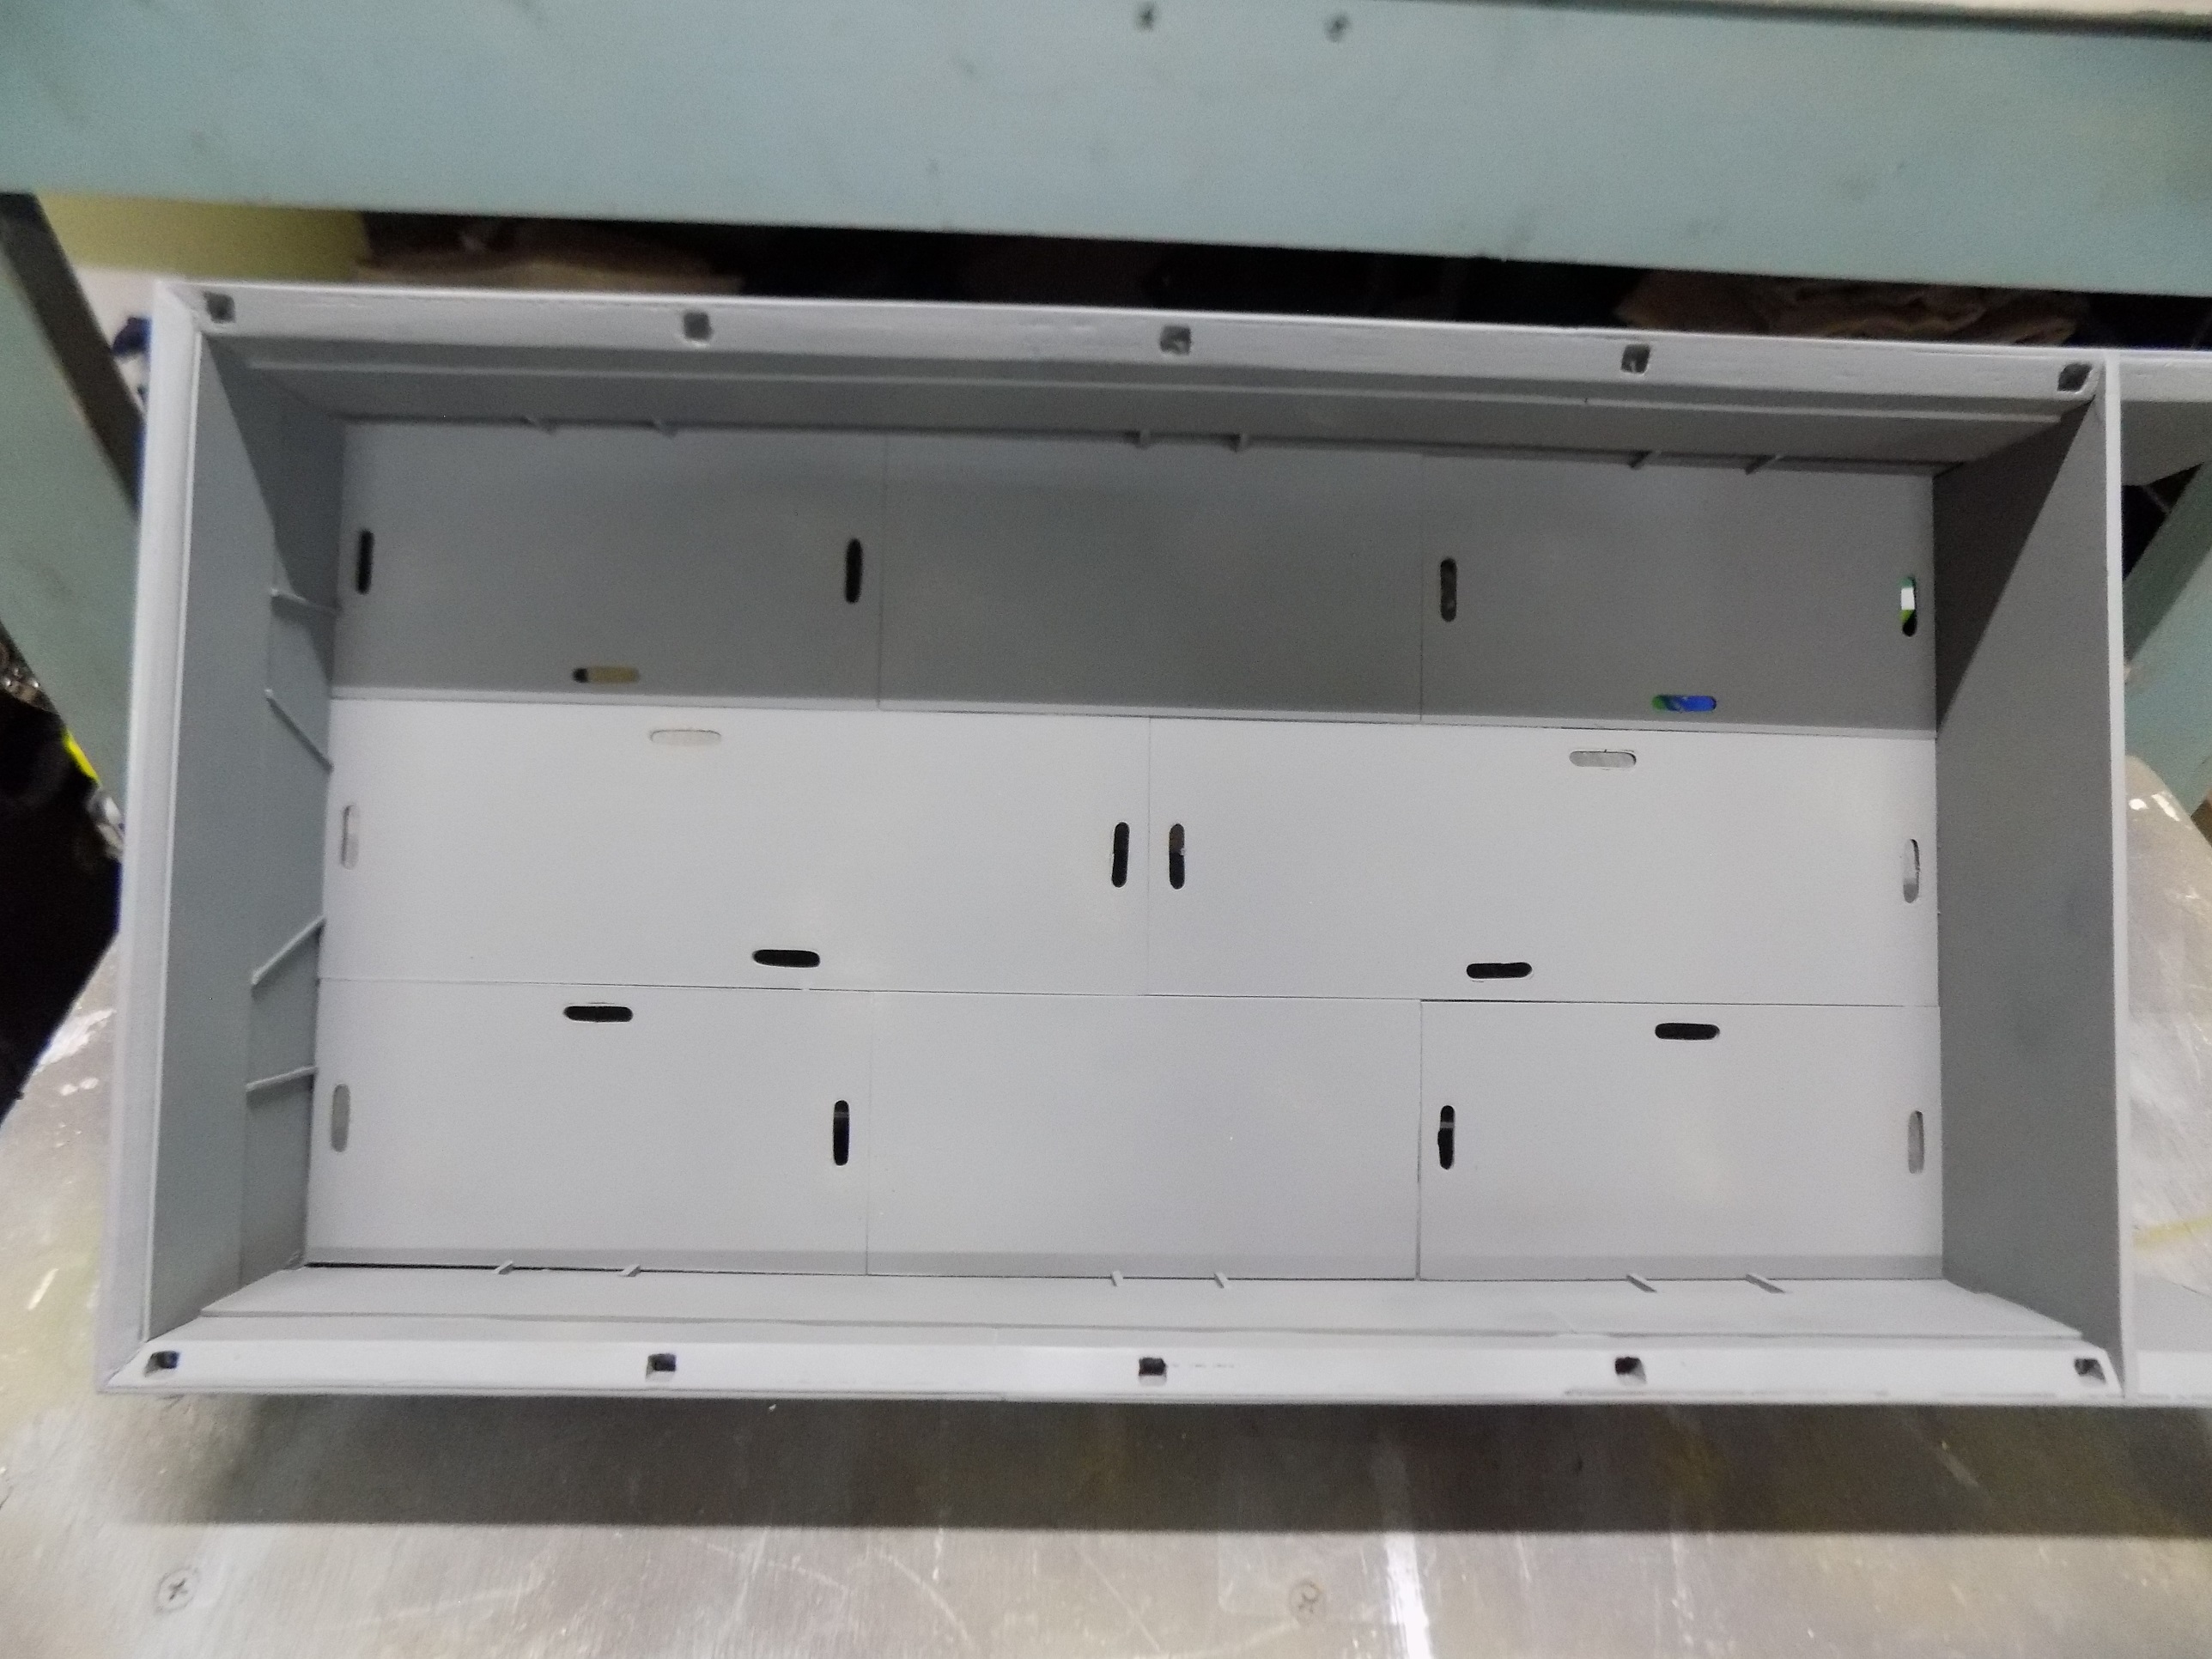
- D187.JPG (1.14 MiB) Viewed 365 times
Re: DUKW Scratch Builds
Posted: Sat Aug 26, 2023 12:41 am
by sassgrunt
When you first started this build and mentioned that the parts had come from me, I figured that was so it would be an automatic "disclaimer" for anything that went awry during the build. However, since I can see what magnificent work you've been able to accomplish; I cannot in any way take any credit for anything - it's all YOU!!
(I do note, however, the italicized "older" brother comment. I just mentally add "...and wiser" to it). Carry on. Schmuck.
Re: DUKW Scratch Builds
Posted: Sat Aug 26, 2023 9:24 am
by HERMAN BIX
Drilling square holes = achieved !!

I did wonder in what context these were required, now I can rest easy.
Hell of a job getting it together as a model, let alone backing yourself for it to float

Now, the paint ..........

Yours is not right. Now Im no expert in all thing WW2 DUKW, but I can offer some accurate advice :
https://www.experienceoz.com.au/en/gold ... gIpmPD_BwE
https://www.aquaduck.com.au/?gclid=EAIa ... gKPnPD_BwE

Re: DUKW Scratch Builds
Posted: Sat Aug 26, 2023 12:30 pm
by Ecam
Those are clearly post war...
IF I consider a third DUKW...
Re: DUKW Scratch Builds
Posted: Sat Aug 26, 2023 3:43 pm
by Ecam
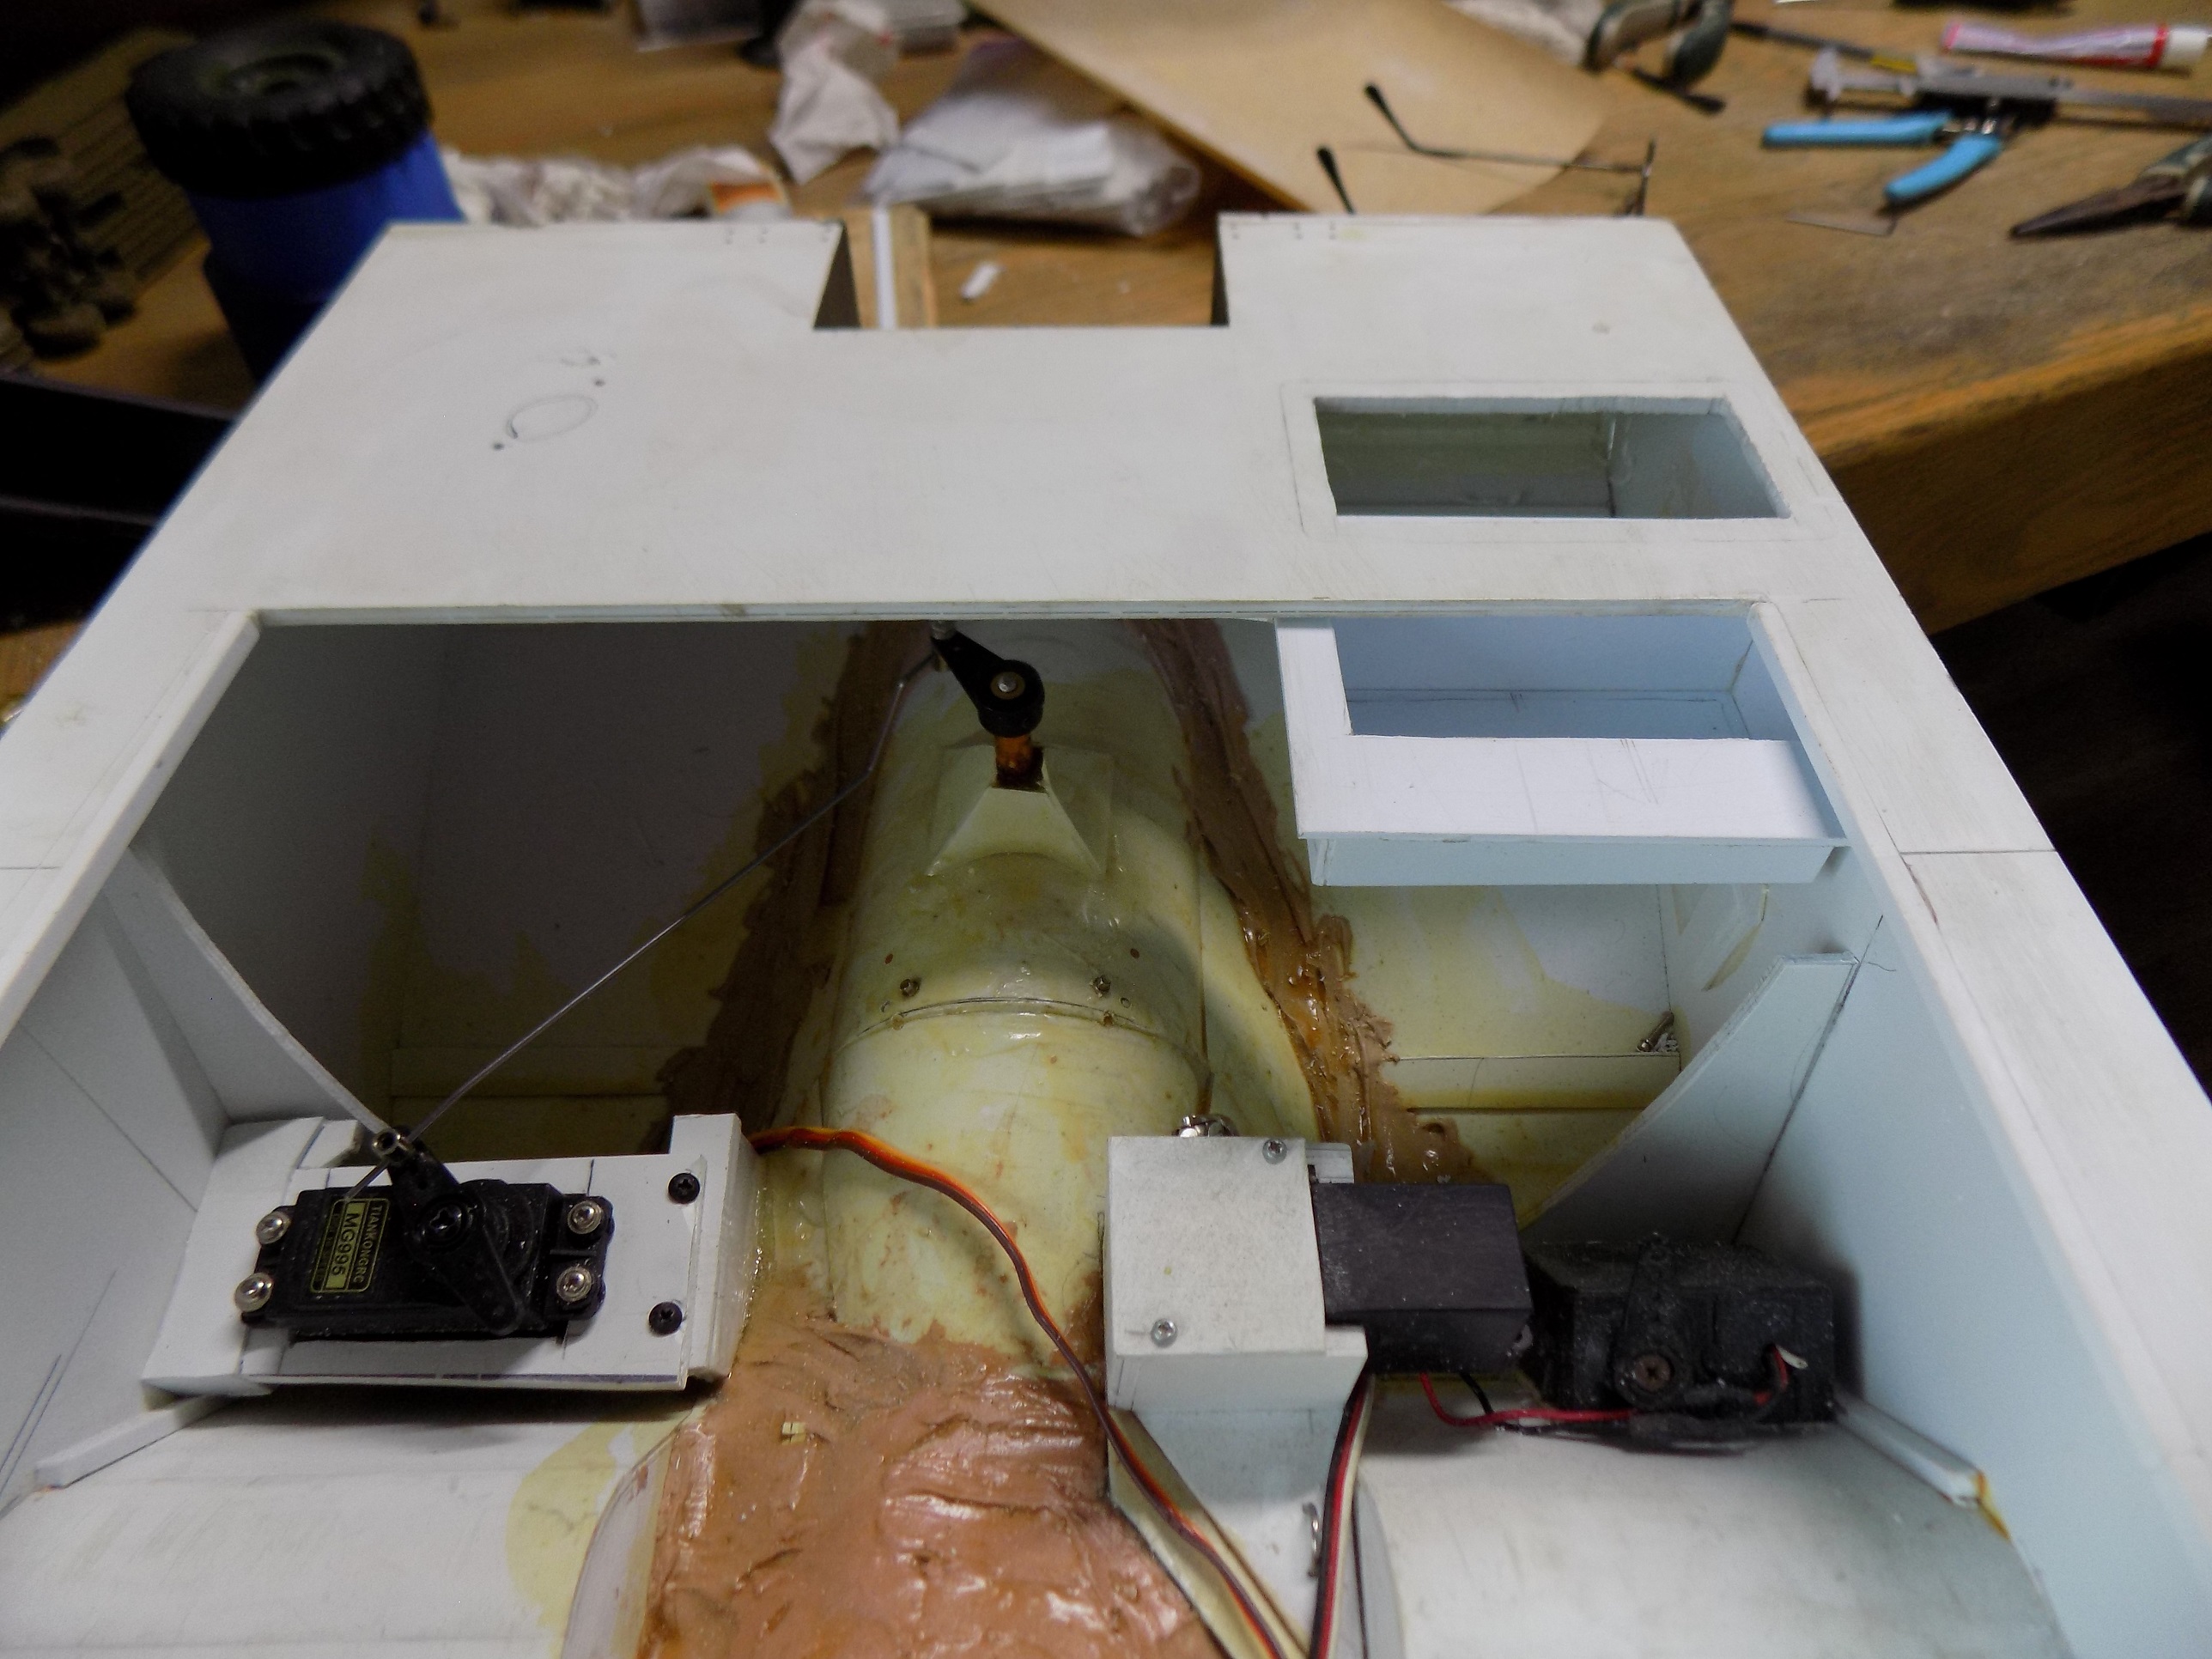
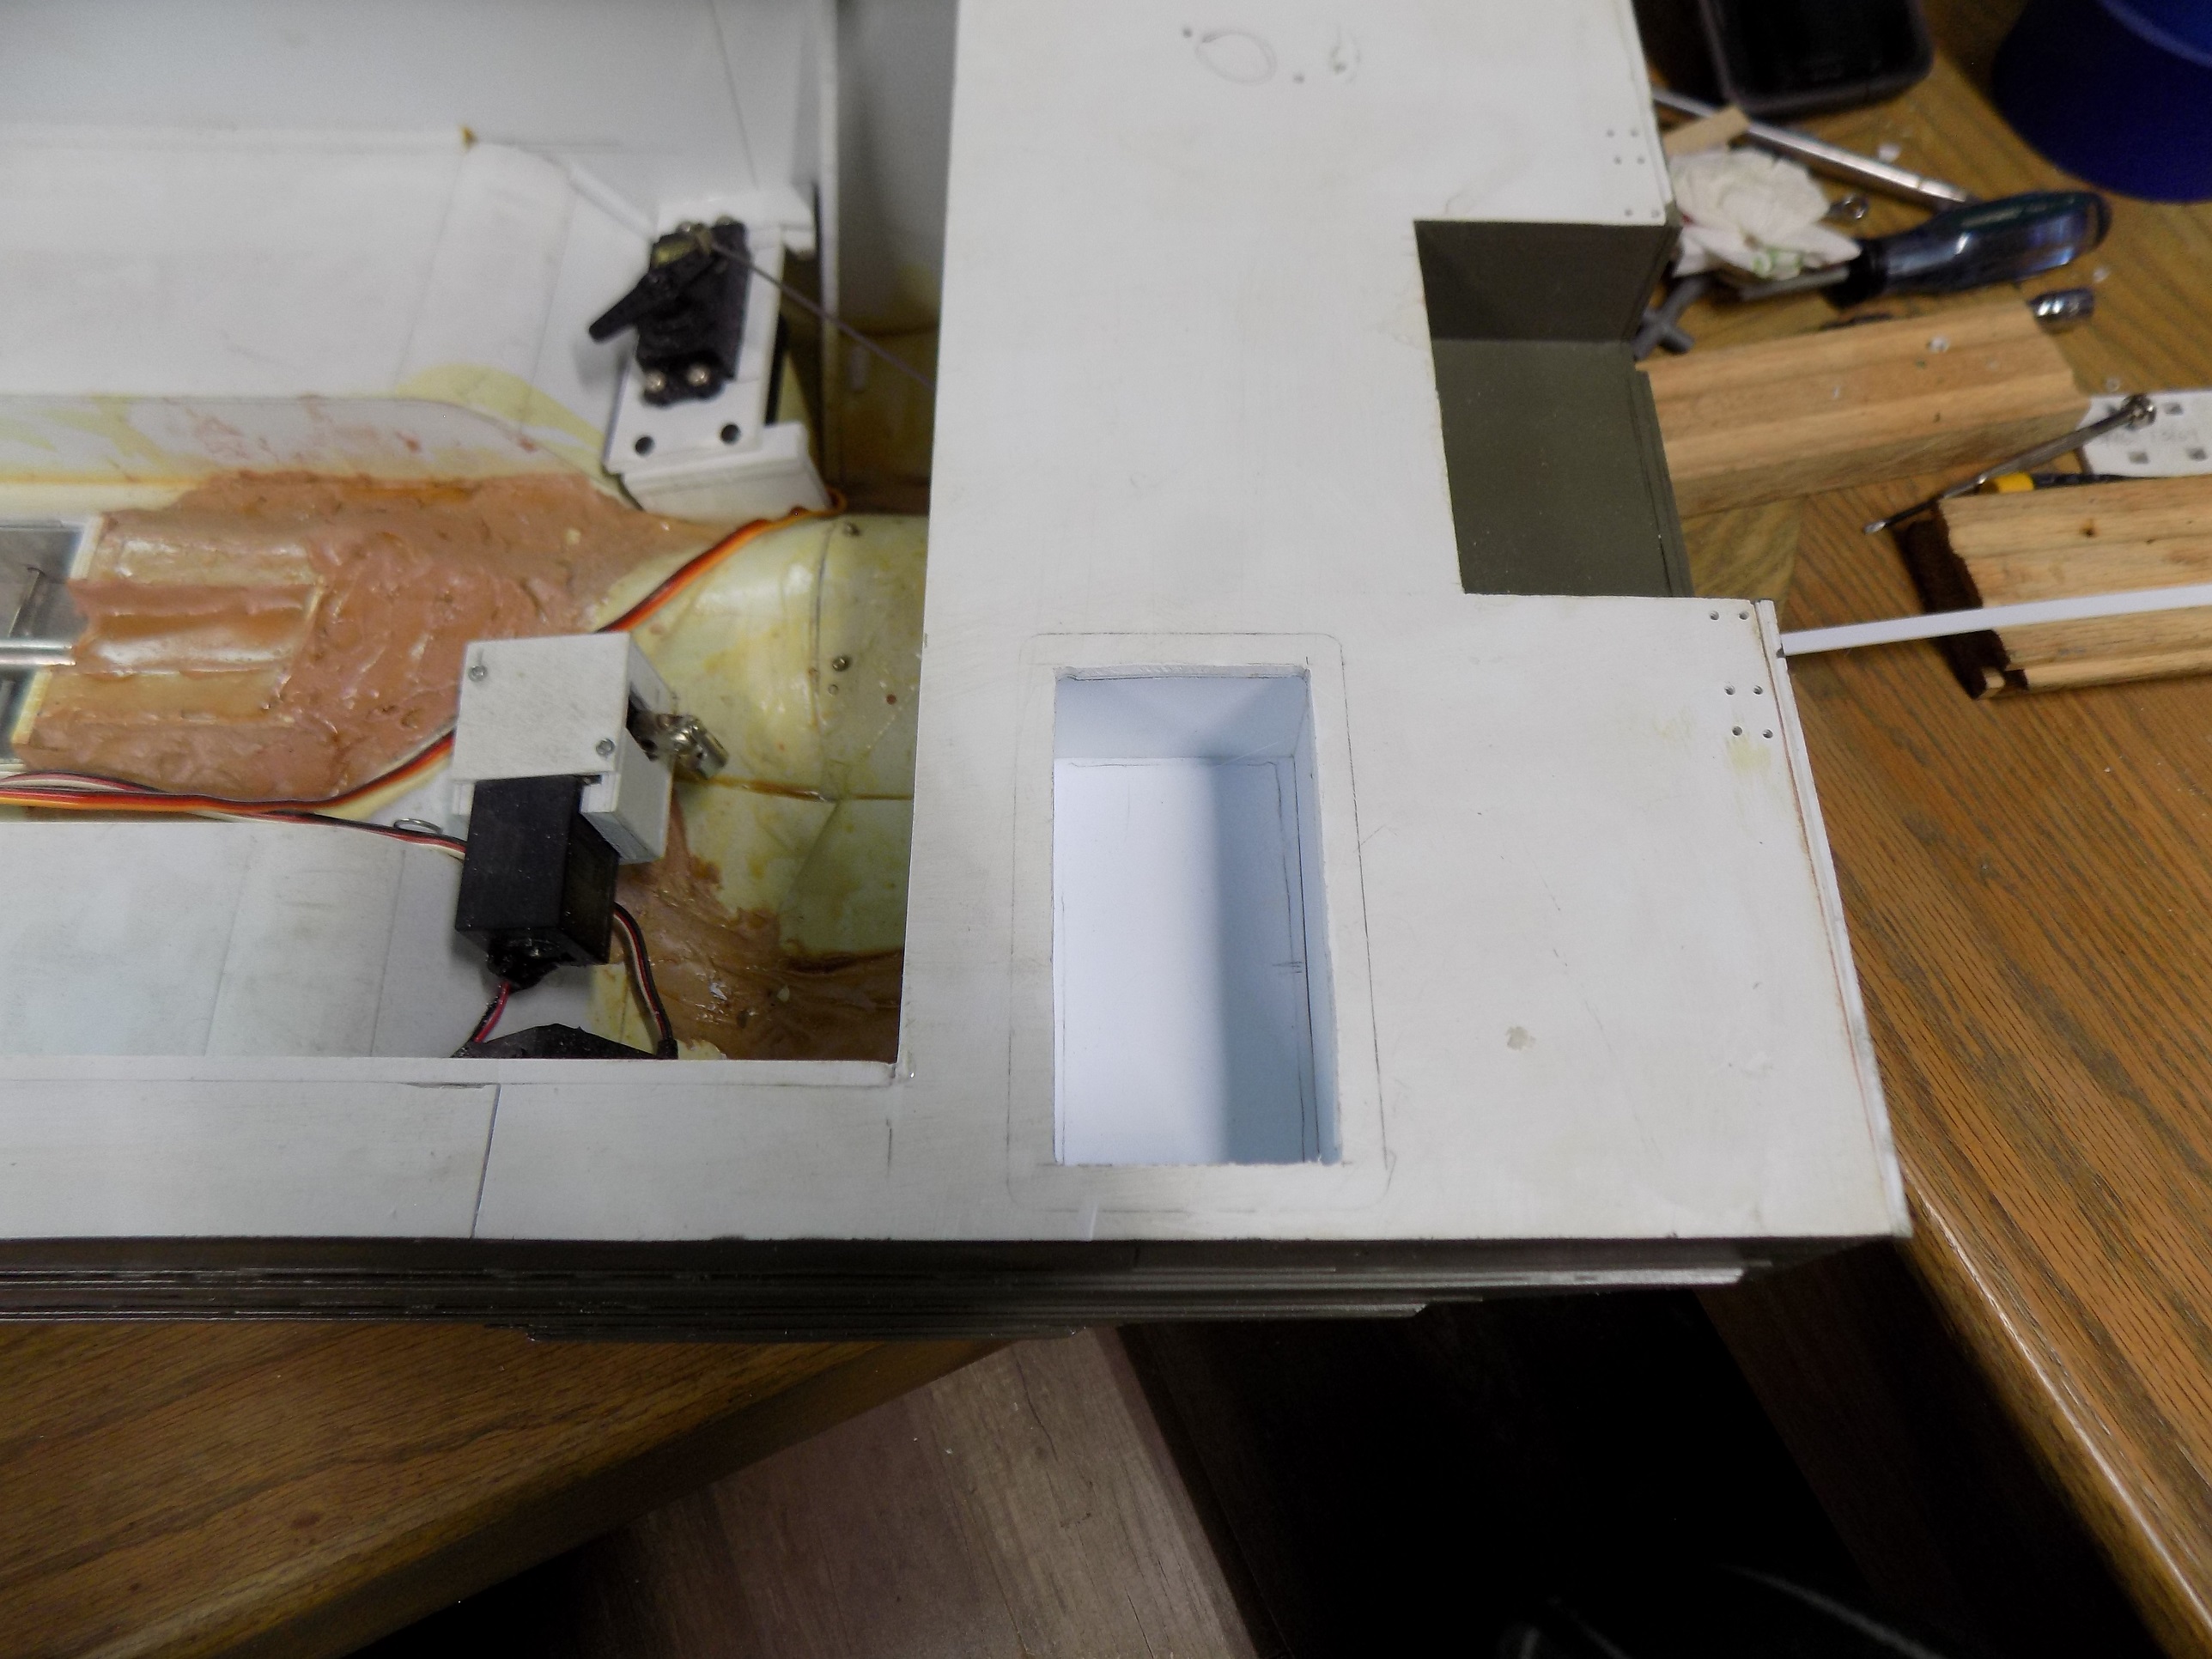
Moved the rudder servo to opposite side for three reasons. It was getting crowded on the port side, it will be easier to sync/trim the rudder with the front wheels as they are both channel one. And lastly, I wanted the aft storage box (just because). It slides in a couple slots with a stop for rear movement and the cargo deck will prevent forward movement.
- D188.JPG (1.02 MiB) Viewed 364 times
- D189.JPG (1022.93 KiB) Viewed 364 times
Re: DUKW Scratch Builds
Posted: Sun Aug 27, 2023 1:24 am
by Ecam