Ok then, as promised (or threatened!) here it is! The single largest step forward this project has seen in almost 2 years and it's all thanks to Nothgrin for kickstarting my brain on the matter so thanks are in order wherever you are!
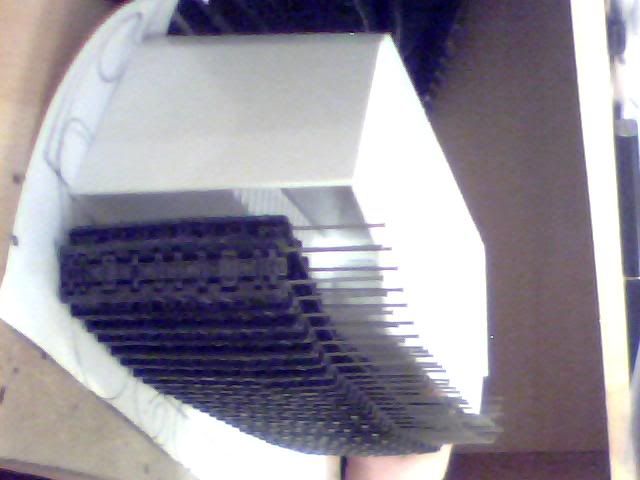
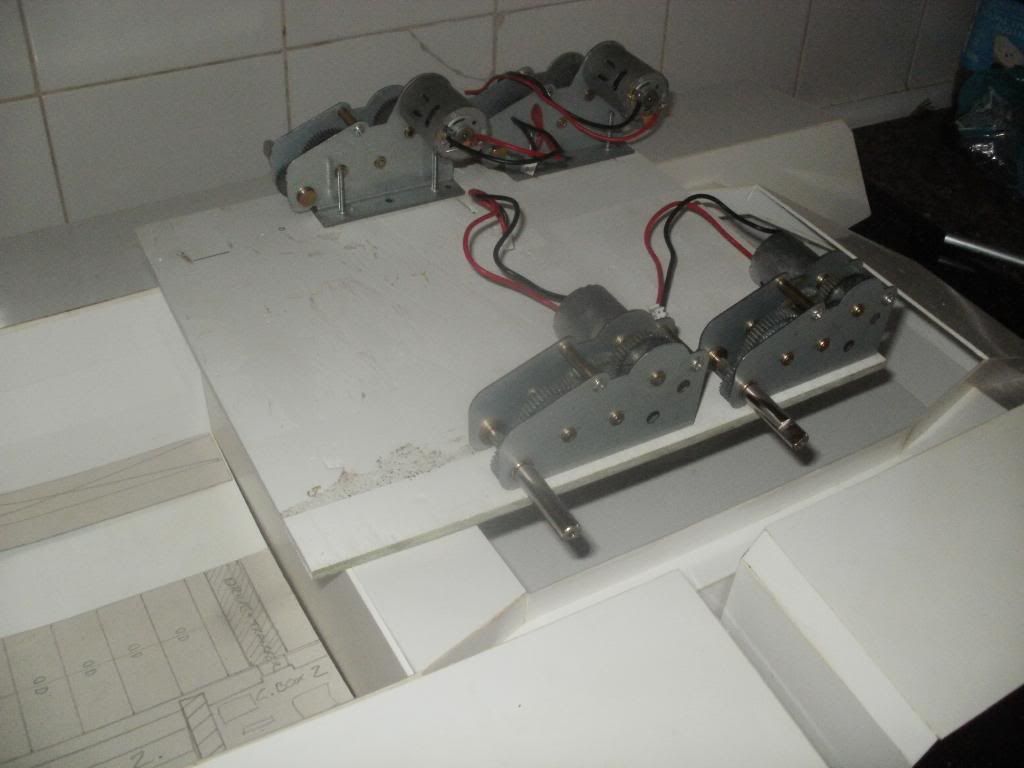
Since I finally decided how to make these gearboxes work the way I wanted them to I've been on a bit of a scavenger hunt picking up rods, wires, grills, bolts, tools, drills and even a broken road sign in order to prepare for the day when I would actually find the time to put my plans into action. I managed to get all of the pieces cut for my second track about a week ago but only actually assembled half of it so don't have much to show on that front yet. EVerything I DID get doen on it was done in about half a day though which is a massive improvement on the first 'prototype' track so that bodes well for the future of this build. Also let's be honest, once you've seen one track the other three are quite probably going to be fairly similar! Here's a snap I took of the component parts for track no.2 just for the hell of it though...

So onto the real progress which has been spread over yesterday and today, mostly today as when I turned in for the night yesterday I was somewhat despairing at how on earth I was going to fit all of this track gubbins into the given dimensions of the tank itself. This morning however I was hit with a few decent Eureka moments and decided that all the stuff I wasn't 100% on would probably sort itself out as I went along... Or at least I probably wouldn't have to worry about it for another 2 years!
Apologies for what follows as the bulk of the pictures I took don't seem to be in any particular order (even though they are!) but I'll try and piece together some sort of narrative for what's been going on here for the last 48 hours if I can. That said, there are enough pictures to make it fairly clear anyway so here it is!
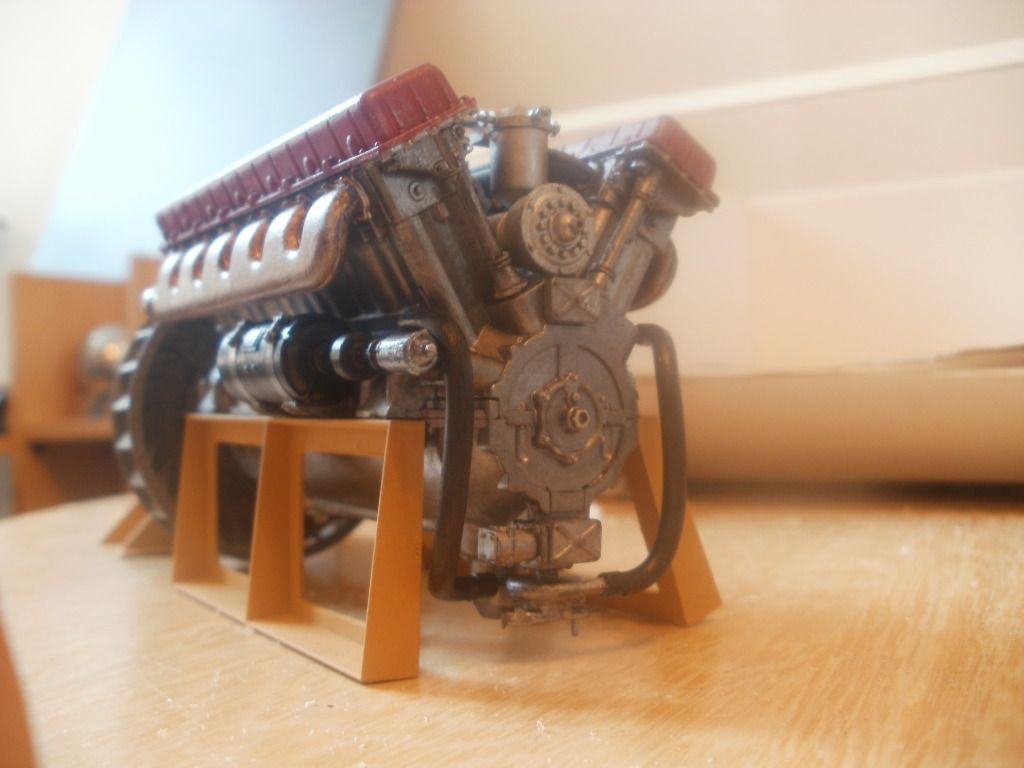
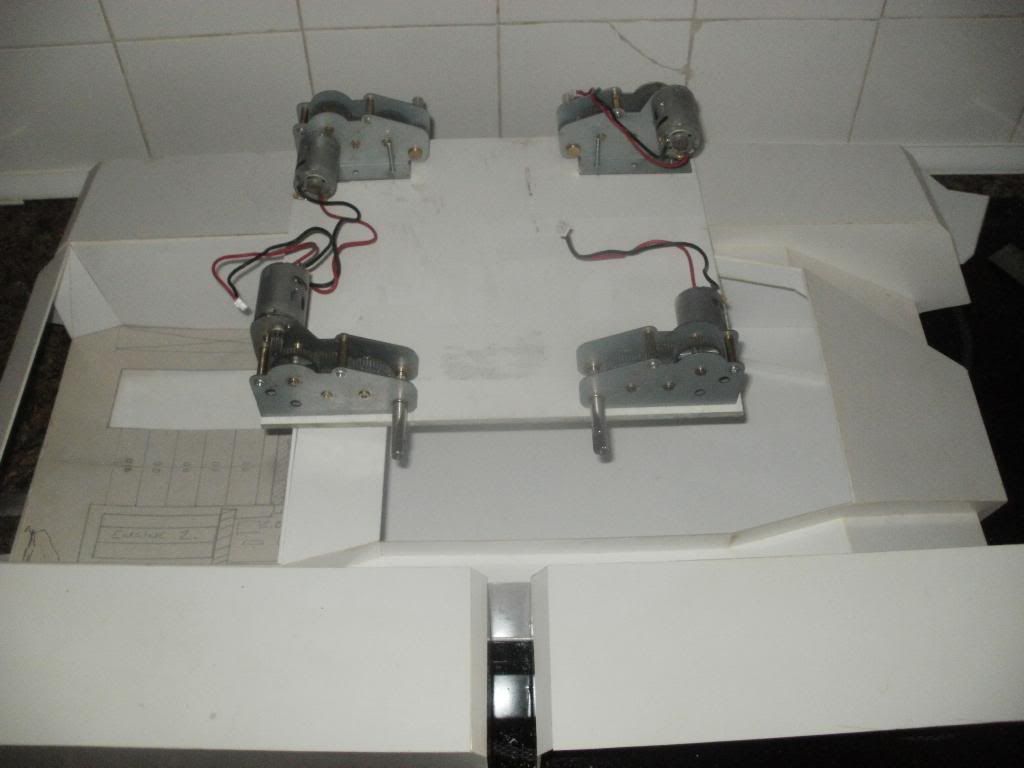
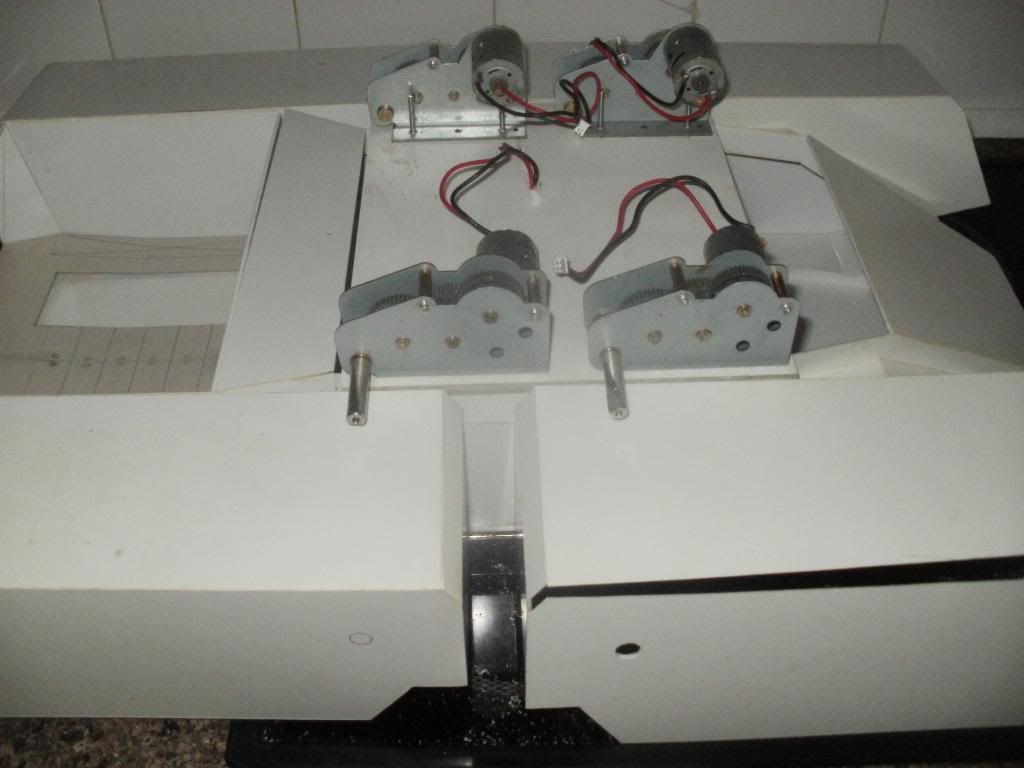
One of the jobs I've needed to address for some time was how to actully mount the 4 gearboxes in this build and after many redesigns I finally came up with an idea I was happy with. I already knew they would be mounted upside-down due to the shape and size of the tank itself so the trick was always going to be how to have them suspended from the top of the hull. Also I want this to remain accessible once it's finished or every time I need to tinker with it I'll need to physically dismantle parts of the finished model and that would suck...
There are no WIP pics of the first design of this gearbox assembly but it's fairly self explanatory... Small bolts were removed from the gearbox bases and then after many hours of measuring they were all fixed to the four corners of the stolen road sign I mean salvaged of course... As with all of my various projects I try to reuse as much material as possible, partly because I'm poor but mostly because I'm broke.
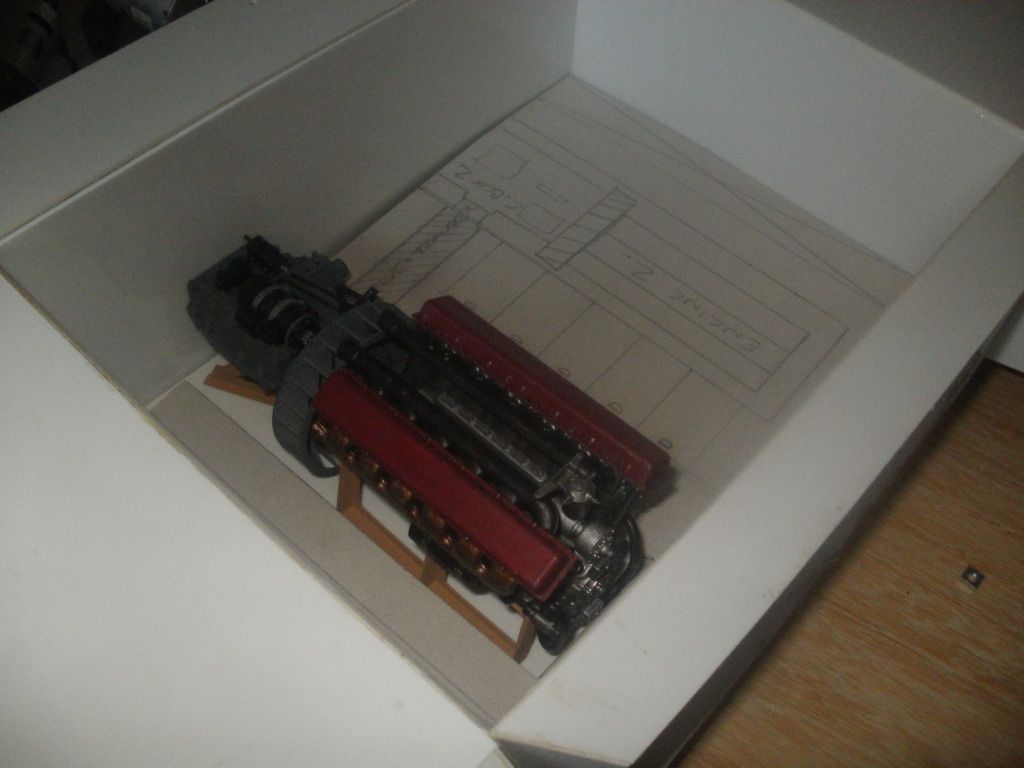
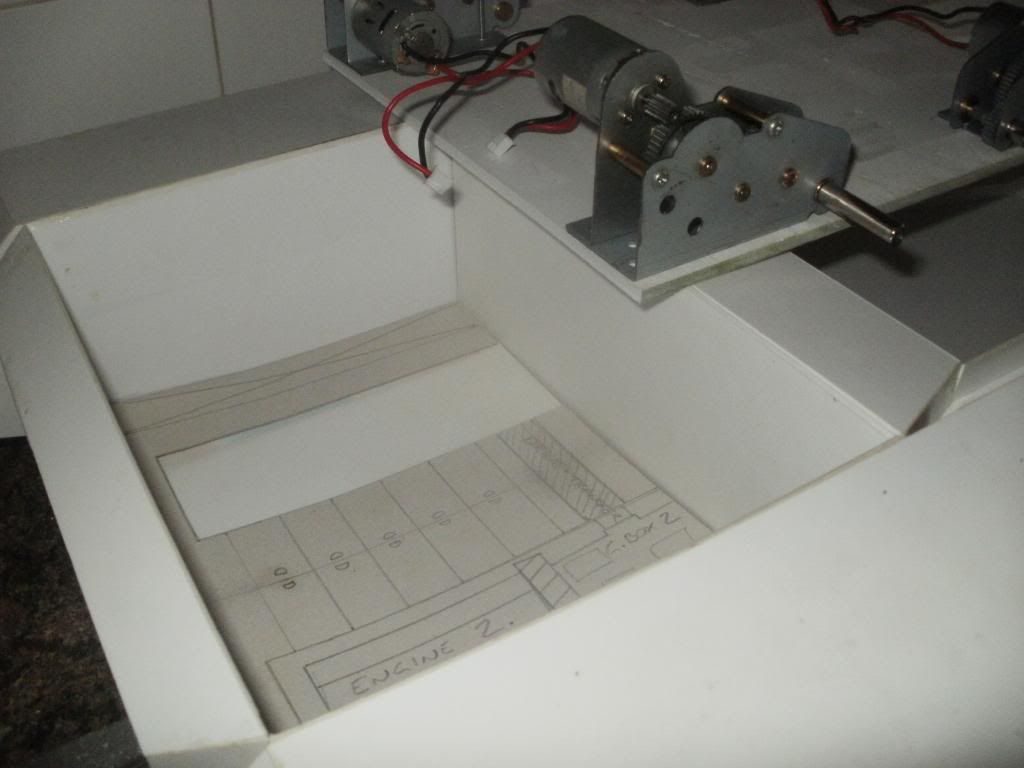
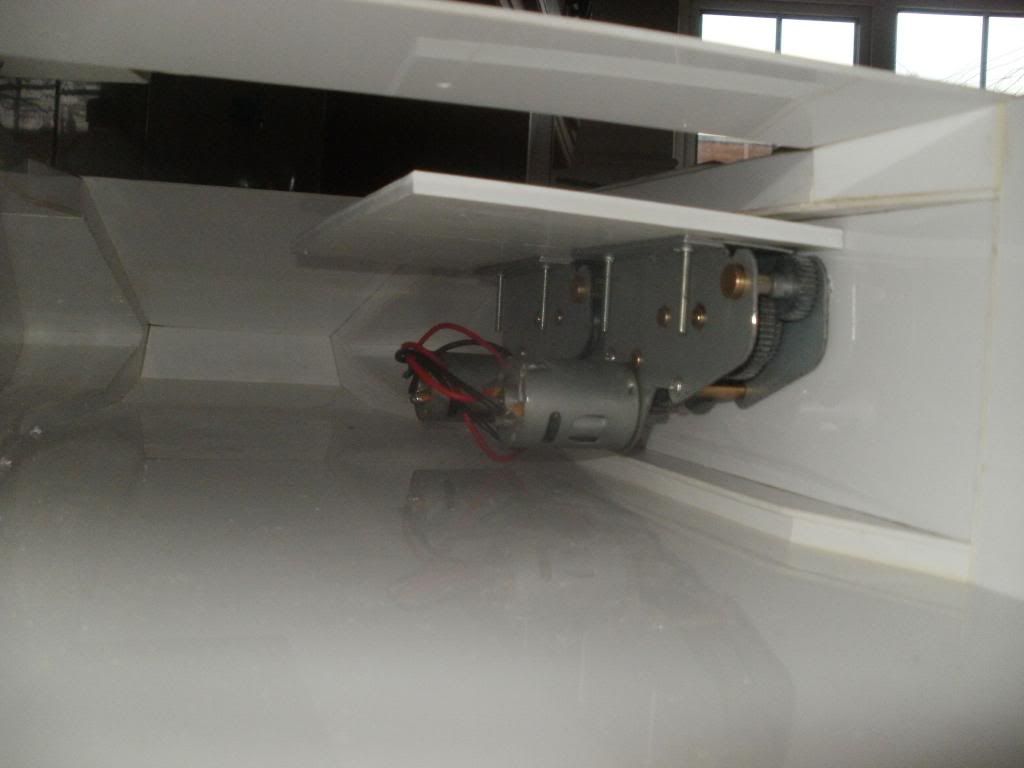
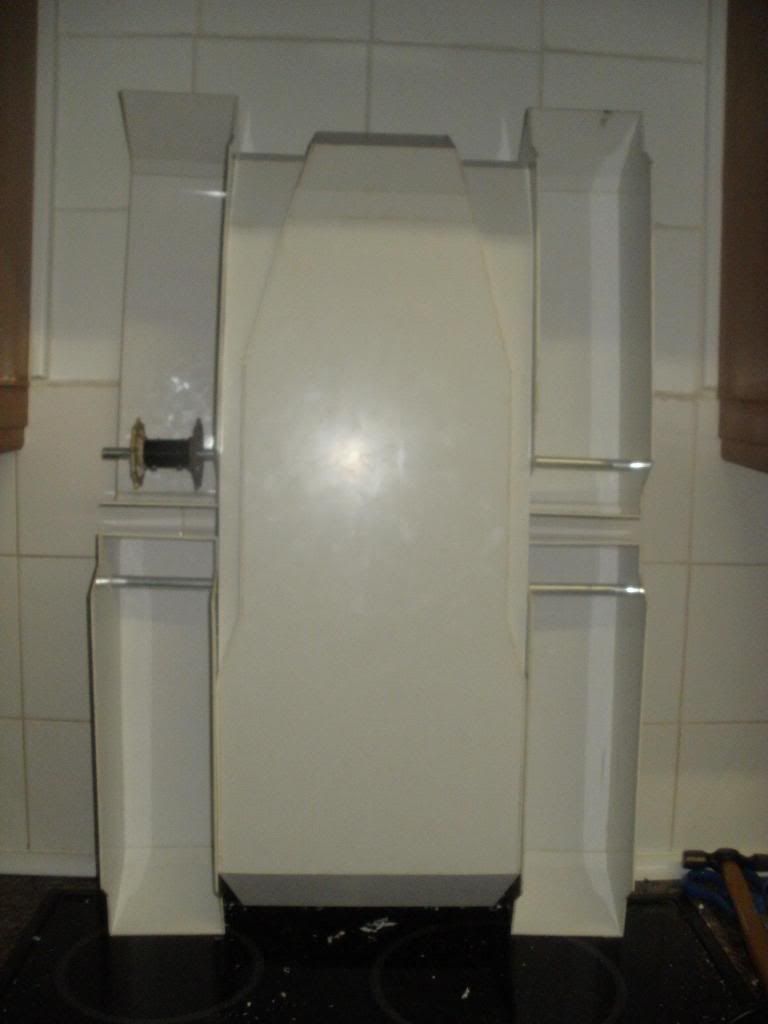
The next image shows the first problem with this supposedly 'final' design... Given that I'm keeping the rear portion of this build as a sort of engine room 'diorama' it would be a bit of a pain to have the back-ends of two massive gearboxes sticking through the wall. Sadly you can see in this picture that that's exactly what's going on here...
Also, just because this is when I took the picture, it was at this point I spent a great deal of time trying to determine where the holes would need to be cut in the model for each of the four axles (which we'll get to later!) I ended up having to remove and reattach two of the four track housings in the end due to incorrect angle and positioning which is why one of them here is partially dismantled and how I managed to drill through just one of the two layers of plastic there!
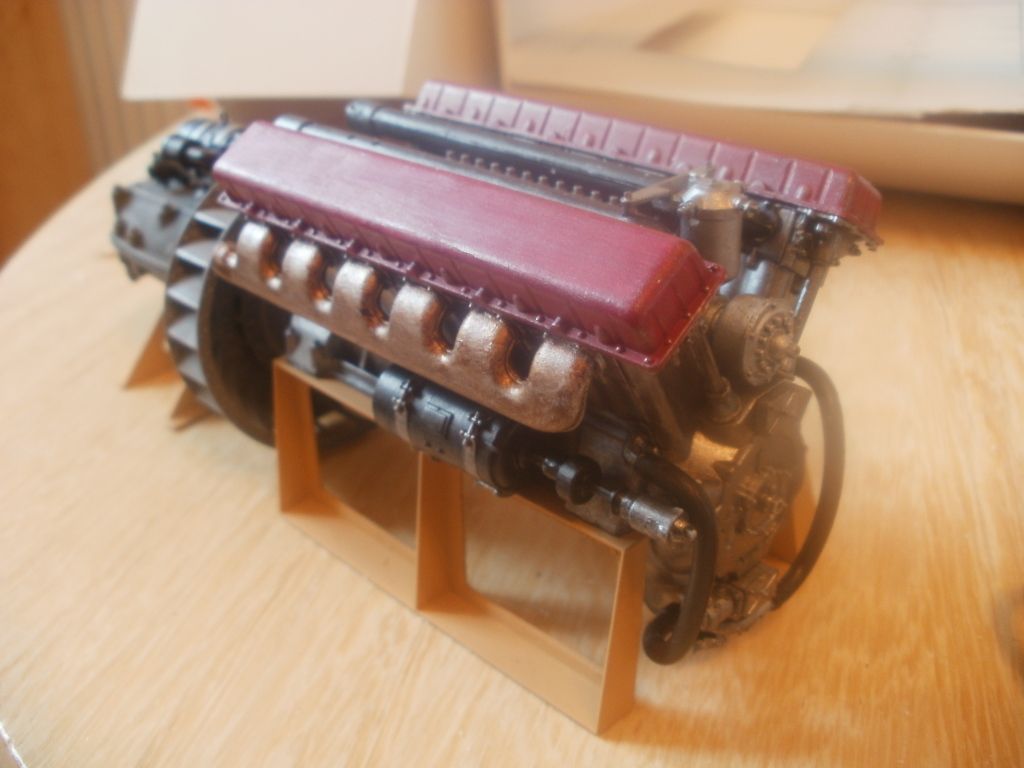
BAck to the gearboxes, it was actually a very easy fix once I stood looking at it for a second. It's often very hard to visualise thing until they're actually there in front of you and this was one of those moments. While I had previously thought the space between the gearboxes on each side would be very small it turned out to be huge and so thankfully I managed to save the engine room very easily indeed! Here it is again after a quick switcheroo...
And as I want these boxes to be removable once the whole project is over I obviously had to chop off the extra overhang. It all worked out much better than I ever could've hoped in the end as the original design would've been practically impossible to work on and required frequent dismantling even while I continued to build it! Here is the final (but not finished) gearbox tray.
Popping out of picture order quickly, I may as well finish of with this tray before moving onto the axles so here comes that bit... The observant among you may notice that all previous pictures of this tray have been upside down with respect to it's final location in the tank. That's because it'd be impossible for me to fit the tray like that on account of the driveshafts sticking out of it's sides! The original plan was going to be a fixed tray with an access hole in the centre which would allow for individual box removal by removing their respective bolts. I came up with something I'm much happier with though and I'm hoping it'll be adaptable enough to evolve along with the tank itself when more hardware is added later on.
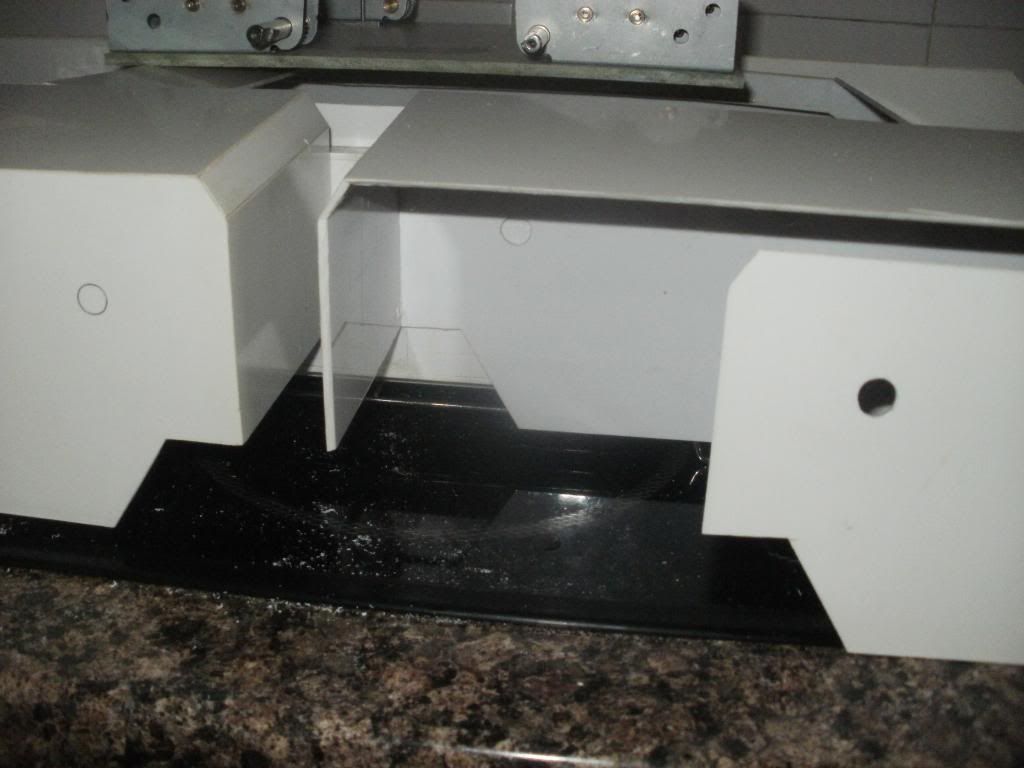
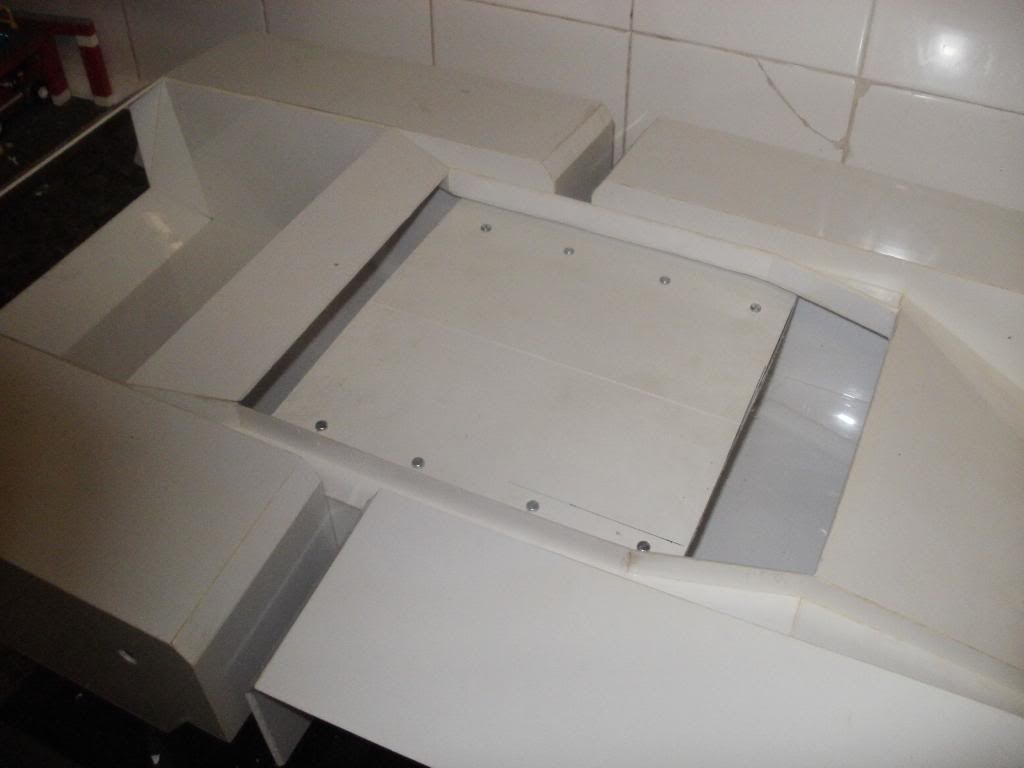
The solution is this, the board has simply been chopped in half...
Later it recieved the addition of a central support to prevent sagging and aid in general stability. This will be a permanent fixture in the hull and will add significant strength in several ways and places. Here's a shot showing both sides fitted as well as the central support, though obviously only 2 gearboxes are now visible...

Clearly for that last shot to have been successful, all of the axles holes must by now have been cut in the hull sides and as you may have spotted also in the outermost sides of the tank beyond the tracks. This is due to the size and weight of both the tracks and the tank in general, the axles will run from the gearbox, through the tracks and ultimately to bushes in the track housings. For now I've simply cut the axles too long and left an overhang but of course they won't stay that way...
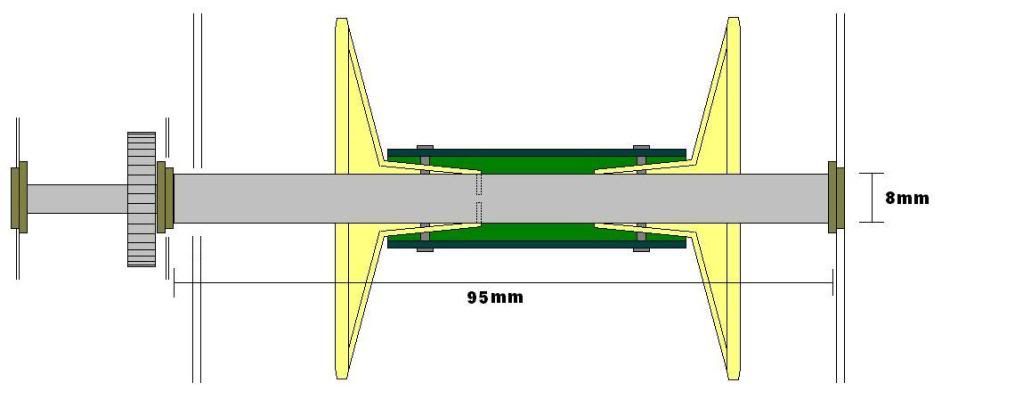
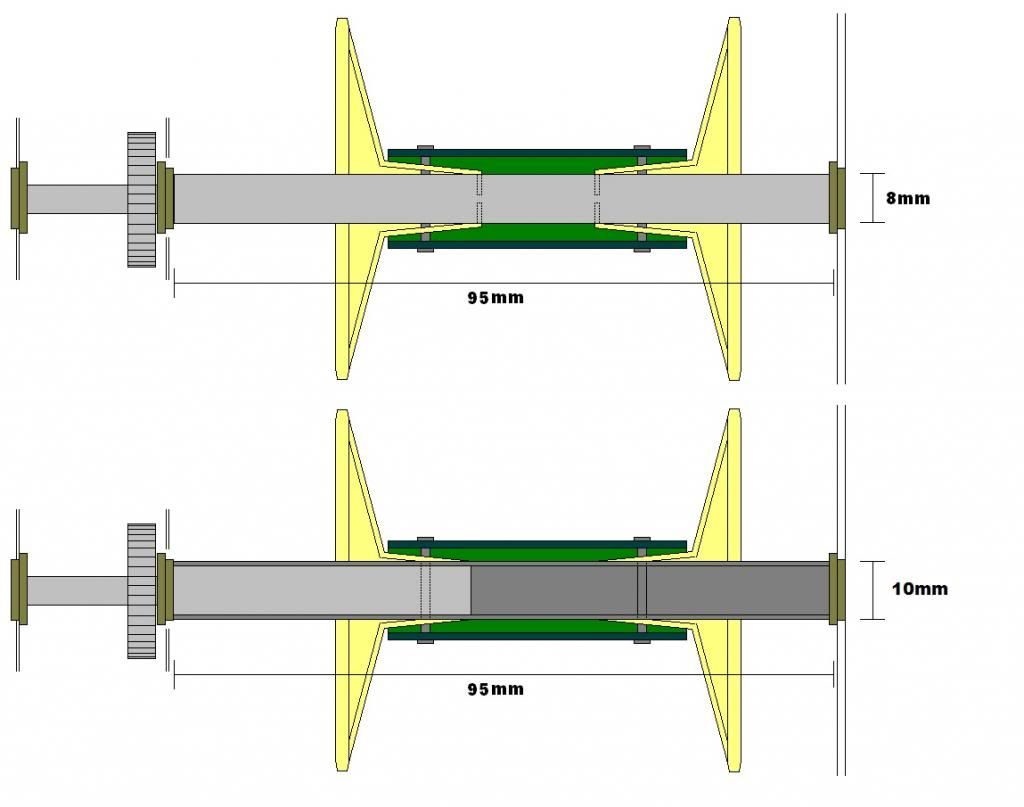
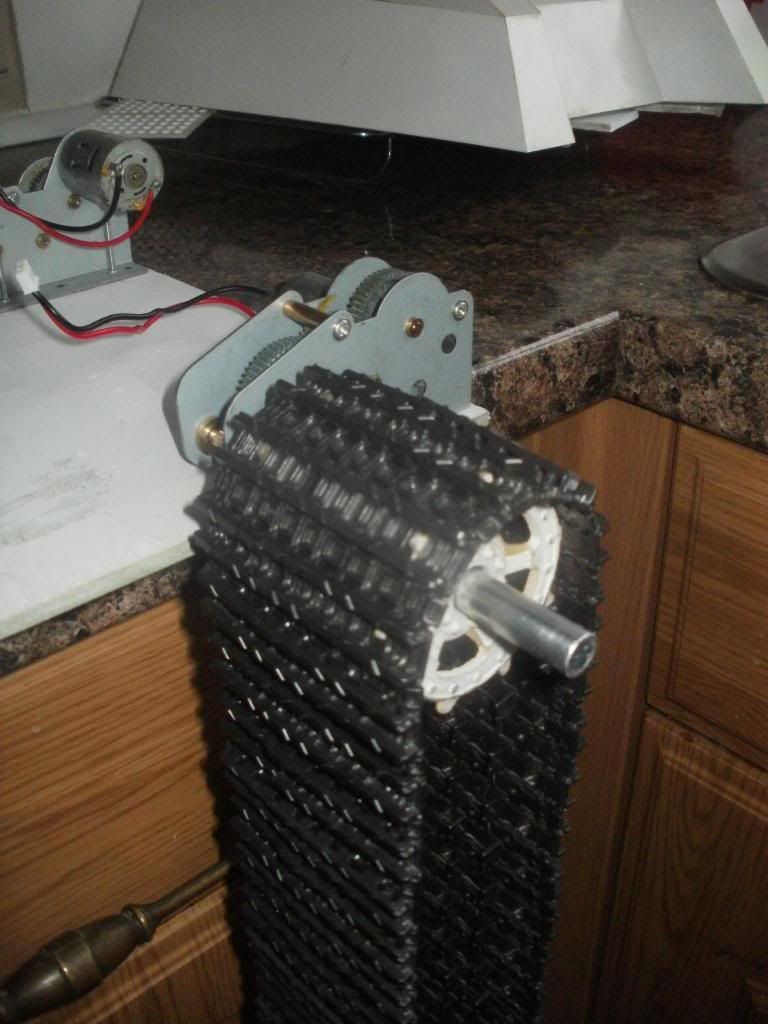
The axles themselves are simply 105mm sections of metal rod which slip around the final driveshaft of the gearboxes I'm using, this was shown in the last image of my previous post. And for those of you that had trouble envisioning how that whole assembly was going to work, here it is!
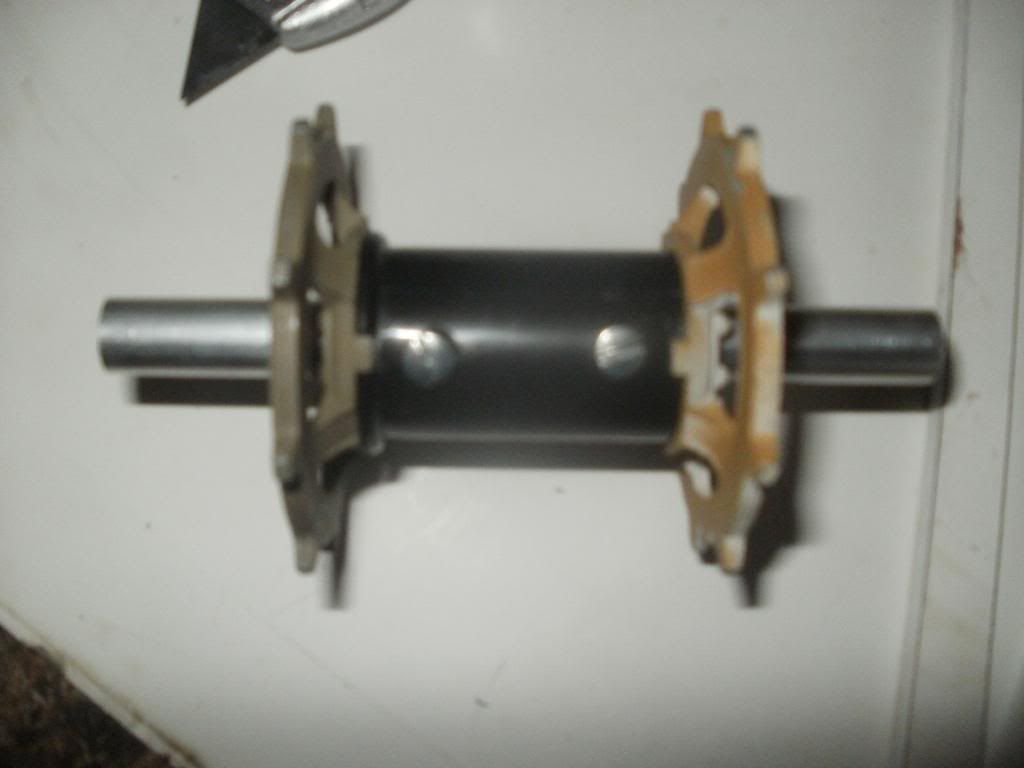
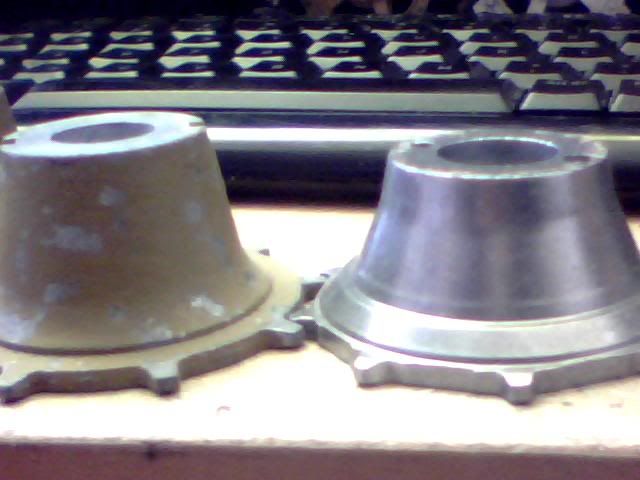
And yes I realise that is an awful picture... But you get the idea hopefully, it's simply the axle at the centre, drive wheels drilled out to 10mm and slid onto that, a plastic tube used for a spacer and then two bolts right through everything to keep it locked tight together. It wasn't actually too hard to make in the end, though I did almost lose a thumb trying to drill out the centre of the first drive wheel. Needless to say I'll be finding a better way to do that for the next ones as I've only finished the one so far!
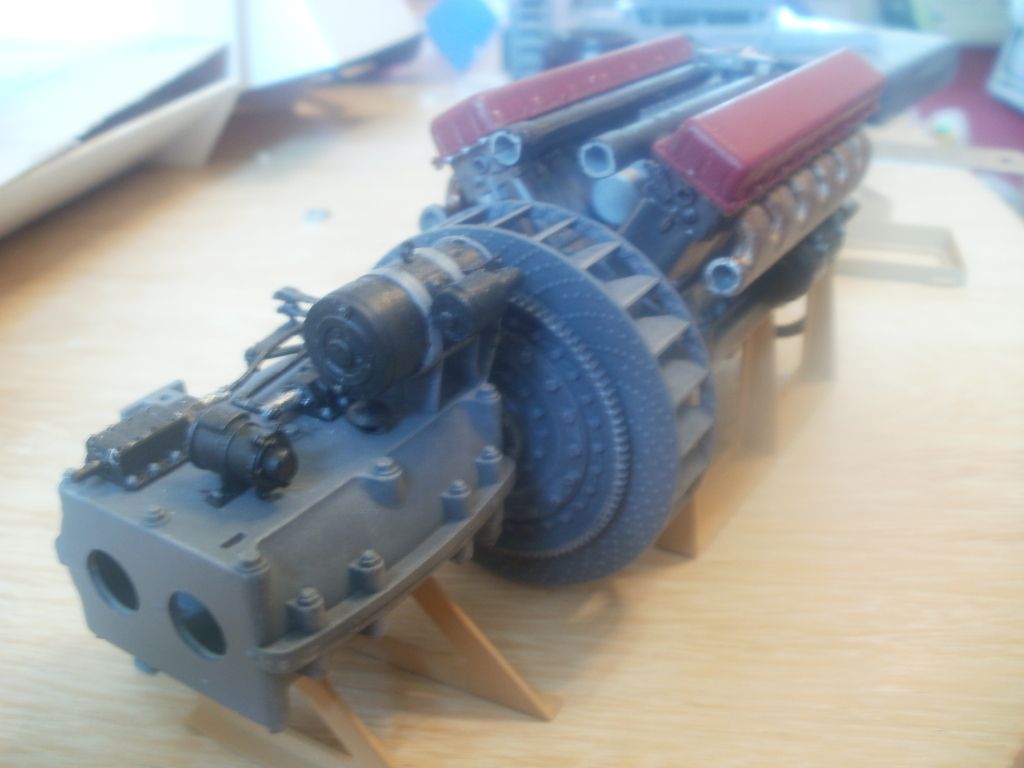
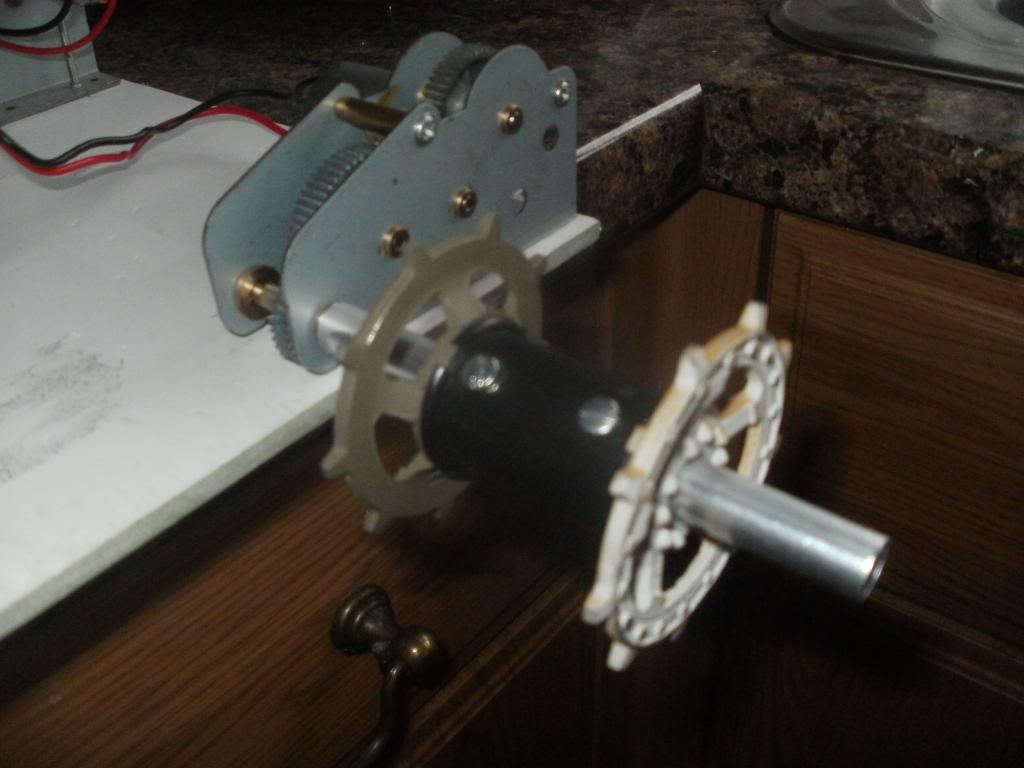
My original hope was that one of those two bolts would also pass through the driveshaft and lock the two pieces together but sadly that isn't going to be the case due to the shaft being too short to reach the bolts! That simply means I'll need to place a third bolt through just the driveshaft and axle at a later date but it does mean future disassembly will be that much easier so it's another silver lined cloud. Here is how it looks on the gearbox that'll run it.
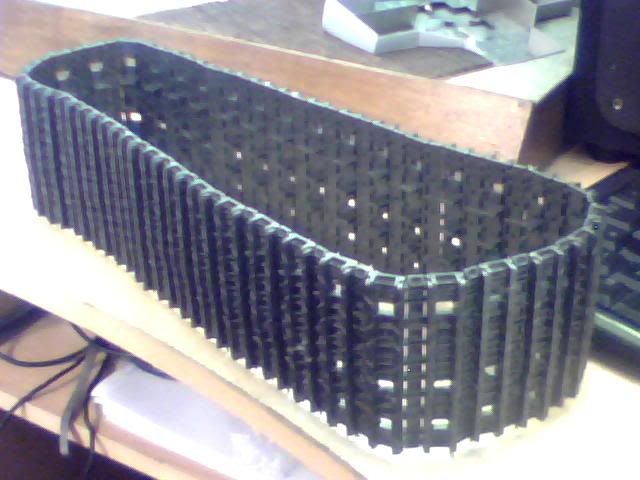
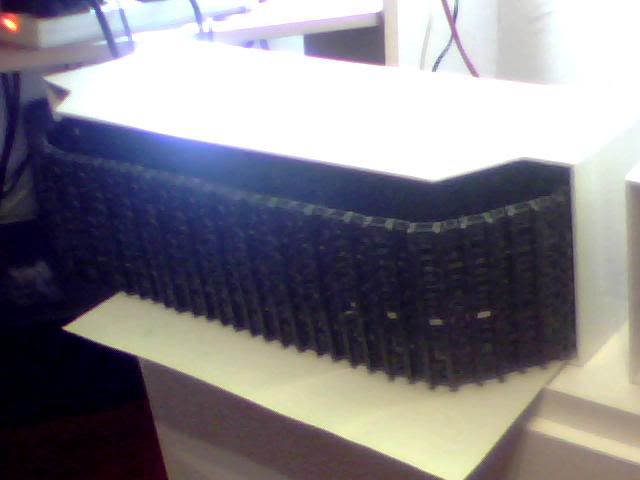
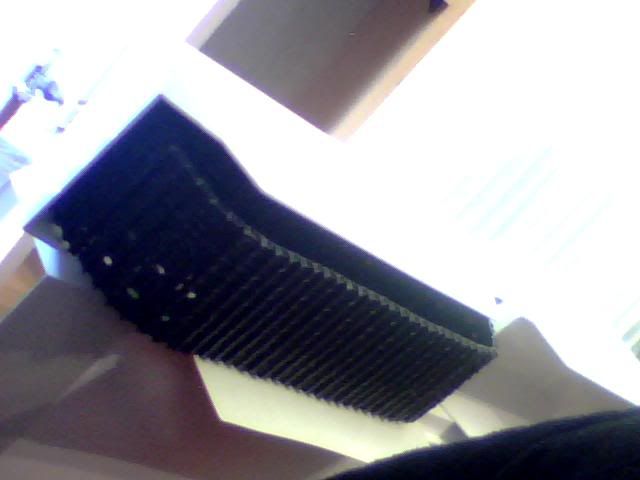
And here it is with the track it'll drive too!
I was pretty damn chuffed when all this stuff started coming together so forgive me for the unnecessary quantity of images. I'm just very happy that things are starting to happen again!
Anyway, although it's taken most of today that's pretty much all I have to show. Most of my time has been spent measuring, remeasuring, measuring one more time and then wondering why it's still wrong after measuring so many times... Needless to say there have been many
alterations made over the course of the day but it's all worked out pretty damn well as far as I'm concerned! Here are some final pictures showing all the gearboxes fitted and the axles in place, though only one of them is a finished drivewheel so far... Nothing in this picture is mocked up for a nice change, it's actually really in there the way it should be!
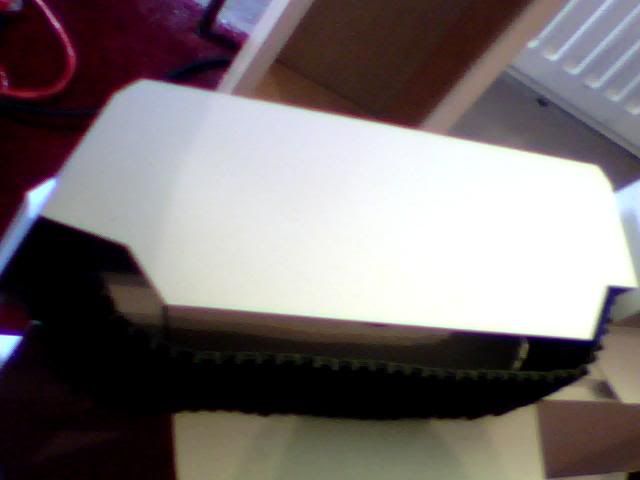
And here because I have a picture of it is all that's visible in the top of the build right now. Those gearboxes are totally solid and I've no reason to suspect they'll be going anywhere any time soon!
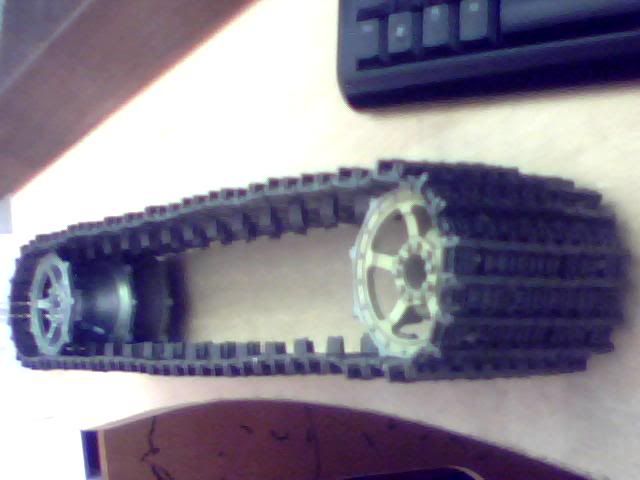
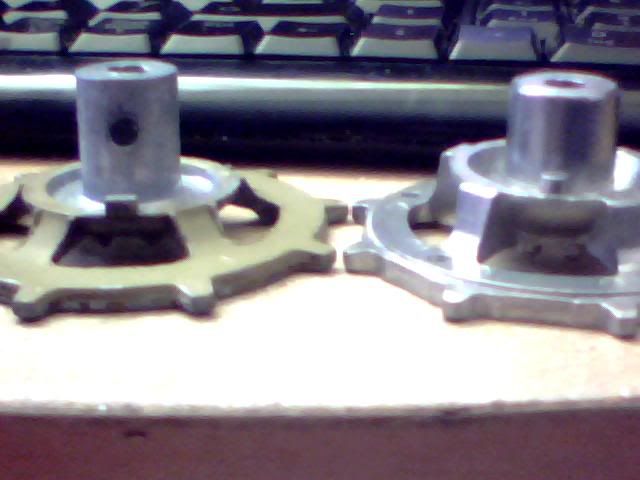
Also a pic I missed out of how the drive wheel is going to operate. This is a fair bit earlier in the day but it gives you an idea of what's going on in there mechanically speaking...

And finally, I'm back to mock-ups now trying to figure out if I can have the other wheels suspended of not. Also working to position the bogeys and any other rollers and tensioners I may need. The hard work in this area is still far from over but I at least feel now like the biggest step has been taken.
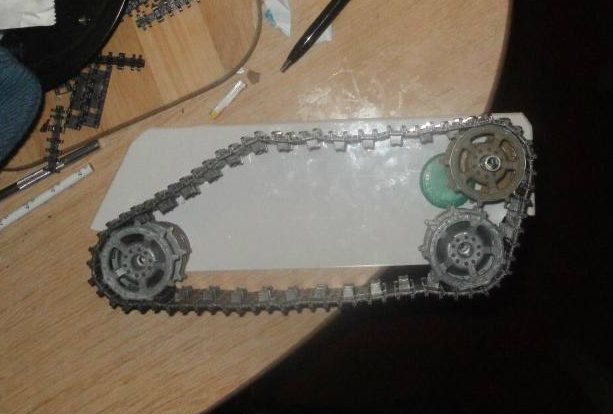
Notice how close those two sprockets are at the back? I'm pretty sure at least that one will have to remain unsprung but frankly I'm all for simplicity in a build that I'm already so concerned about. There's only so many things I can do to reinforce this and I'm by no means 'good' at what I'm doing here so it may be wise to avoid suspended wheels completely for now and just stick a tensioner in there to keep things going smoothly. We'll see as I progress but if there's any advice out there I'd love to hear it.
Going to need to move onto reinforcement soon as I don't want to get too carried away with the track mechanism until I have at least SOME colour on this thing or I'll be forever dismantling and rebuilding it! I figure I could maybe just get away with blacking up the under armour parts for now but we'll see. I want to fill all of the internal joins to add some strength to the shell first anyway and I'm also going to add some bolts to hold the four track housings to the hull itself. Having to take them off today made me realise just how well built this is but it's still a bit patchy so especially in these weakpoints I'm going to need more strength.
The next job for now is to finish those other 3 drive axles and then I'll have a tidy up and get reorganised before biting off the next job, though I'll need to finish track no.2 soon... I also have all the material I need to begin detailing the engine room which will be a fun distraction and very different kind of modelling but I'm away now tomorrow so it'll have to wait a few days.
I'll update again when I either run out of jobs to do or have something exciting to share. Not sure when either of those things will happen butplease let me know what you think of the progress and keep watching!
T