Steering wheel...
First time around I measured and scaled up the 1/35th kit for wheel diameter. Wrapped tape on the 1.5 exhaust tube to get closer to the 2.16 dia. I was aiming toward. The copper wire is springy so wrapping around a 2" would end up being closer to 2.5"
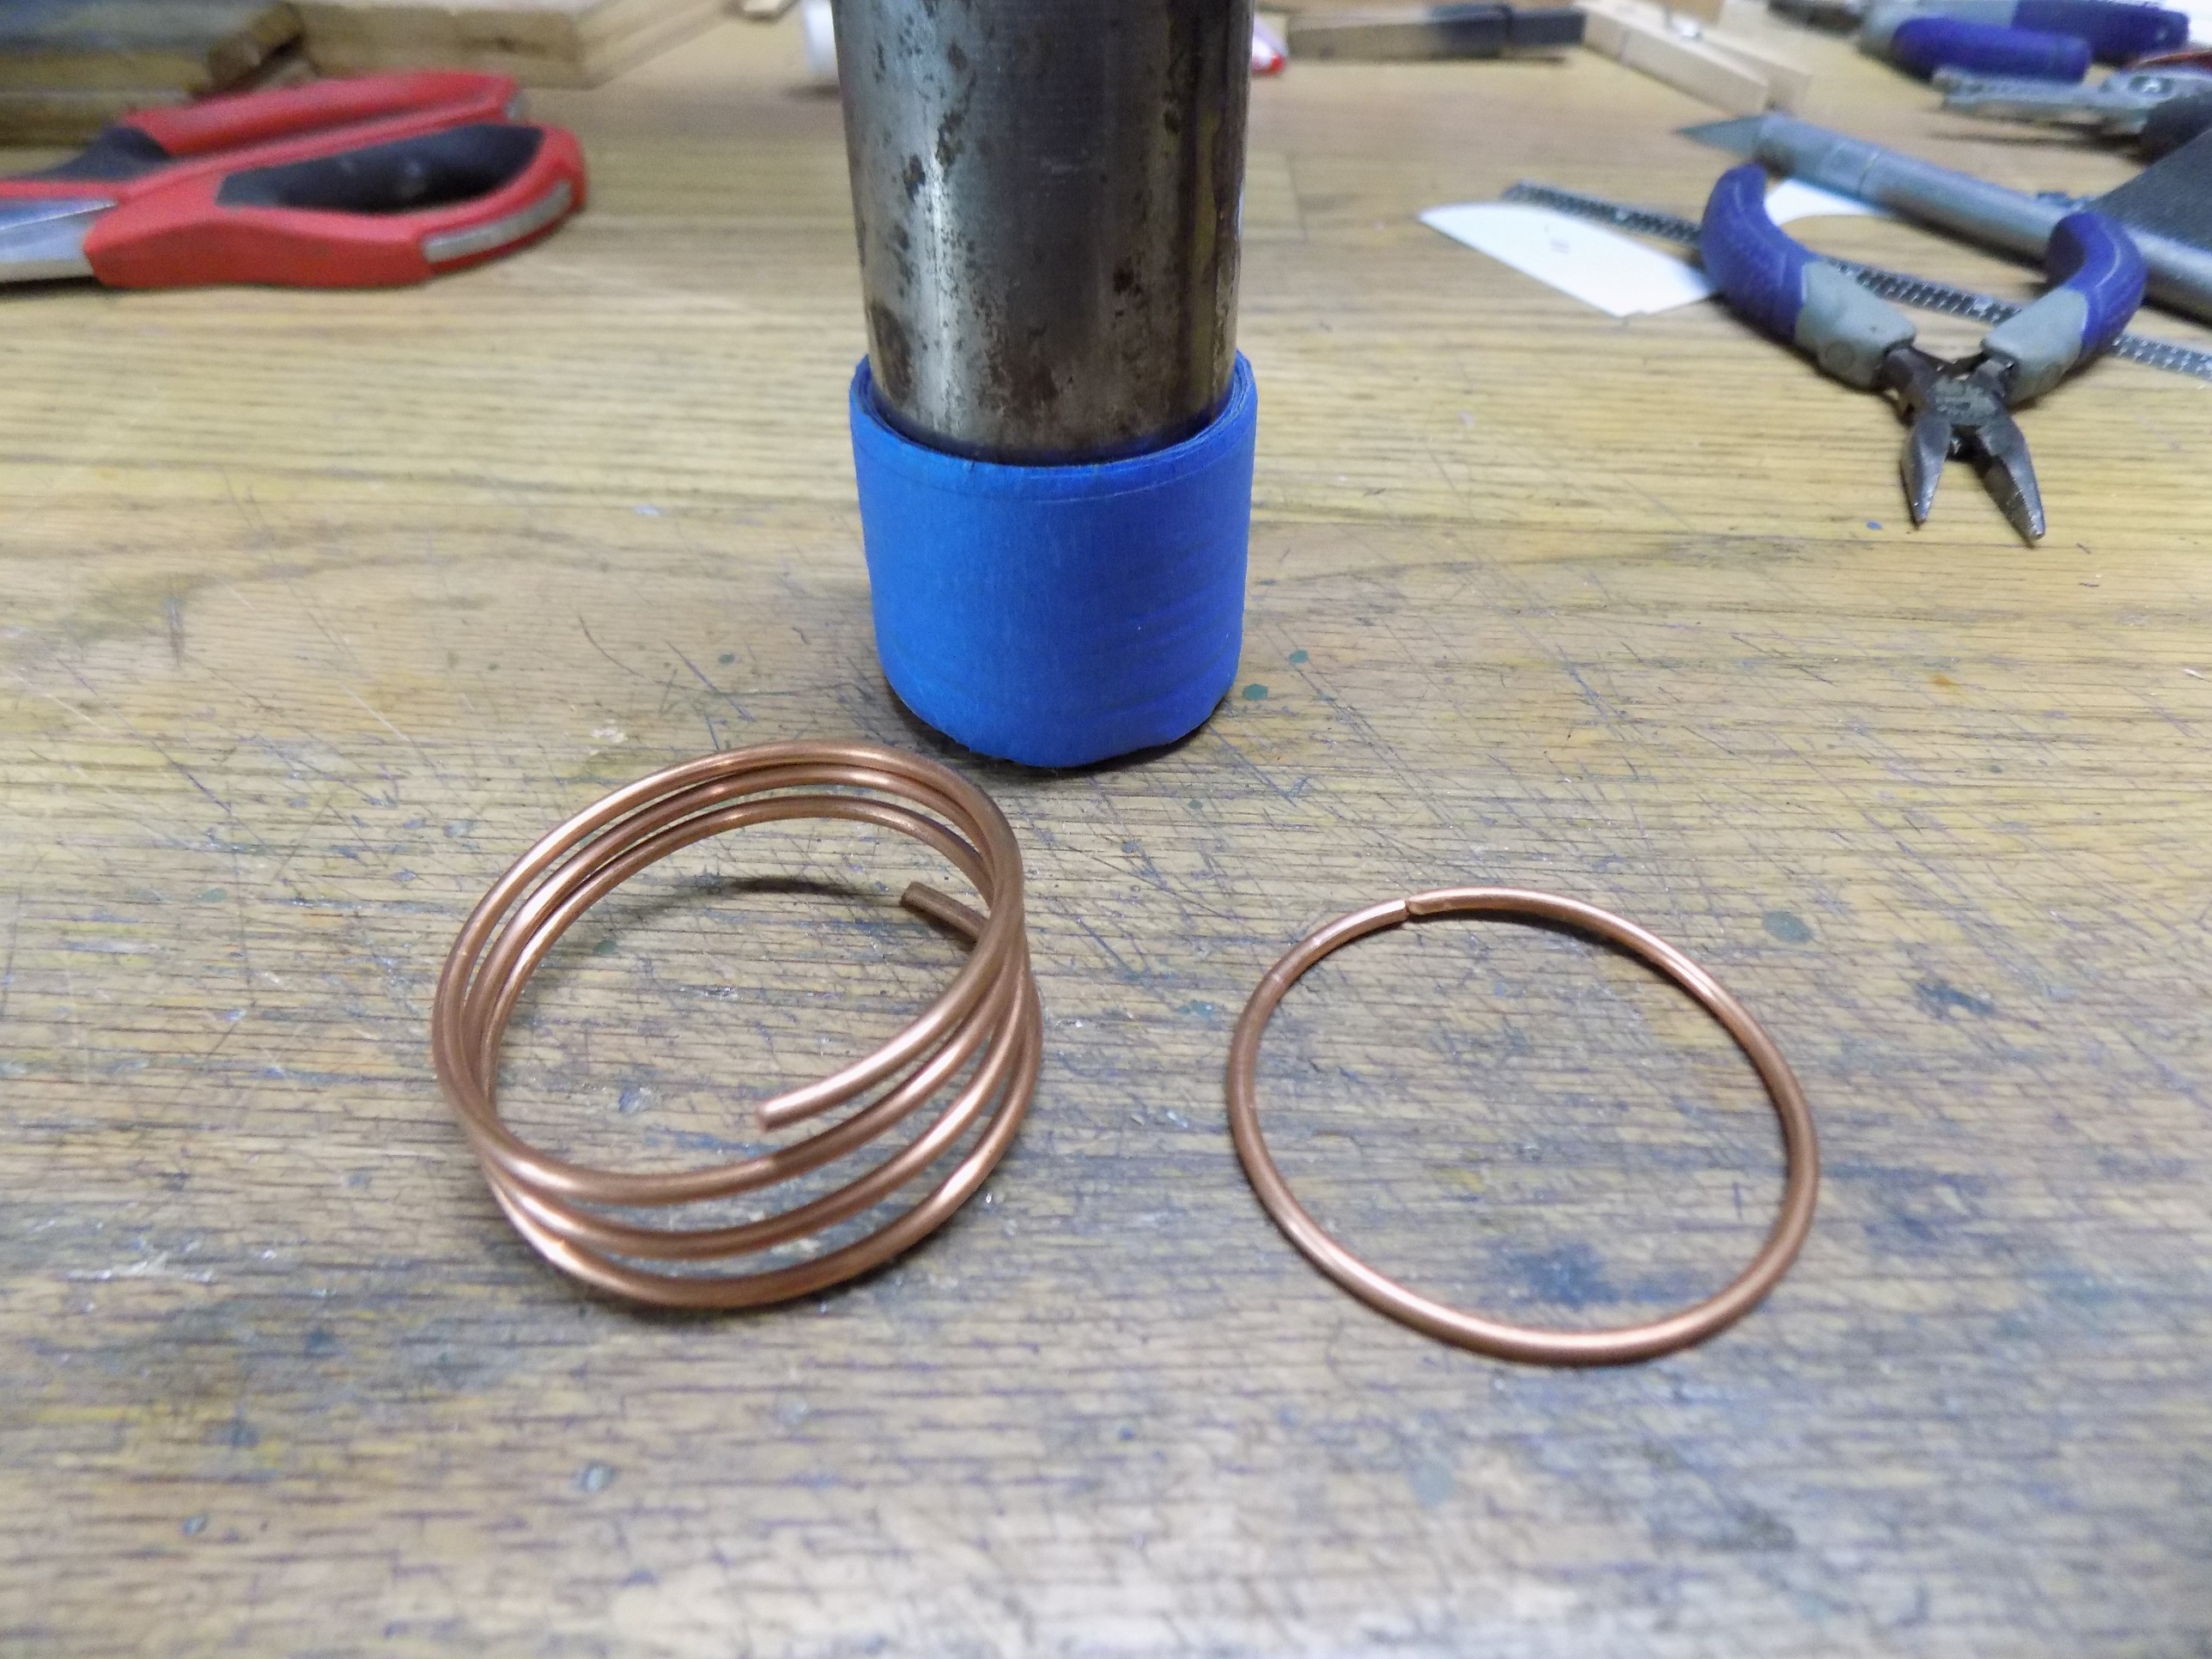
- D148.JPG (1.34 MiB) Viewed 52 times
I was not attempting the New Mexico flag..
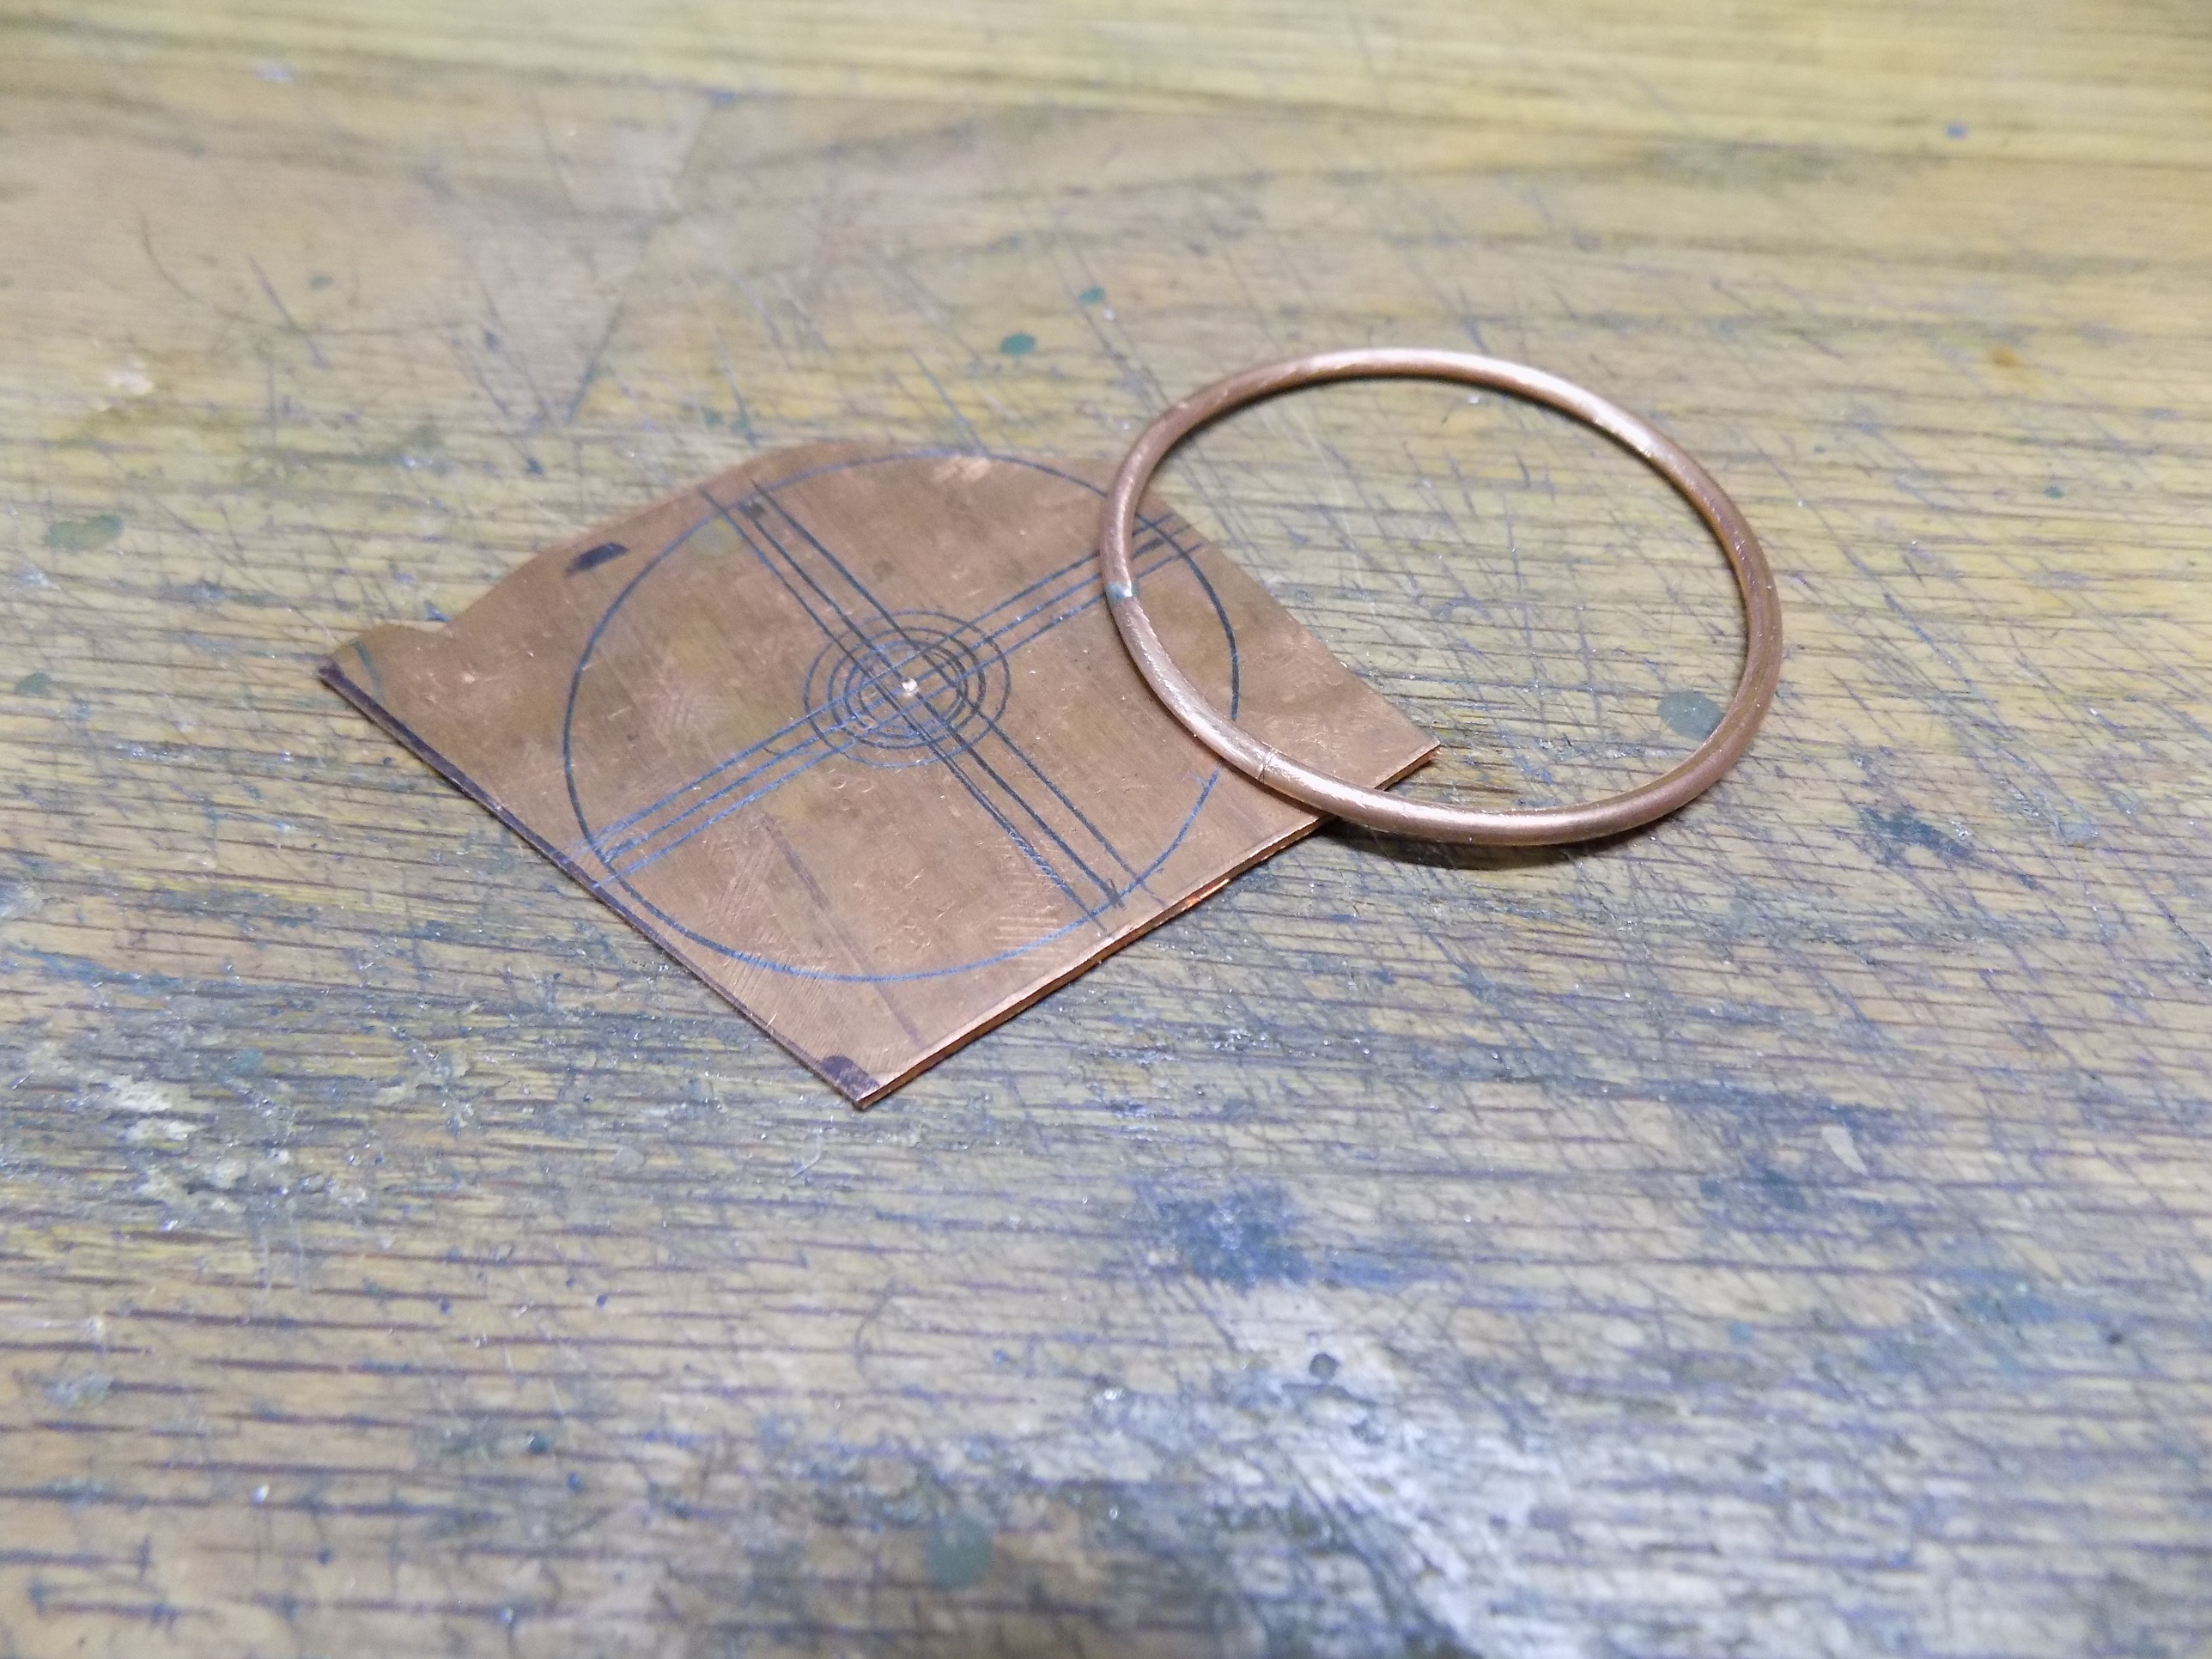
- D149.JPG (1.36 MiB) Viewed 52 times
Here are the supplies I used. 10 gauge AWG (2.5mm) left over from when I wired the garage and 3/4 (19mm) copper pipe, split and flattened. The wheel is version two because although it came out the right size, visually I thought it way too large. The rim surrounding the wheel is version one.
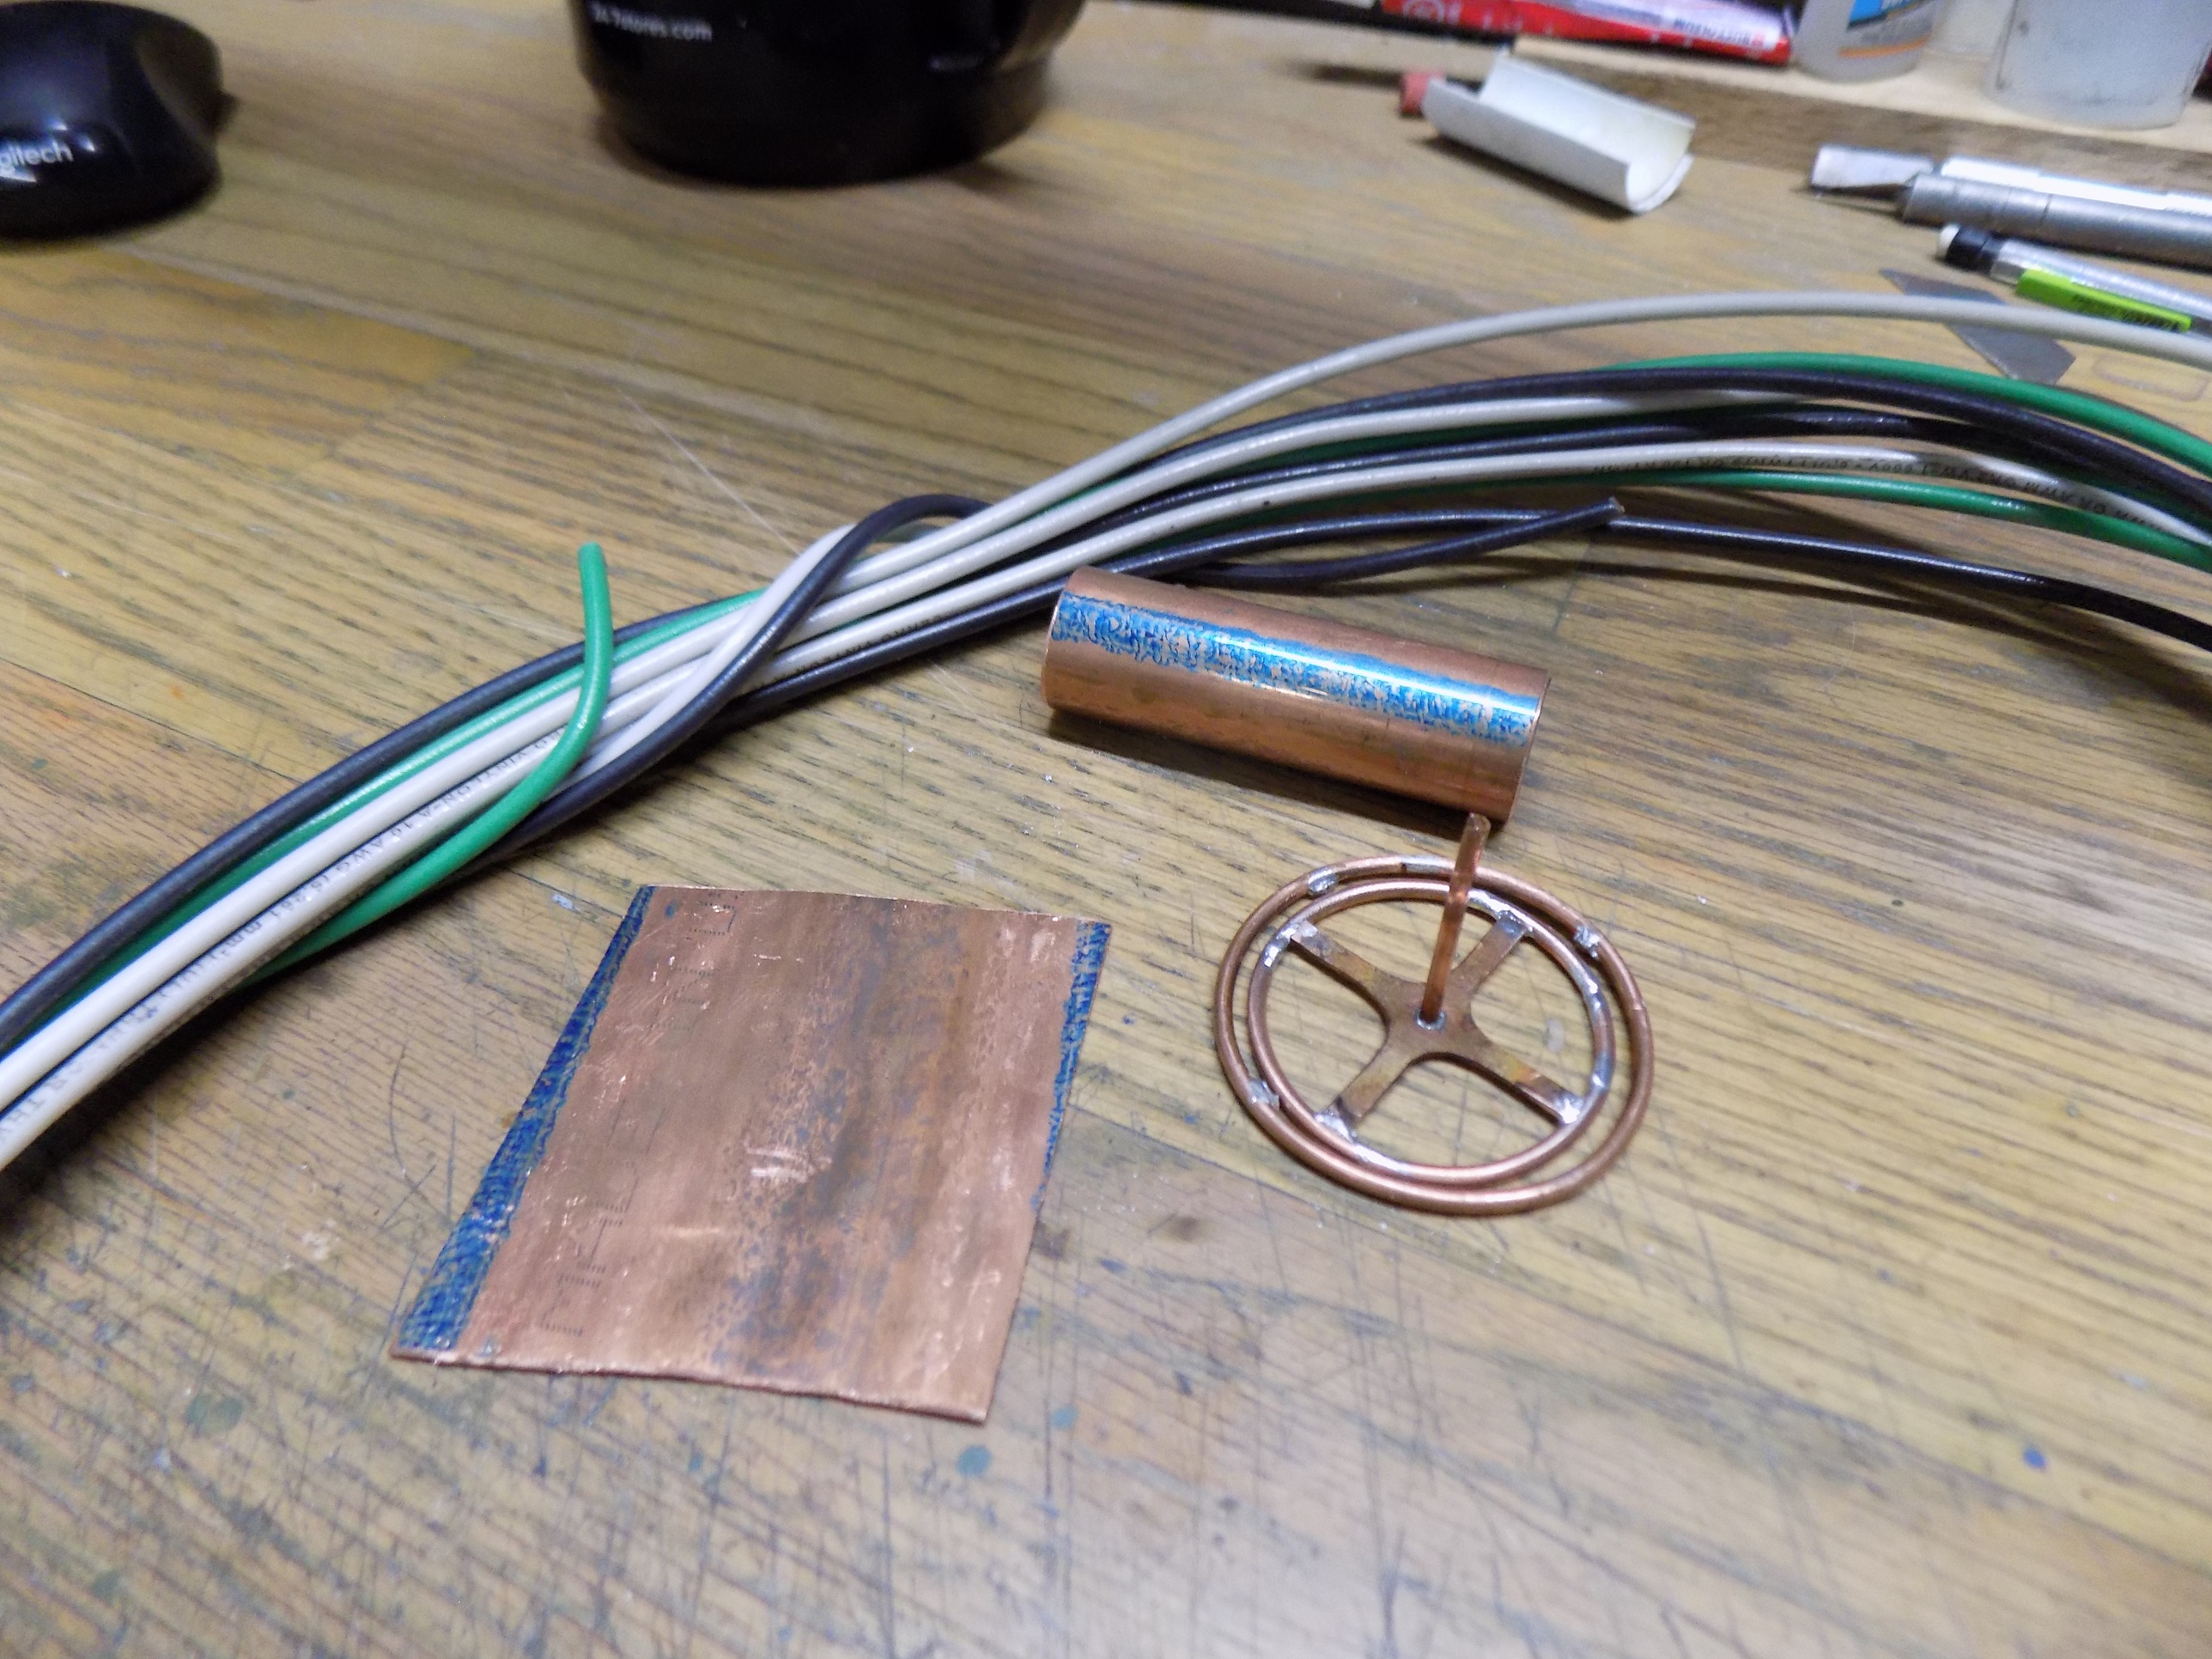
- D150.JPG (1.34 MiB) Viewed 52 times
Outside dia. reduced to 1.86" (47.2mm). To me that looks more appropriate.
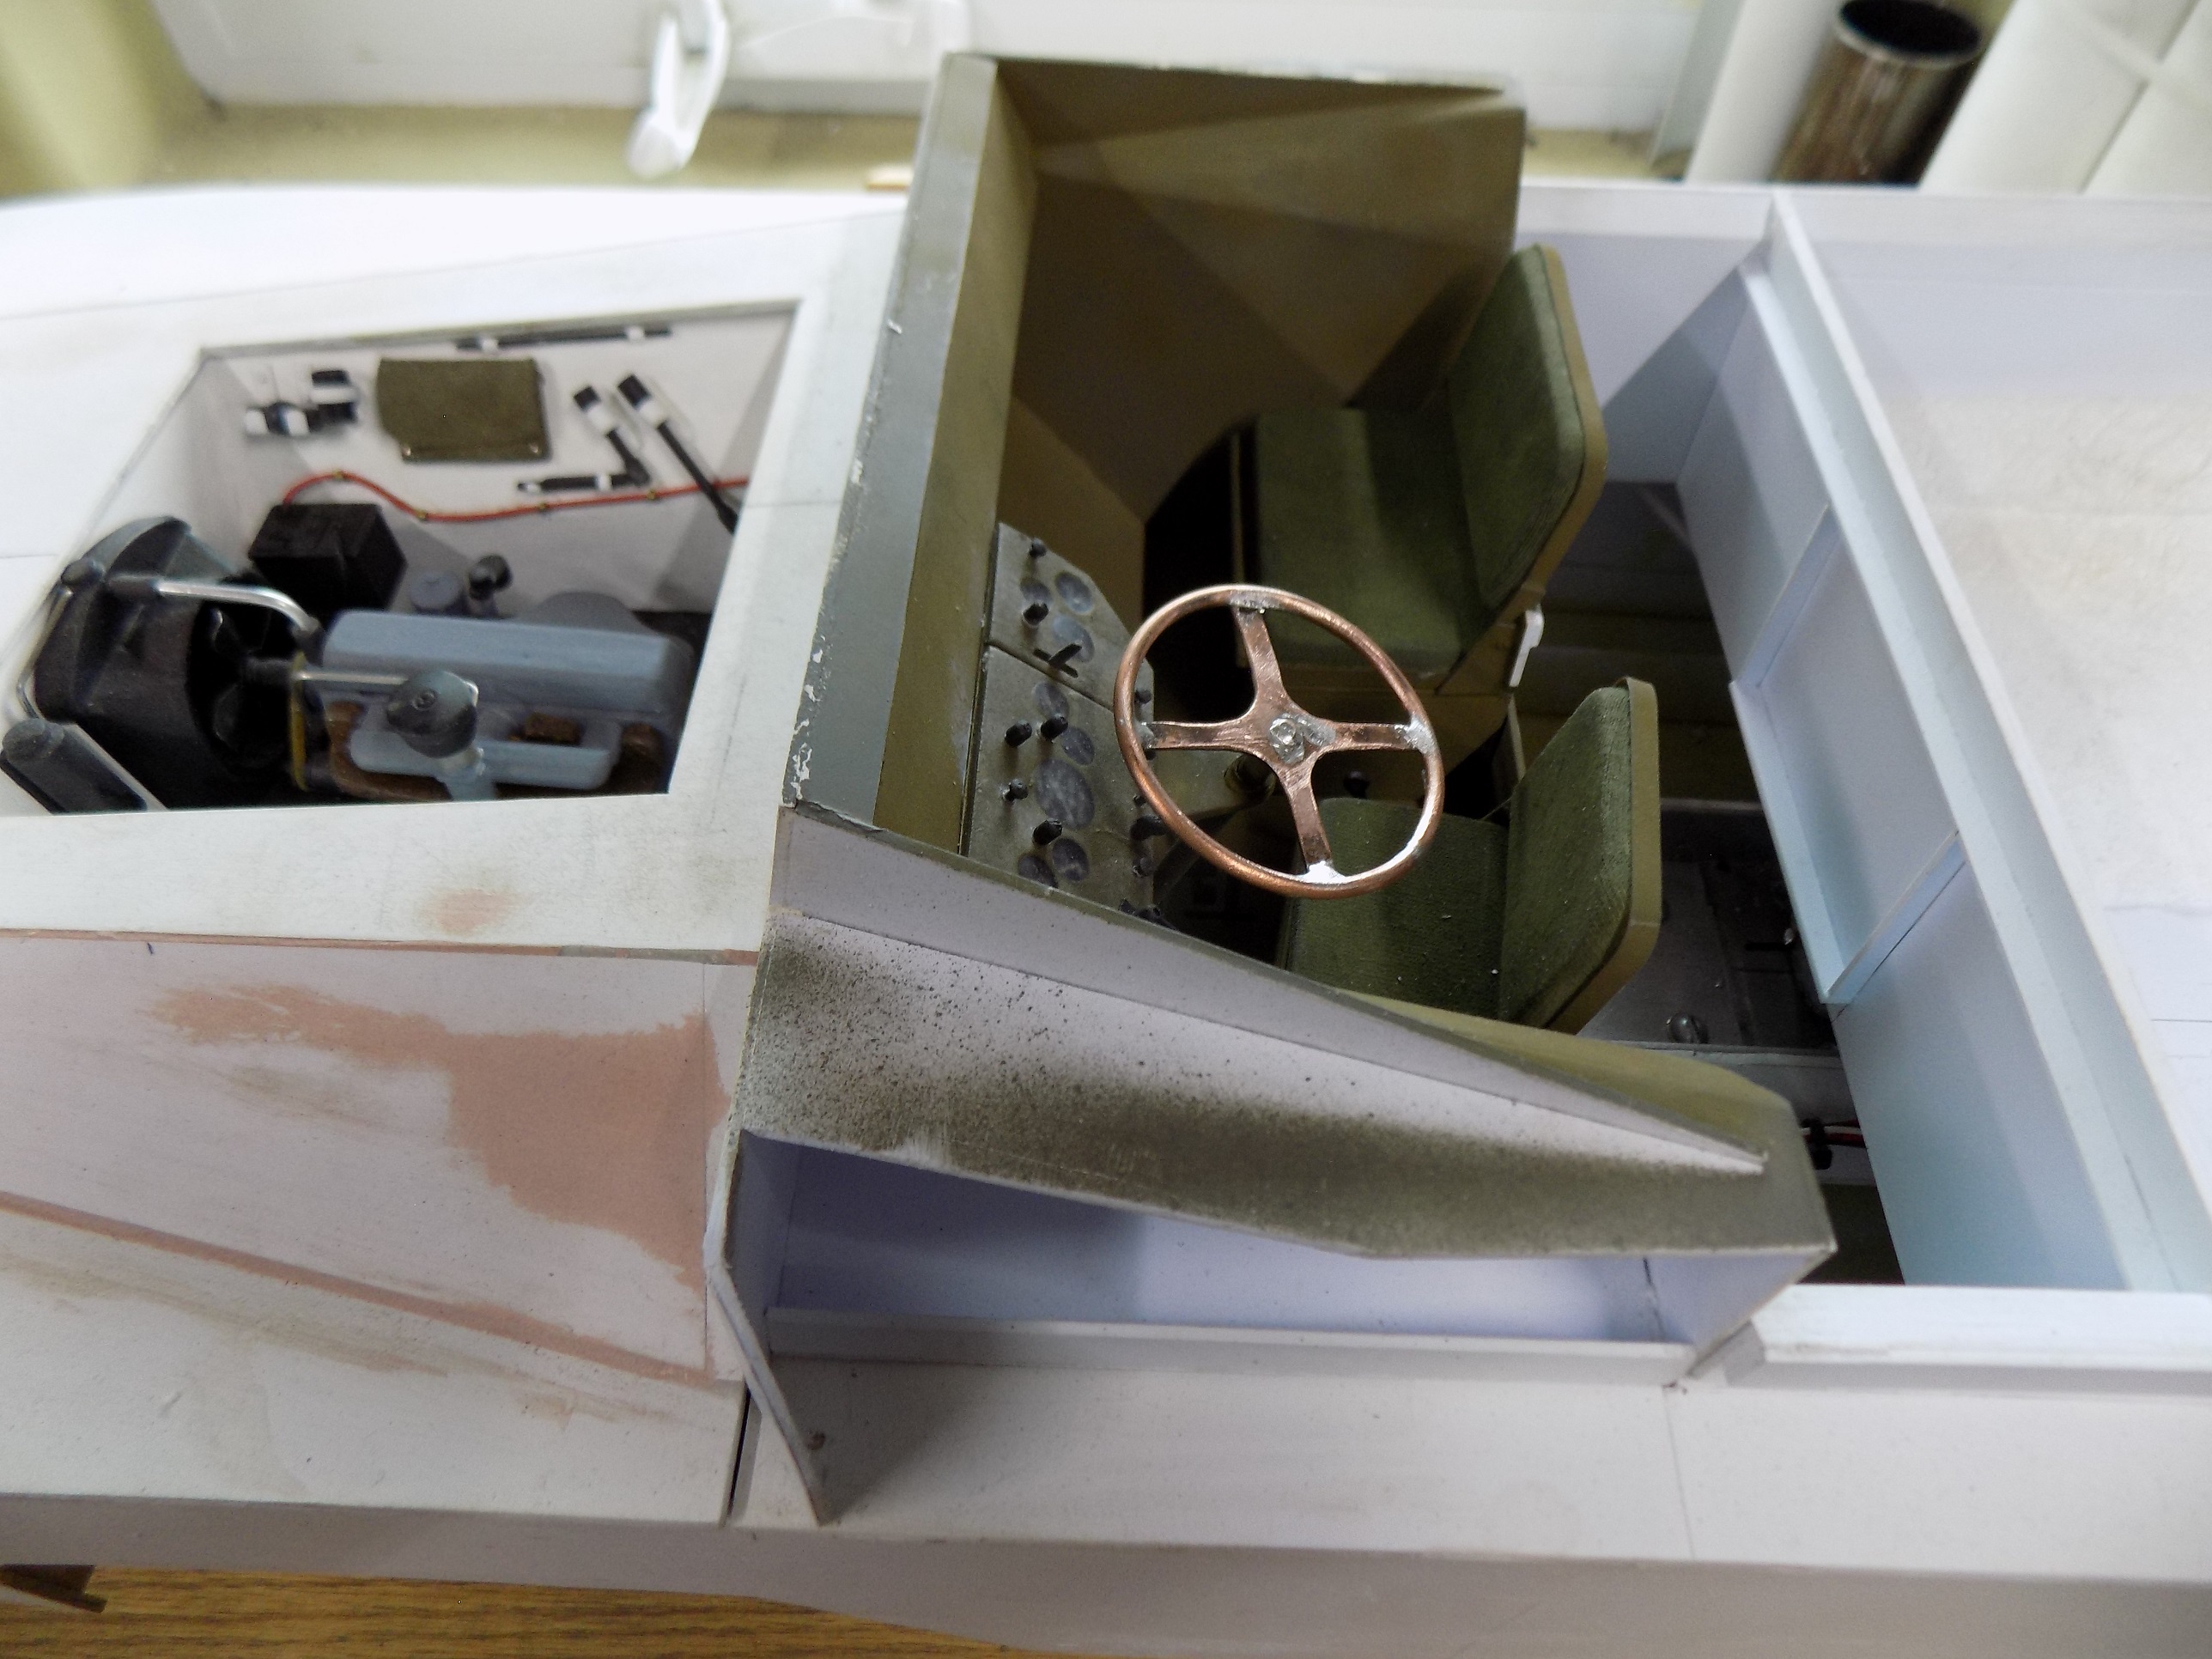
- D151.JPG (1.04 MiB) Viewed 52 times
On to the side vents and coaming.
"Don't believe everything you see on the internet" - George S. Patton
Eric


