Page 12 of 14
Re: Panzer IV Ausf F1 to H Build
Posted: Tue Jun 30, 2015 12:40 am
by KTRob
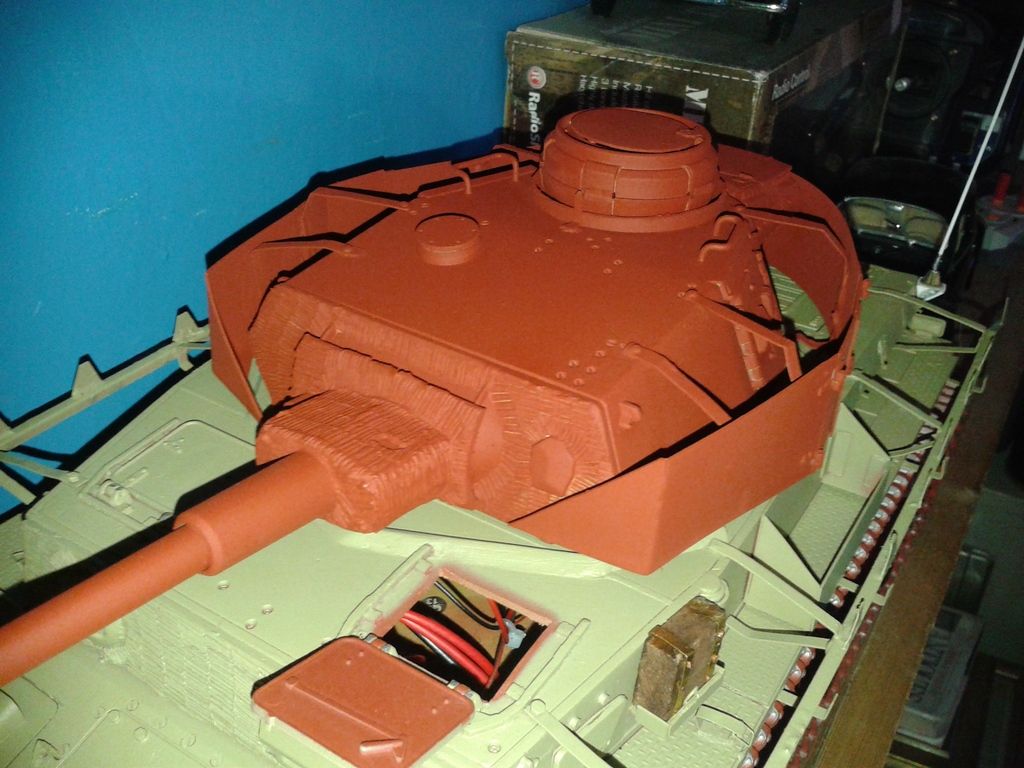
First mods on the turret were cutting off the vision ports and tidying up the turret sides, the signal port in the roof also had to go:
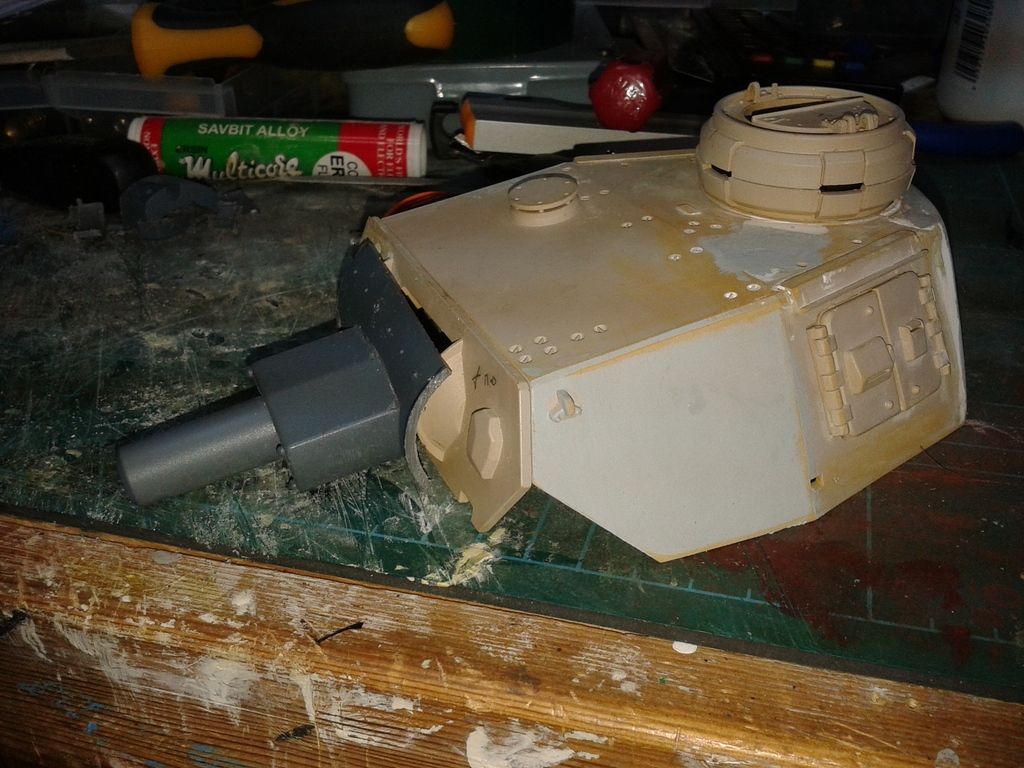
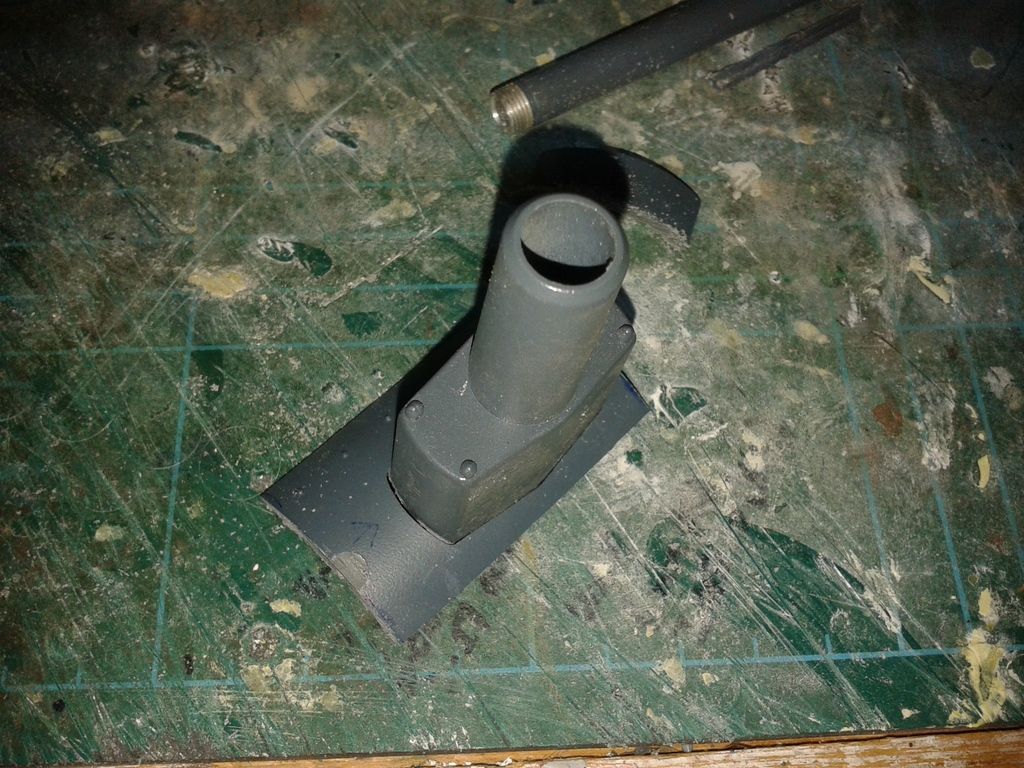
The mantlet was then cut up and stuck back together to make for a more realistic look:
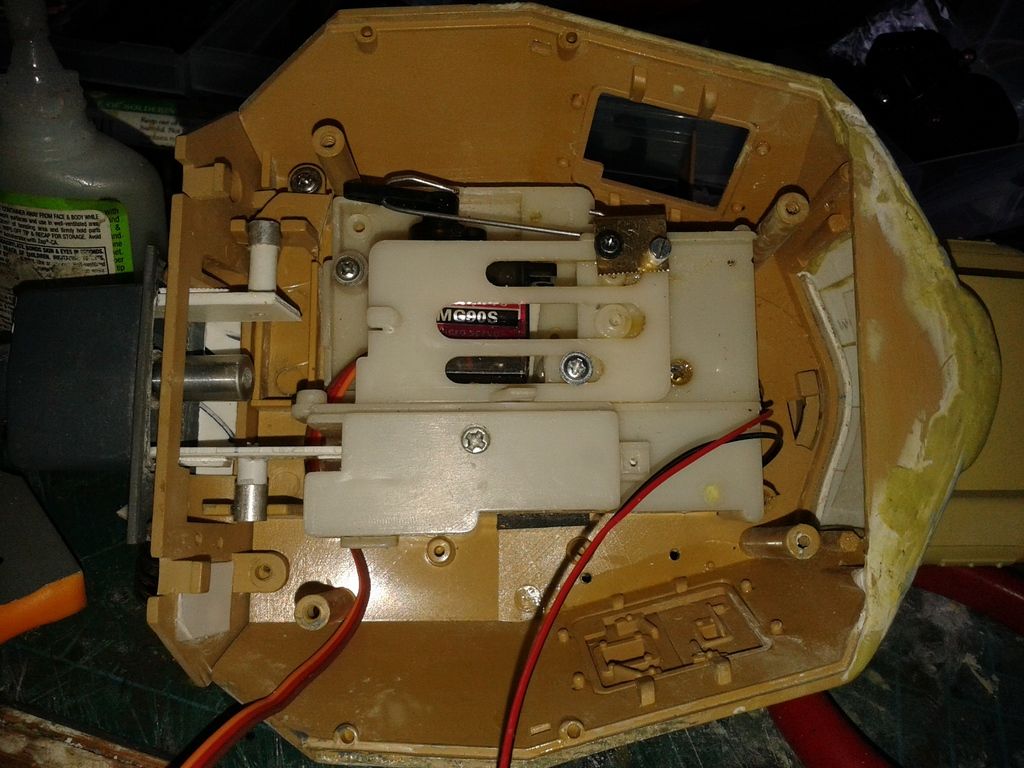
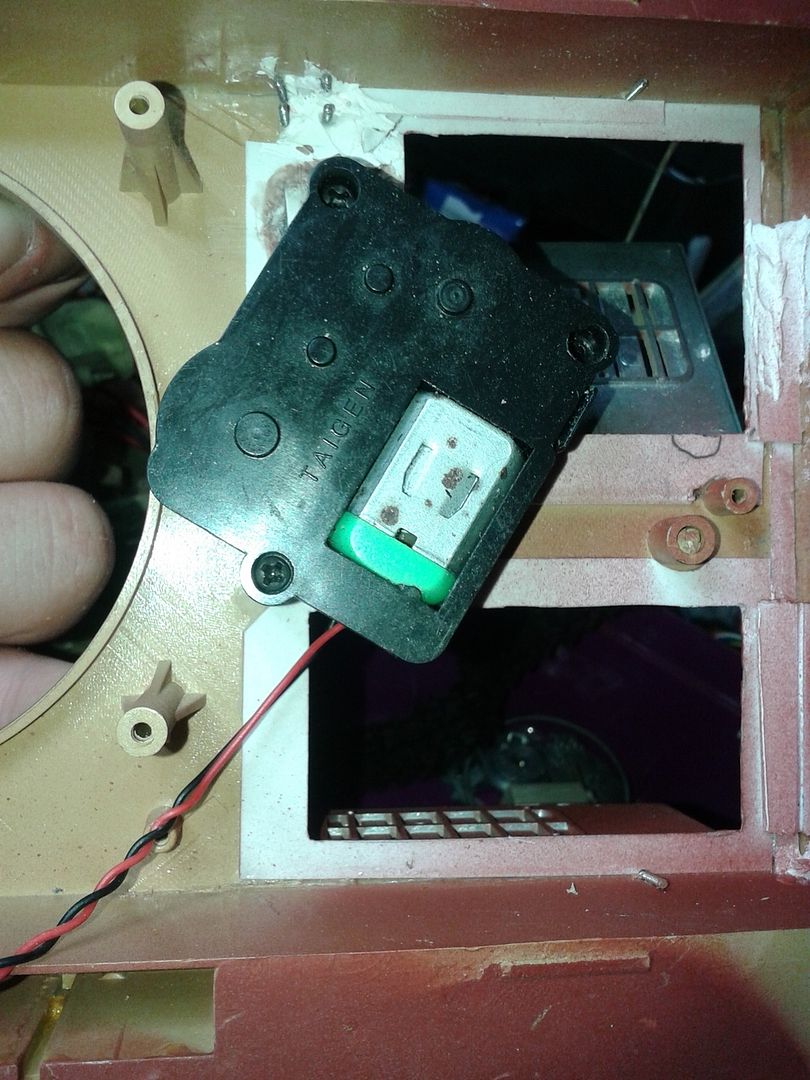
I intend to install either an IBU2 in the tank, so decided on servo recoil, I used a broken taigen recoil as a base, removing the recoil gears, motor and installing the servo and a homemade linkage (the control rod is a piece of piano wire). I resoldered the elevation motor onto a HL 3 pin plug.
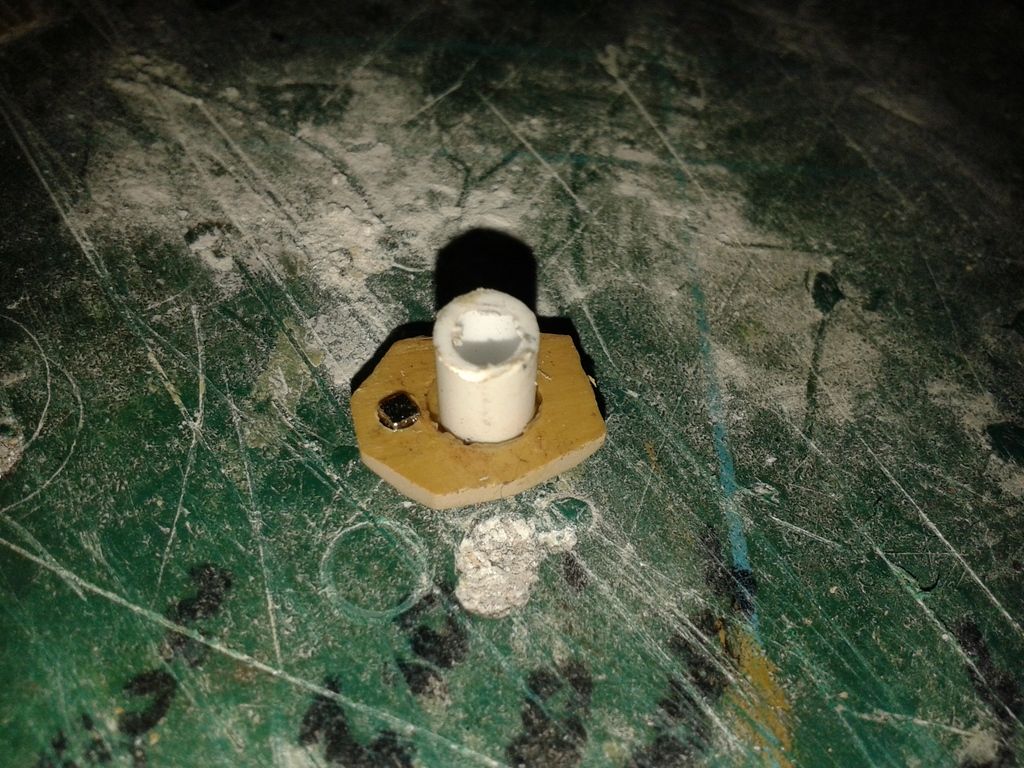
as you can see I had to make up a set of trunnions to fit with the asiatam unit, the front of the BB tray that forms the pivot in the HL was cut off and installed, I also installed a tube for an IR emitter, hidden behind a viewport in the front of the turret, the port cover is retained by a magnet and a piece of tube that fits inside the emitter tube:
I have also attached the schurzen brackets:
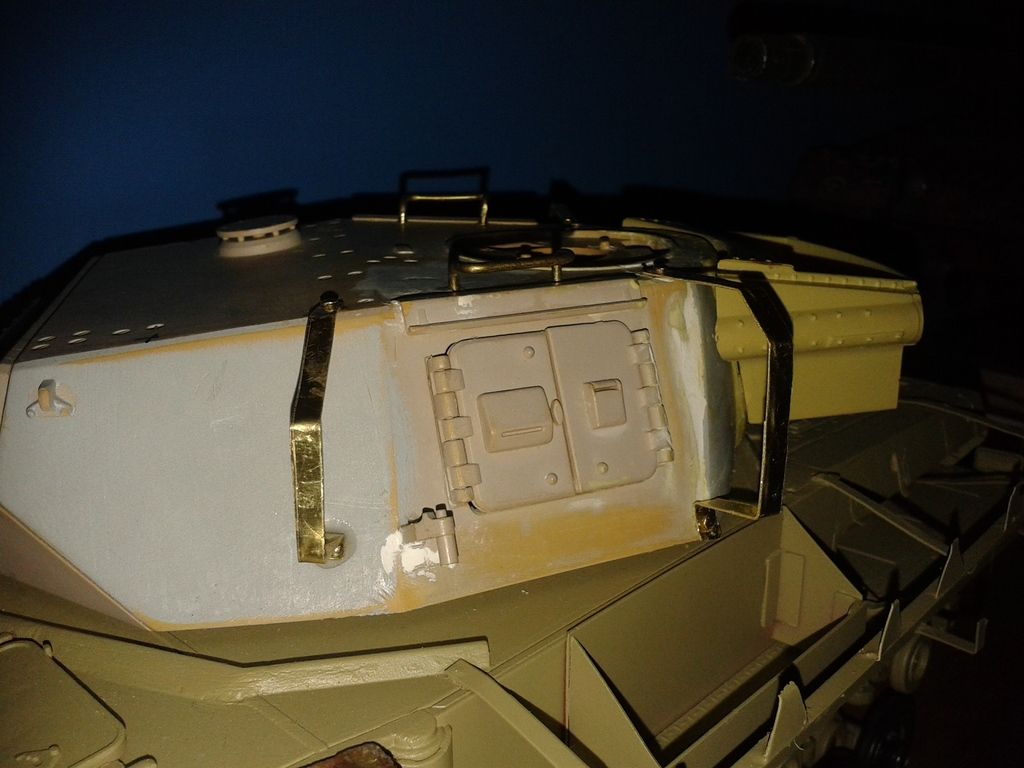
After I took this pic I realised I had a front turret bracket in the middle which has since been corrected.
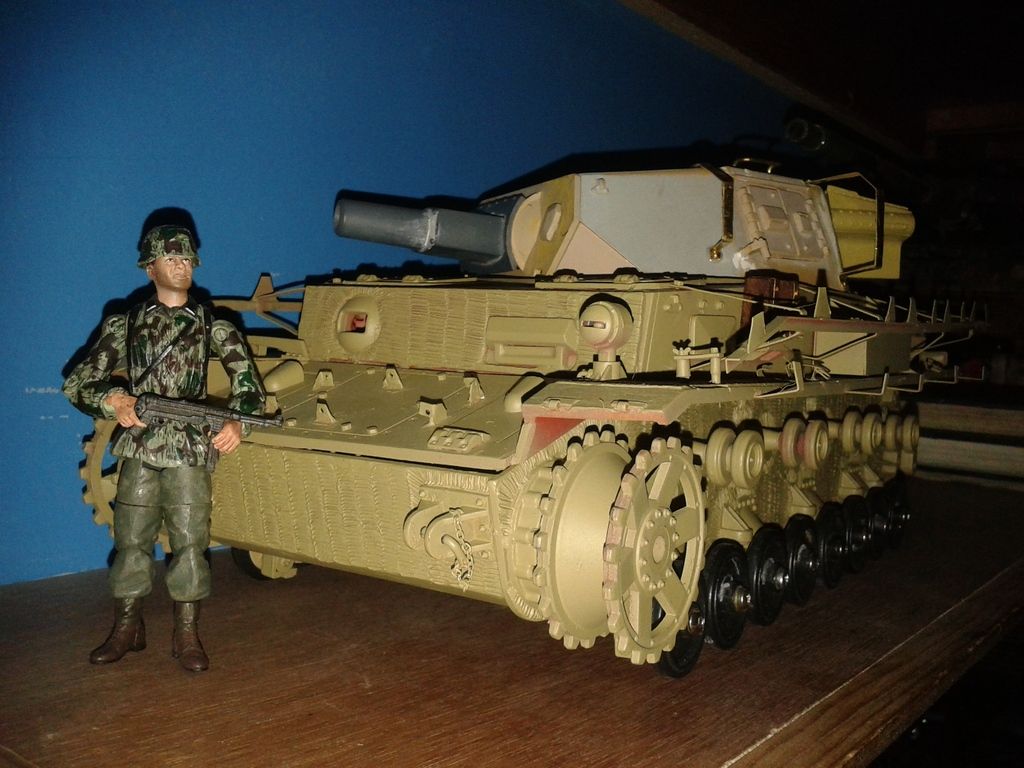
I bought some of those 1/18 soldiers, they fit quite well with the tanks:
Hopefully will have the turret done in the next few days

Re: Panzer IV Ausf F1 to H Build
Posted: Tue Jun 30, 2015 6:23 am
by philipat
Sweet!
Re: Panzer IV Ausf F1 to H Build
Posted: Tue Jun 30, 2015 2:53 pm
by edpanzer
Looking really good Rob nice work
Re: Panzer IV Ausf F1 to H Build
Posted: Wed Jul 22, 2015 10:45 pm
by KTRob
Thanks guys, still making slow progress.
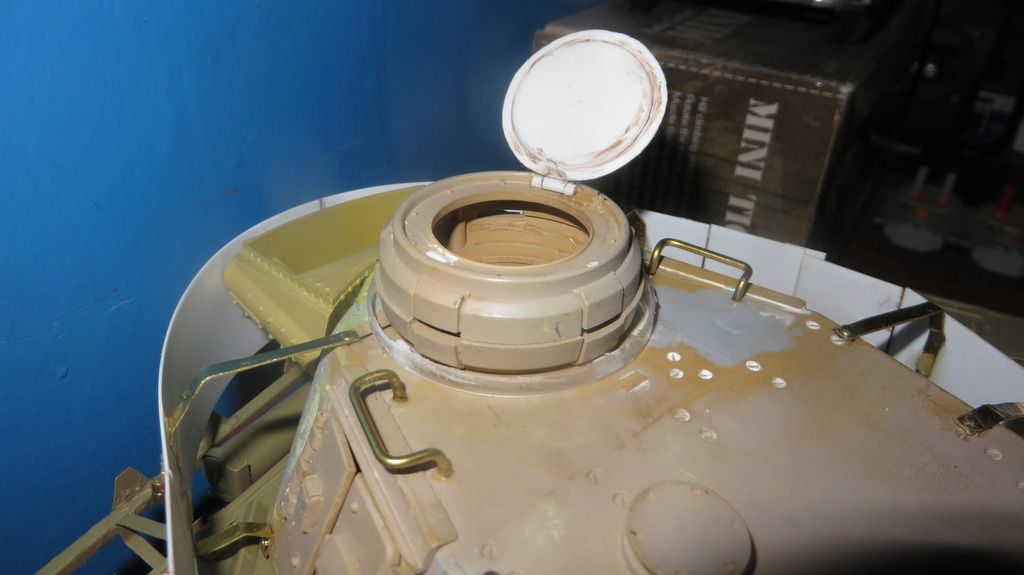
The turret is almost done now:
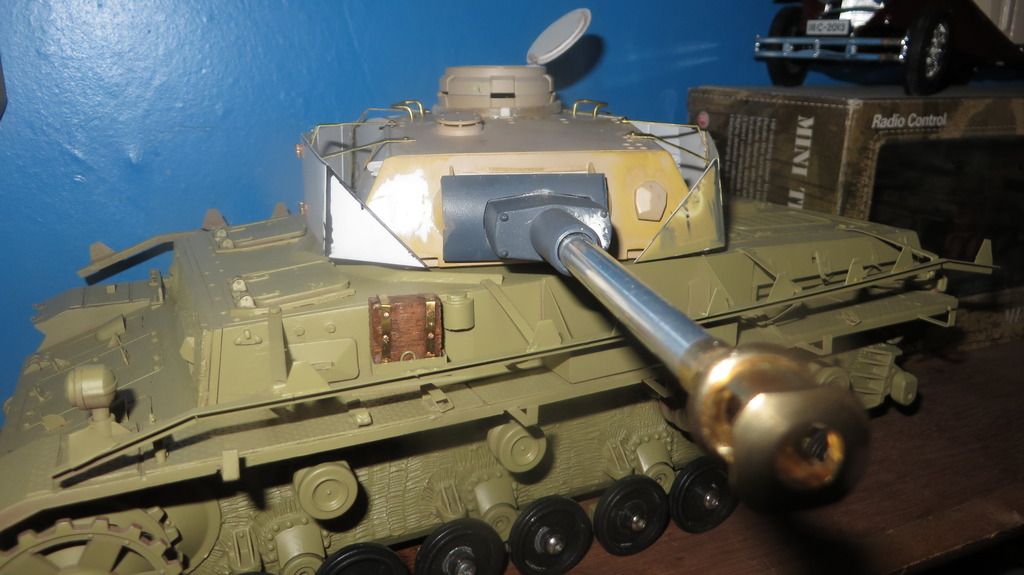
Got the schurzen done, have also added the extra armour ring around the Cupola and started on making a hatch (The H had a hatch not unlike the one on an early tiger, rather than the earlier split hatch)
Hoping to have this finished soon
.
Re: Panzer IV Ausf F1 to H Build
Posted: Thu Jul 23, 2015 4:20 pm
by edpanzer
Looking good Rob coming along nicely...need to get it done so I can battle you!!!
Re: Panzer IV Ausf F1 to H Build
Posted: Mon Aug 24, 2015 11:39 pm
by KTRob
Thanks Ed,
Got a few updates, I don't get much spare time at the moment so its taking a while to get things done:
Turret was painted with Halfords red plastic primer
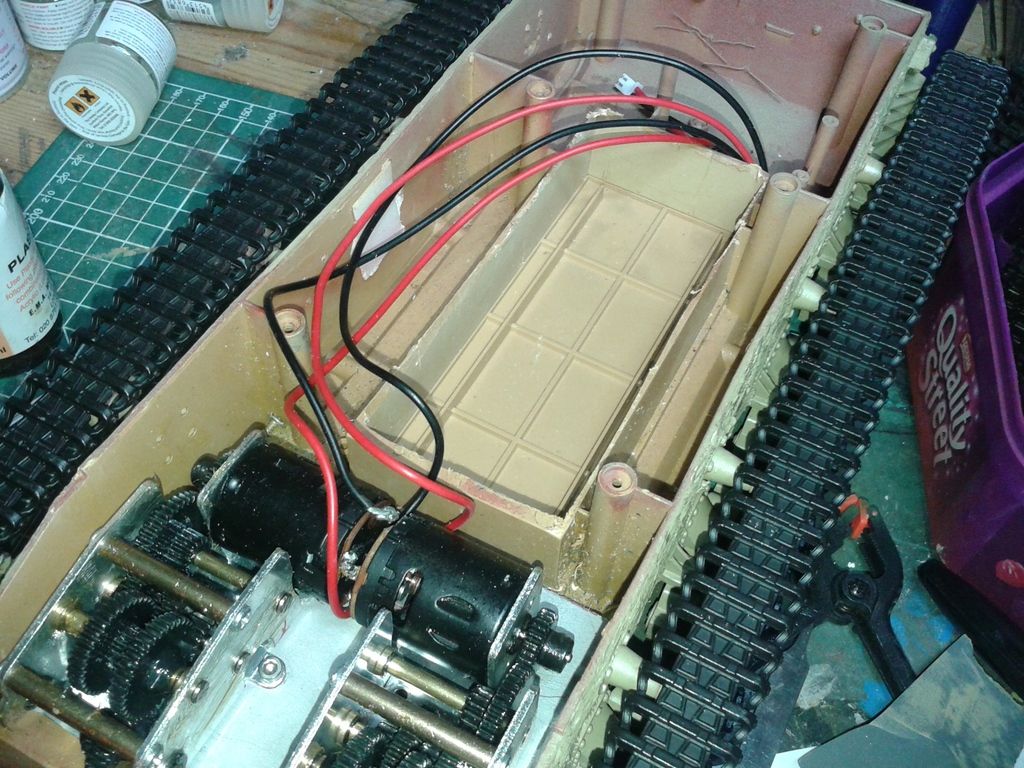
The rotation unit had to be fitted. I reused one of the pegs that got chopped off when I fitted the hatches. For the wiring I have gone with the new heng long setup of making all the connections using plugs instead of soldered joins for easy maintenance.
I also fitted a set of low profile 5:1s, I had to make a metal plate up in the end but they work OK. I also chopped the top out of the battery box so I can swap batteries without turning it over. The tracks were painted with wilko bbq paint:
Once I was happy with the wiring in the turret, I sprayed it with the same ts3 basecoat as the rest of the tank. This was followed by adding the camo in olive green. I used a battery powered Tamiya airbrush which is fine for basic work like this:
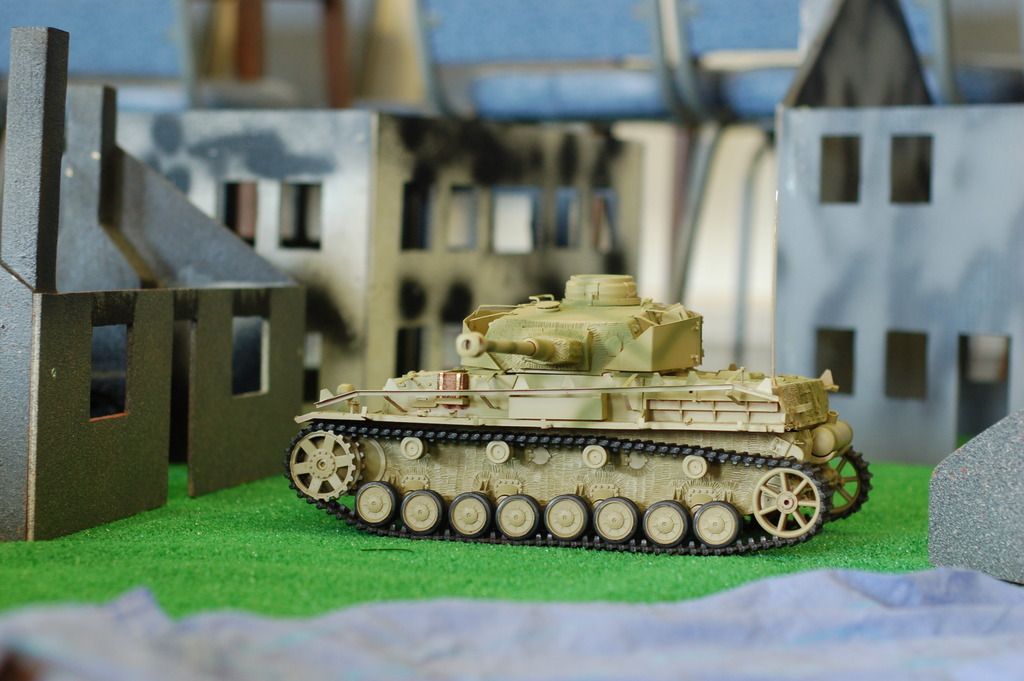
(taken at the GLAD august meet)
Once this had set, I hit the tank with a coat of ts13 gloss clear to seal the paint ready for weathering. This was then followed with application of a peddinghaus decal set:
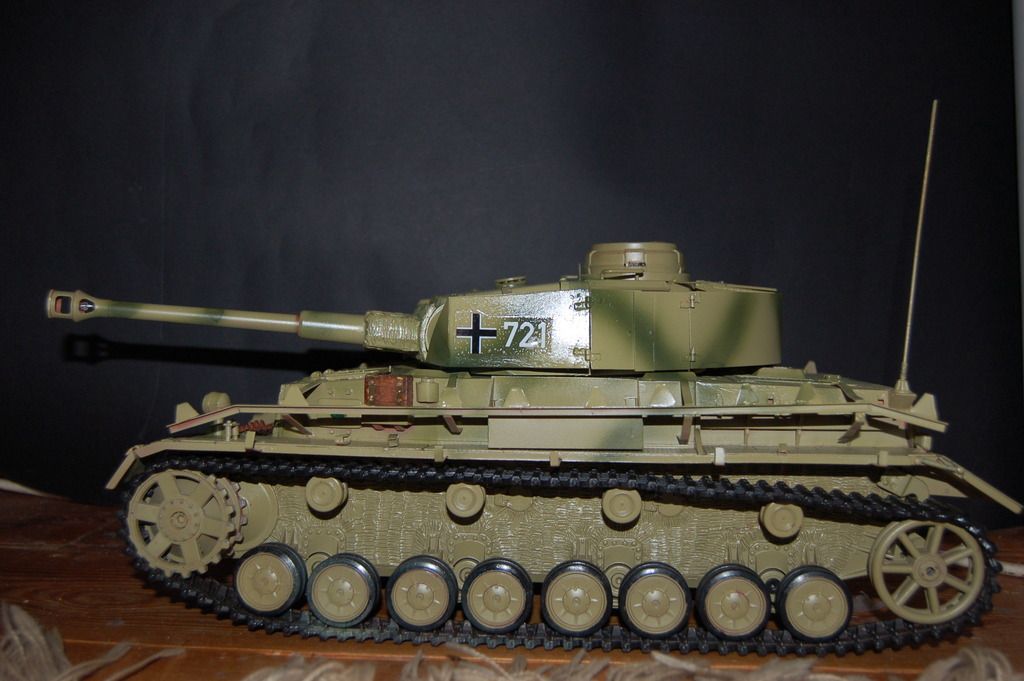
Looks a bit shiny

will be ok once I get weathering done and put on a final coat of flat clear.
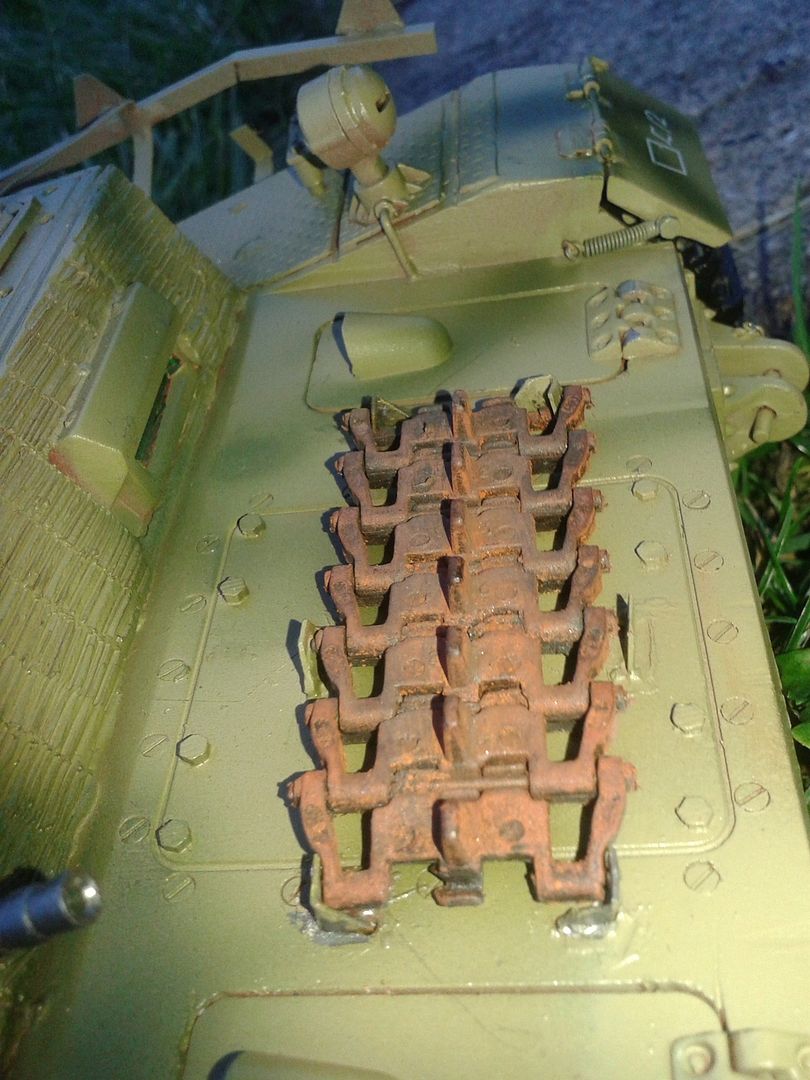
Experimented with some pigments on a piece of spare track:
Also sorted the fender springs. The spring came from inside an old oil seal (of the type used to seal a driveshaft). I used the same thing for the antenna on the rear hull corner.
Just need to finish the electrics and the weathering then its ready for battle
Re: Panzer IV Ausf F1 to H Build
Posted: Tue Aug 25, 2015 4:14 am
by ALPHA
Looks great Rob...She's come a long way...you must feel proud and satisfied now that the finish point is near
ALPHA
Re: Panzer IV Ausf F1 to H Build
Posted: Tue Aug 25, 2015 9:22 am
by HERMAN BIX
Re: Panzer IV Ausf F1 to H Build
Posted: Wed Aug 26, 2015 1:40 pm
by philipat
Re: Panzer IV Ausf F1 to H Build
Posted: Thu Nov 05, 2015 11:12 am
by KTRob
Thanks for all the kind words guys, for a variety of reasons I have been away from this build but thought I best finish this before starting on a new project

Philipat I have the same problem as you, but the hull is also a little warped due to all my chopping earlier in the build, the ibu2 also takes a lot of room, maybe a clark would be a better fit in a smaller tank like these?
I have taken her to a couple of GLAD meets and shes a good little runner, battling is untested as I dropped the battle unit on the floor and then managed to step on it

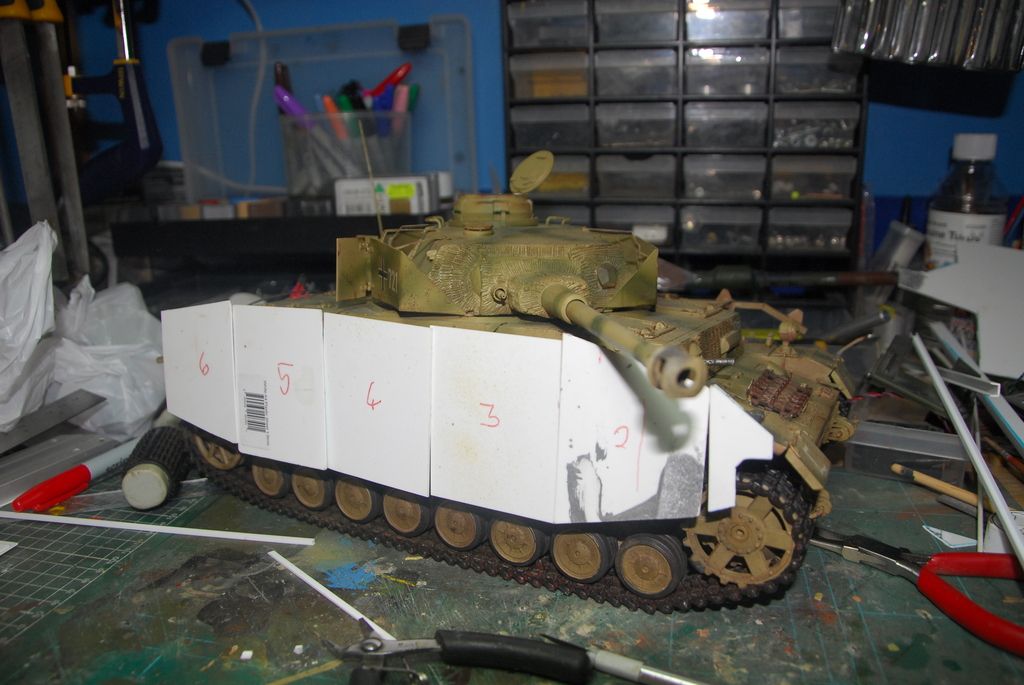
Anyhow, I have made up a set of schurzen out of plastic to hang on the sides, I suspect I will take these off for battling or outdoor running.
On the battlefield at Grantham Light Armoured Division:
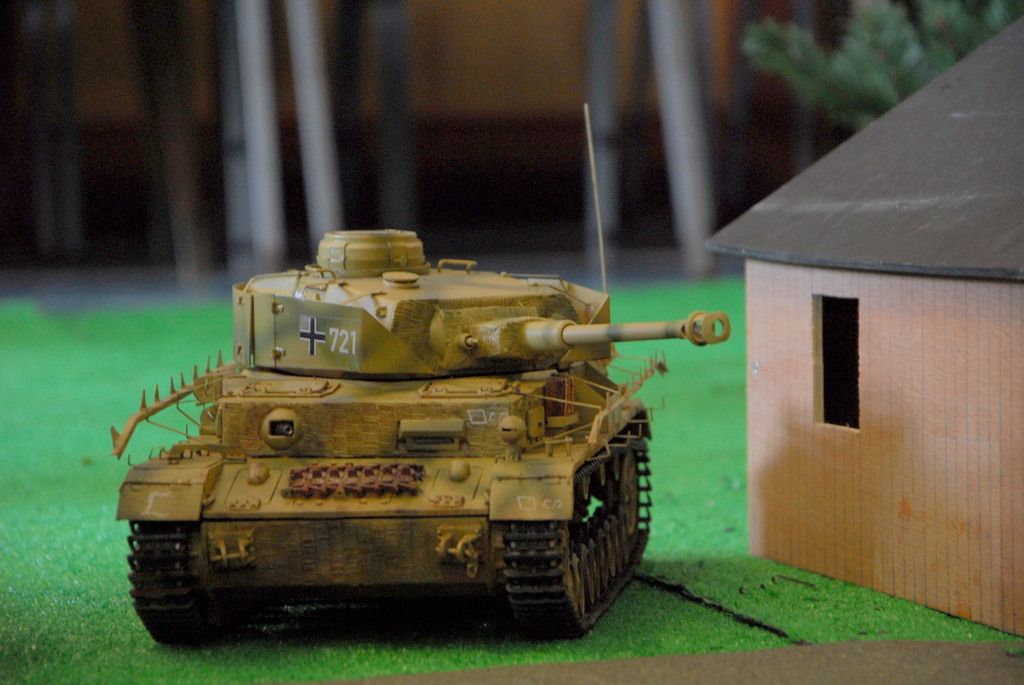
You can see a little gap at the front, maybe i'll put in a small filler piece at the top of the front plate?


