Page 11 of 14
Re: Panzer IV Ausf F1 to H Build
Posted: Thu May 28, 2015 12:20 am
by KTRob
Thanks guys, I plan to use some magnets to hold the top on, might have to add a brace if needed.
Haven't been able to do much lately due to lack of time, but am off work at the moment so decided to do a bit more to the upper, then prime it.
Still need to sort out fender springs, front spare track holder, and an aerial mount.
Quite pleased with how the treadplate looks now its primed:
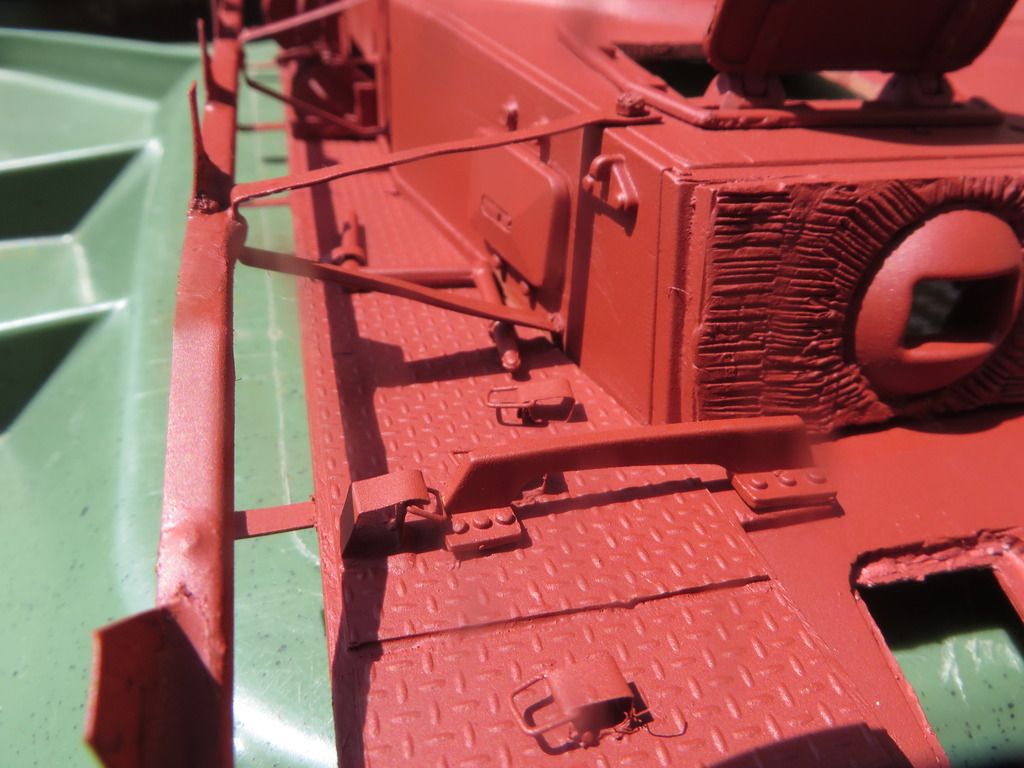
Just need to finish off upper hull bits then on to the turret, I hope to put in servo recoil/elevation so will be doing away with the oversize turret box

Re: Panzer IV Ausf F1 to H Build
Posted: Thu May 28, 2015 8:40 am
by edpanzer
Looking good rob tread plate looks great like you said
Re: Panzer IV Ausf F1 to H Build
Posted: Thu May 28, 2015 9:47 pm
by philipat
I like it!
I used magnets on mine as well. The front required a magnet on the upper and lower hull to get enough pull to mate the halves. I used nails (nail heads really) for the mid and rear portions on the upper hull with magnets in the lower hull.
Re: Panzer IV Ausf F1 to H Build
Posted: Tue Jun 16, 2015 1:33 pm
by HERMAN BIX
Wow !!
The Schurzen mounts are perfect, what a different H/L its become.
Credit where its due Mr Rob, the build on this "German Sherman" (workhorse of the tank units) is brilliant.
Any developments recently ?
Re: Panzer IV Ausf F1 to H Build
Posted: Tue Jun 16, 2015 11:36 pm
by KTRob
edpanzer wrote:Looking good rob tread plate looks great like you said
Thanks Ed, I was quite surprised at how good it looked.
philipat wrote:I like it!
I used magnets on mine as well. The front required a magnet on the upper and lower hull to get enough pull to mate the halves. I used nails (nail heads really) for the mid and rear portions on the upper hull with magnets in the lower hull.
Thanks philipat, I still have some work to do on the upper and lower, which will include adding magnets. I realised after putting the schurzen hangers on I would want to get at the battery from the top so will chop the top out of the battery box.
HERMAN BIX wrote:Wow !!
The Schurzen mounts are perfect, what a different H/L its become.
Credit where its due Mr Rob, the build on this "German Sherman" (workhorse of the tank units) is brilliant.
Any developments recently ?
Thanks Herman, I have been doing bits and pieces on the build, standby for pics
Re: Panzer IV Ausf F1 to H Build
Posted: Tue Jun 16, 2015 11:49 pm
by KTRob
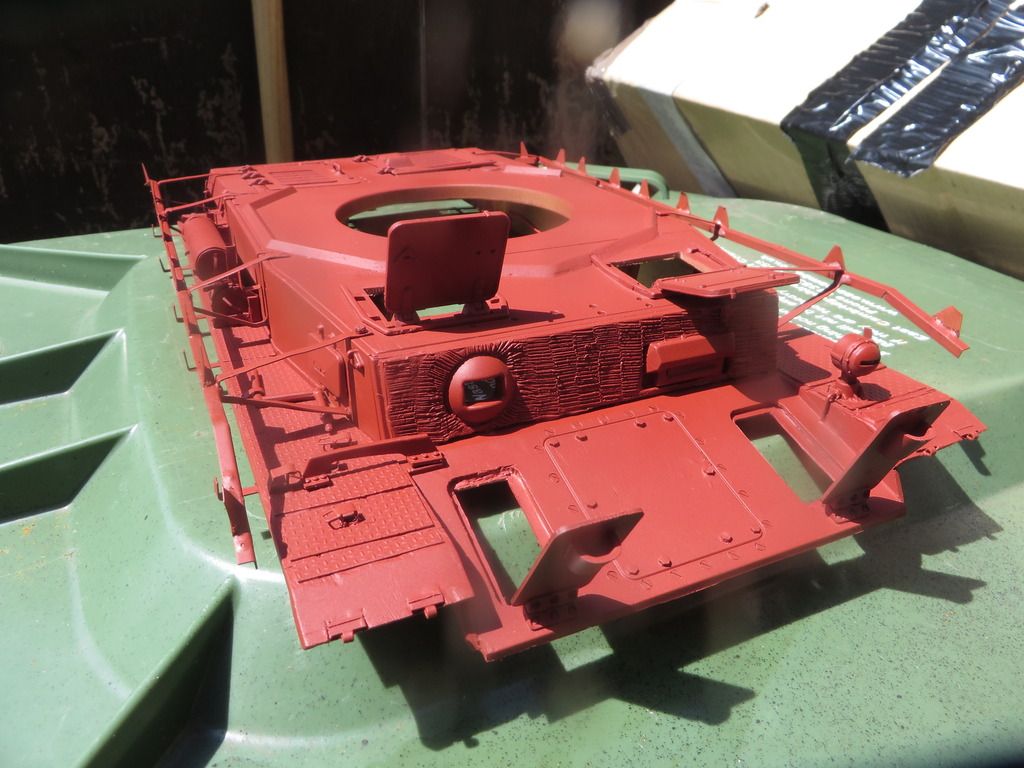
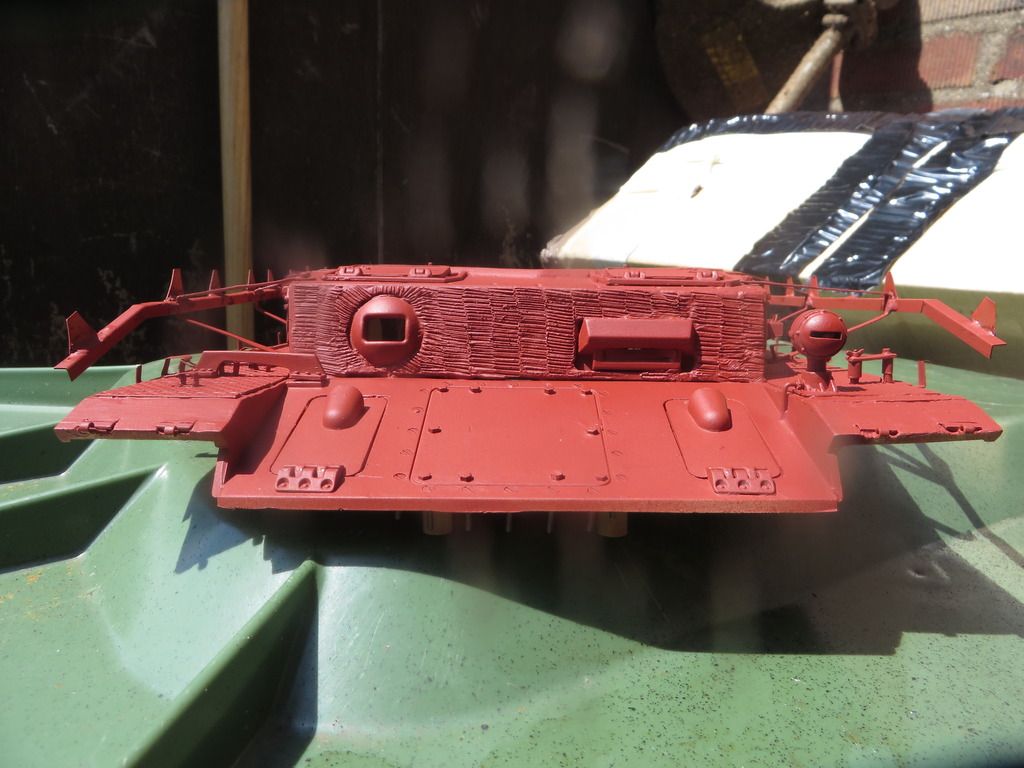
I added the front track holders, modelled on philipats excellent example, also added the spare wheel box on the fender and the last tool clamps etc.
Followed up by a coat of the base colour:
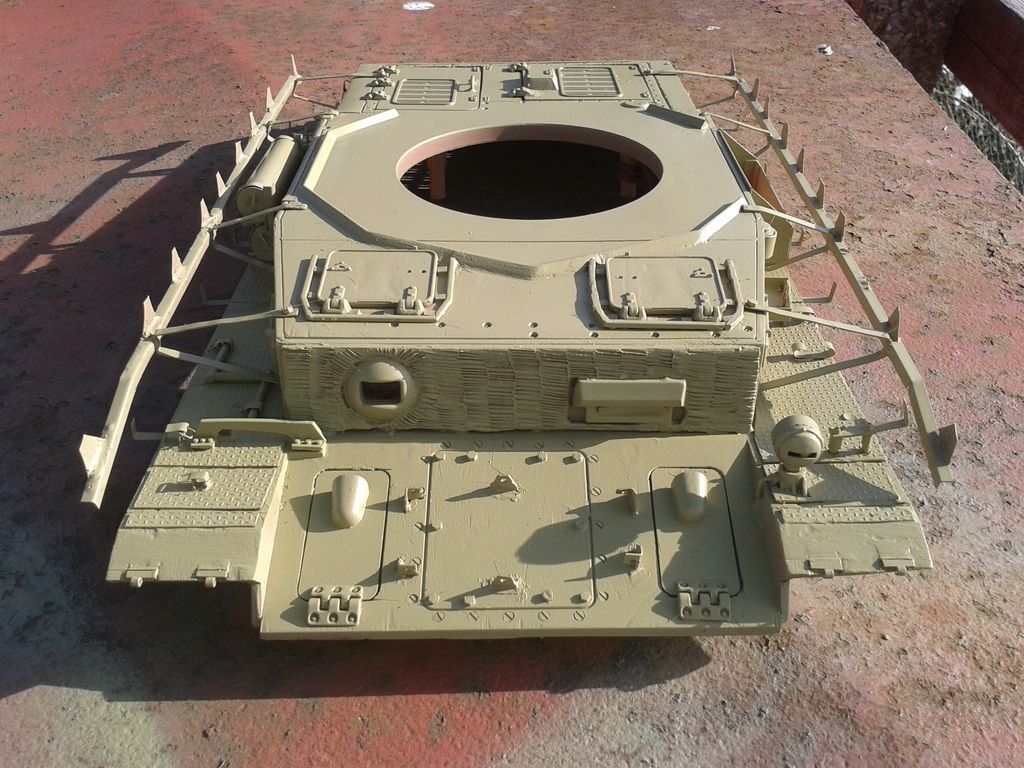
A side effect of the painting was the inside of the hatches being primer colour, I believe the later panzers were left primer colour inside rather than ivory. I quite like the effect:
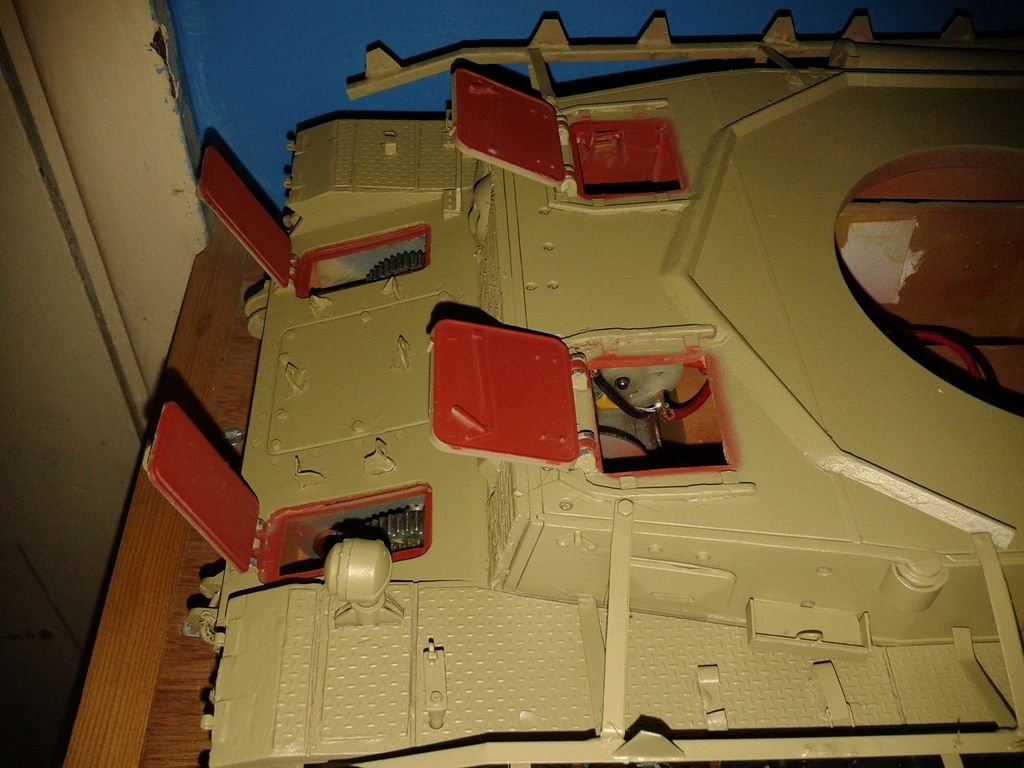
I need to add the antenna mount in the rear left corner, and also sort out the bow machine gun.
I started work on the turret, I am going servo recoil, and decided to use a broken taigen/asiatam recoil as a frame for this and keep the elevation (more pics to follow).
First job was to chop off the rear box and rebuild the back of the turret:
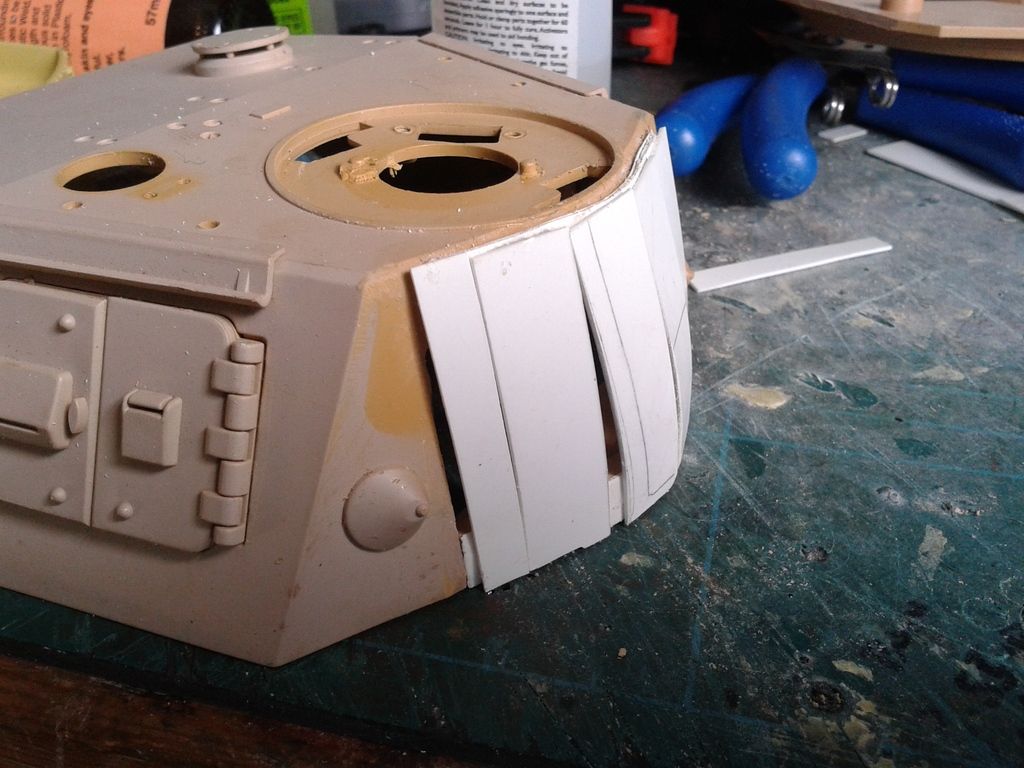
After a lot of filling and sanding, a quick check to see how the asiatam Rommel box fits:
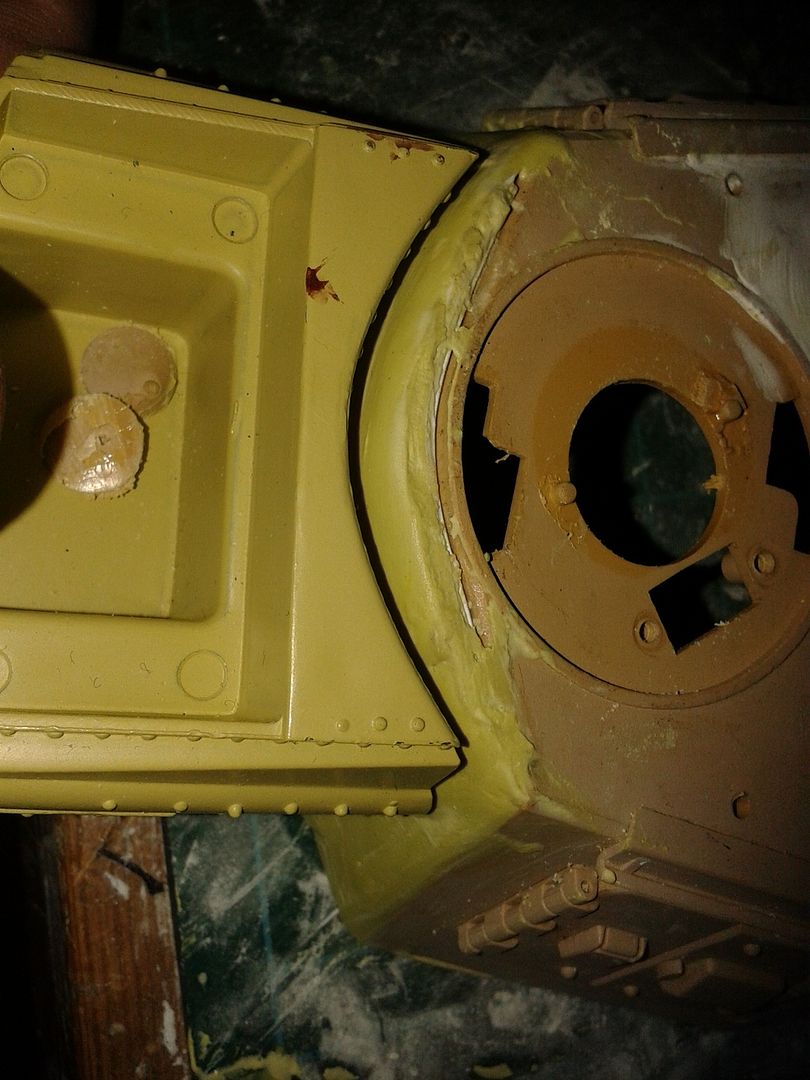
I have rigged up a recoil servo for testing, will upload some more pics later
Re: Panzer IV Ausf F1 to H Build
Posted: Wed Jun 17, 2015 3:22 am
by edpanzer
Looking great rob
Re: Panzer IV Ausf F1 to H Build
Posted: Wed Jun 17, 2015 10:01 am
by philipat
That looks awesome! I'm glad the design for the track holders worked out.
Are those tool holders PE? They look great.
If you're putting in a working bow machine gun complete with LED, I used waistband elastic. I installed the Tank Modellbau MG and it has the wires out the back. So, it doesn't work with HL's non-functioning setup. So, I glued the ball mount to the gun and took a 2-4" length of elastic and glued it across the plastic hull to hold the gun in place. It works because the elastic is the waistband elastic used in children's clothing. So, it has button holes already cut and stitched into it for adjusting a kid's waistband. The wiring goes through the hole and the rest of the elastic sits against the flat of the ball mount to hold it in place.
Re: Panzer IV Ausf F1 to H Build
Posted: Mon Jun 29, 2015 11:20 am
by edpanzer
Any more updates Rob???
Re: Panzer IV Ausf F1 to H Build
Posted: Tue Jun 30, 2015 12:22 am
by KTRob
edpanzer wrote:Looking great rob
Thanks Ed
philipat wrote:That looks awesome! I'm glad the design for the track holders worked out.
Are those tool holders PE? They look great.
If you're putting in a working bow machine gun complete with LED, I used waistband elastic. I installed the Tank Modellbau MG and it has the wires out the back. So, it doesn't work with HL's non-functioning setup. So, I glued the ball mount to the gun and took a 2-4" length of elastic and glued it across the plastic hull to hold the gun in place. It works because the elastic is the waistband elastic used in children's clothing. So, it has button holes already cut and stitched into it for adjusting a kid's waistband. The wiring goes through the hole and the rest of the elastic sits against the flat of the ball mount to hold it in place.
Thanks Philipat, the tool holders are home made apart from the one by the headlamp, which from a pair of Mato Tiger C Hook holders.
Thanks for the tip re the MG, will have to visit the local craft shop for some elastic
edpanzer wrote:Any more updates Rob???
Hi Ed, yes got some more done:


