Page 2 of 19
Re: Late Tiger 1 build 1/6 Armortek
Posted: Sat Feb 05, 2011 3:24 am
by Johnf
Re: Late Tiger 1 build 1/6 Armortek
Posted: Sat Feb 05, 2011 5:33 pm
by [ICE]monkey
looking good mate, yes they are a size
regards, cliff
Re: Late Tiger 1 build 1/6 Armortek
Posted: Sat Feb 12, 2011 11:54 pm
by Johnf
Re: Late Tiger 1 build 1/6 Armortek
Posted: Sat Feb 12, 2011 11:56 pm
by Johnf
Re: Late Tiger 1 build 1/6 Armortek
Posted: Sun Feb 13, 2011 11:55 am
by Johnf
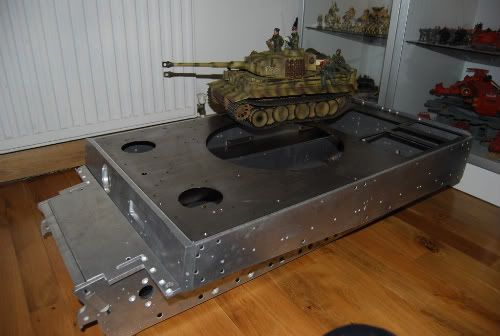
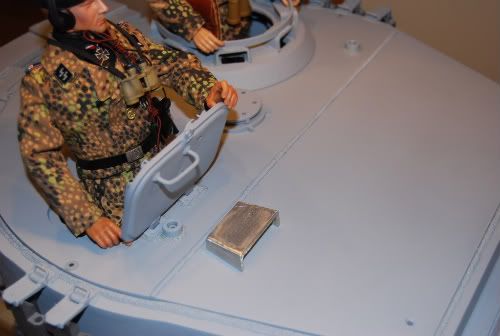
Next stage will be to add some texture to the roof. Also need to source some hex bolts to fit the bin. I will add zimmerit but will leave till much later.
Re: Late Tiger 1 build 1/6 Armortek
Posted: Sun Feb 13, 2011 1:09 pm
by [ICE]monkey
very nice , 1/6 takes alot more time to build dont they
cliff
Re: Late Tiger 1 build 1/6 Armortek
Posted: Sun Feb 13, 2011 5:12 pm
by Johnf
Do'nt even go there. I'm going to reassemble the hull now and see what difference my earlier adjustments have made. If everything fits well I can coar with etch primer and do a final assembly. The wheels and suspension will be a major job. I need to add a lot of additional detail to then wheels.
When you look at the amount of build time you get with one of these models you can consider them good value. This could take a year to complete or enen longer. It's going together nicely. Very pleased with it.
Re: Late Tiger 1 build 1/6 Armortek
Posted: Sun Feb 13, 2011 6:22 pm
by Saxondog
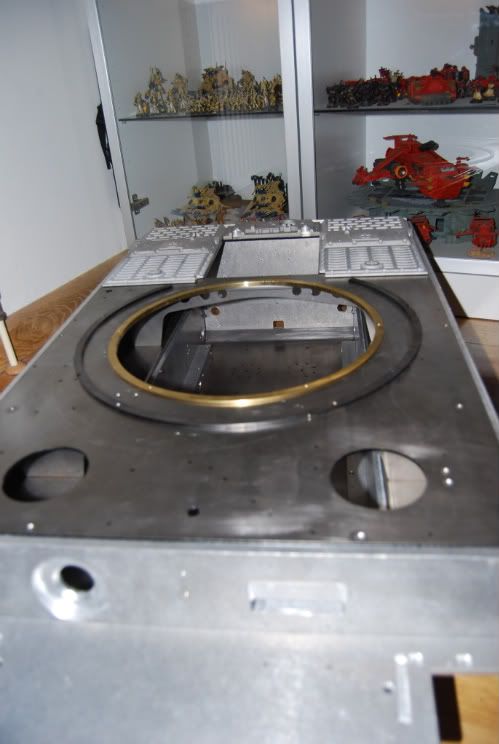
John this may be a little late to ask but the hull assembly,and specifically the top deck assembly. How does this attach to the hull sides? I did not see in the picture a rail inside the hull for this part to sit on, so how does it fit so well?
Sax
Re: Late Tiger 1 build 1/6 Armortek
Posted: Mon Feb 14, 2011 1:35 am
by Johnf
Hi Blake,
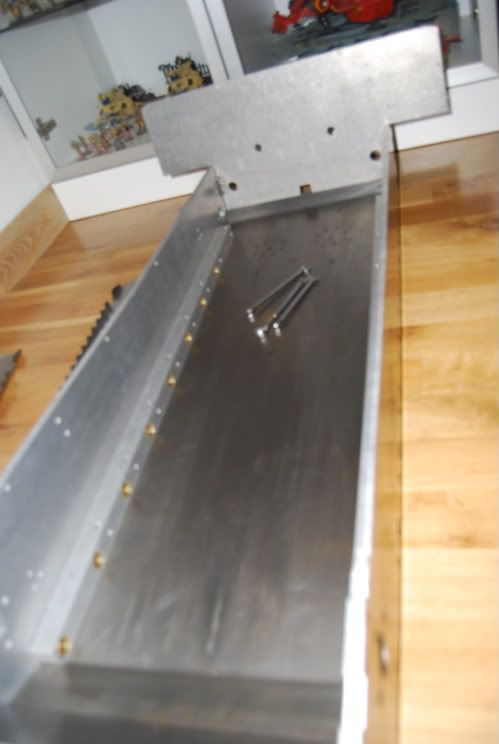
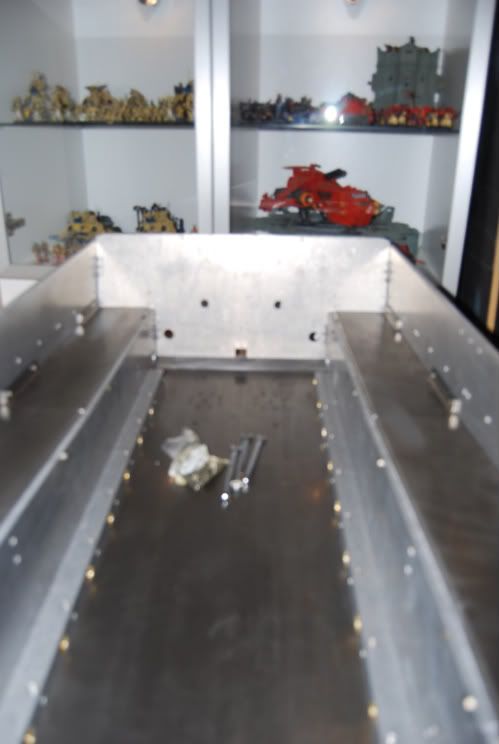
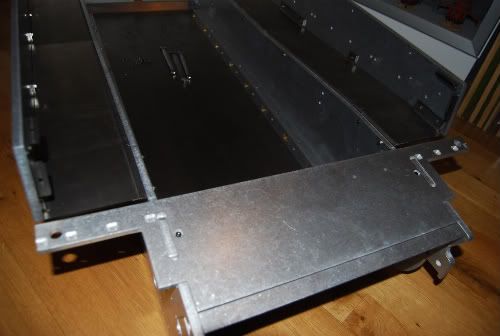
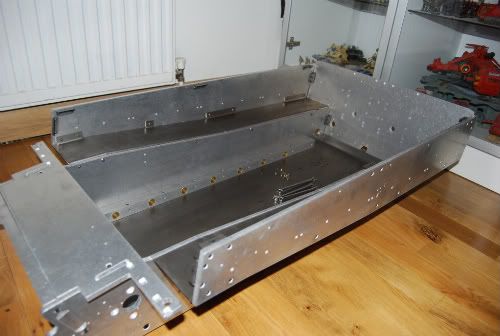
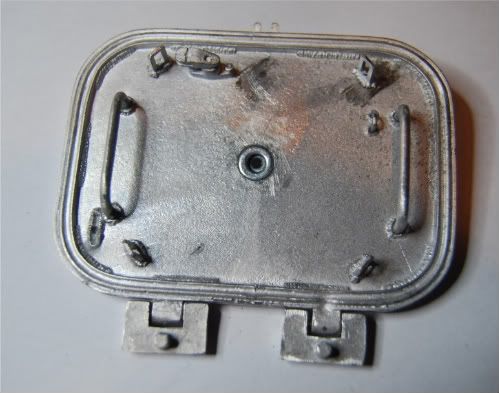
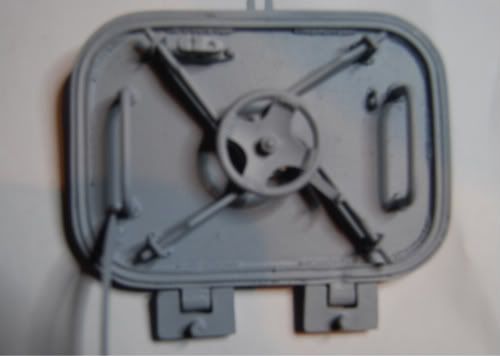
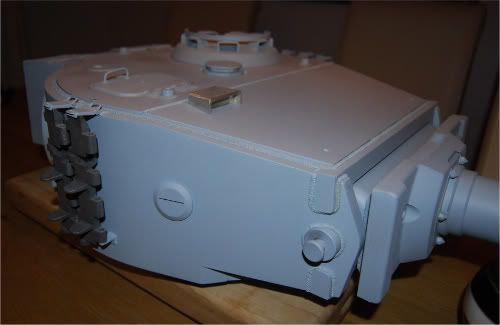
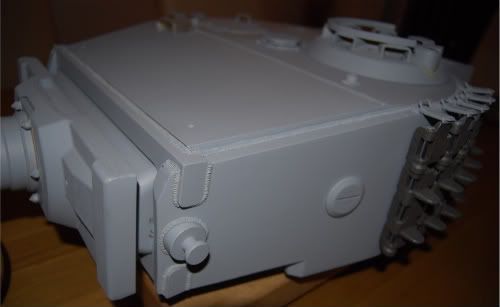
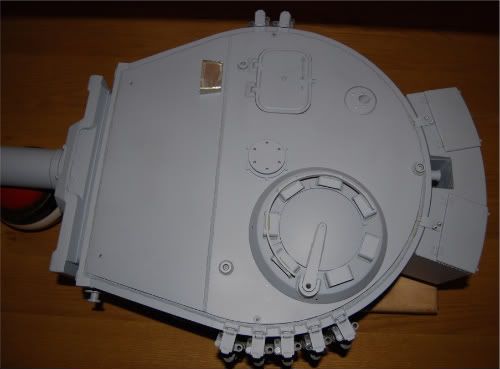
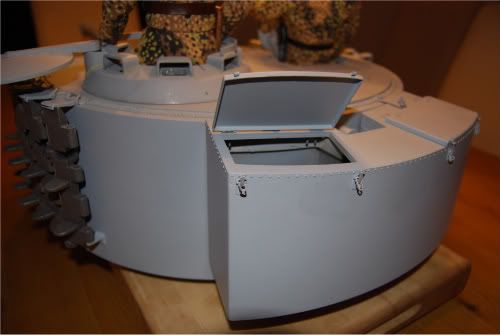
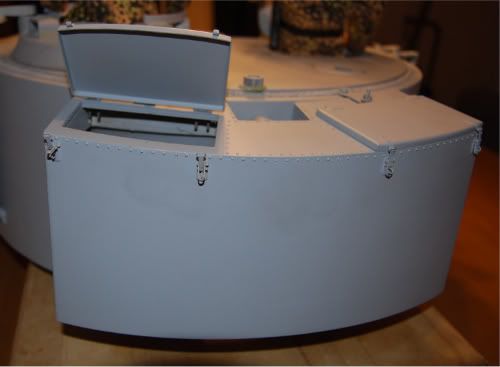
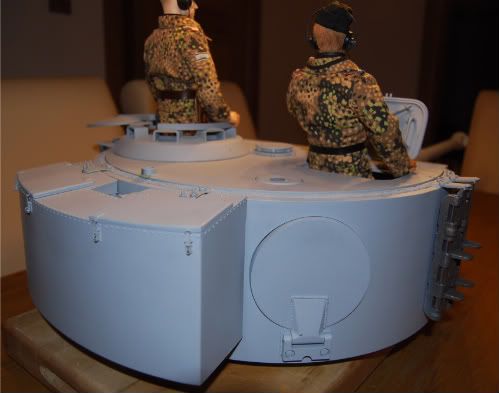
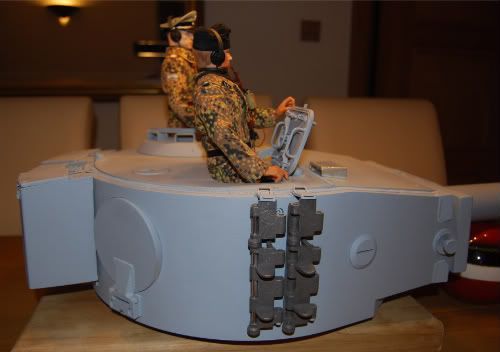
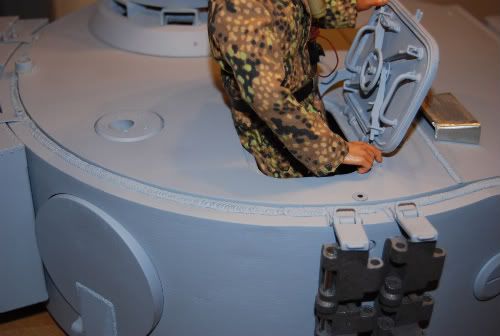
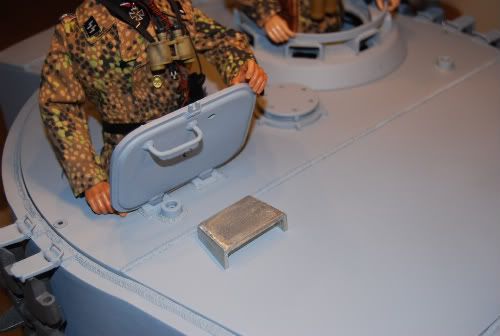
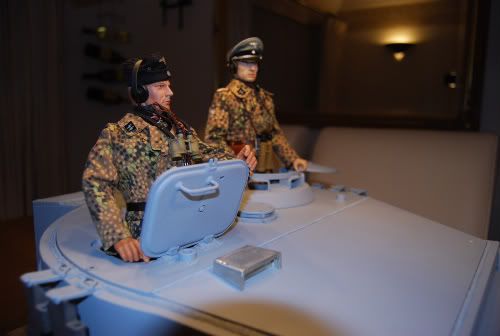
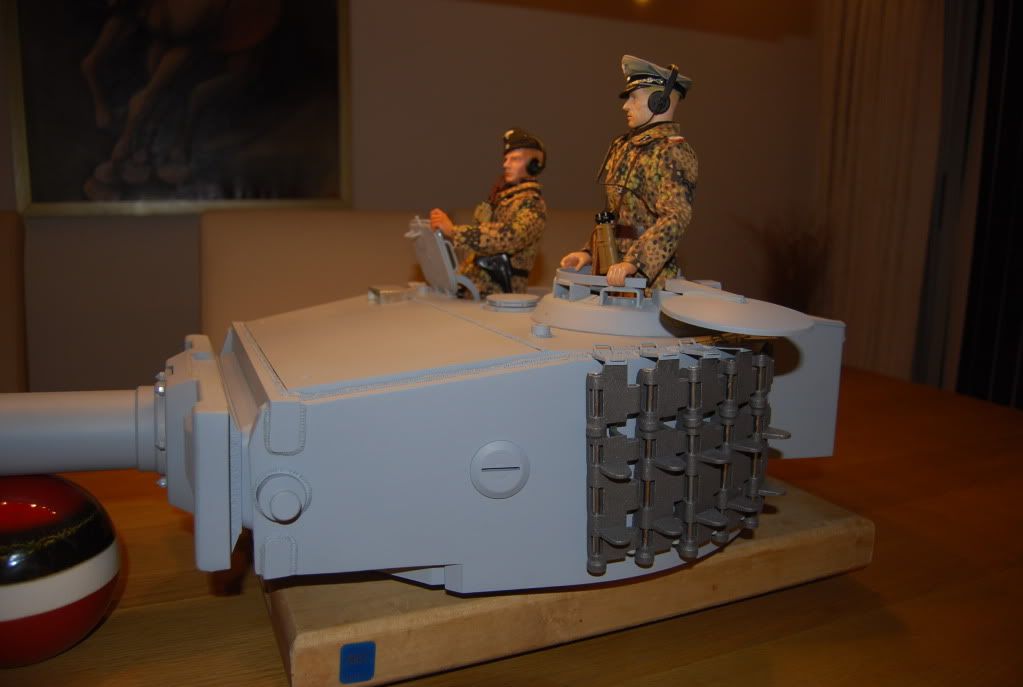
The top deck is suported in the hull by L brackets fitted to sides front glacis plate and rear plate. In some of the photos you can see the side brackets but the rear and front were not fitted in the photos. The deck is attached to the brackets tith countersunk screws. I will not use this method and will fill the screw holes. I will hold the deck in place mainly with magnets. I have also somthing in mind to hold more secure without visible screws but easier to show when complete than try to put in words. There are also 2 large sturdy bulkheads from left to right which will help support the turret. The rurret is really heavy now. By the time the elevation motor and blank firer go in I will no lonker be able to carry it without help.
The building of the hull was just a dry run. Currently stripped down again. I have modified some parts for better fit and can take photos of any parts you would like to see. Tonight I was countersinking the bolts om the bottom of the hull so that I can have a smooth bottom. I mean the tanks bottom,not mine. I'm finding I need to replace some of the fasteners as the ones supplied either look wrong or are not scale.
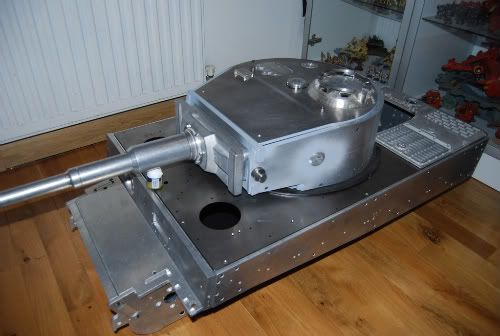
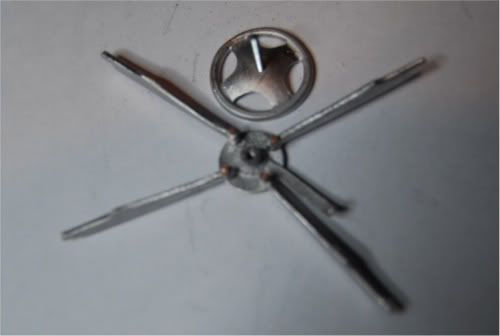
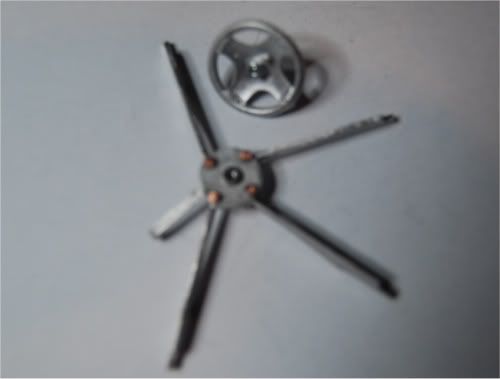
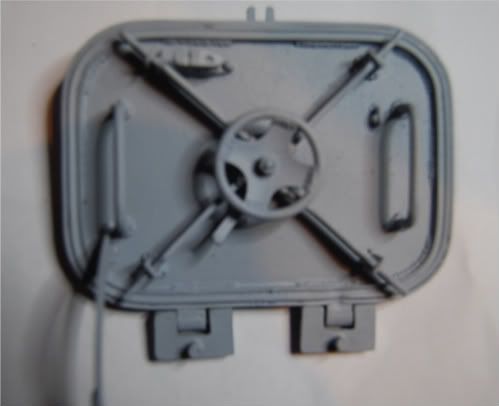
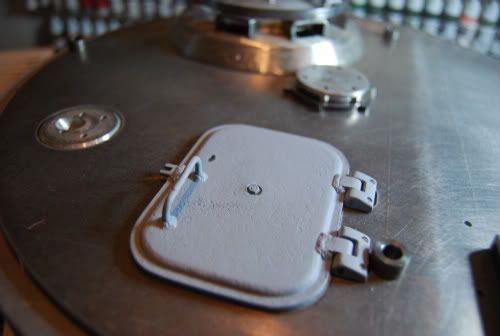
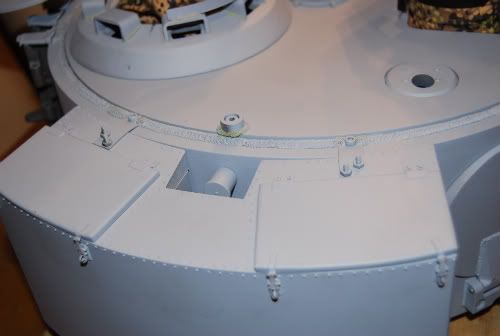
The turret roof is posing similar removal problems to the hull. Two brackets on the gun support. Two at the side and one at the rear. Roof is screwed on at each position. I do'nt want to see screw heads on yje roof and need to be able to remove the roof. I intend to fit some form of invisiblt catches at the front magnets at the side but can keep the rear catch as it is as the screw is a hex cap screw nicely hidden inside the rear turret lug.
Re: Late Tiger 1 build 1/6 Armortek
Posted: Mon Feb 14, 2011 6:21 pm
by raven
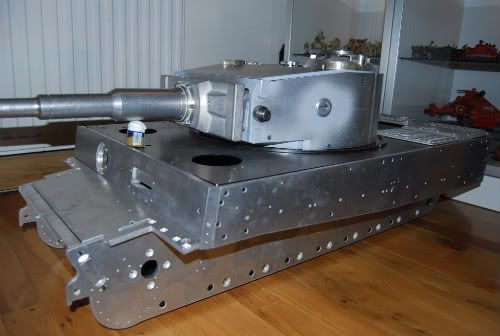
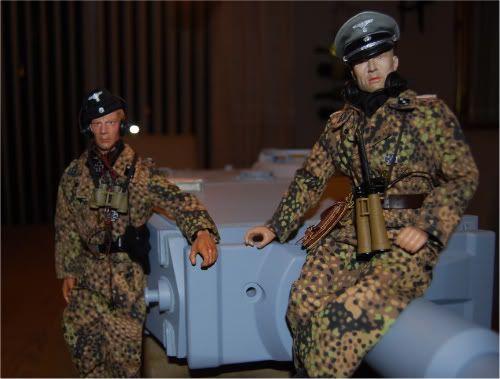
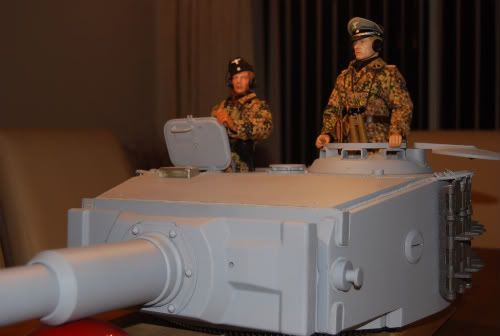
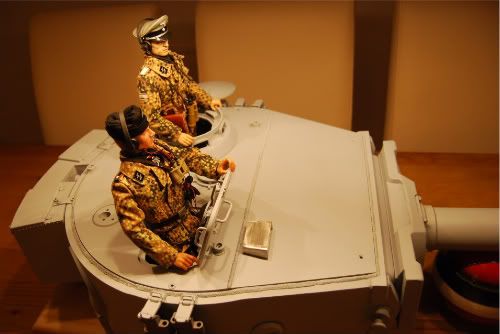
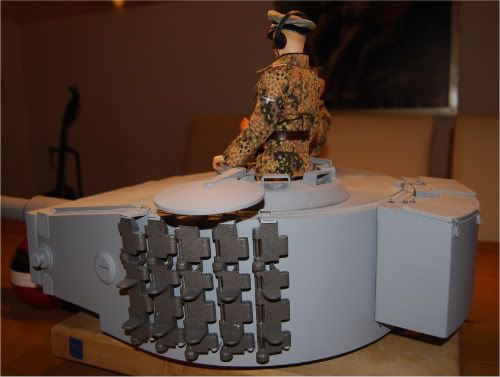
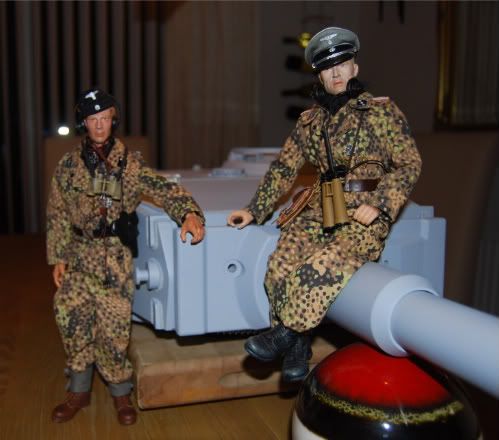
boy that is a big tiger you have there john must have cost a fortune and the figures look great with it your one lucky guy
chris