Page 2 of 5
Re: M7B1 Priest
Posted: Thu Mar 10, 2022 11:18 pm
by Ecam
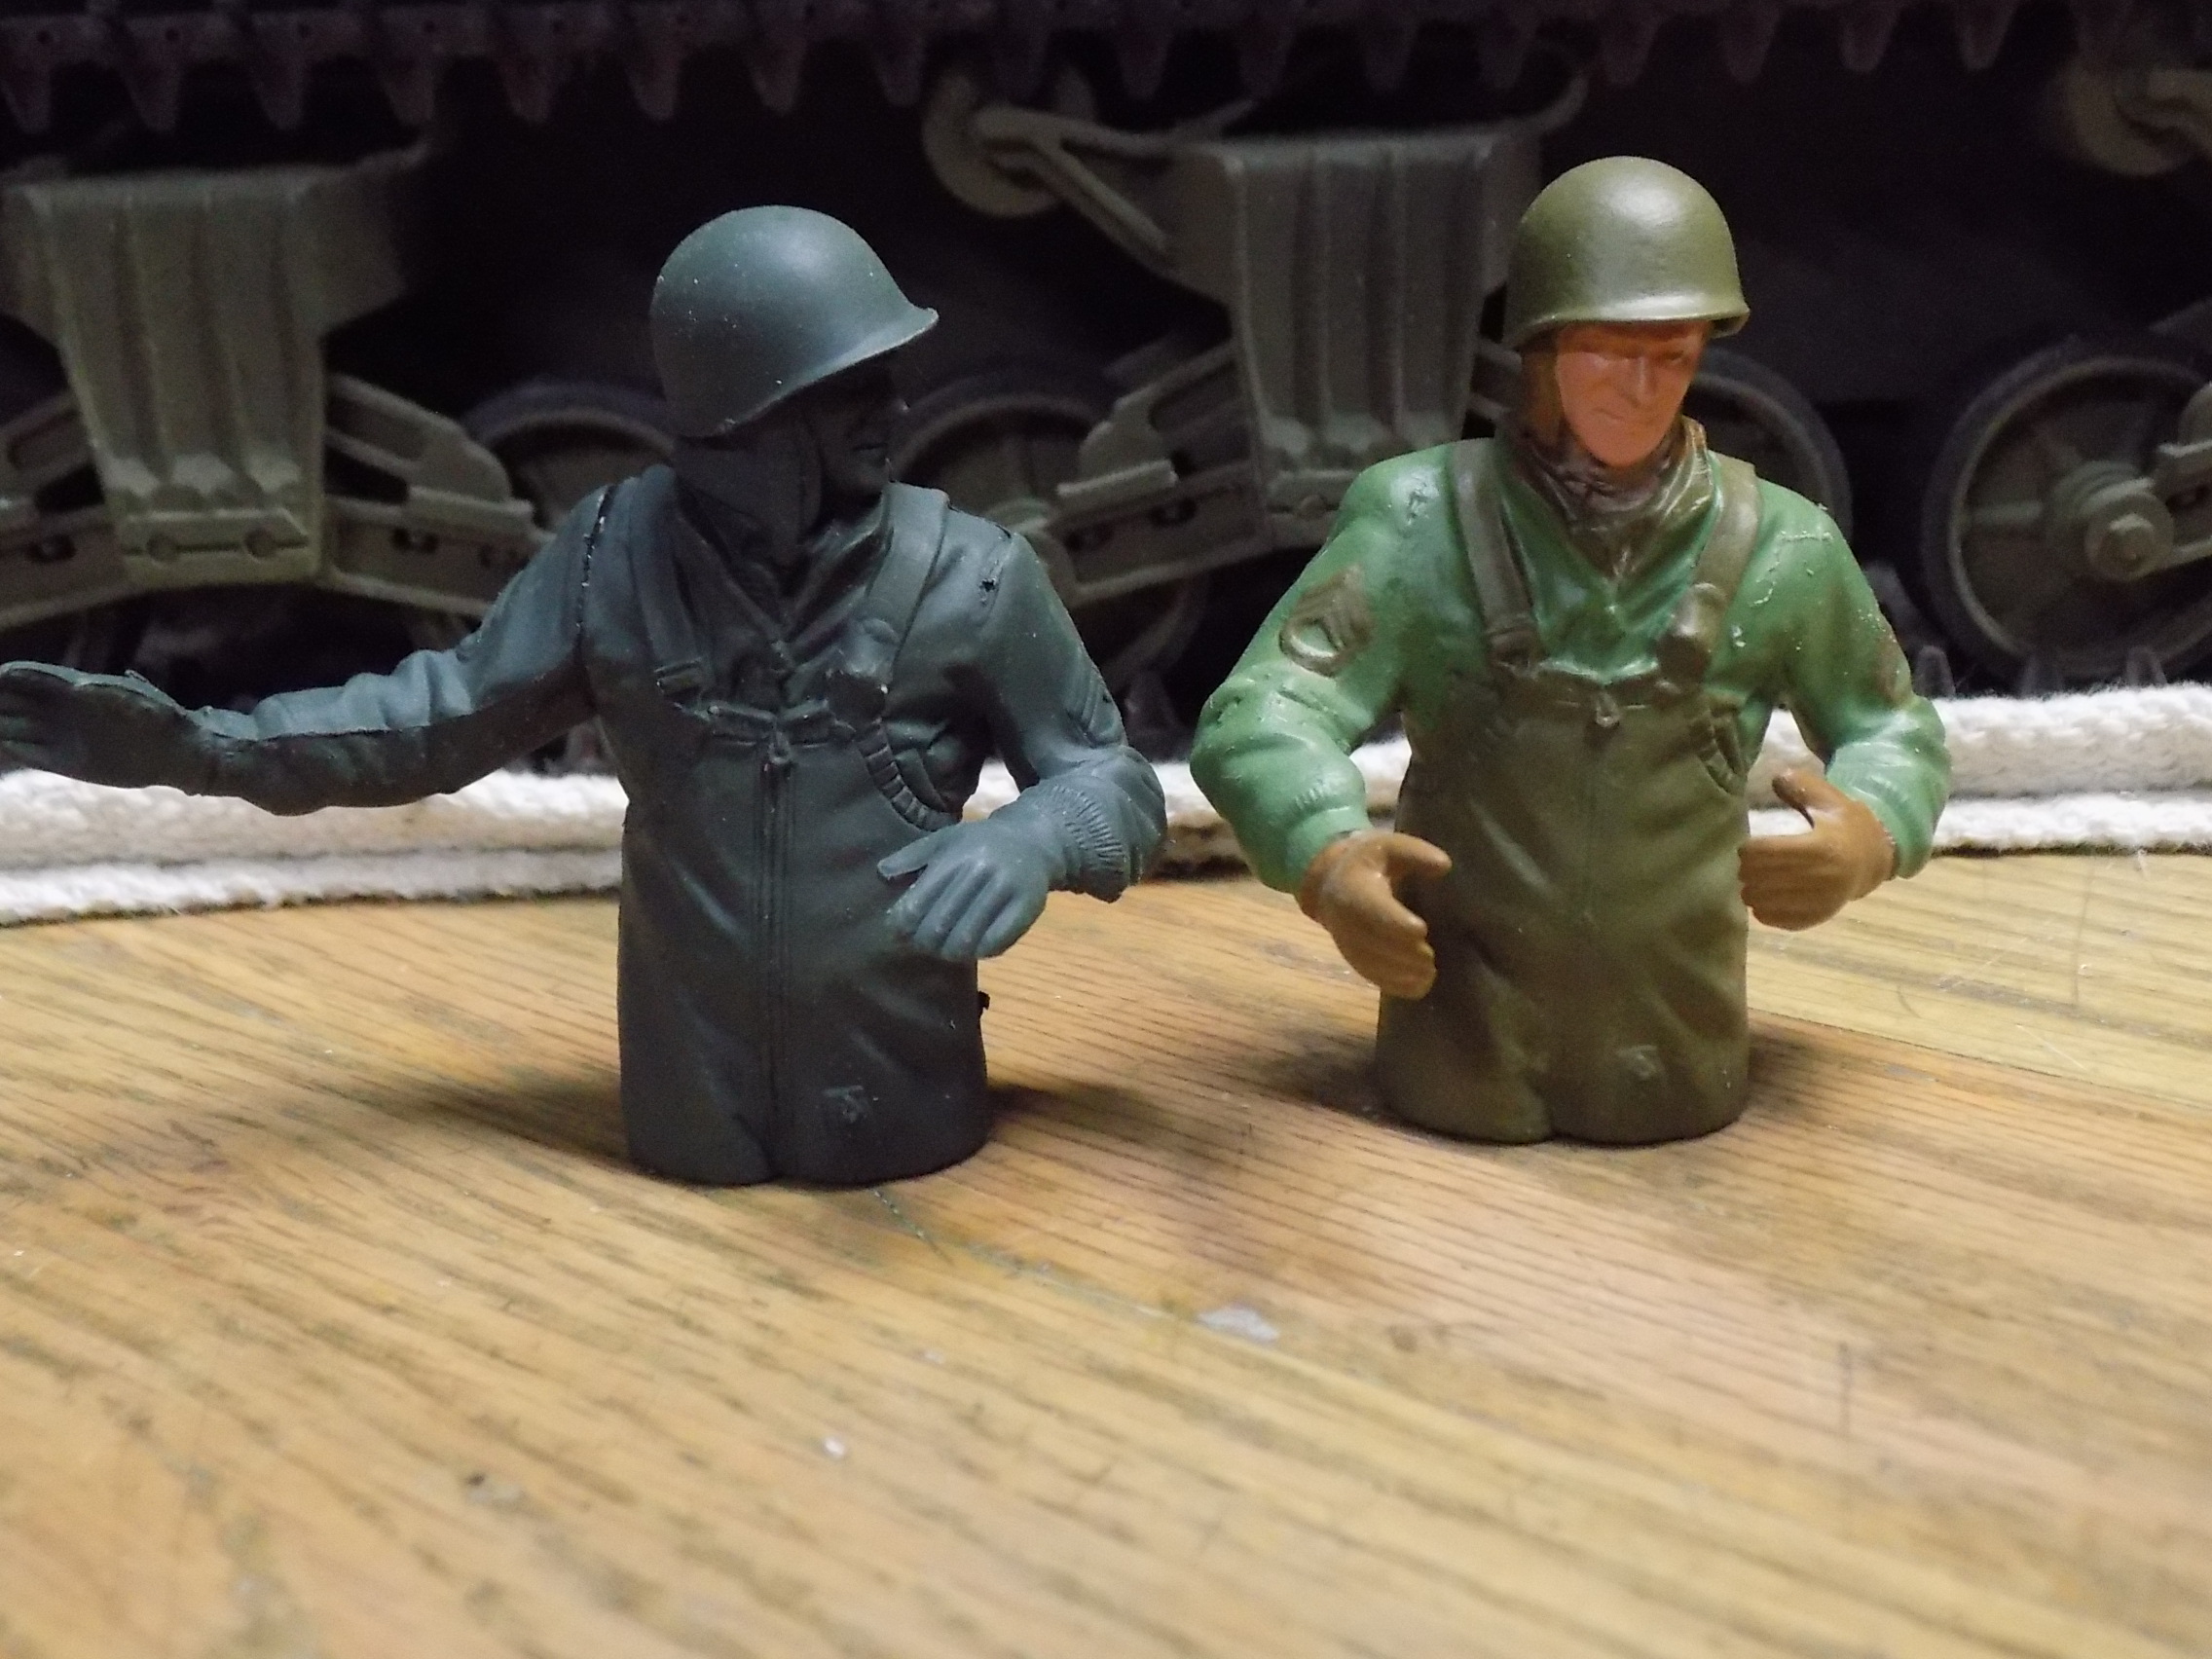
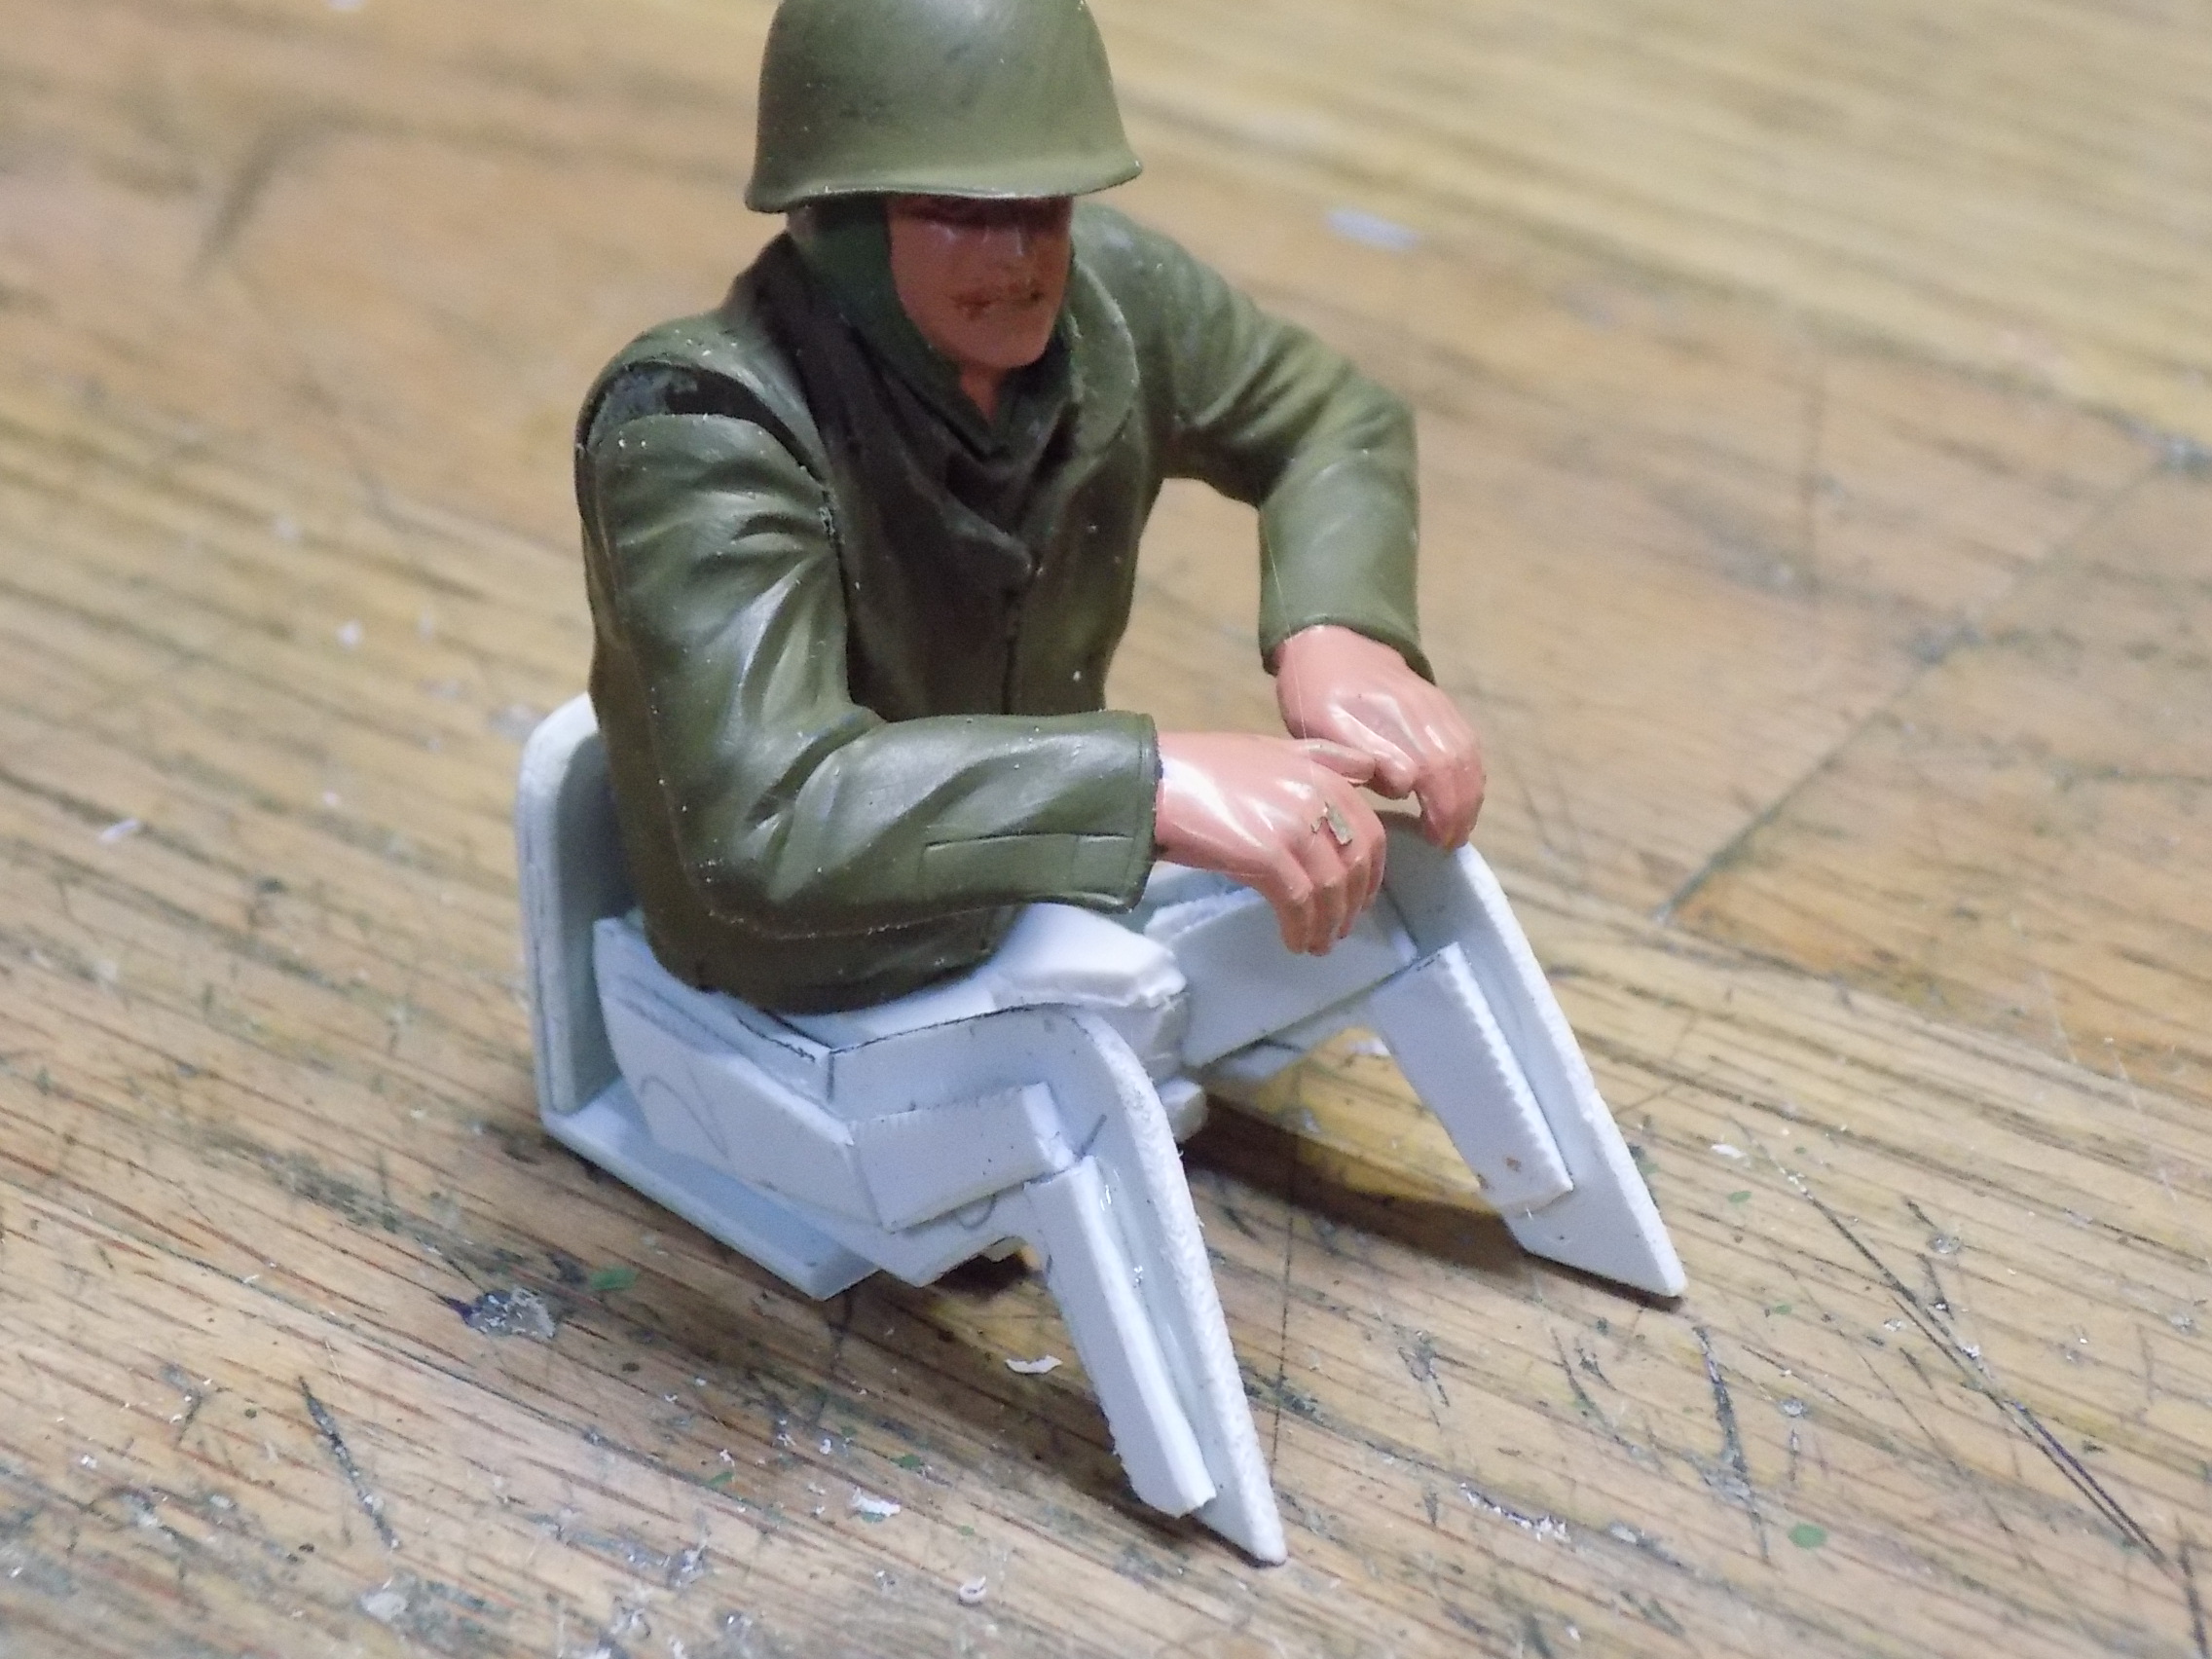
Yesterday it was time to work on a driver. This is my first attempt to work on or even paint a figure.
This is my version of Crazy Joe (dedicated to PainlessWolf). It took two, one for the head and the other for the torso, some grinding/filing (plastic surgery) and Presto Joe.
- 41.JPG (937.34 KiB) Viewed 18 times
Joe ended up being too tall so I worked on another.
- 43.JPG (996.65 KiB) Viewed 18 times
These were from the Tamiya kits. His arms are from the Tammy Tiger I kit.
- 42.JPG (962.5 KiB) Viewed 18 times
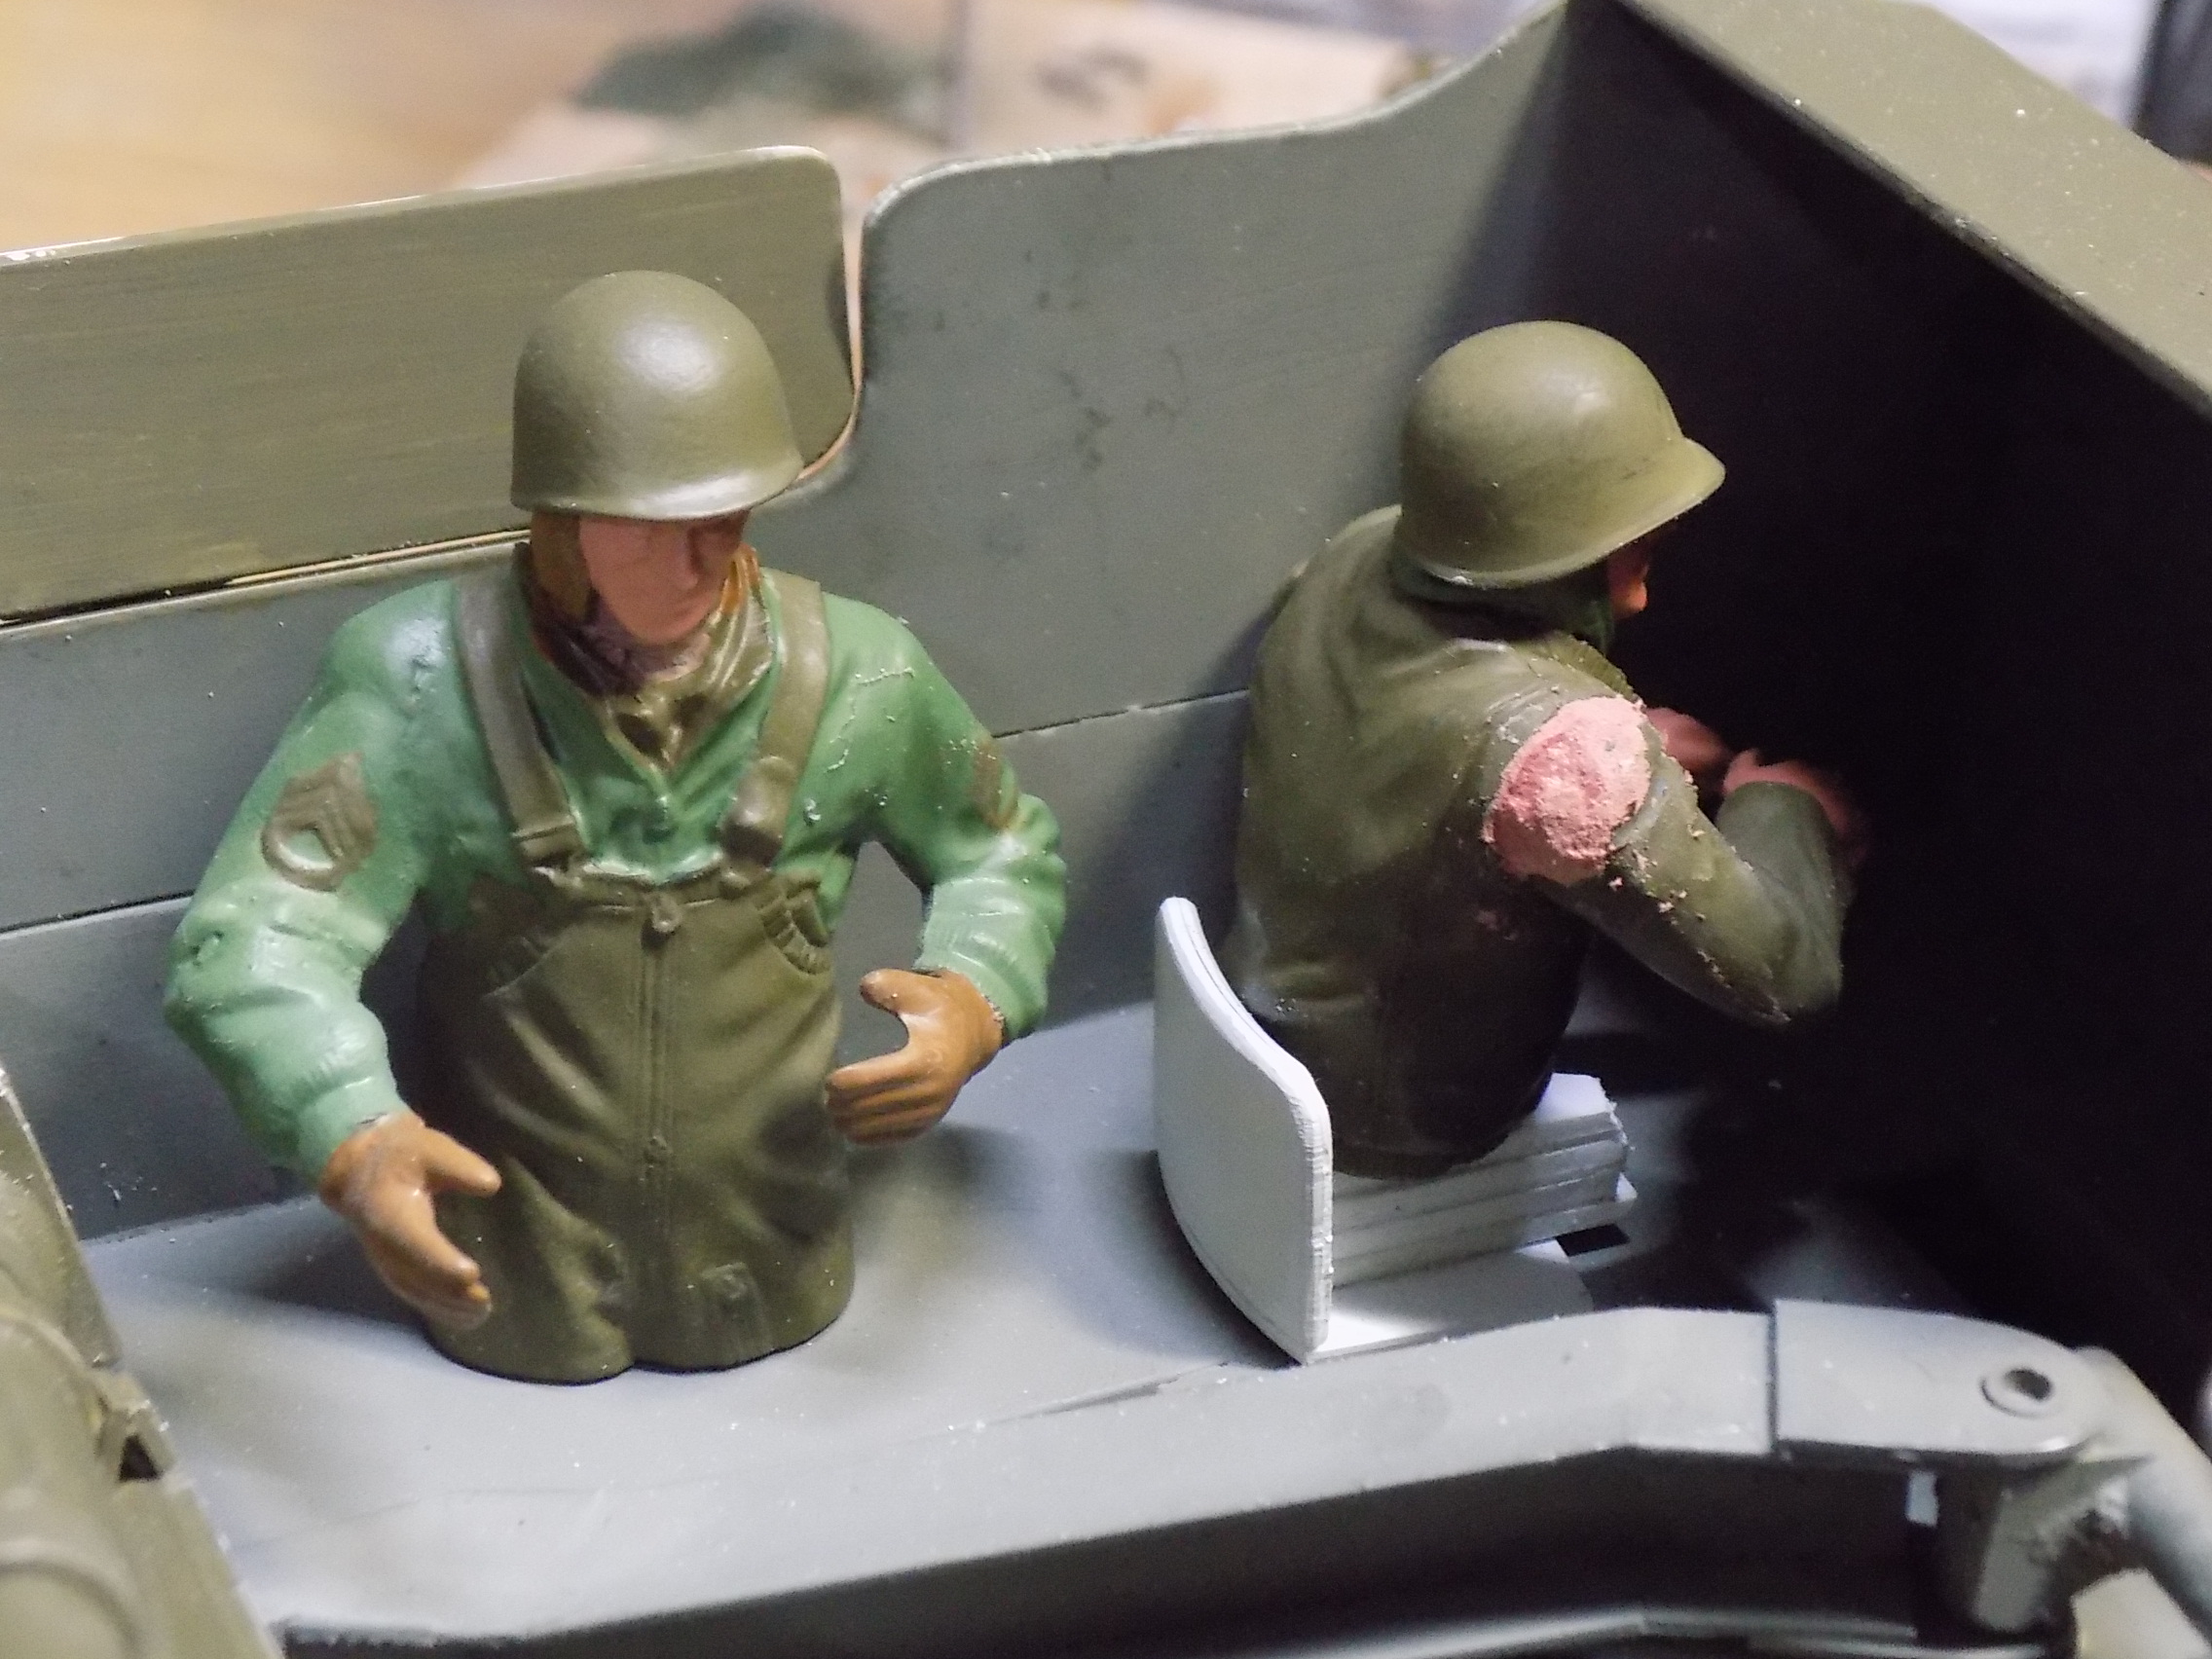
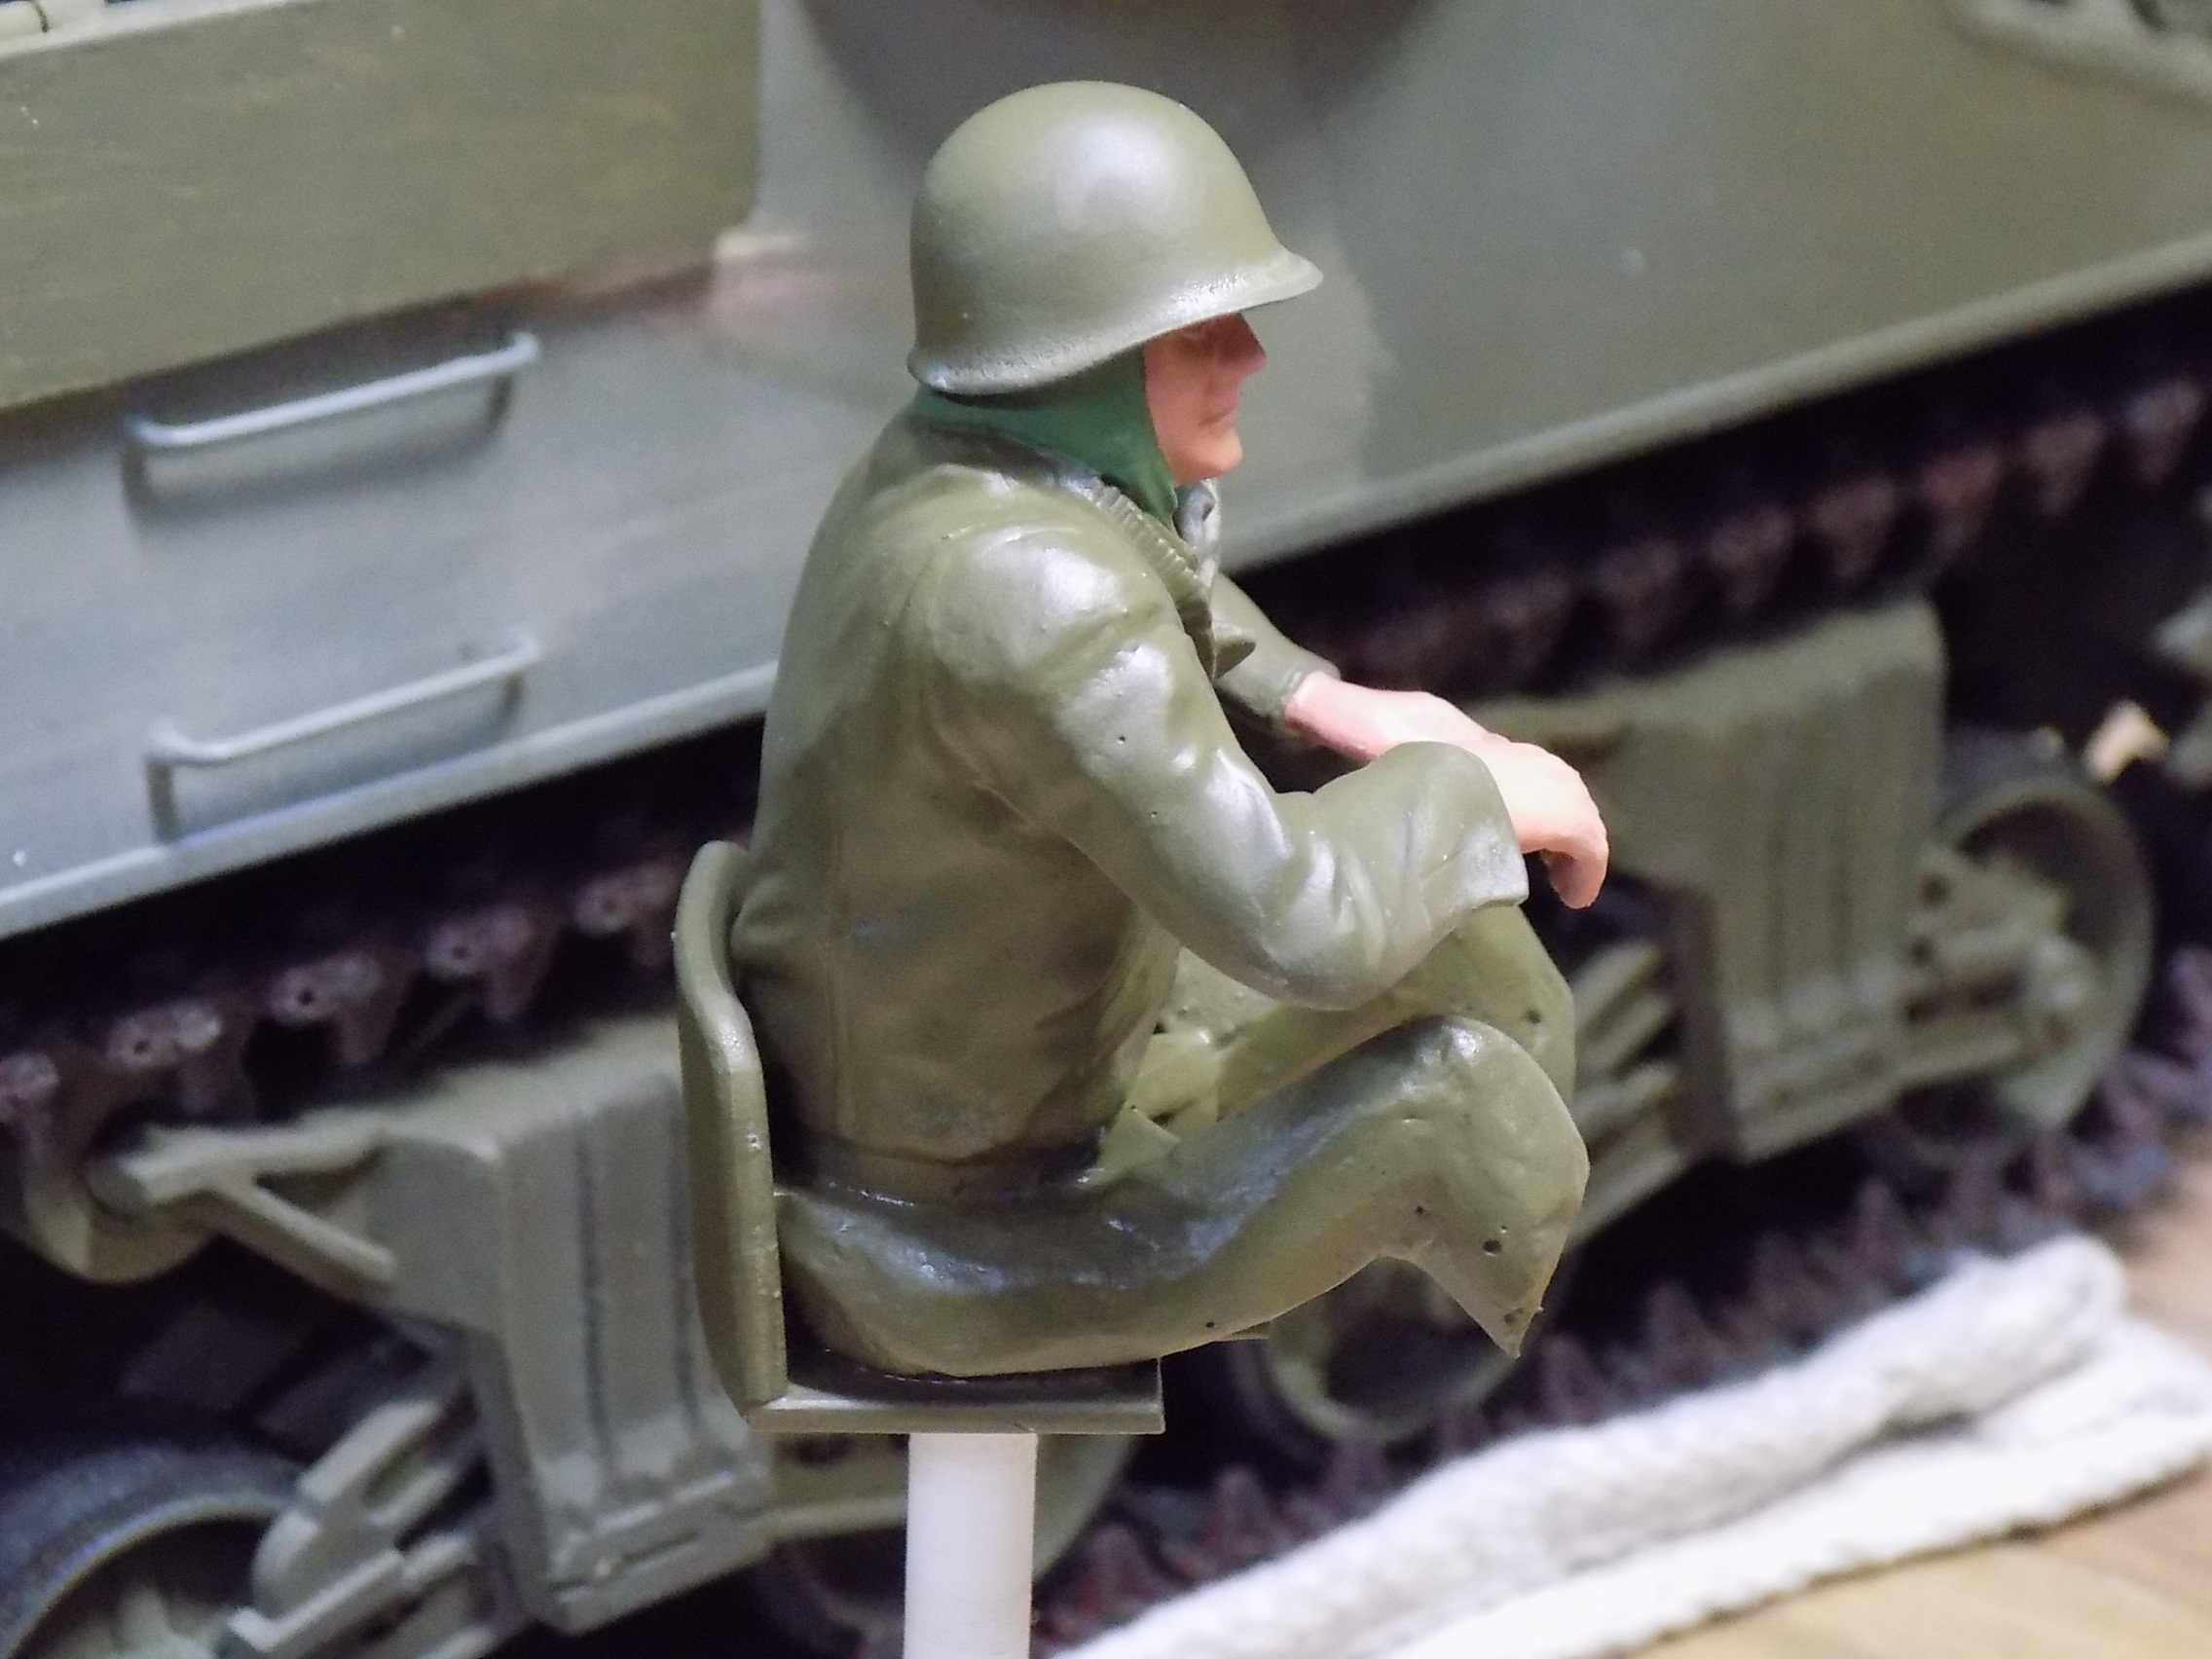
He needed a lower half as he can be partially seen.
- 44.JPG (974.02 KiB) Viewed 18 times
- 45.JPG (969.36 KiB) Viewed 18 times
I thought I took a picture but it wasn't on the card when I looked. Filled the "skeleton" with Bondo and sculped it a bit.
- 46.JPG (979.95 KiB) Viewed 18 times
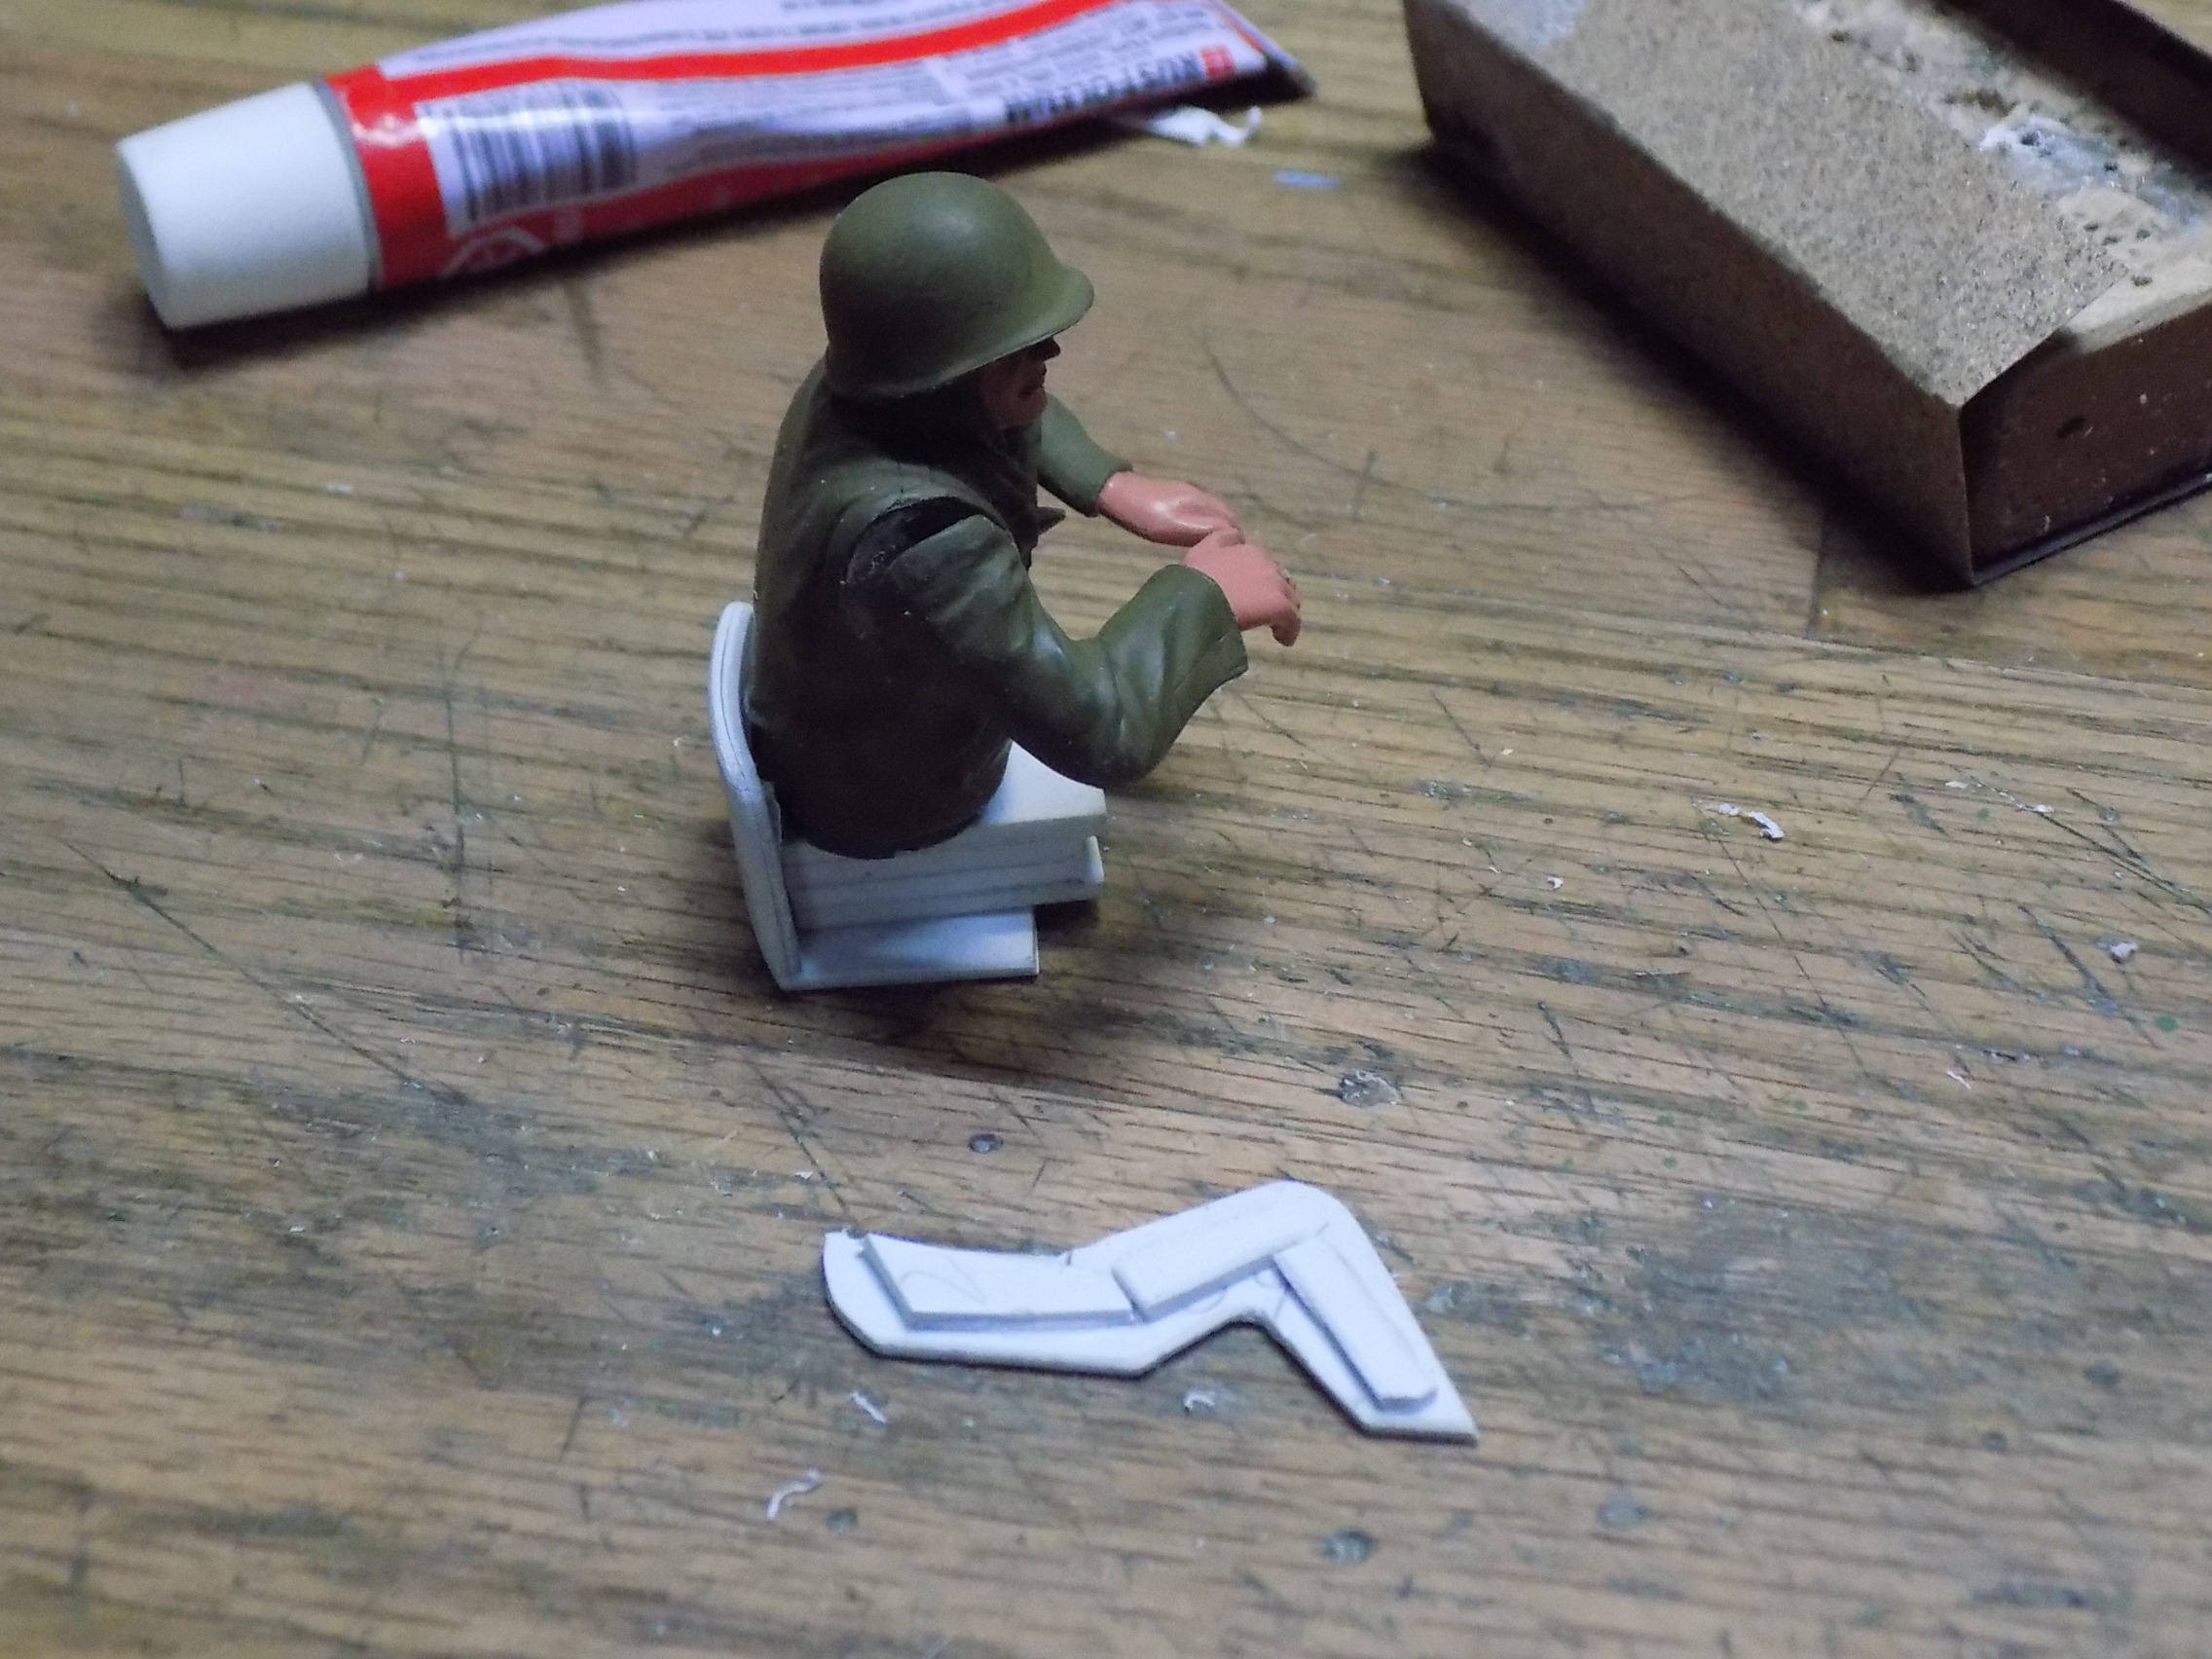
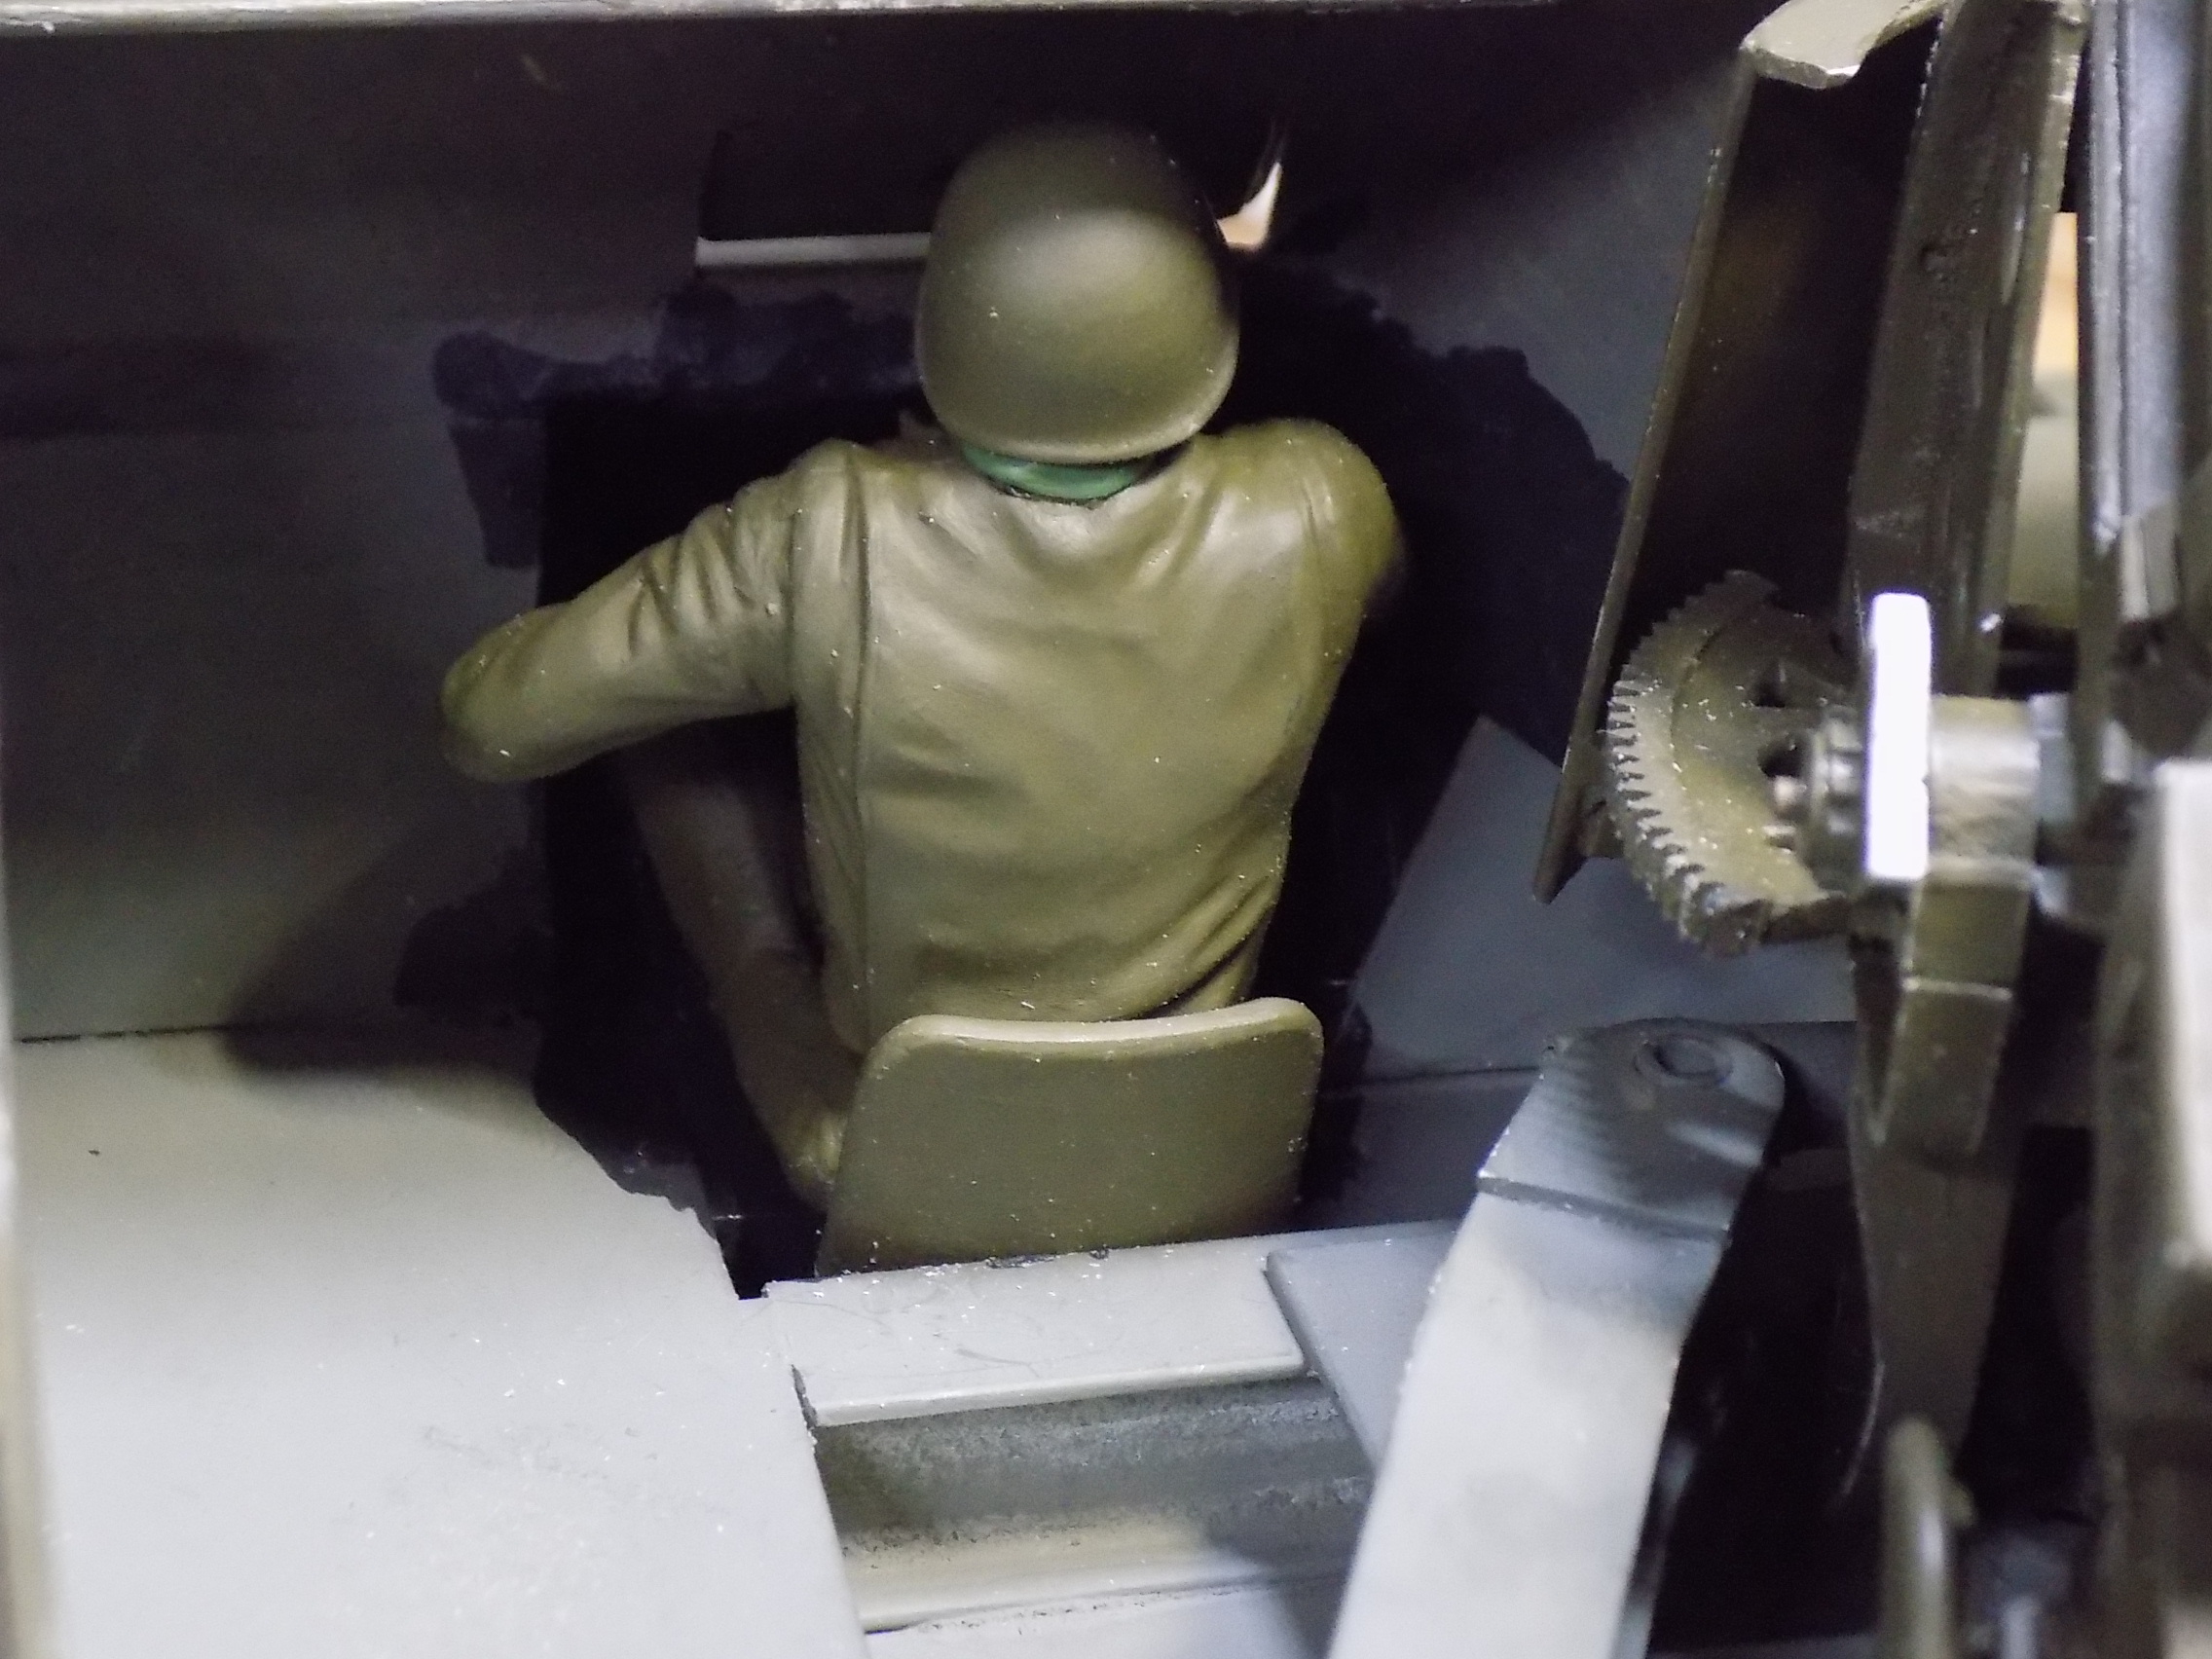
Ended up modifying the front of my inner hull to get him in a reasonable position.
- 49.JPG (1 MiB) Viewed 18 times
Re: M7B1 Priest
Posted: Thu Mar 10, 2022 11:31 pm
by Ecam
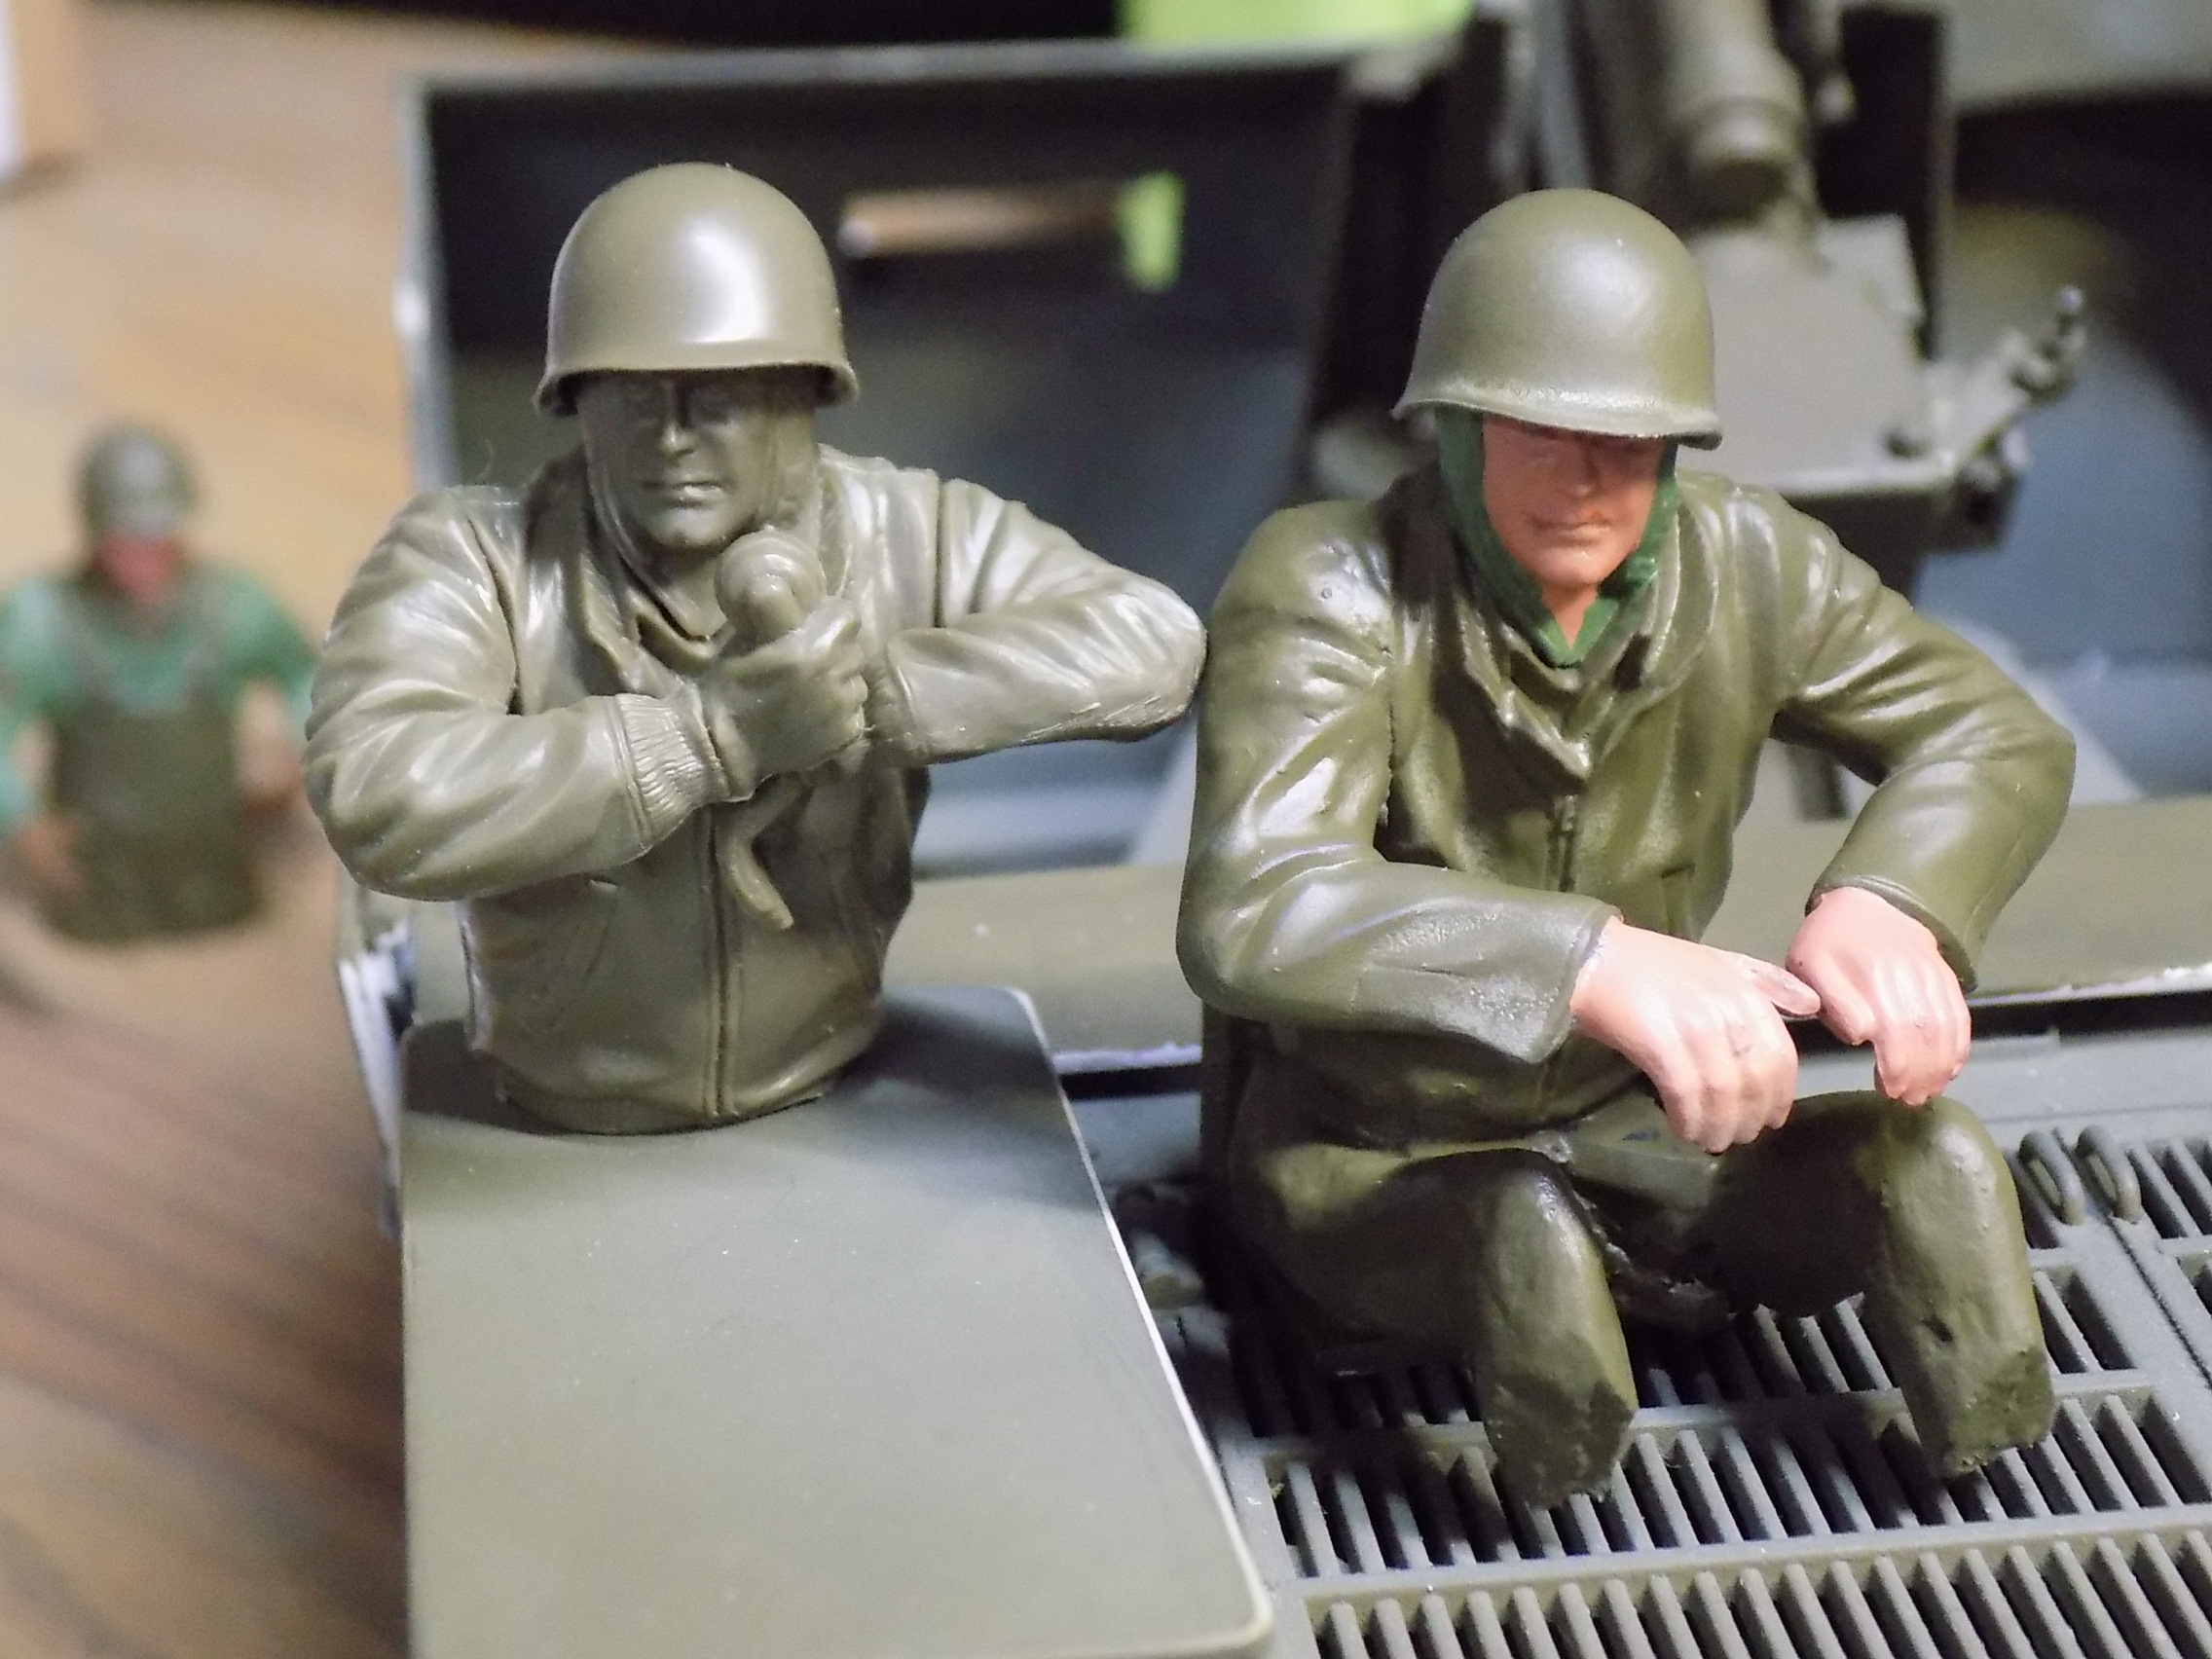
Today's work, the dashboard and the traverse mechanism on the 105.
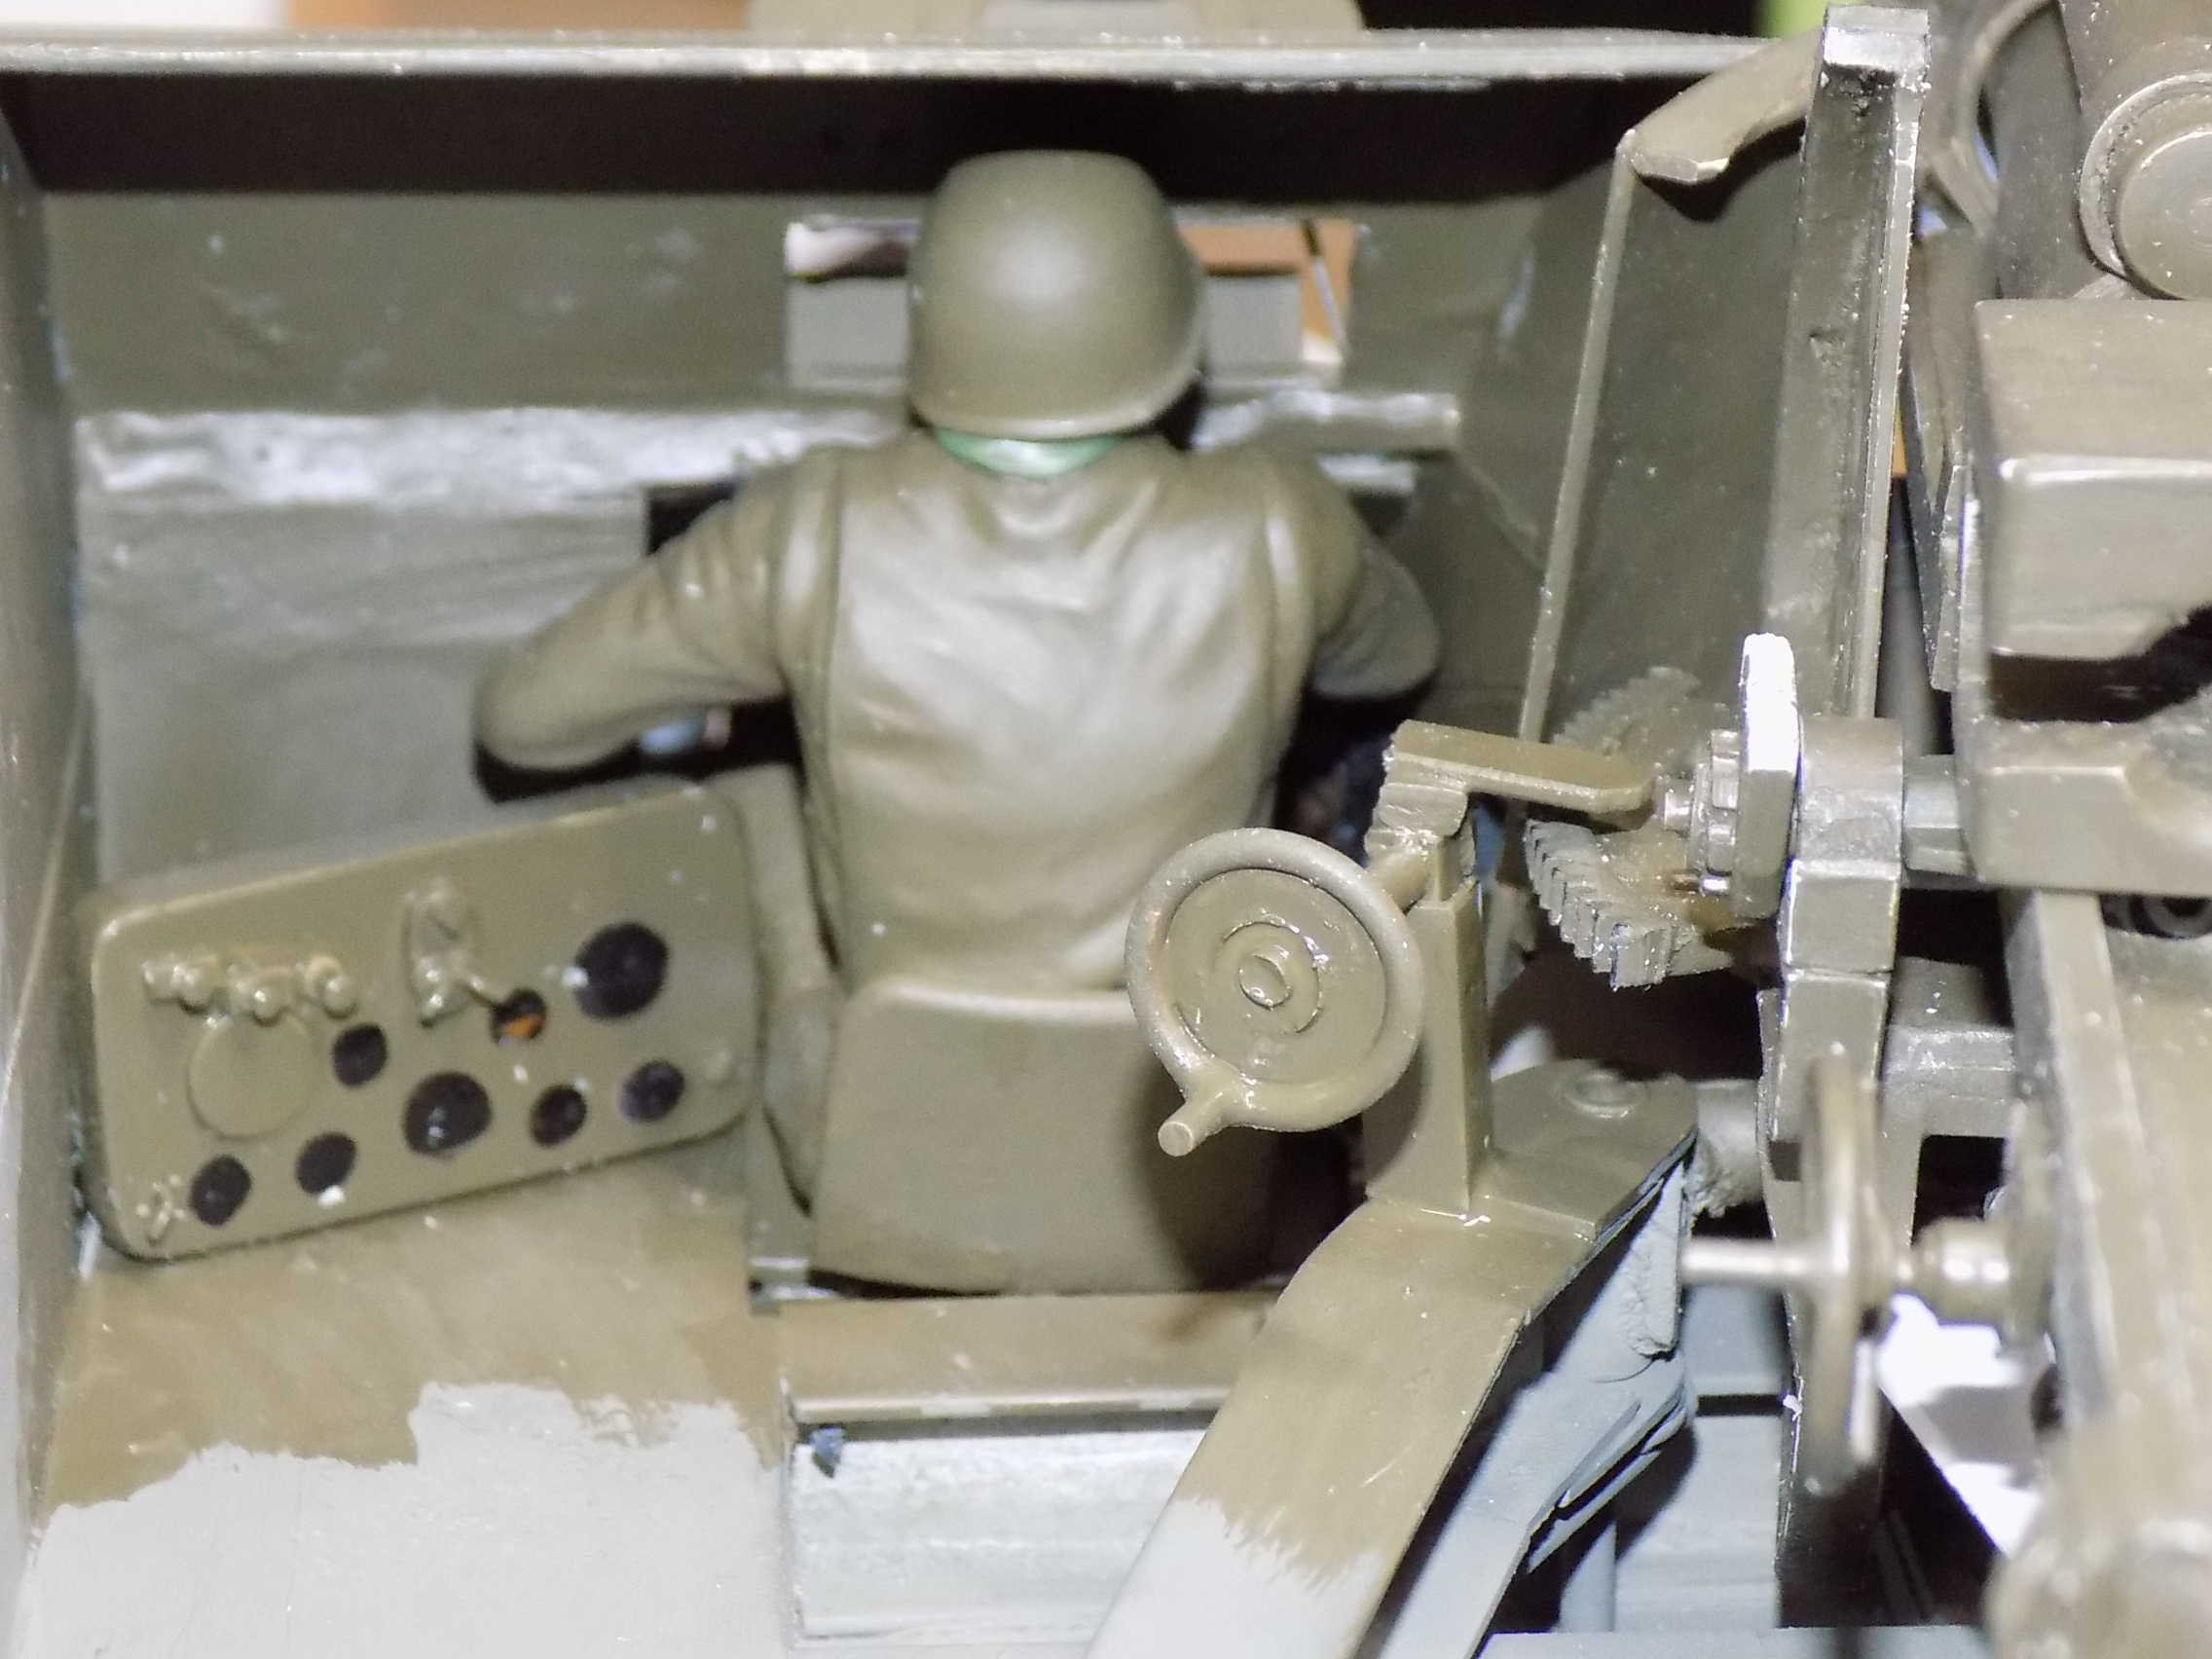
- 52.JPG (978.8 KiB) Viewed 17 times
The white card in the spring is to hold the gun at a lower elevation until I build the hidden RC elevation contraption.
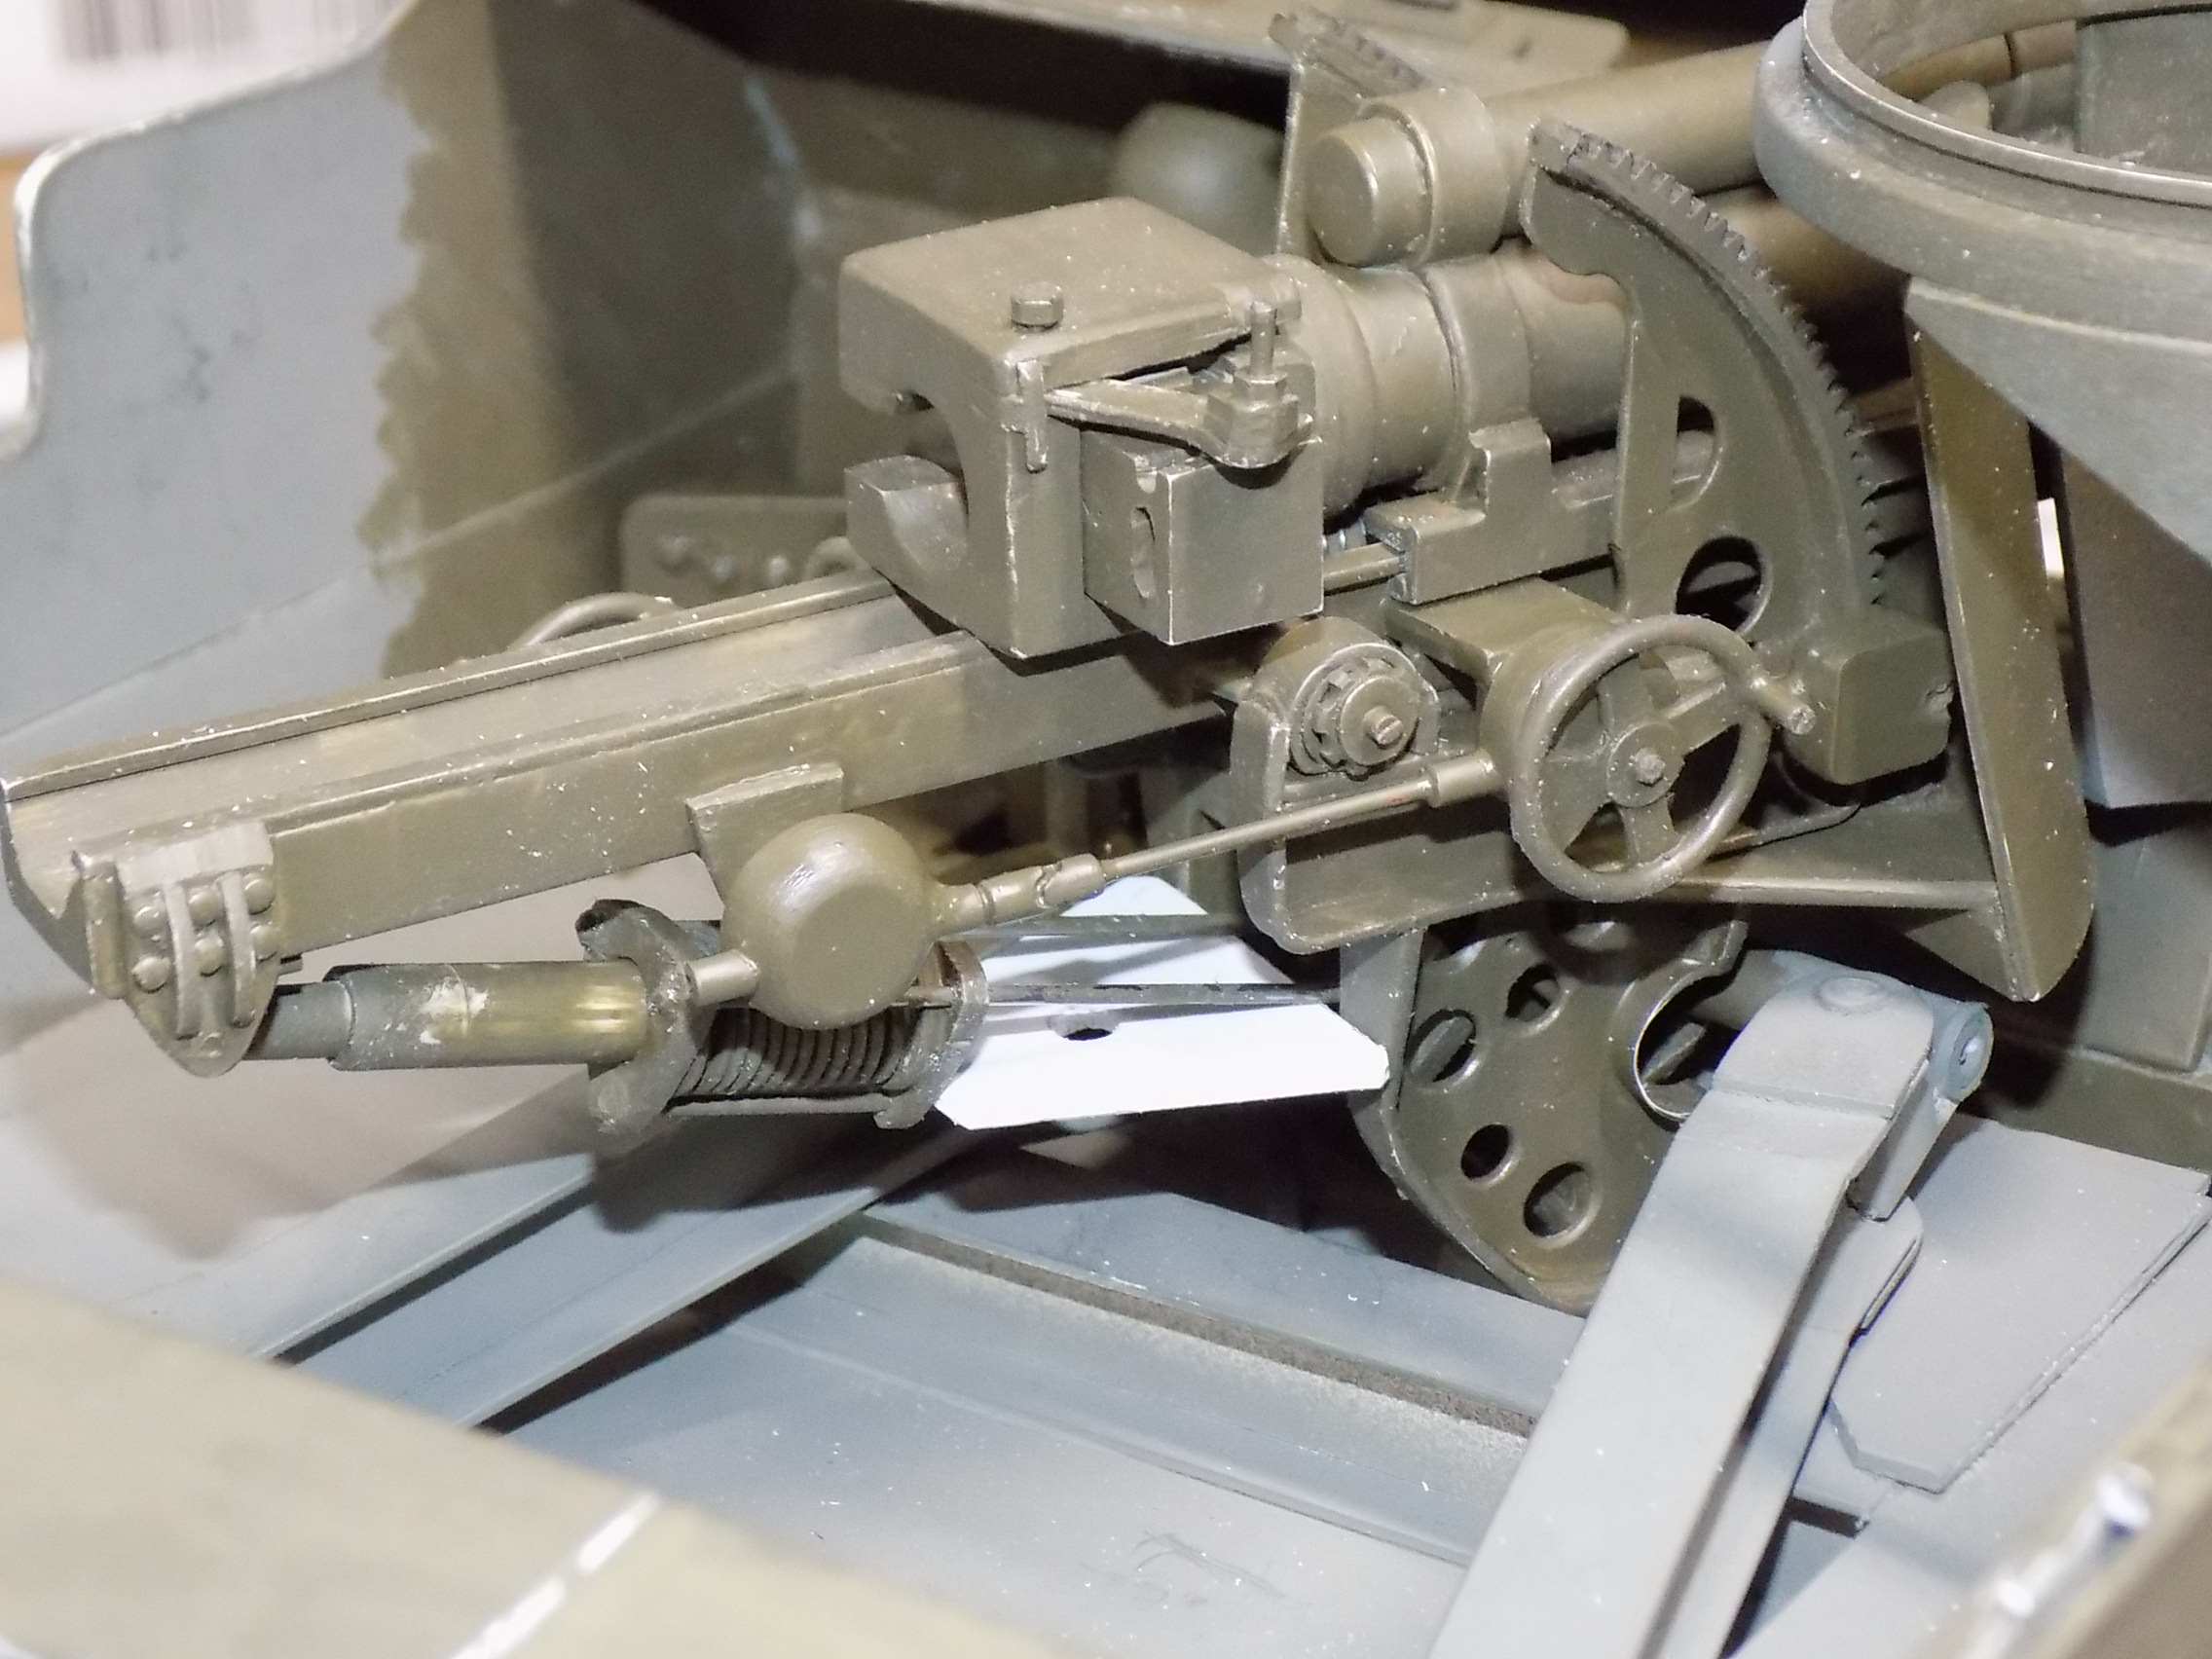
- 58.JPG (910.55 KiB) Viewed 17 times
Finally my cheap home built u-joint. Simply a hole drilled in small tubing, then slice and sand.
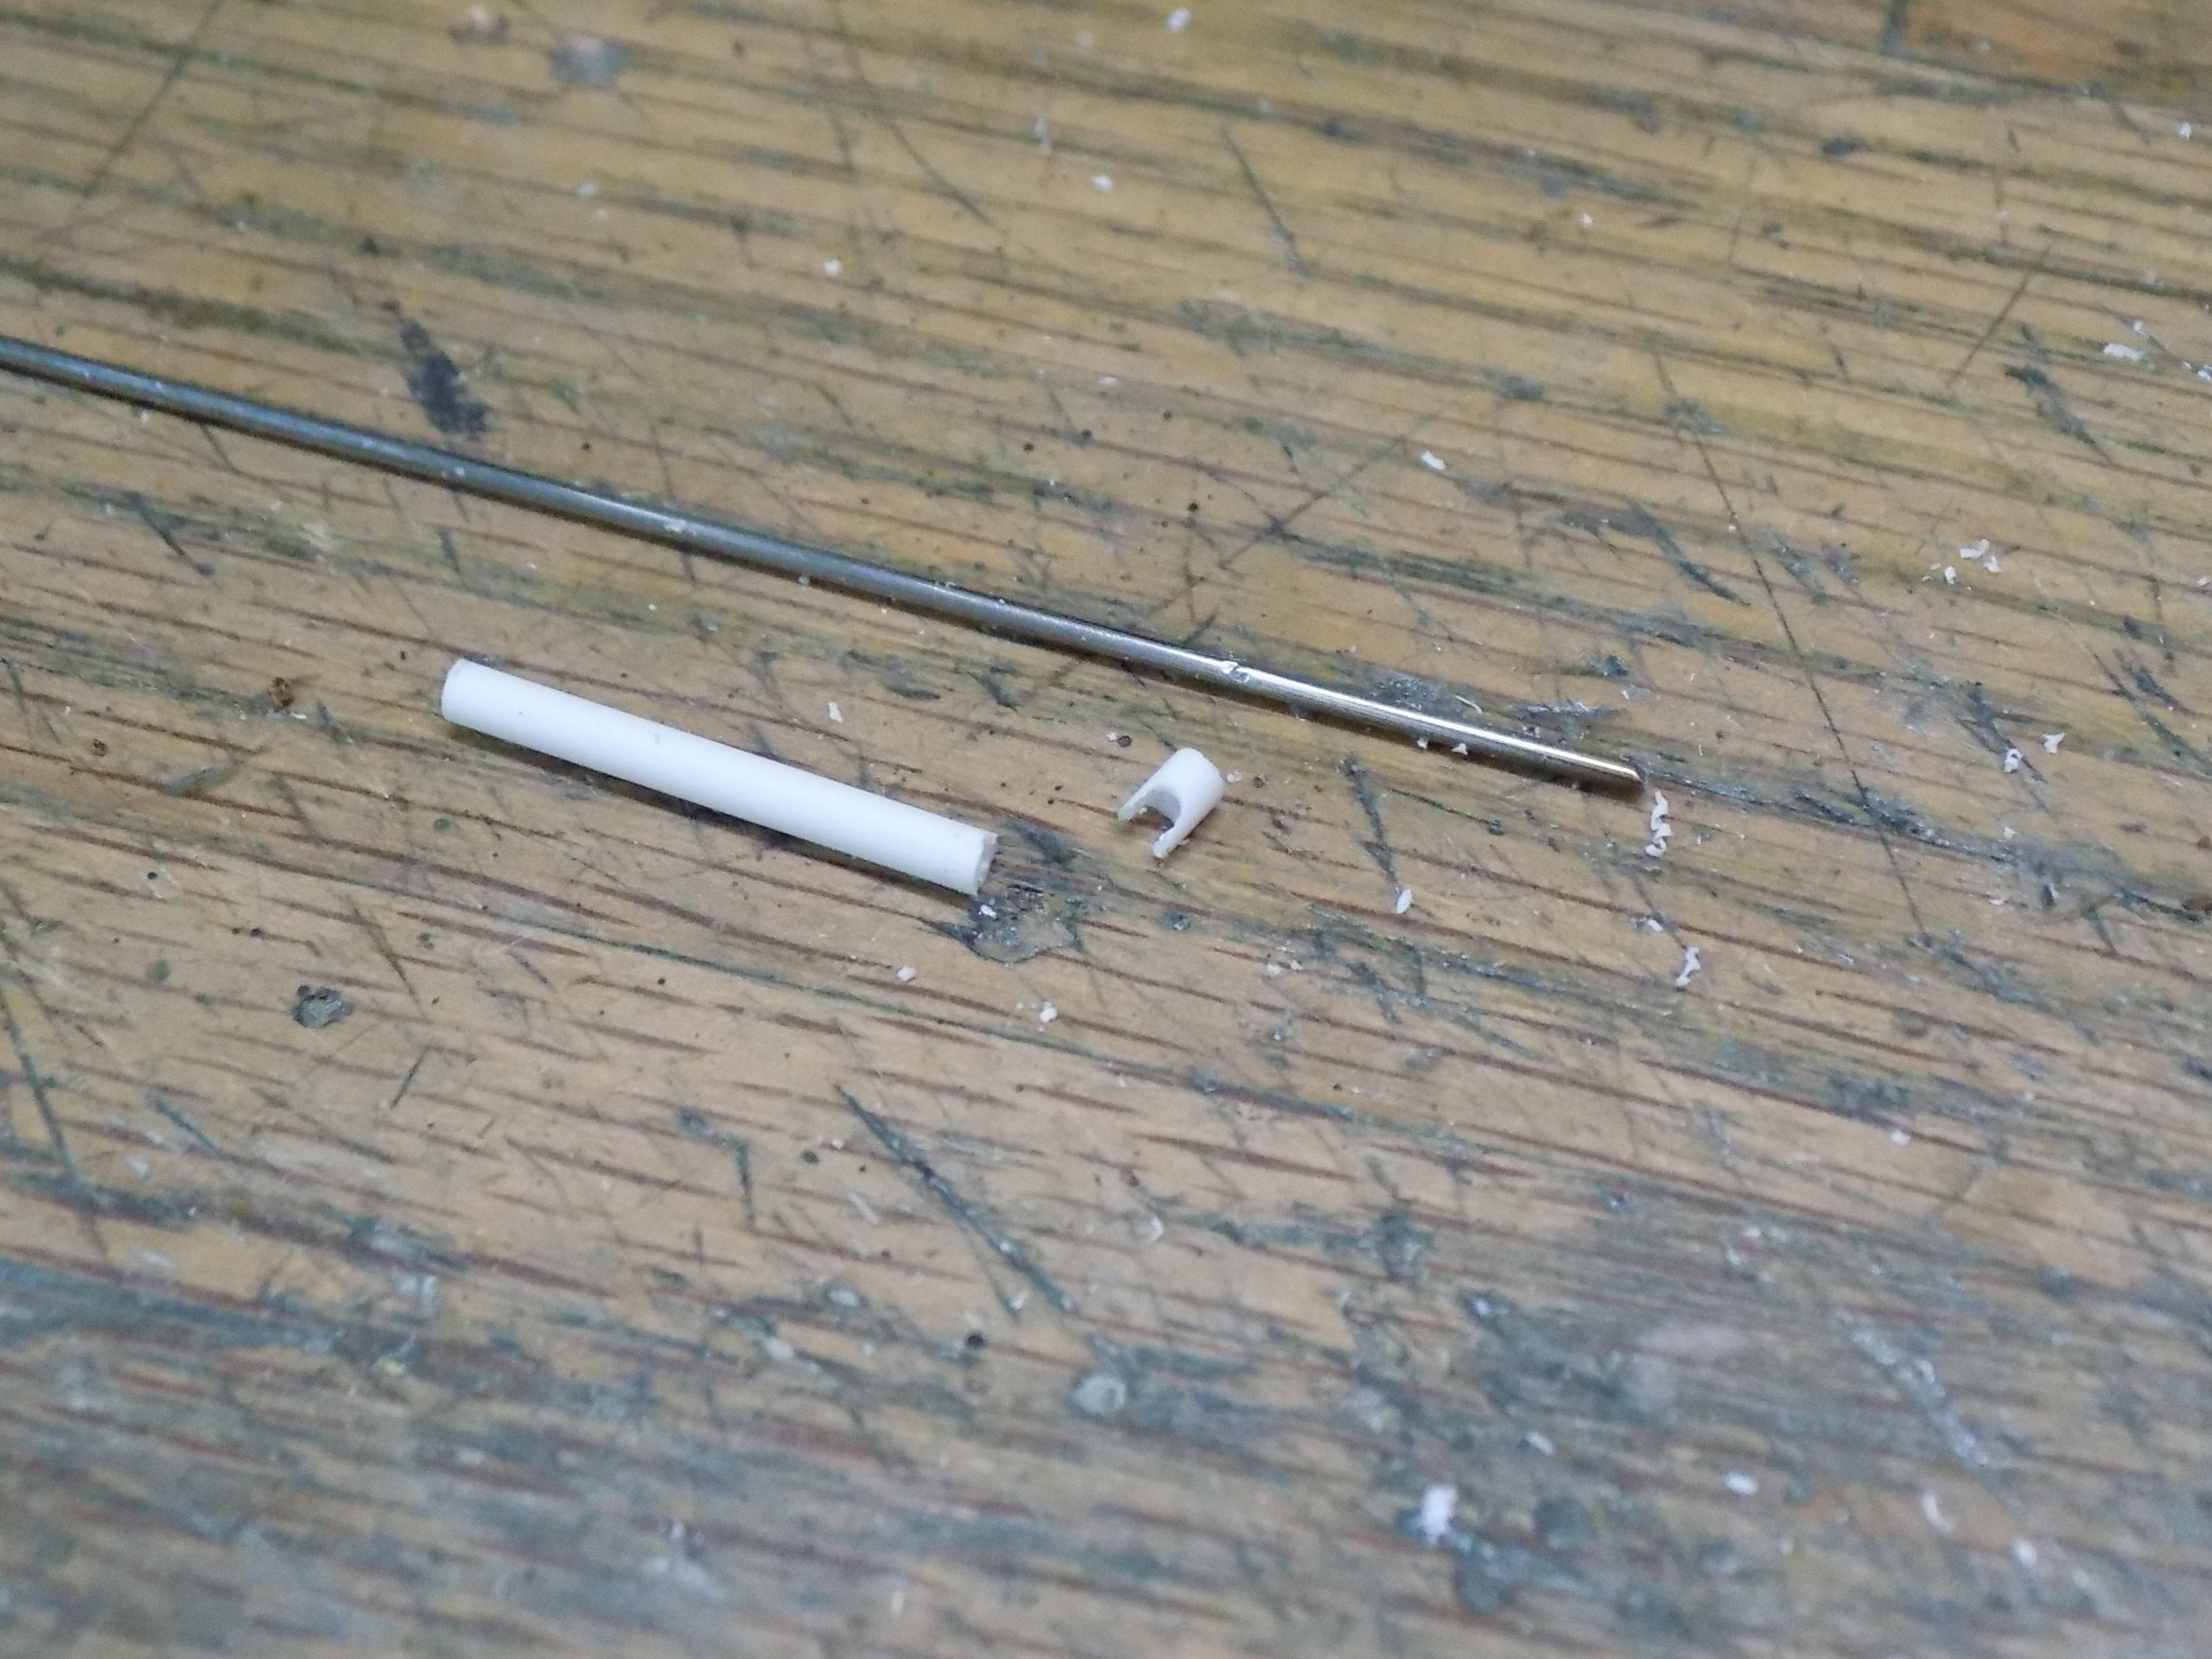
- 37.JPG (990.33 KiB) Viewed 17 times
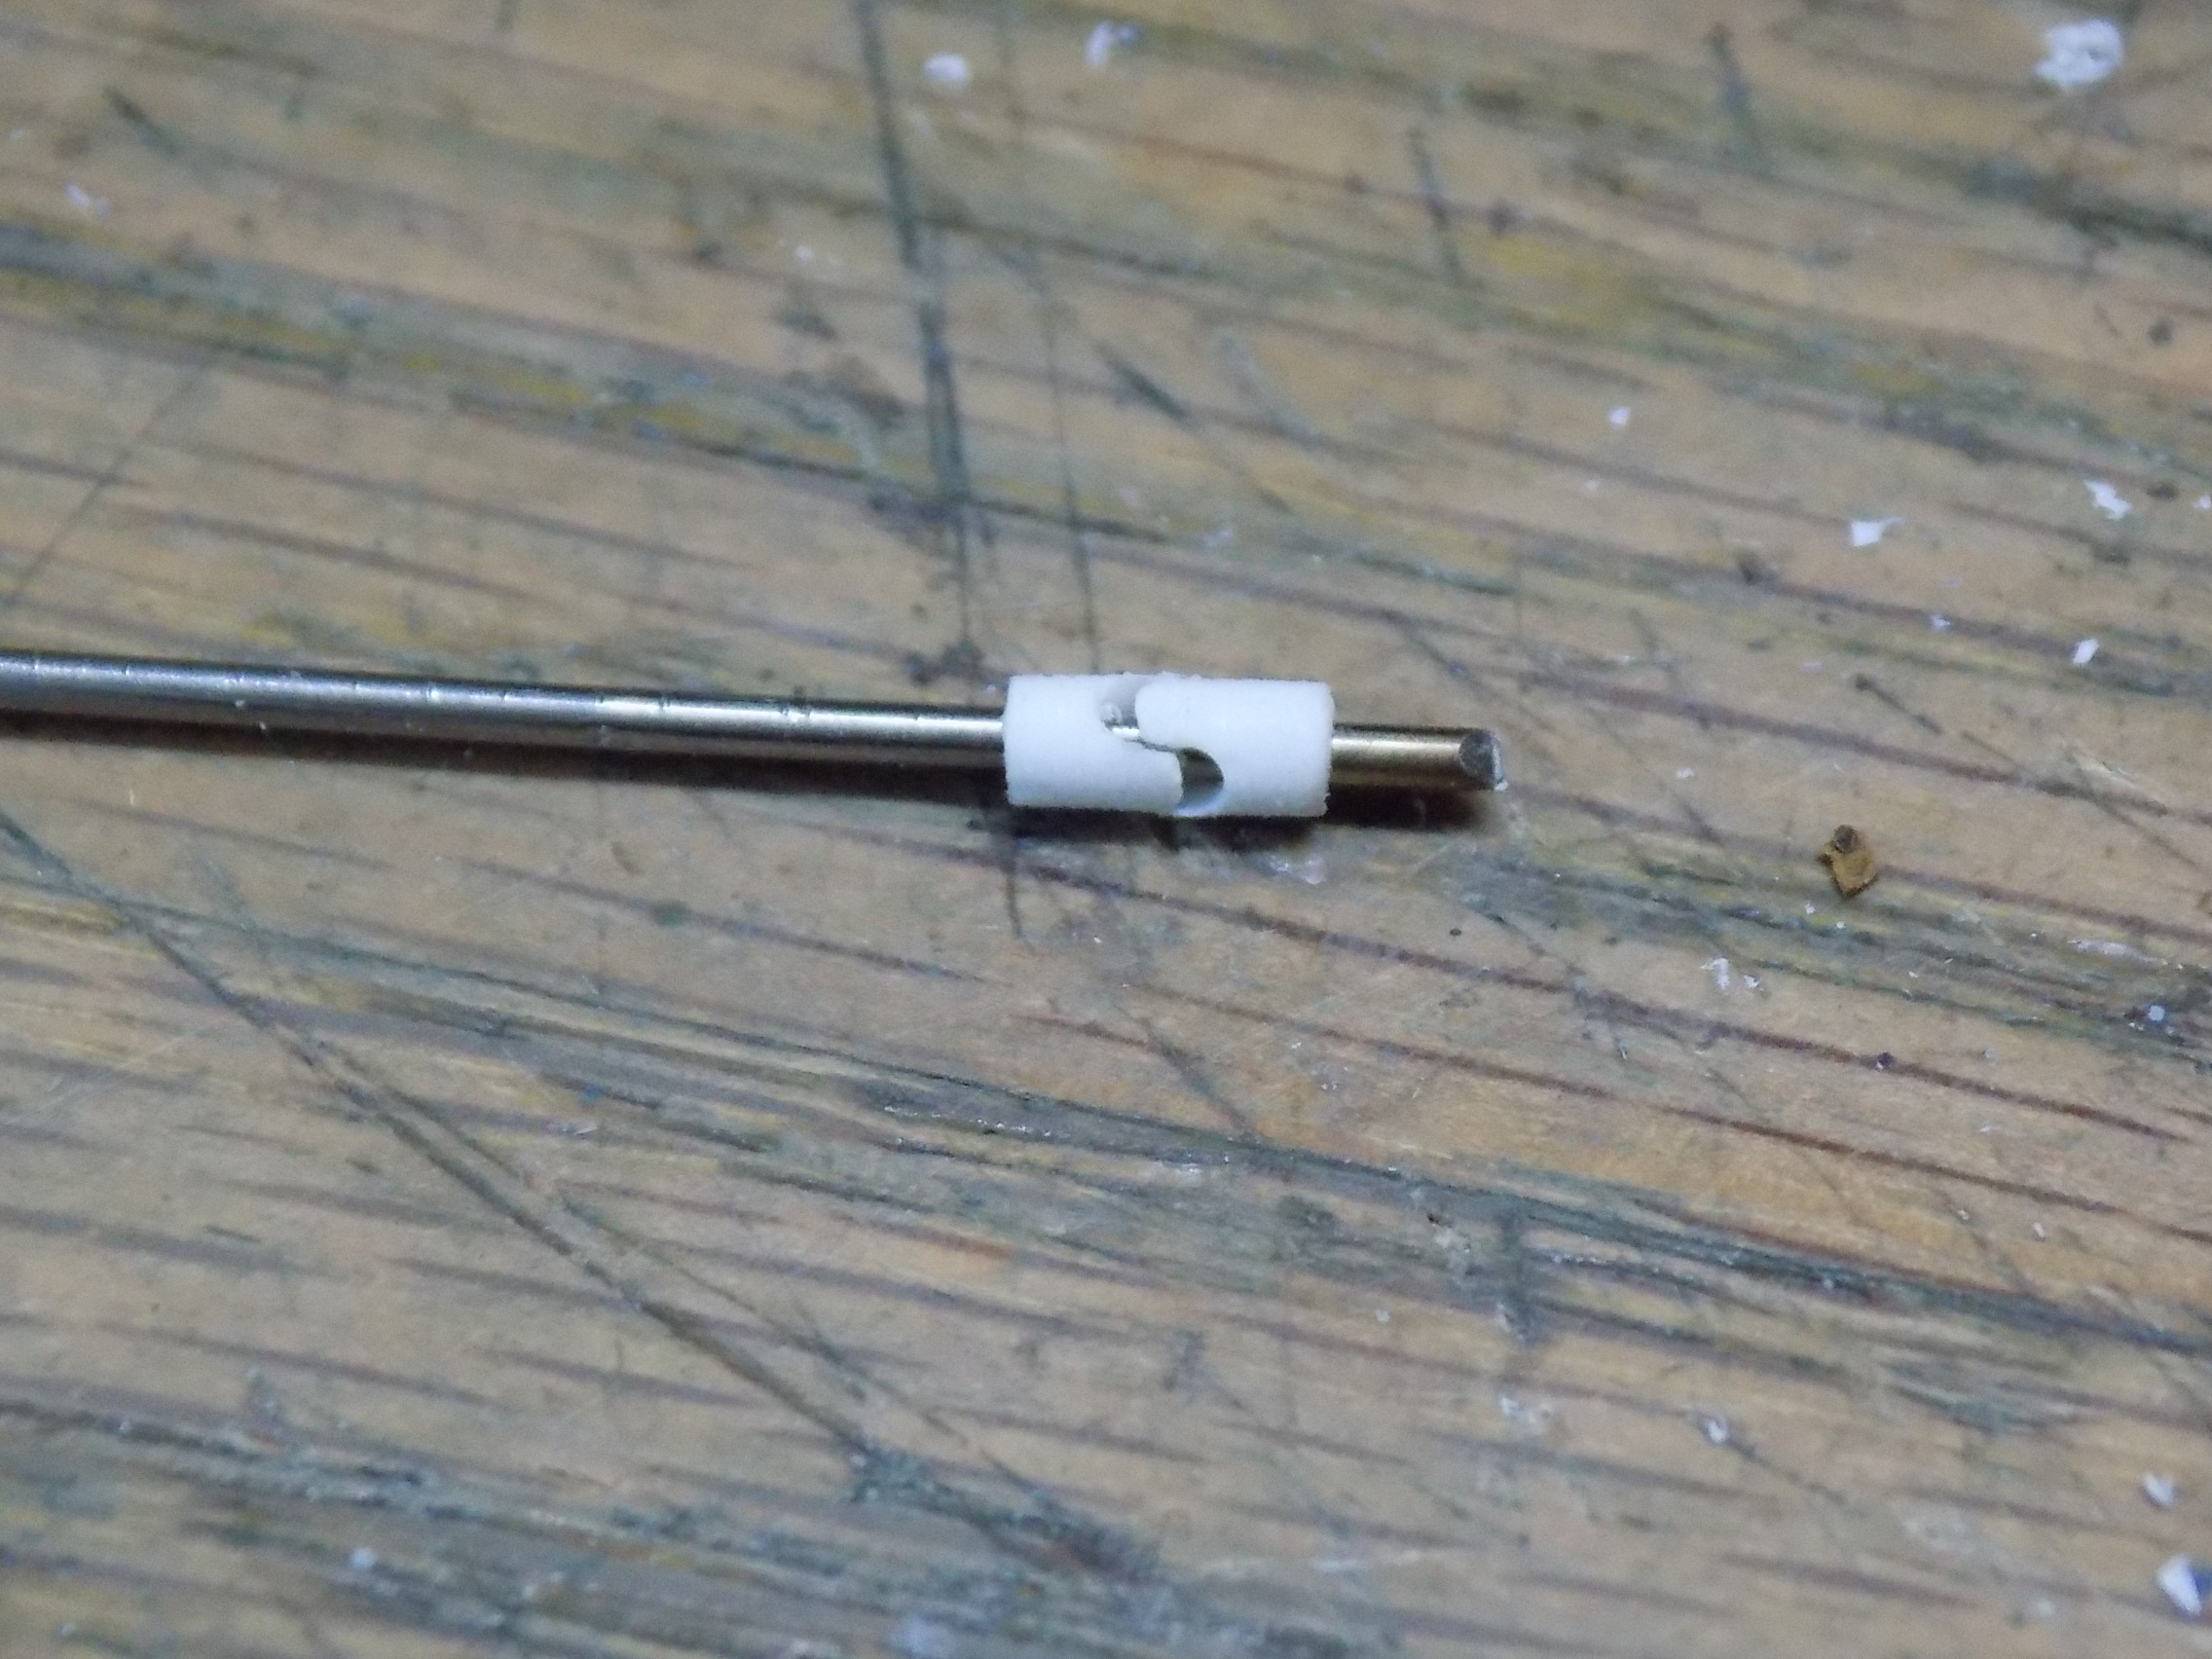
- 38.JPG (994.38 KiB) Viewed 17 times
Re: M7B1 Priest
Posted: Fri Mar 11, 2022 2:44 pm
by PainlessWolf
Ecam!
Crazy Joe Respect noted and appreciated! It is not often that we have to build figures from scratch but you have the knack of it. The Driver is a great job all in and of himself!
Following along,
Painless
Re: M7B1 Priest
Posted: Fri Mar 11, 2022 10:43 pm
by Ecam
Re: M7B1 Priest
Posted: Fri Mar 11, 2022 11:02 pm
by Ecam
Now it is time to laugh (or not) at my next step in the build.
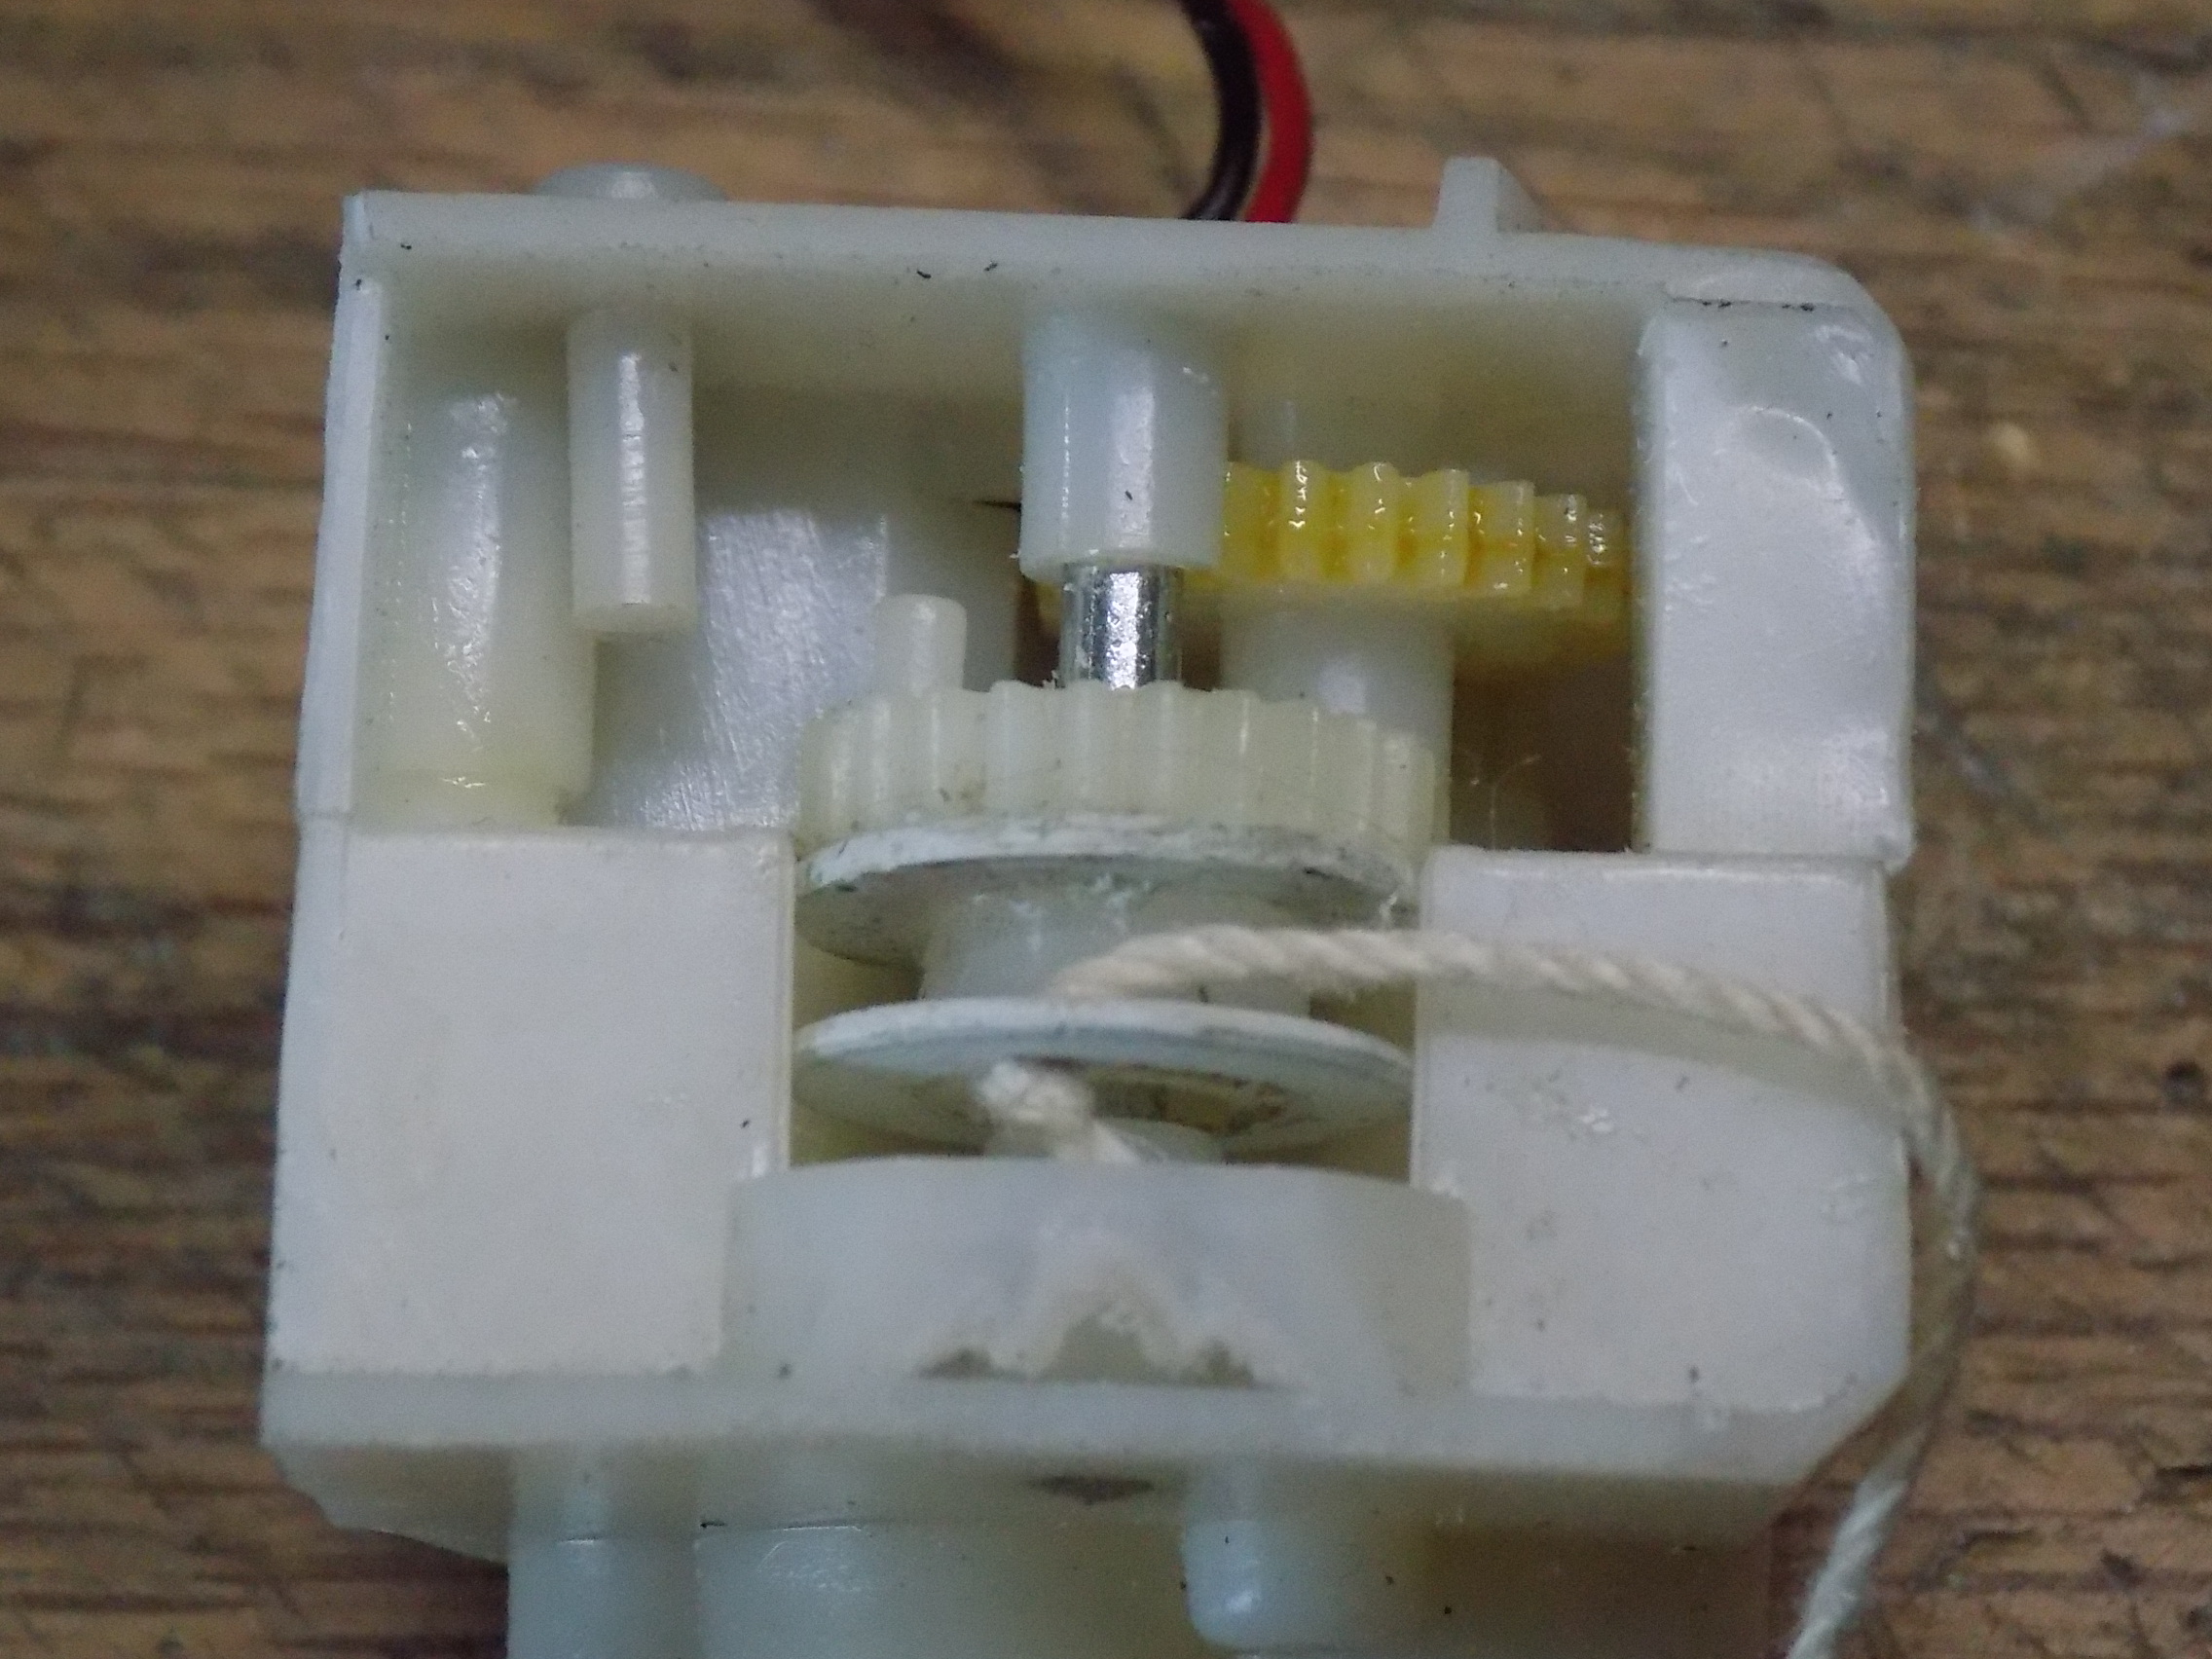
My counter balance spring assembly does keep the 105 at full elevation. My thought was to attempt to pull the gun down and let it spring back up. I wanted to come up with a cheap solution. I first modified a servo to work off the HL electronics but getting the force desired was just not in the cards.
Here goes. I've several (around 7) unused air softs removed from the turrets. Have about 5 more in the untouched German and Russian tanks. Took the teeth off of the gear that moves the air soft mech. Added two discs to create the drum.
It lifted the hammer pictured without even loading down! Not sure I want to fully explore the capacity before killing motor or worse, the receiver, but my guess is several pounds.

- 60.JPG (965.42 KiB) Viewed 15 times
- 61.JPG (1.01 MiB) Viewed 15 times
Re: M7B1 Priest
Posted: Fri Mar 11, 2022 11:15 pm
by dgsselkirk
Always love scratch building! Coming along nicely...

Re: M7B1 Priest
Posted: Sat Mar 12, 2022 4:59 pm
by Ecam
Re: M7B1 Priest
Posted: Sat Mar 12, 2022 11:56 pm
by Herr Dr. Professor
Almost daily here on RCTW I read of reports of amazing resourcefulness. Yet can anyone recall a posting of a clever transmission rebuild (so to speak) like this one? And to boot, we have an example of how to make a winch. Love it!
Re: M7B1 Priest
Posted: Sun Mar 13, 2022 1:25 am
by SCHWEREPANZER
The enterprise and inventiveness of the brain trust that resides here never ceases to amaze. Ingenious work.
Re: M7B1 Priest
Posted: Sun Mar 13, 2022 1:30 am
by sassgrunt
I would LOVE to take credit for "teaching him everything he knows," but I can't do it. Eric creatively figured all of this stuff out on his own, and I am just as much in awe of his resourcefulness as others. (Just don't tell him I said so, or his head will get even more swelled up)!