Page 2 of 3

Re: Challenger 2 build

Posted: Fri Dec 29, 2017 1:59 am
by 43rdRecceReg
Very instructive, Stian :thumbup: Thanks for detailing the technique you used. I have a Challenger 2 that has been waiting in the wings for nearly two years; but it will be an even longer wait considering the backlog of tanks I have building up :|
You have quite a unique example there, I'd have to say... :O :D

Re: Challenger 2 build

Posted: Fri Dec 29, 2017 7:13 pm
by maxmekker
Thank you all for looking into this little build :thumbup:

With a few products you can make fine 'speckling' on your model to get even more interesting 'look'
26165666_10154879922716582_3209647356856970168_n (Small).jpg
26165666_10154879922716582_3209647356856970168_n (Small).jpg (80.12 KiB) Viewed 6919 times
26167918_10154879922681582_2185633077252172438_n (Small).jpg
26167918_10154879922681582_2185633077252172438_n (Small).jpg (64.99 KiB) Viewed 6919 times
26047493_10154879922766582_5568839815772271202_n (Small).jpg
26047493_10154879922766582_5568839815772271202_n (Small).jpg (65.8 KiB) Viewed 6919 times
25994567_10154879922781582_1751017392328325813_n (Small).jpg
25994567_10154879922781582_1751017392328325813_n (Small).jpg (71.24 KiB) Viewed 6919 times

Re: Challenger 2 build

Posted: Sat Dec 30, 2017 9:16 am
by HERMAN BIX
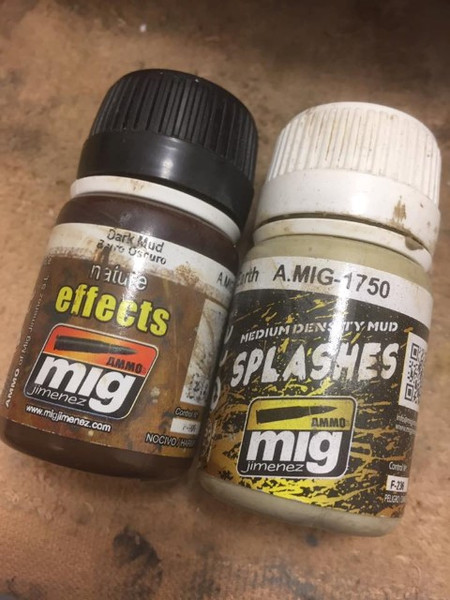
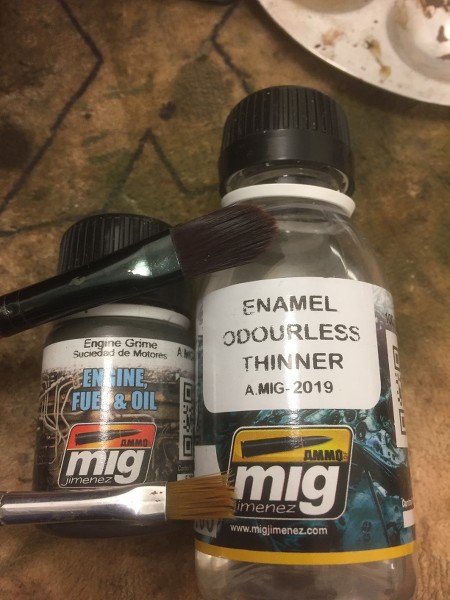
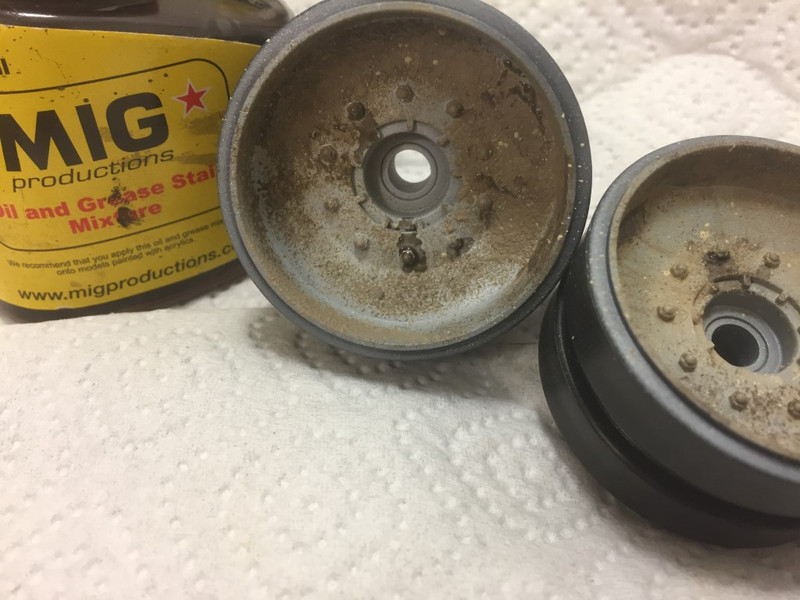
Very informative and effective tutorial Mr Mekker :thumbup:
How does the Mig product secure to the surface after drying ?

I assume you use some sort of sealer ?

Re: Challenger 2 build

Posted: Sun Dec 31, 2017 12:10 am
by maxmekker
I seal the paint with varnish, then as I go on with weathering I kinda just leave it on with no further due. it sticks good , and stays put

tonights work
26114059_10154882772006582_8091790723526238208_n.jpg
26114059_10154882772006582_8091790723526238208_n.jpg (71.79 KiB) Viewed 6886 times
26112059_10154882771991582_7200540059088105770_n.jpg
26112059_10154882771991582_7200540059088105770_n.jpg (57.19 KiB) Viewed 6886 times
26047152_10154882772011582_6566515274138126670_n.jpg
26047152_10154882772011582_6566515274138126670_n.jpg (57.66 KiB) Viewed 6886 times
26229732_10154882772036582_349928014062119862_n.jpg
26229732_10154882772036582_349928014062119862_n.jpg (54.13 KiB) Viewed 6886 times
26047425_10154882772116582_1760361555761768169_n.jpg
26047425_10154882772116582_1760361555761768169_n.jpg (63.77 KiB) Viewed 6886 times
26169197_10154882772126582_545179293092508500_n.jpg
26169197_10154882772126582_545179293092508500_n.jpg (77.79 KiB) Viewed 6885 times

Re: Challenger 2 build

Posted: Sun Dec 31, 2017 12:50 am
by c.rainford73
That is really cool my friend

Re: Challenger 2 build

Posted: Mon Jan 01, 2018 11:32 pm
by Markocaster
Looks great


Sent from my iPad using Tapatalk

Re: Challenger 2 build

Posted: Wed Jan 03, 2018 2:41 am
by nexusys
Nice build. How hard is it to install Chobham's armour?

Planning to get them for me C2

Re: Challenger 2 build

Posted: Thu Jan 18, 2018 1:28 pm
by maxmekker
nexusys wrote:Nice build. How hard is it to install Chobham's armour?

Planning to get them for me C2
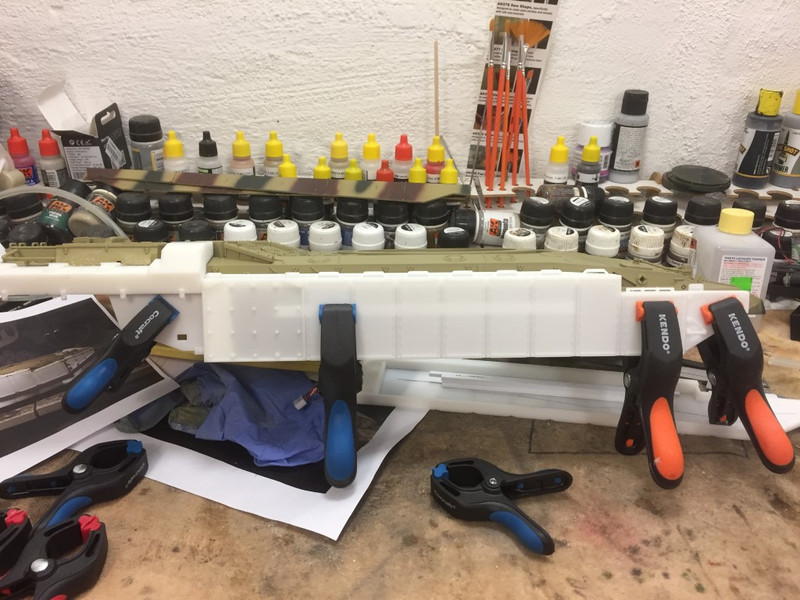
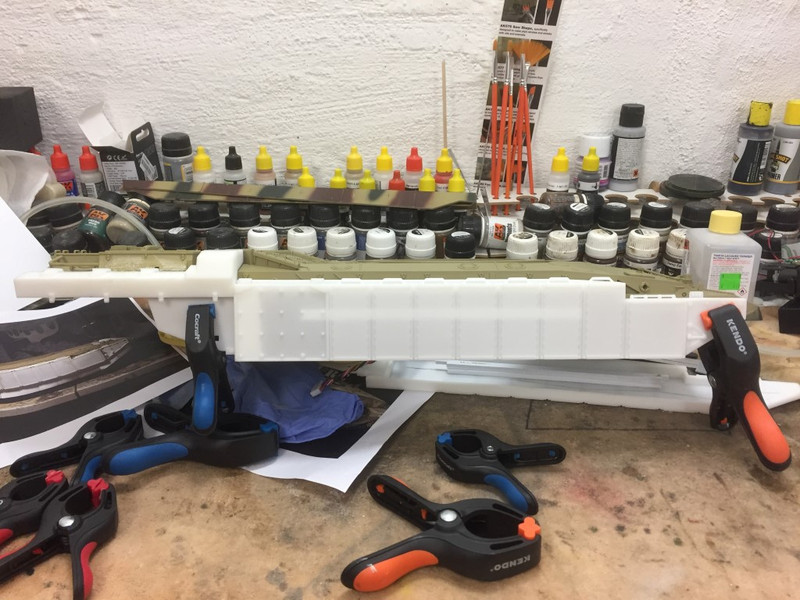
sorry for missing the question

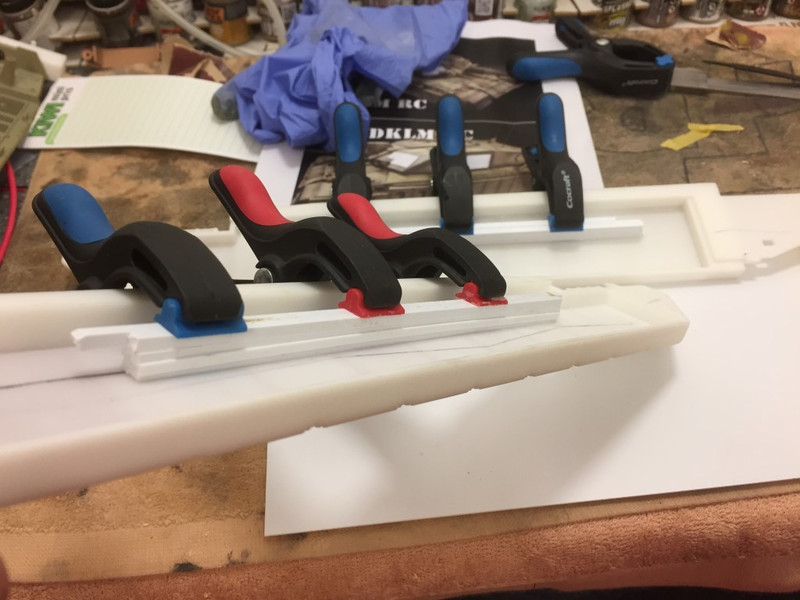
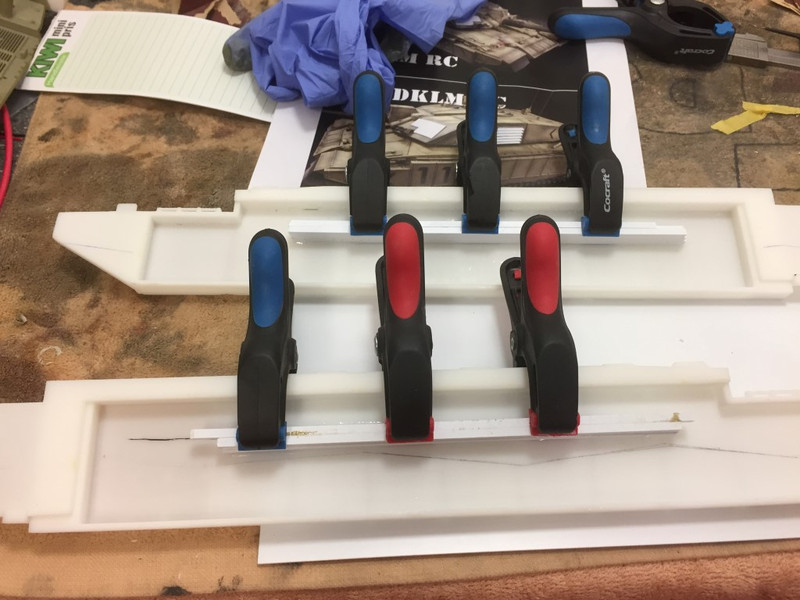
it took a little while , and carefull drytesting before I popped the glue out . Did not want to make any mistake .
I also made an extra support brace , since I thought the area wich I could glue on was not enough

used 15 minute( ore was it 30 min ) z-poxy glue ( 2 part mix)

Image

Image

Image

Image

Re: Challenger 2 build

Posted: Thu Jan 18, 2018 1:29 pm
by maxmekker
Been having some more time With it

Nothing to fancy going on

'speckling and more lowerhull mudding

Image
Image
Image
Image


Image
Image
Image
Image

then adding splashes from the splash and Heavy mud series Ammo

Image

get the Wheels up and running to

Image
Image
Image
Image
Image
Image
Image

Image

Re: Challenger 2 build

Posted: Thu Jan 18, 2018 1:29 pm
by maxmekker
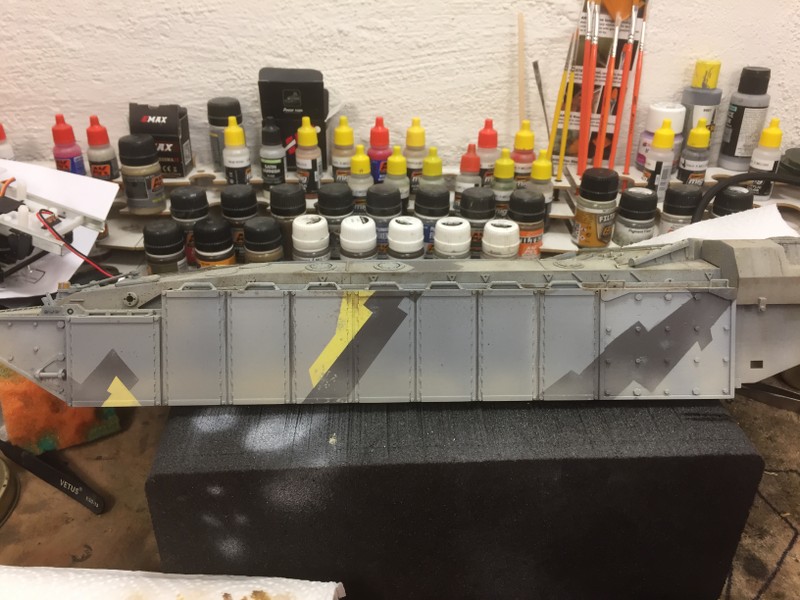
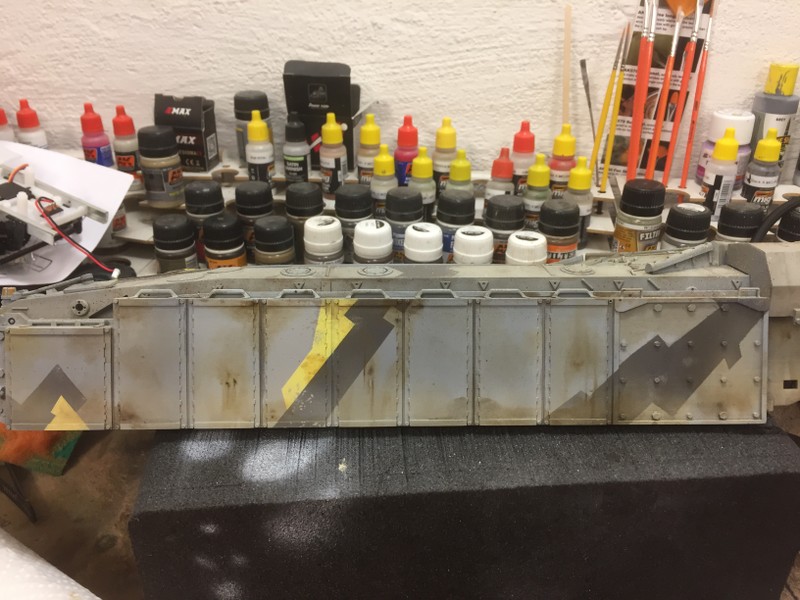
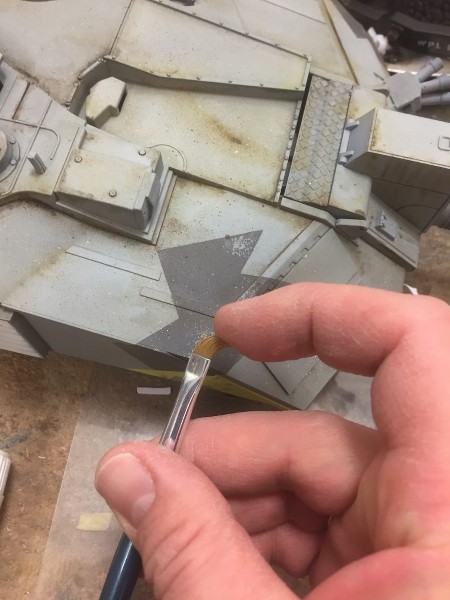
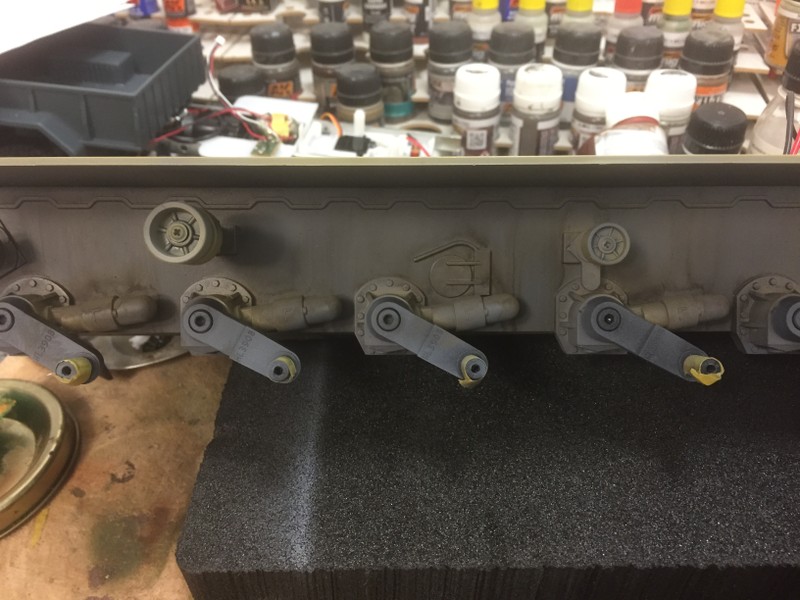
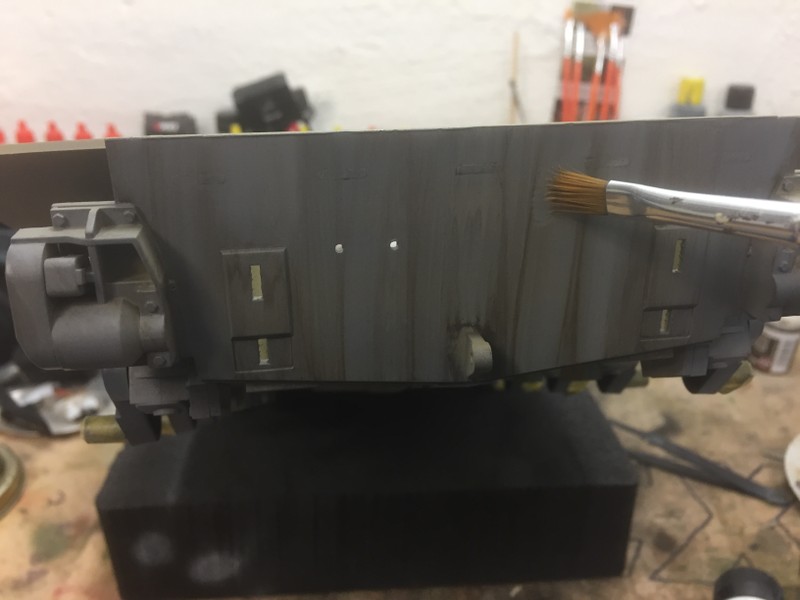
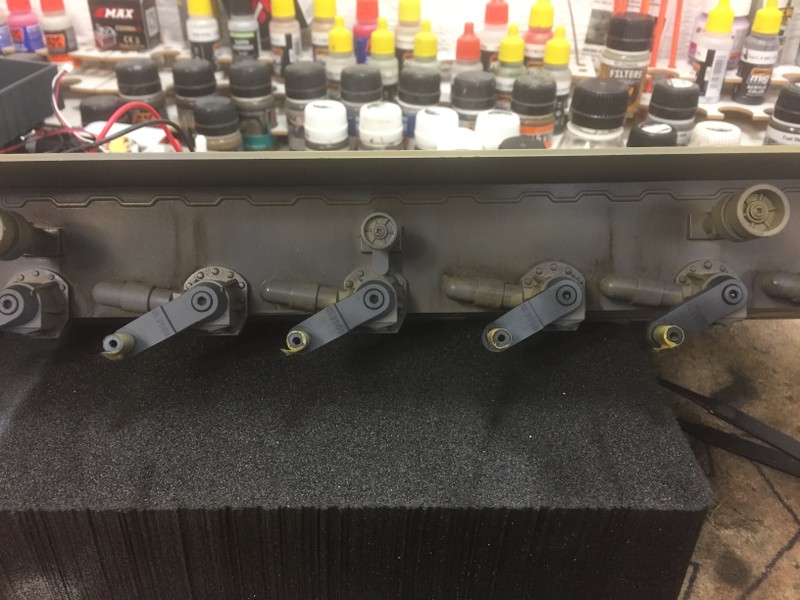
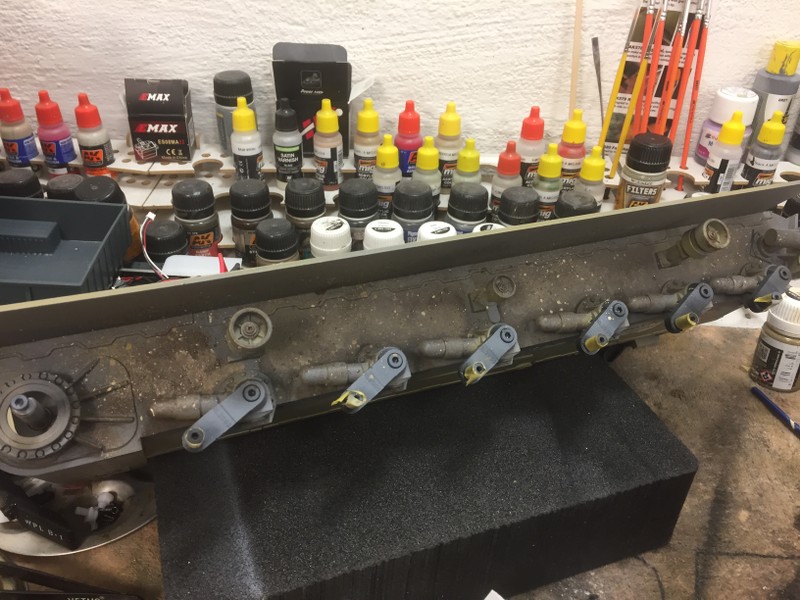
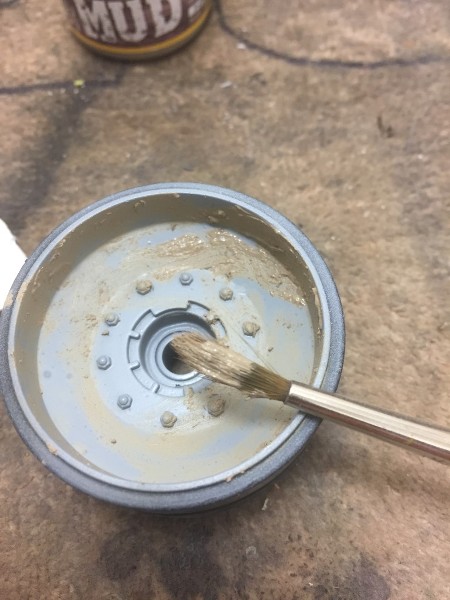
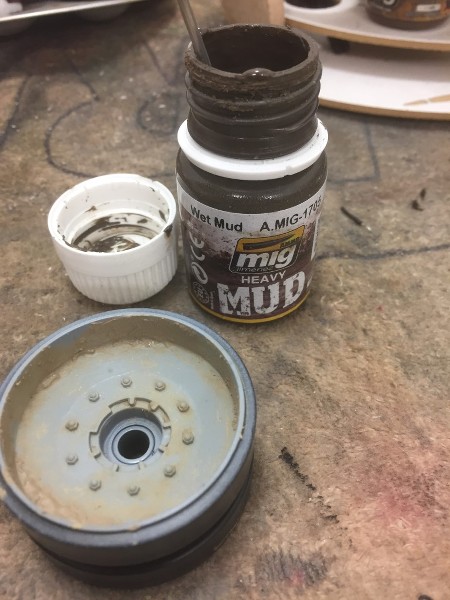
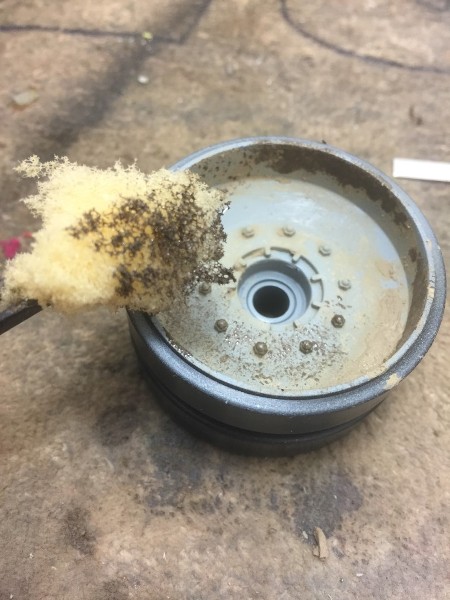
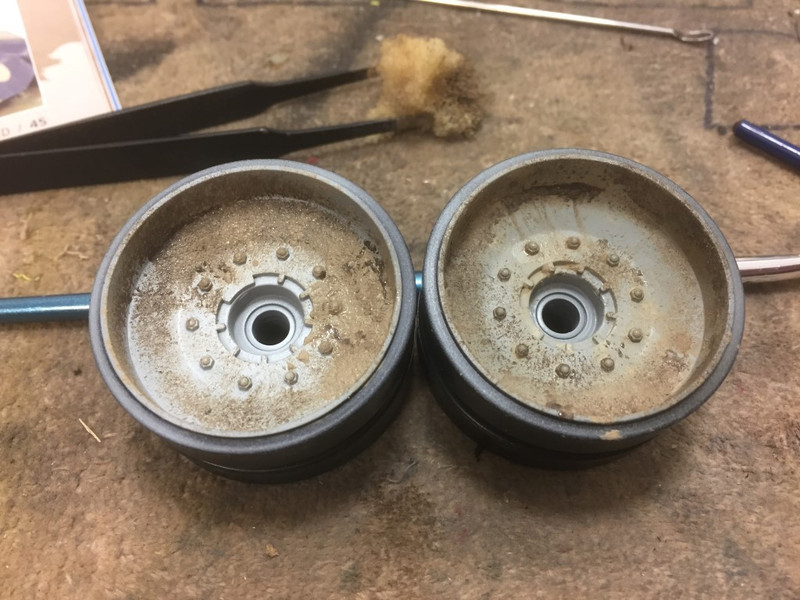
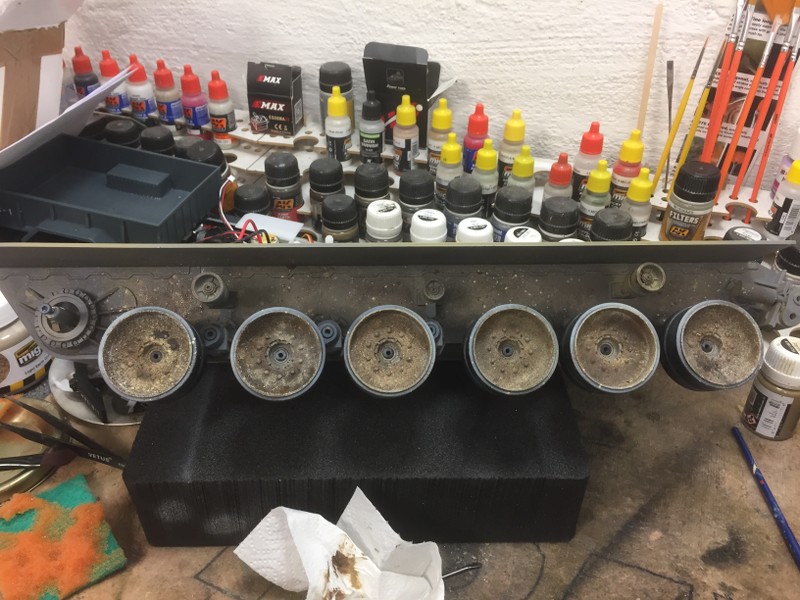
And oil work on side's before adding yet again splash's

Image

Image