Page 2 of 30

Re: ABE'S EARLY TIGER 1 BUILD

Posted: Tue Feb 17, 2015 4:07 pm
by Abe Froman
Alwyn, Ed and Painless, good to have you on board. Howdy.

Spent a couple of hours last night fitting the metal barrel with Aber muzzle, into the Tamiya mantlet, adjusting the Heng Long gun internals to move a few mm to fit the correct offset of the barrel and then mated them to the Henglong internal turret bracket ( which did not have the offset )

It was only when I finished the int bracket, that I found I had the Tamiya one ( forgot ) which already had the offset! :thumbdown:

Hey Ho, its done now.

Carved off the two aerial holders at the rear of the deck, which did a small amount of damage, but should be able to repair that. My skills are not that great and often its also about the tools you have, but at least I have patience, so can keep going back until I am happy with it.

I dont think I have ever got to the point of wanting to launch a model against the wall, although making the 1/35 Aber working tool brackets for a panther...got me very very close to the line. So tiny and too pingable...spent so much time running my hands over the carpet to find the bloody bits :haha:

I can laugh about it now...but it took two years of therapy :D

At least at 1/16 those same Aber tool brackets should be so mush easier ( P L E A S E ! )

Pics soon Dudes

Re: ABE'S EARLY TIGER 1 BUILD

Posted: Tue Feb 17, 2015 4:52 pm
by PainlessWolf
Abe,
There is another company now that provides excellent pe brass sets for the Tiger 1. They are reportedly much easier to assemble and install and look great like the ABER stuff. Look for VOYAGER.
regards,
Painless

Re: ABE'S EARLY TIGER 1 BUILD

Posted: Tue Feb 17, 2015 4:54 pm
by DavidByrden
About 400 Early Tigers were made.
I got into the Tiger through sharing research data with Hilary Doyle.

David

Re: ABE'S EARLY TIGER 1 BUILD

Posted: Tue Feb 17, 2015 5:16 pm
by tiger tiger
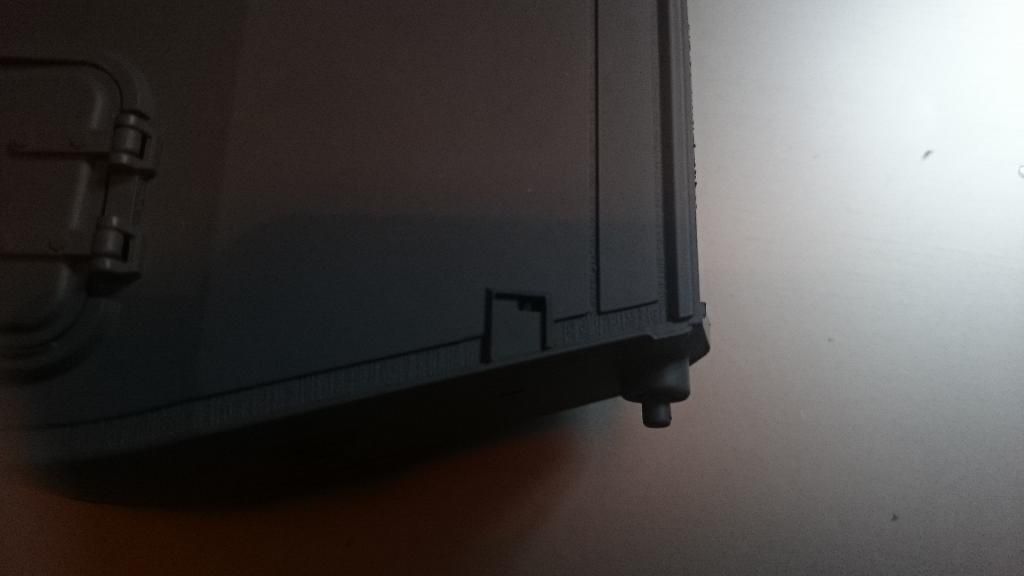
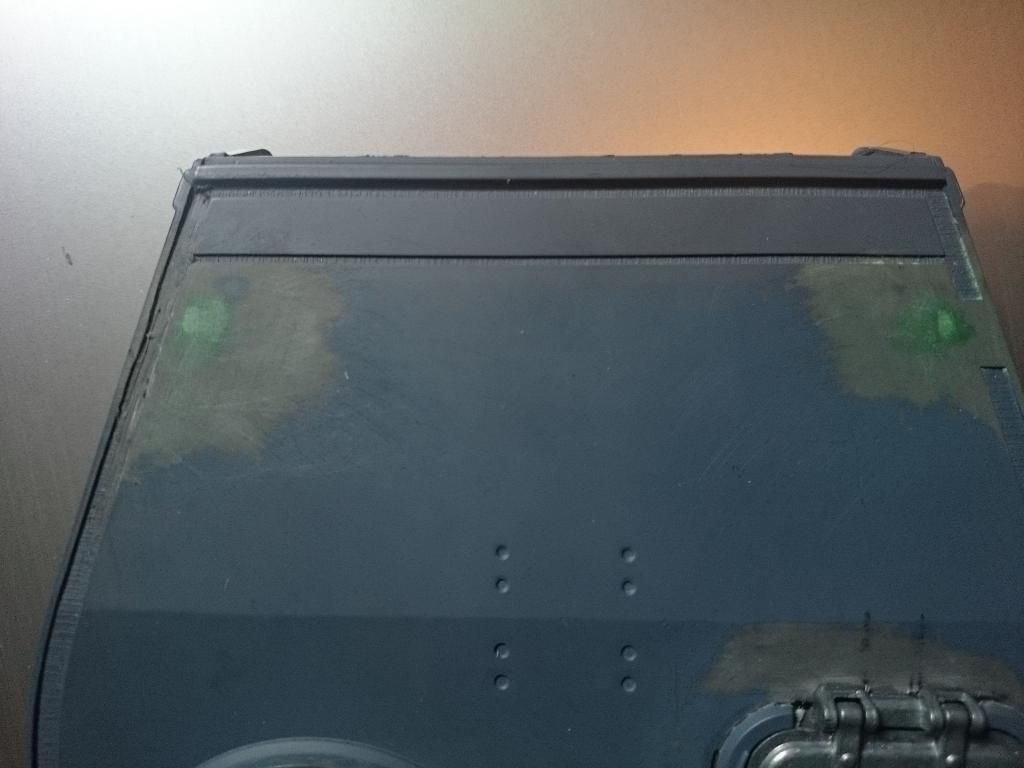
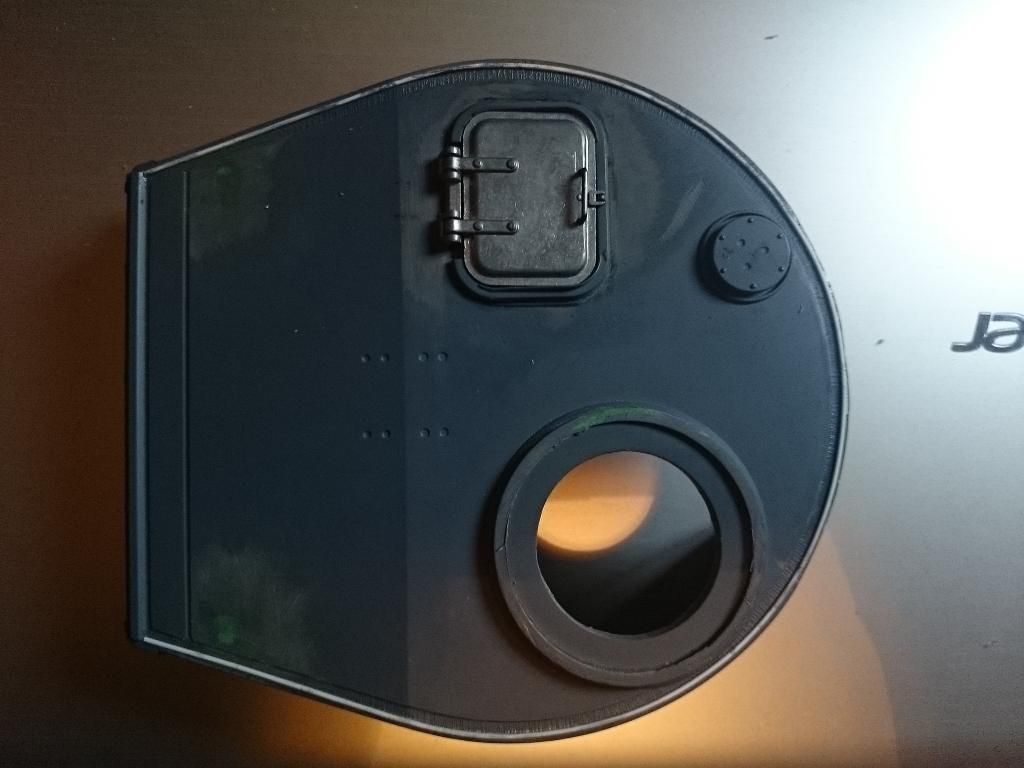
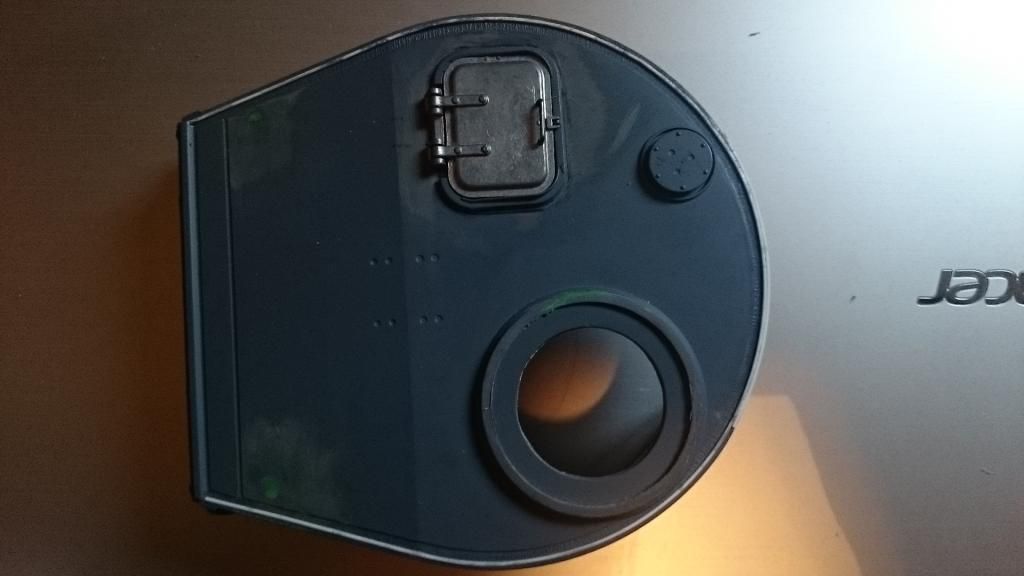
Hi abe looking good there on your tiger 1 build. i scratch built those early type air cleaners, using orignal ones supplied cutting in half and scratch building top half, heres a pic,
Image
Image
looki9ng forward to seeing your fin project abe

regards

stuart

Re: ABE'S EARLY TIGER 1 BUILD

Posted: Thu Feb 19, 2015 5:20 pm
by Abe Froman
David, thanks for the drawing. Much appreciated. Must have been amazing to work so closely with the Tiger!

Tiger Tiger, nice filters and a stowage bid with lids raised...good work :thumbup:

OK, so on with the build.

I have a stunt turret, Heng Long, just in case anything goes wrong with the lead character!

Looking at the stunt, there is a raised line section which I guess is meant to be the wild for the turret smoke launchers.

Image

This when taken away leaves a thick line across the turret weld line that runs around the turret top. This I removed using a micro chisel. Done on the left, still to do on the right.

Image

One thing that bugs me is how thin the armour plating on the sides of the turret is shown on the turret roof. The plate thickness I read should be 82mm and this thickness runs around the turret roof. The heng long thickness is laughable so I beefed it up.

I took a 0.8 x 0.8mm square plastruct section, and using Humbrol Liquid poly, stuck it backing onto the Heng Long line, all the way around the turret.

Image

This left a small section that was removed from the Heng Long thickness line, when the Stowage bin was removed. Another section of 0.8 x 0.8 and this gap was filled too.

Image

You can just about make it out on the above pic.

The Armour is still way too thin, I woiuld like maybe to do another layer of 0.8 but it might have implications with regard to the location of the weld seam, which will be moving inwards a tad. ANOTHER LAYER MIGHT PUSH IT TOO FAR IN WHERE IT WILL HAVE ISSUES WITH THE HATCH, CUPOLA AND VENT. wILL INVESTIGATE FURTHER ( sorry hit the caps button, wasn't shouting...promise :haha: )

Once fully dried, I will sand the plastruct down to the height of the Heng Long plastic and job done. Then onto the weld seams in milliput.

Hope that all made sense.

Tarra a bit..

D

Re: ABE'S EARLY TIGER 1 BUILD

Posted: Thu Feb 19, 2015 6:15 pm
by Abe Froman
I think I can get away with another thinner layer on the inside. Do we know how wide ( real or 1/16th ) the weld seam is on the turret roof. I recon something like 42mm from scaling up the Achtung Panzer plans.

Just noticed that the turret side pistol port is in the wrong place...should be nearer the front ....And so it begins. :crazy:

Re: ABE'S EARLY TIGER 1 BUILD

Posted: Thu Feb 19, 2015 6:59 pm
by DavidByrden
I hope this is helpful? It looks like about 40mm of steel and then 60mm of weld.

Image

The pistol port should be exactly at the 45 degree mark.

David

Re: ABE'S EARLY TIGER 1 BUILD

Posted: Fri Feb 20, 2015 10:47 pm
by Abe Froman
David, thanks again.

Have decided against the extra layer of hull, looks OK with the one layer.

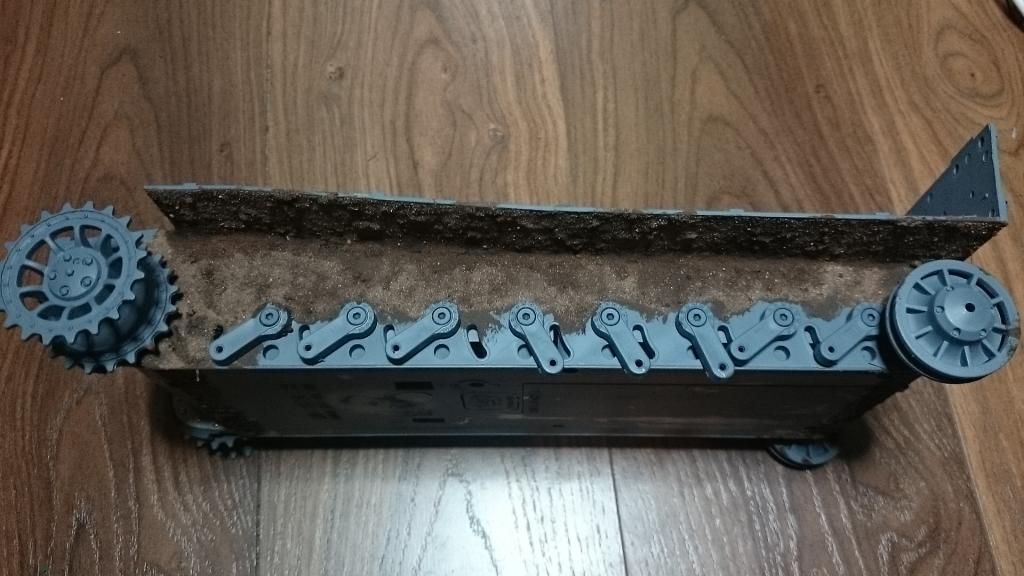
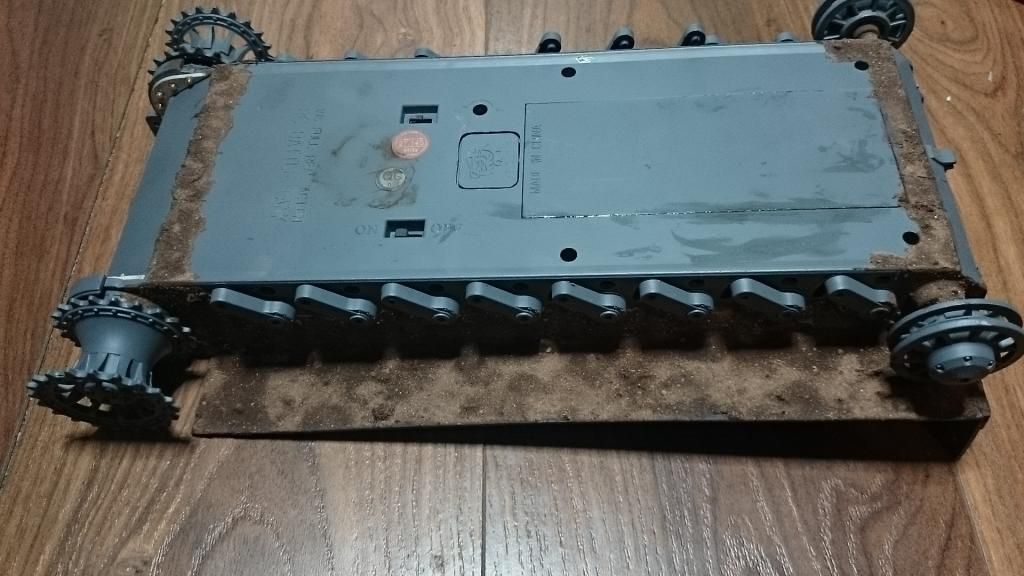
Added some dirt to the lower hull, just in case it can be seen over and around the wheels.

Image

Image

Dirt was a combination of the following:

Plaster
Real earth ( inc bits of soil debris )
MIG pastels
sand
Railway gravels ( 2 types )
Bristles cut from a fine modelling paint brush
My own beard shavings ( I know ugh! but it makes me part of the model and adds a possibility of being cloned once I am gone :haha: )

All bonded with Humbrol Matt Cote...mix it to a good gloop and apply. Sprinkle sand and voila!

Very Happy with how it looks...well maybe add some extra contrast with additional MIG pastels later.

Trying to get the lower hull ready to accept the wheels and tracks ( metal ) so I can concentrate on the upper hull.

The pics do not do justice to the subtly of colour and texture...sorry.

D

Re: ABE'S EARLY TIGER 1 BUILD

Posted: Sat Feb 21, 2015 7:07 am
by edpanzer
Looks great let's hope your beard trimmings have stopped growing.

Re: ABE'S EARLY TIGER 1 BUILD

Posted: Sat Feb 21, 2015 7:12 am
by AlwynTurner
Abe love that dirt effect, it looks so realistic.Please keep the pics coming ? Alwyn