Page 2 of 8
Re: Three Tigers
Posted: Thu Jul 25, 2013 6:16 pm
by Edwin
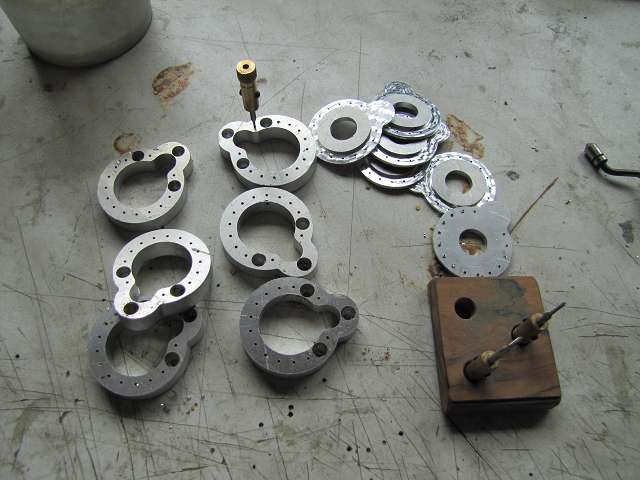
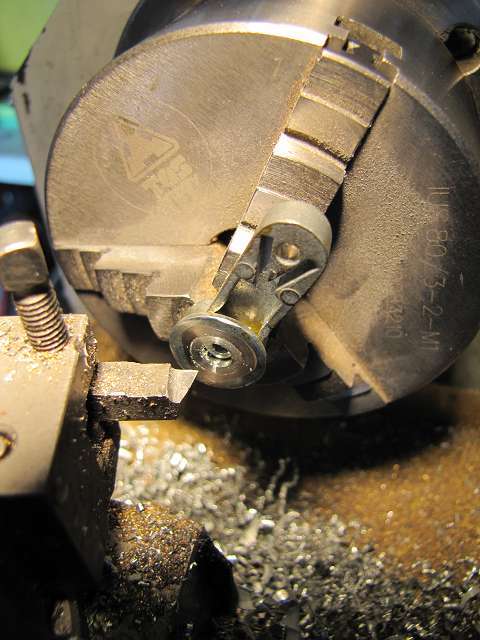
By the way I edit the external gear. In every 15 times I cut an M1, 2 threads, which is not so easy without the tap cancel.
- k-IMG_3840.JPG (36.96 KiB) Viewed 2895 times
Even if the gears are machined finished cheeks.
- k-IMG_3837.JPG (37.35 KiB) Viewed 2895 times
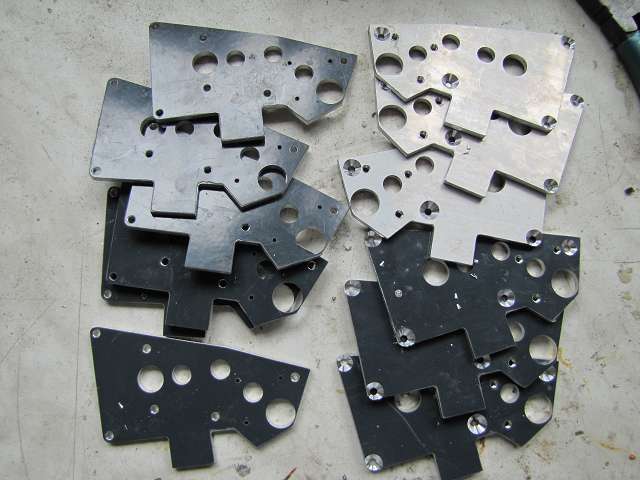
Then it was off with the rocker arms on. For this I use the metal arms of the plastic tub.

- k-IMG_3843.JPG (42.09 KiB) Viewed 2895 times
But this must edit consuming.
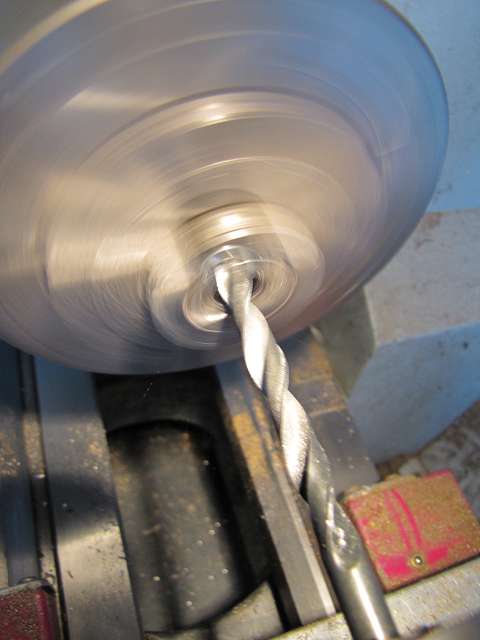
To clean the O-ring press into the pan I edit a first body disk I core drill to 7.5 mm.
- k-IMG_3844.JPG (23.38 KiB) Viewed 2895 times
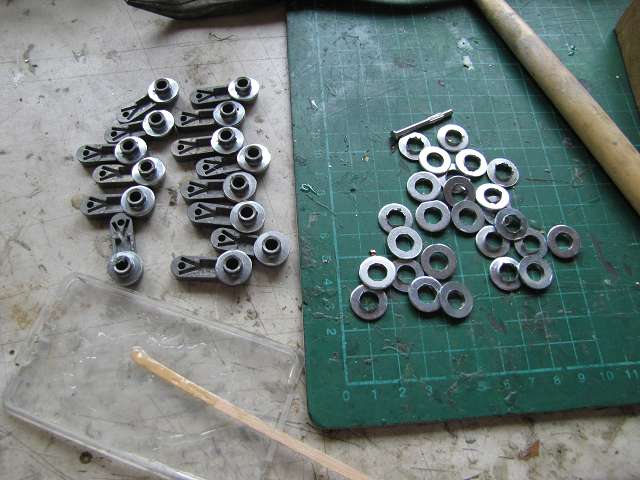
So I can stick with the rocker arms and then turning layout, which is not easy in these parts.
- k-IMG_3845.JPG (42.64 KiB) Viewed 2895 times
- k-IMG_3846.JPG (42.68 KiB) Viewed 2895 times
But before I stick them with the axes they still need an M3 threaded bore for clamping the axes.

- k-IMG_3847.JPG (39 KiB) Viewed 2895 times
And so bonding was then announced.

Re: Three Tigers
Posted: Tue Jul 30, 2013 12:16 am
by buckeye36

WOW!
Re: Three Tigers
Posted: Tue Jul 30, 2013 5:31 pm
by Edwin
Once I had to wait a bit so I can safely edit the wells it was finally here.
I can now sharpen and hone as I want and only have to check that it is not too warm.

So I'm now out the rough adjustment of the various upper trays.


After the rough work is done to the extent it is now doubling up with plastic sheets in the first well.
First, the termination strip on the rear. Fit and glue STABILITH express. Thus, the plastic sheets just will I push the tray on a flat surface.

Then carefully remove the ends of the side walls double up and be careful not to glue the transom.

After the glue is hard and then all course-filed carefully looks decent from the stern talk. In addition, the transom remains removable.

Re: Three Tigers
Posted: Thu Aug 01, 2013 4:54 pm
by Edwin
Re: Three Tigers
Posted: Fri Aug 02, 2013 6:22 am
by lliw180
epic coming along nicely
Re: Three Tigers
Posted: Mon Aug 05, 2013 6:22 pm
by Edwin
After I completed a few other studies, we are now further enhanced with the three tigers.
The springs are installed at the first ever pan on the rocker arms and tomorrow I'm doing this then at this tub ready and build it also in the other two wells.

Re: Three Tigers
Posted: Tue Aug 06, 2013 3:32 pm
by Edwin
And on it goes with the suspension.
First I built this done in the first well.


Then it went to the other two tigers on. I had to adjust the rocker arms careful with the belt sander first work. This is a dangerous job where you need to swing back cool every few seconds because he can not get warm because of the glue. If this comes off, the swing arm would be broken and this happens very quickly.


Eventually, however, even this work was then done without damage to one and I was able to install the suspension in the second tiger.

Then tomorrow is the third in the series.
Re: Three Tigers
Posted: Wed Aug 07, 2013 4:24 pm
by Edwin
Now the suspension of the third well in the series.
The rocker arms and springs are already installed. It still lacks the counter-holder of the springs and I have the tub as the two first even double up with plastic sheets, but that's just a formality.

Here I have a swing times as I install it.
He is mounted on 19mm length of your silver steel shaft in a brass bearing in the tub and gets a dirt seal from outside an O-seal. The, the weight of the tank is inserted into a matching tongue of the actuating ring is clamped with two set screws to the M3 axis. Thus, the suspension is very stable and fully adjustable and is held securely by the double clamping.

Re: Three Tigers
Posted: Thu Aug 08, 2013 4:08 pm
by Edwin
The suspension of the third well is now installed.

In all three tigers I have taken that the bottom it remains as smooth as possible.

So now I could ever mount the wheels in the first two and adjust the suspension.


Next, are now the eccentric chain adjuster turn.
For this I use a 10 x 10mm brass rod that I make the holes.

Then fixed to the eccentric, hard soldered to the axles I file into the larger holes corners. May be better distributed between the solder and eccentric axis during soldering and connects the parts then absolutely secure.


Re: Three Tigers
Posted: Fri Aug 09, 2013 4:32 pm
by Edwin
Today I solder the eccentric.
First, I have but only cut the axes of 6mm silver steel and ground on the points to be soldered.

Before you put the axles in the eccentric I moisten everything still points to the brührungs surface with a suitable flux.


I've had enough for brazing itself for these parts this small torch just good. I'm even for soldering workpieces as long hot until the flux cleans the visible surface. I from the outside to melt some silver based alls and then warm the side of the axis, so that the solder is drawn by capillary action and the heat through the gap between the parts and connecting surface.

After cooling in the first stage I turn on the outer circumference and the two sides.

After I have cleaned the axis of the flux residues do I get the eccentric with my small belt sander in shape.


So I can now mount the idlers in the pans and adjust the chain track. And I've seen that at least one of the Leitradachsen is bent and I still have to replace them. If the wells are then also charged the correct amount of idlers.


And then I also unpacked, gear ....... dreams ......

With this I can now also begin slowly.


