Page 2 of 4
Re: Jussek's Königstiger (Torro Metal Ed.)
Posted: Tue Mar 31, 2015 9:48 am
by Jussek
Re: Jussek's Königstiger (Torro Metal Ed.)
Posted: Tue Mar 31, 2015 10:53 am
by AlwynTurner
Re: Jussek's Königstiger (Torro Metal Ed.)
Posted: Tue Mar 31, 2015 5:24 pm
by jackalope
If English isn't your first language you sir are doing a hell of a good job with it! That tool would be called a "vice". Very nice work you're doing on your KT!
Re: Jussek's Königstiger (Torro Metal Ed.)
Posted: Tue Mar 31, 2015 6:02 pm
by Jake79
Superb work Jussek, how did you achieve the wood effect on the tools, they seem to look a lot more convincing than my efforts..
Jake
Re: Jussek's Königstiger (Torro Metal Ed.)
Posted: Wed Apr 01, 2015 8:41 am
by Jussek
hello again
thanks a lot for your undeserved comments!
'vice'... i will try to remember it!

thanks Jack
Jacke, the wood effects was accomplished painting first the tool handle with an acrylic 'hearth' colour, then using burnt sienna oils (in my case two different tones). with a piece of paper you can 'move' the paint or remove the excess until you achieve a more convincing wood looking.
this tip and the milliput with acetone aren't mine, i have learn them watching the work of others
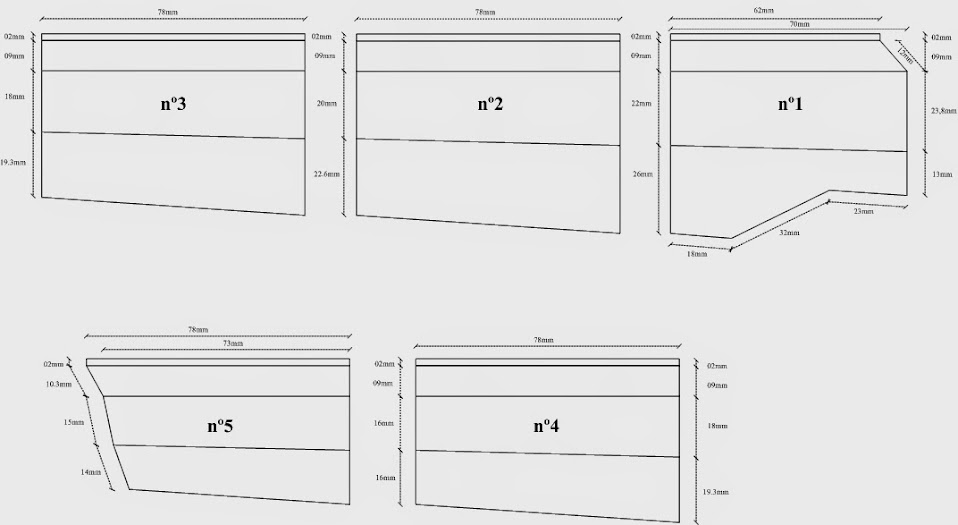
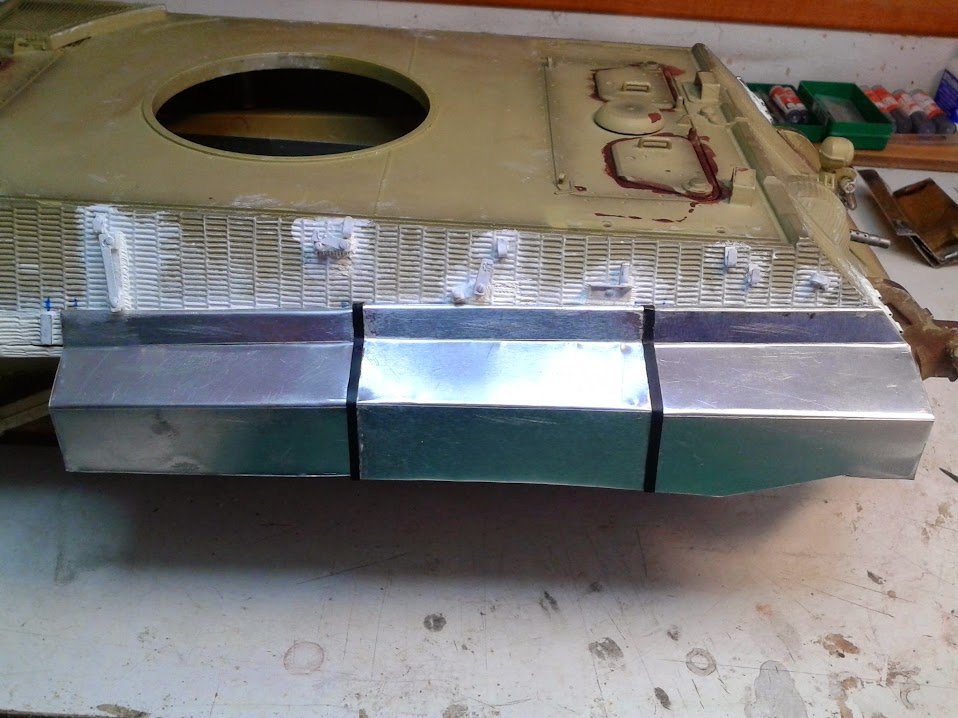
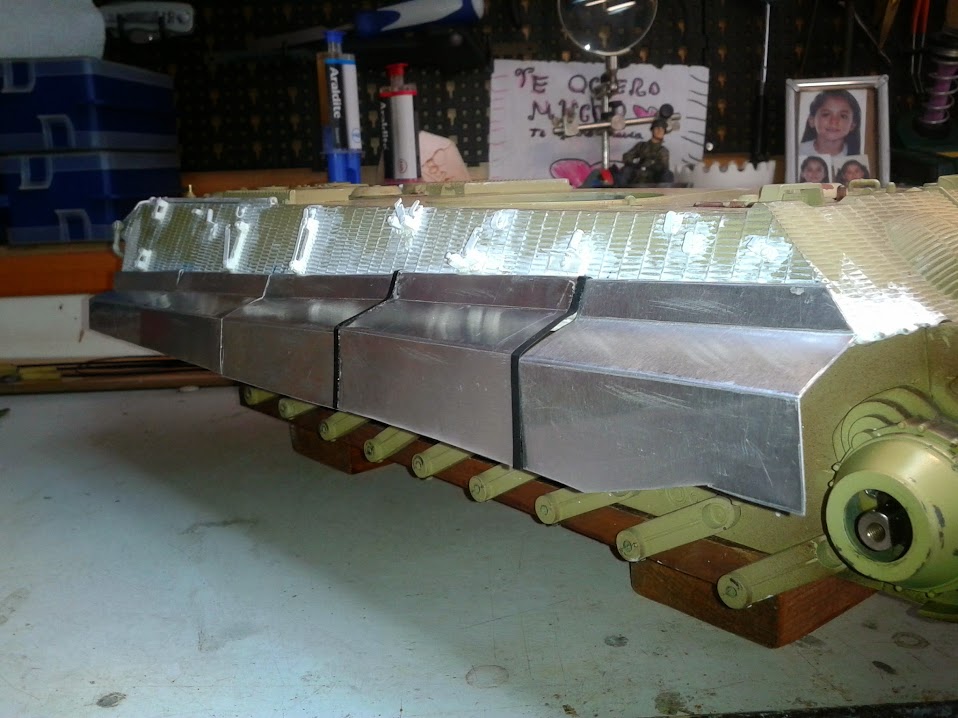
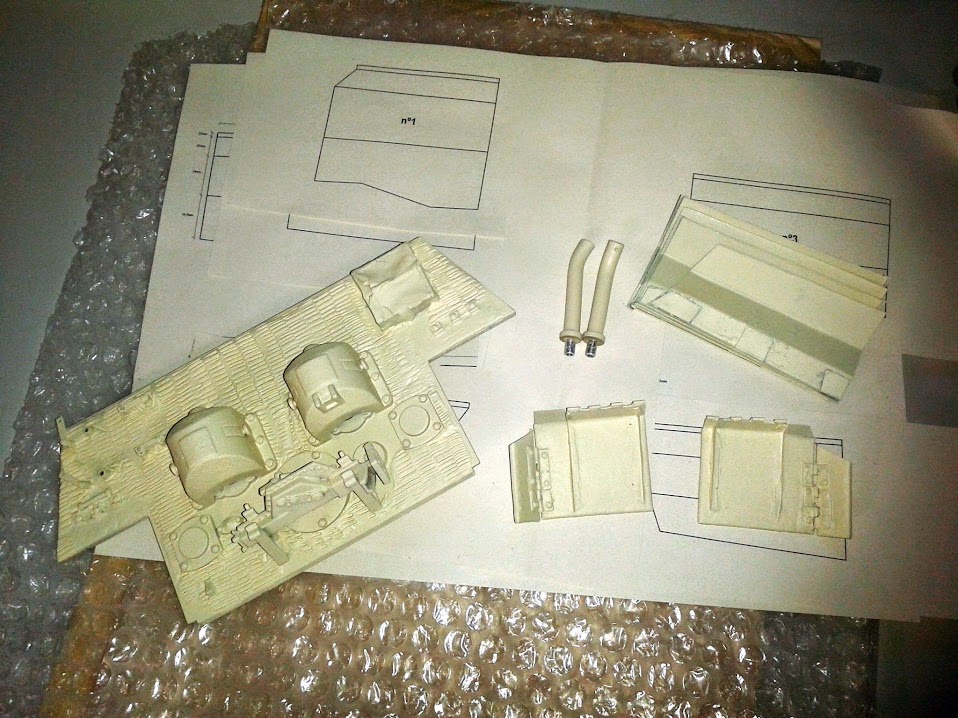
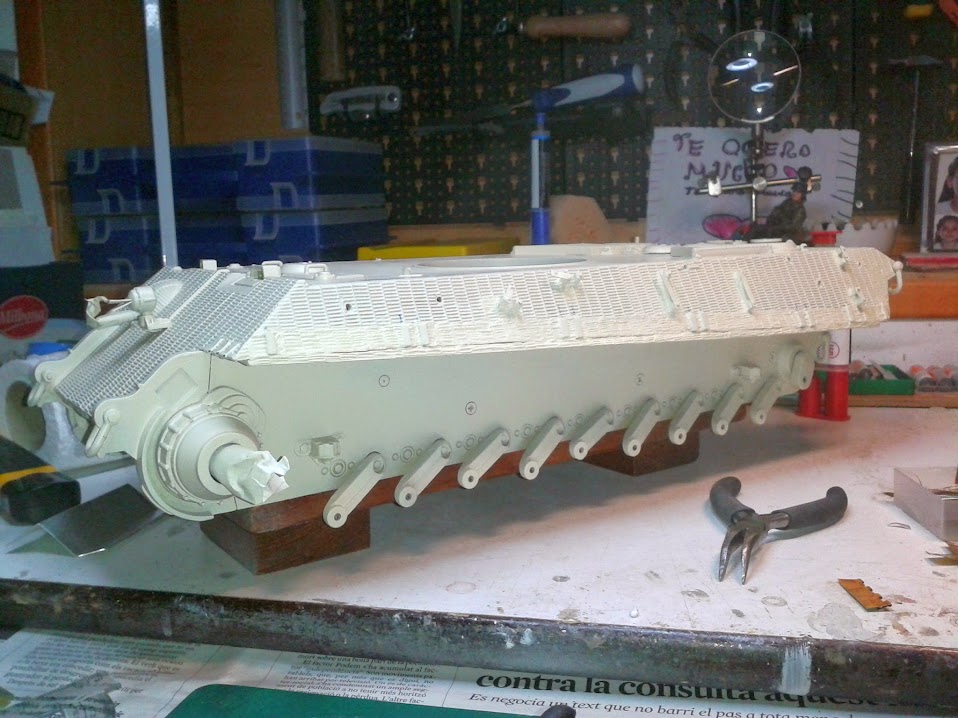
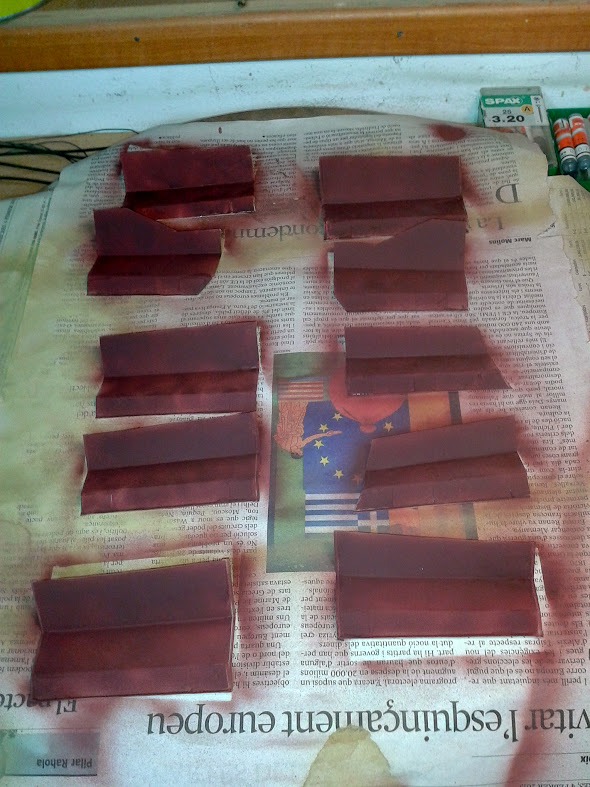
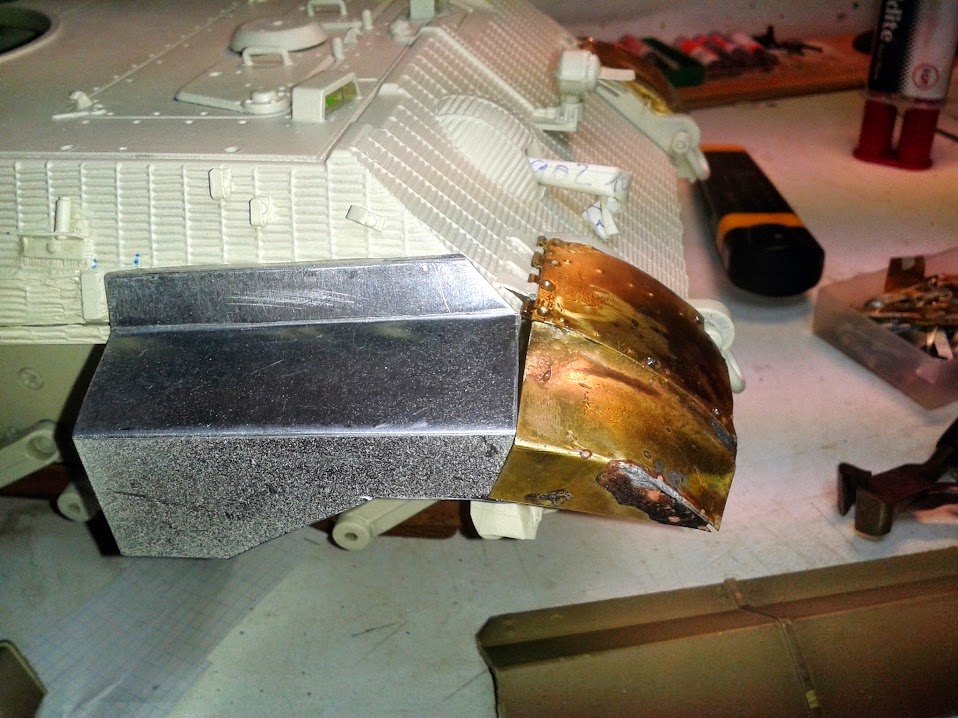
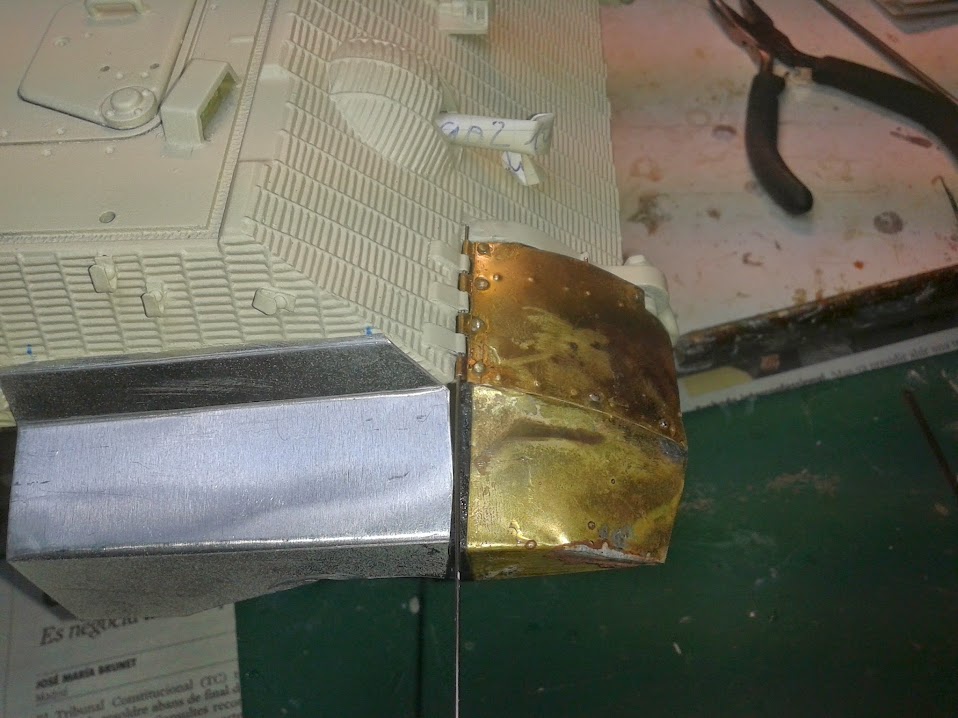
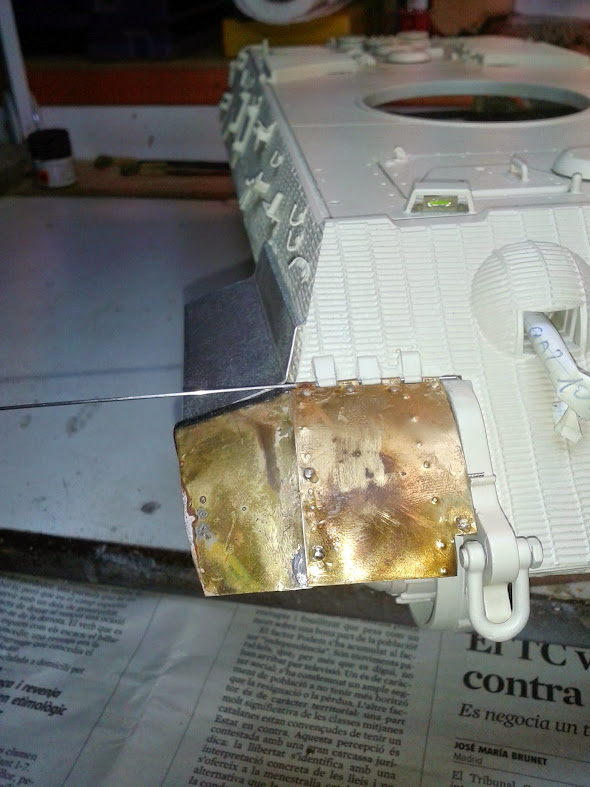
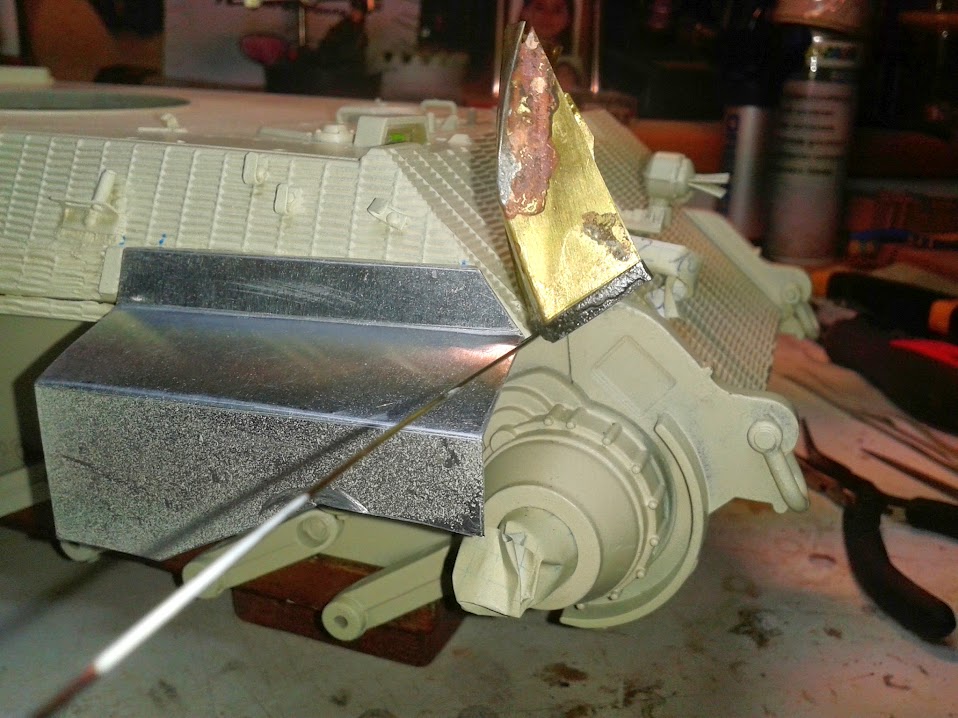
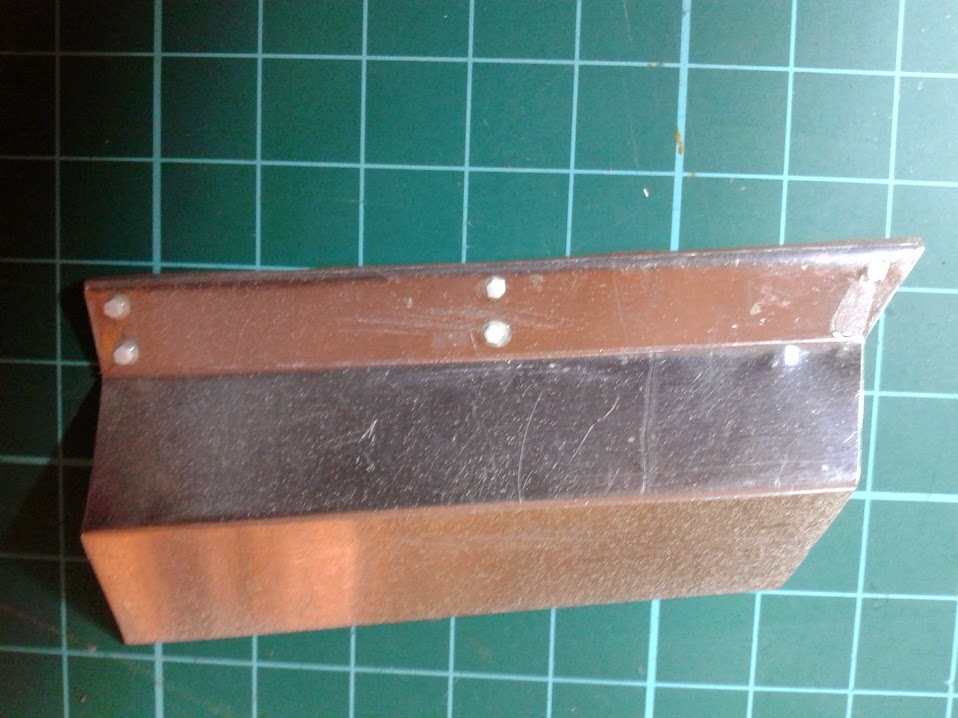
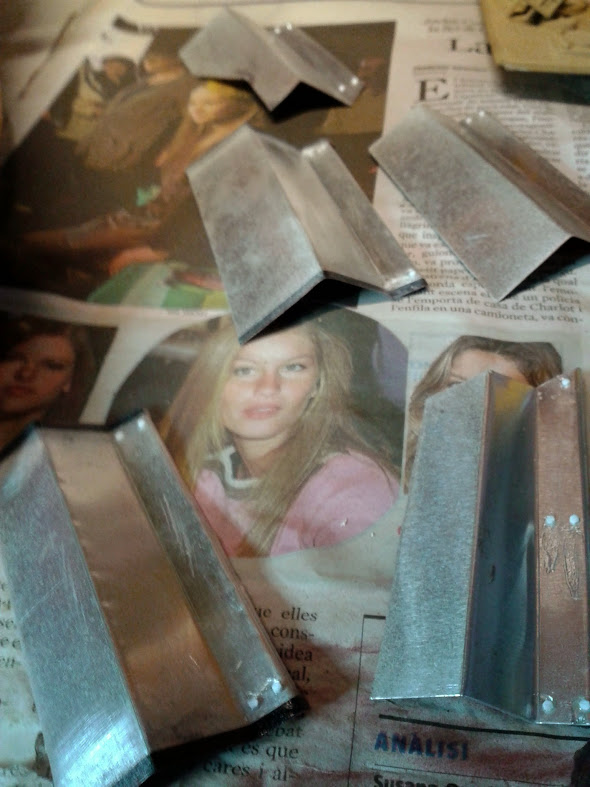
next step, the front mudguards. For these pieces i did also the 'mould' trick, but drawing it directly over a paper, then cutting it and marking it over a 0.3mm brass sheet. The hinges are made with 0.12mm brass sheet and glued in place with Araldit epoxy.
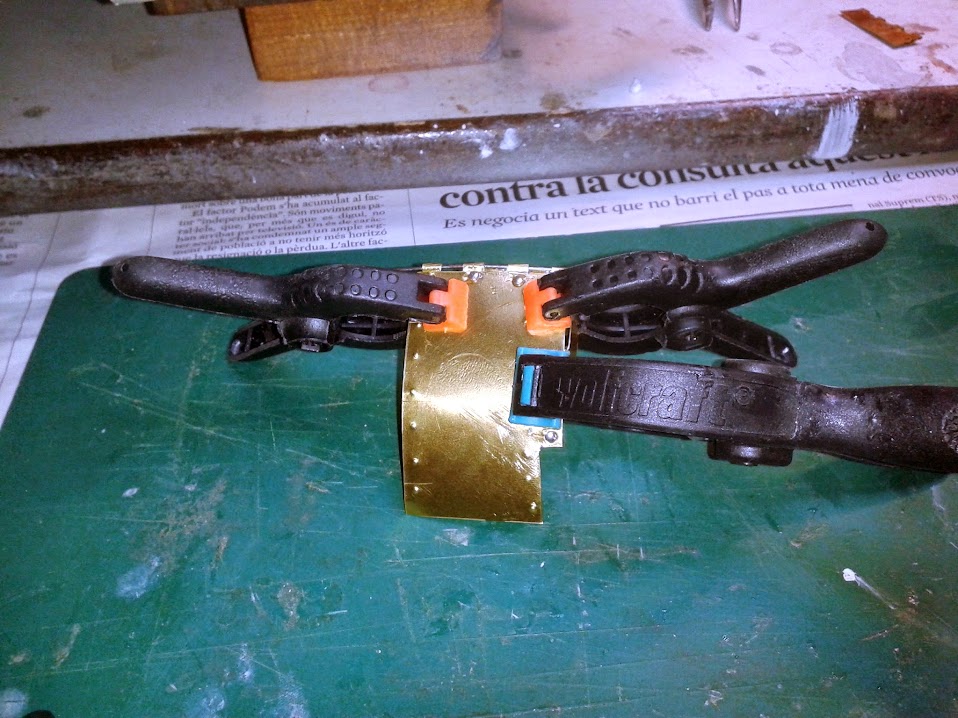
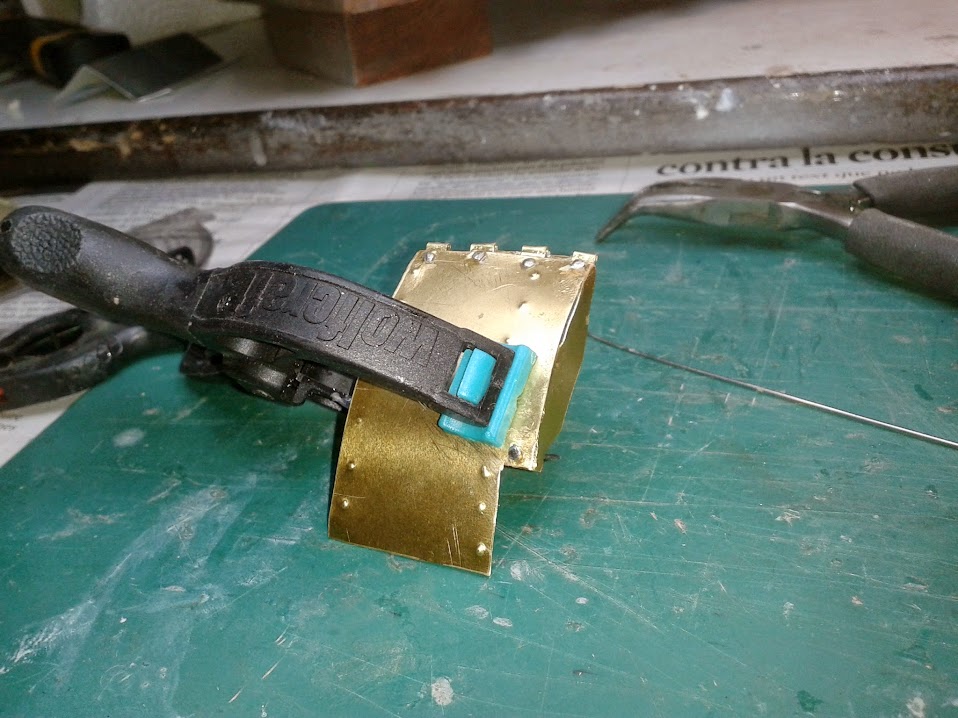
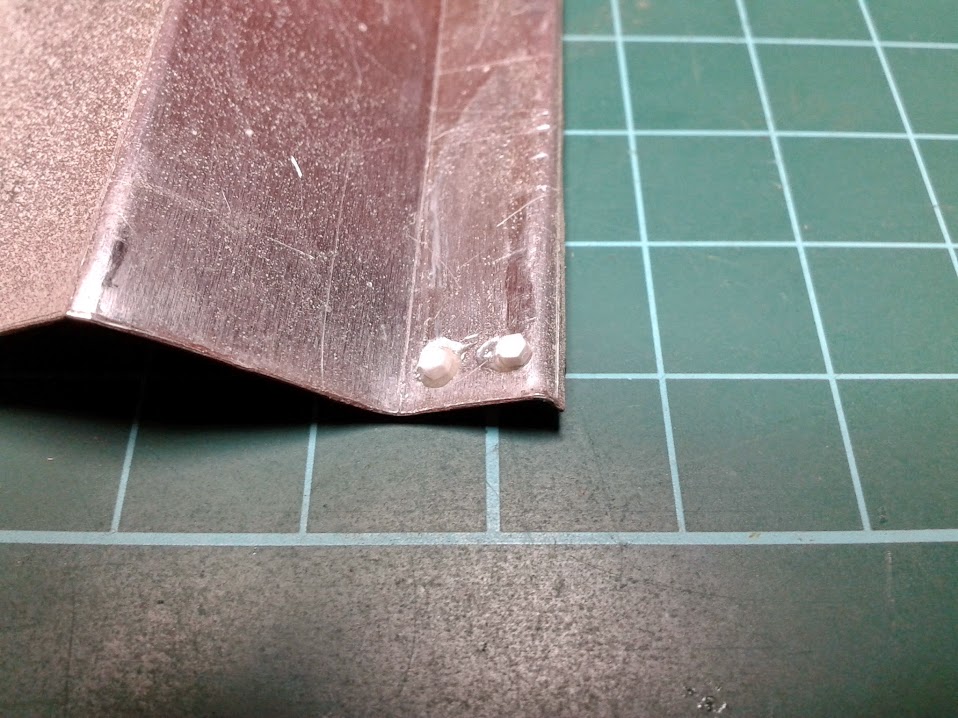
the side part of the frontal mudguards where welded with tin
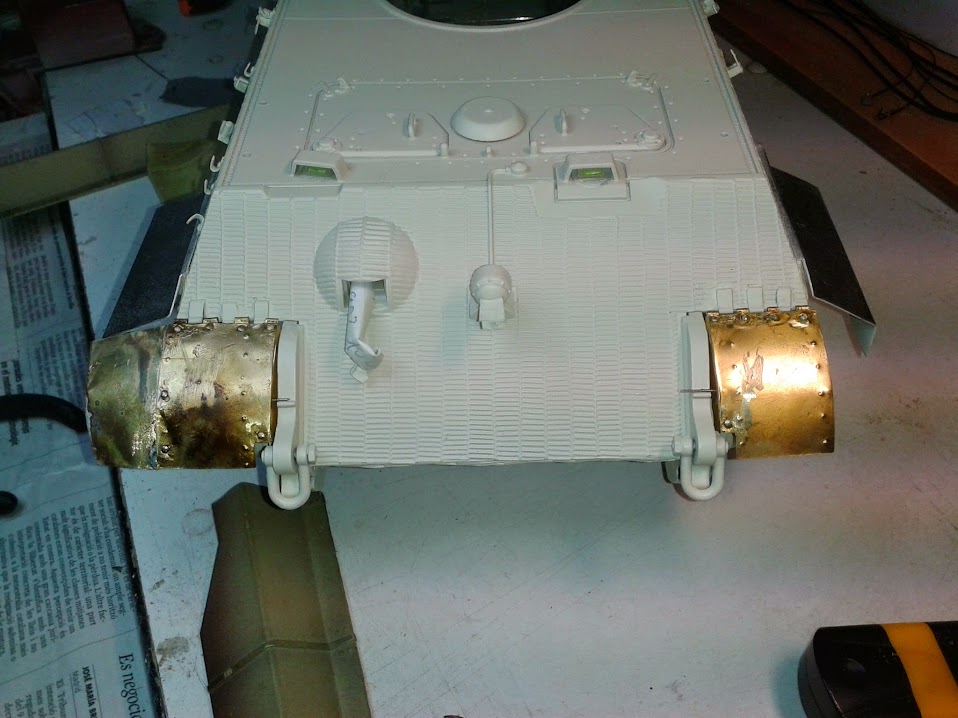
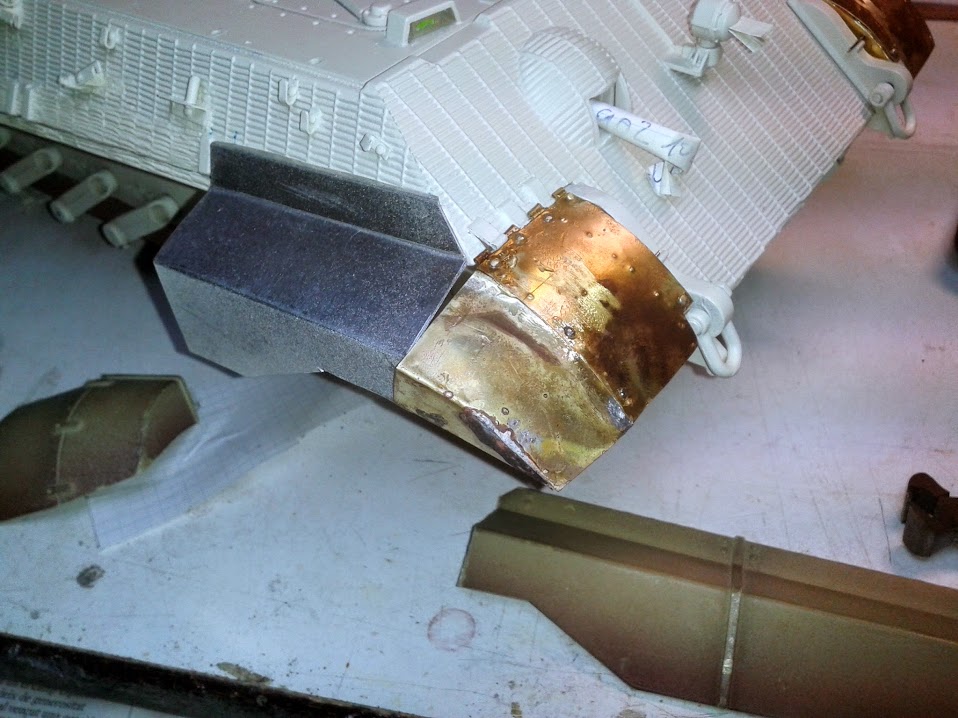
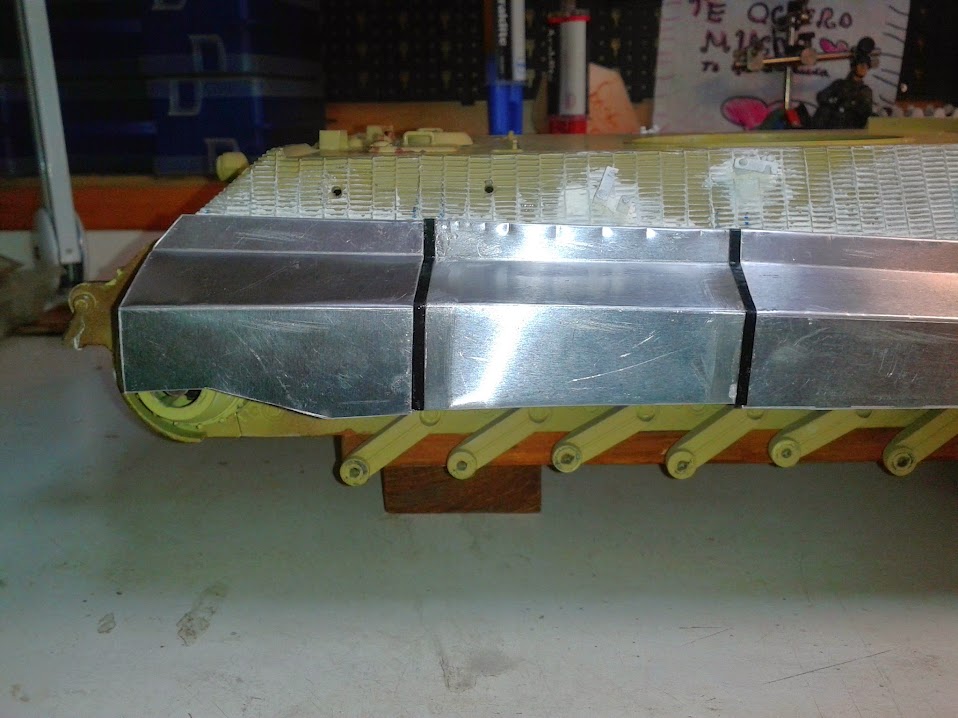
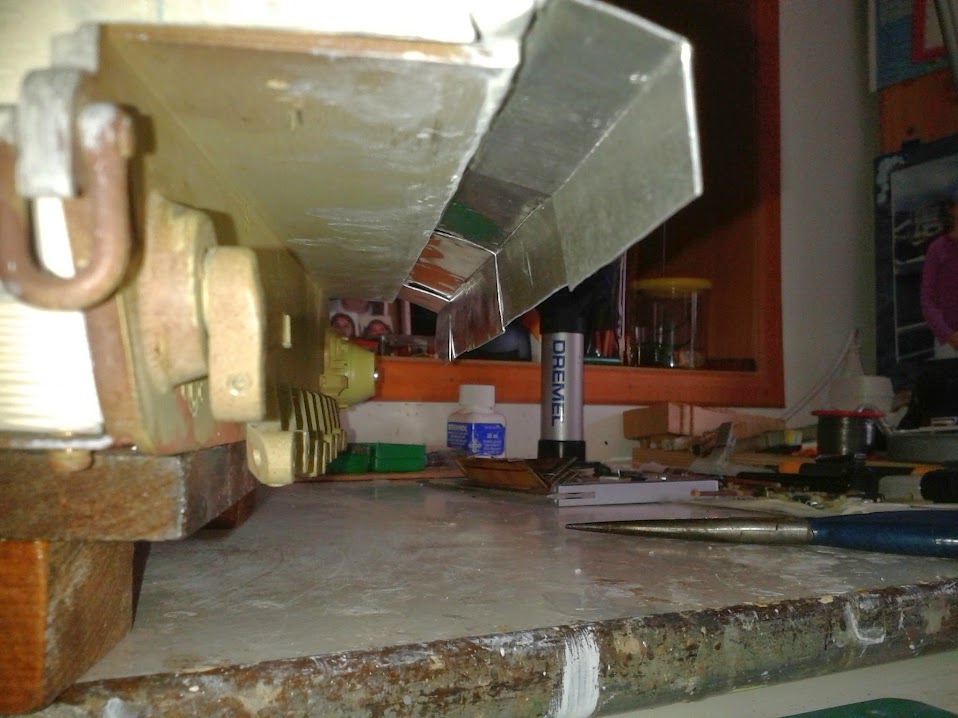
here you can see a non-alignment with the sideskirt nº 1...
so i started searching the net and found this:

in this thread
http://www.network54.com/Forum/637977/t ... nt+fenders
so i did the same correction
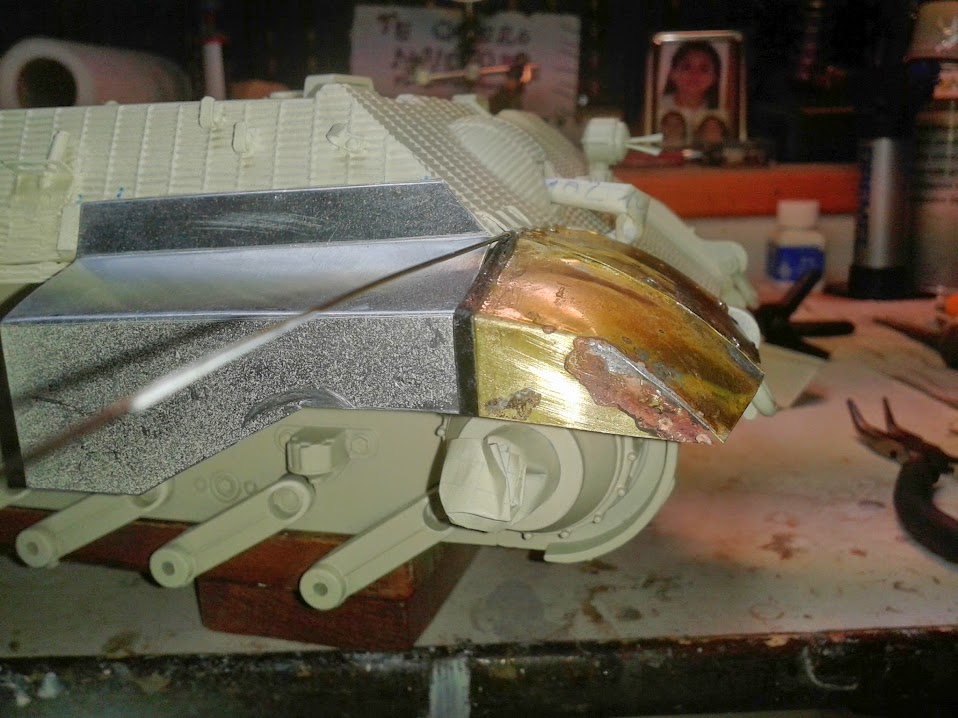
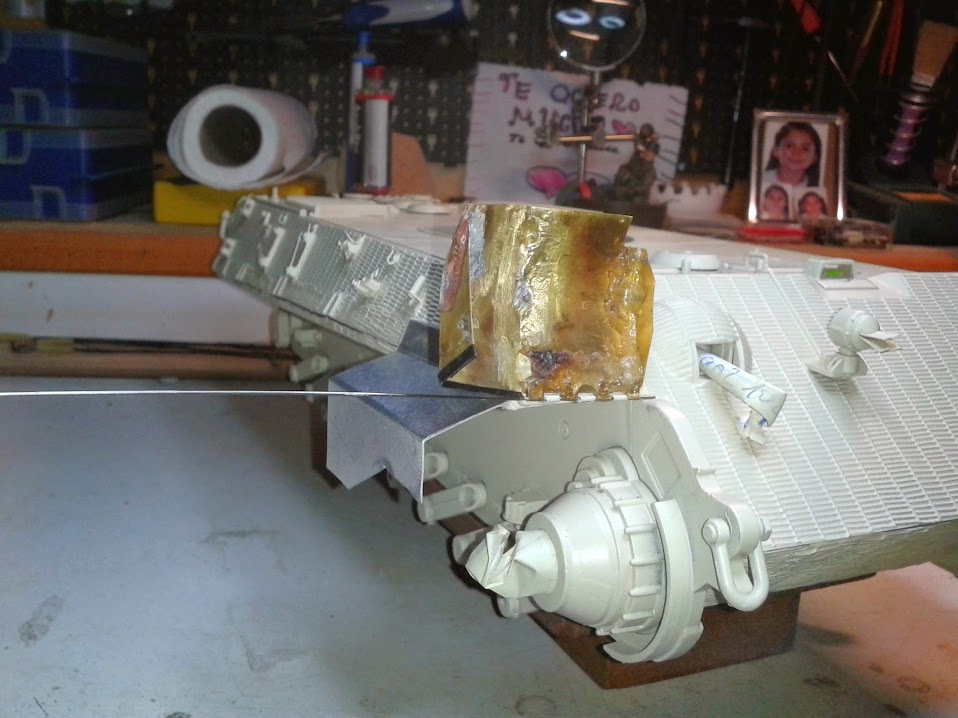
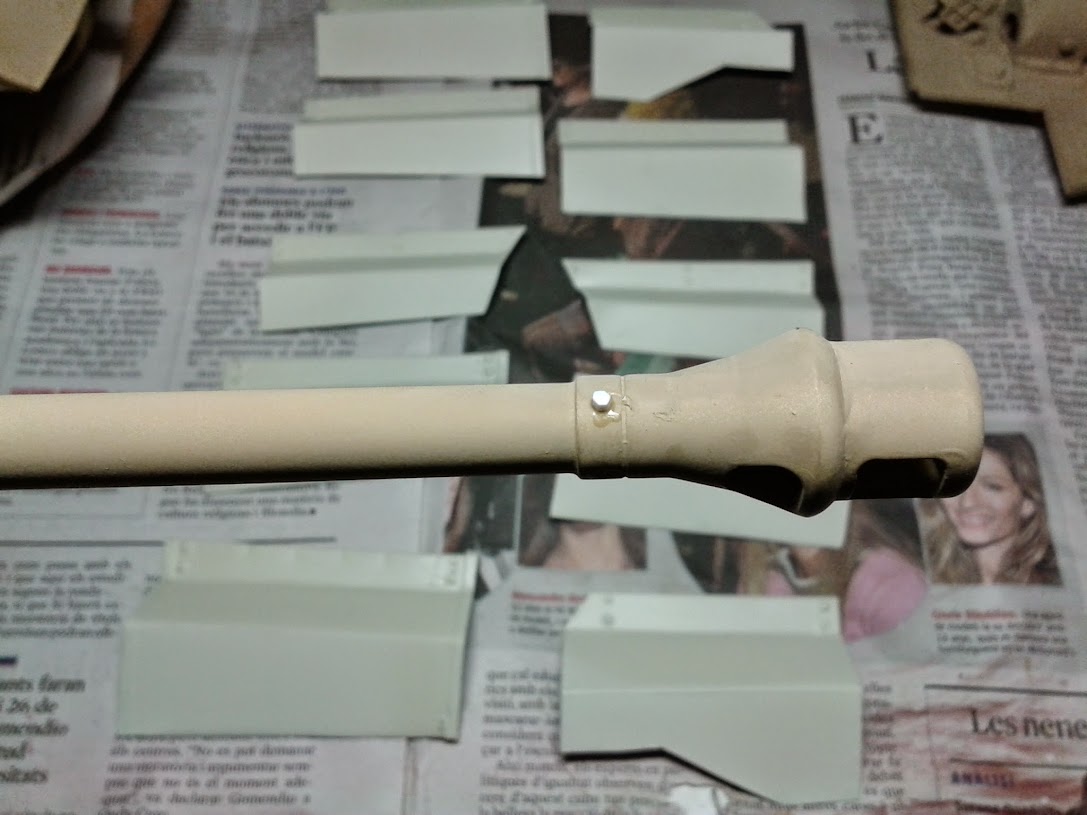
did you noticed the rod i'm using? yes.. it's a HL aerial

Re: Jussek's Königstiger (Torro Metal Ed.)
Posted: Wed Apr 01, 2015 8:50 am
by Jussek
Re: Jussek's Königstiger (Torro Metal Ed.)
Posted: Wed Apr 01, 2015 9:14 am
by Jussek
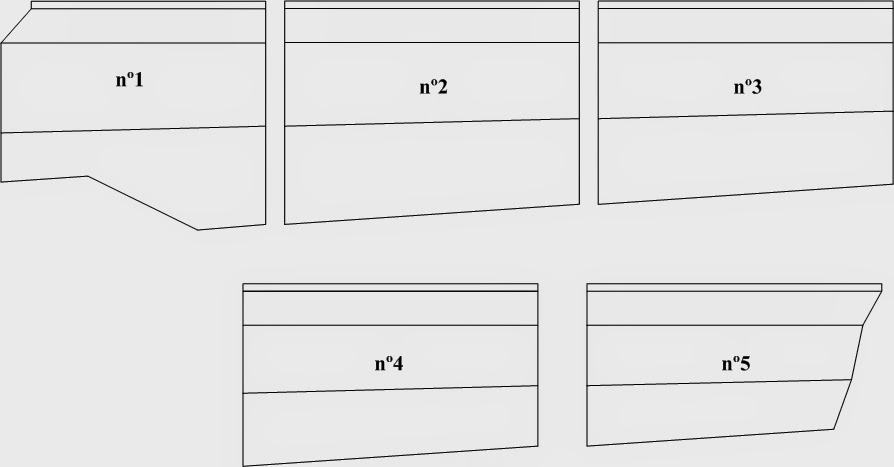
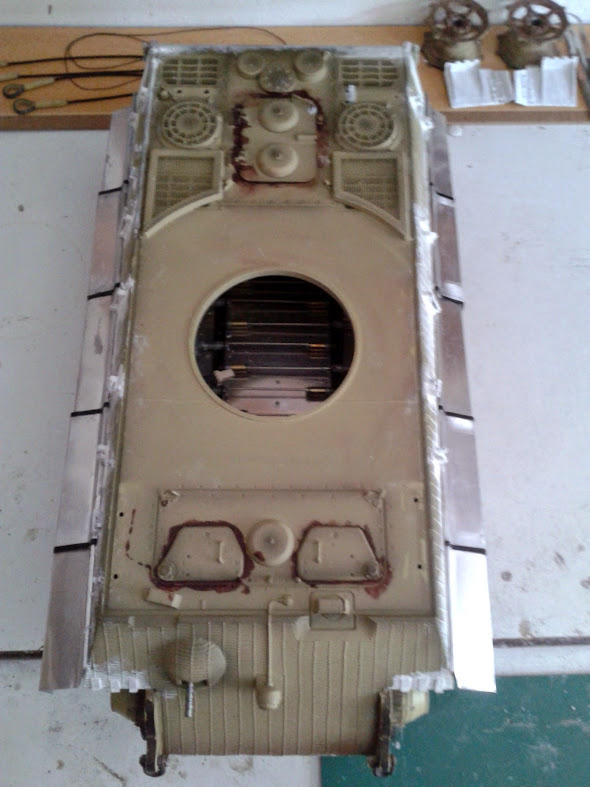
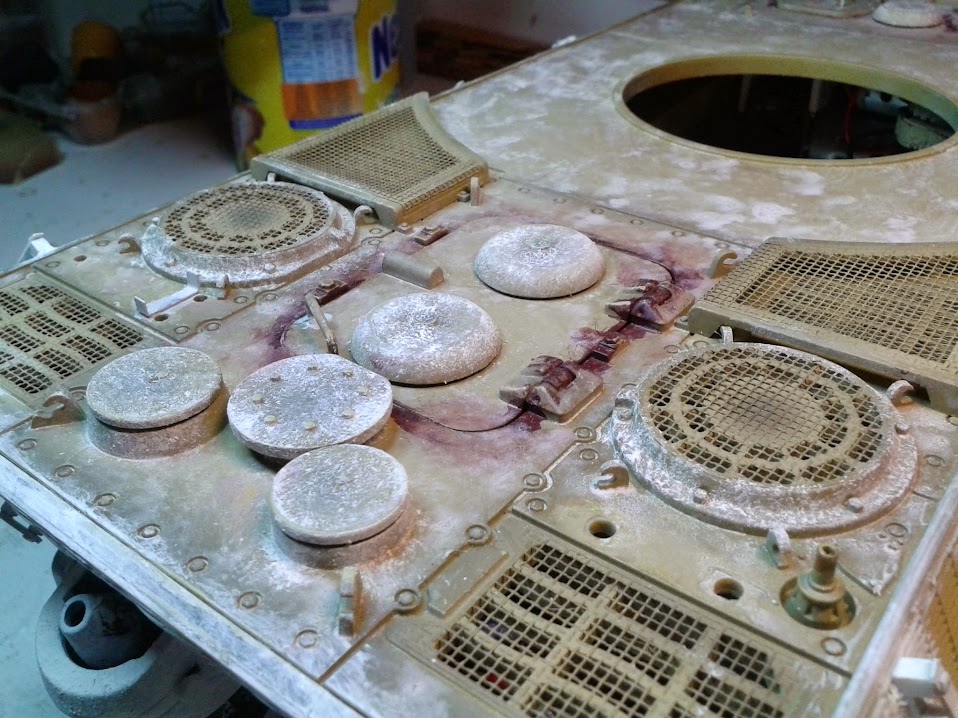
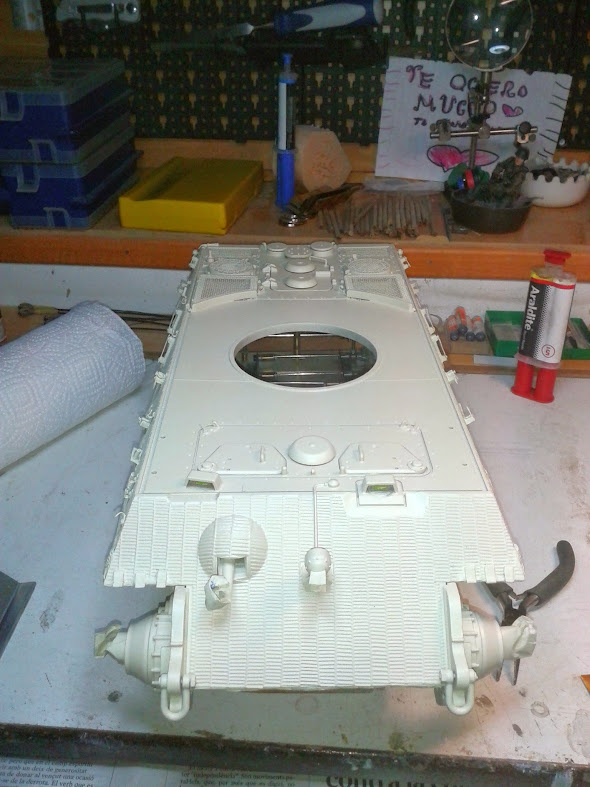
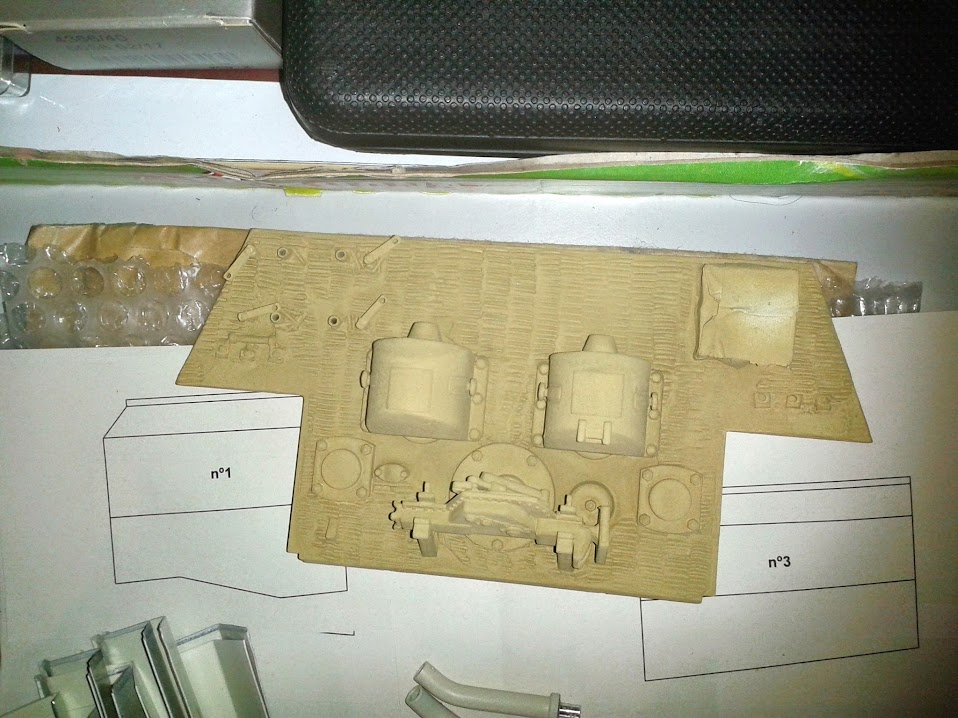
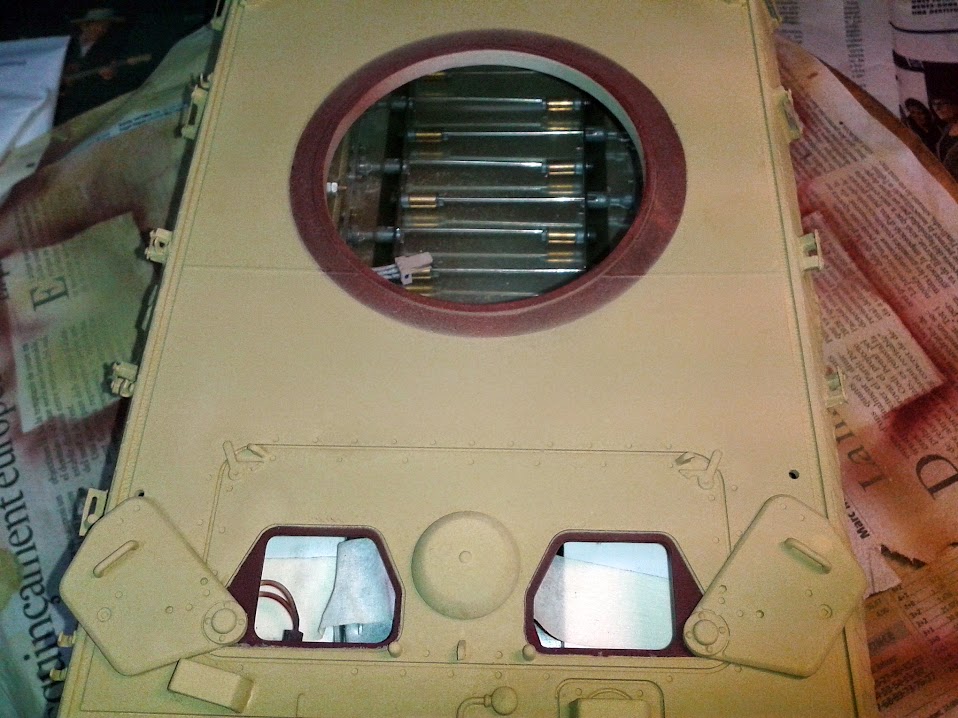
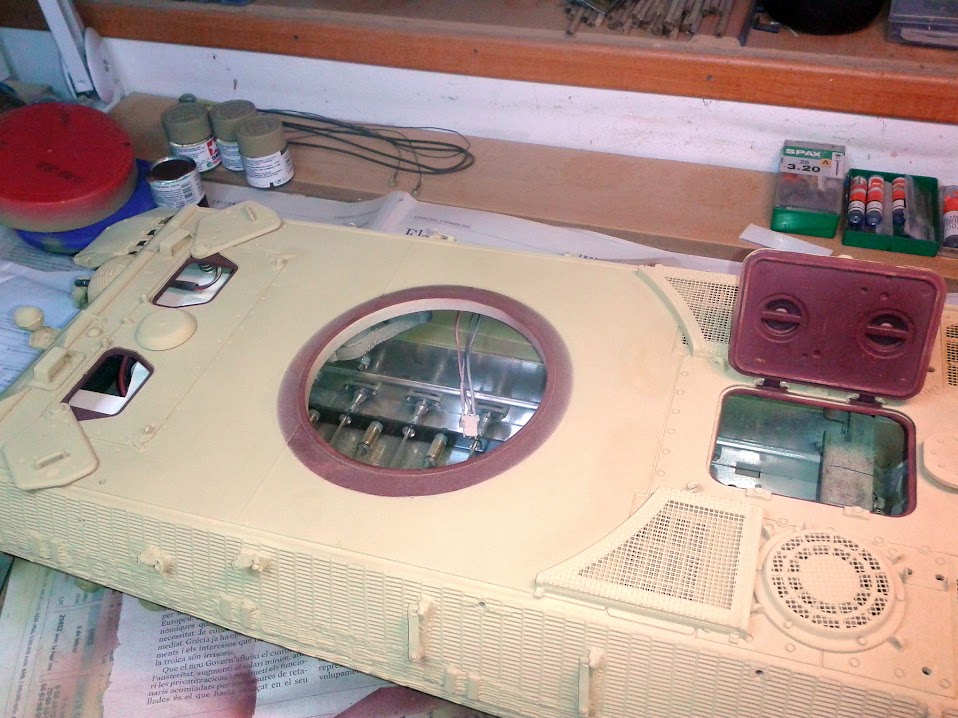
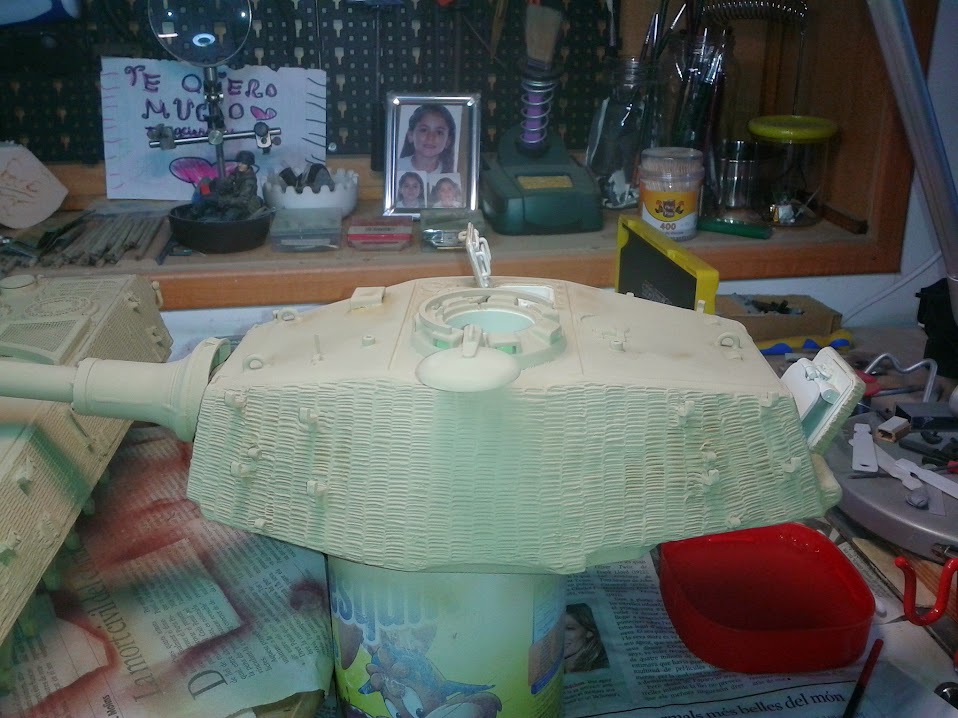
time for simulate the hex bolts used to fix in place the sideskirts. There where two 'types' of sideskirts... the initial ones, with this form of keyhole
and a late one, with only the normal hole
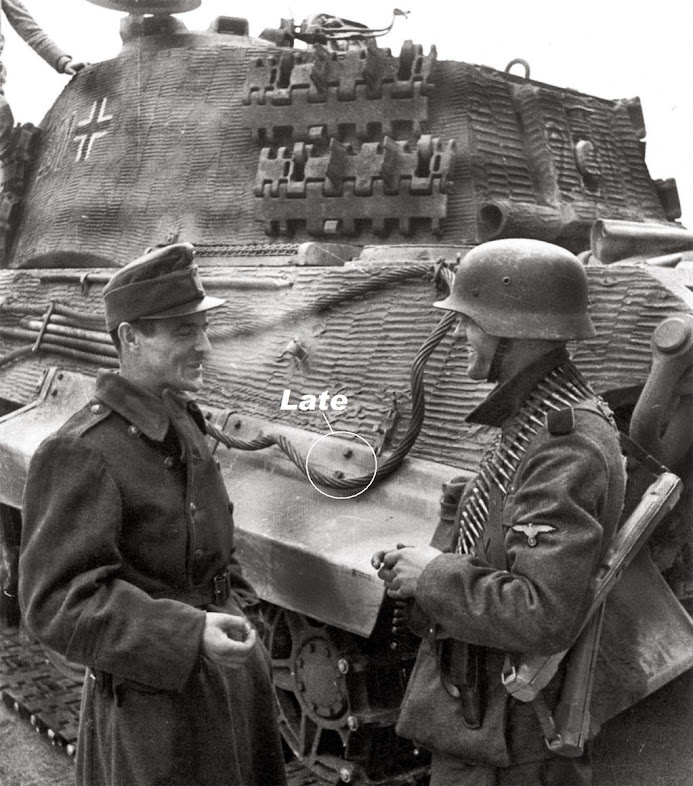
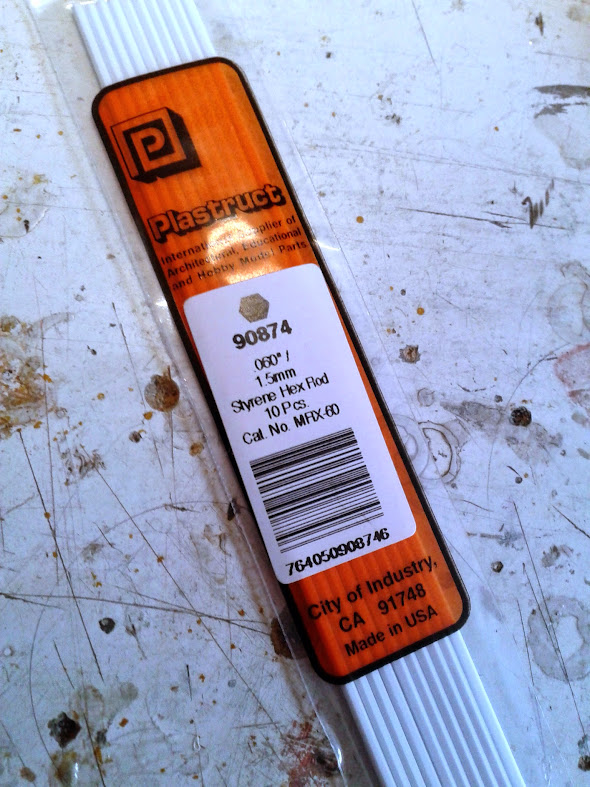
so, for an easy build, i decided myself for the second type. I bought this hexagonal rods, because all my attempts to simulate them for my part were a big fiasco...
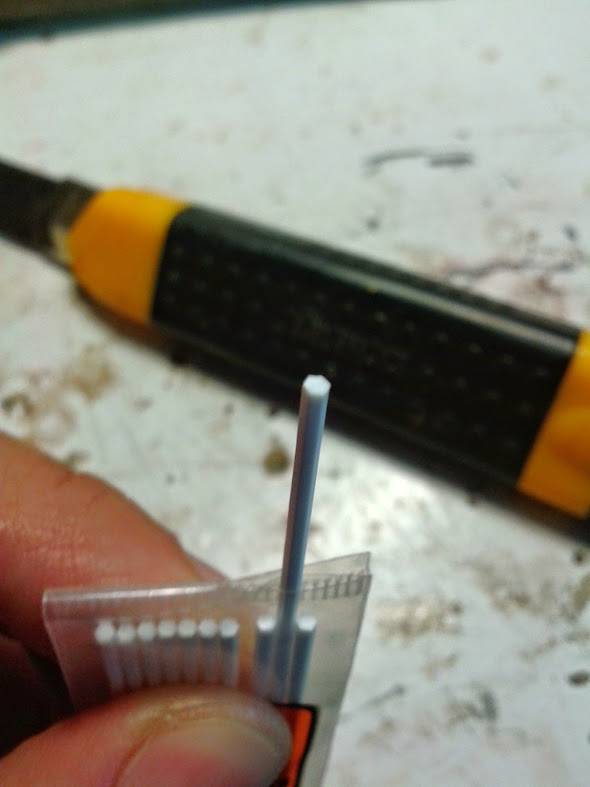
i 'build' this thing to see if i was able to cut them more or less straight
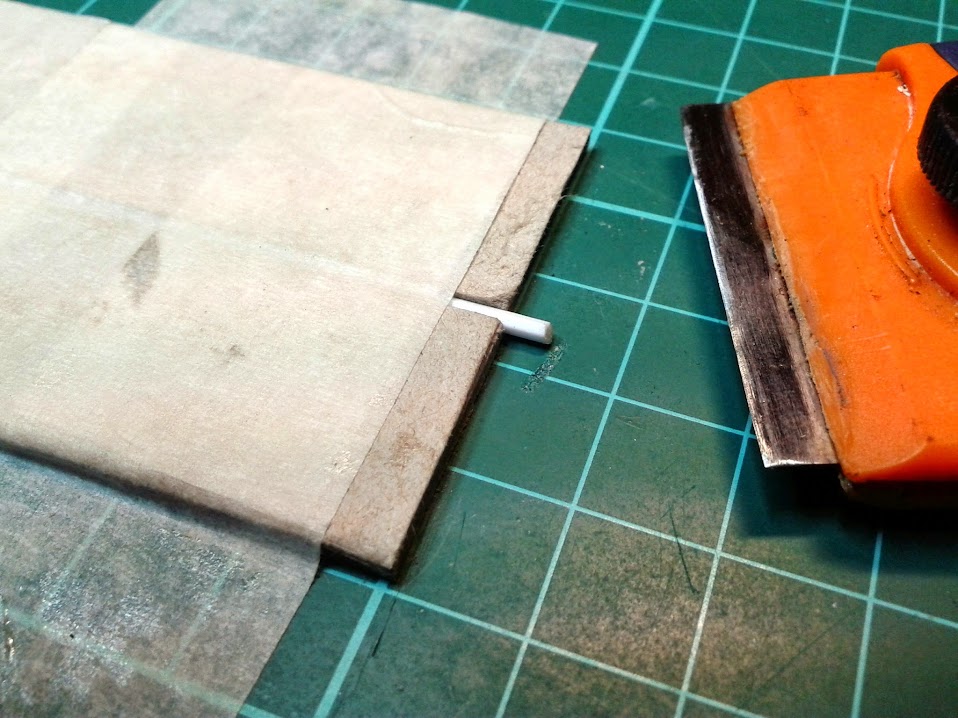
then glued them in place with a drop of Araldit epoxy, later i cut off the excess on the sides with a sharp hobby knife
i did cut one for this piece also
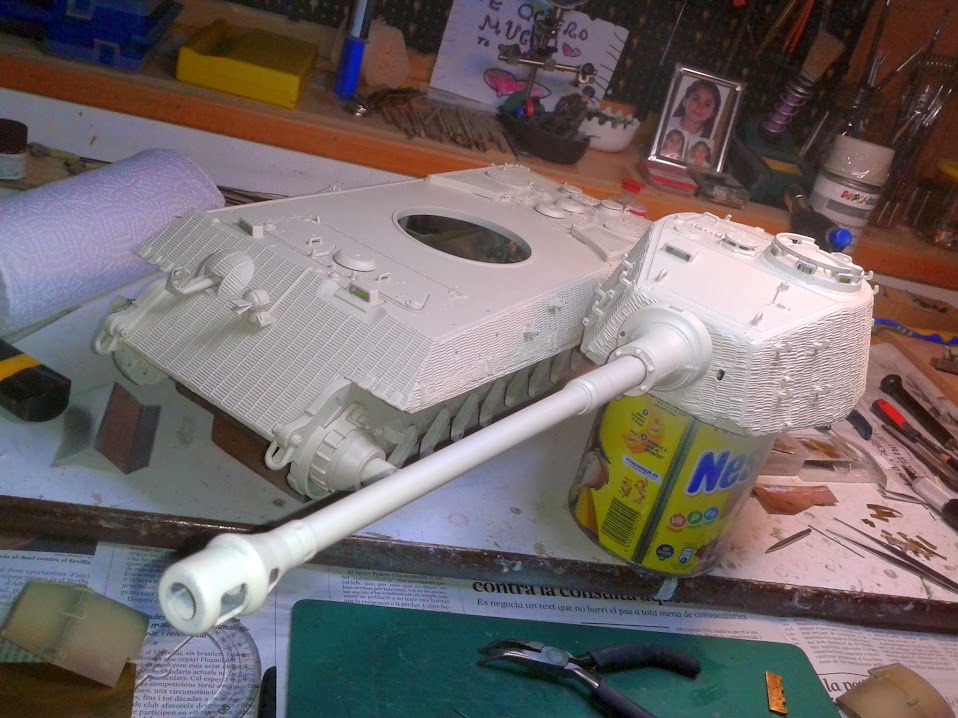
and then... the real painting work begun
best regards
Re: Jussek's Königstiger (Torro Metal Ed.)
Posted: Wed Apr 01, 2015 9:35 am
by Jussek
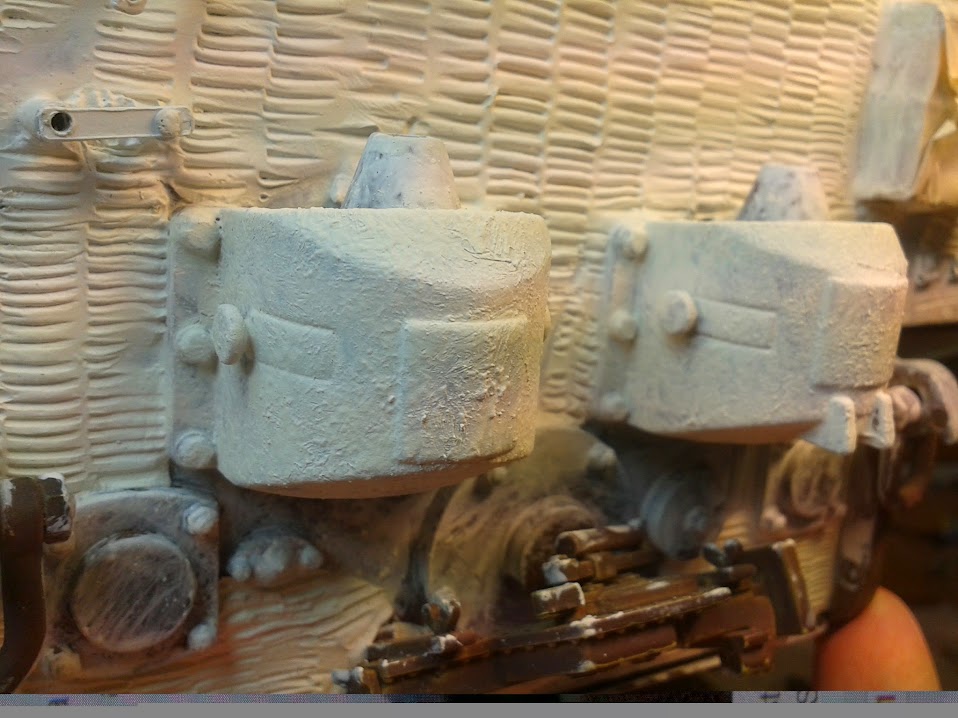
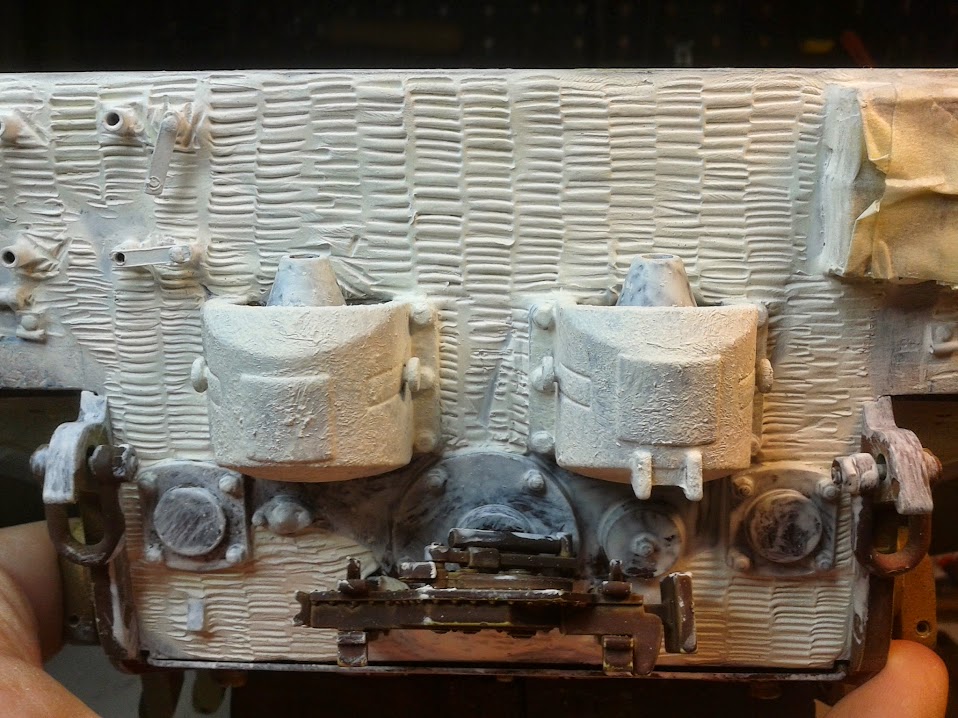
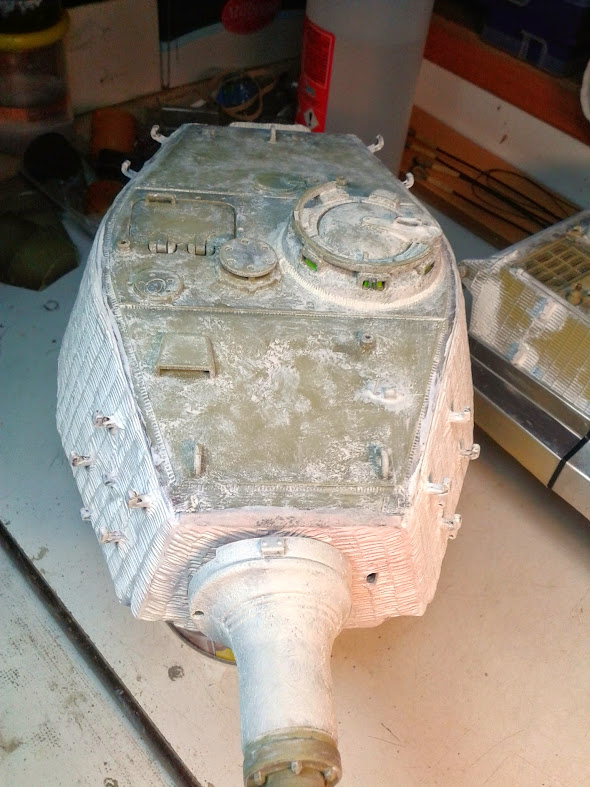
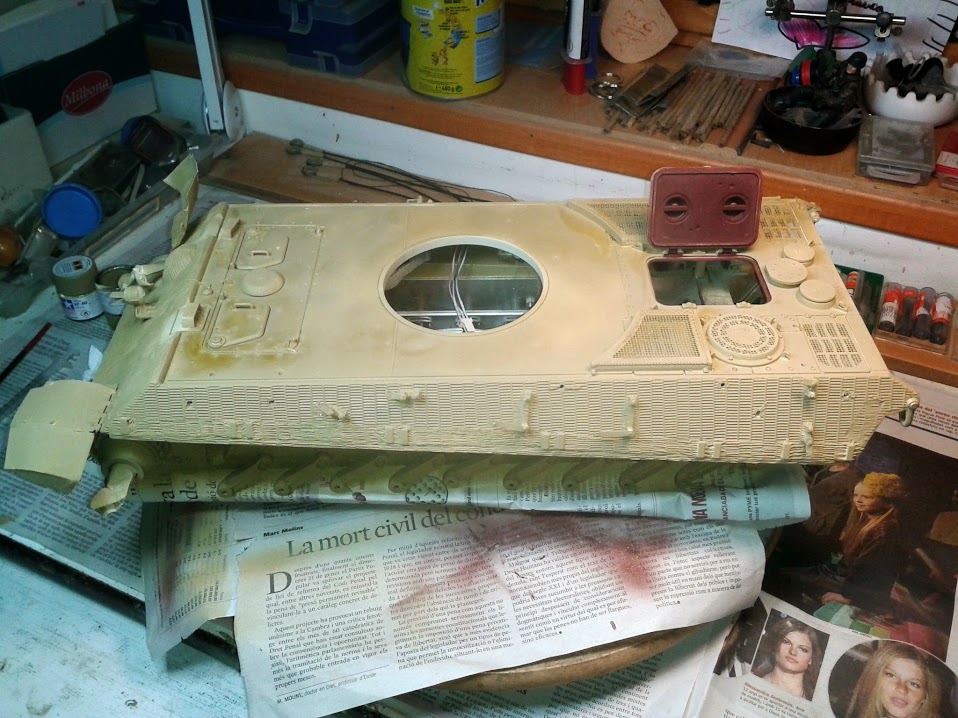
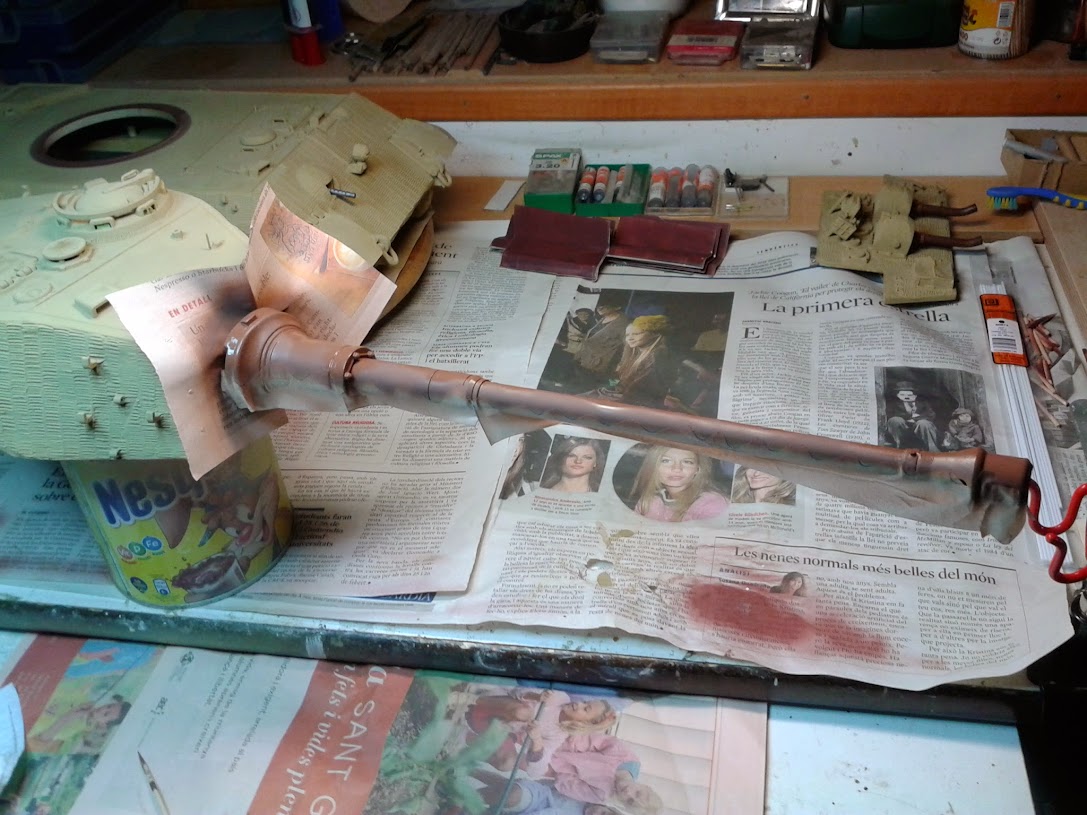
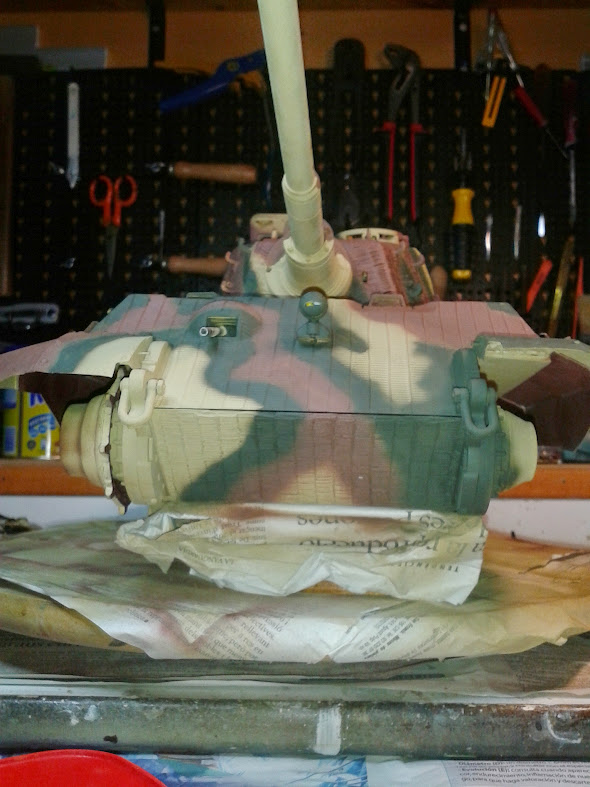
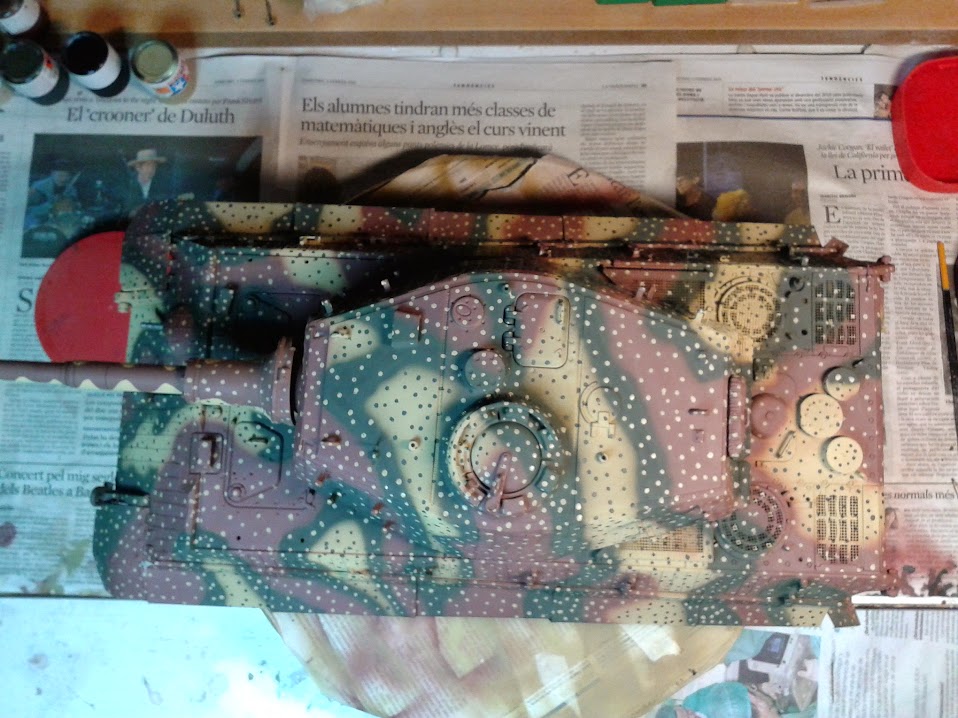
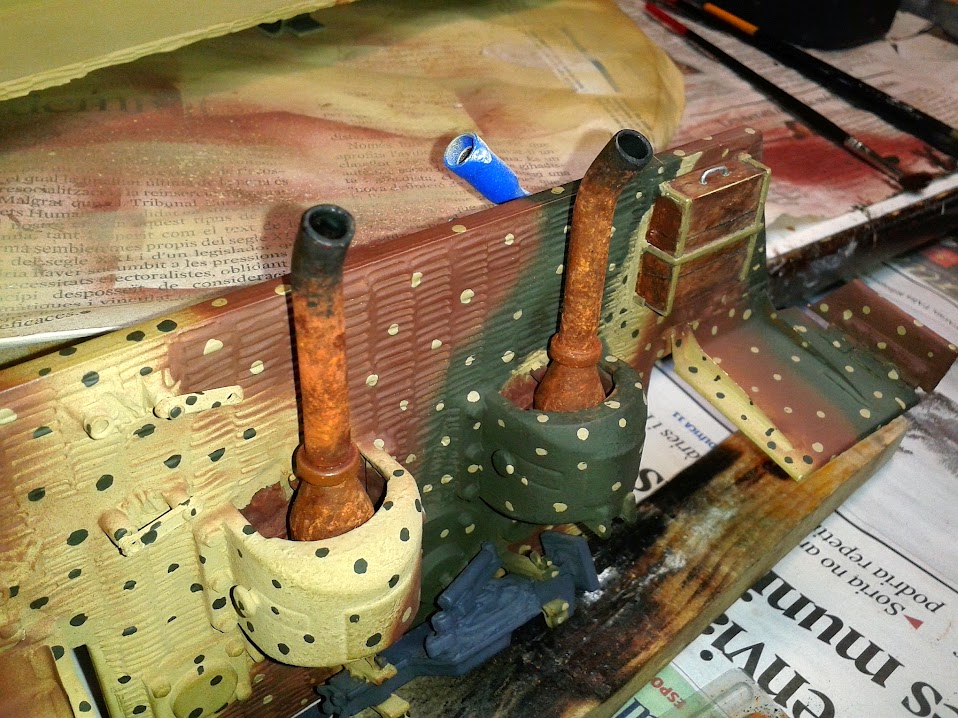
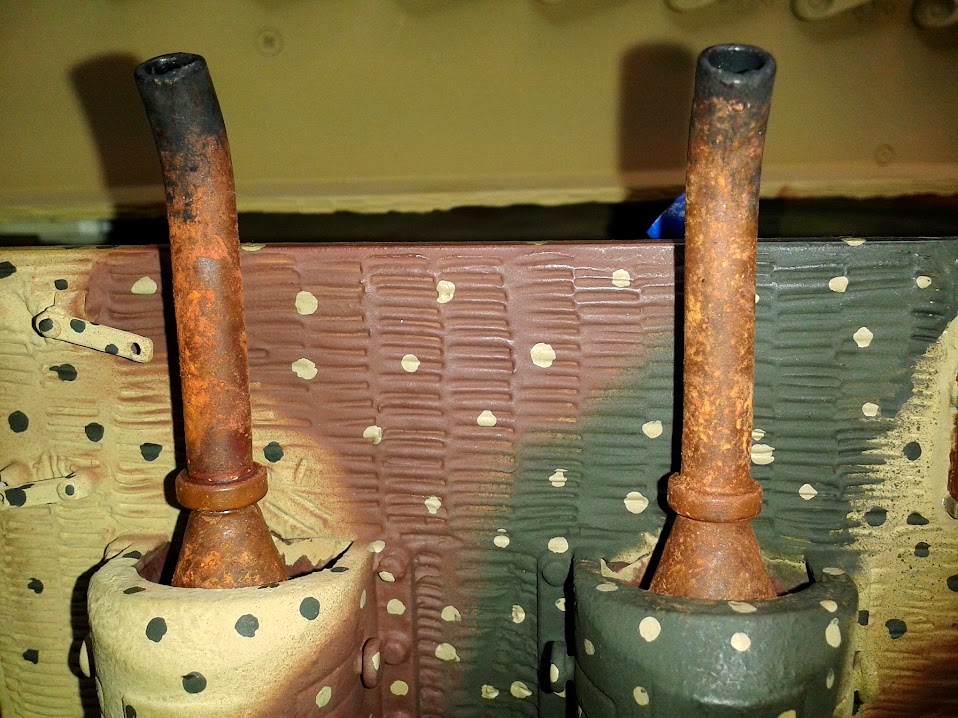
while the epoxy was setting i started to paint the exhaust pipes, they are NOT glued in place yet so i paint them off the tank, here you can see them in place only for the photo
first phase, paint with acrylics and oils, later the pigments

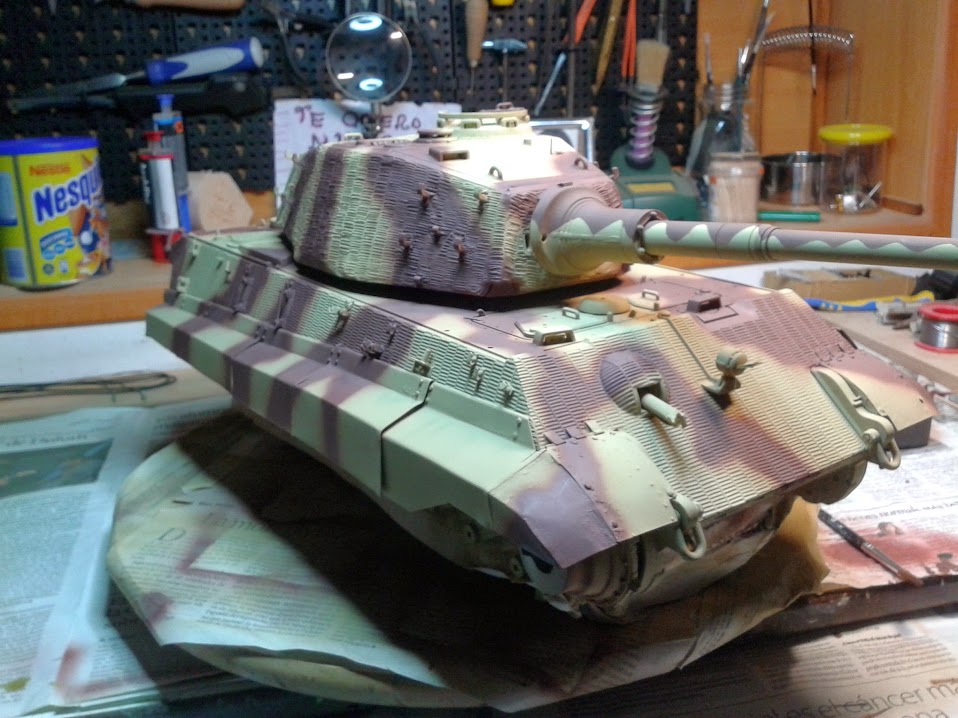
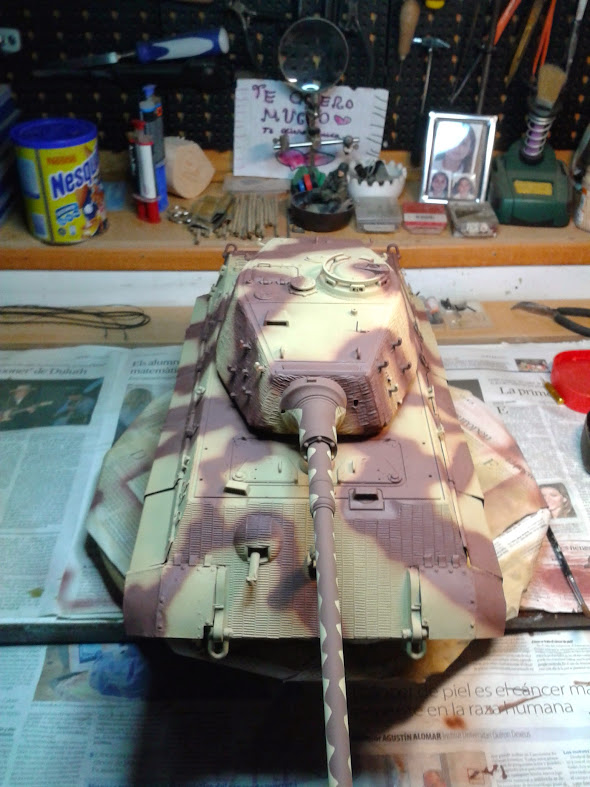
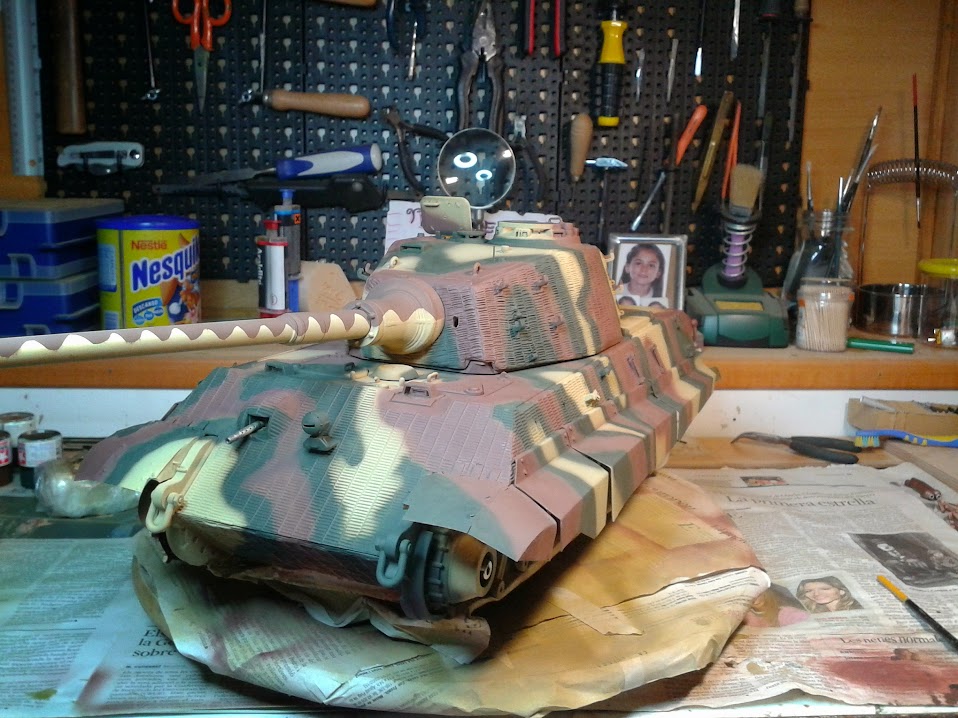
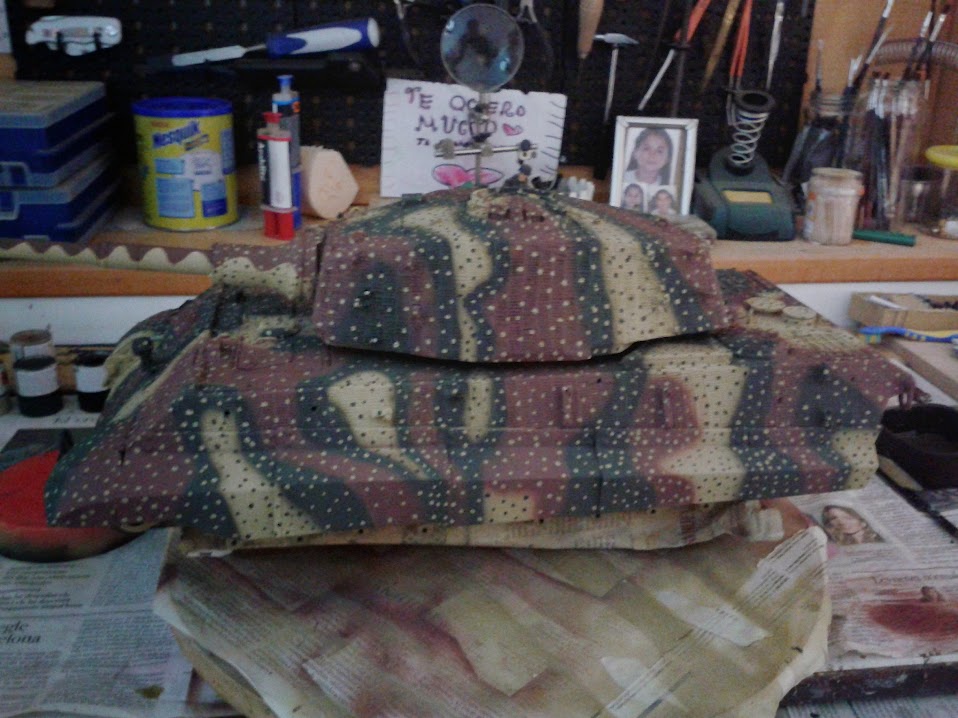
the camo type i wanted to do was the hinterhalt-Tarnung - Licht und Schatten, ambush scheme in English. There is no graphical proof that this camo were applied on KT with the zimmerit, but, as only -approx.- a 10% of these vehicles were ever photographed... this is not an Irrefutable proof that there was never a tank like this so... i will take my 'artistic/historic license' here.
The zimmerit was ordered to not to be applied any more on factories on 09/sept/1944, on the units they stooped applying it on October. They started to paint the tanks in ambush scheme on September IIRC. My KO depicts a vehicle build between august and october, so... it could be possible that a determined vehicle had zimmertit and hinterhalt camo... so be gentle with me guys!
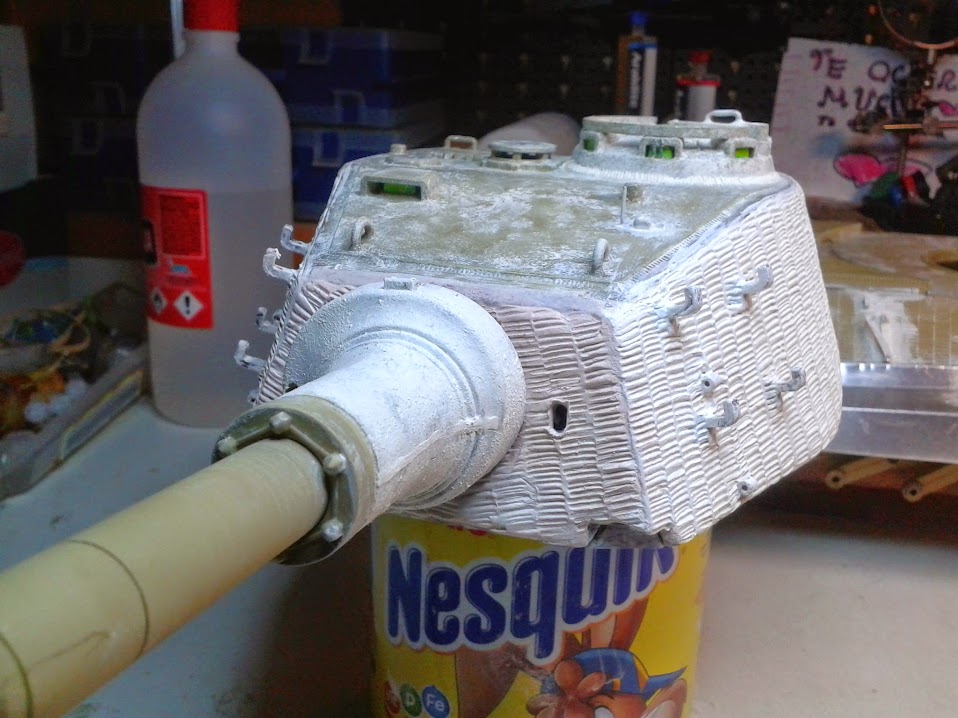
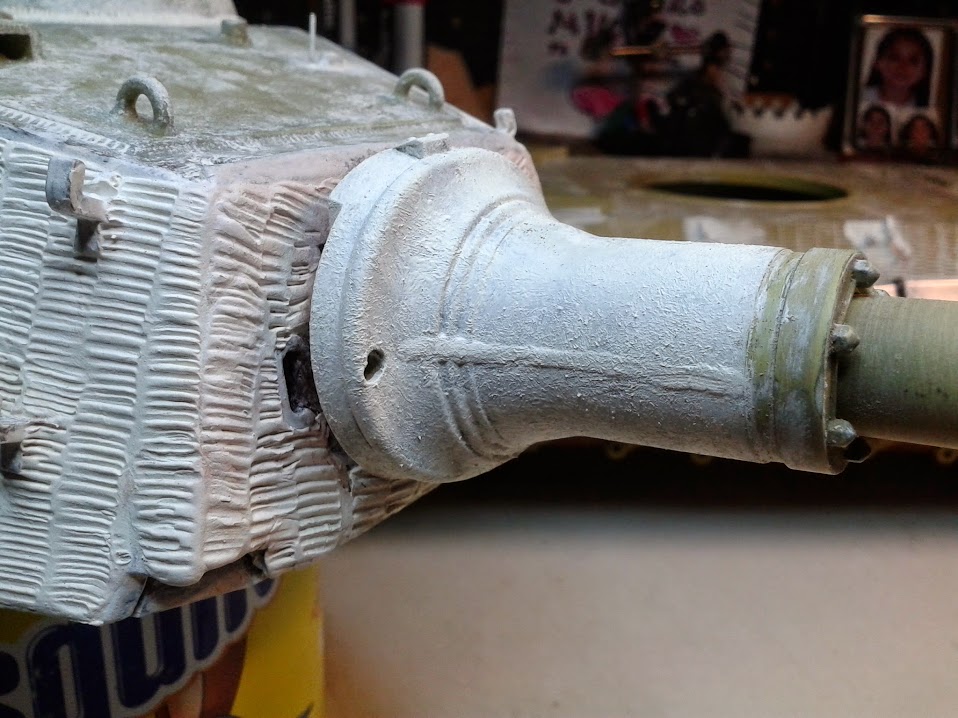
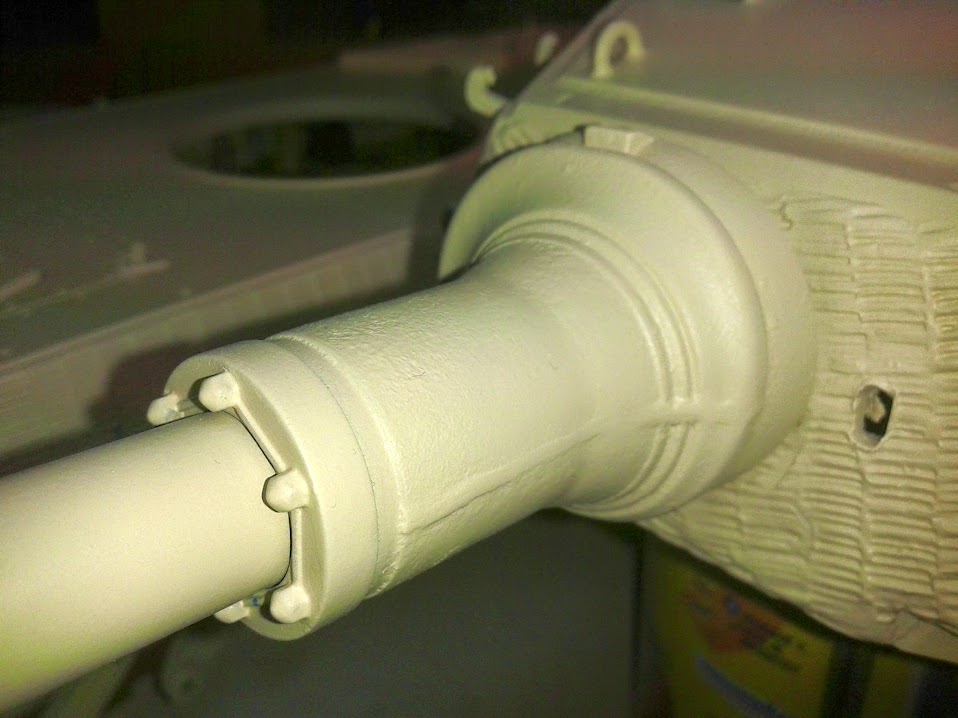
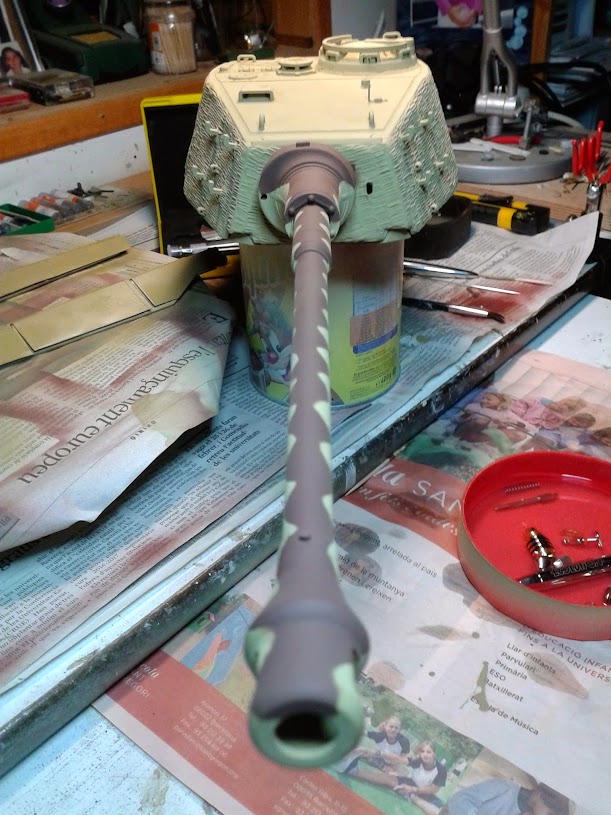
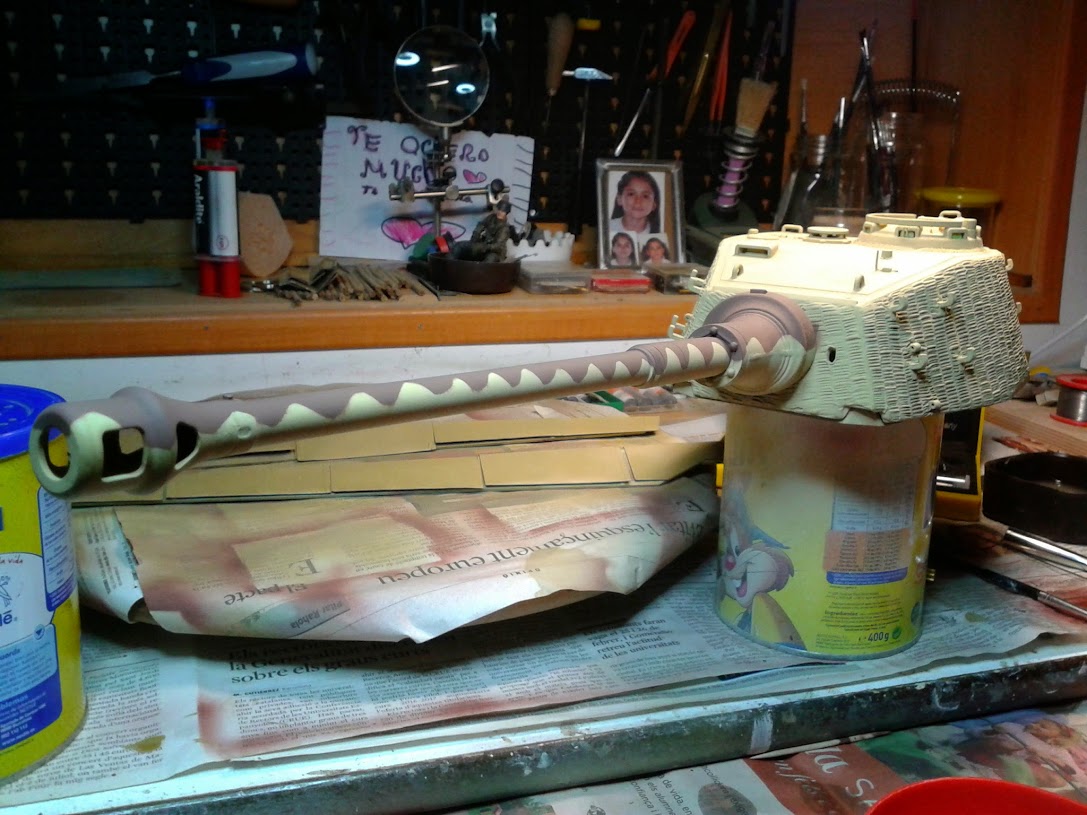
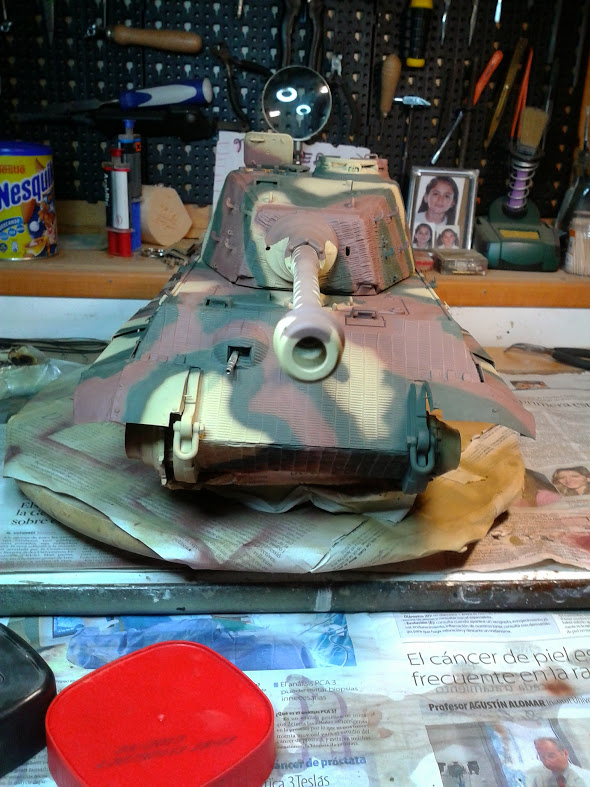
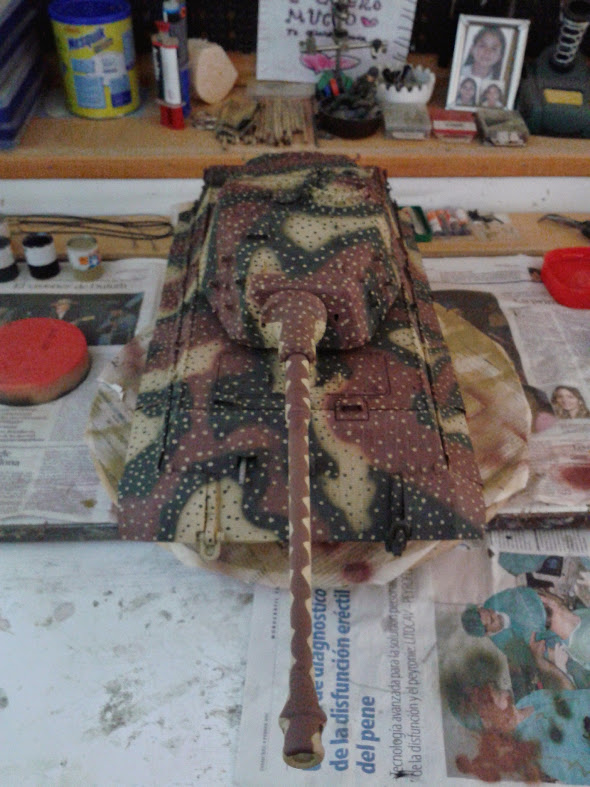
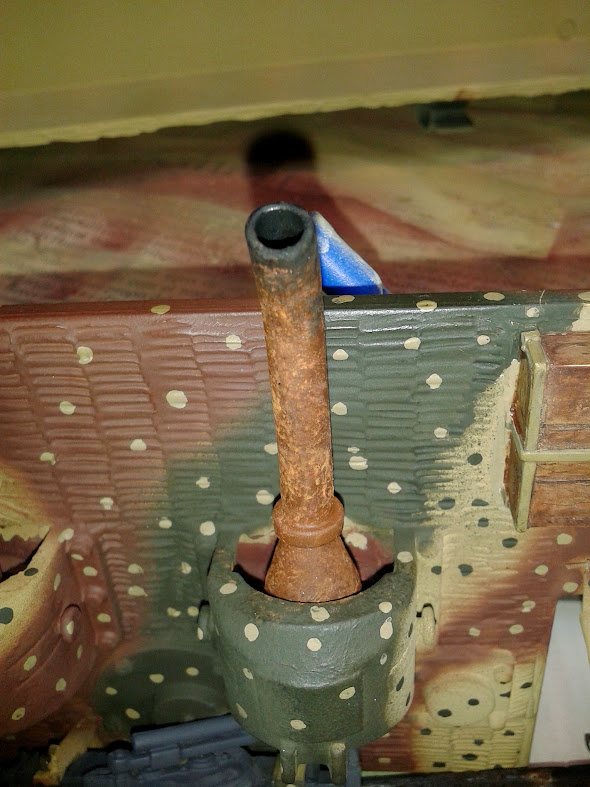
I always wanted to paint a gun tube with the wave camo... so here is it:

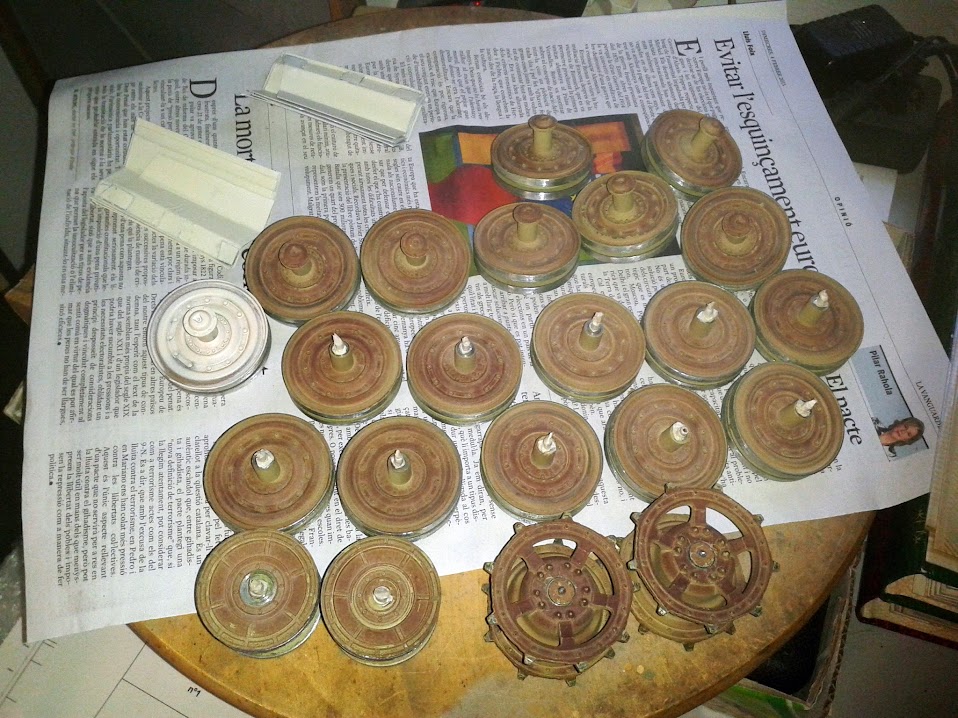
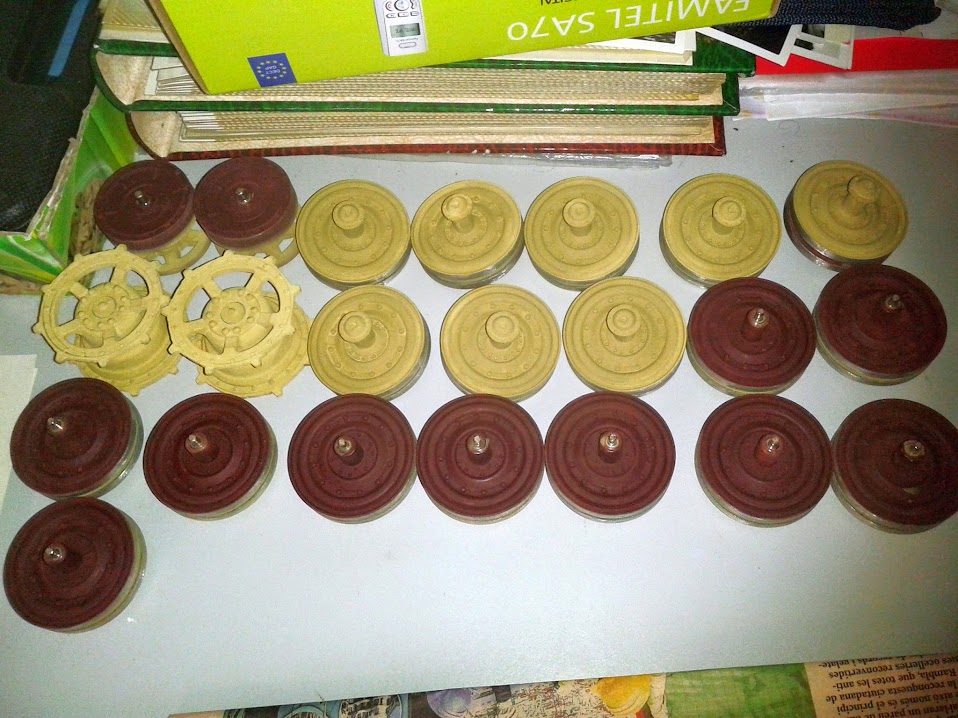
started to paint the sprockets, idlers and road wheels
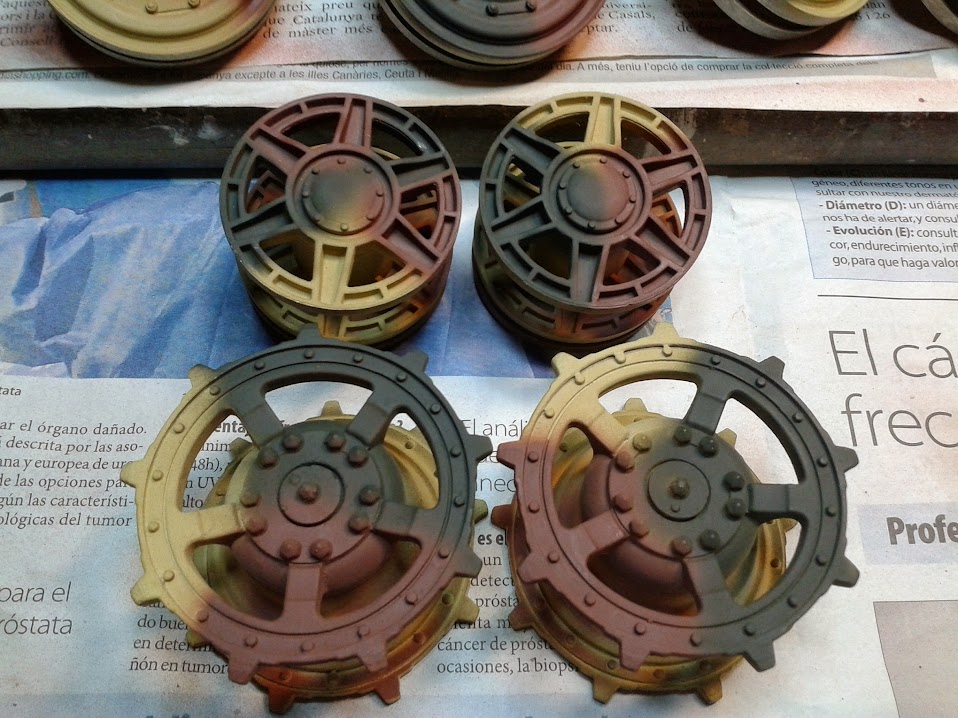
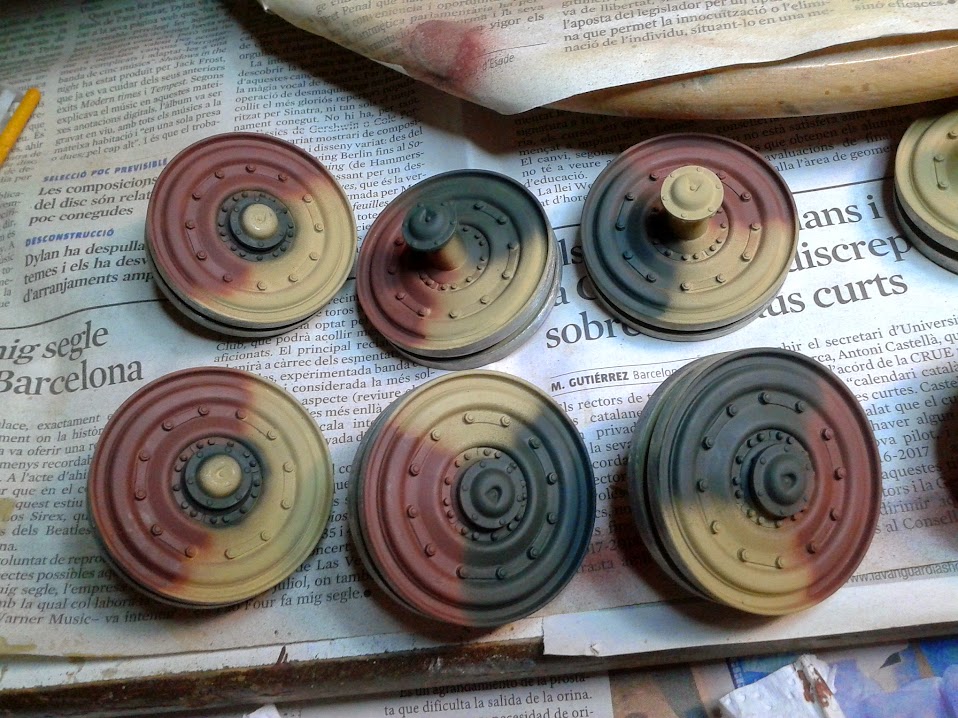
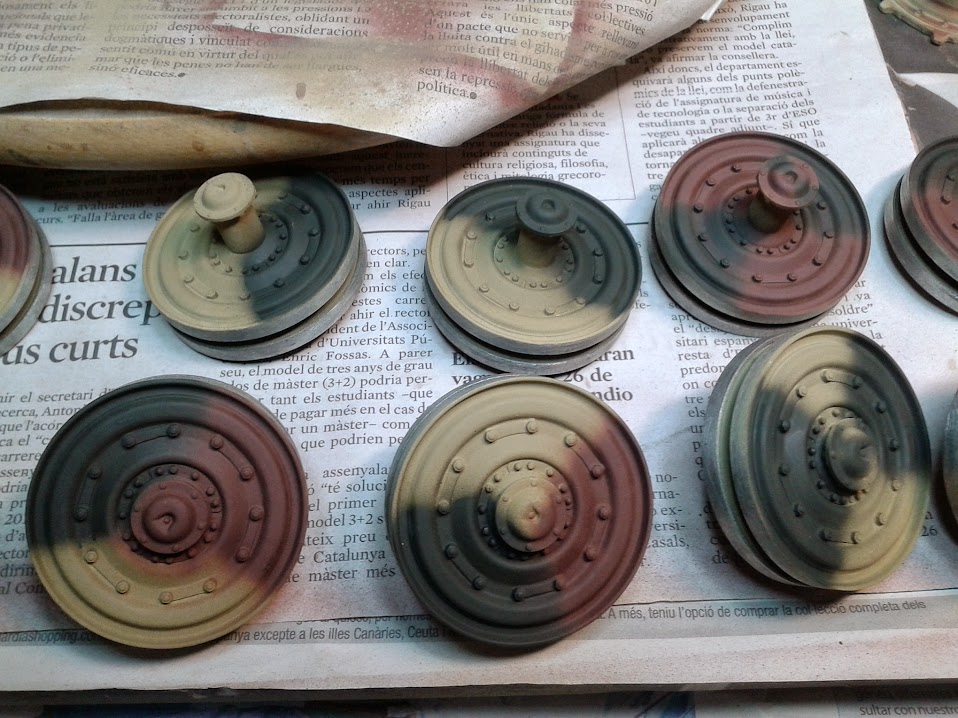
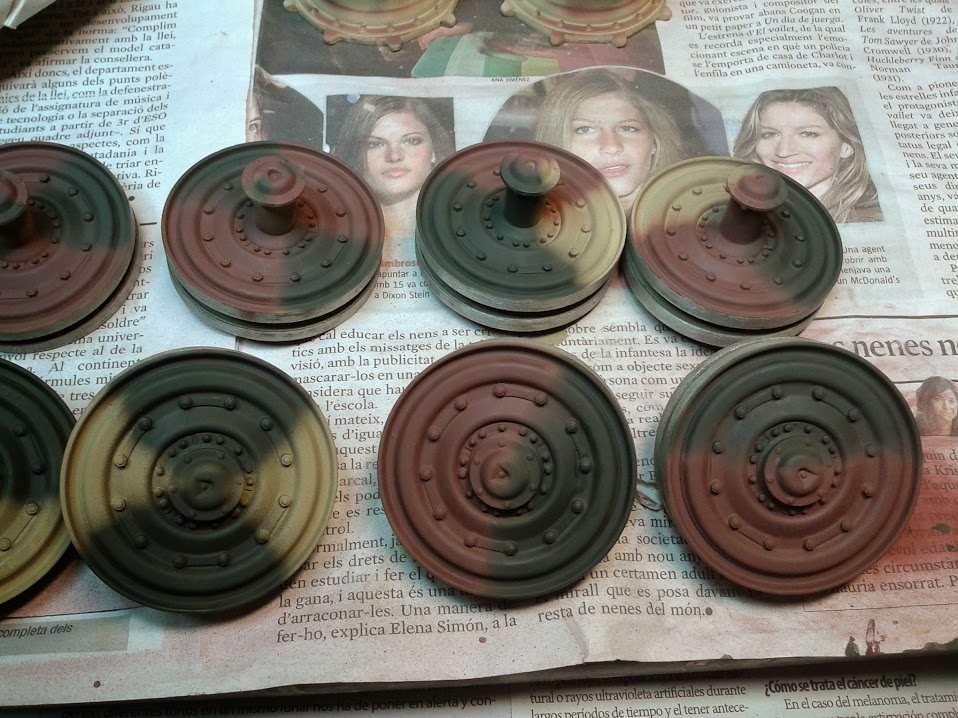
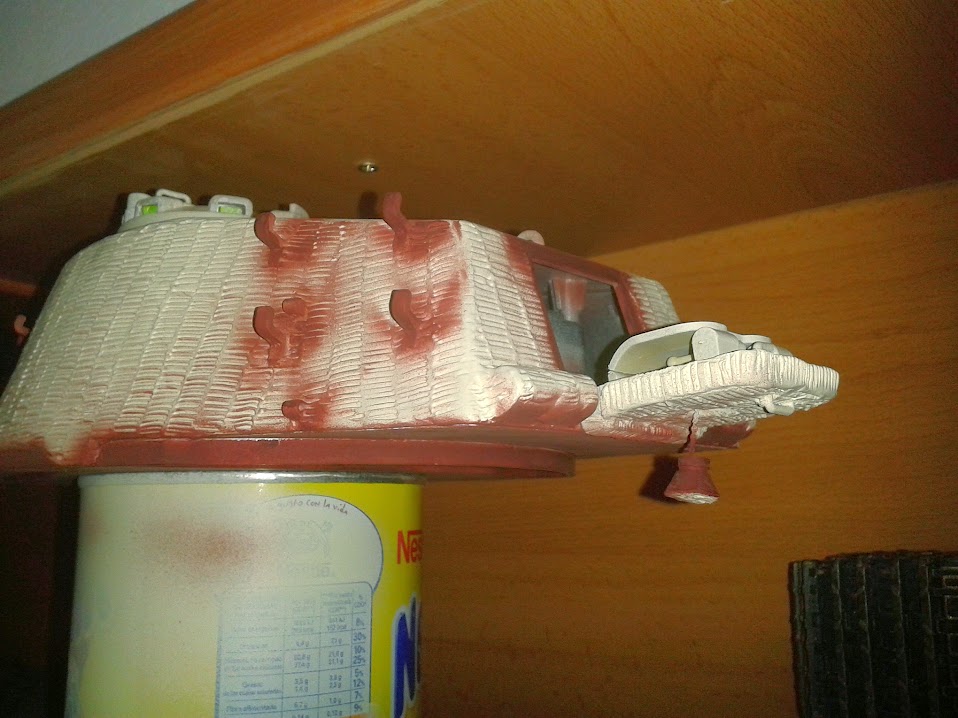
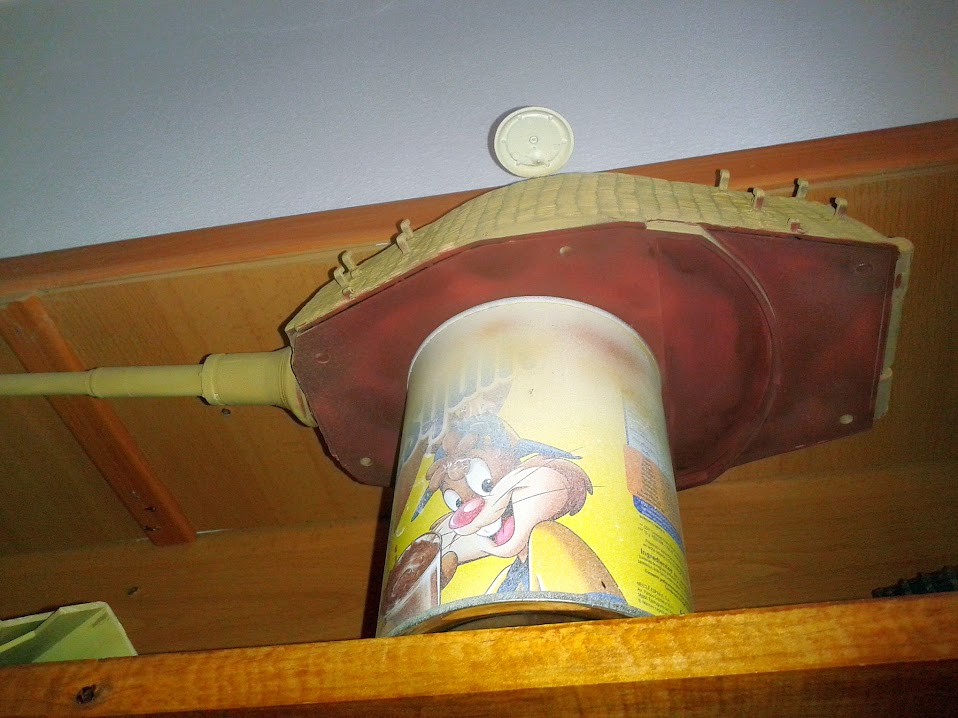
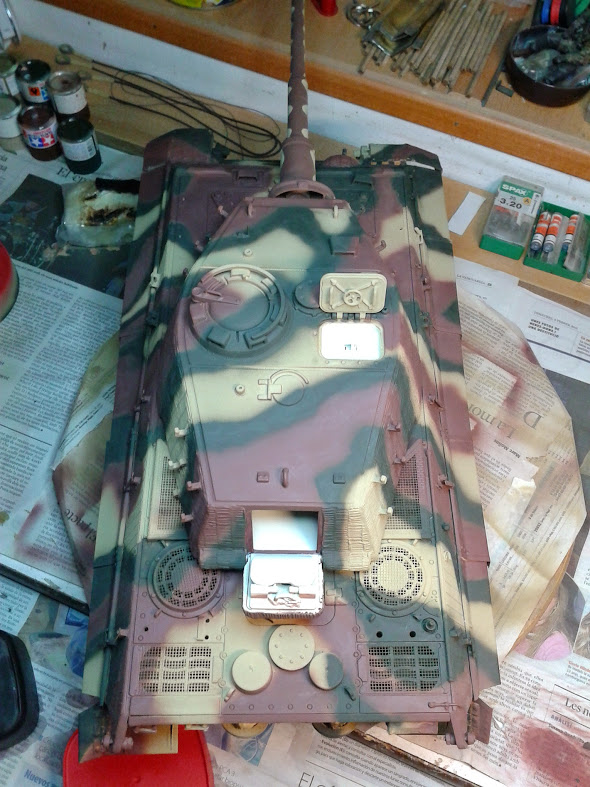
and the vehicle itself. The rotbraun parts
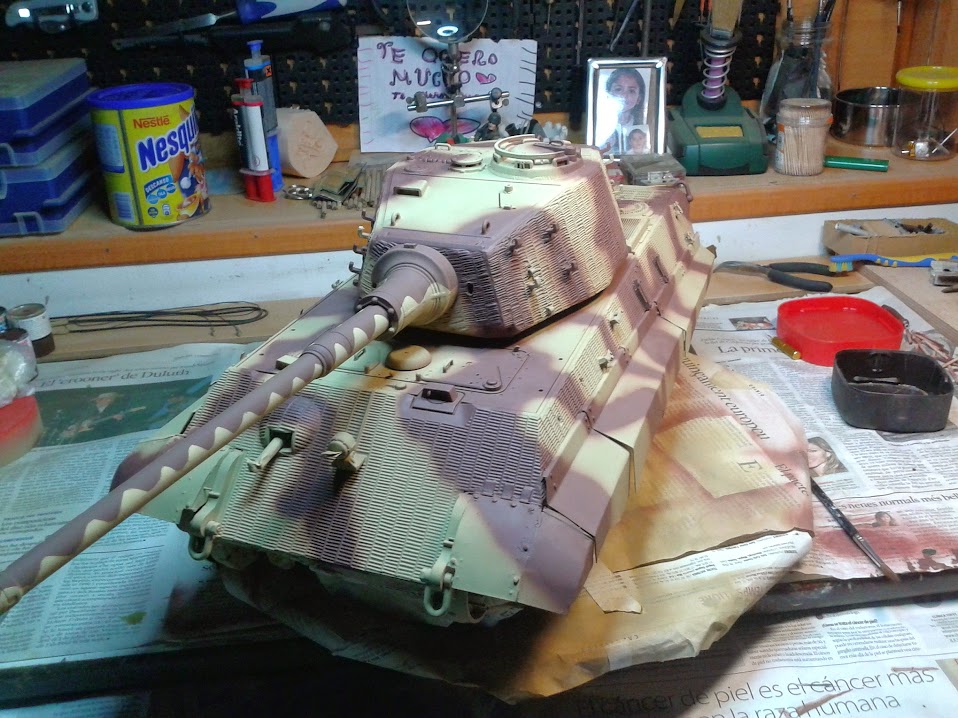
and then, the dunkelgrün zones:

more to come
Re: Jussek's Königstiger (Torro Metal Ed.)
Posted: Wed Apr 01, 2015 10:01 am
by mike1268
Thats looking great!
Re: Jussek's Königstiger (Torro Metal Ed.)
Posted: Wed Apr 01, 2015 10:22 am
by Jussek
thanks Mike!
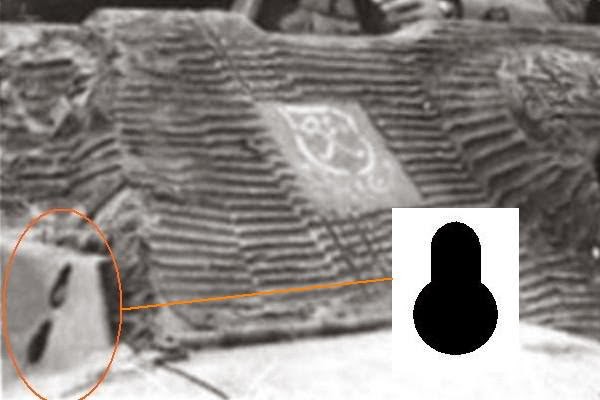
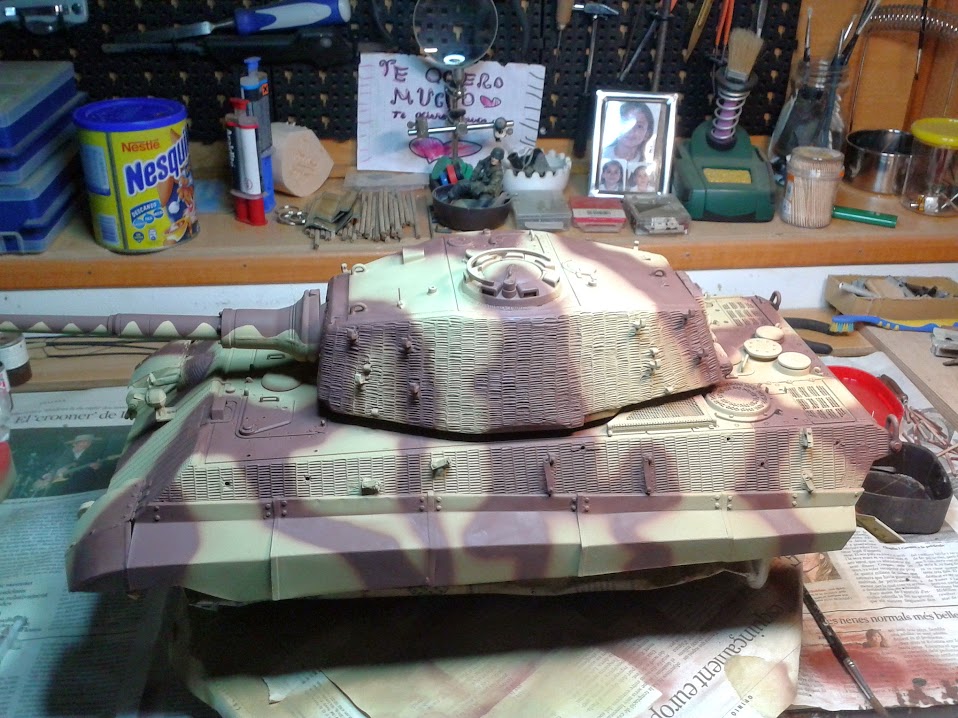
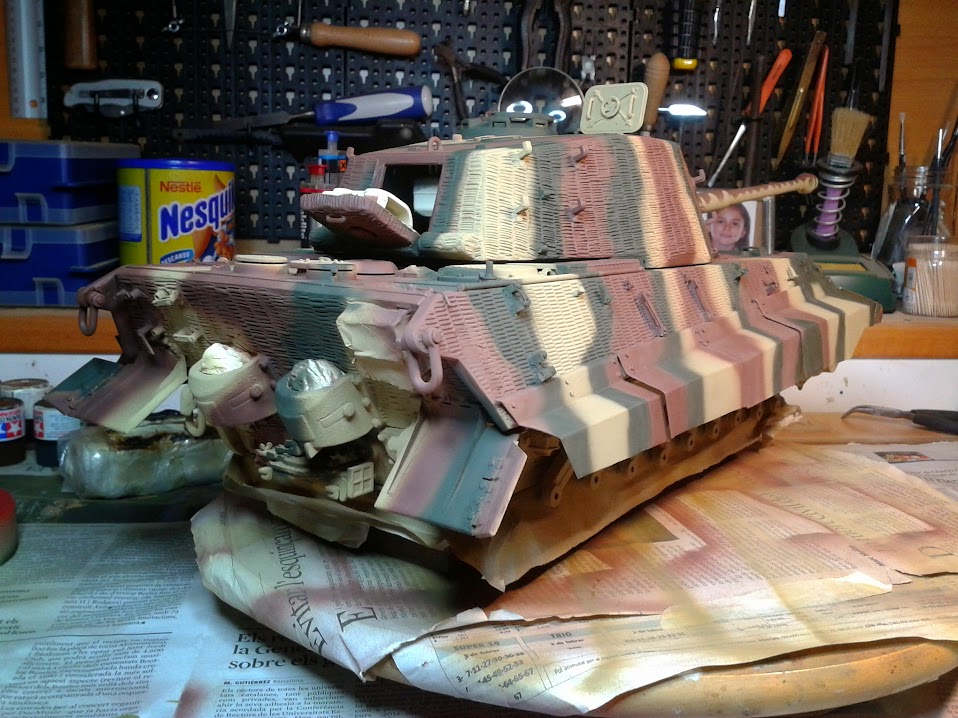
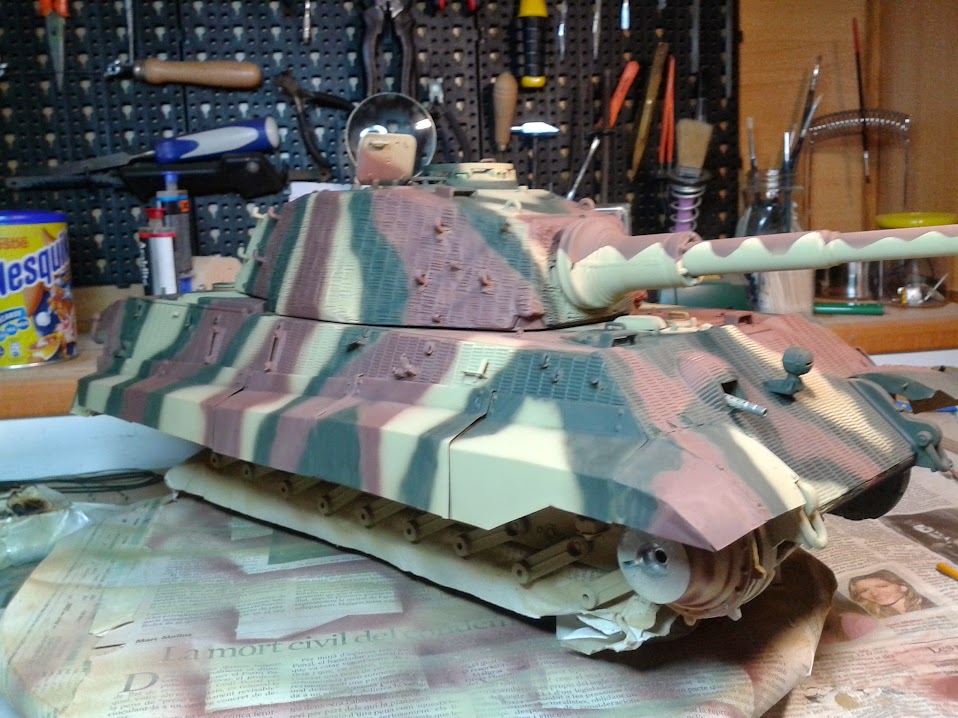
well, and after redo some parts that were not too much well painted, now the dots Nightmare! I've seen a lot of model builders paint too few dots for the ambush pattern, so i then look for evidence of how the Germans did this, and I found this image, you will see a lot of dots here...
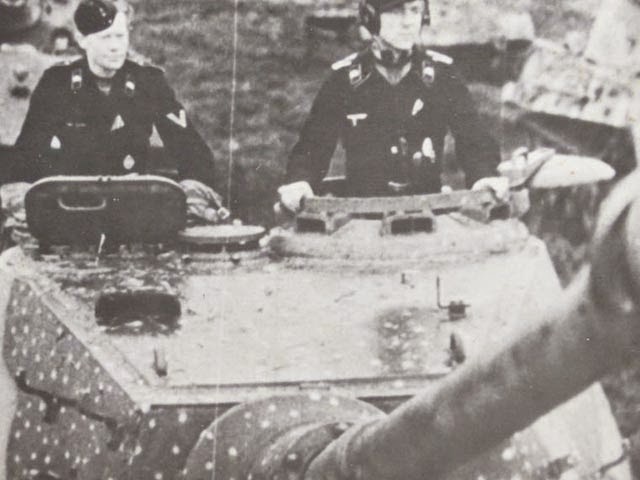
so i did what i could to do the same. With a toothpick, cut to be 1.2mm in diameter, adn following the 'regulations':
- the ambush scheme was on top as well as sides.
- The dots are in all areas, but not on the main gun tube.
- On the red brown and the green camo patches with yellow dots
- on the yellow camo patches with green dots.
- No red brown dots
and the results:
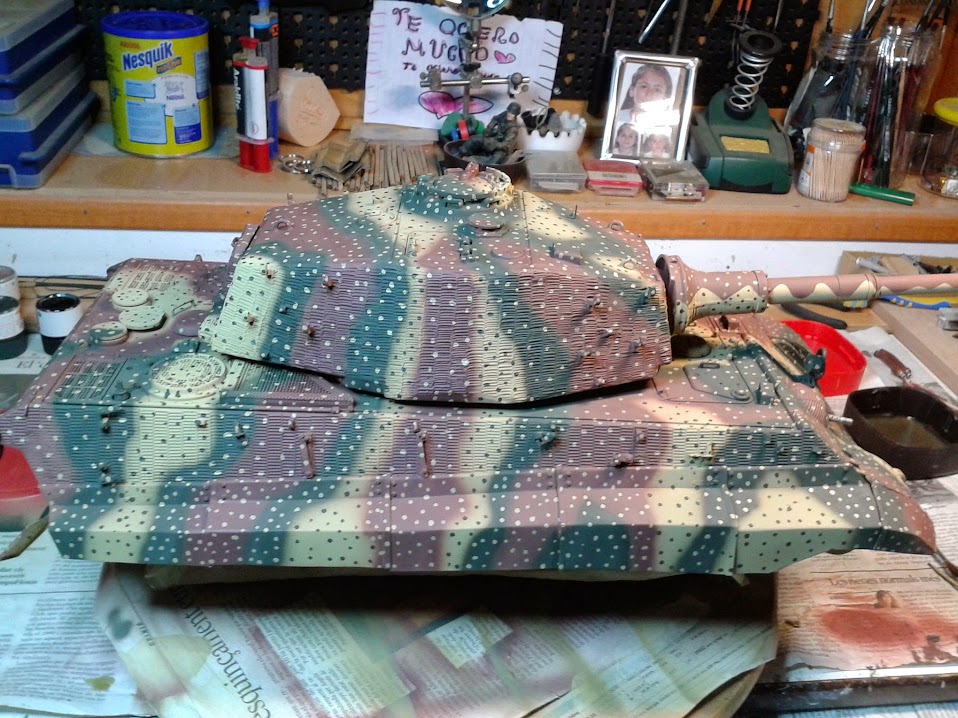
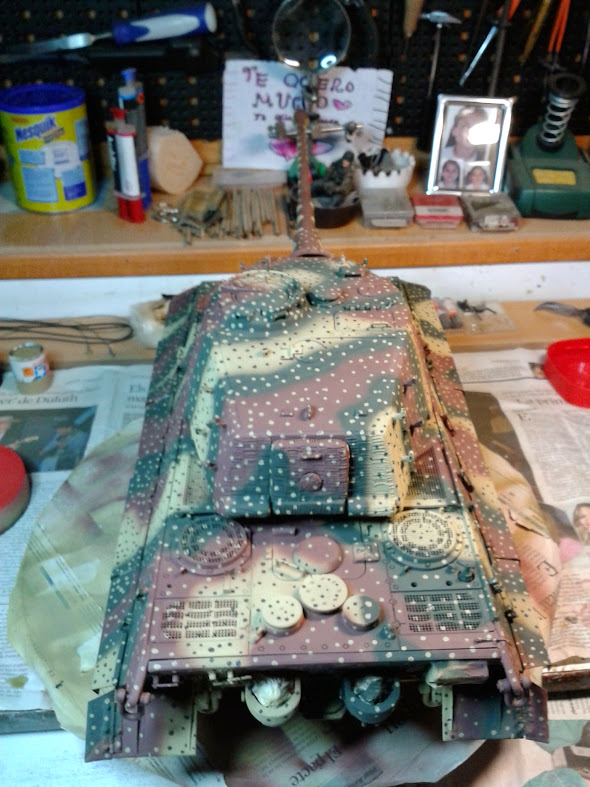
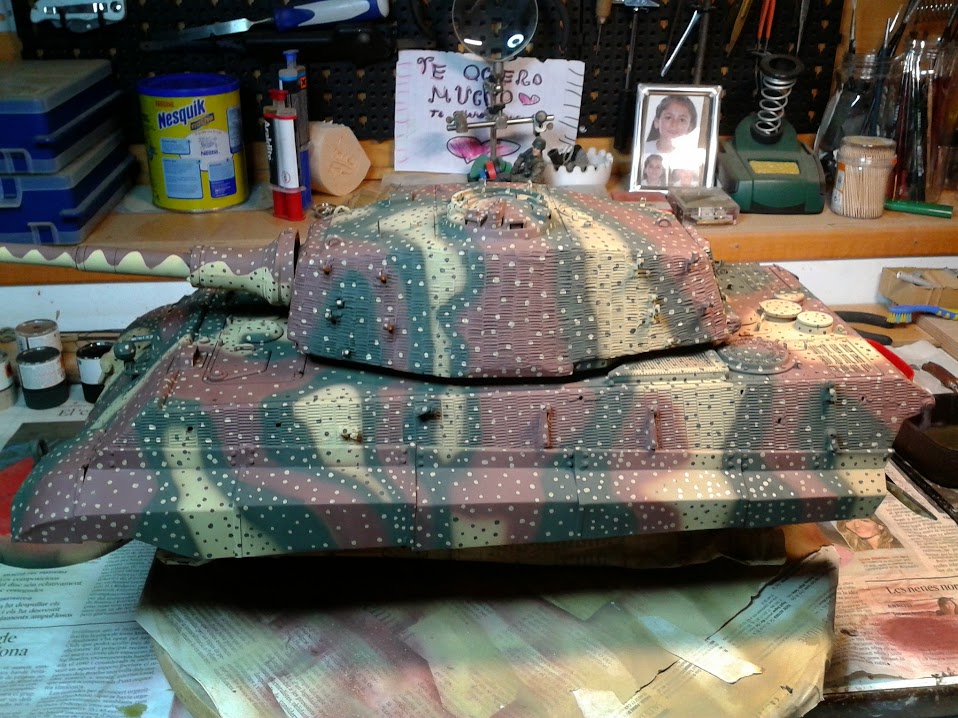
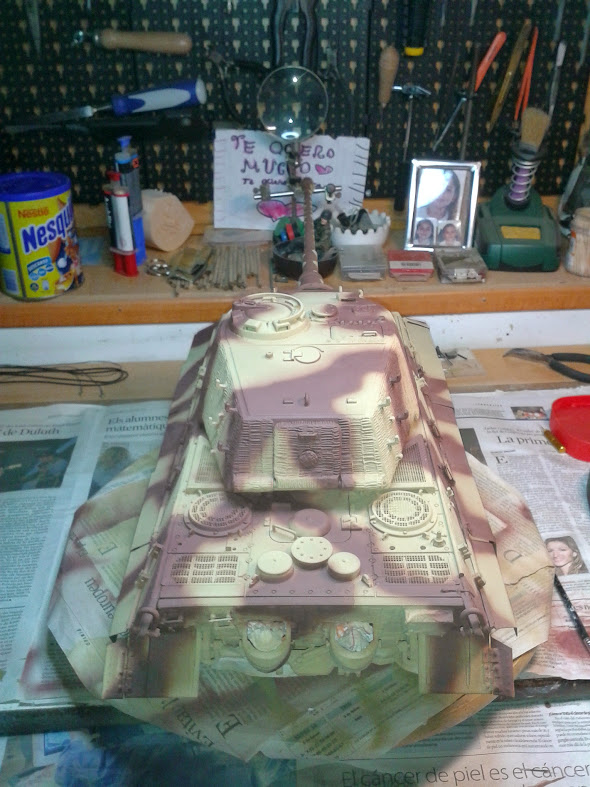
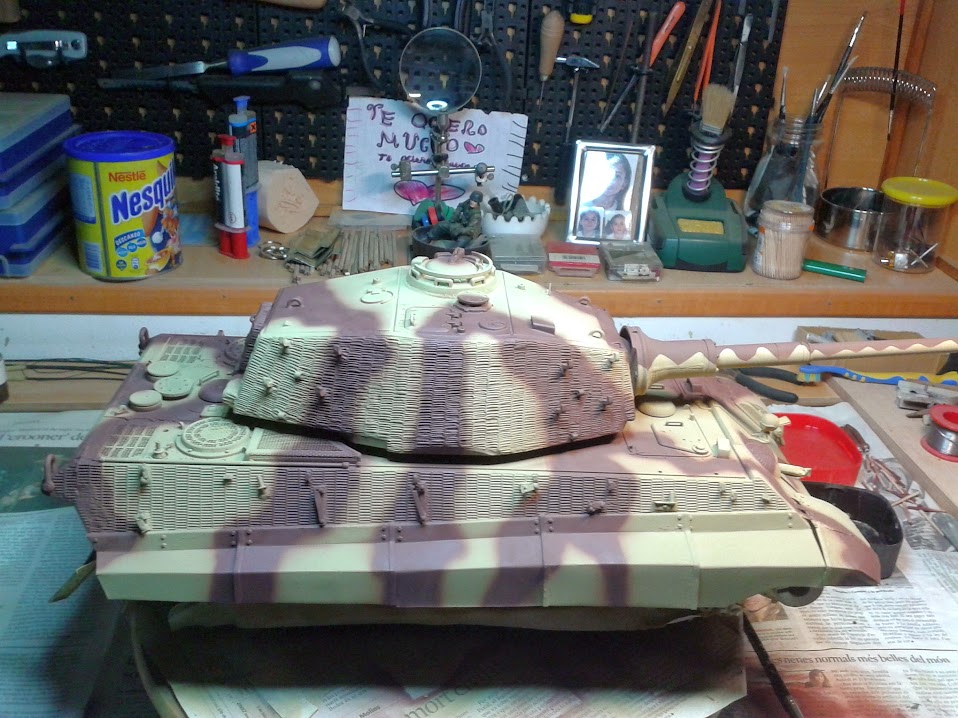
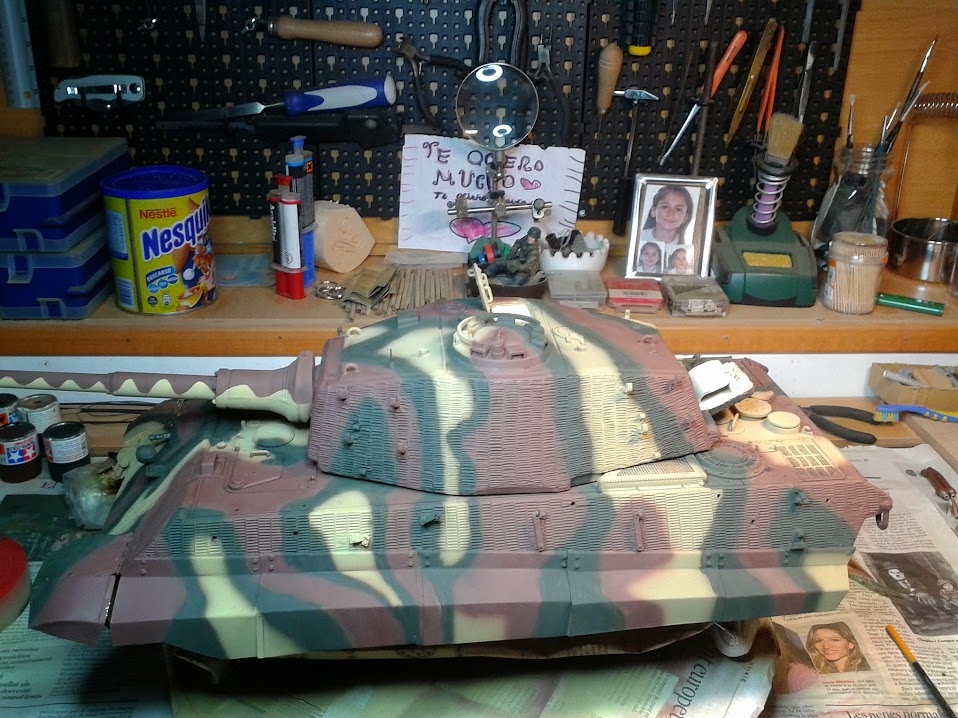
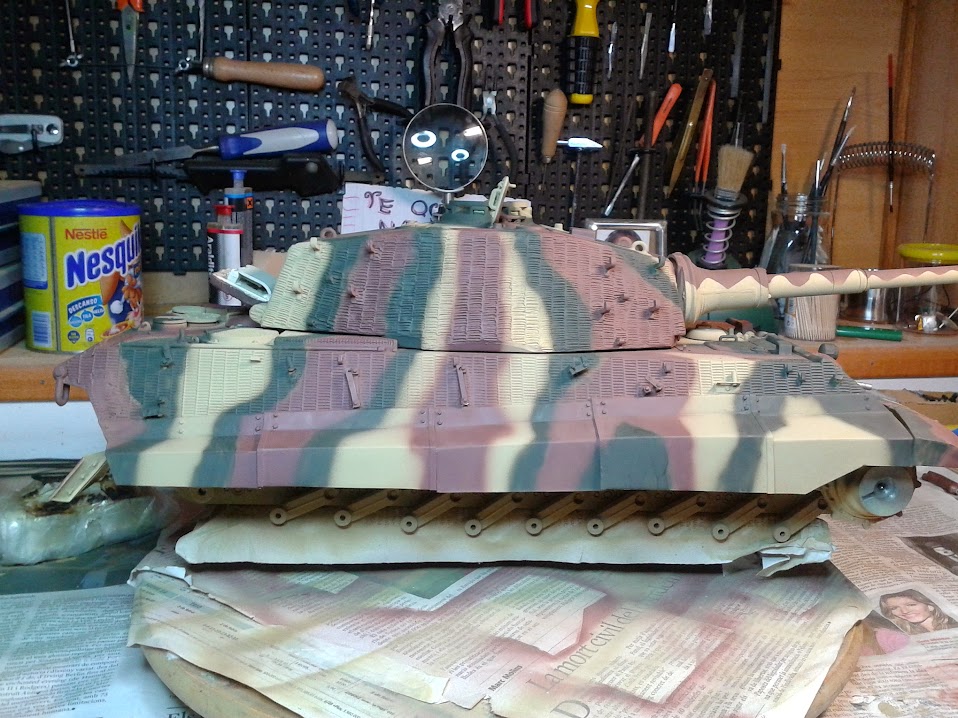
we all know that the point of this type of camo was to simulate the different light spots that an object under the cover of the forest will show, shadows and light spots alike, so i tried to do some photos with no direct light over the tank to see how it looks:
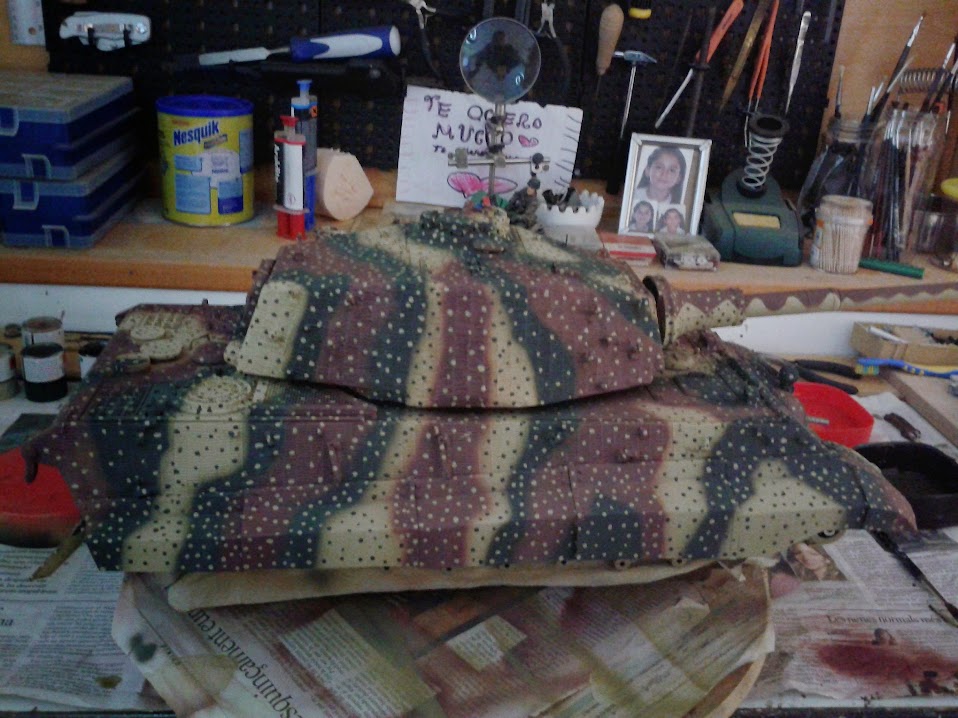
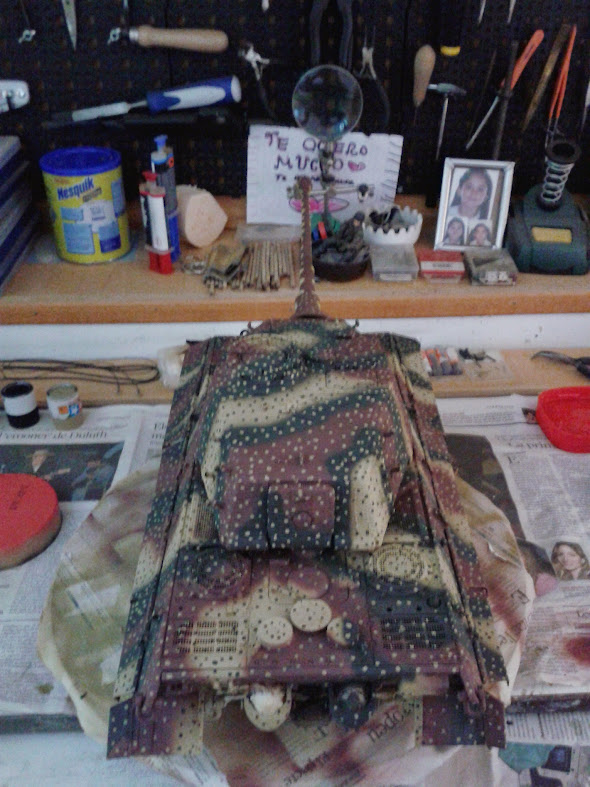
I'm anxious to try this on the yard under real foliage to see if the effect works
some pics of the exhausts pipes with the pigments applied:
that's all for now
best regards