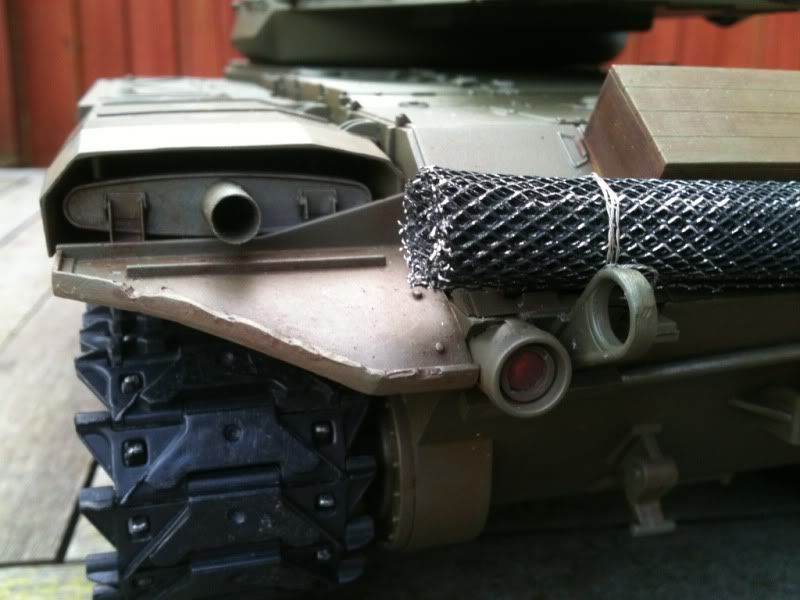
The circular rear light guards on the Bulldog slide up and out of the rear hull plate. Hopefully yours will be like mine and havent been attacked too badly by the HL glue monkey. Push the light guards up and out of the slot that holds them in place. The red diode push fits into the rear of the guards and these may have been glued in place. I found it was best to go around the guard and gently squeeze it with a pair of pliers just enough the break the glue seal without damageing the guard or diode.
The diode can then be pulled out of the guard. You need to sand the domed end of the diode down by apx 1/3 of its length. I used a flat sanding disc in the dremel on a slow speed and took it easy. Go slow and keep checking its flat and even. Test fit it into the guard until its at the right level.
Once you're happy it just needs fitting back into the guard and held in place with a dab of glue. Then refit the guard into the slot on the rear hull plate.
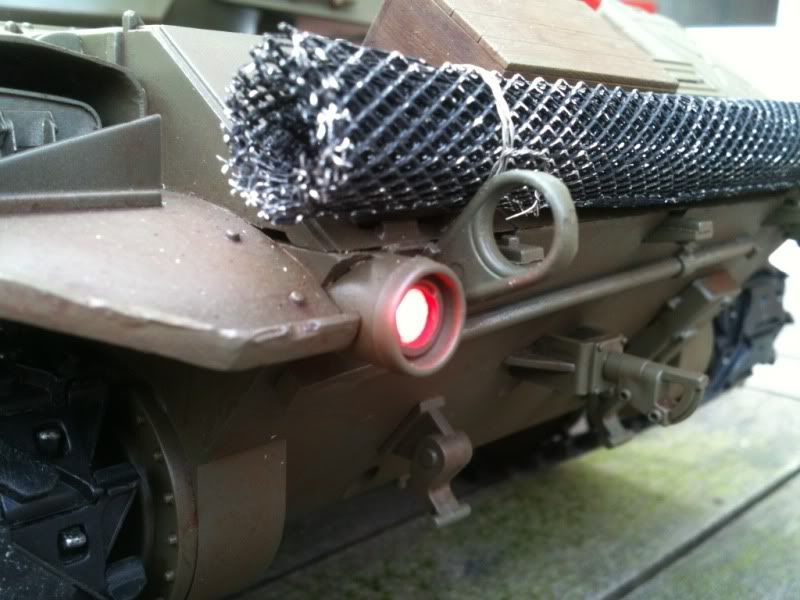
Job done. Its makes the lights look much more realistic. I plan to paint on the final light shade directly onto the diode when i finish the whole tank.
Dont file the diodes down too far, you need to leave some plastic around the metal elements embedded in the diode.
Pics show the filed diode on the left compared to the unmodified one on the right. Also how they look once refitted, and with the lights on.
Edit: Seems the original pics have gone but here's how it looks now since I've flattened the LEDs.