In this post you will see a lot of the tank start to take shape.
Im sorry that I miss things during the build that I don't document. I move quickly when I get a chance to sit at my work bench and even though I take pictures every few minutes I sometimes miss steps.
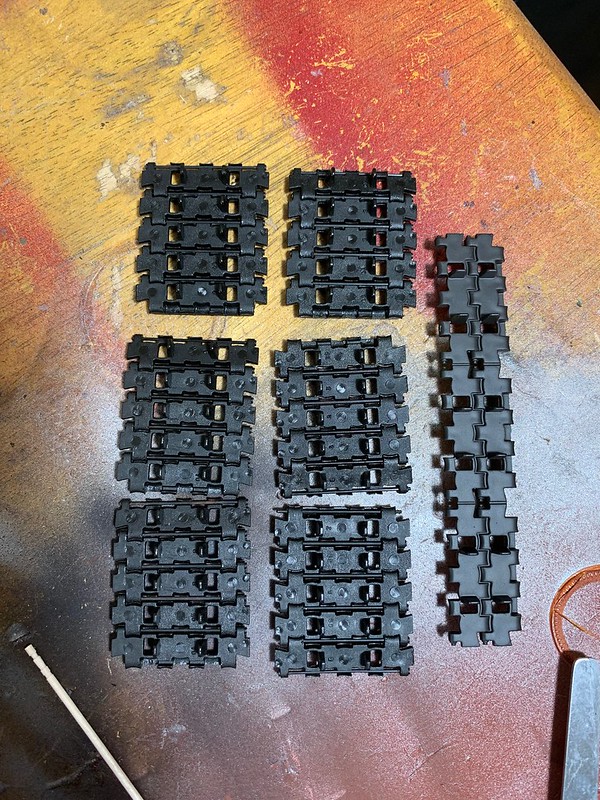
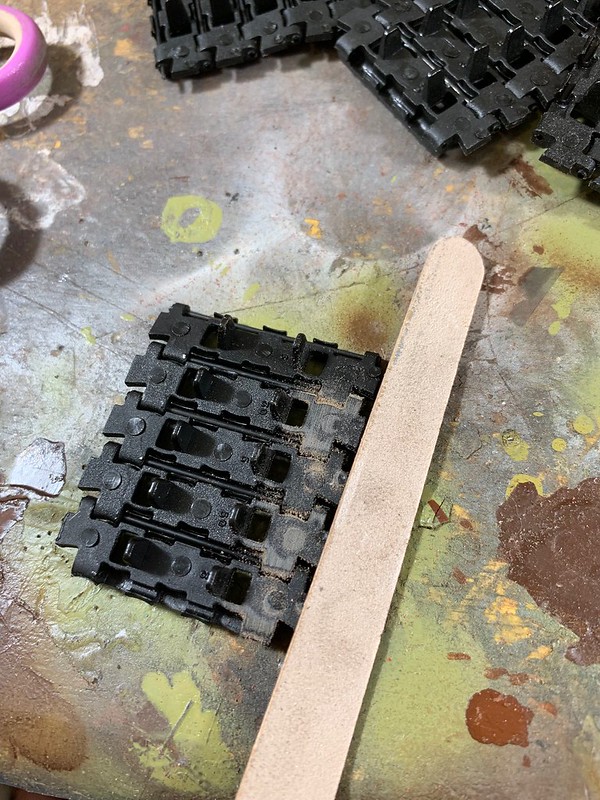
sanding tracks
 Untitled
 by
jon newsom, on Flickr
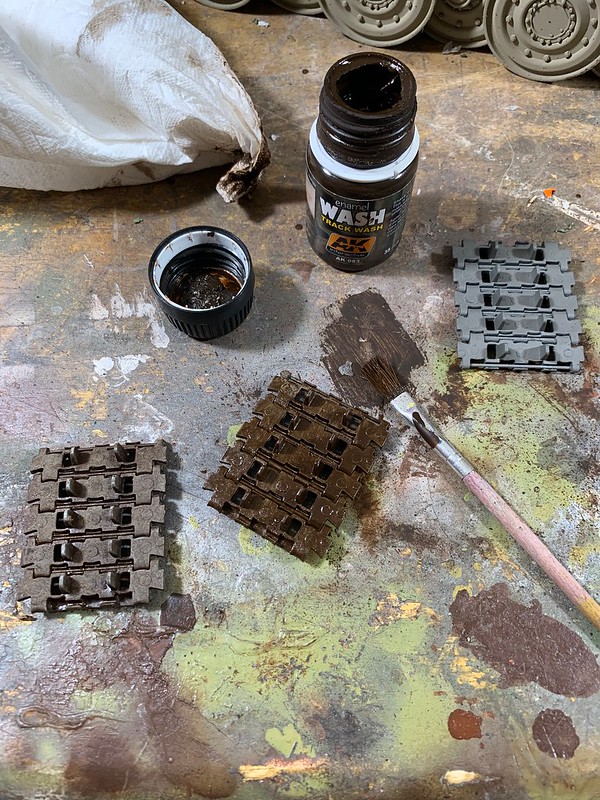
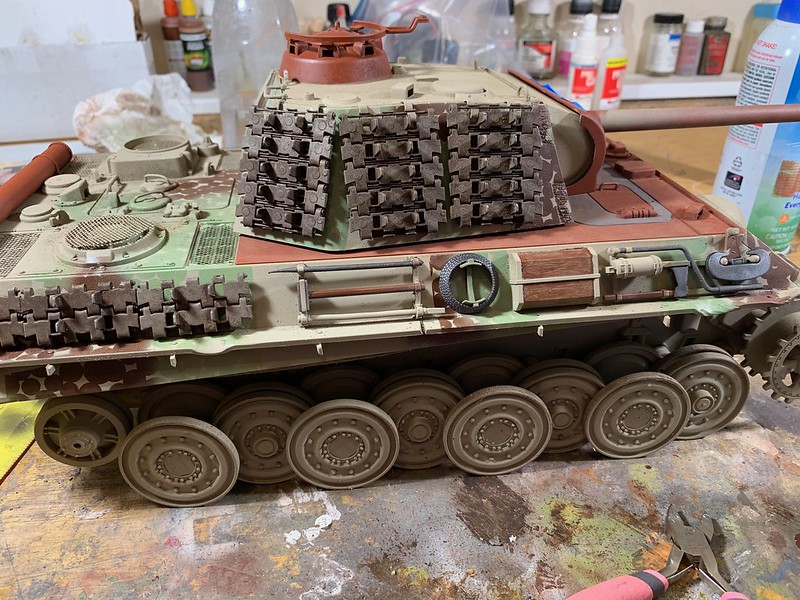
Paint tracks with grey mixed with alittle brown then coat the whole thing with track rust wash and then blot it off with a paper towel.
 Untitled
 by
jon newsom, on Flickr
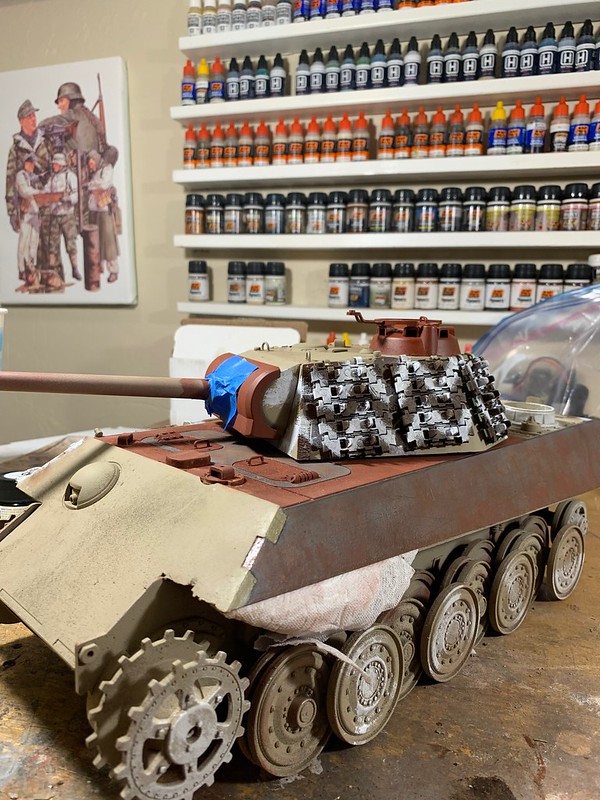
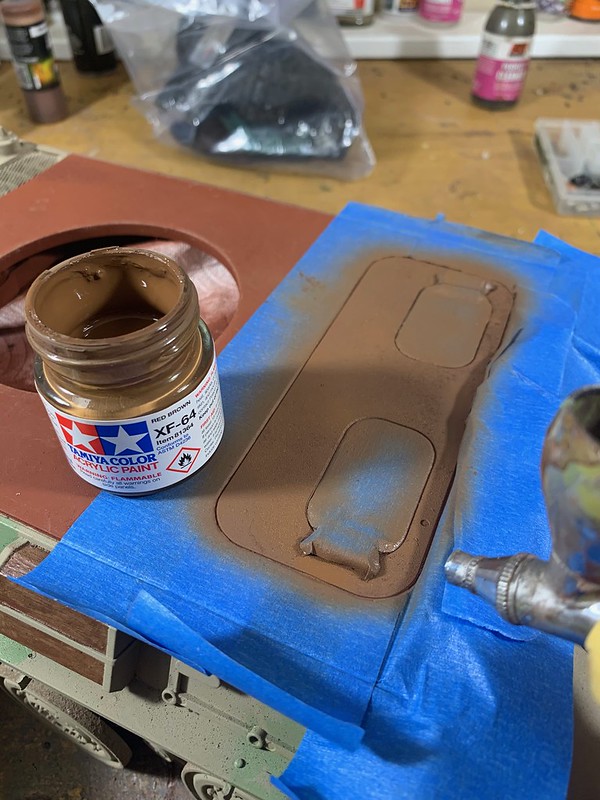
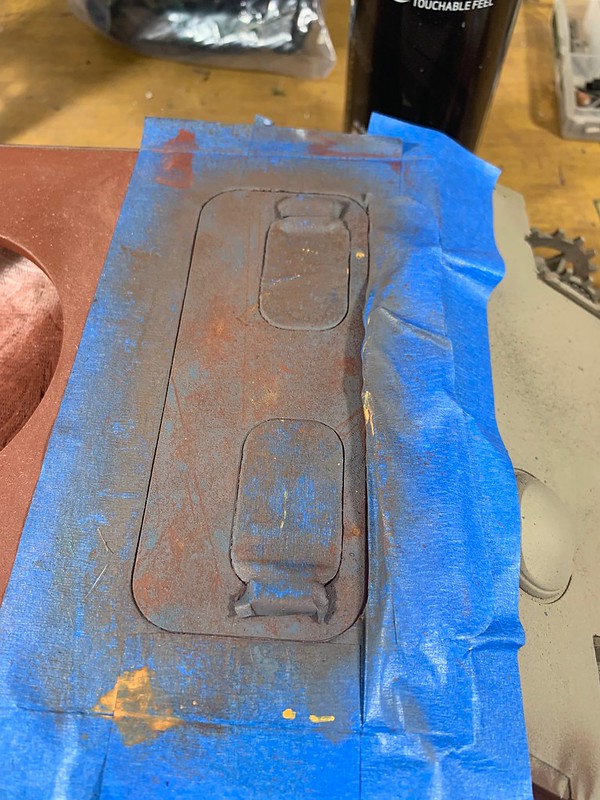
I noticed that I needed more diversity in the top front of the tank. between the gun mantel, the top plate there was to much red oxide color in one spot and so I decided to go back and fix this by changing the plate out above the crew to look like the raw steel look similar to the side plate.
 Untitled
 by
jon newsom, on Flickr
 Untitled
 by
jon newsom, on Flickr
 Untitled
 by
jon newsom, on Flickr
 Untitled
 by
jon newsom, on Flickr
 Untitled
 by
jon newsom, on Flickr
 Untitled
 by
jon newsom, on Flickr
 Untitled
 by
jon newsom, on Flickr
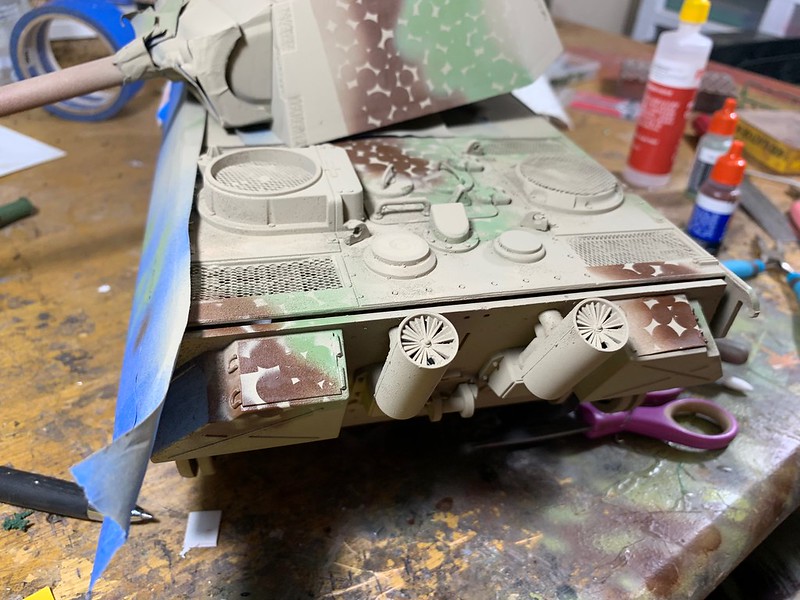
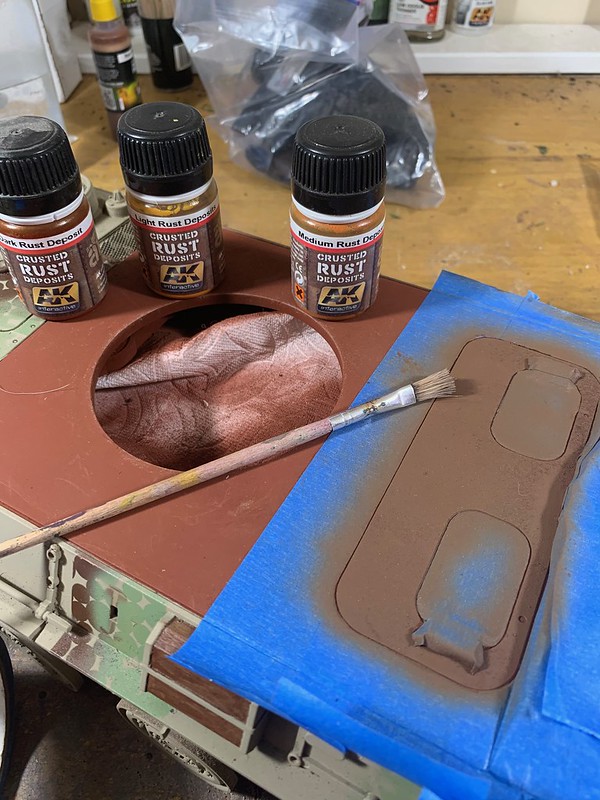
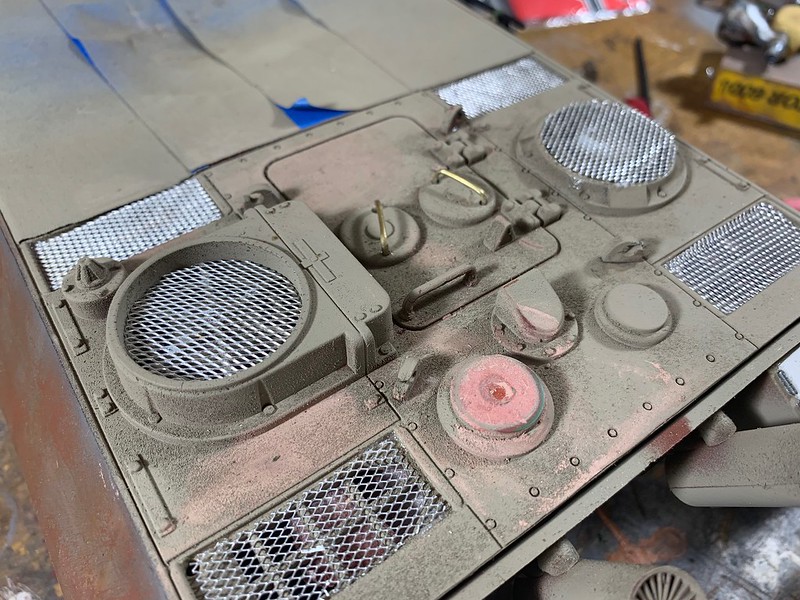
The oxide primer needs to be faded and weathered a bit to give it a real look. so I spatter a little crusted rust enamel then quickly scrubbed it with odorless thinner. Do this over the whole surface but spatter the rust unevenly to give it a more real look.
 Untitled
 by
jon newsom, on Flickr
 Untitled
 by
jon newsom, on Flickr
 Untitled
 by
jon newsom, on Flickr
Paint tools and put them on but do not glue them on yet. they need to be in place to make the winter camo right but must be individually weathered latter so they will be removed after the winter camo.
 Untitled
 by
jon newsom, on Flickr
 Untitled
 by
jon newsom, on Flickr
 Untitled
 by
jon newsom, on Flickr
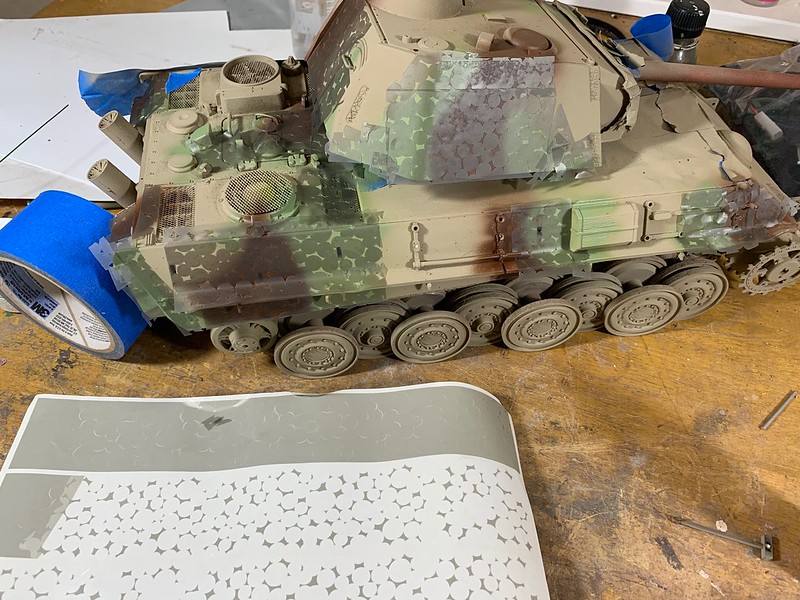
Im doing what is called "dragon tooth winter camo" It was rare but can be seen on tanks that spent a lot of time around the fortifications especially around tank obstacles known as dragon teeth. It could have been put on with a brush but realistically it was often applied with a broom, its just faster but messy, something I take into account when I paint. I must use a brush and I must not be too neat so I used a course old stiff brush,

I use washable mig paint as I will go back and remove and blur some of it.
 Untitled
 by
jon newsom, on Flickr
 Untitled
 by
jon newsom, on Flickr
 Untitled
 by
jon newsom, on Flickr
Be sure to tape off red oxide and the bare metal parts to not get any white on them.
I will do the turret tomorrow. then I will move on to the next major step. Anyone want to guess whats coming next??

 Untitled by jon newsom, on Flickr
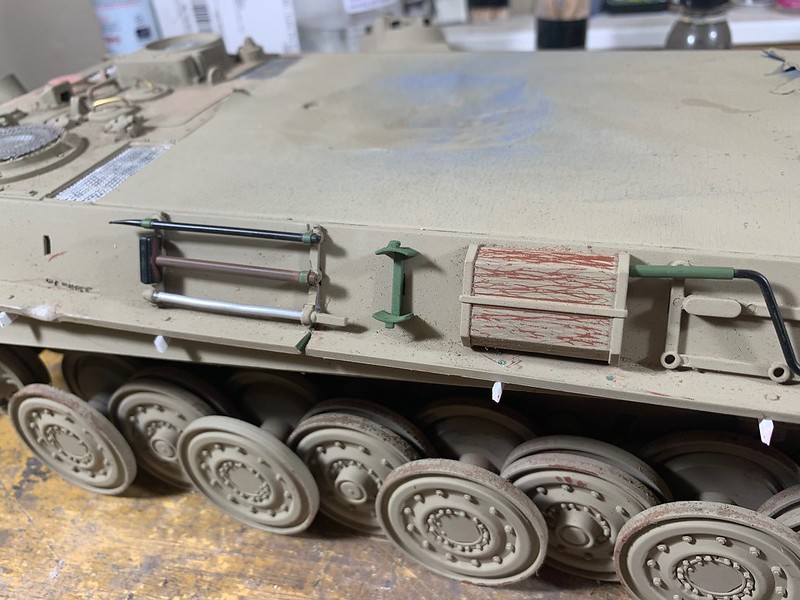 Untitled by jon newsom, on Flickr
 Untitled by jon newsom, on Flickr
 Untitled by jon newsom, on Flickr
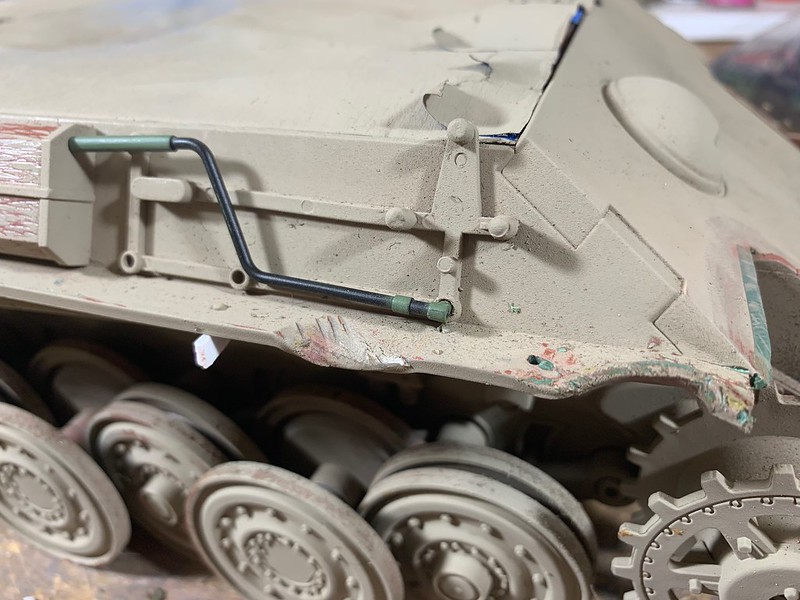 Untitled by jon newsom, on Flickr
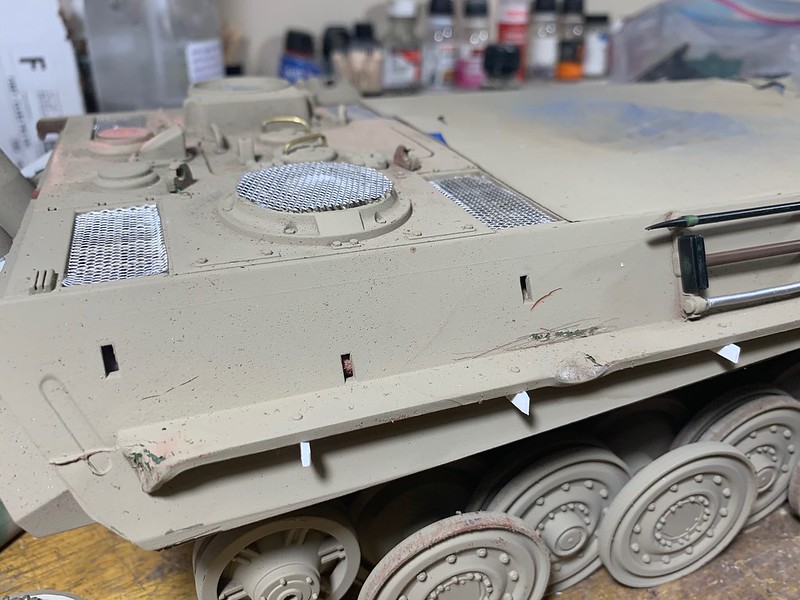 Untitled by jon newsom, on Flickr
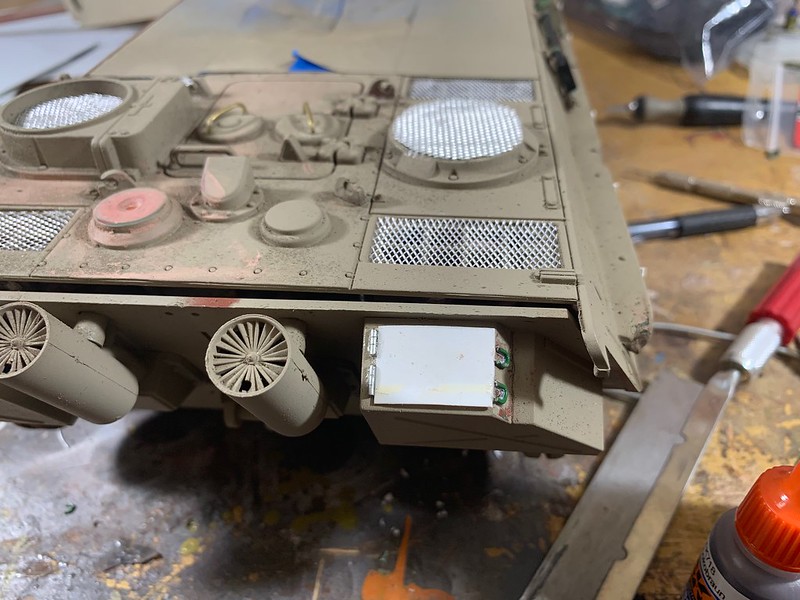 Untitled by jon newsom, on Flickr