Make sure the tracks are tensioned

Fixes and mods for the HL Stug III
Post Reply
ALPHA
Major-General
Posts: 10963
Joined: Thu Oct 03, 2013 1:06 am

Make sure the tracks are tensioned

Post by ALPHA »

I can't stress enough the importance of the track tension on both the STUG 3 and the PANZER 3 ...

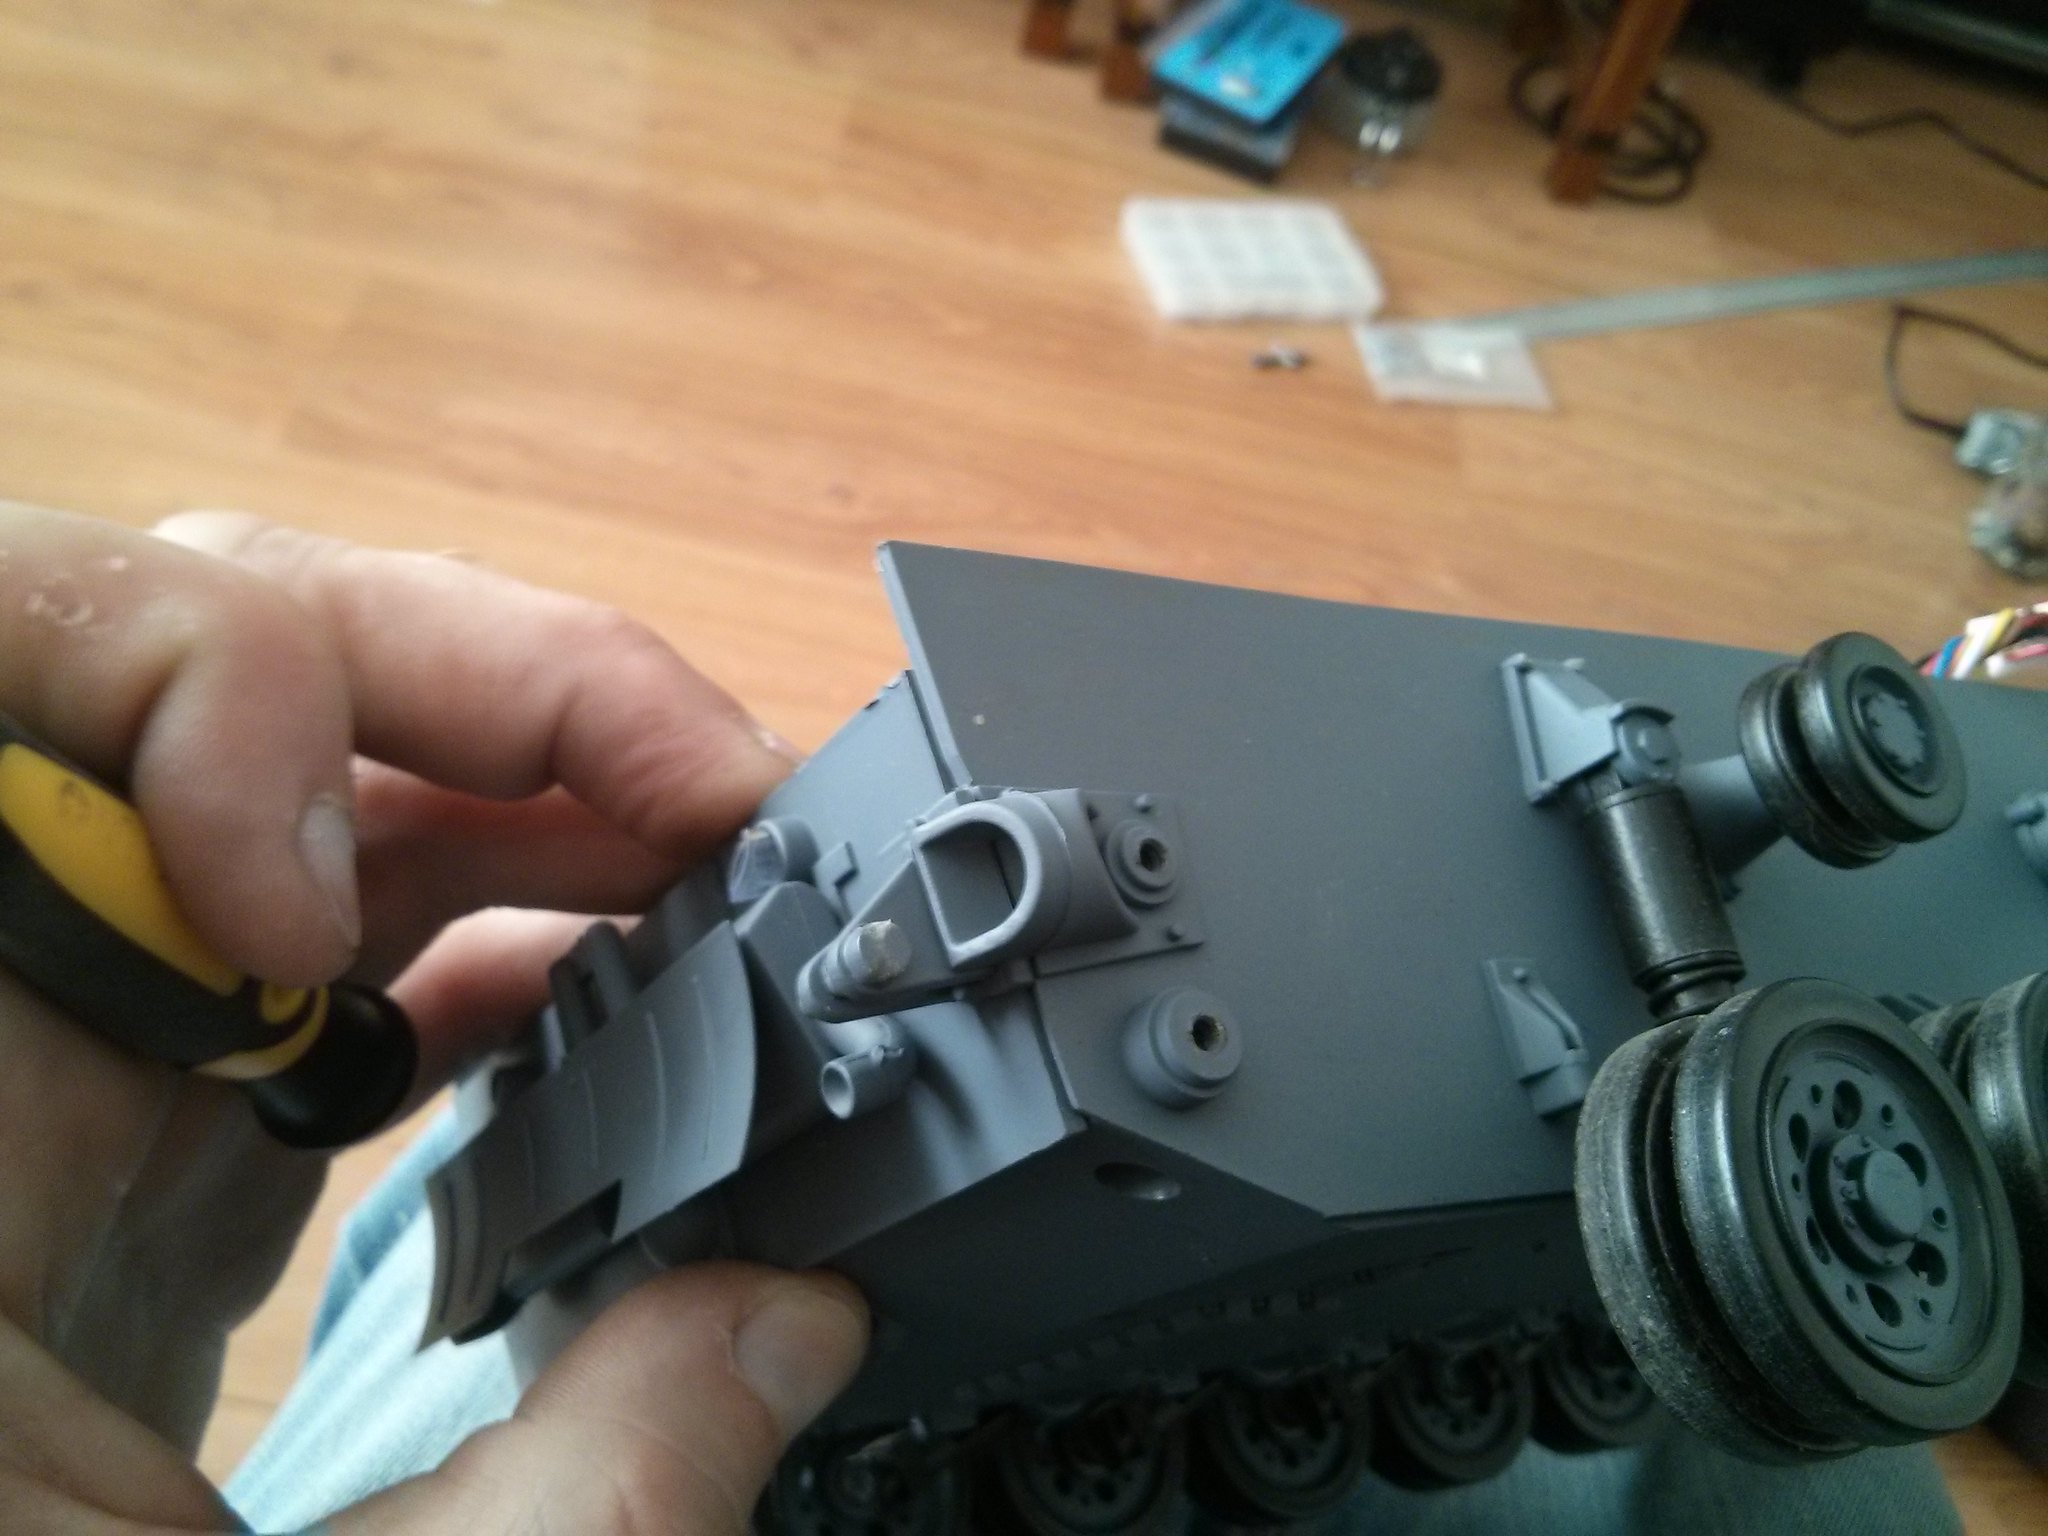
not that the tracks derailing once in awhile isn't cool :D .... but smooth running is always preferable :thumbup:
and it adds to the smooth performance and endurance of the gearbox and motors :D

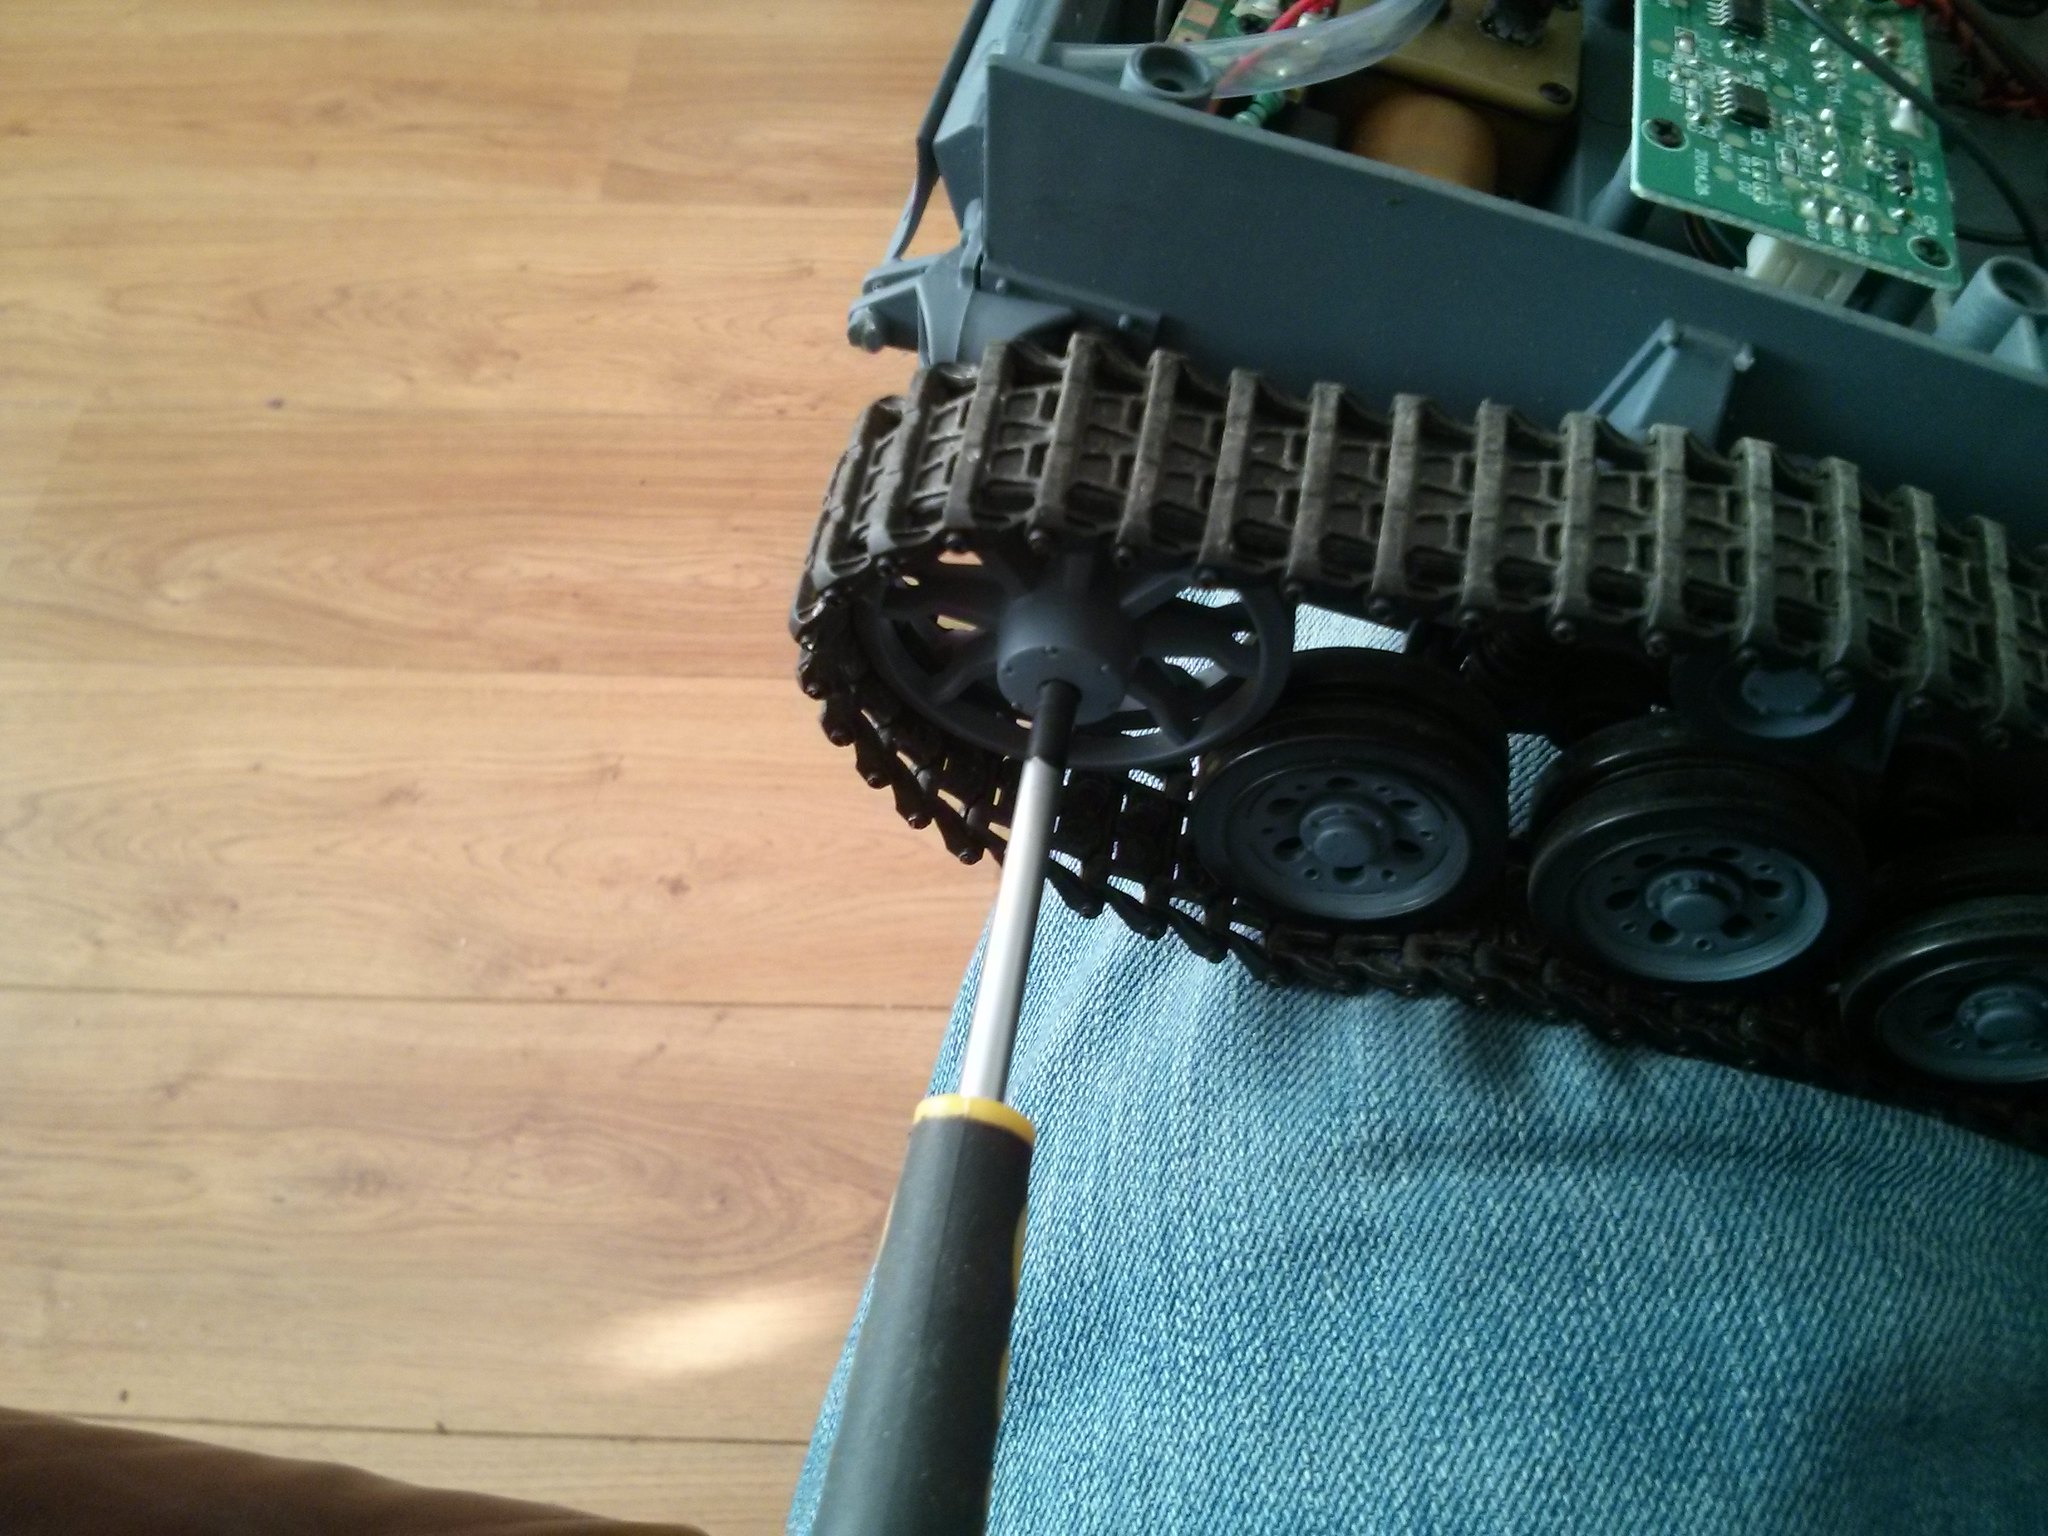
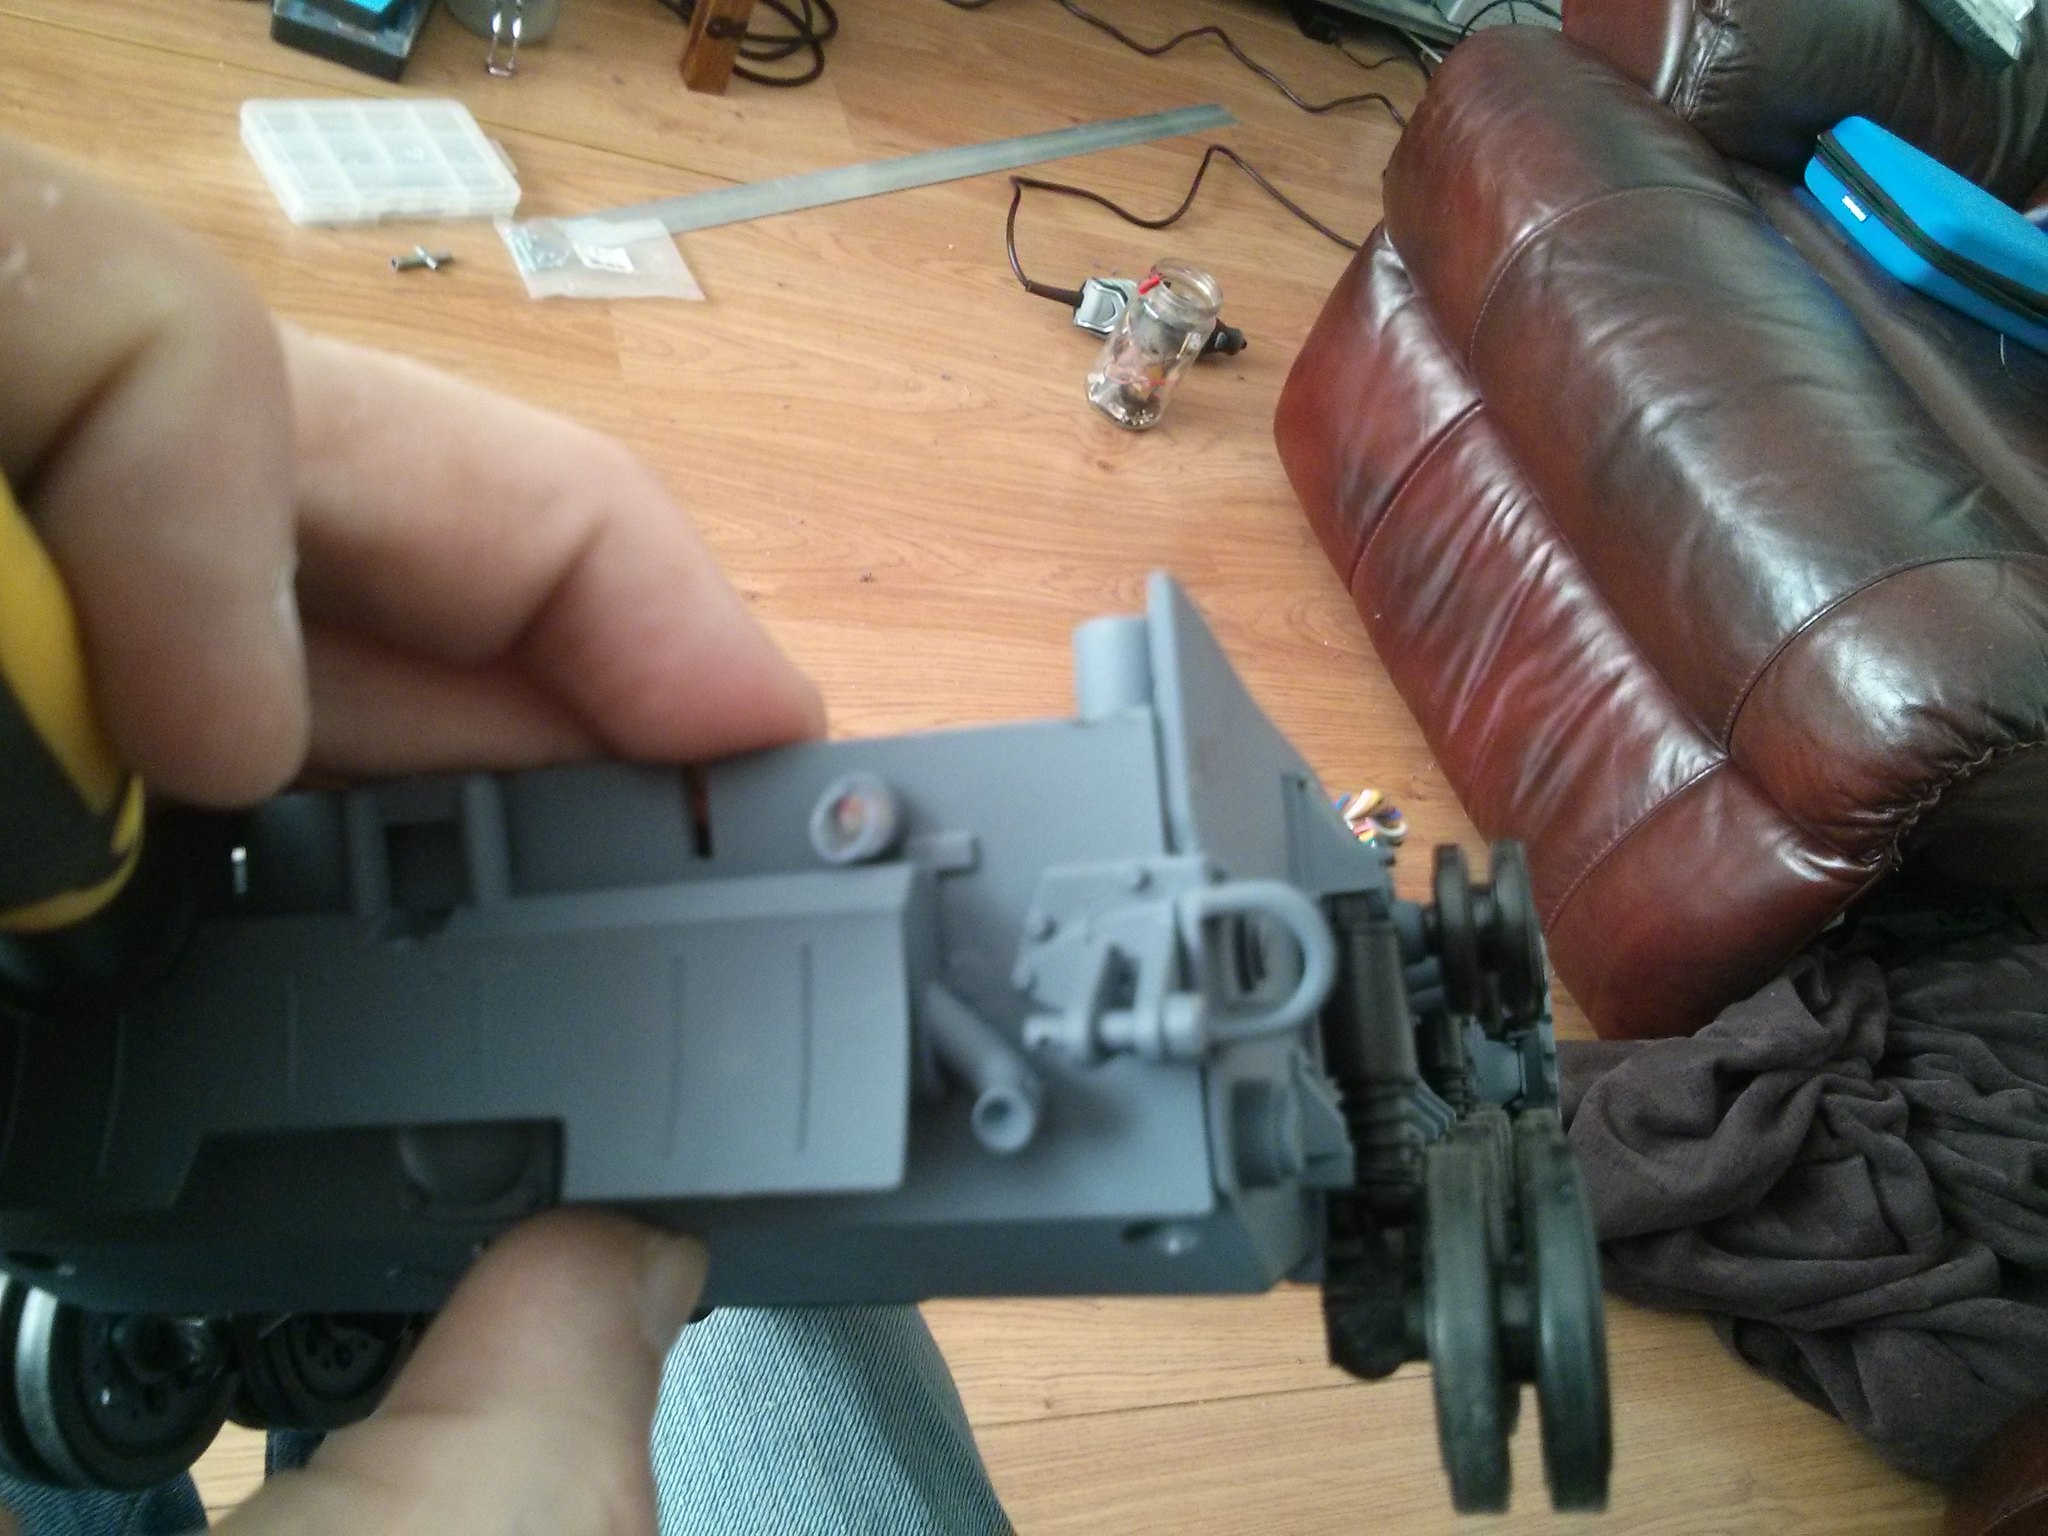
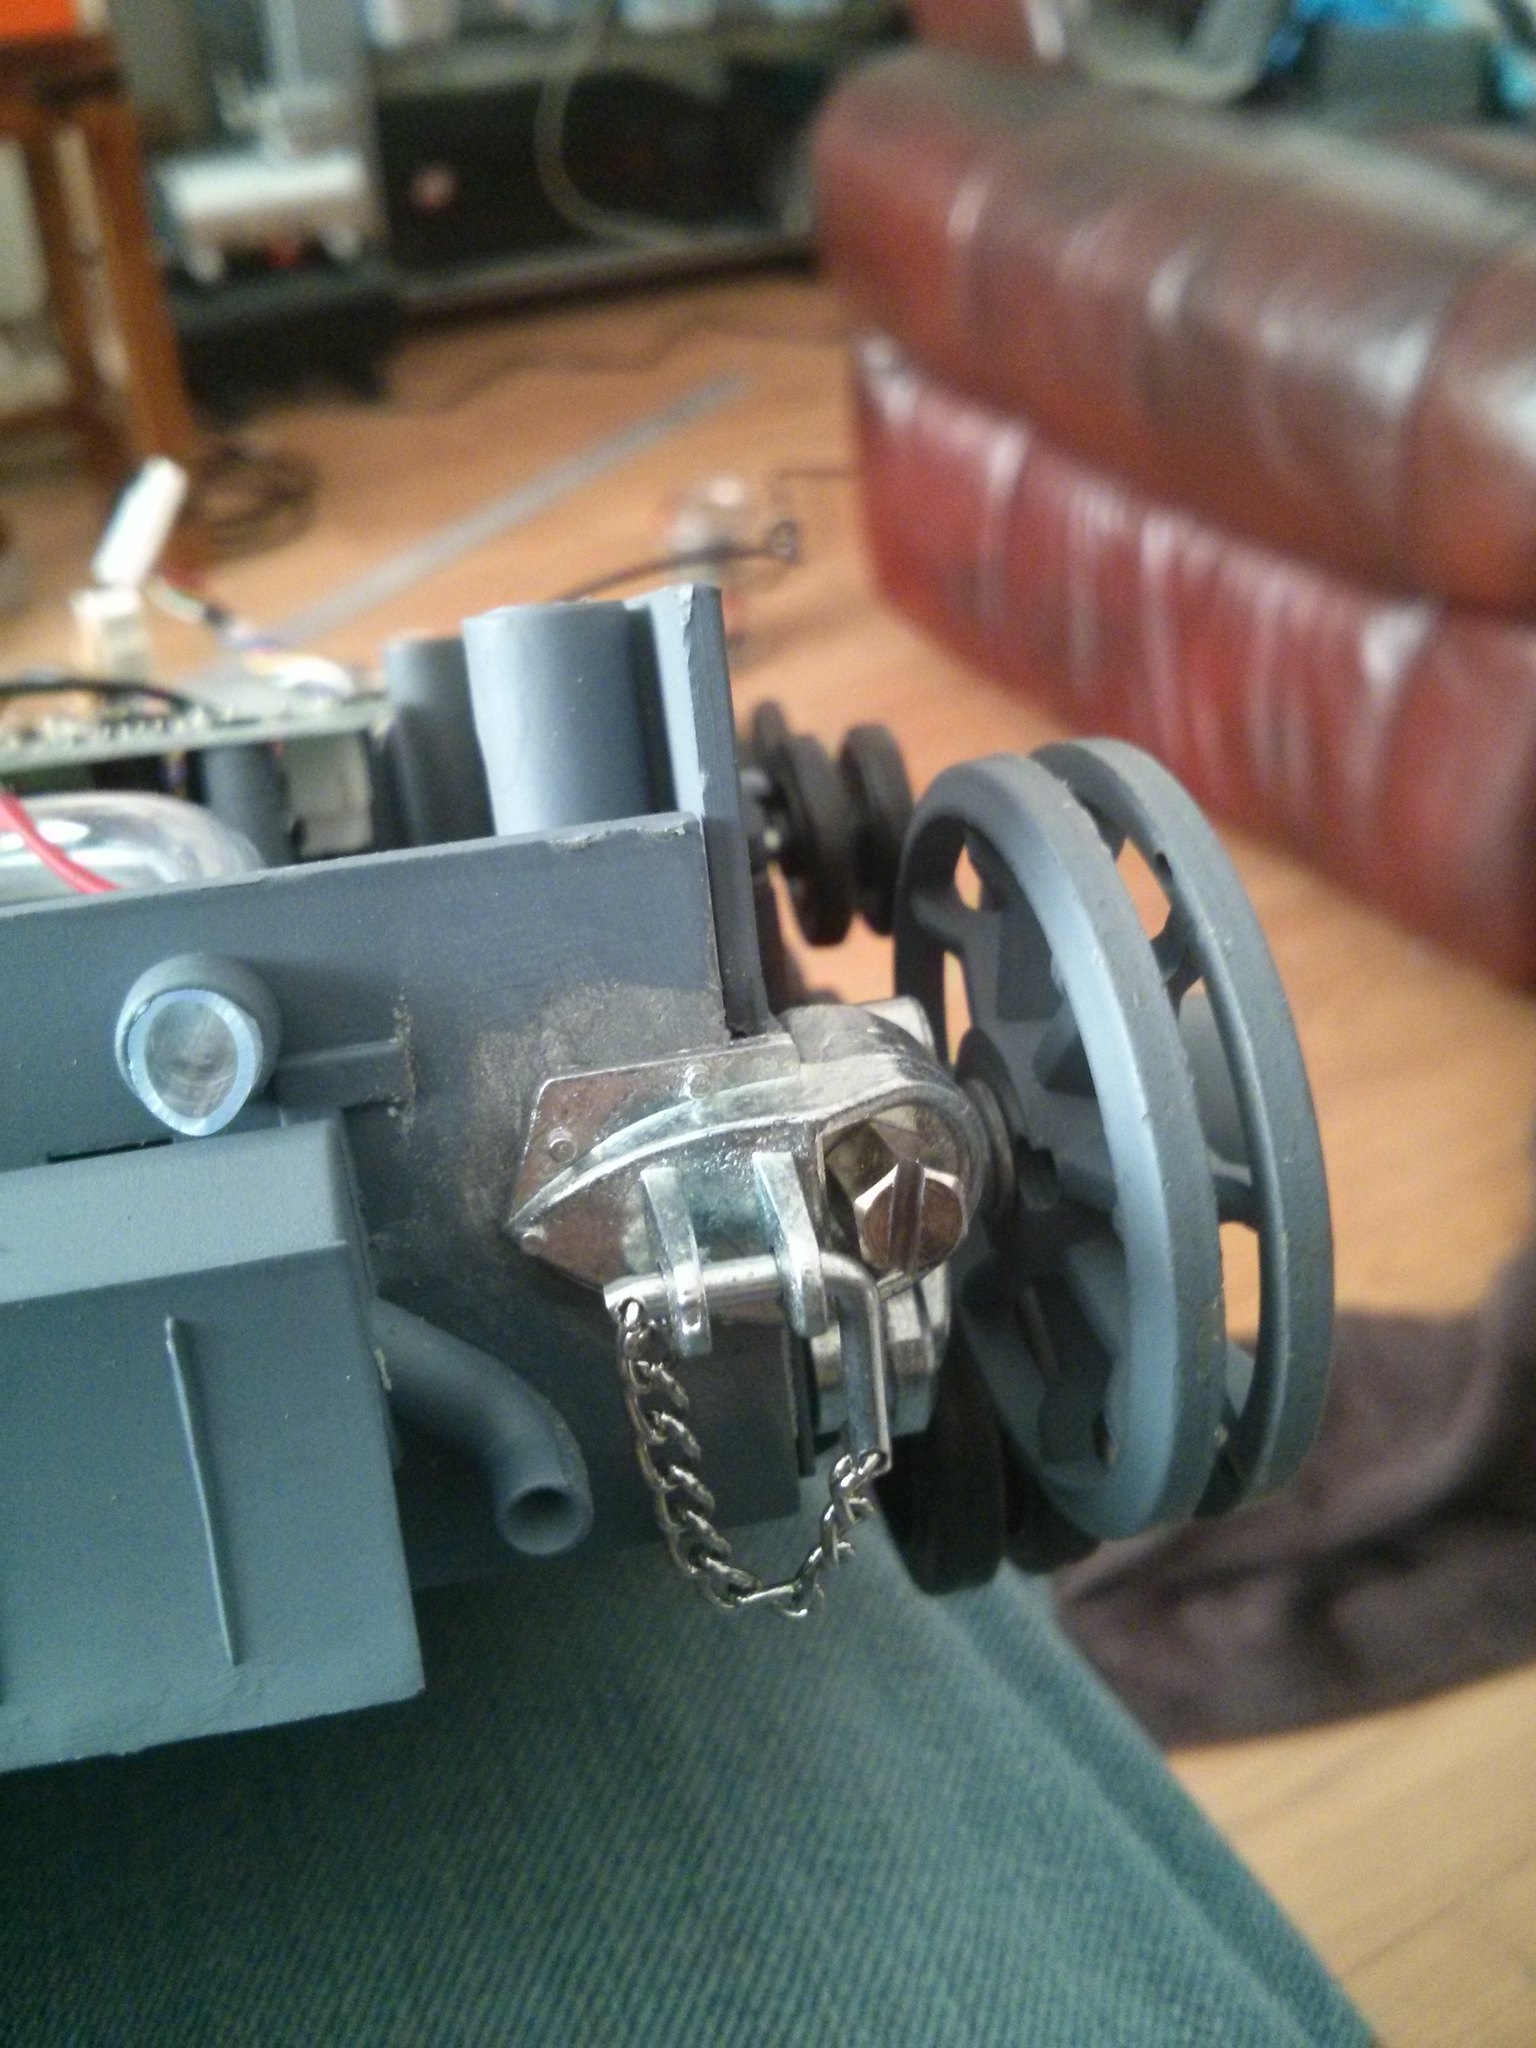
So a set of those metal aftermarket tensioners are almost a must.... you can try using the original plastic parts... but the metal idler arm is much stronger

When i installed it on my Stug ... i found i did not need to grind off the original support casting on the hull... What i did instead was to plug the hole where the plastic tensioner slips through with a piece of over sized sprue .... drilled a hole in the center to accommodate the tension screw...then use the rest of the parts in the tensioner kit to finish the job....

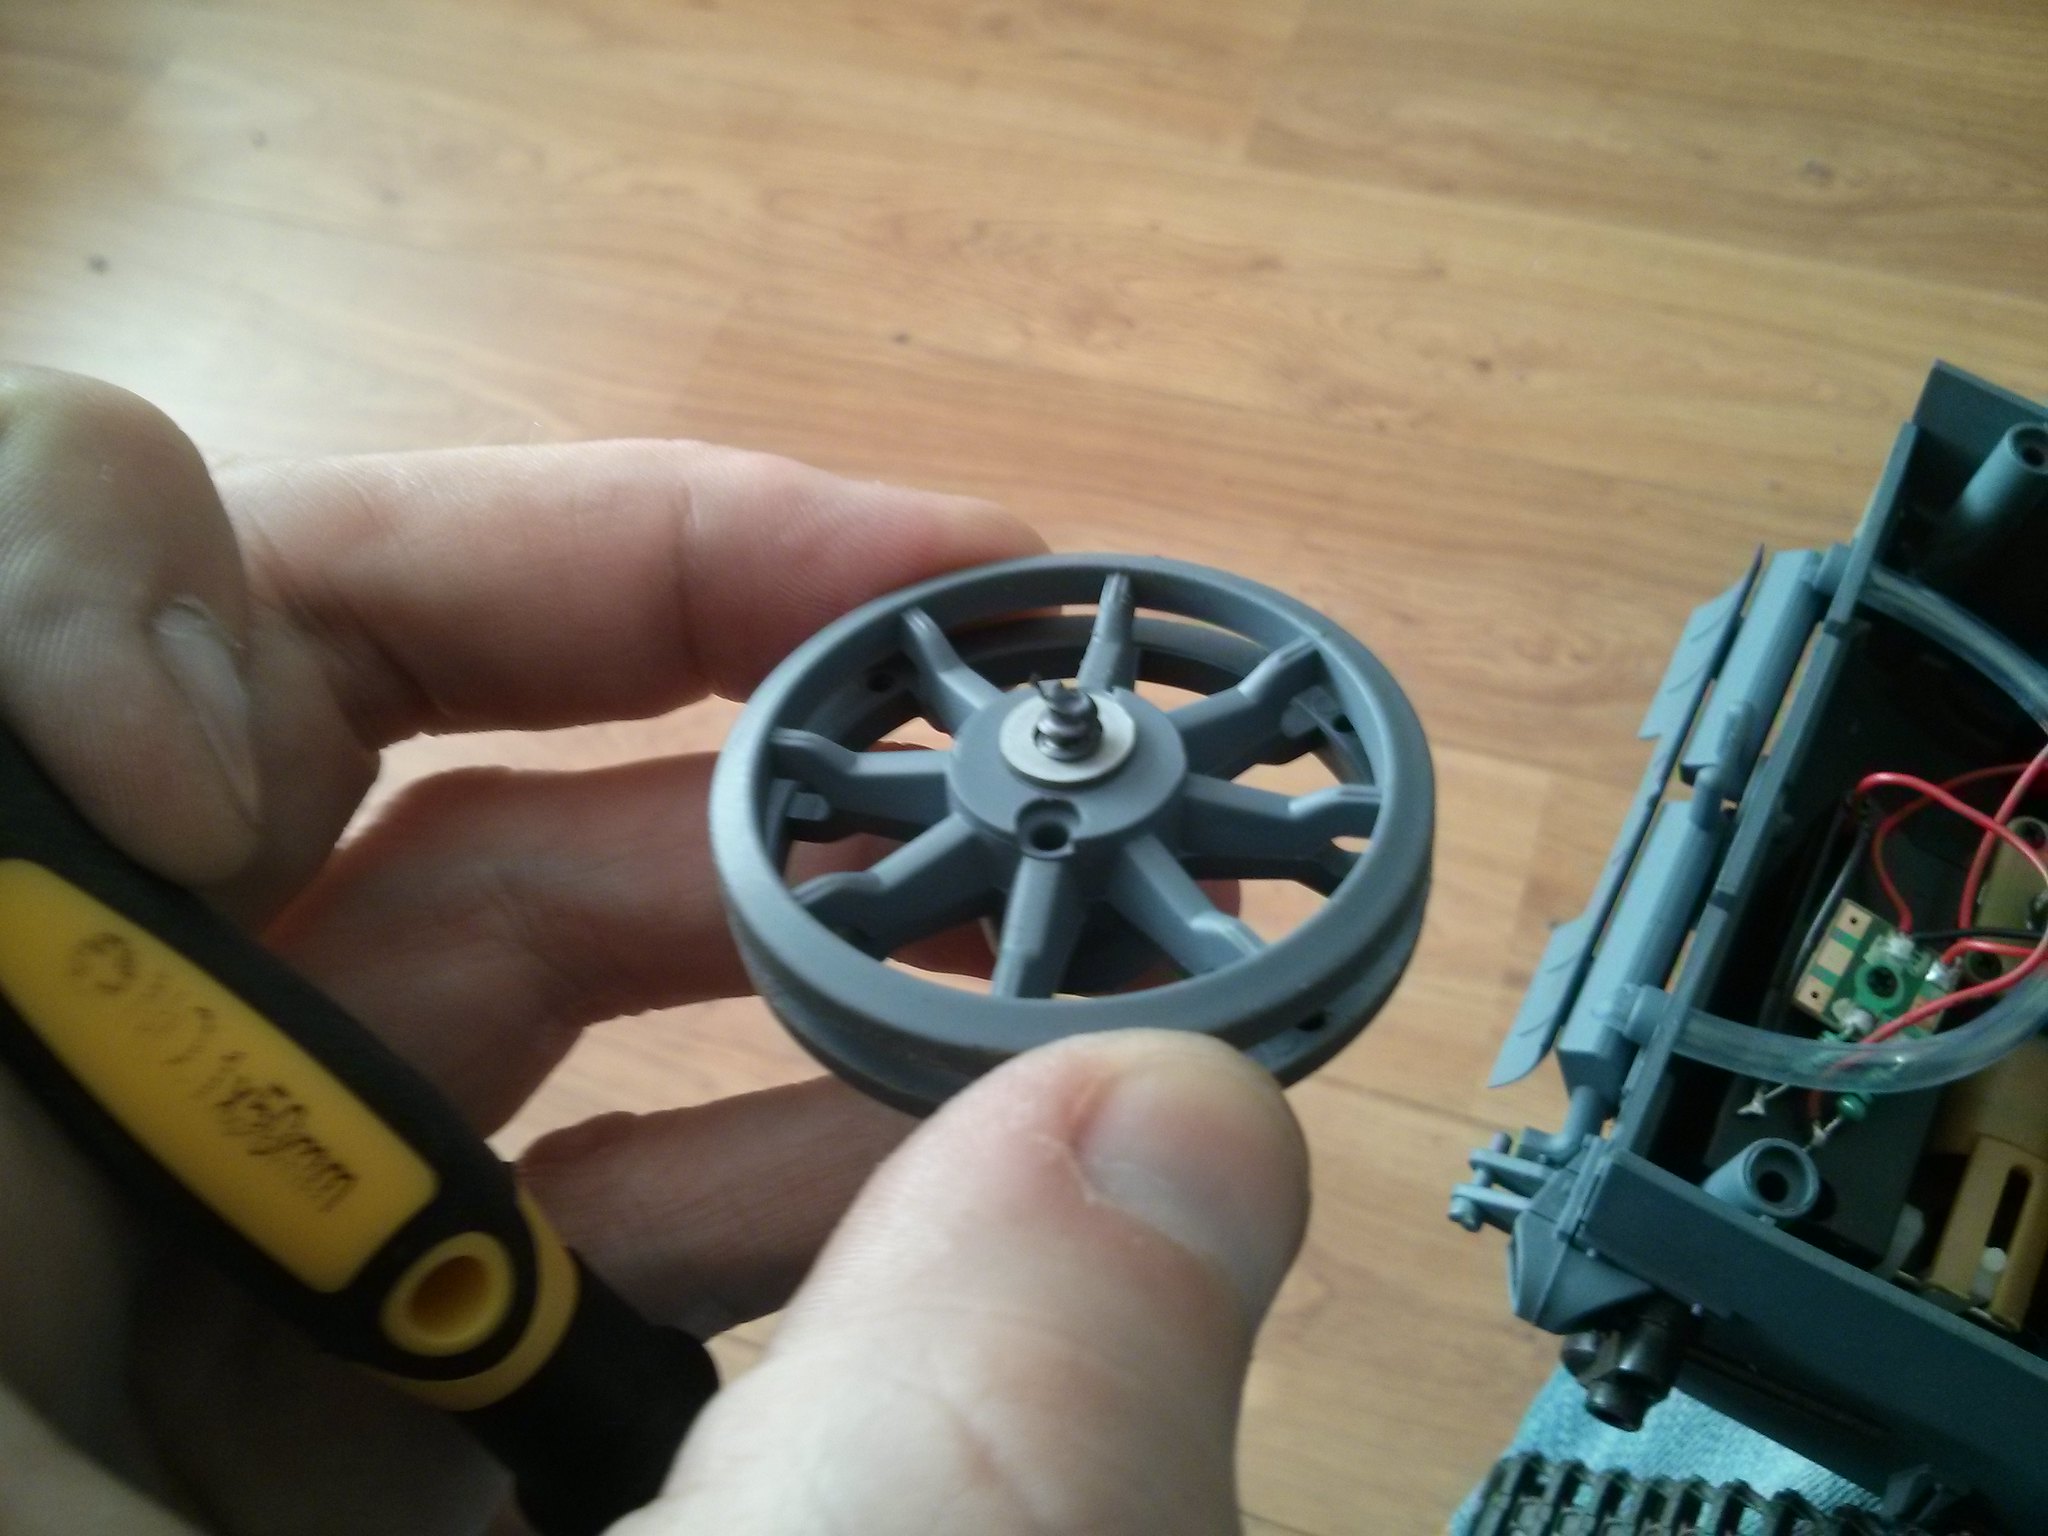
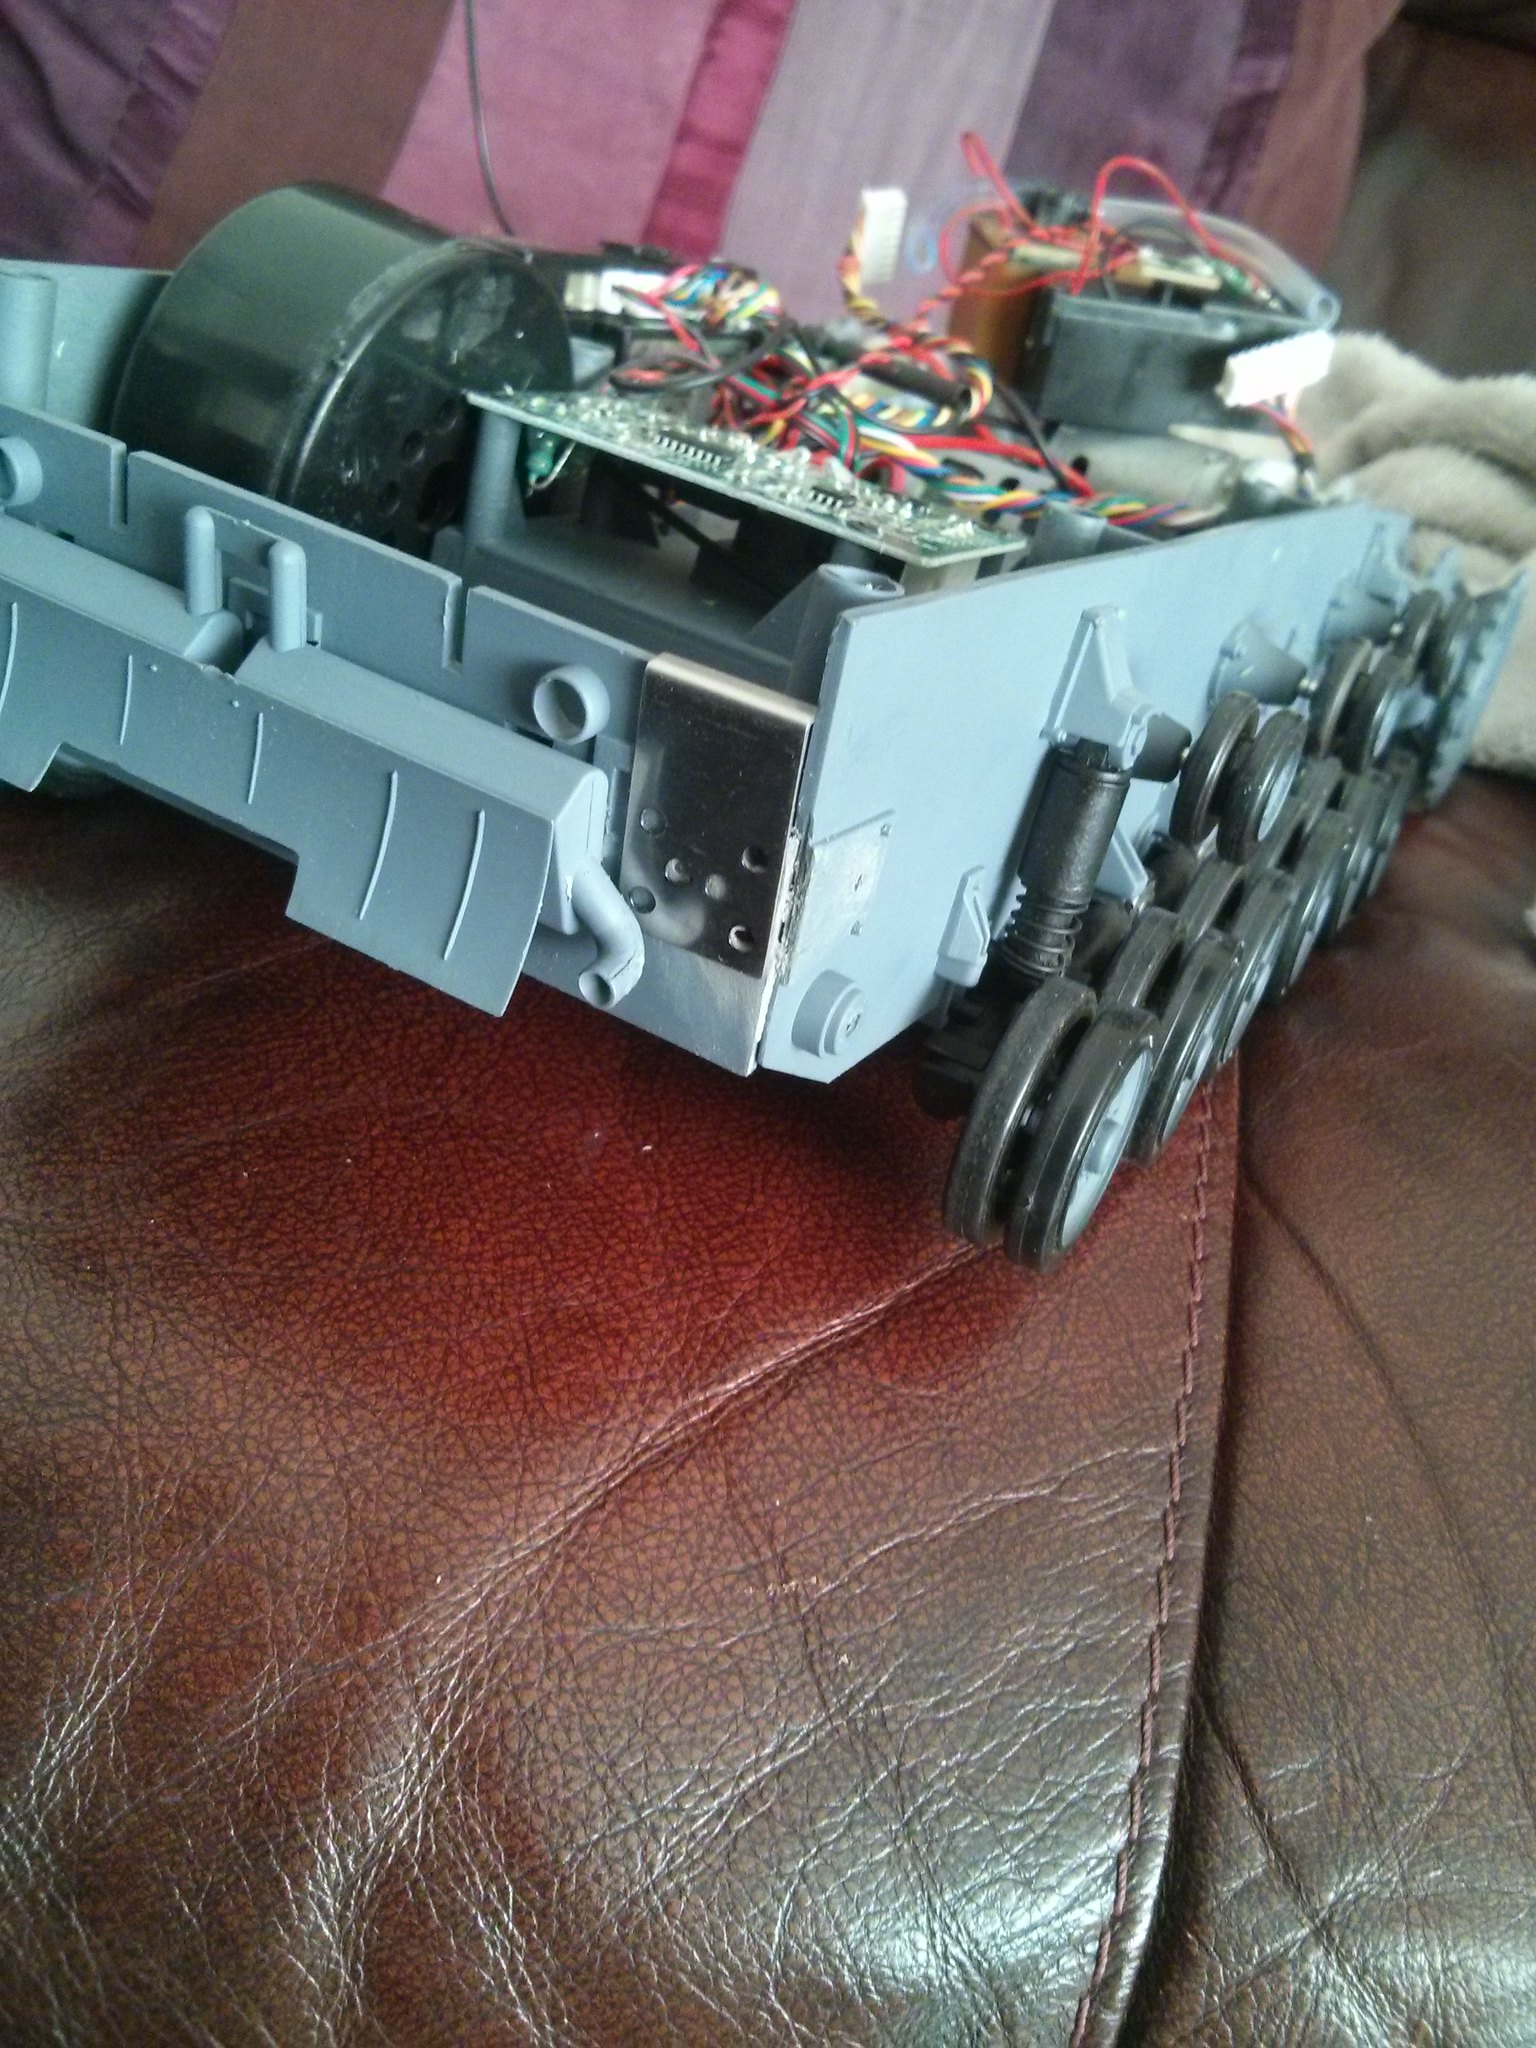
The only other hitch you might come up against is the Heng long Idlers.... since the tensioner is designed primarily for the Taigen...there is no provision for the gaping hole Heng long has in their idlers ....what i did to solve that problem was separate the halves of the idler... drill and insert 6mm metal bushings {( airsoft gearbox bushings) the nylon bushings work... but will slowly loosen the idler wheel screws} inside the idler half that has the hole for the axle screw...do not... and i do mean do not... drill from the exposed side... the hole will be too large.. and will compromise the integrity of the idler

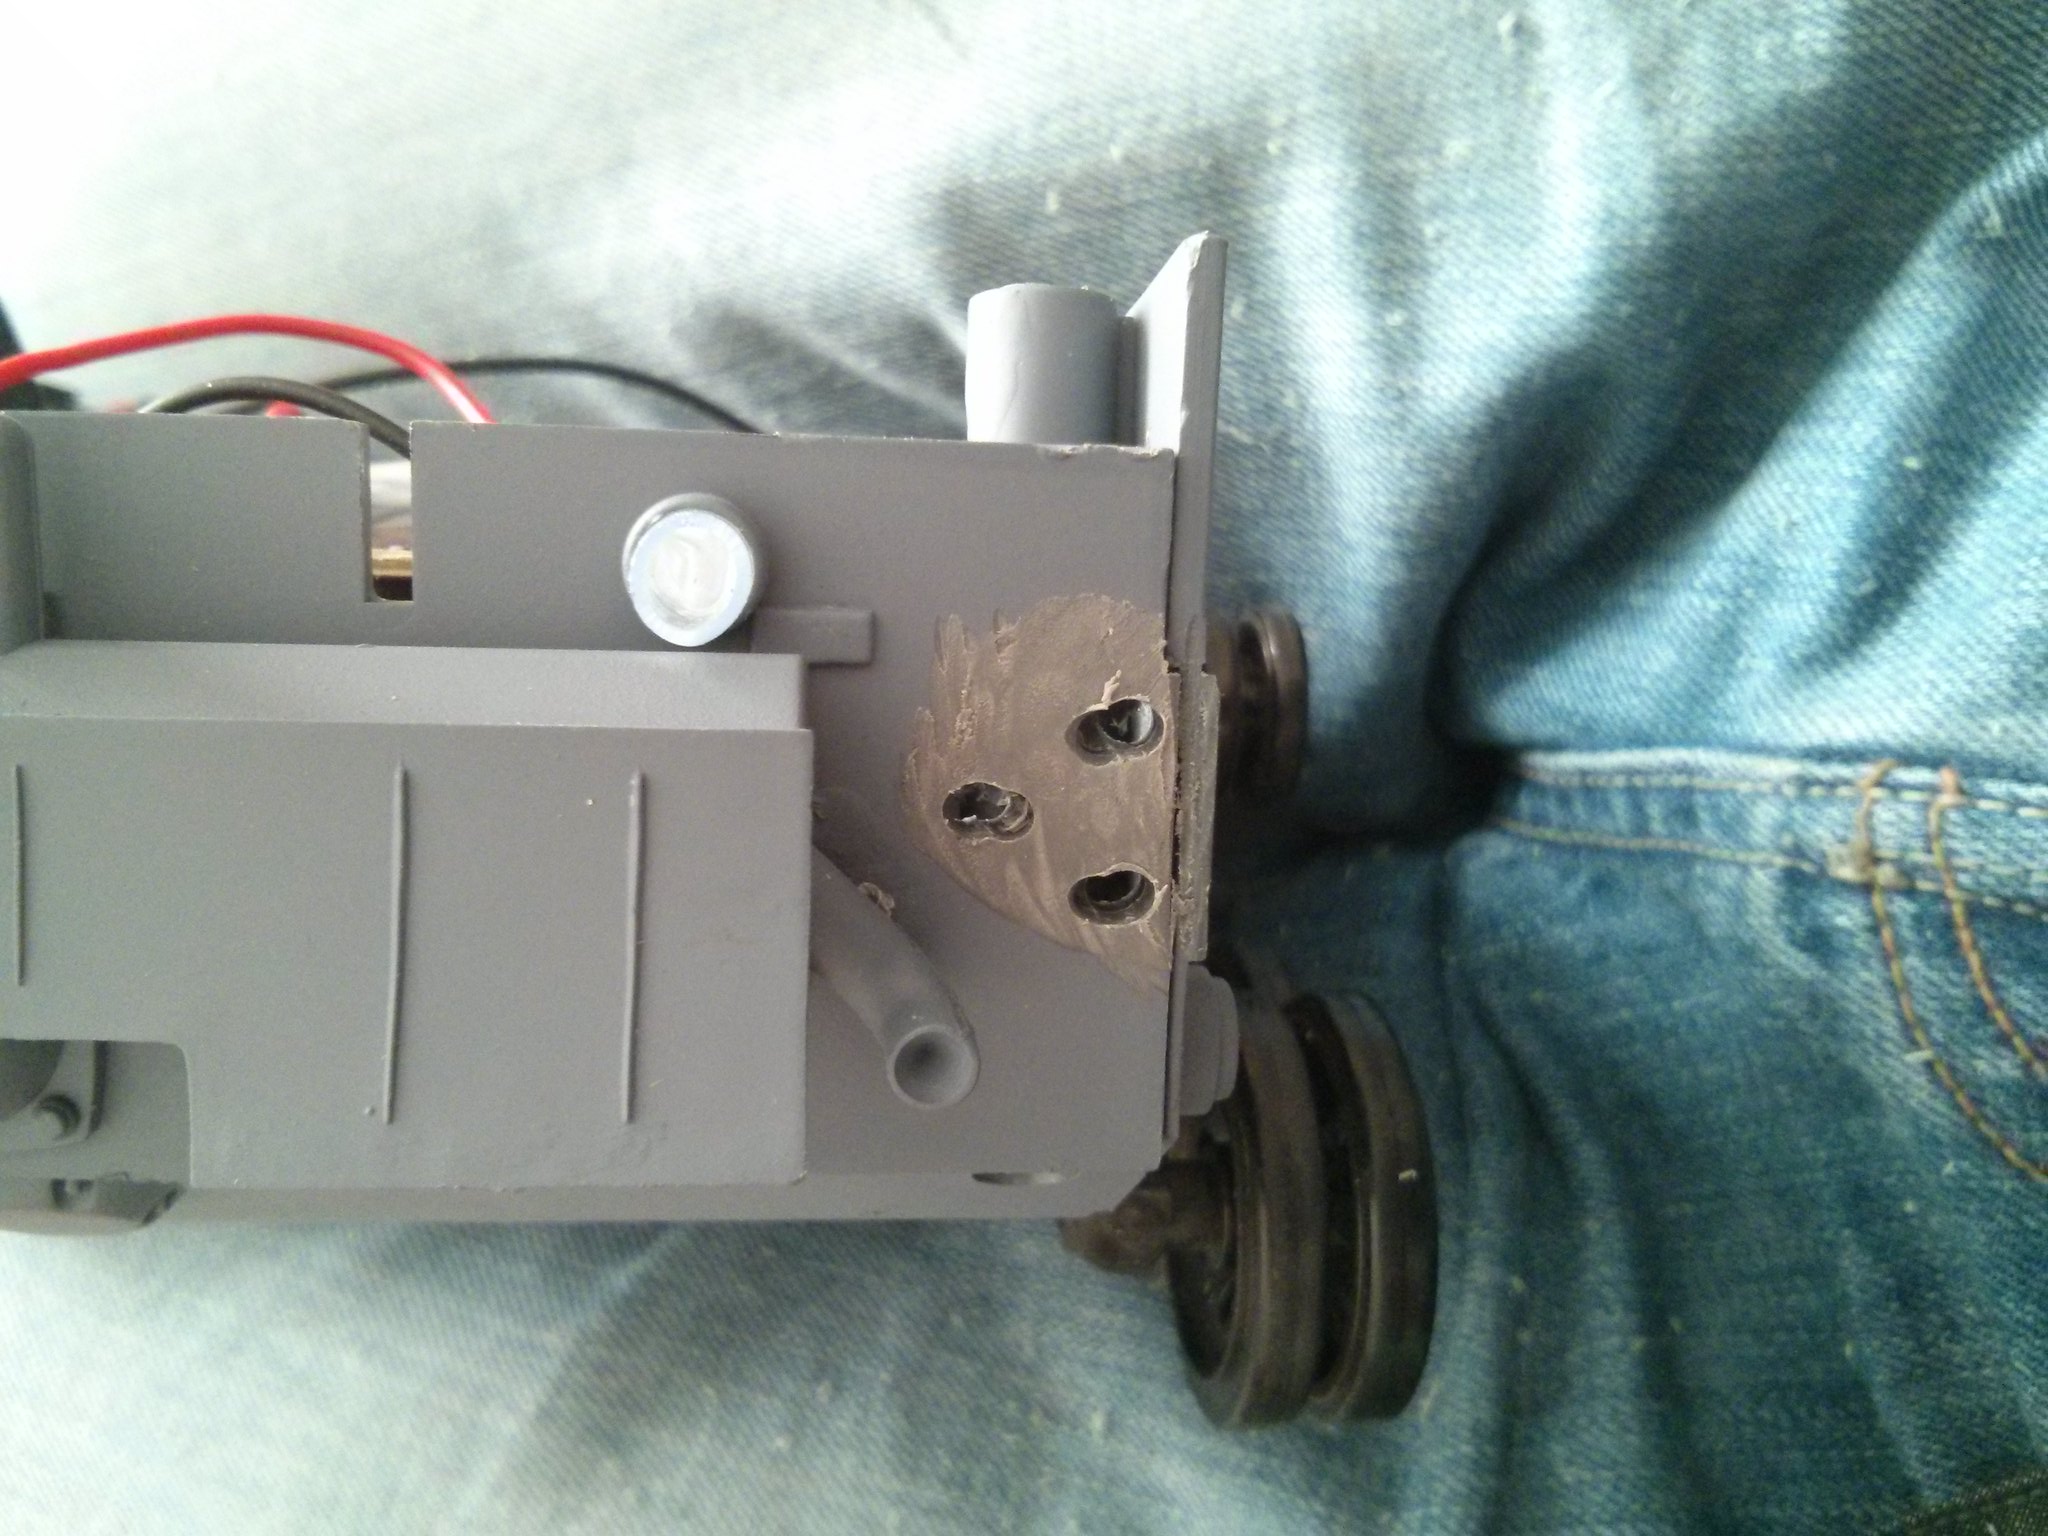
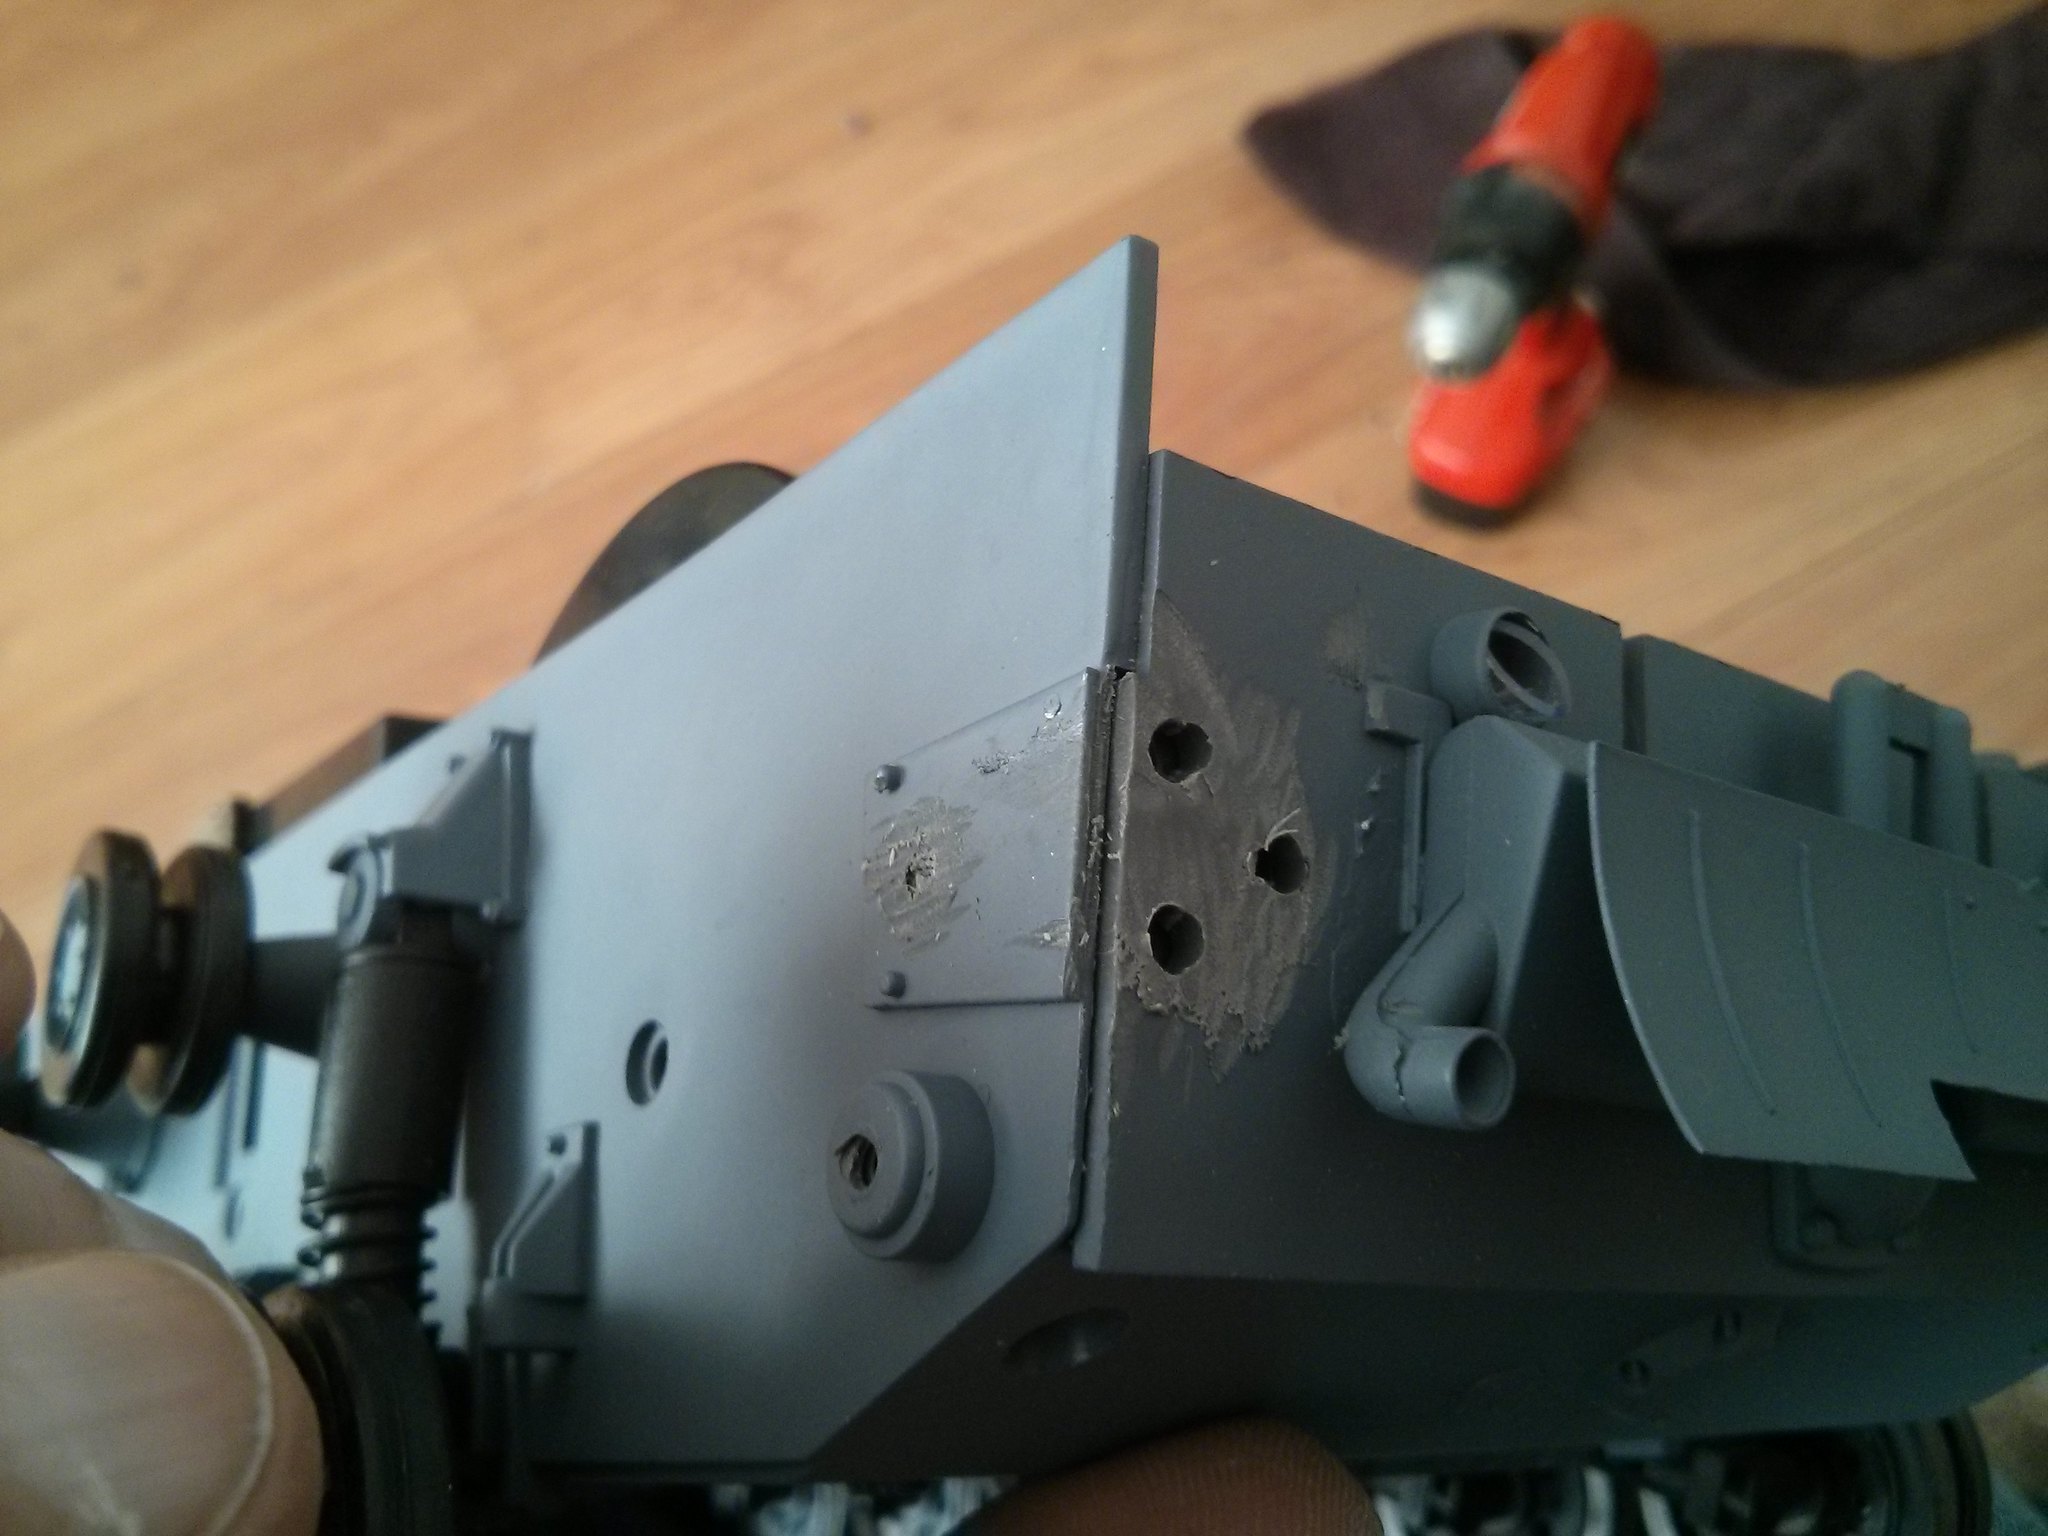
Upon closing the two halves of the idlers find an appropriate length screw ... a little lock tight and you should be ready to run

sorry no pictures ... :{
User avatar
mike1268
Corporal
Posts: 335
Joined: Tue Mar 10, 2015 9:28 am
Location: Grantham - Lincolnshire

Re: Make sure the tracks are tensioned

Post by mike1268 »

I went with a metal track adjuster for my Stug III. Works perfect. Here is how to do it

First remove the idle wheel at the back, it has a Philips screw in the middle of the hub

Image

Careful no to lose the washer on the inside of the wheel. then remove the track out of the way

Image

Then remove the smoker from the inside of the hull.

Remove the two screws holding the fake adjuster in place. Keep the screws as we will need one of them later

Image

We now need to remove the lump that was behind the top screw. Grind/file it flat with the plate under it.

Image

Then remove the fake plastic adjuster housing from the back panel. Grind/file it flat with the back panel. Note the riveting at the top of the plate we are grinding off. This will help you get the new ones the right way round.

Image

Once ground down, mark up the holes with a marker pen/sharpie using the template provided in the kit. ***DO NOT DRILL THEM AT THIS STAGE***

Image

The template is not exact but does get the depth spot on for both sides. I found if you filled the hole in the template with marker, you need to drill on the out side of all three holes to get it about right. Providing you don't drill too far to the outside, you will still get a nice tight fit. Even if you drilled too far the inside and had to track the hole across a bit

Image

Second attempt came out much better

Image

I then sanded the rough areas with some 180 grit wet and dry. I wouldn't use any lower then that, it was a little harsh but most of the sanding is covered by the replacement parts

After testing the fit (wants to the a snug fit but not overly forced), I put super glue on the new adjuster. only in the middle of the 3 pins and being careful not to get any near the screw thread. Remove the screw if you are unsure.

Note, I ground a slot in the adjuster. I found it difficult to get a spanner or socket in, so this lets me use a flat screwdriver.

Image

I then put super glue on the 3 pins from the inside of the hull to make sure it wasn't going anywhere.

Re assemble the arm with a screw at the bottom, make sure the screw is no too tight so the spring and return the arm forward with relative ease.

When you screw the idle wheel back on, it is a self tapping screw, so the hole is not threaded. Be careful not to strip the threads once tight.

Slacken the adjuster right off (the adjuster arm should be as far forward as poss). Re fit the track and tighten the track up using the new adjuster
User avatar
jackalope
Lieutenant
Posts: 3885
Joined: Fri Jun 20, 2014 7:42 pm
Location: Communist State of Maryland, United States.

Re: Make sure the tracks are tensioned

Post by jackalope »

It would be real nice if all tanks had a slack adjuster like this set up as it would make life so much easier. Good job guys! :thumbup:
User avatar
martinglester
Recruit
Posts: 17
Joined: Sat Feb 14, 2015 7:46 am
Location: Ringwood, Hampshire, UK

Re: Make sure the tracks are tensioned

Post by martinglester »

Hi there, what size drill bit did you use for the holes? Looking at the template i'm guessing 2.5mm?

Thanks for the how to otherwise, gave me the confidence to get the dremel out!
Heng Long Panzer III (smoke & sound)
User avatar
mike1268
Corporal
Posts: 335
Joined: Tue Mar 10, 2015 9:28 am
Location: Grantham - Lincolnshire

Re: Make sure the tracks are tensioned

Post by mike1268 »

Not 100% sure on the size now, it would have been a 2 or 2.5.

If you try the drill bit through the holes on the metal template, the template holes are the correct size.
Post Reply

Return to “HL Stug III”