Some bit about my experience with model tanks might fit the discussion and explain my approach, which is going to be different then some peoples. I started building model tanks in the mid 1970's in high school. Based on reading history, specifically much about tanks and warfare of world war 2 also tied into that, I found the German super tanks fascinating and still do. Most of my models were monogram 1/35 scale, so many Mark IV's in all their variants, the sturmgeshutz, the shurtzen one, and so on. A Sherman or two but they're all the same after all. And there's no comparing this shockingly weak battle taxi to a German tiger or panther-not even in the same league. Also a 1/24 Panther, a Jagdpanther and a few others, none of them motorized back then...the only ones who made those were Tamiya and then as now, cost 3 to 5 times what everyone else's does. I'm sure they are great model tanks for $1000 and up but the fundamental issue THEY ARE MODEL TANKS! That is how much i paid for my first car...The day i hit the lotto they're on my list and i'll buy everything they make. Enough said about Tamiya.
I thought about the Heng longs for several months before actually getting this KT, from Hobbytron. The only other tank i seriously considered was the tiger and the panther also considered the 1.24 tiger as well....but for the price difference i decided to splurge on the king of all the panzers as there was no more powerful tank fielded by any army. For once twice as much cost does give twice the product, and a lot to work with to make a fairly impressive model.
Hobbytron sells "refurbished" units on occasion for cheaper, all of them on back order, got tired of waiting and just bought it finally. It cost me $150 and turned out NOT to be the smoke and sound model. I suppose it was my fault, assumed they all came with it, but S and S were something i wouldn't use and would have just removed anyway as these features are not for me. Here's the unboxing of the jewel in the rough (or however it ultimately turns out to be)
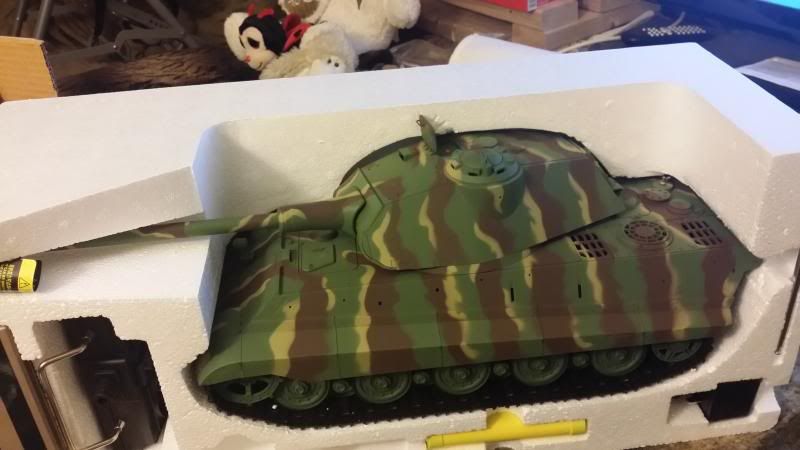
The camoflage from the factory is actually not bad and probably resembled some wartime KT painted somewhere by somebody. Even so I knew it was getting repainted and modified as that's more then half the fun-reengineering!
By the way the silly stuffed animals in the background are not mine, I'm not some kind of git, they are my wife's-she can't stop buying them, even when i tell her to quit buying them for me she keeps buying them, the uglier they are the better she likes them. But I guess she sees my tank the same way?
I would show this picture to people, on my phone to show them how big it is, as that's always the first question they would ask. (Hands for scale)
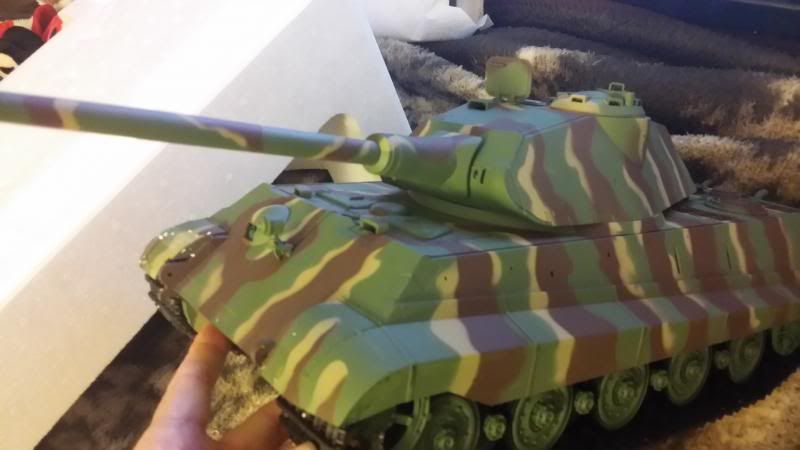
I considered zimmerit, I had done it plenty of times in the past, using "spackle" from the hardware store, on many tanks and did like the effect. However I decided to just forego the zimmerit this time as things were getting busy enough already with this tank. I liked the idea of the glue on zimmerit film that is found online...however the price being 1/3 the model itself, maybe on the next tank! I decided to concentrate on function first. The details i see on many of the amazing tank buildss here, almost boggle the mind, and I admire the people who have the ship-in-a-bottle patience and hand/eye coordination it takes for these many small details that make the model more then just a toy. But i for one am far too ham fisted to try most of these add ons! So i'll leave those to the master modelers who are much better at such detail then I am.
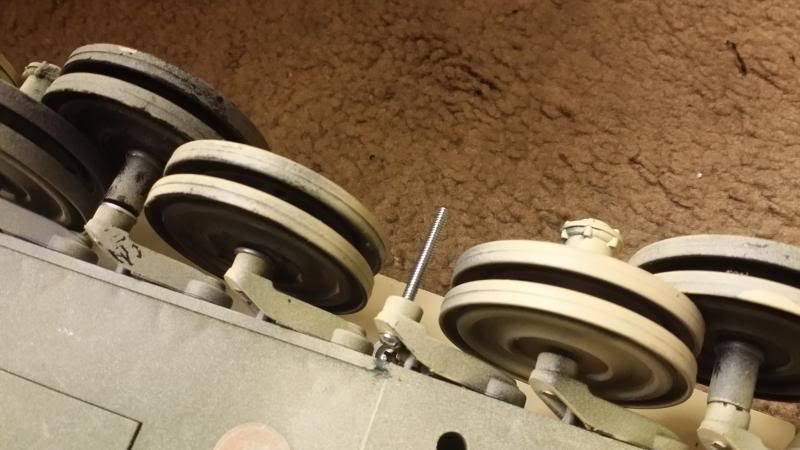
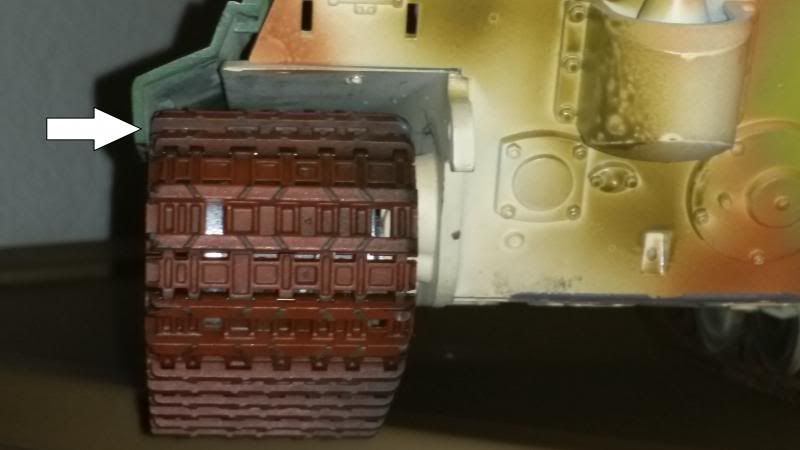
The first thing i decided to do was install brass bushings in the wheels. I was tempted to just leave them be, however, almost half of them stuck and barely turned and the tank had trouble turning or doing anything except travelling in a straight line. So i put bushings in all of the road wheels i could remove. The inner road wheels turned out to have their caps glued on at the factory, i found this out after prying, almost breaking then finally cutting off the flange of one of them, to reveal the hex head axle. I decided to leave the inner road wheels be after this and perhaps they might free up with a drop of the silicone oil. Hopefully I won't be touching these wheels again unless I decide to get the steel wheels some day.
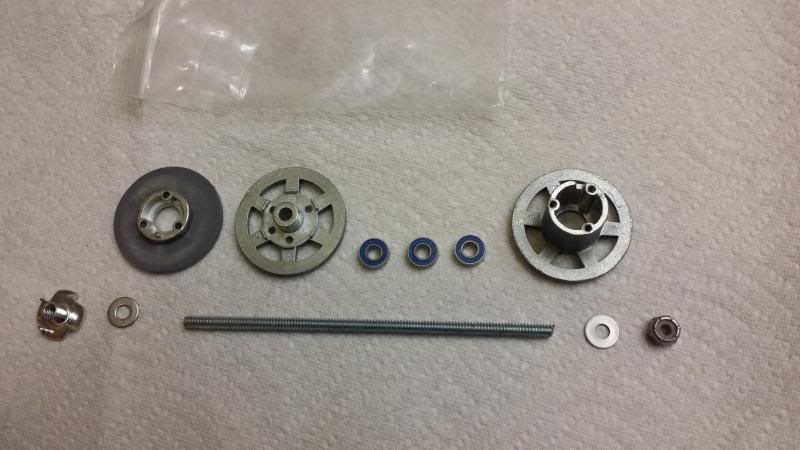
This was simple, I took an axle, and a wheel to the hobby shop and found some brass tubing that fit and seemed like the wheel could be drilled out to fit. (A dremel tool is almost essential for this step). I found the easiest way is to dremel off a 2 to 3" section of tubing and just glue that inside the wheel, leaving the excess sticking out. When dry, dremel off the unwanted tubing. My other way, of sizing and cutting the bushings FIRST to make them fit was fiddly and awkward next time i'd do the "road wheel on a stick" approach with no fooling around with burnt fingers from grinding brass, and cuts etc!
On reinstalling the wheel, using the stock axles, I have to add a washer to the axle on the inboard side/ It's almost mandatory as most of the inner and outer wheels are touching each without a washer to space the outer wheels just a little bit.

The last step, grease the axles (i used silicone grease i have for my airguns, it won't attack the plastic if it should get on it). Silicone shock oil from the R/C store also works-I tested it on my test piece (for airbrushing later) and left it on overnight to see what effect this oil would have on the paint and plastic. It just dripped off, no effect on the paint. Good! Will be using it for the road wheels i can't remove easily.
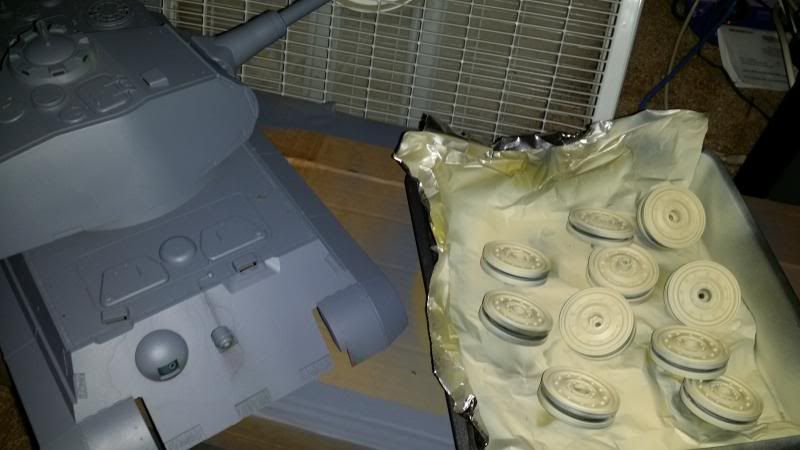
Then I started priming and painting, starting with the road wheels. I got a can of "Dunkelgelb" made by the "Plastic soldier" company in England and bought from a US hobby shop online for $20. It might in fact be historically accurate, but came out too green for me since it will be the base coat. Here's what it looked like

I decided to just go with the tried-and-true armor sand, i got two cans of Model master "modern desert sand" along with the brown and green combo colors, for airbrushing later.
First i lightly sanded the old finish, wiped off with a tack clothe (paper towel really) then primed. Used grey primer- not the more historically accurate red primer- due to color bleed through almost certain to happen with the sand base coat.

I had to reconnect the turret power and traverse it several times, in order to paint the top of the hull completely. The large turret masks many areas on the deck from the paint when left in 12 o clock, and even at 3 o clock positions.
Here's upper hull primer drying along with a tin of freshly painted wheels in sand color.
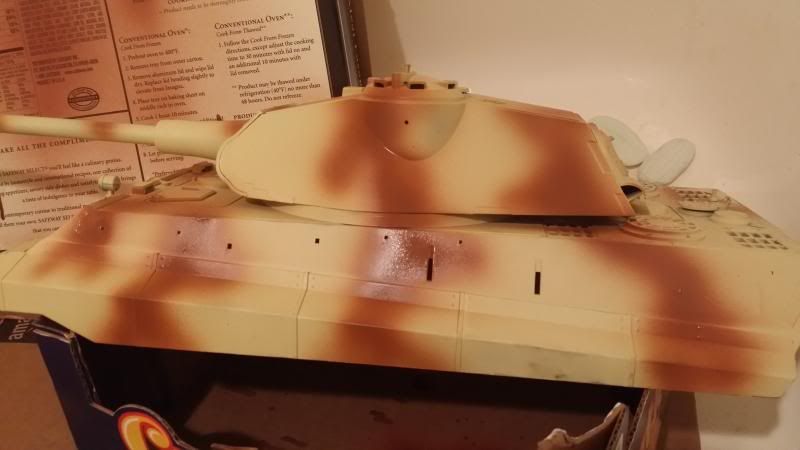
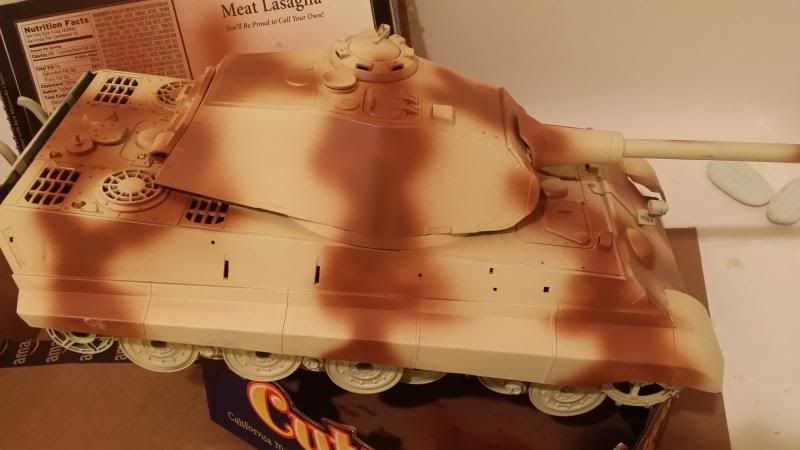
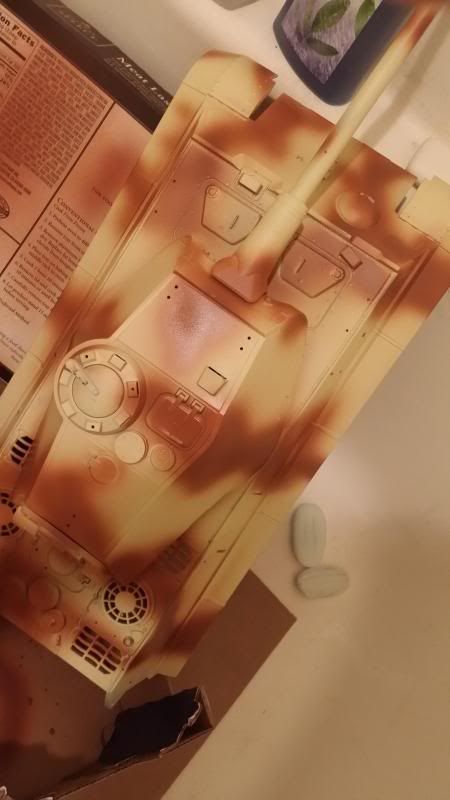
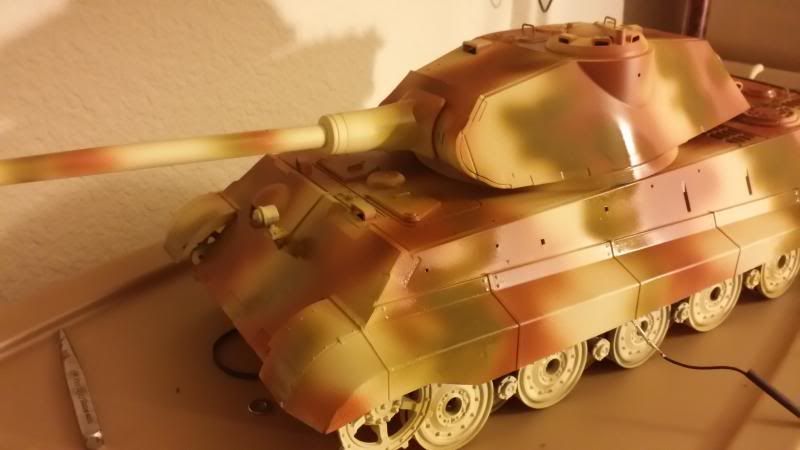
Now i've laid down the base coat of armor (desert) sand on the upper and lower hulls. Model master is enamel, did not want acrylic (a tank finish that isn't water resistant?) and i noticed the paint was still somewhat soft even after 48 hours. And naturally you dont dare put any kind of heat on it or even leave it in the sun to dry-that's asking for trouble isn't it. So I'm letting the enamel dry, the longer the better, i'd say 2-3 days at least.
I'm thinking i didn't let the primer dry long enough before applying the base. Primer is thick, and covering it with another coat of something else just hours afterwards, is not going to help it dry any faster.
Here's the base, that's what i'm up to now
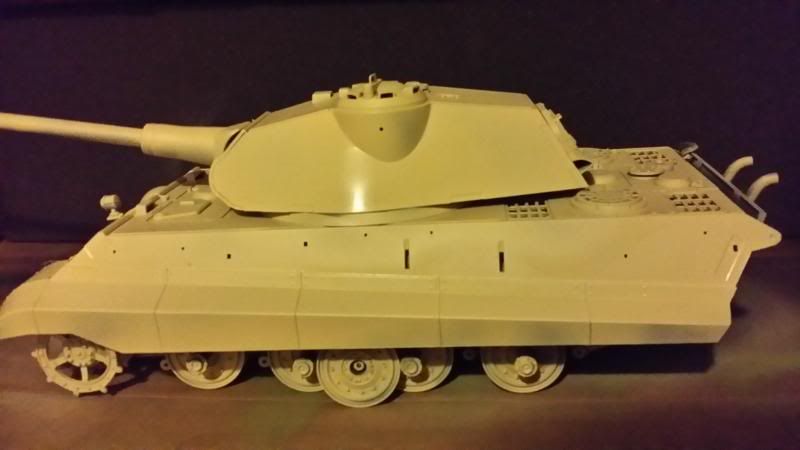
Despite the appearance in the photo, the paint is not glossy in the least.
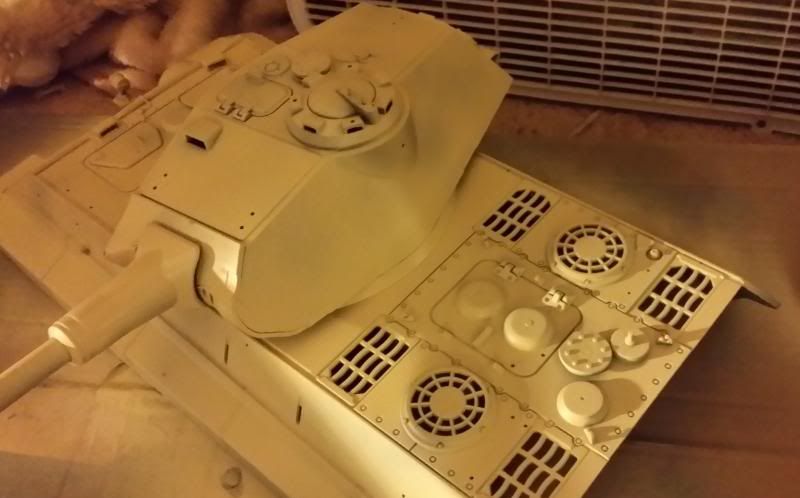
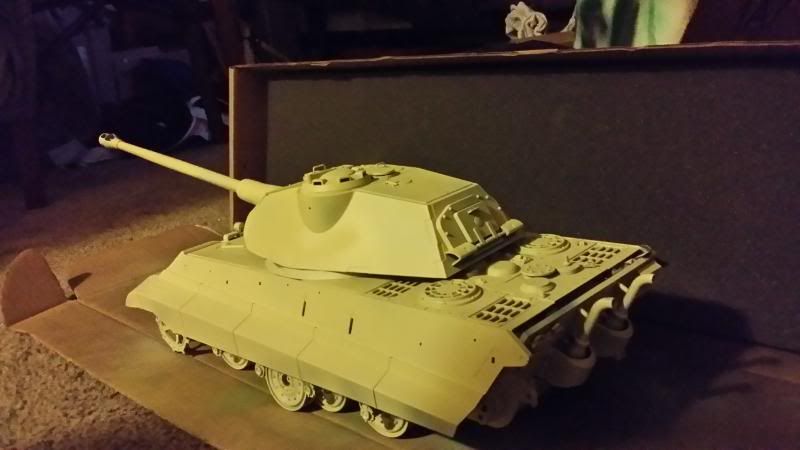
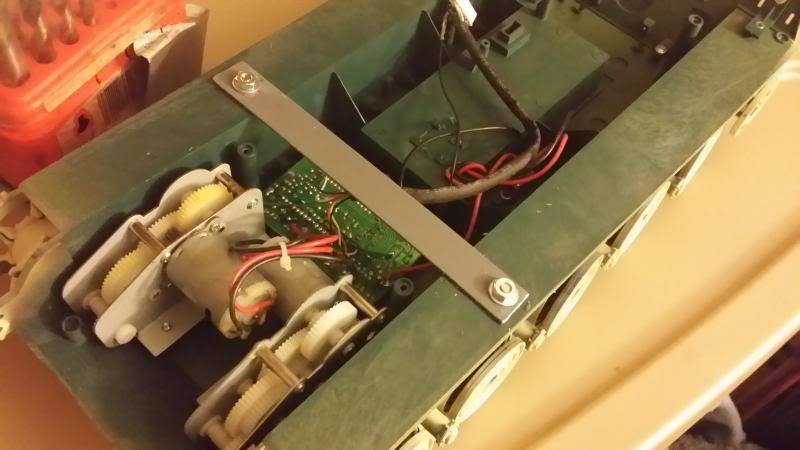
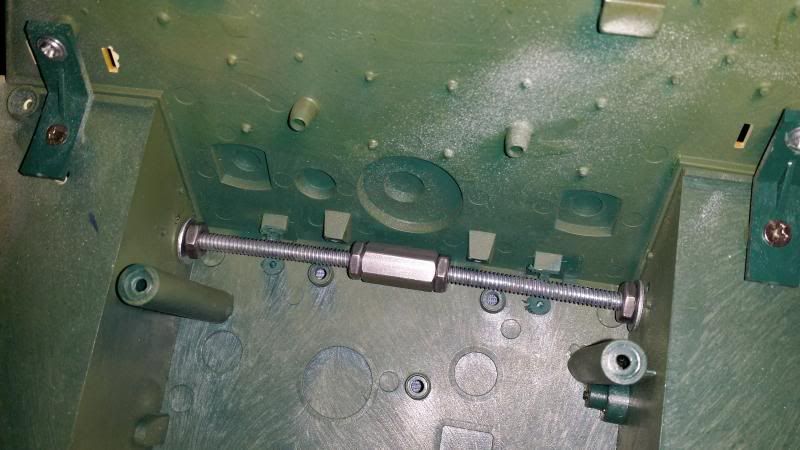
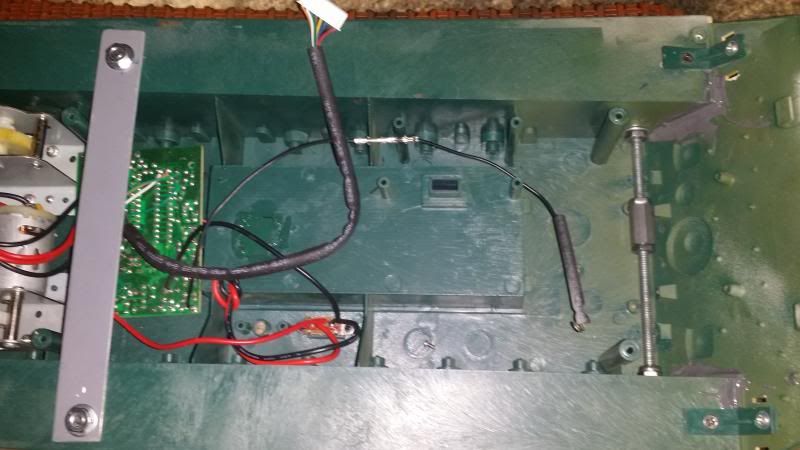
Today I added a strip of aluminum accross the front hull for bracing. I will post a picture of that soon, its held on by one screw each side. The aluminum strip has to be sized correctly, allowing a "shelf" for the upper hull to properly sit on the lower (when you look inside the upper hull, you can see the area that sits on the lower, it is set in about 1/4 inch and the strap needs to not block that, for the hull to close).
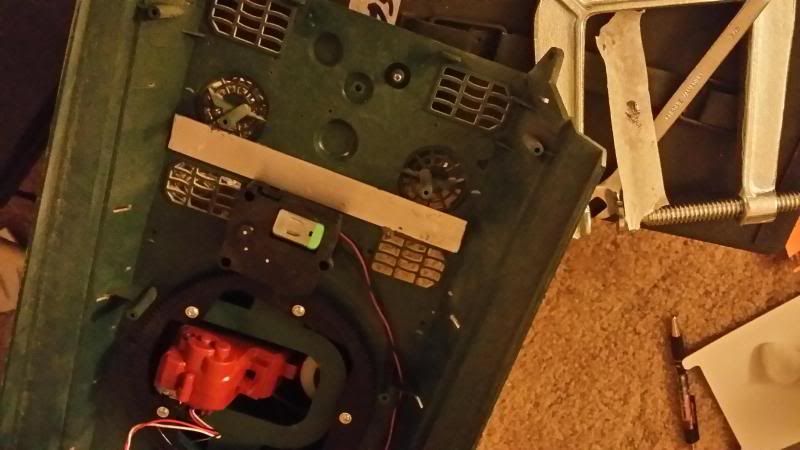
Also I epoxied another strip like this, into the inside of the upper hull-right behind the turret rotating motor and in front of the engine grates. I may need one more brace in the lower hull, but looks pretty solid for now. At least i have a handle to carry the lower hull!
