Page 1 of 2
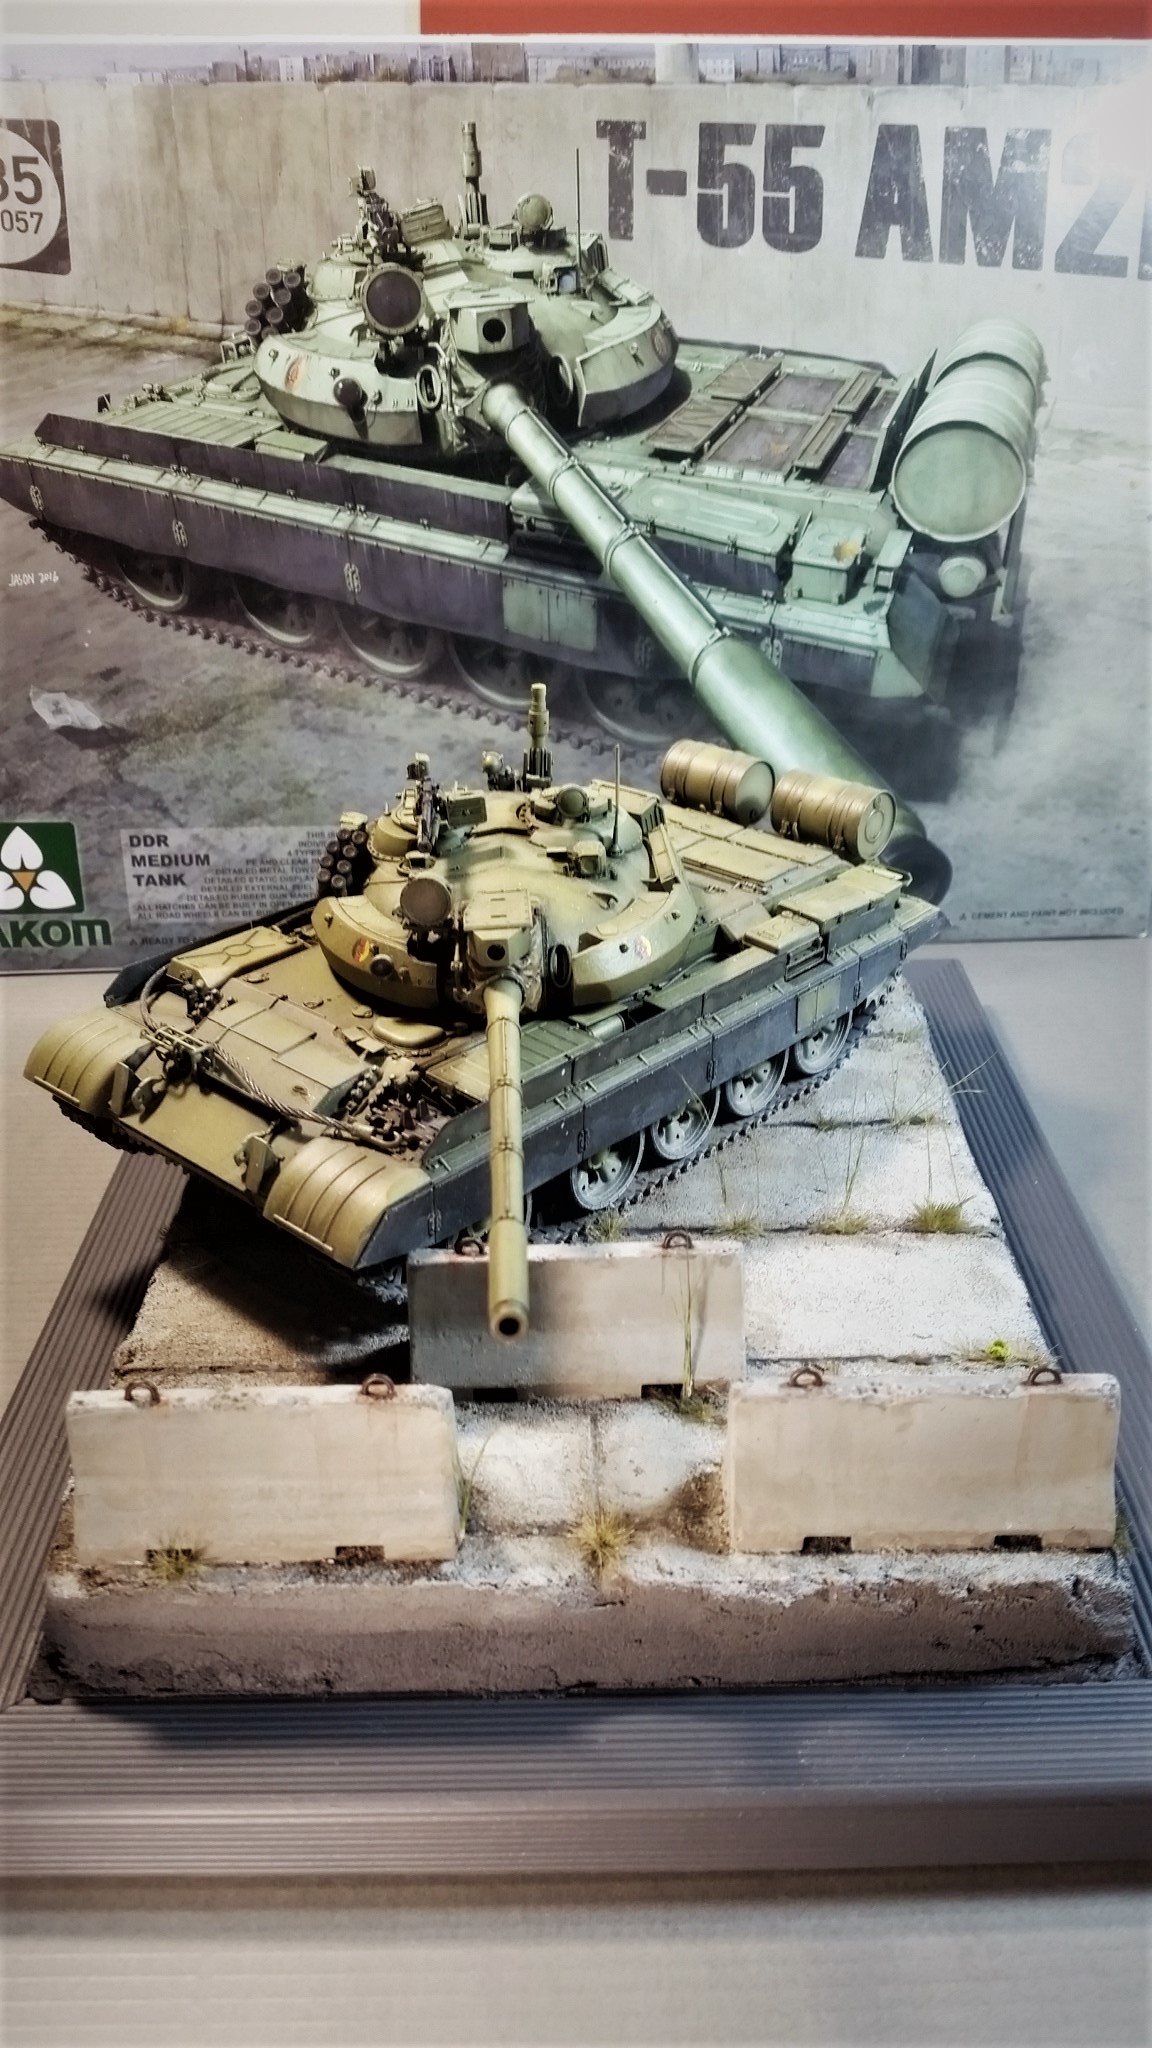
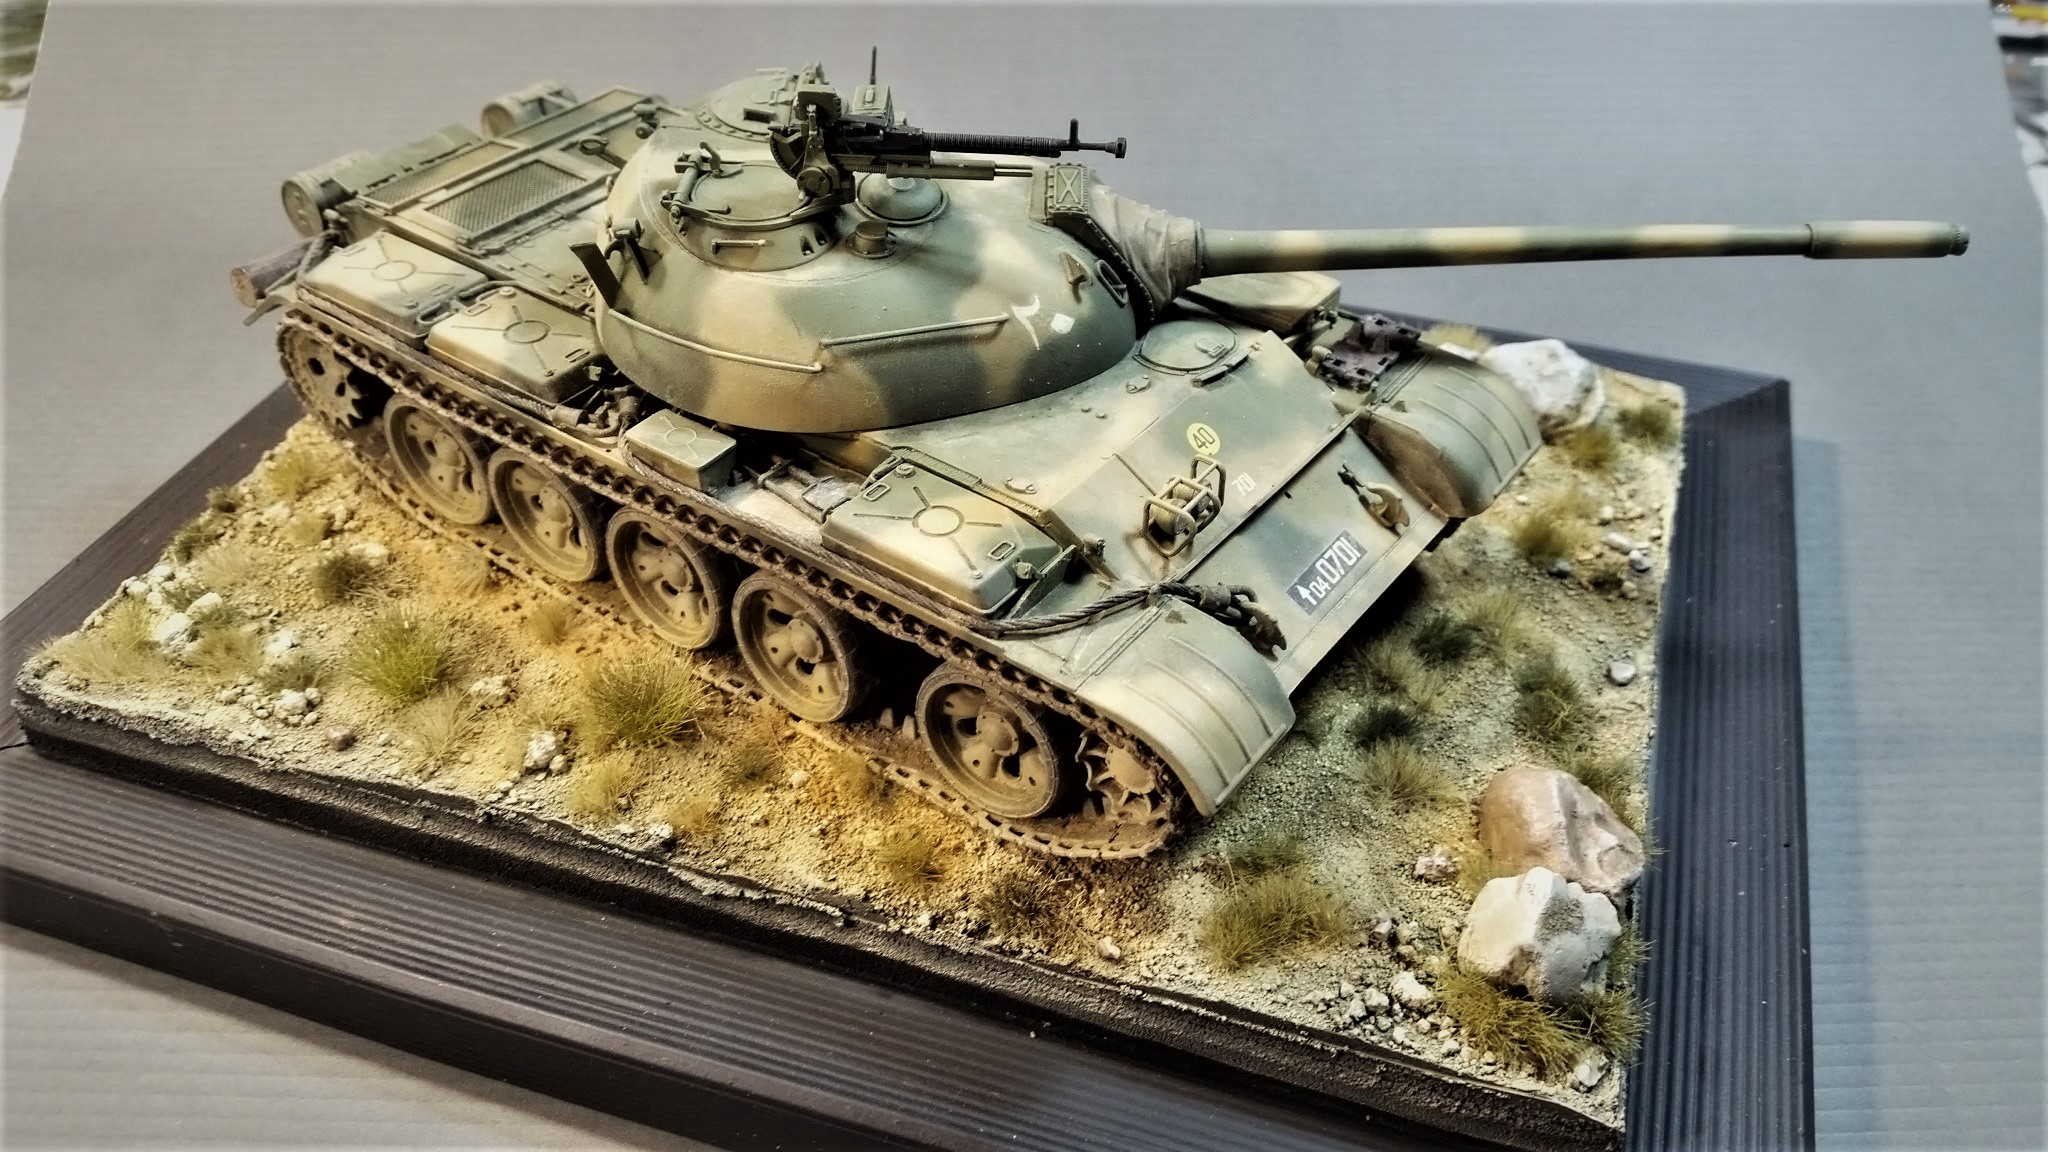
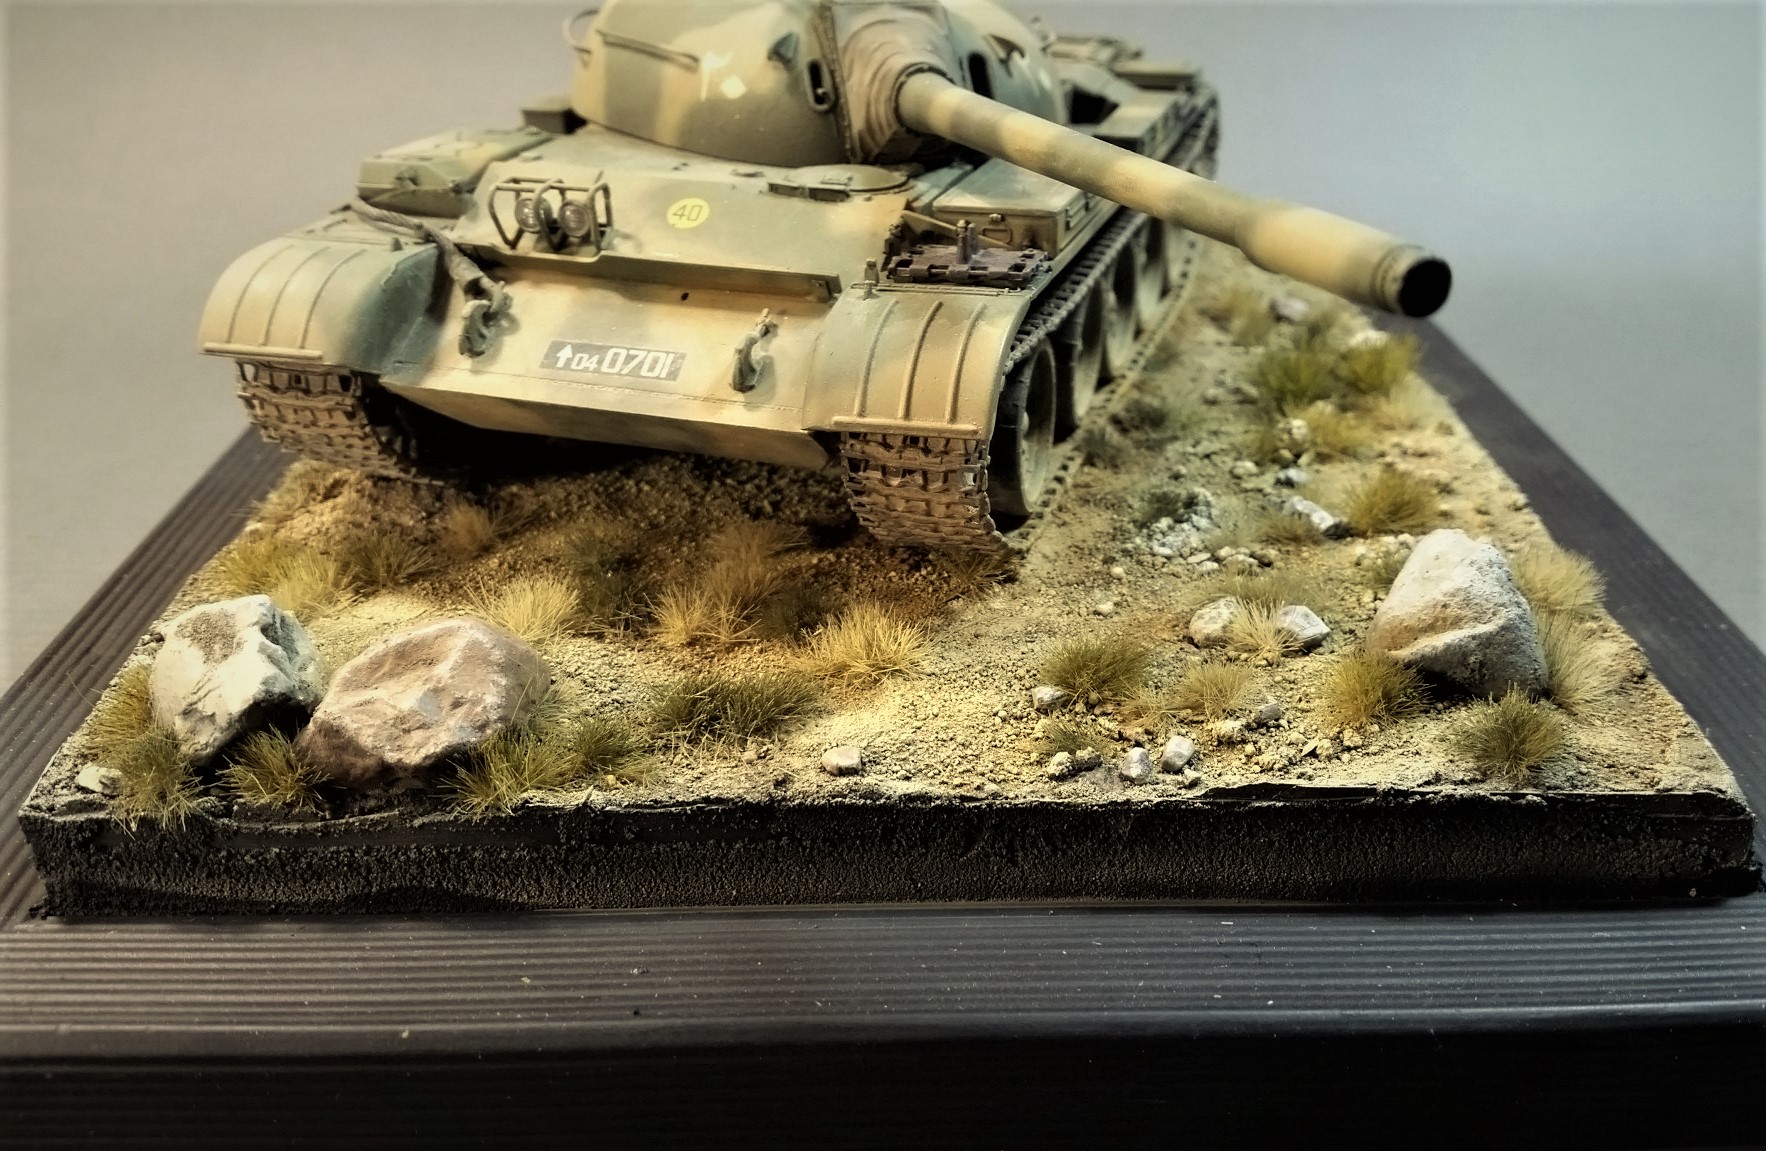
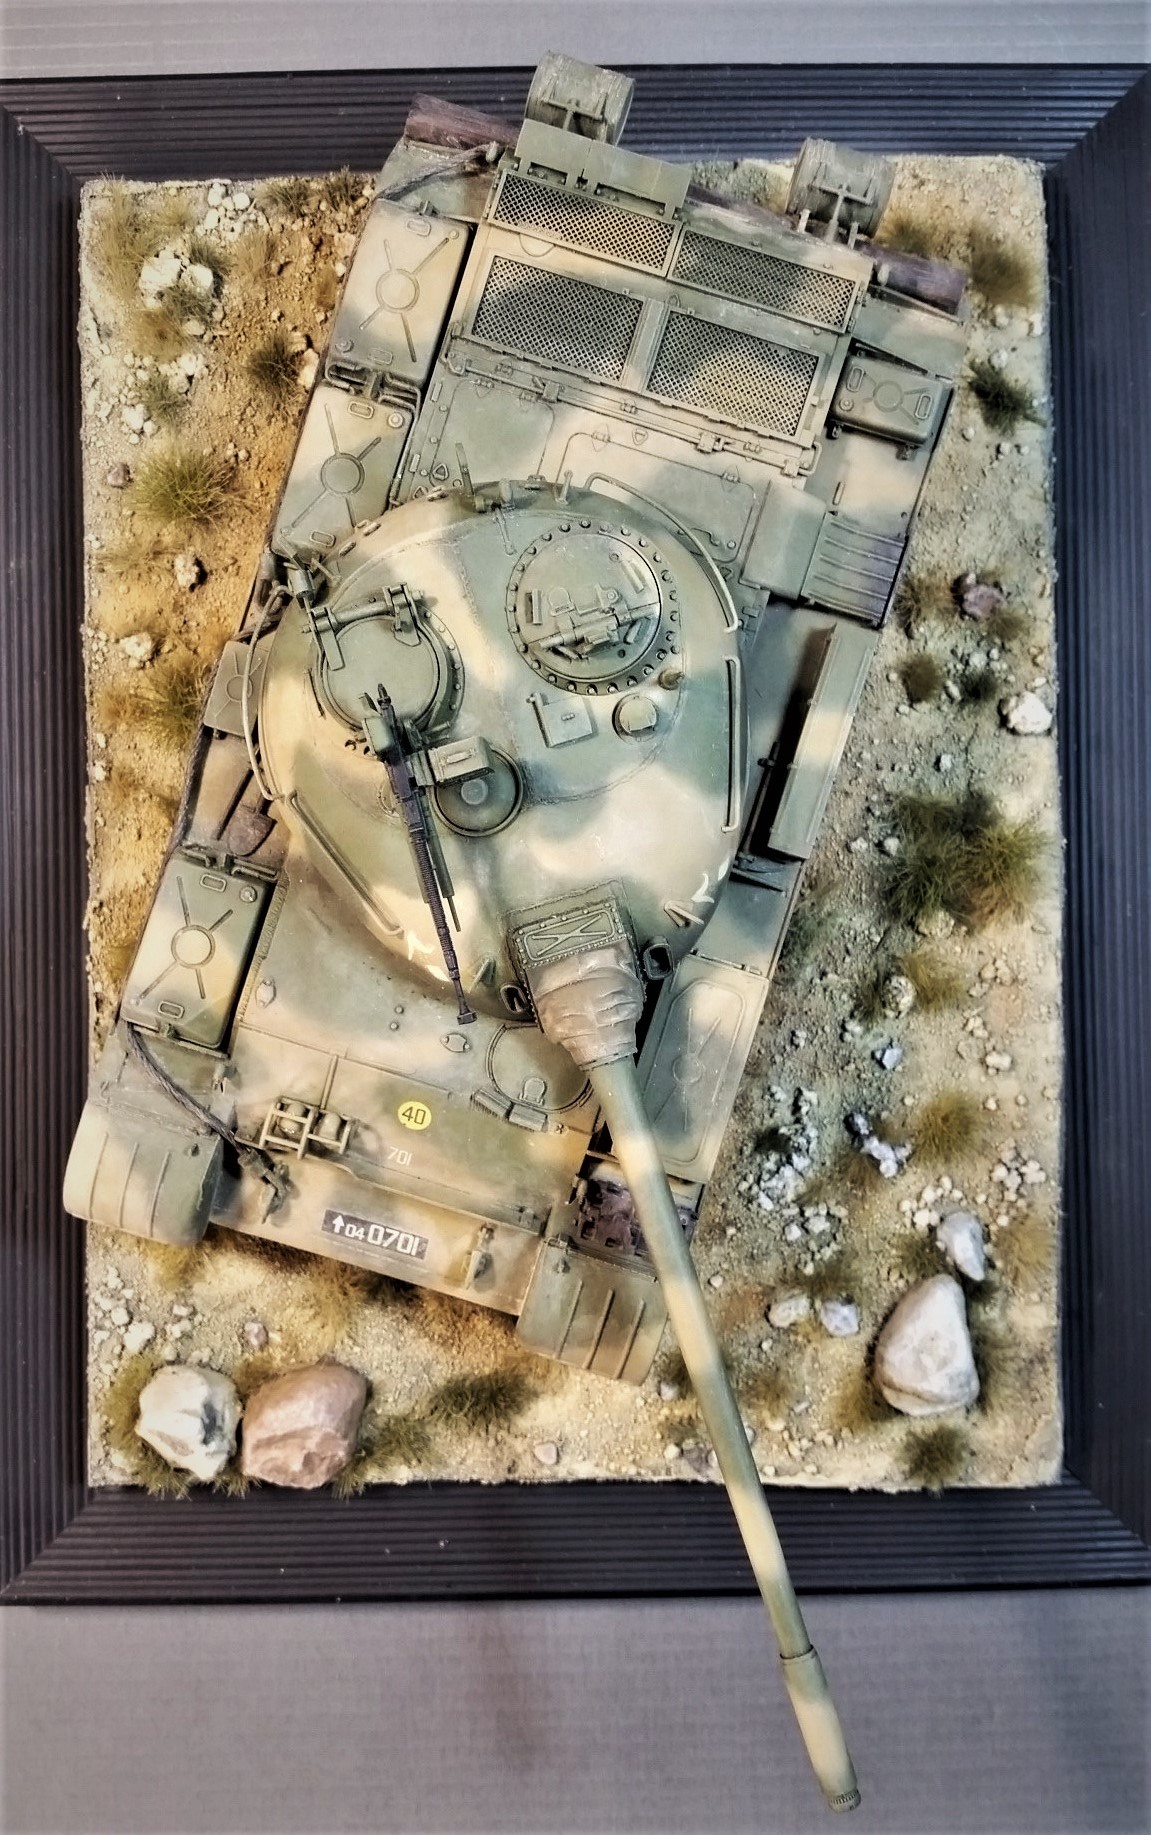
T55am2b on concrete mission
Posted: Sat Mar 02, 2019 3:00 pm
by Soeren
Hey there. Reference builds are always help full. In this case it was to try some Base building products, to try them and see whether these might be useful.
This is what it turned into.


Re: T55am2b on concrete mission
Posted: Sat Mar 02, 2019 3:10 pm
by Model Builder 4
That looks great

very nice display indeed

Cheers, Lee.
Re: T55am2b on concrete mission
Posted: Sat Mar 02, 2019 4:21 pm
by Son of a gun-ner
Yeah, that looks really good
Re: T55am2b on concrete mission
Posted: Sat Mar 02, 2019 5:28 pm
by Lert
Very nice work. Though with the sequence of pictures I am reminded of this:
1. Draw some circles.
2. Draw the rest of the owl.
Re: T55am2b on concrete mission
Posted: Sat Mar 02, 2019 5:43 pm
by Soeren
Re: T55am2b on concrete mission
Posted: Sat Mar 02, 2019 11:11 pm
by HERMAN BIX
Ok Mr Soeren , colours used?
Method and material of the barriers?
Washes used?
Tank colours used?
Method of tank modulation?
Or, tell me what shop I can buy that magic pot of stuff from that when you open it,all that goodness is inside ready to display!!

Re: T55am2b on concrete mission
Posted: Sun Mar 03, 2019 7:19 am
by Soeren
Hey there Hermann. Orange foam was glued to the picture frame glass with some ce. The texture was sanded off and some thin layers of the wall filler applied and sanded back. The sections were carved in. Because these looked really too wide I used vallejo plastic putty to do some tar like road filler. As this stuff shrinks I got some gaps to tell me where to put the grass. Concrete was painted with some revell acrylic greys and vallejo colors. The black for the tar is Vallejo Nato black mixed with satin varnish. Then lots of pigments rubbed into various areas: wilder European road clay, vallejo light slate grey and especially for the joints and gaps, vallejo light siena. And almost forgot, garden dirt for some texture all over the place and especially for the area on the barrier sockets. Everything fixed with Abtl. 502 fixer.
The barriers are Meng plastic painted with the same as the ground. Lifting hooks camo black brown by vallejo, some stapled in vallejo rust. Sheen by vallejo oiled steel in camo black brown. Later some vallejo rust washes thinned with water for streaking.
The grass is just regular tufts , some painted green. The long grass is from your recommendation to paint longer brush bristles. Alle glued in with ce. That's that.
Re: T55am2b on concrete mission
Posted: Sun Mar 03, 2019 7:35 am
by Soeren
Re: T55am2b on concrete mission
Posted: Thu Apr 04, 2019 9:38 pm
by Soeren
Re: T55am2b on concrete mission
Posted: Thu Apr 04, 2019 9:40 pm
by Soeren
And as I is all about correct colors, the frame for the T55 was painted too.